A panda is two black shapes and a white gap. That is the whole animal, and it is why any panda drawing easy enough to finish in a minute still works. If yours looks like a round bear, your outline is not what failed. Your patches sit in the wrong place, and nobody told you where they go.
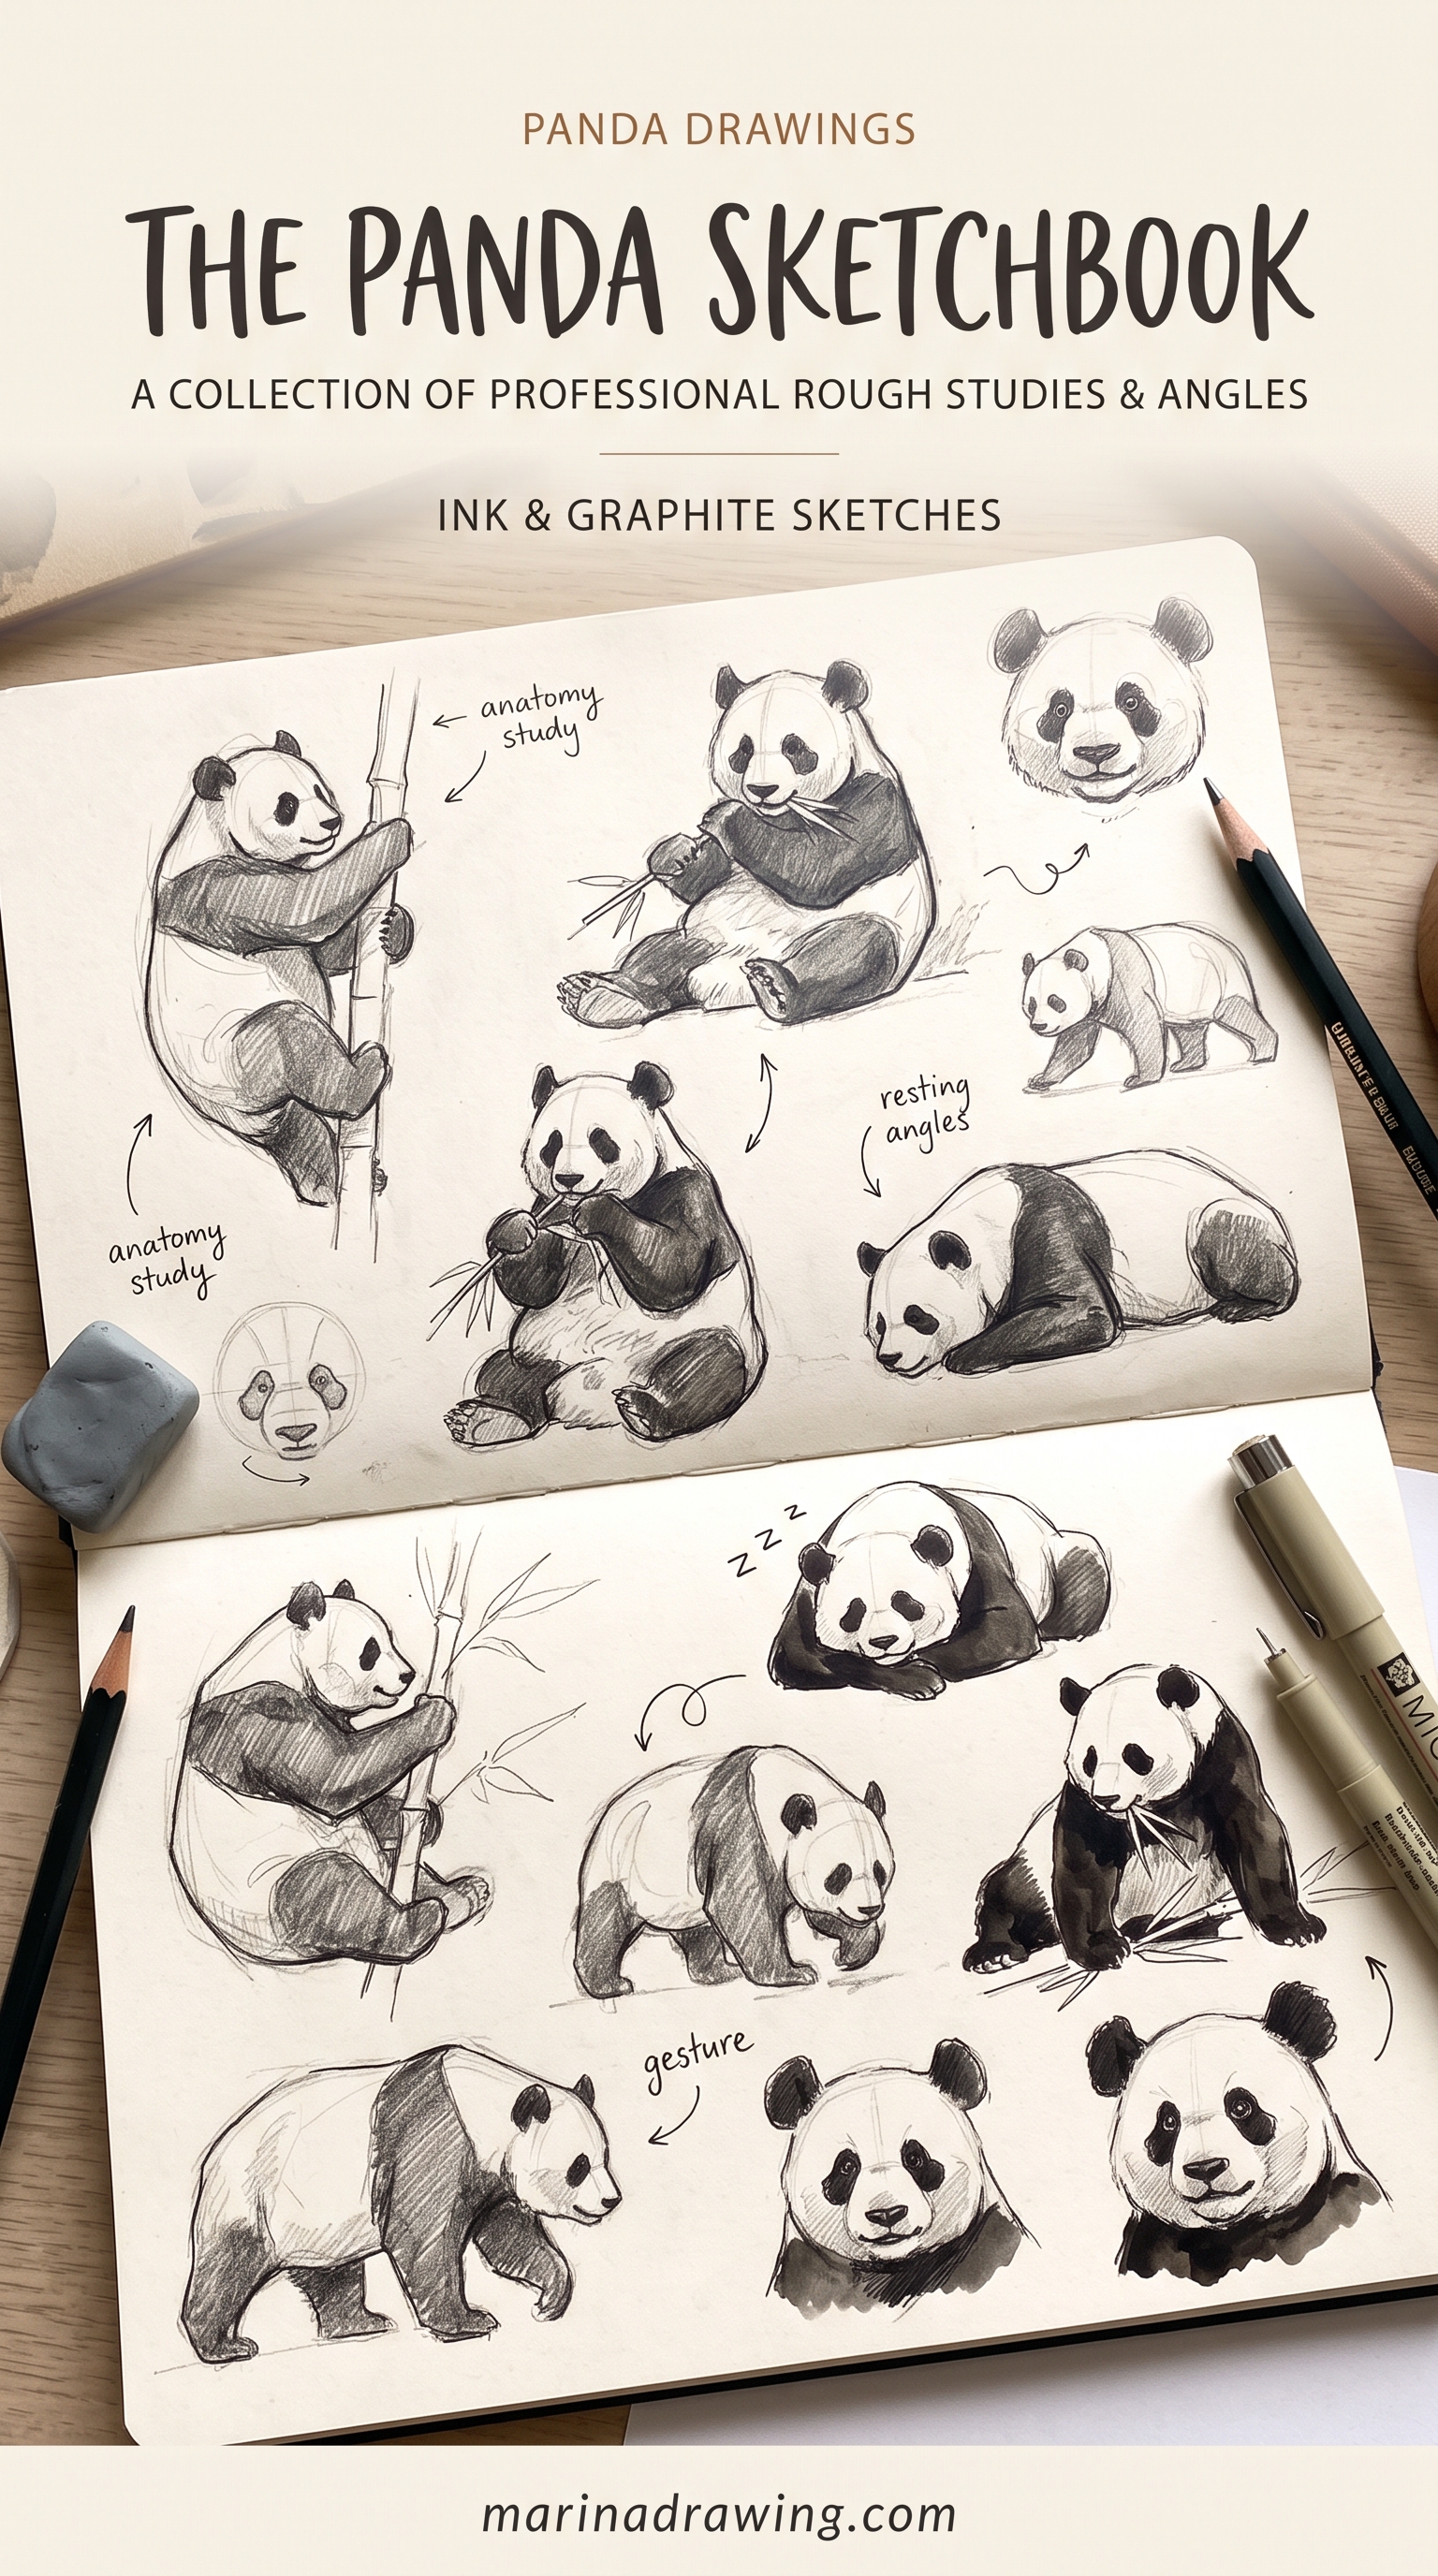
A panda reads as a panda because of where the black sits, not how the white is drawn. Two oval eye patches below the middle of the skull, two solid black ears on top, a short muzzle. Move any of those and you have a bear.
Quick answer: draw a circle, a vertical centre line, a horizontal guide below the middle. Put your patches on that guide, your ears on top in the same black, the muzzle short. Then pick your panda from the eleven below and read the table near the end for your mistake.
The black shapes make the panda, not the outline
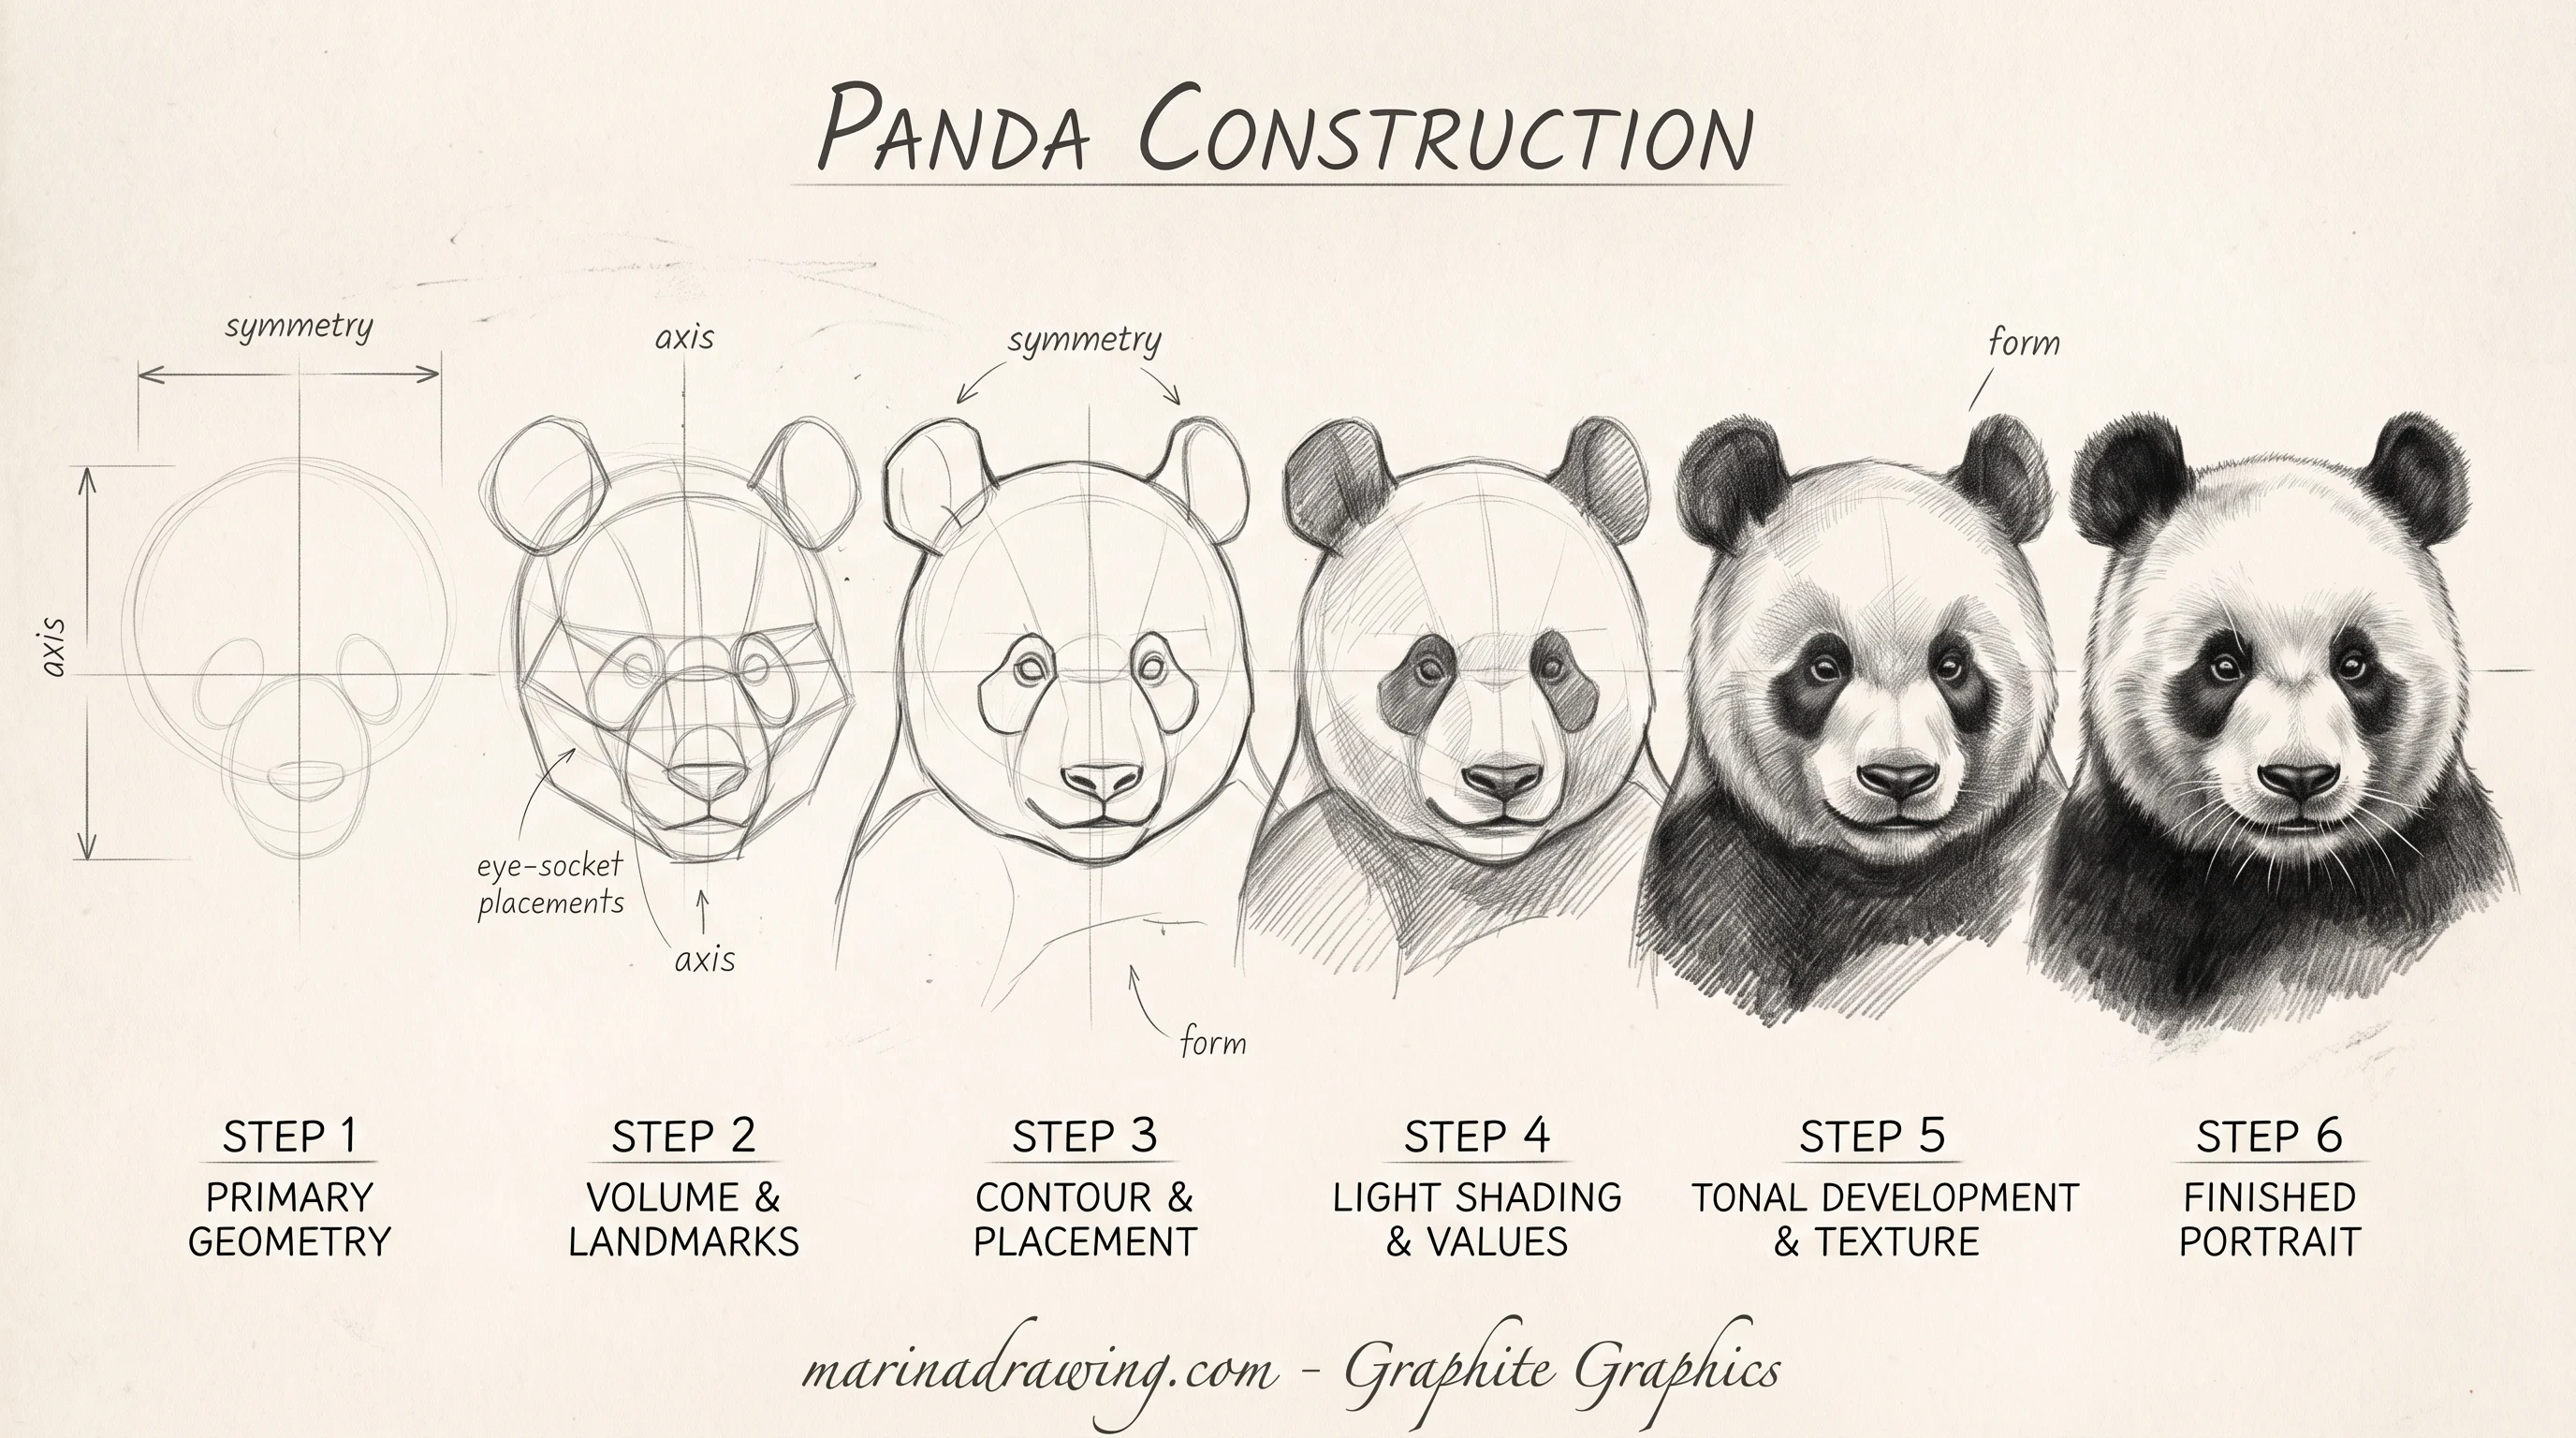
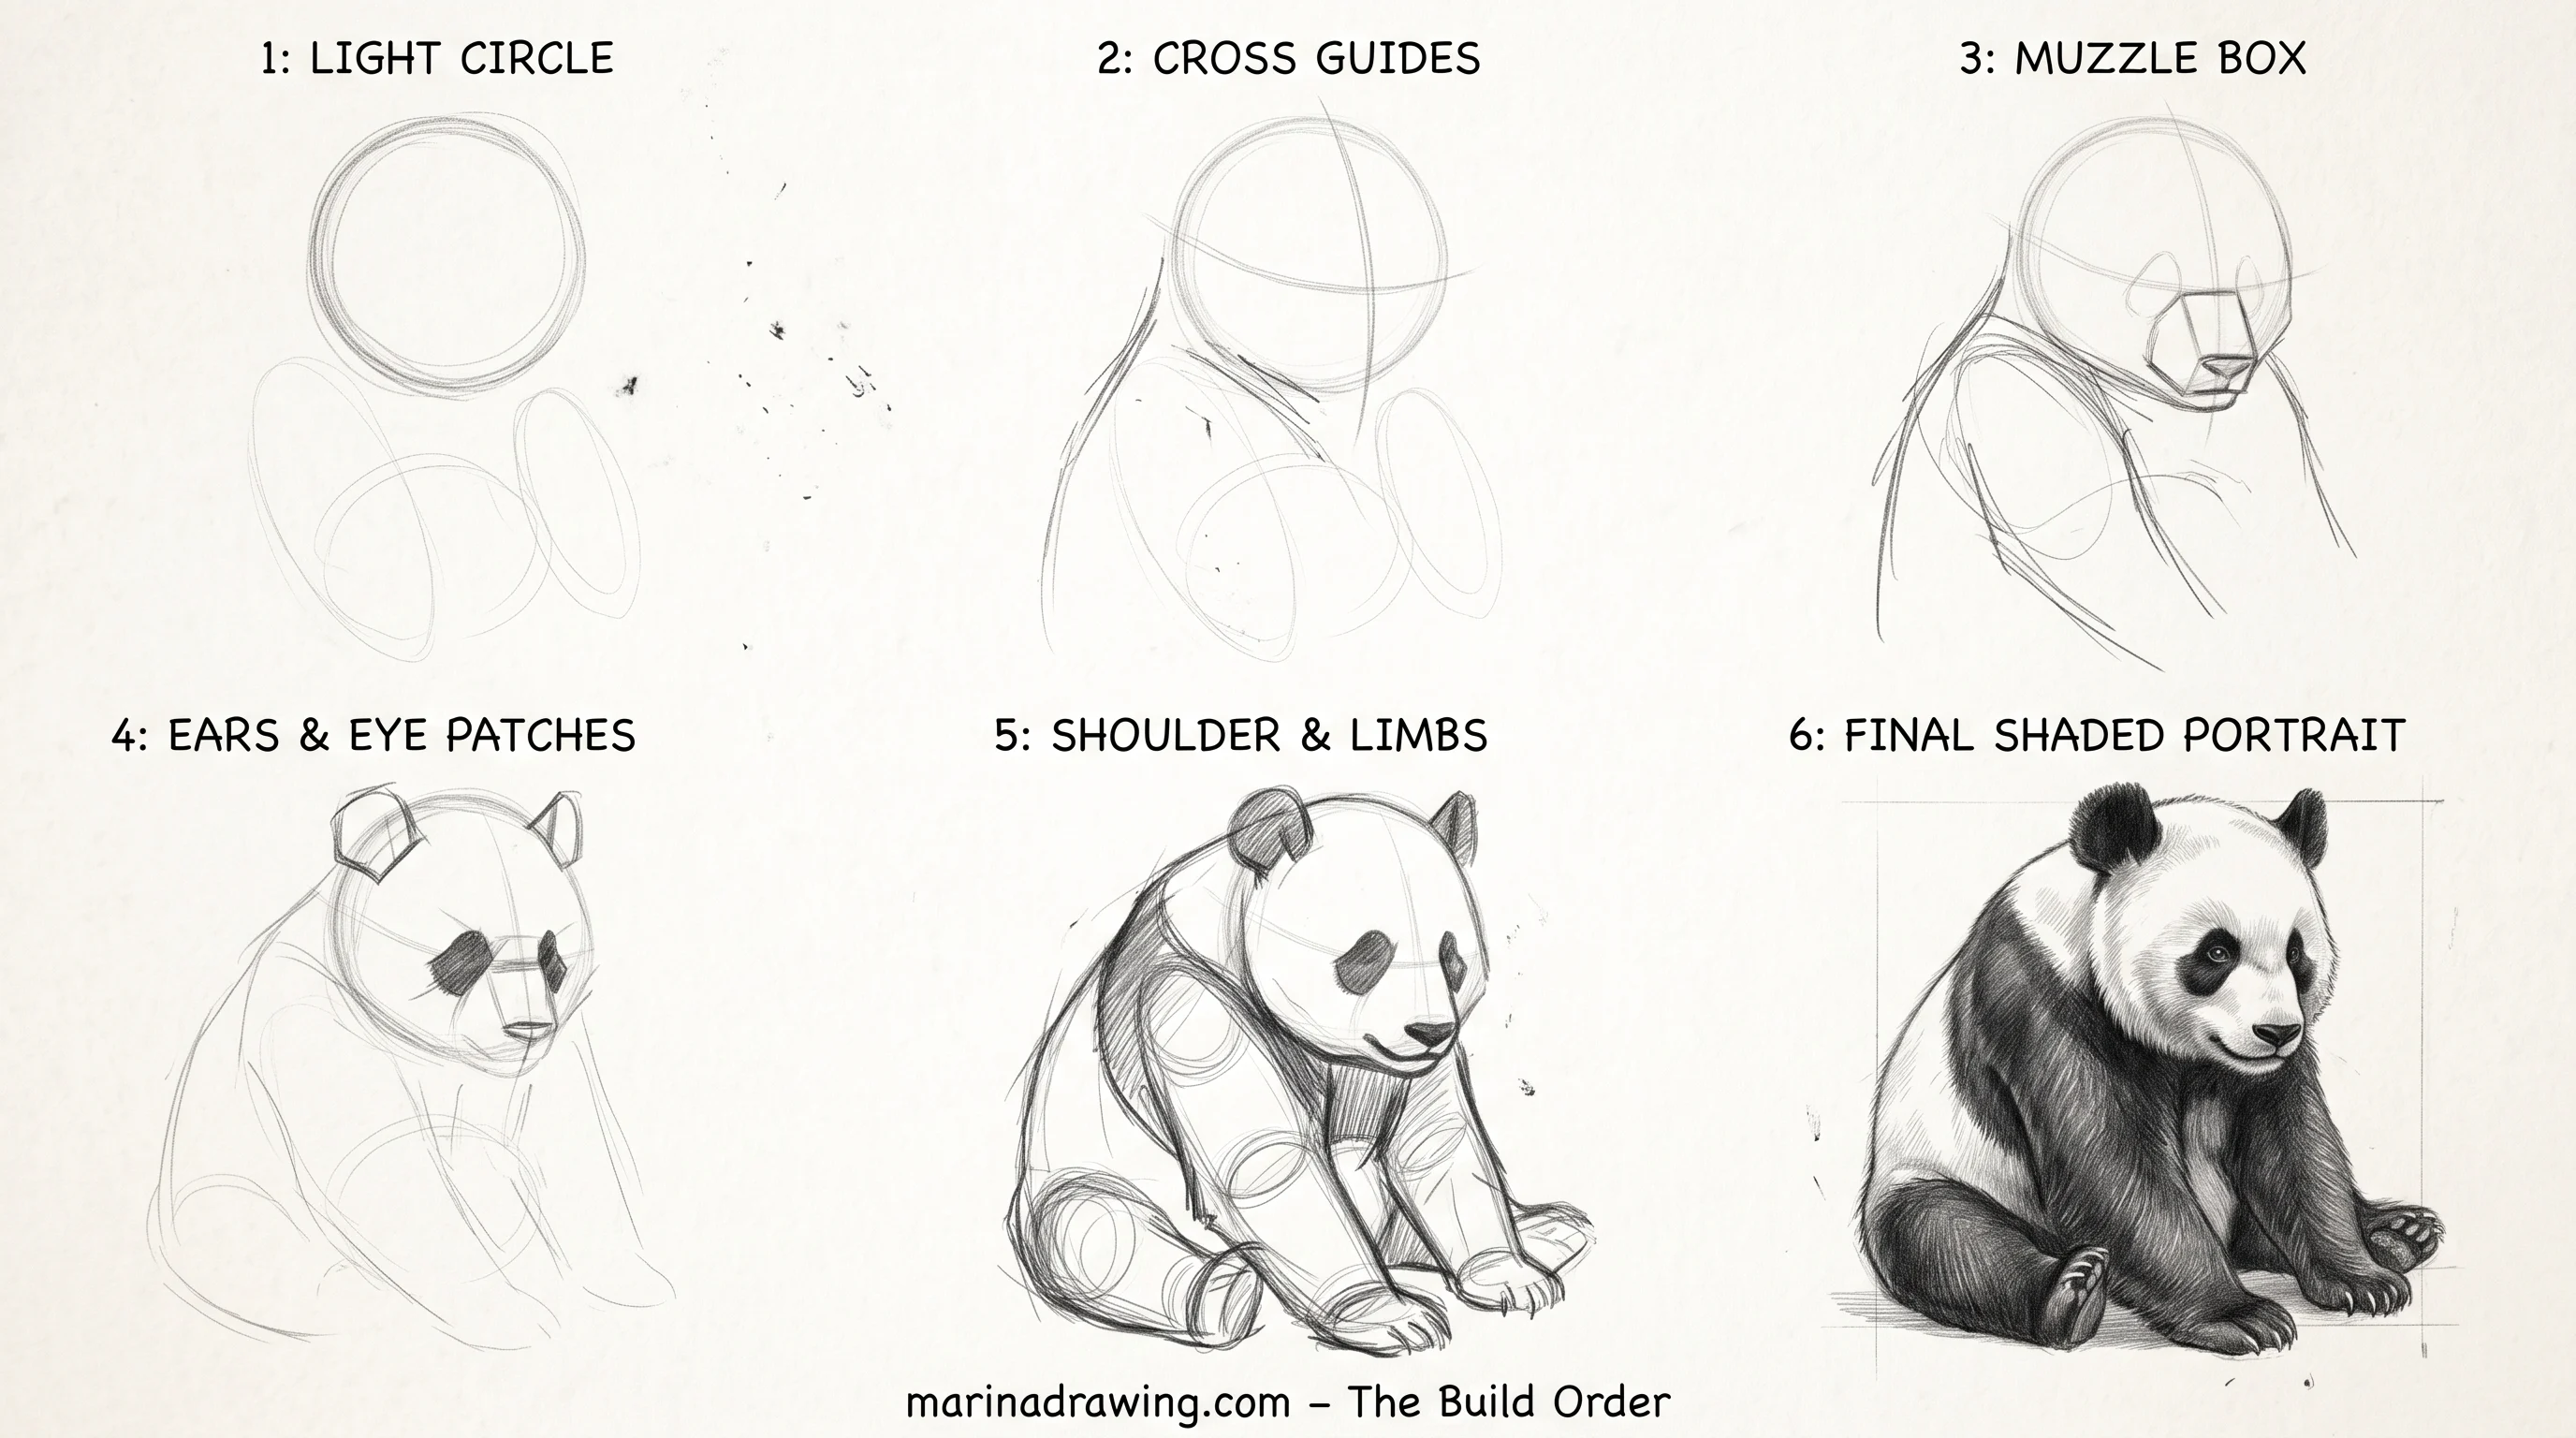
Every panda here starts the same way. You put down three marks, light enough to move, before any black goes on the page.
- The circle. This is the skull. Draw it loosely.
- The cross. A vertical line down the centre, and a horizontal line a little below halfway. That second line is where your trouble starts. Draw it across the middle and your face comes out adult and long.
- The muzzle box. A small rounded square on the centre line, under the horizontal guide, about a third of the circle wide. Your nose goes at its top edge, not in the middle of it.
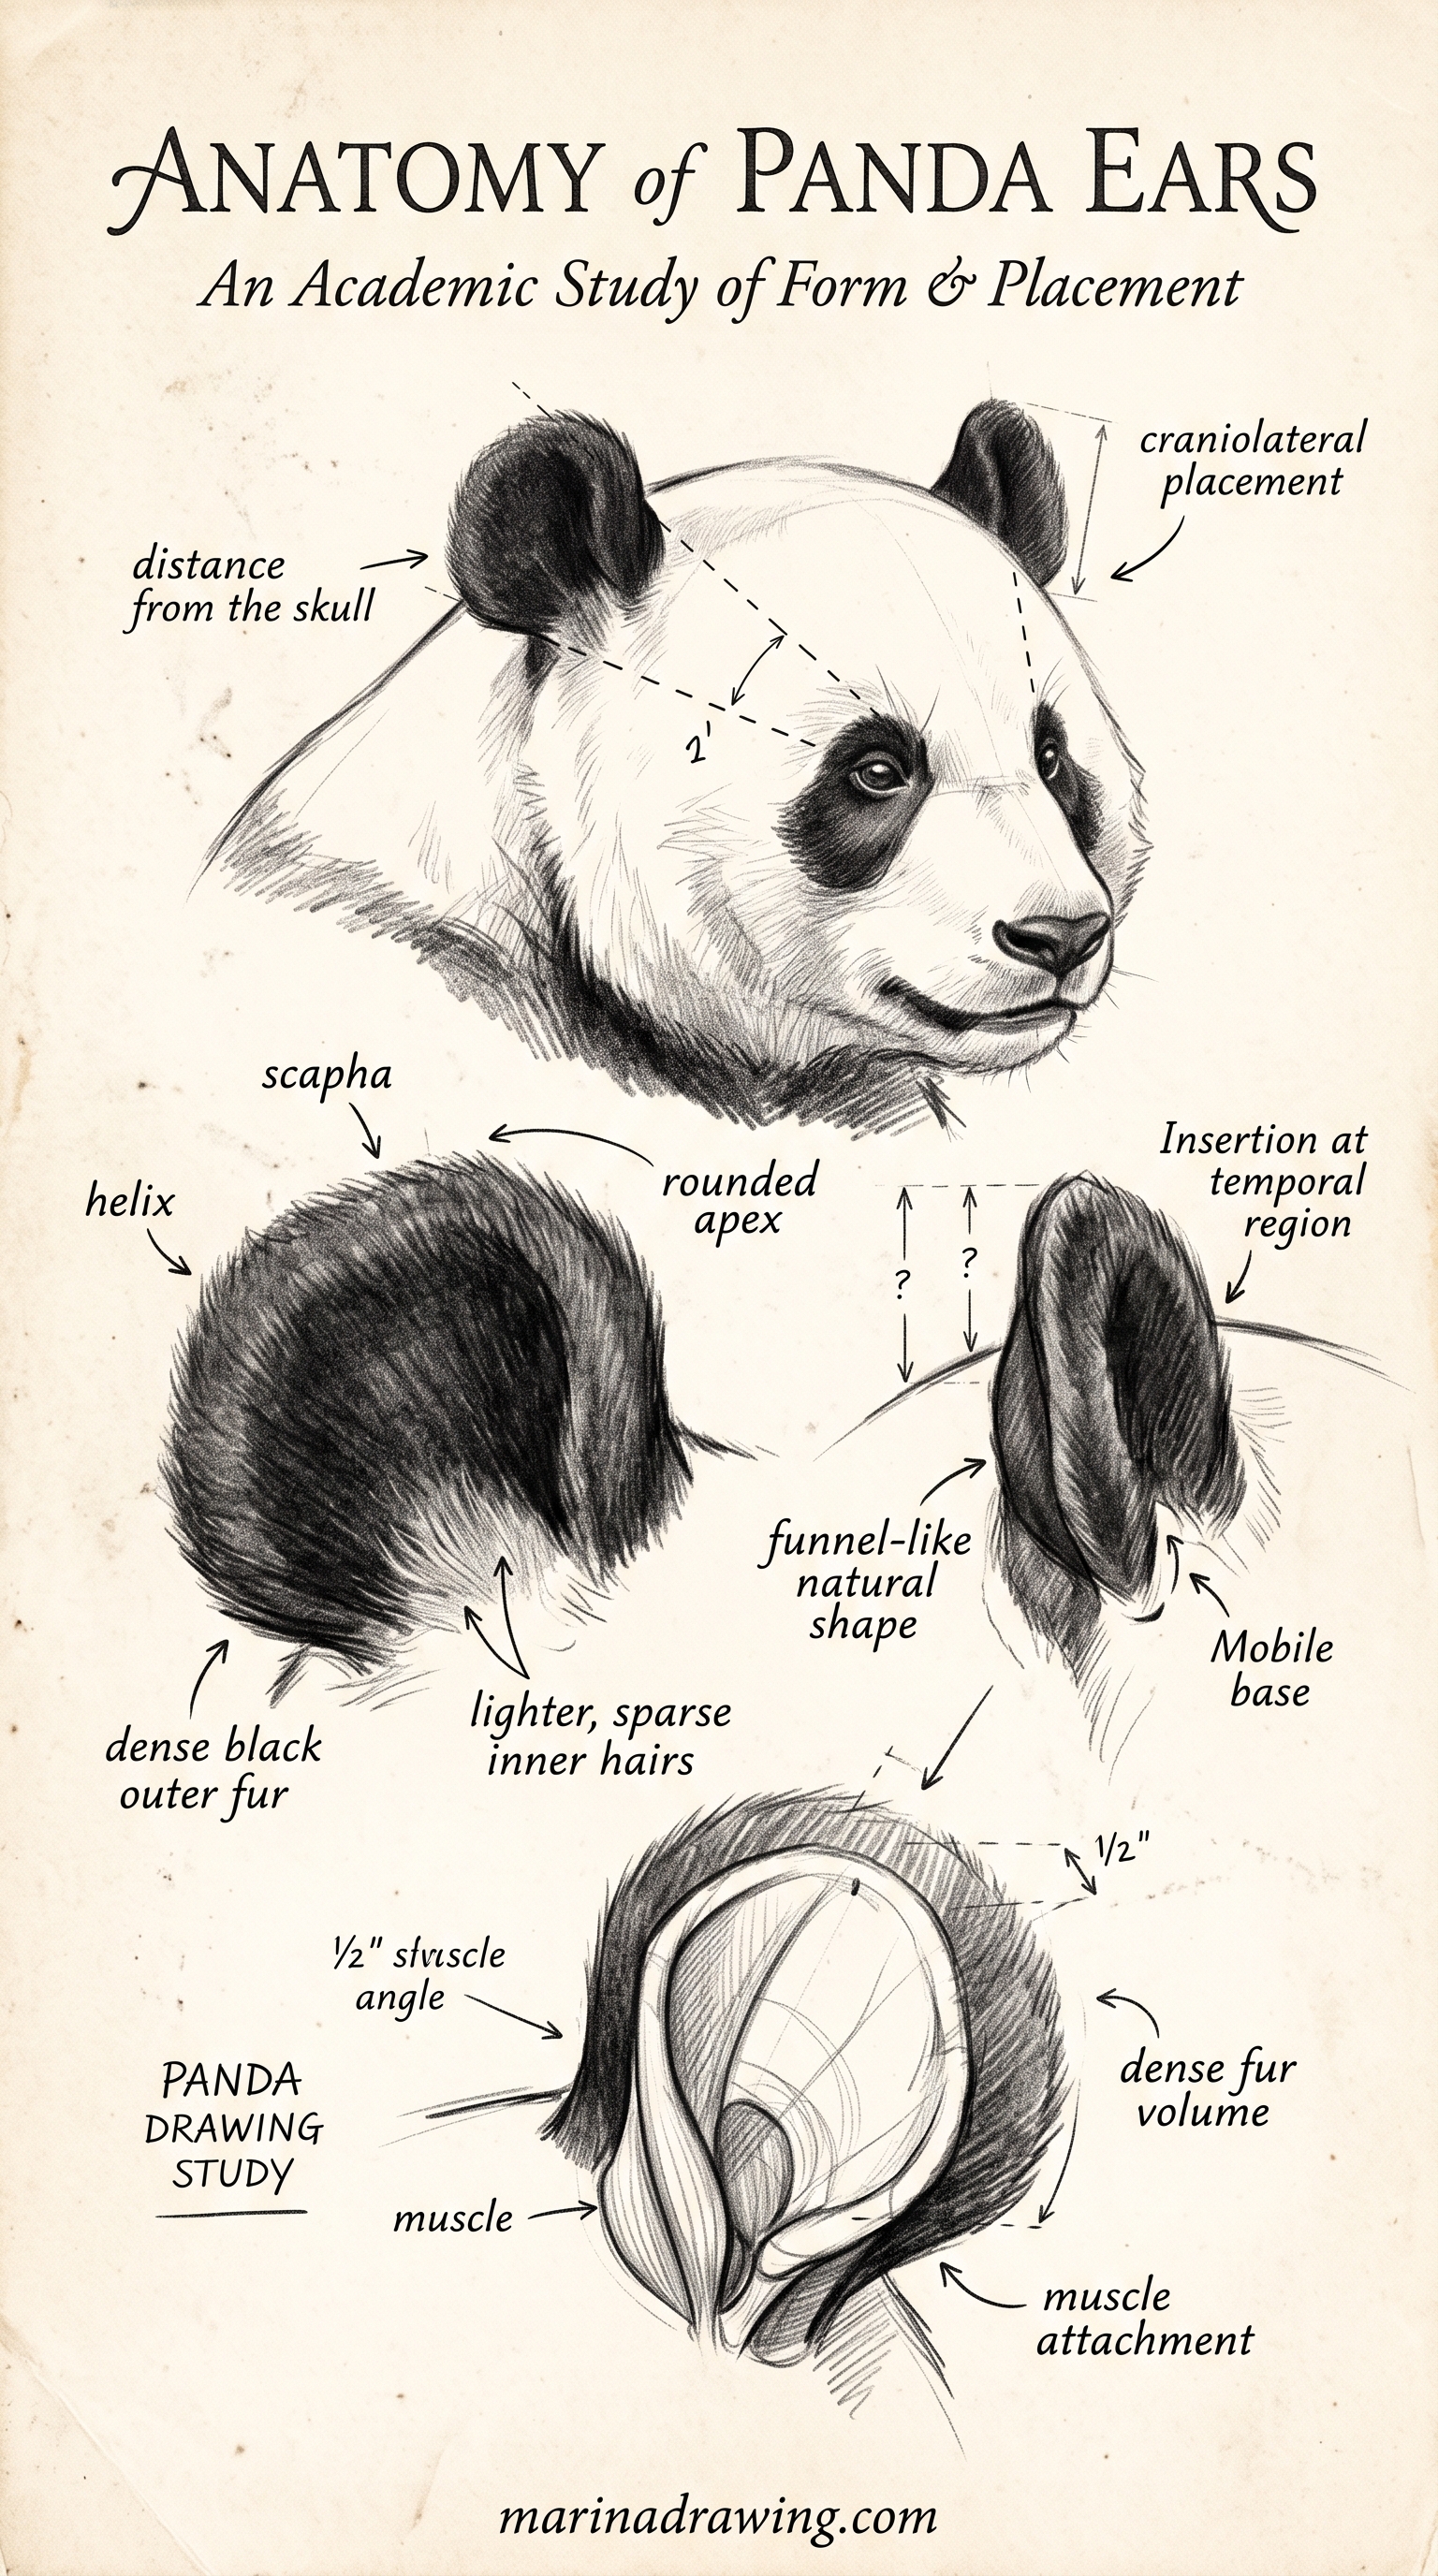
Now the black. Your eye patches are ovals tilted inward at the top, centred on the horizontal guide. Make each a quarter of the skull wide and set them their own width apart. Your ears are half-circles on top, set wide, filled in the same black.
Leave a small untouched dot of paper inside each patch. That dot is the eye. Without it, the face you get is a mask.
Check those ratios on your page while your pencil still lifts. Want them drilled rather than listed? A structured pencil drawing programme works through them subject by subject.
You decide whether your panda works before you put down any black. Everything after that is filling in a decision you already made.
Where panda drawings go wrong
The whole search result for this subject went under the ruler first. Fifteen pages in, five left once the thin ones dropped out. Here is the tally.
| What I looked for | Pages that had it |
|---|---|
| A section on what goes wrong | 0 of 5 |
| Panda proportions given as a number | 0 of 5 |
| A wrong panda drawn beside a right one | 0 of 5 |
| Numbers about time or paper only | 4 of 5 |
Every number I found was about hours and sheets: fourteen hours, twenty minutes, ten sheets. Not one was about where your patches go.
Each page shows you its panda going right, in thirty photographs if it is the thorough one. None shows you the panda you drew.
Four mistakes account for almost all of it, and you have probably made one of them:
- Your patches sit too high on the skull.
- You drew them round instead of tilted.
- You outlined your ears instead of filling them.
- You stretched the muzzle forward.
None of those five pages names any of them. All four are placement problems you settle in the first minute, which is why another set of steps rarely helps you. The steps are fine. The thing they skip is the thing you got wrong.
This is not specific to pandas. Among self-taught artists the complaint is that something looks off, while the word that fixes it turns up in barely one post in seventy. Same trap, simpler subject: beginner drawings that look off and the cute lion drawing.
What you need: one pencil and a black marker
Every panda here works with a pencil and something black.
- One sharp 2B pencil for your construction lines.
- A black marker or fat fineliner for the patches. Graphite takes ten minutes and still looks grey.
- Cheap printer paper and an eraser that lifts your guides out.
- Optional: three coloured pencils for the colour panda below. Three, not twelve.
Buy a graded set before you can place a patch and your evening becomes organising. A panda drawing app does the same to you: it moves the shapes and leaves your placement untouched.
1. Panda drawing easy: the six-line version
Draw this one first. It takes you under a minute: a circle, two black half-circles on top, two tilted black ovals below the middle with a dot of paper in each, a rounded triangle for the nose, a short curve under it.
Six marks, and it reads as a panda from across the room. Draw it five times and move your patches a little each time. You will find the height that works faster than any tutorial tells you.
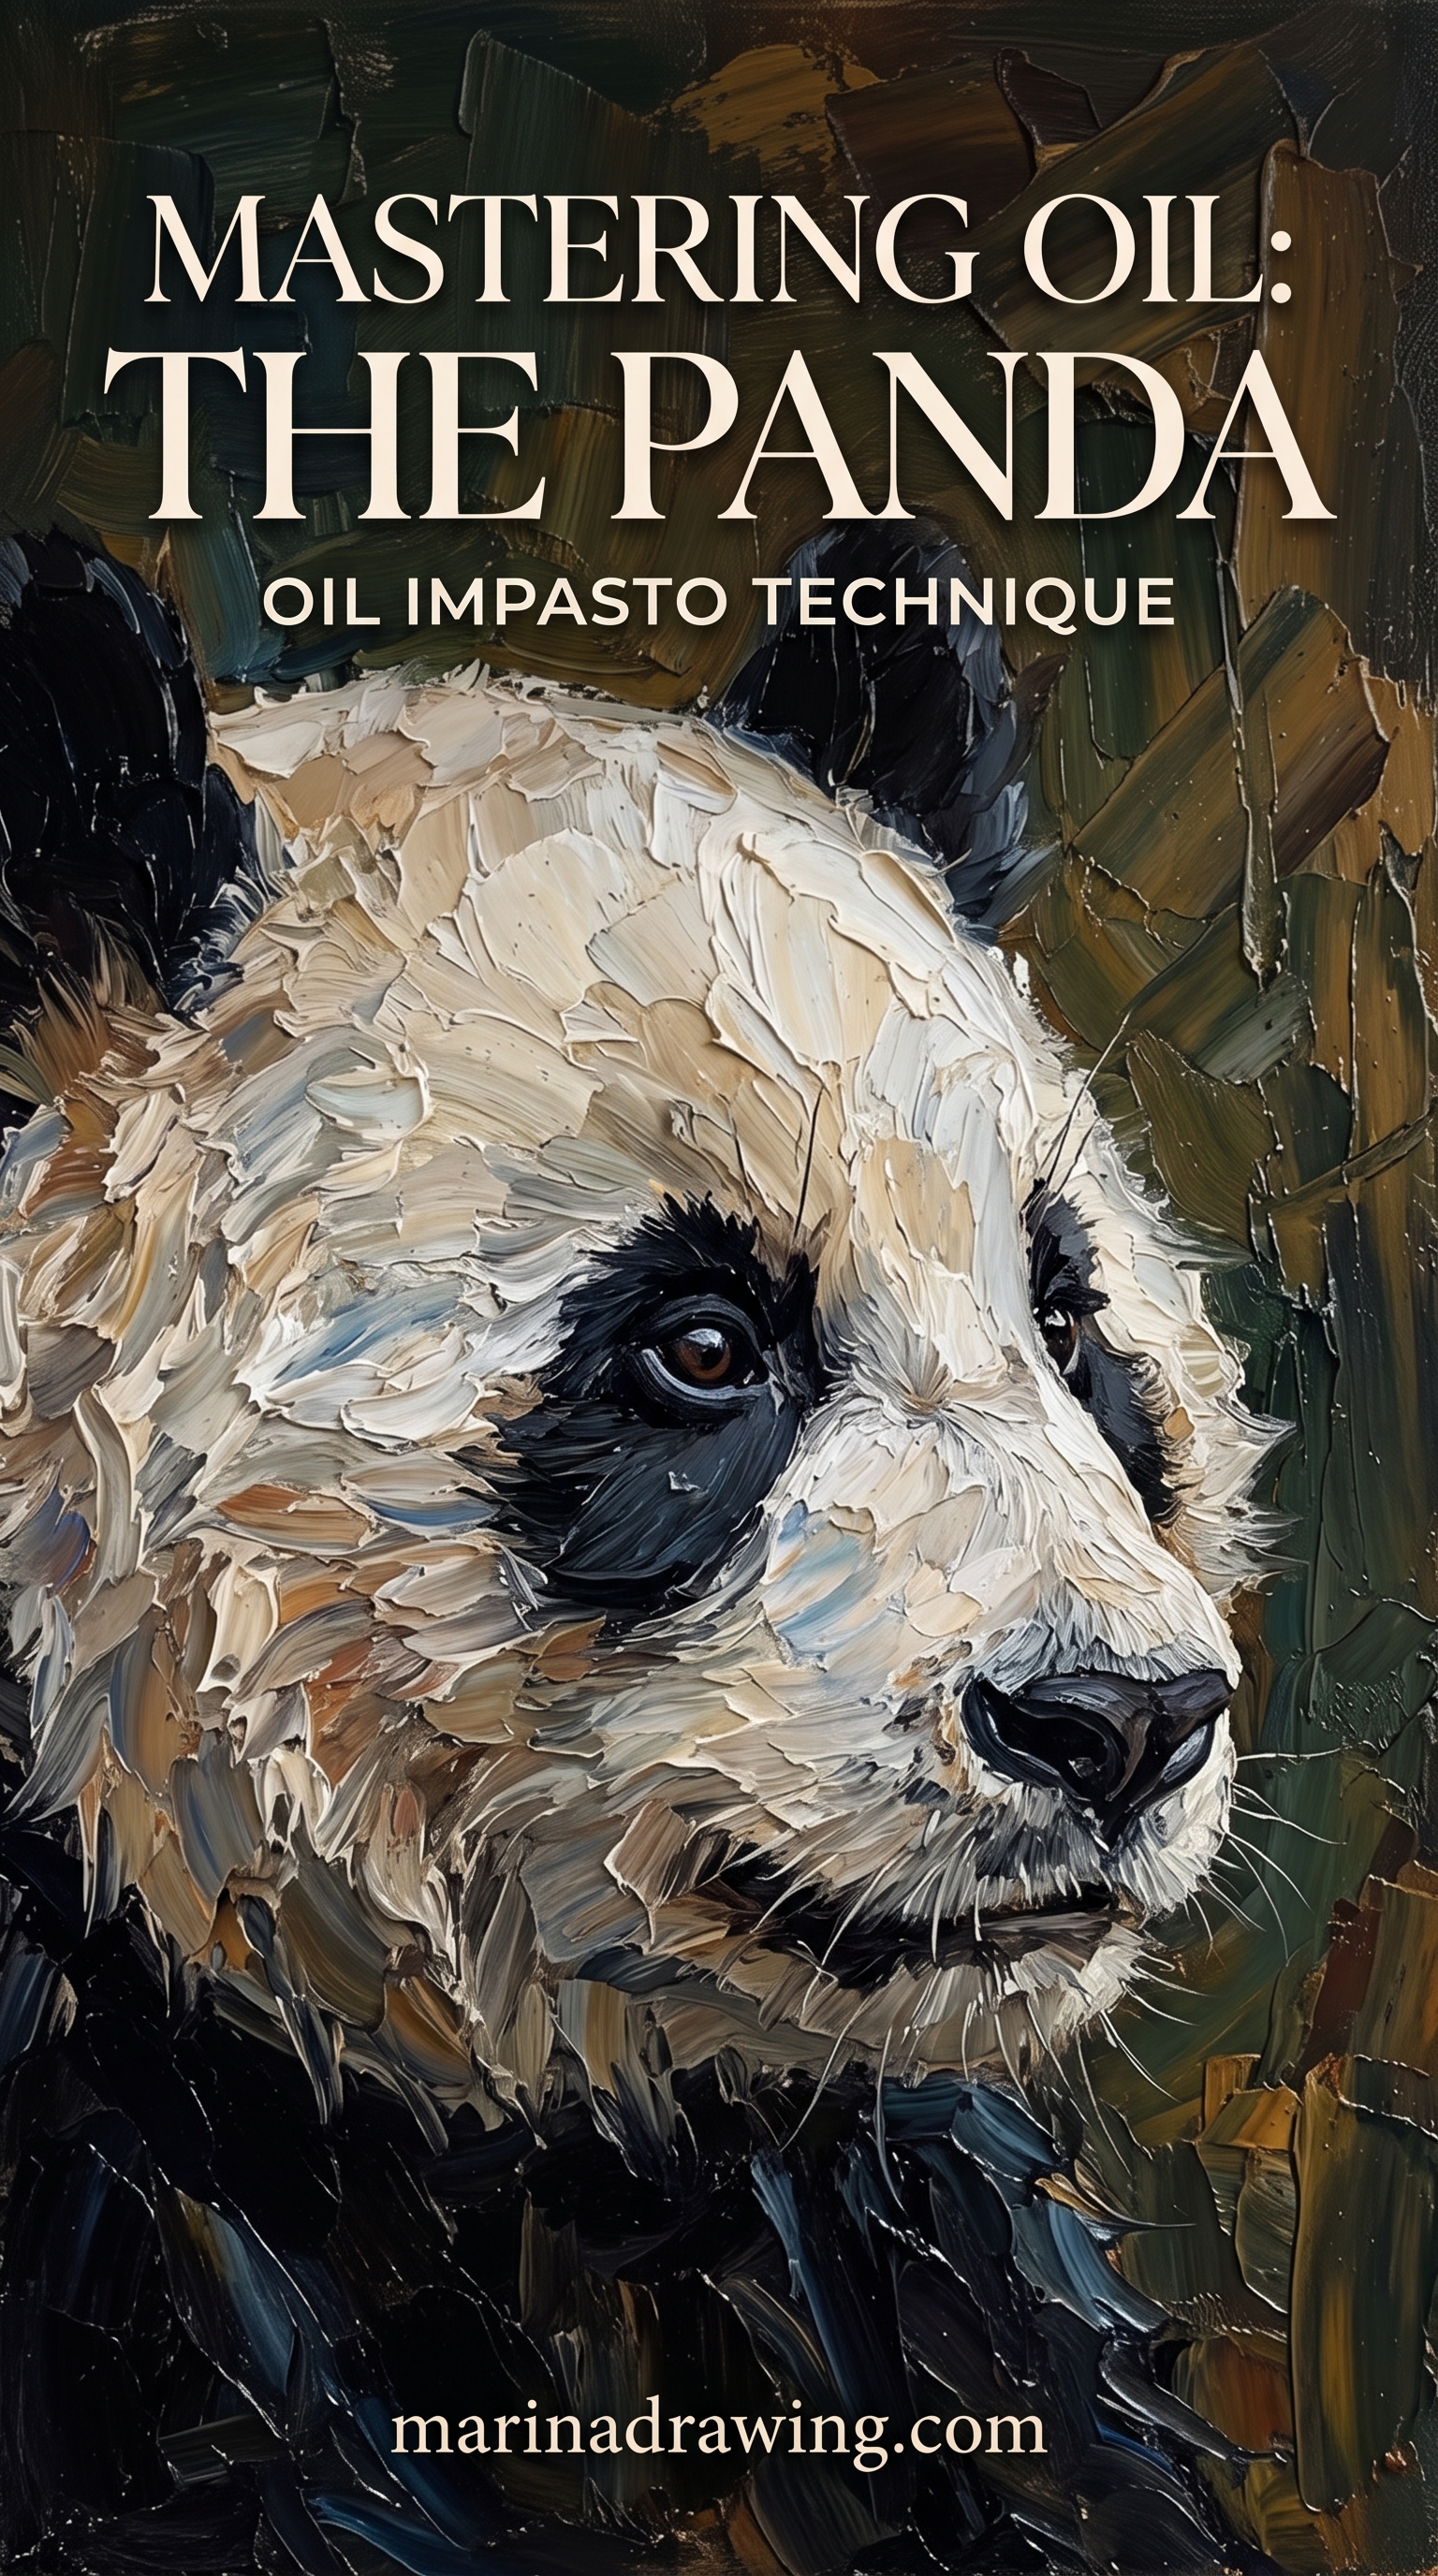
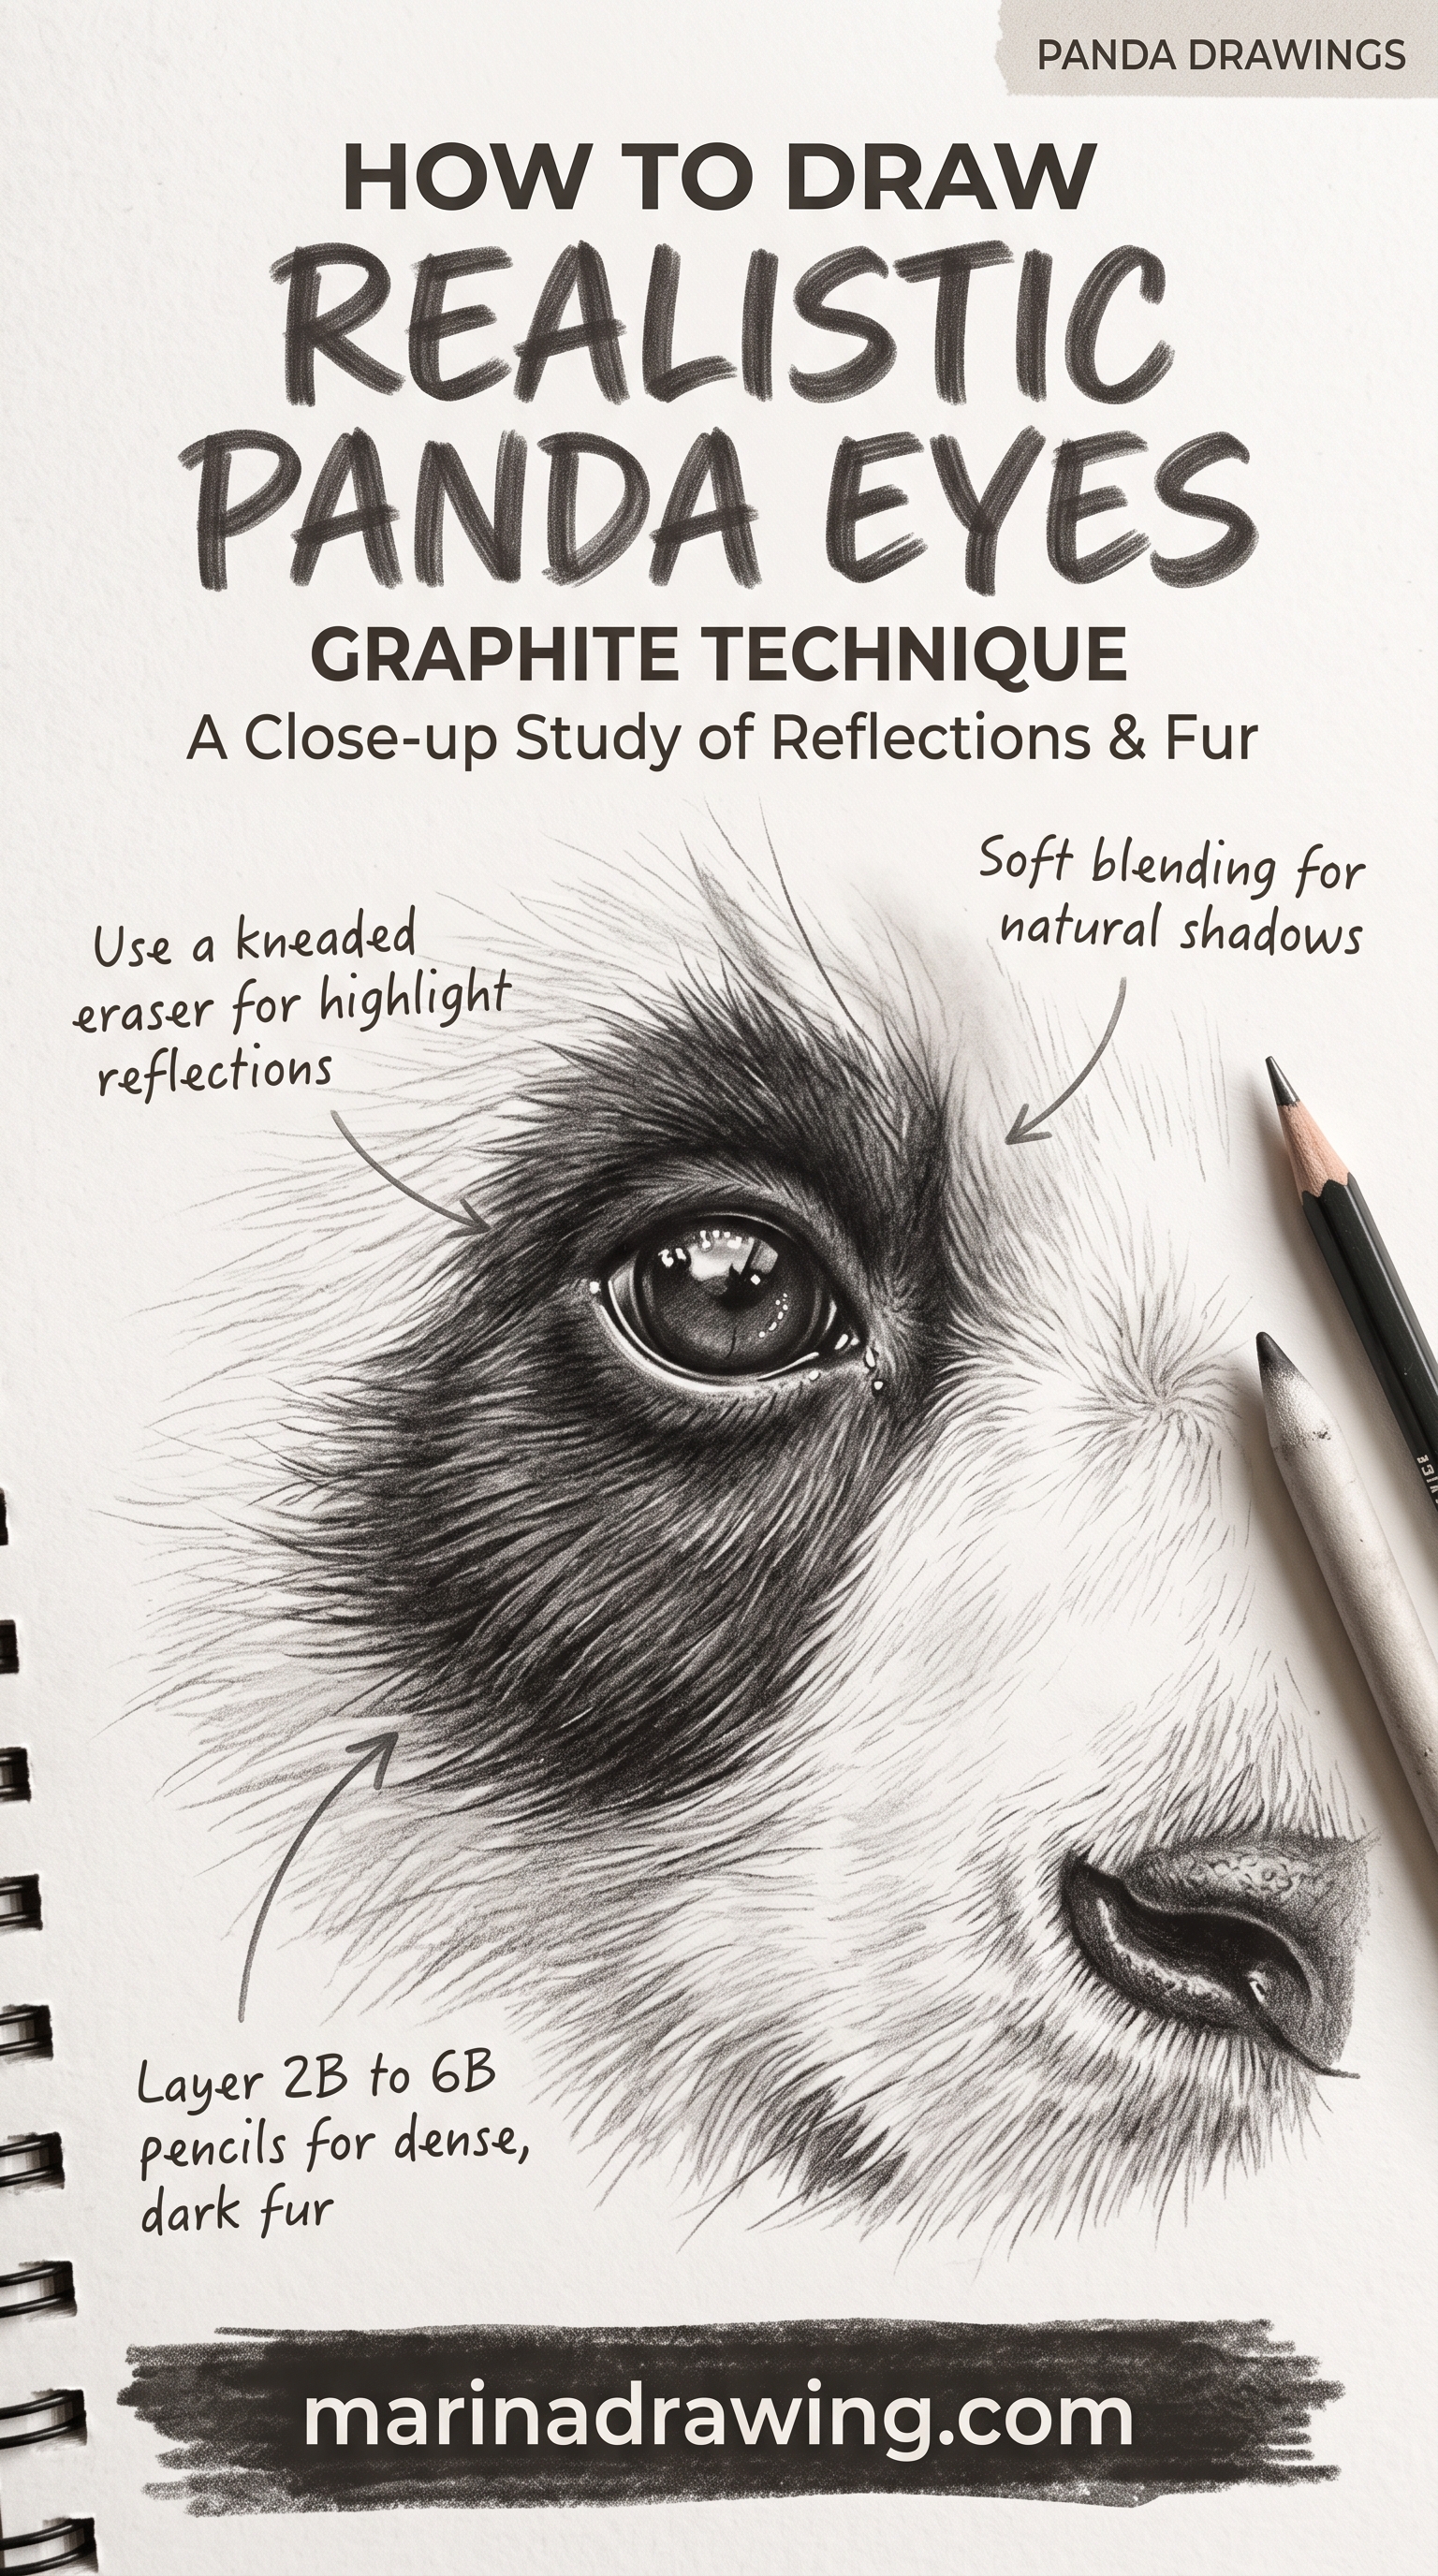
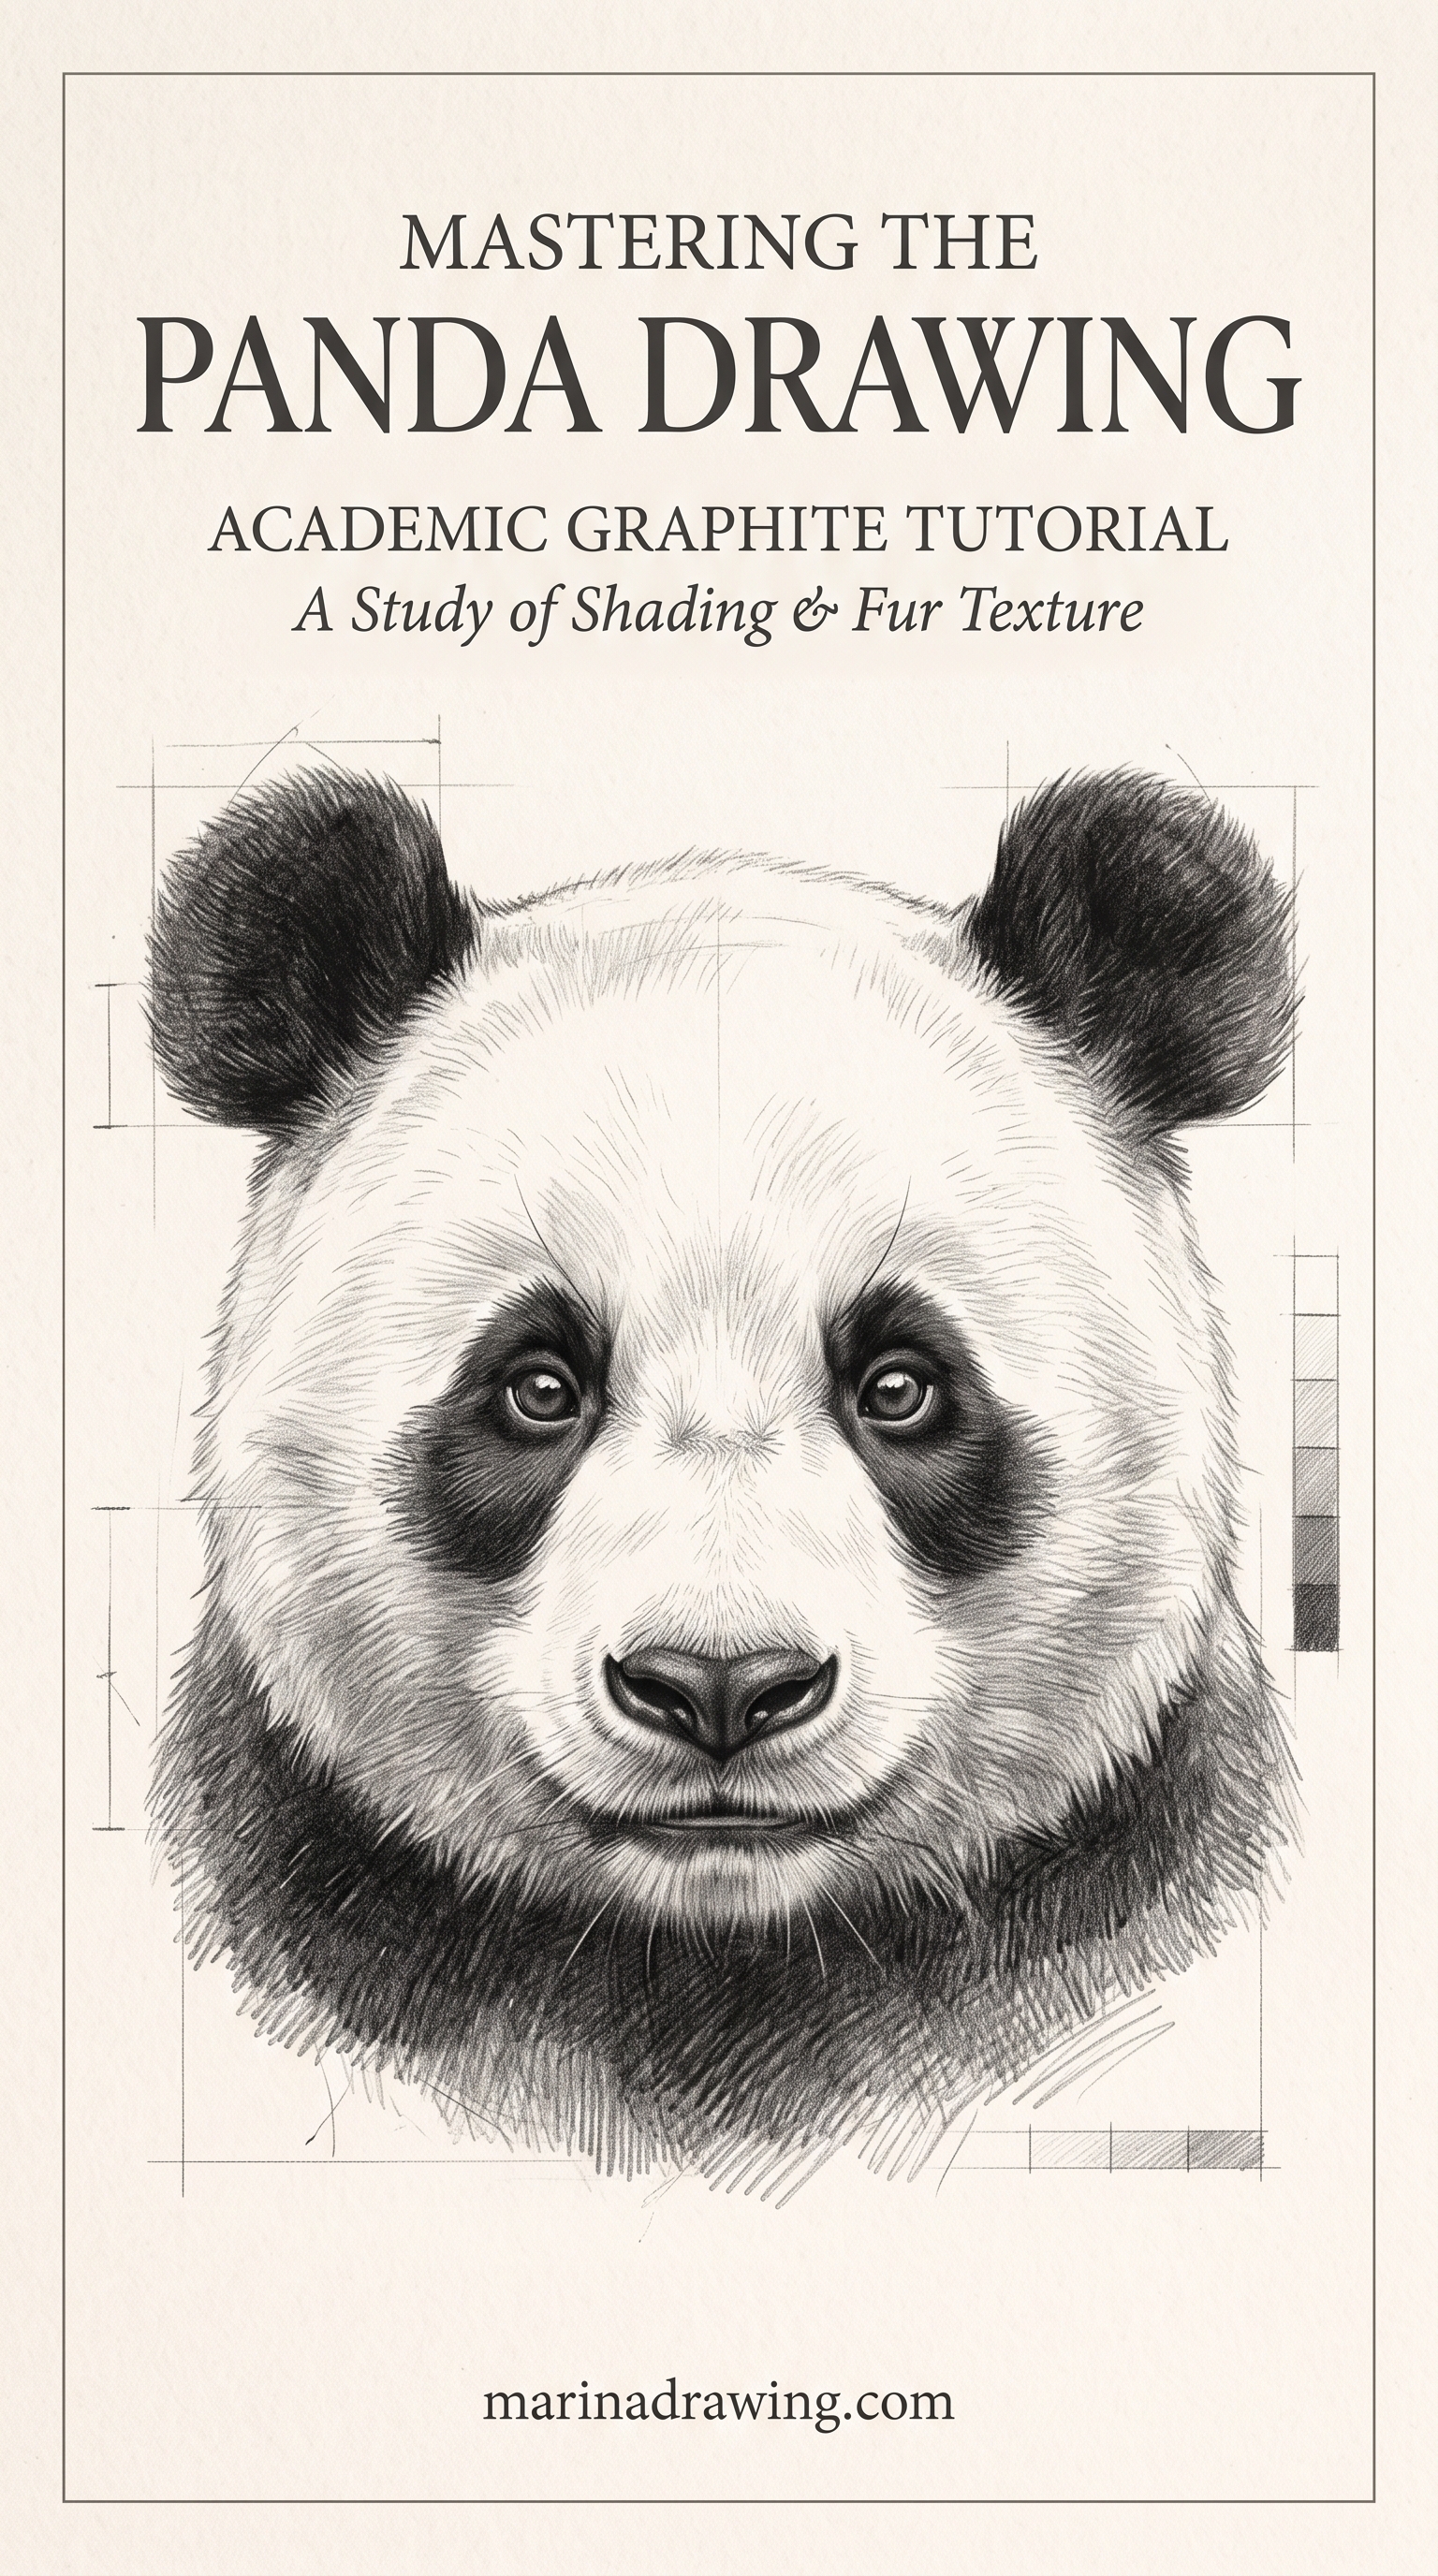
2. A cute panda face, front on
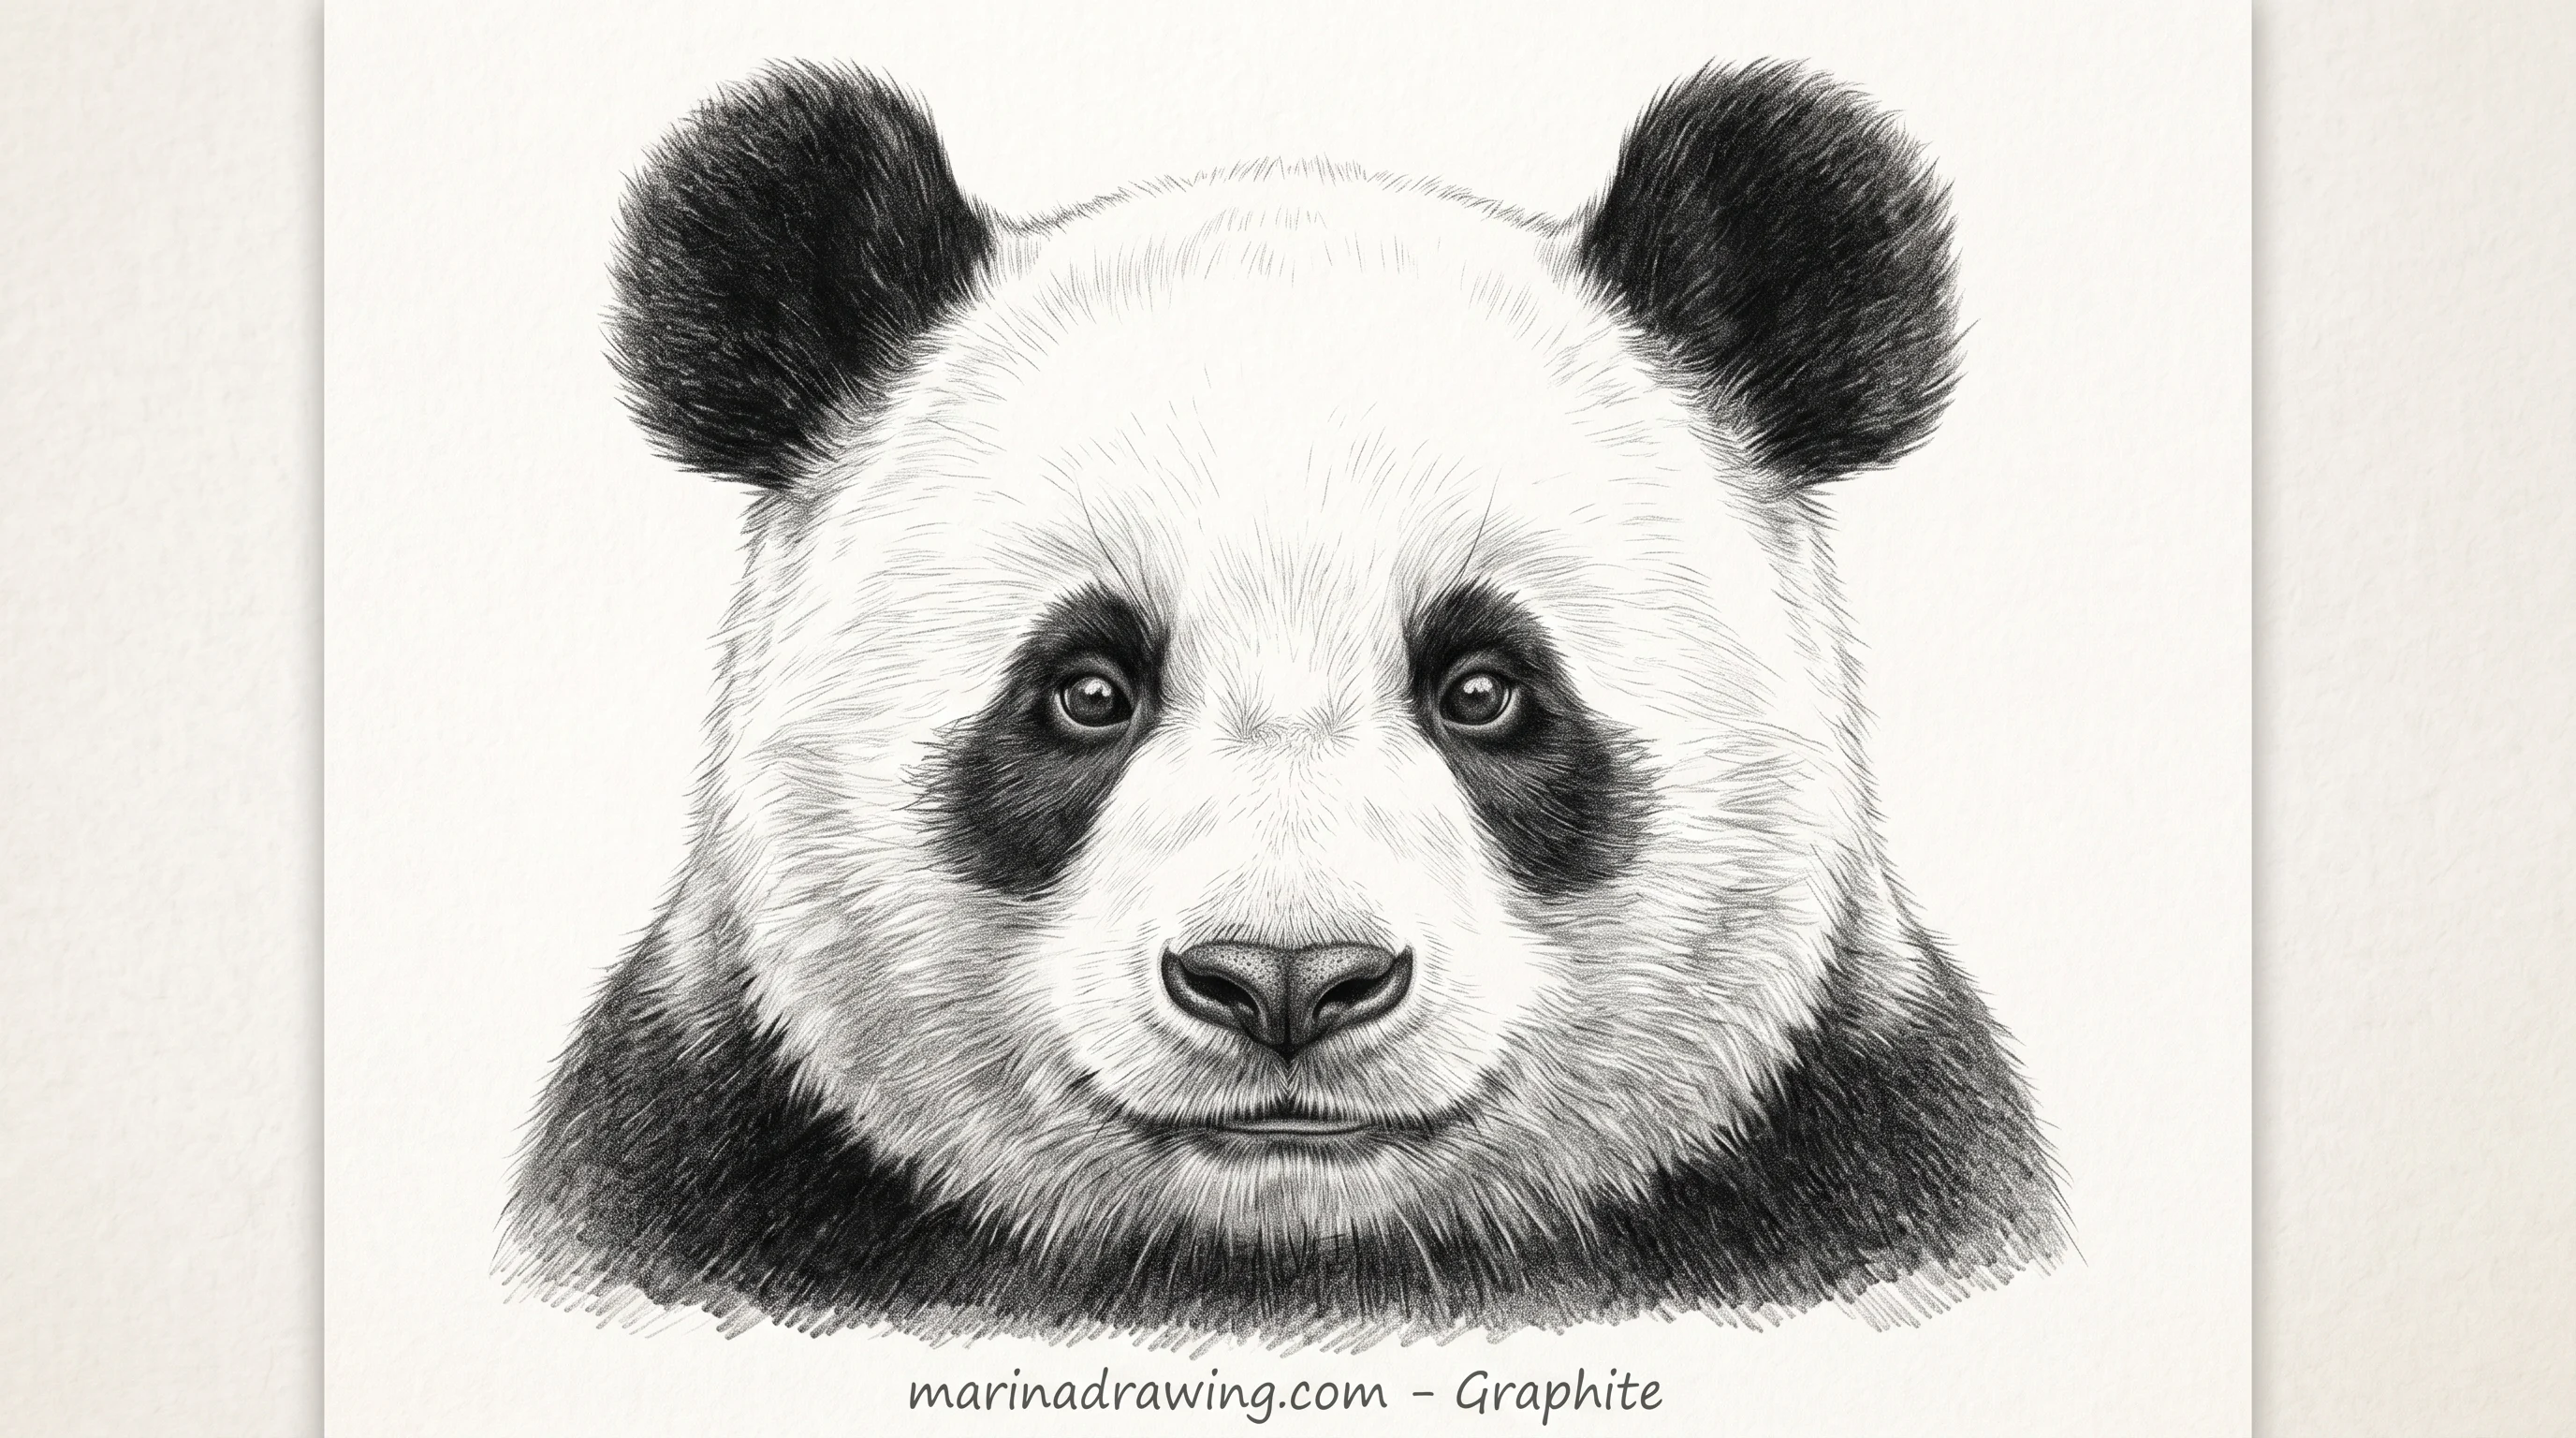
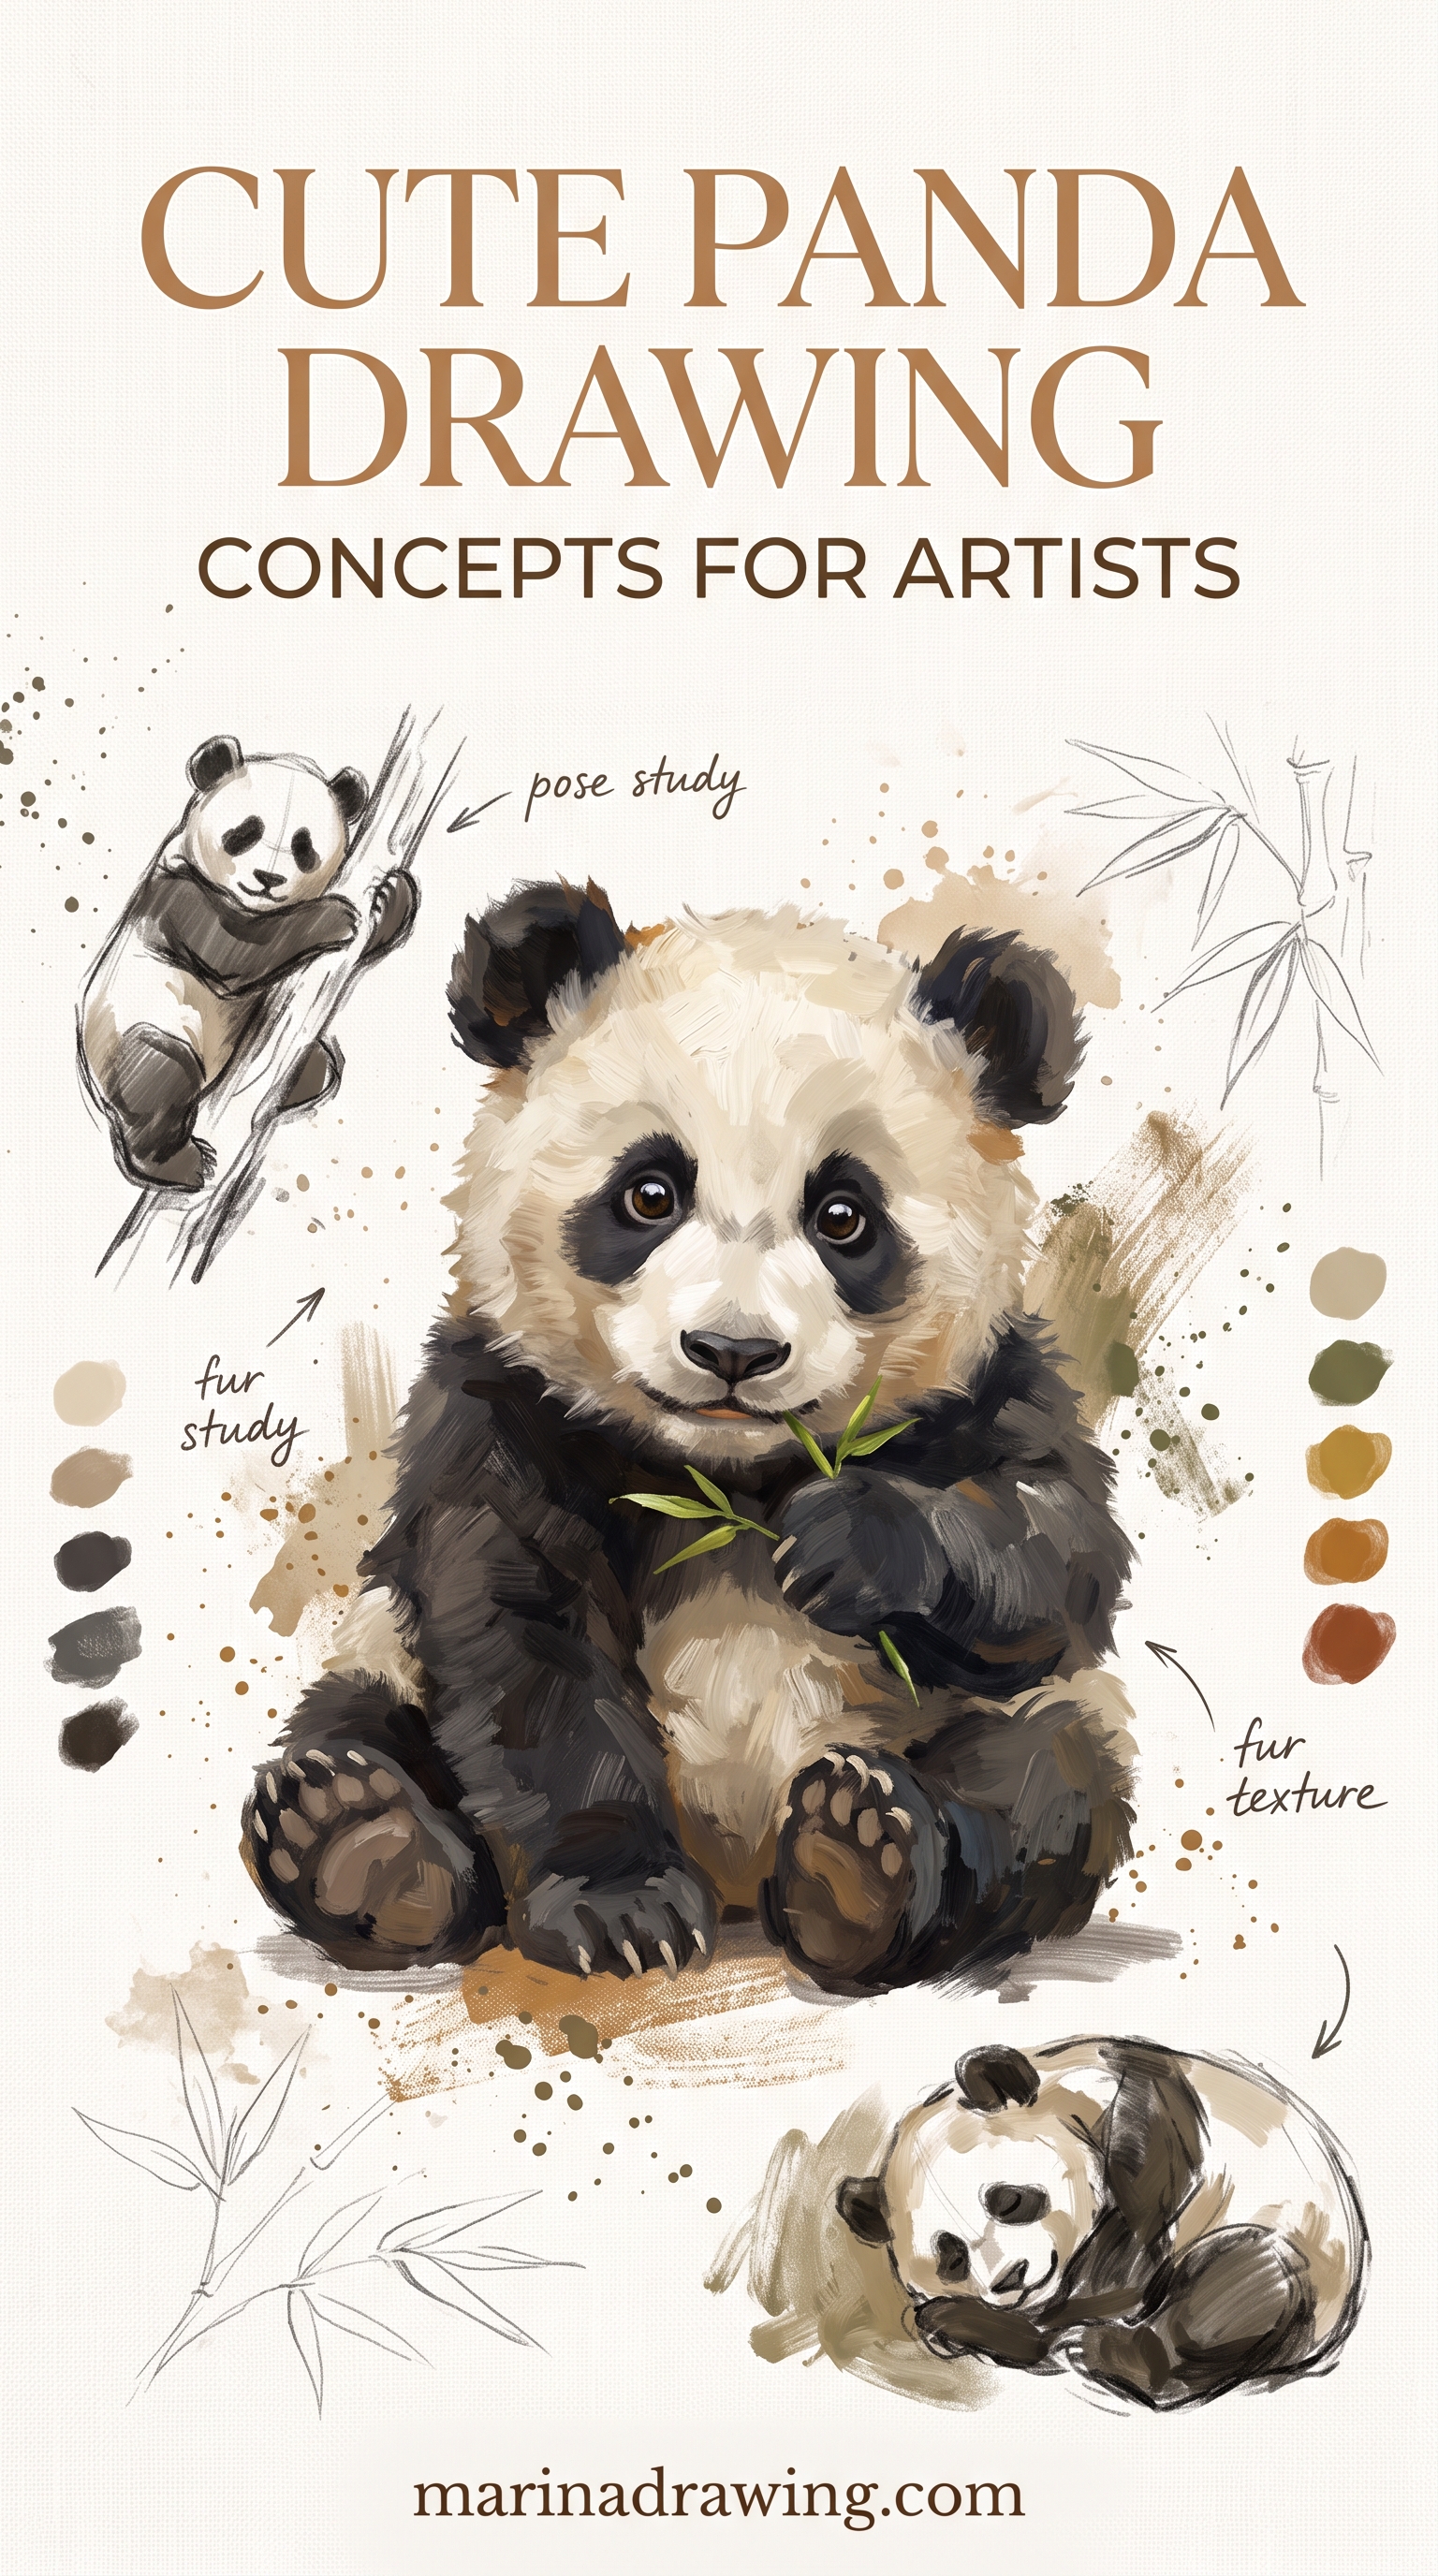
Cute is a ratio, not a style. Drop your eye guide lower still, almost two thirds down the skull, and enlarge the patches. Big and low reads as a baby. High and small reads as an adult, which is never what you mean by a cute panda drawing.
Keep your muzzle tiny and tucked under the patches so they almost touch it. That gap is what makes your face look long. I had to be shown that ratio; a construction course shows it early.
3. A panda eating bamboo
42 hours of pencil drawing training, lifetime access
The video course I point plateaued students to — full lessons on portraits, hands, and realistic shading, not another short tutorial.


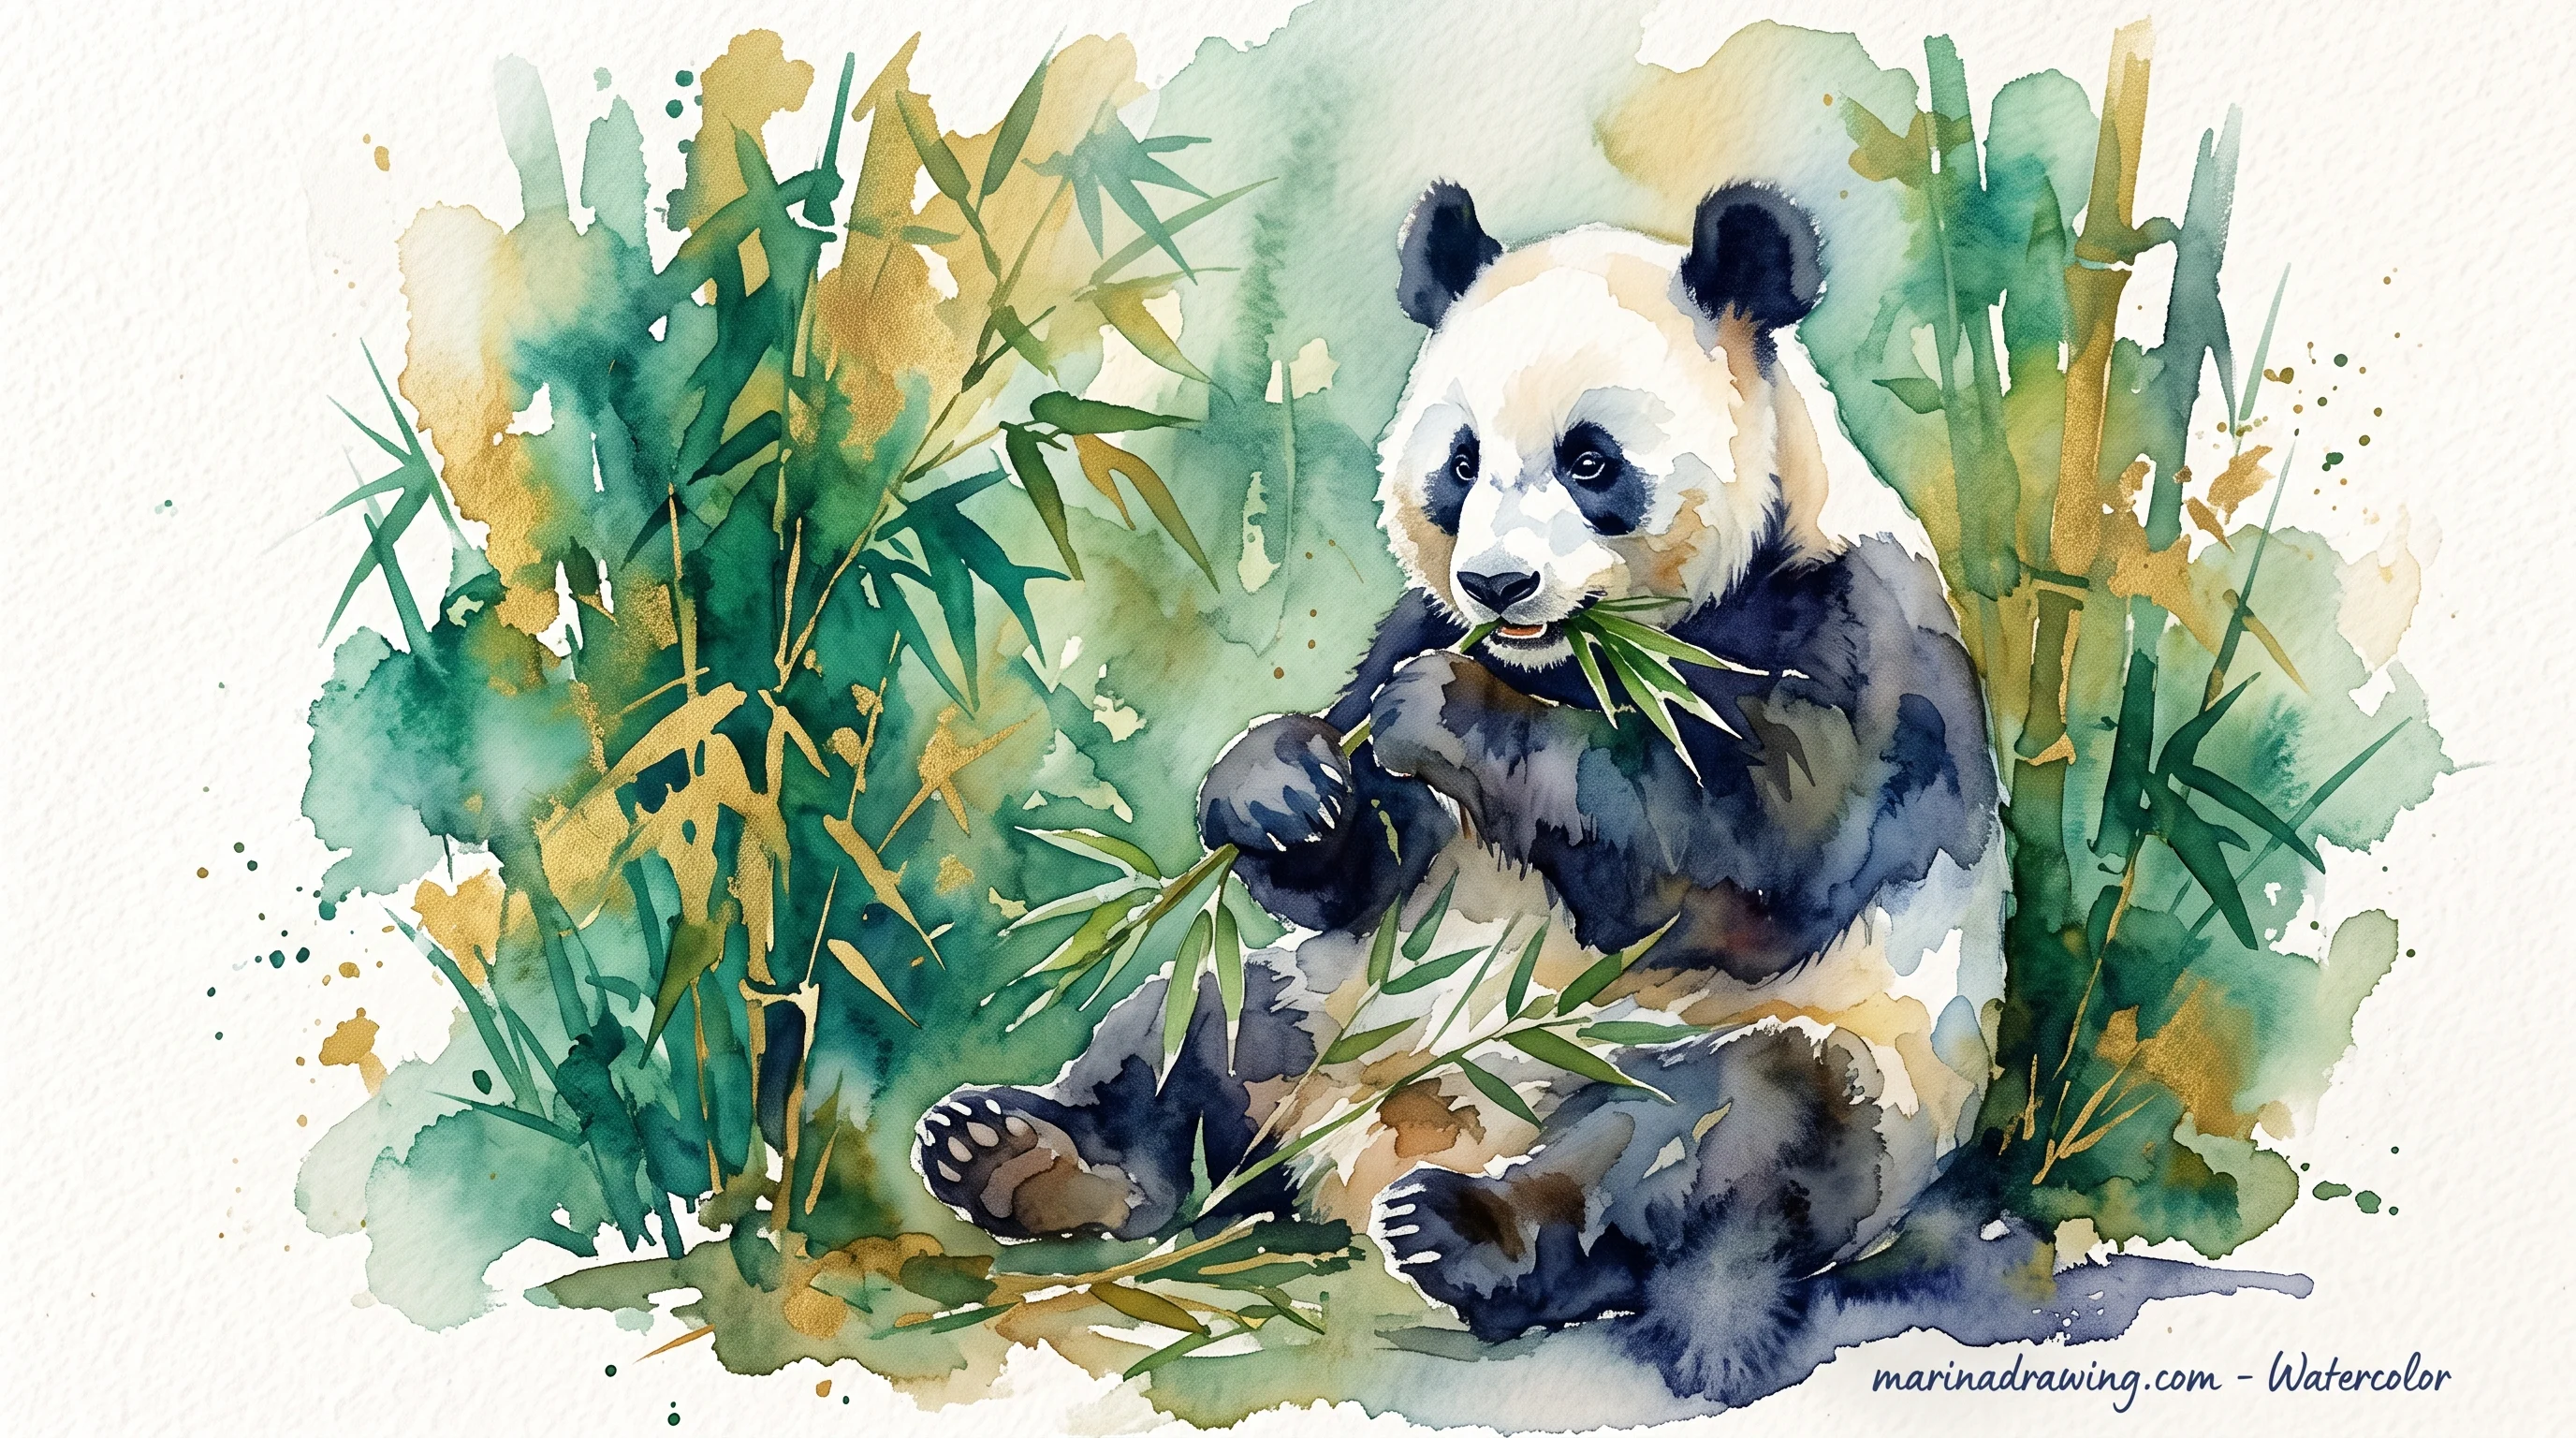
The stalk makes the pose, so you draw the bamboo first.
- One vertical line slightly off the body’s centre.
- Two knots on it.
- Three narrow leaves angled upward from the top knot.
Then your panda sits behind it: round body, both front paws on the stalk at different heights, head tilted toward the leaves. That tilt is your whole illusion of eating. Black both paws and both back legs, then join them with a shoulder band. Without that band a body reads as a white blob.
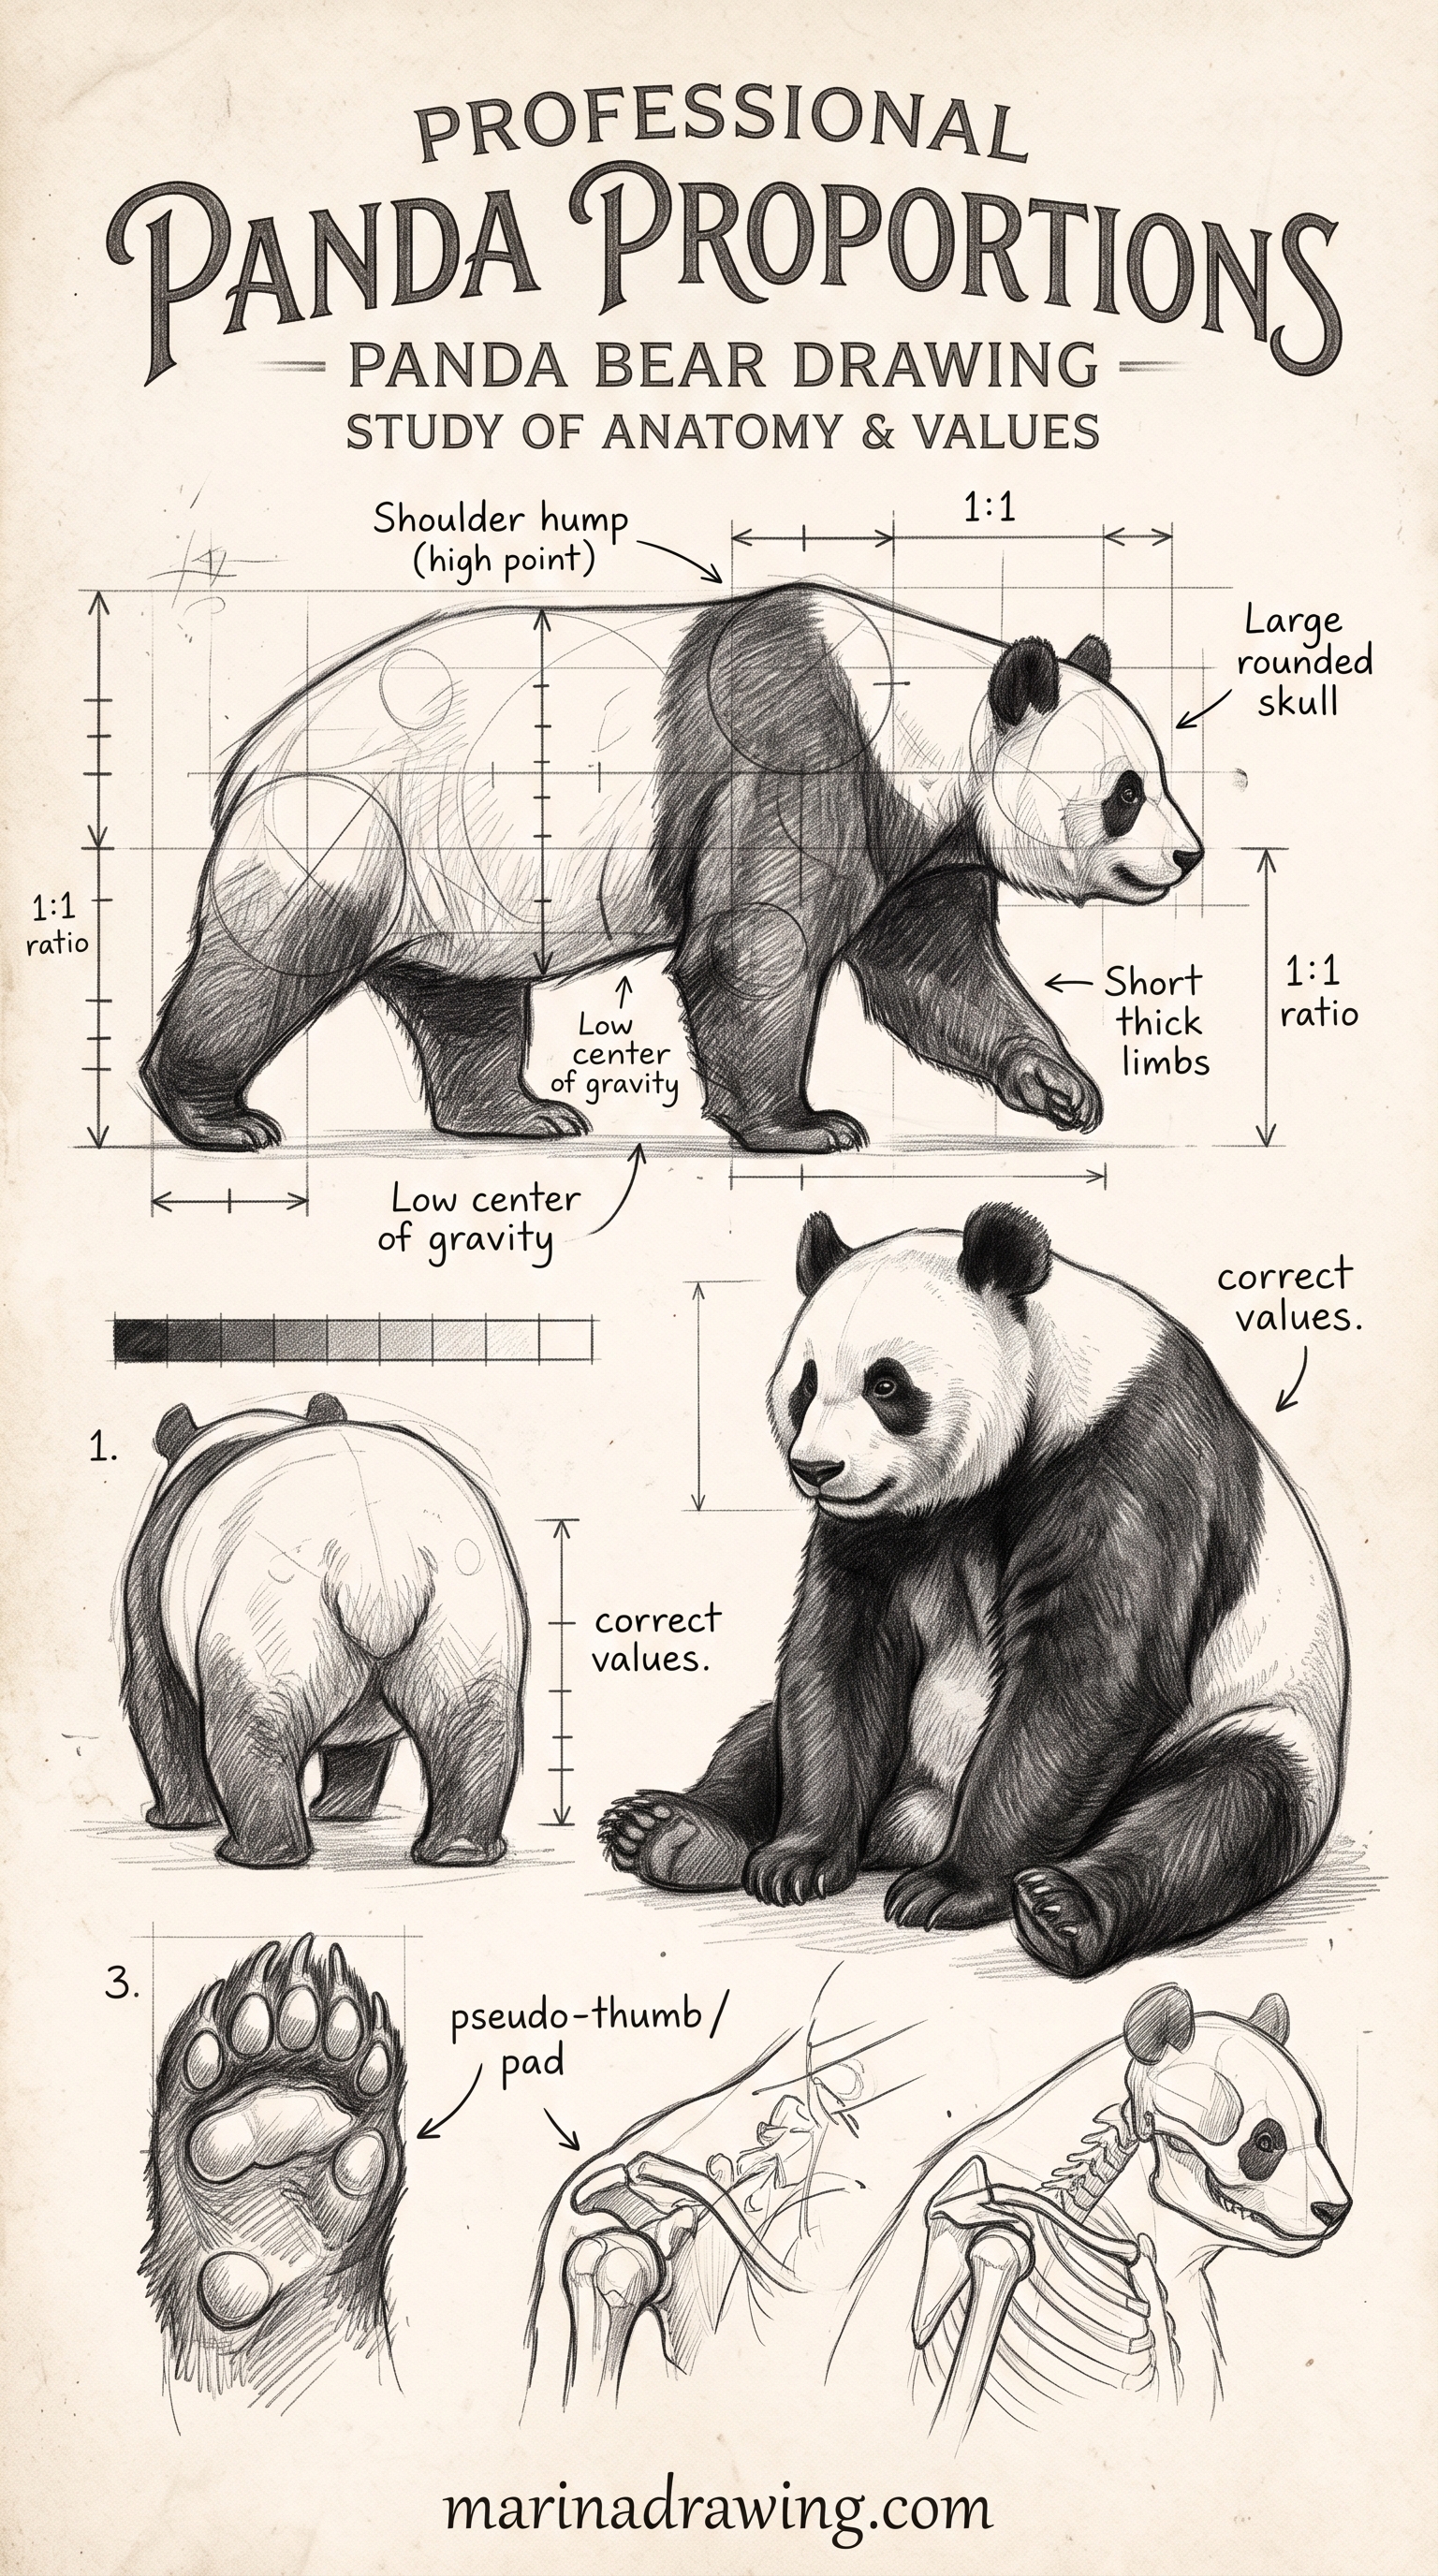
4. A baby panda, curled up
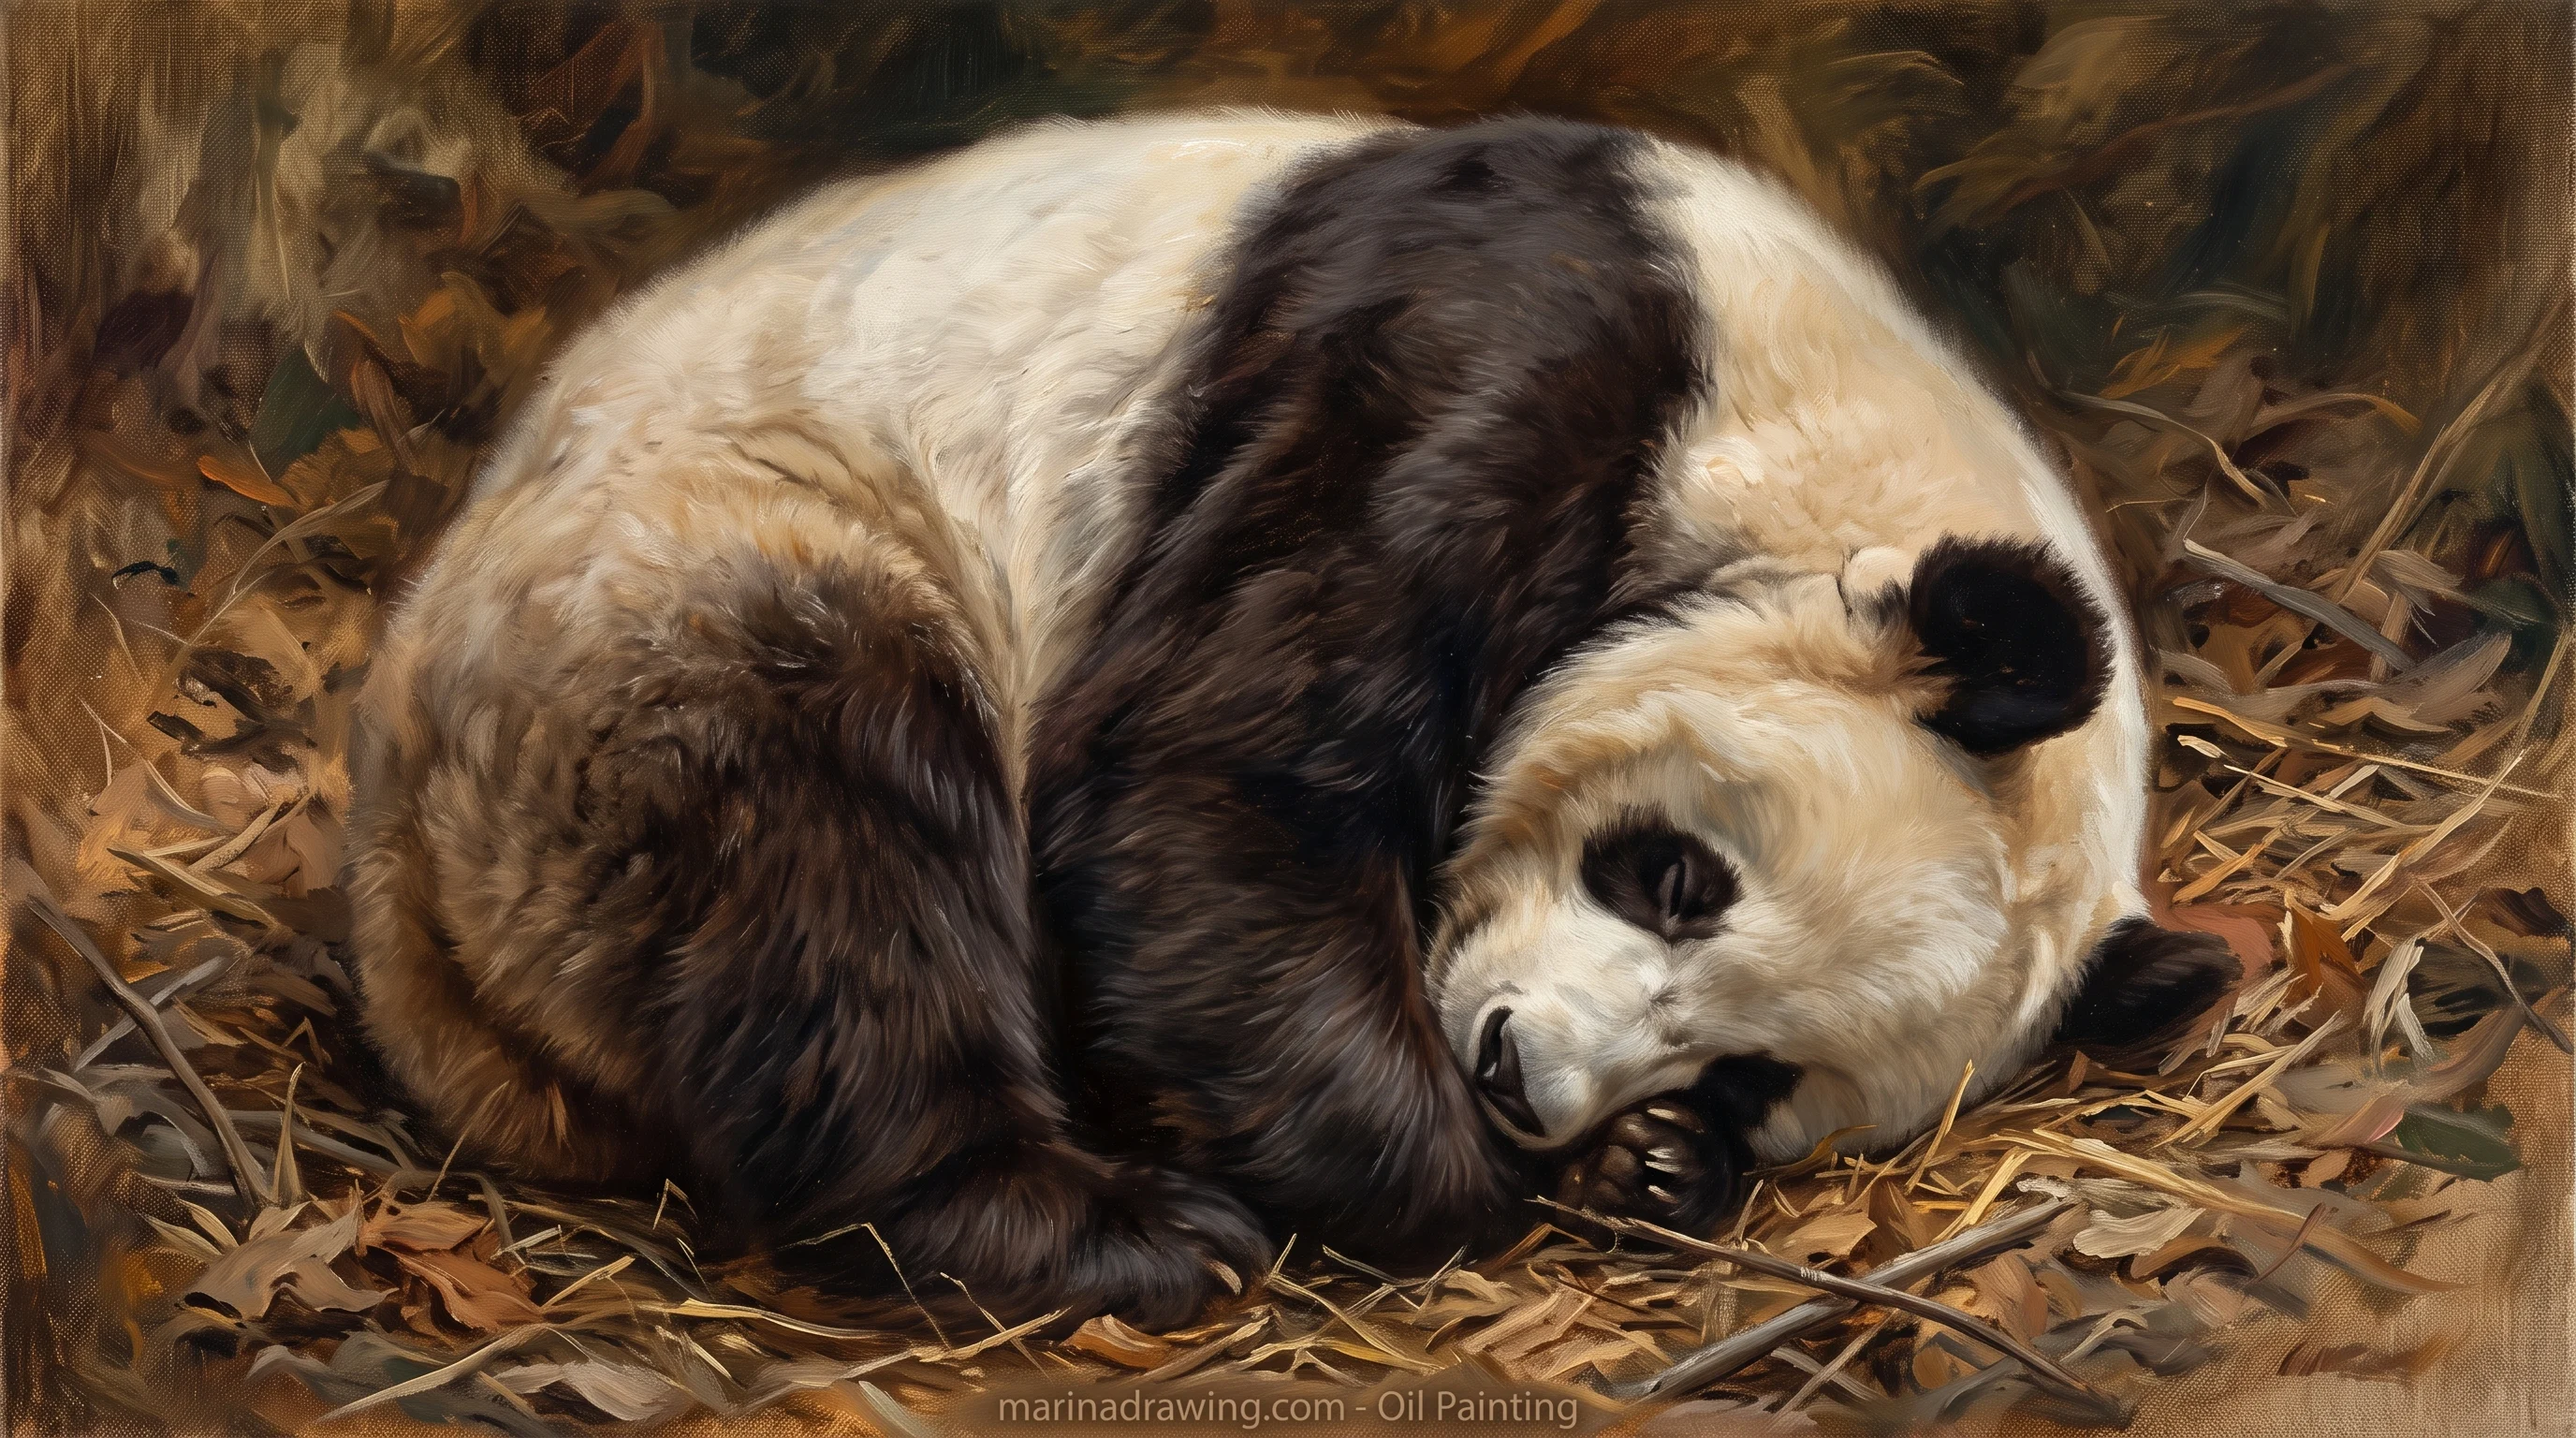
Same shapes, different proportions. The head is nearly as wide as the body and the animal fits in a soft oval, so draw your oval first. Head in the upper half, paws tucked in, one back leg showing.
Your patches here are the biggest they ever get, close to a third of the skull, nearly touching the muzzle.

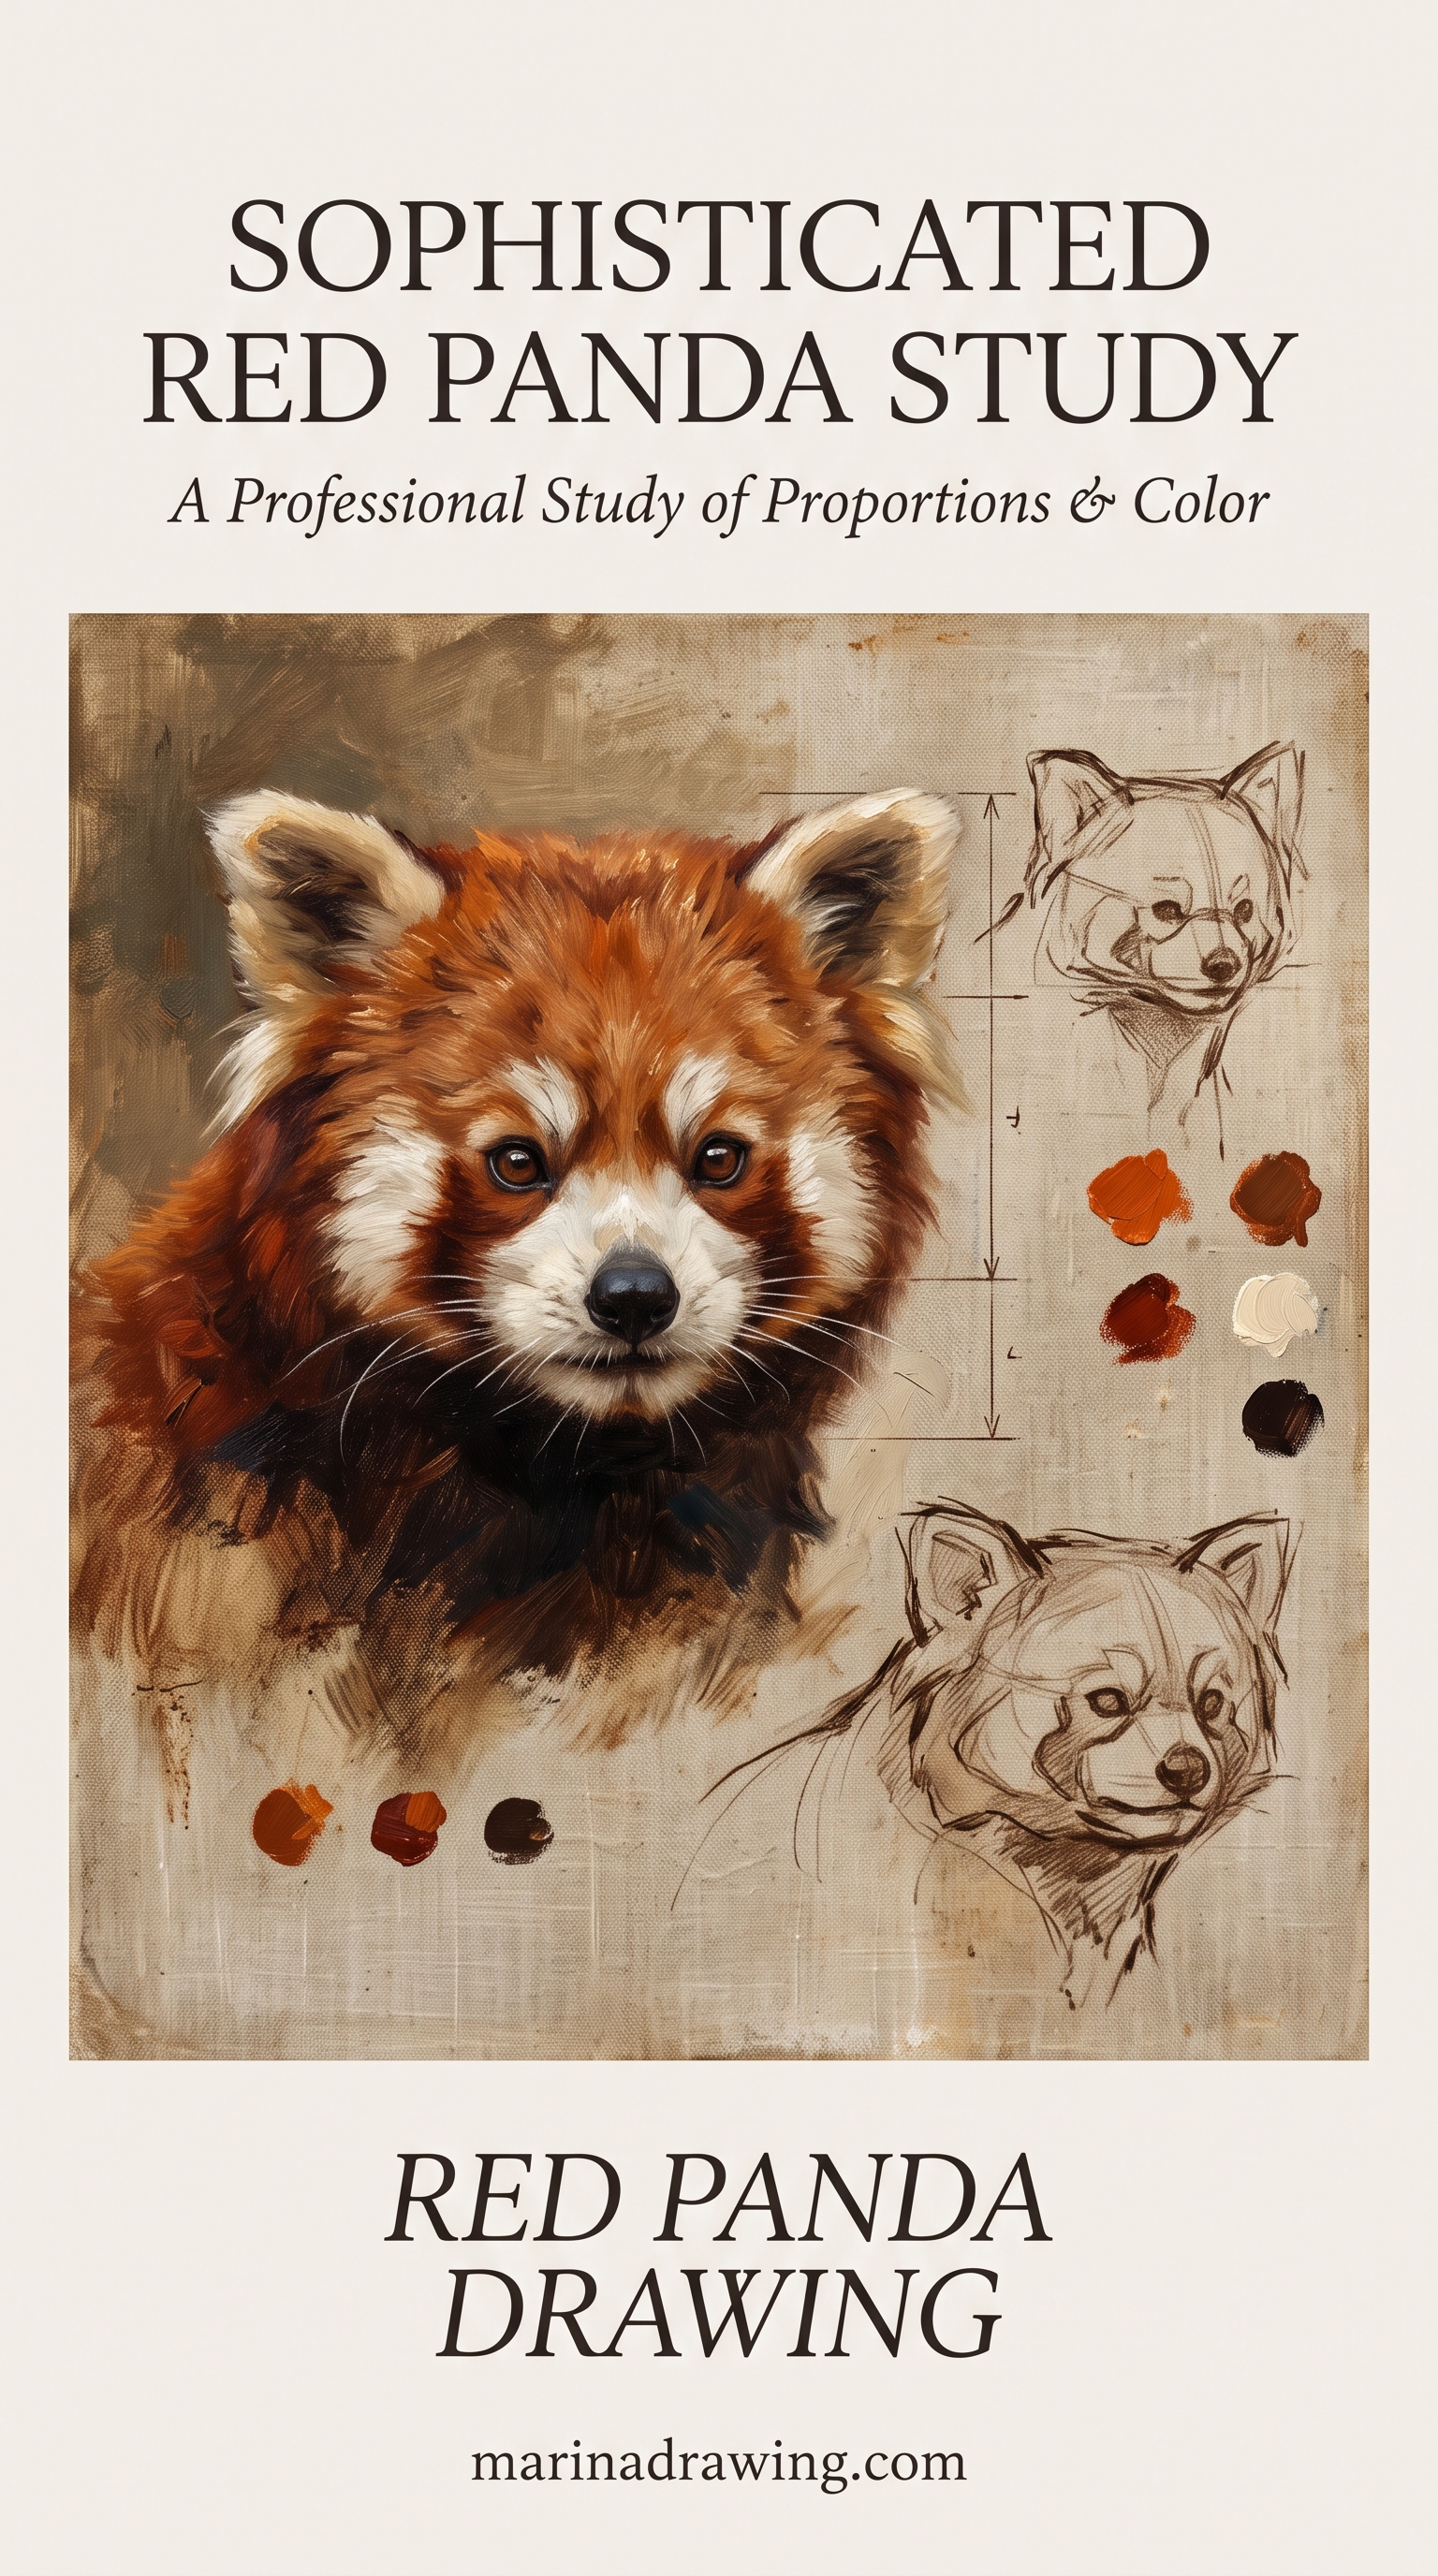
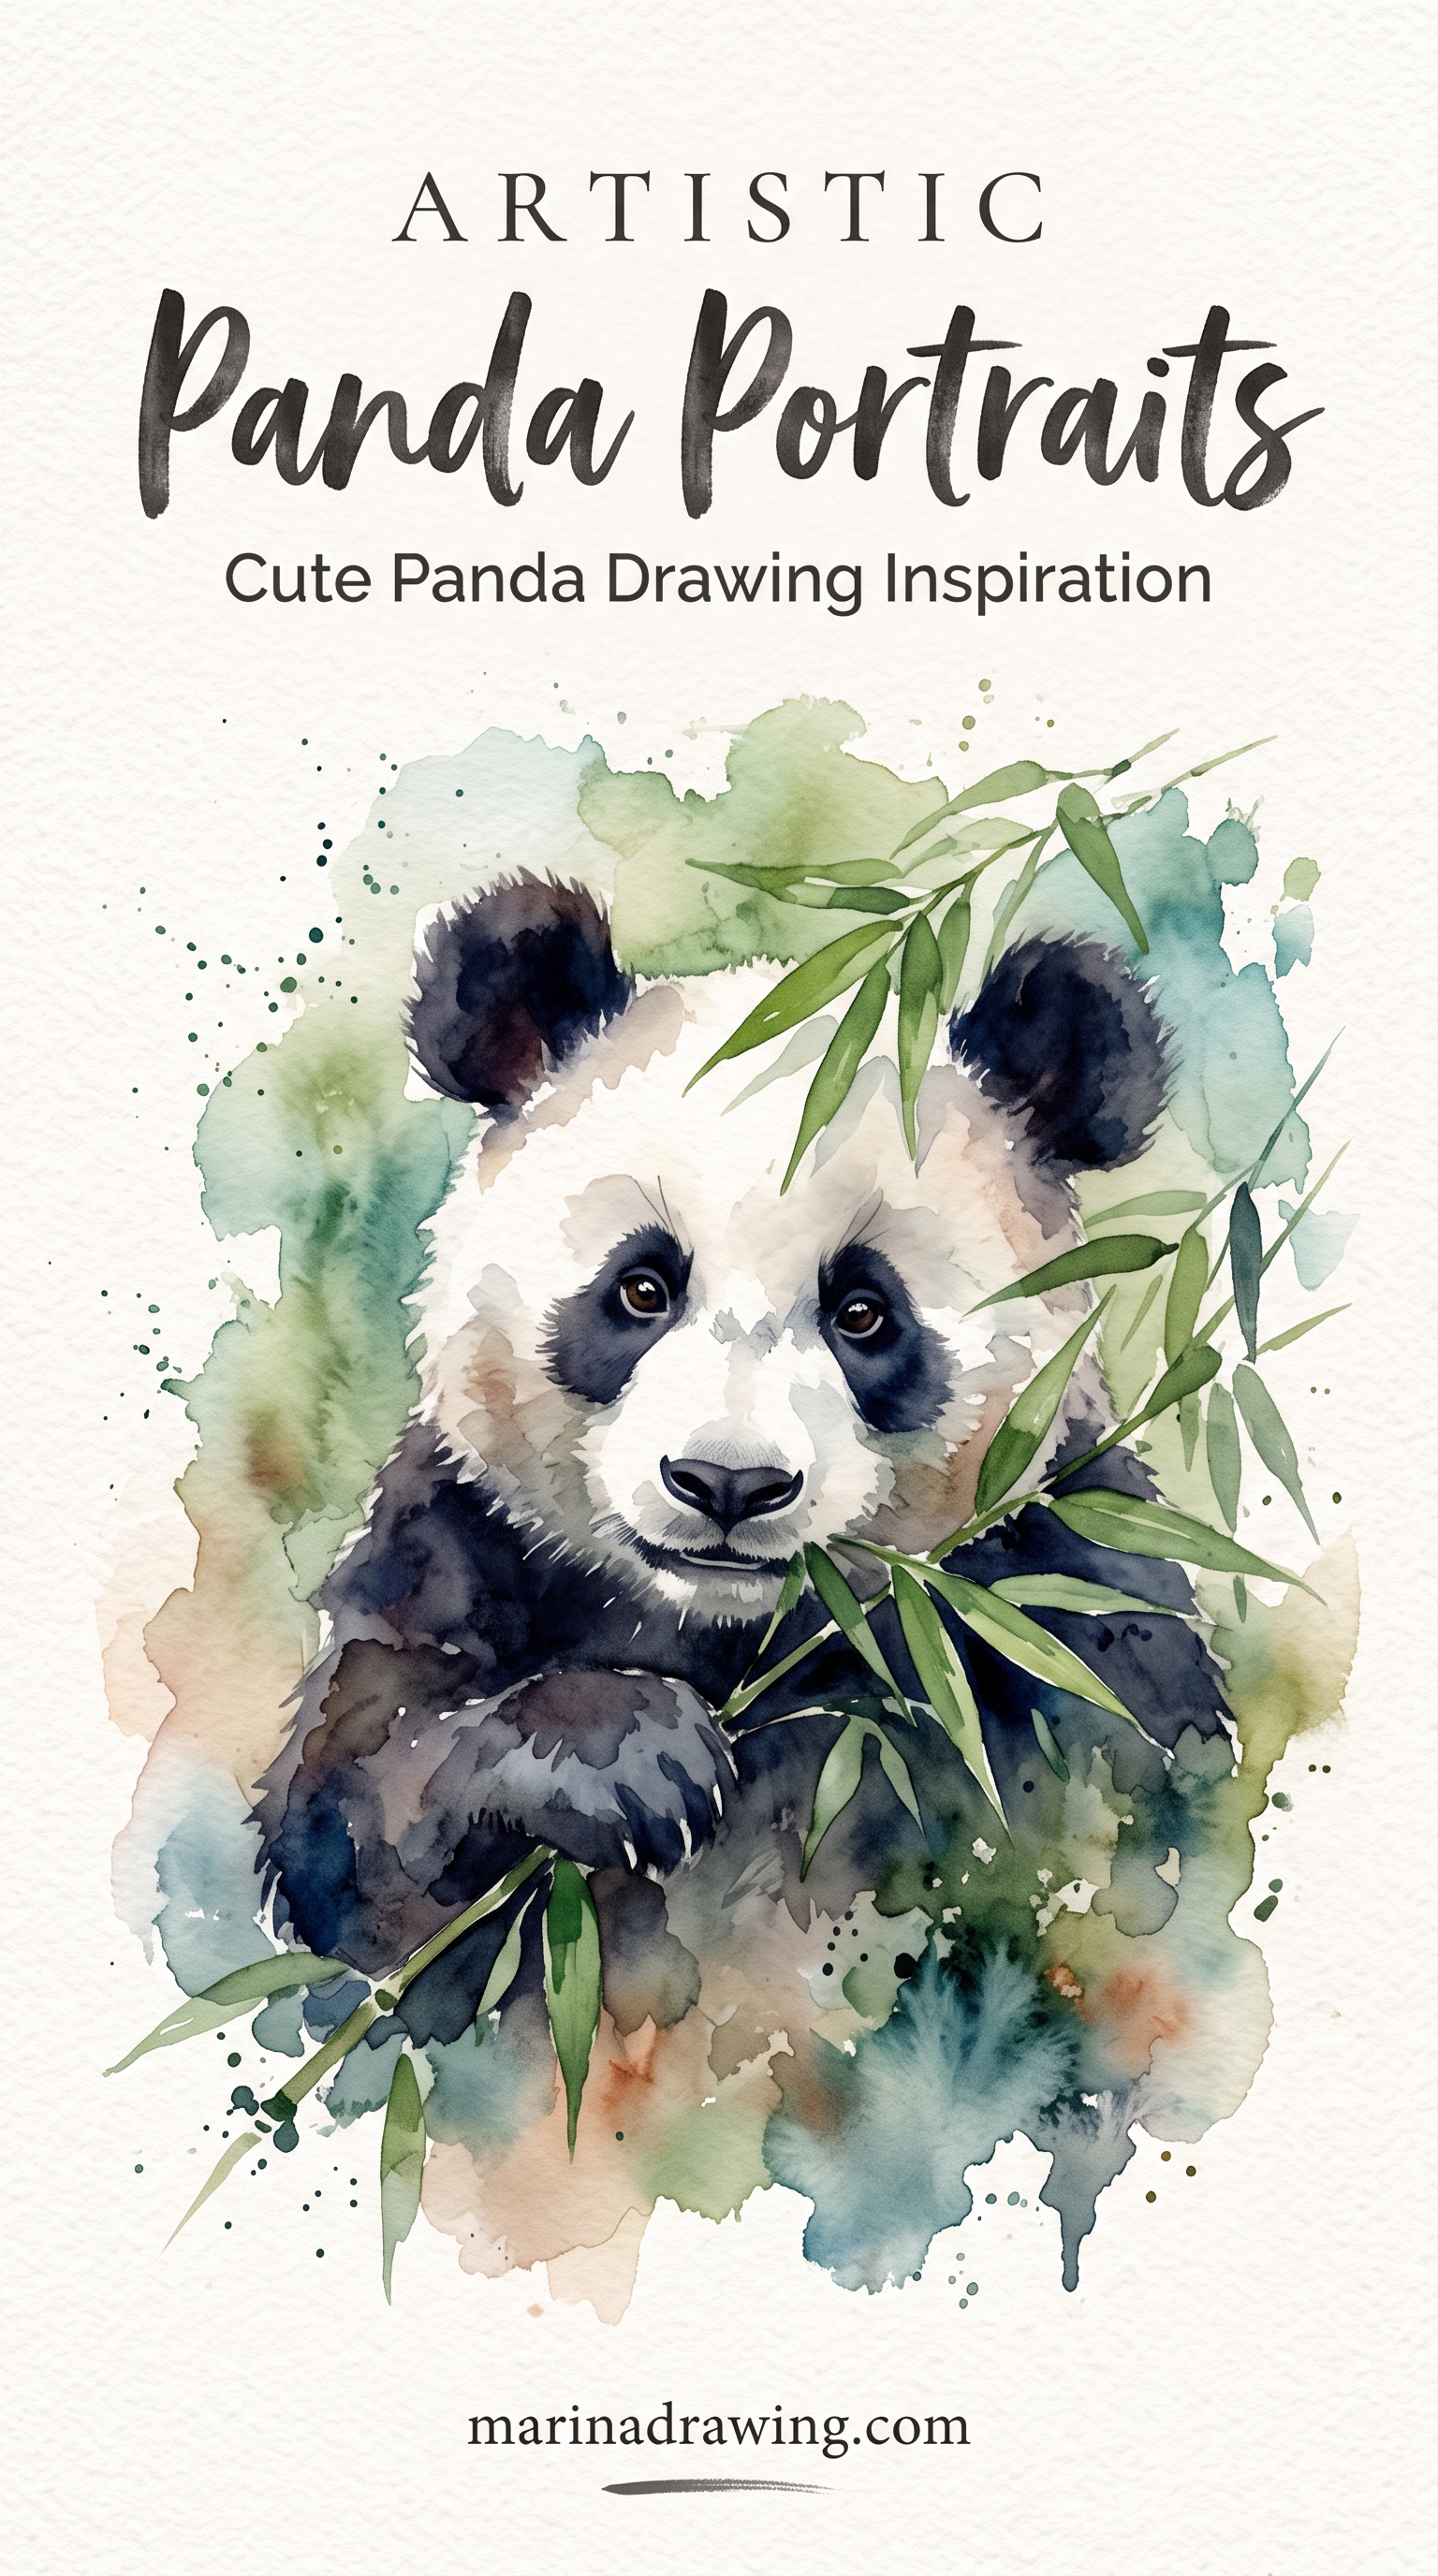
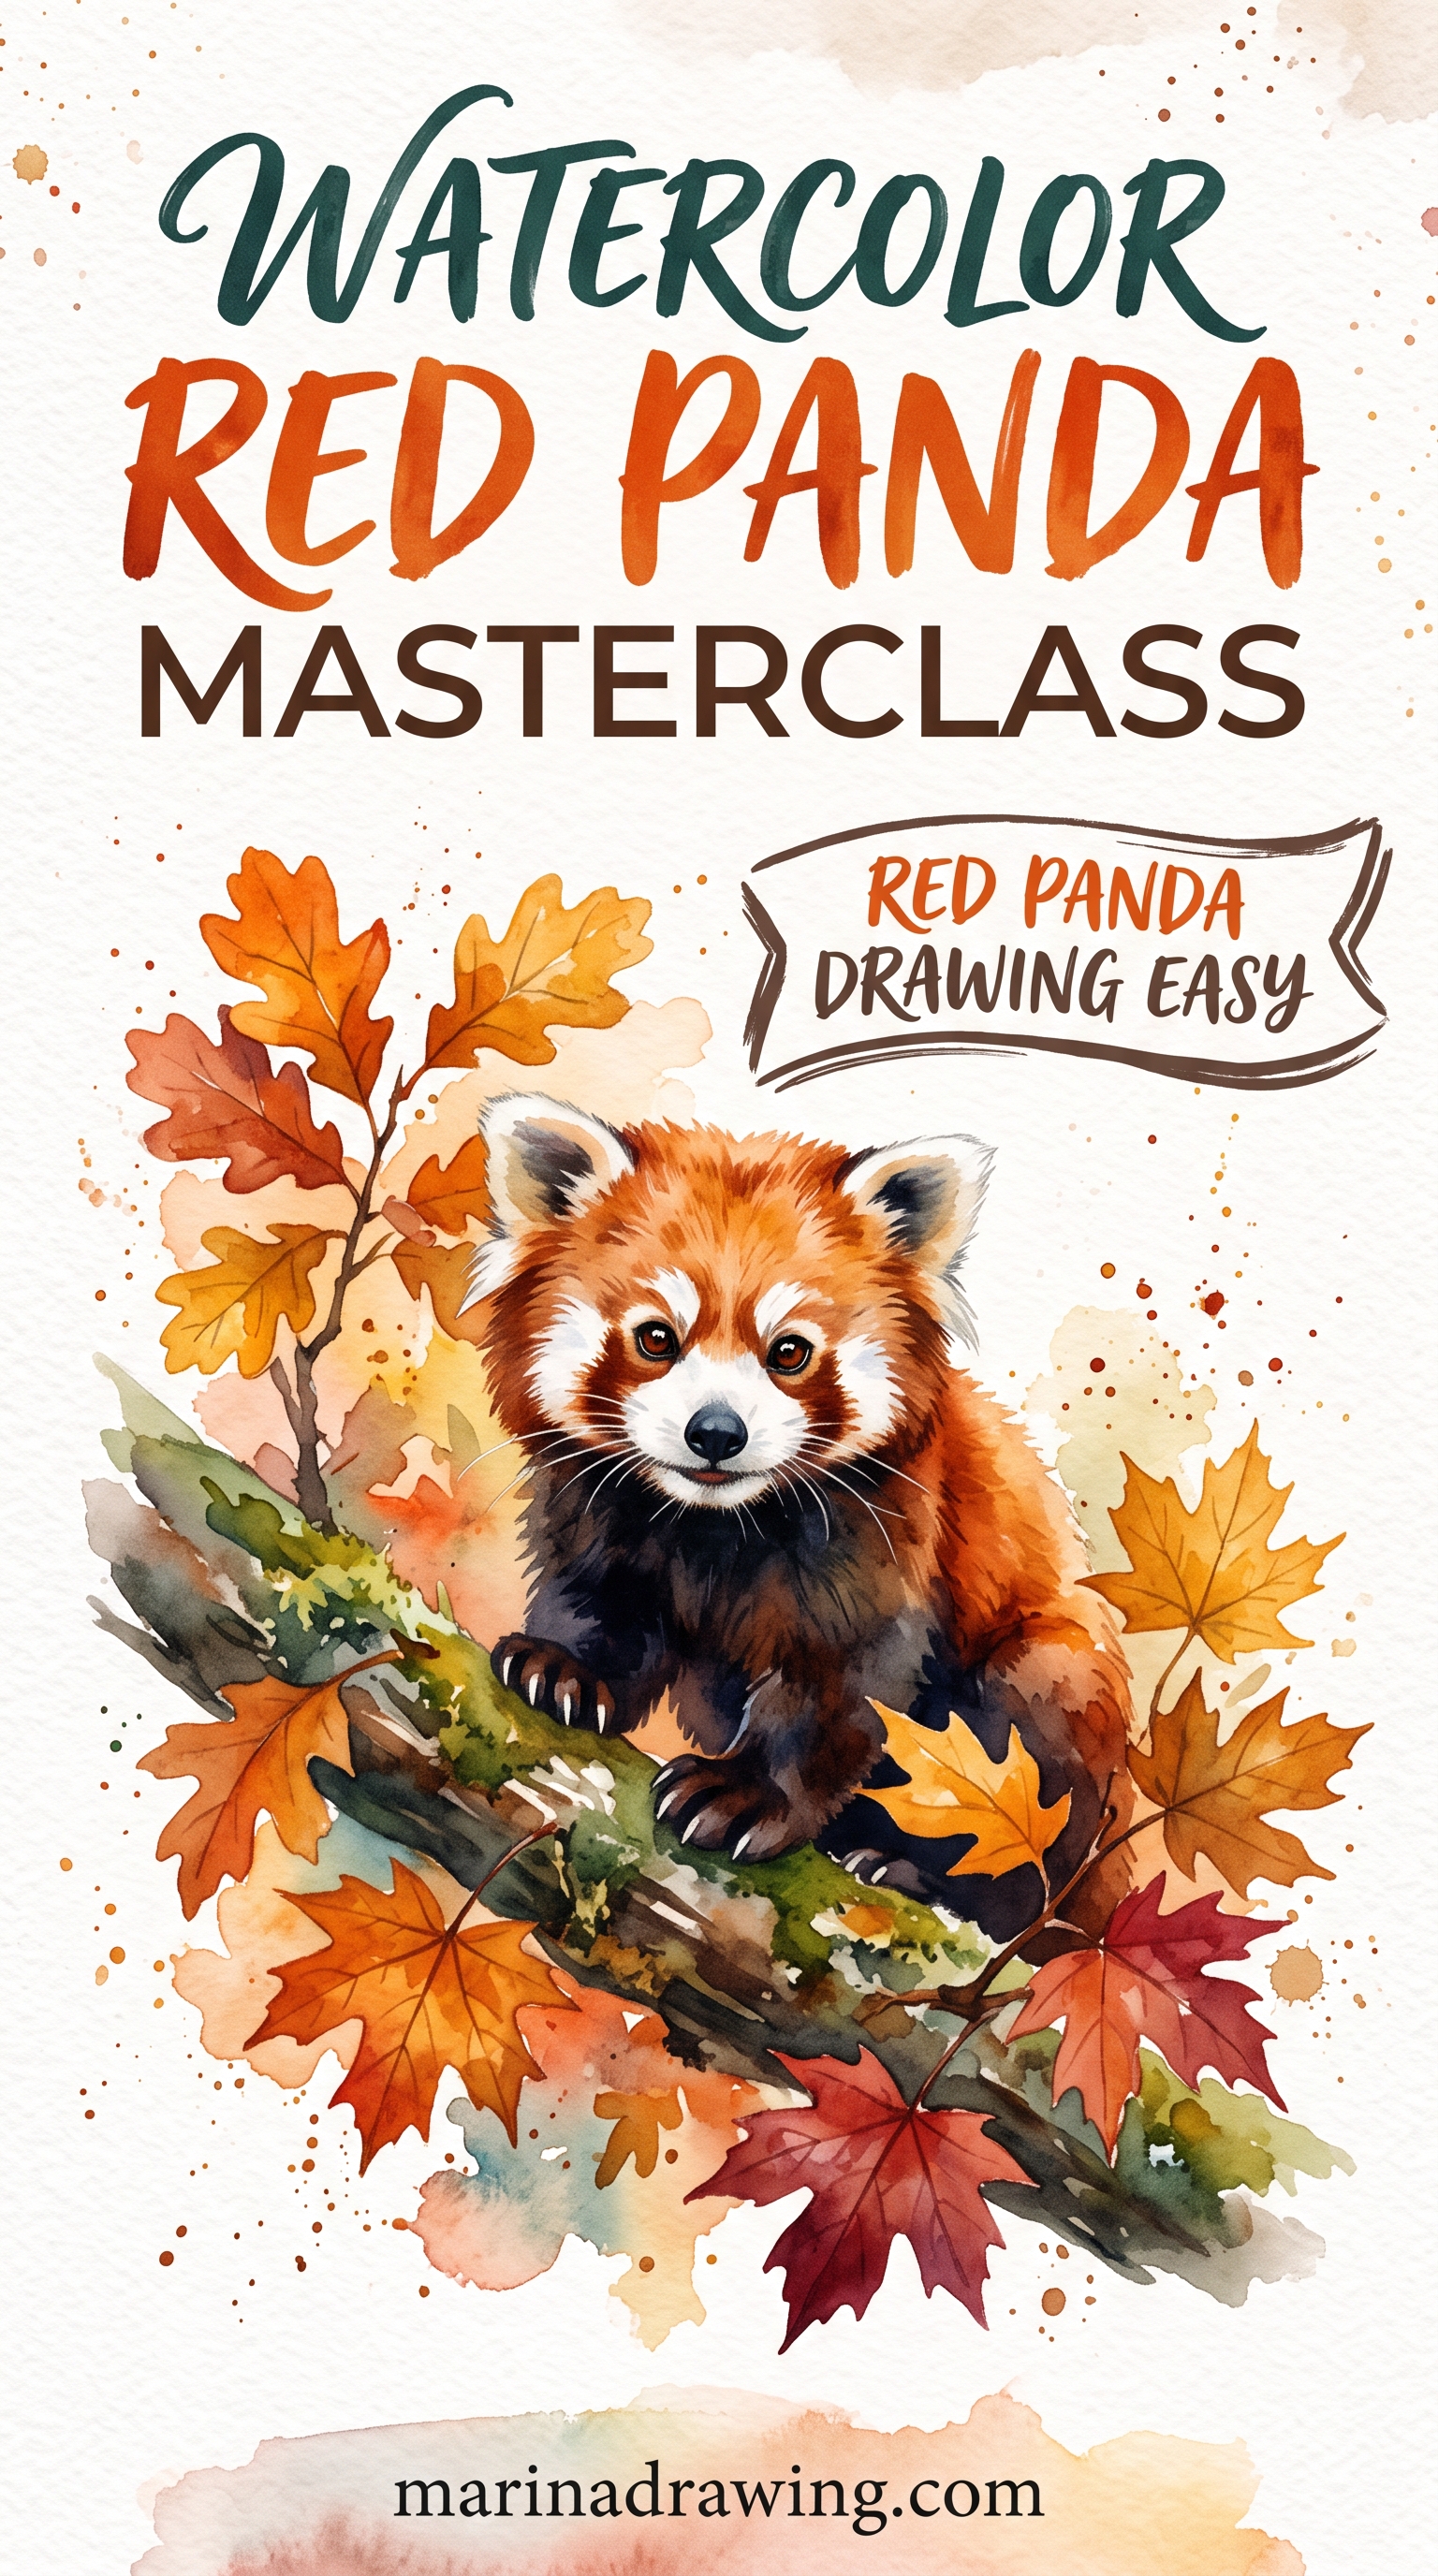
5. A red panda, which is not a panda at all
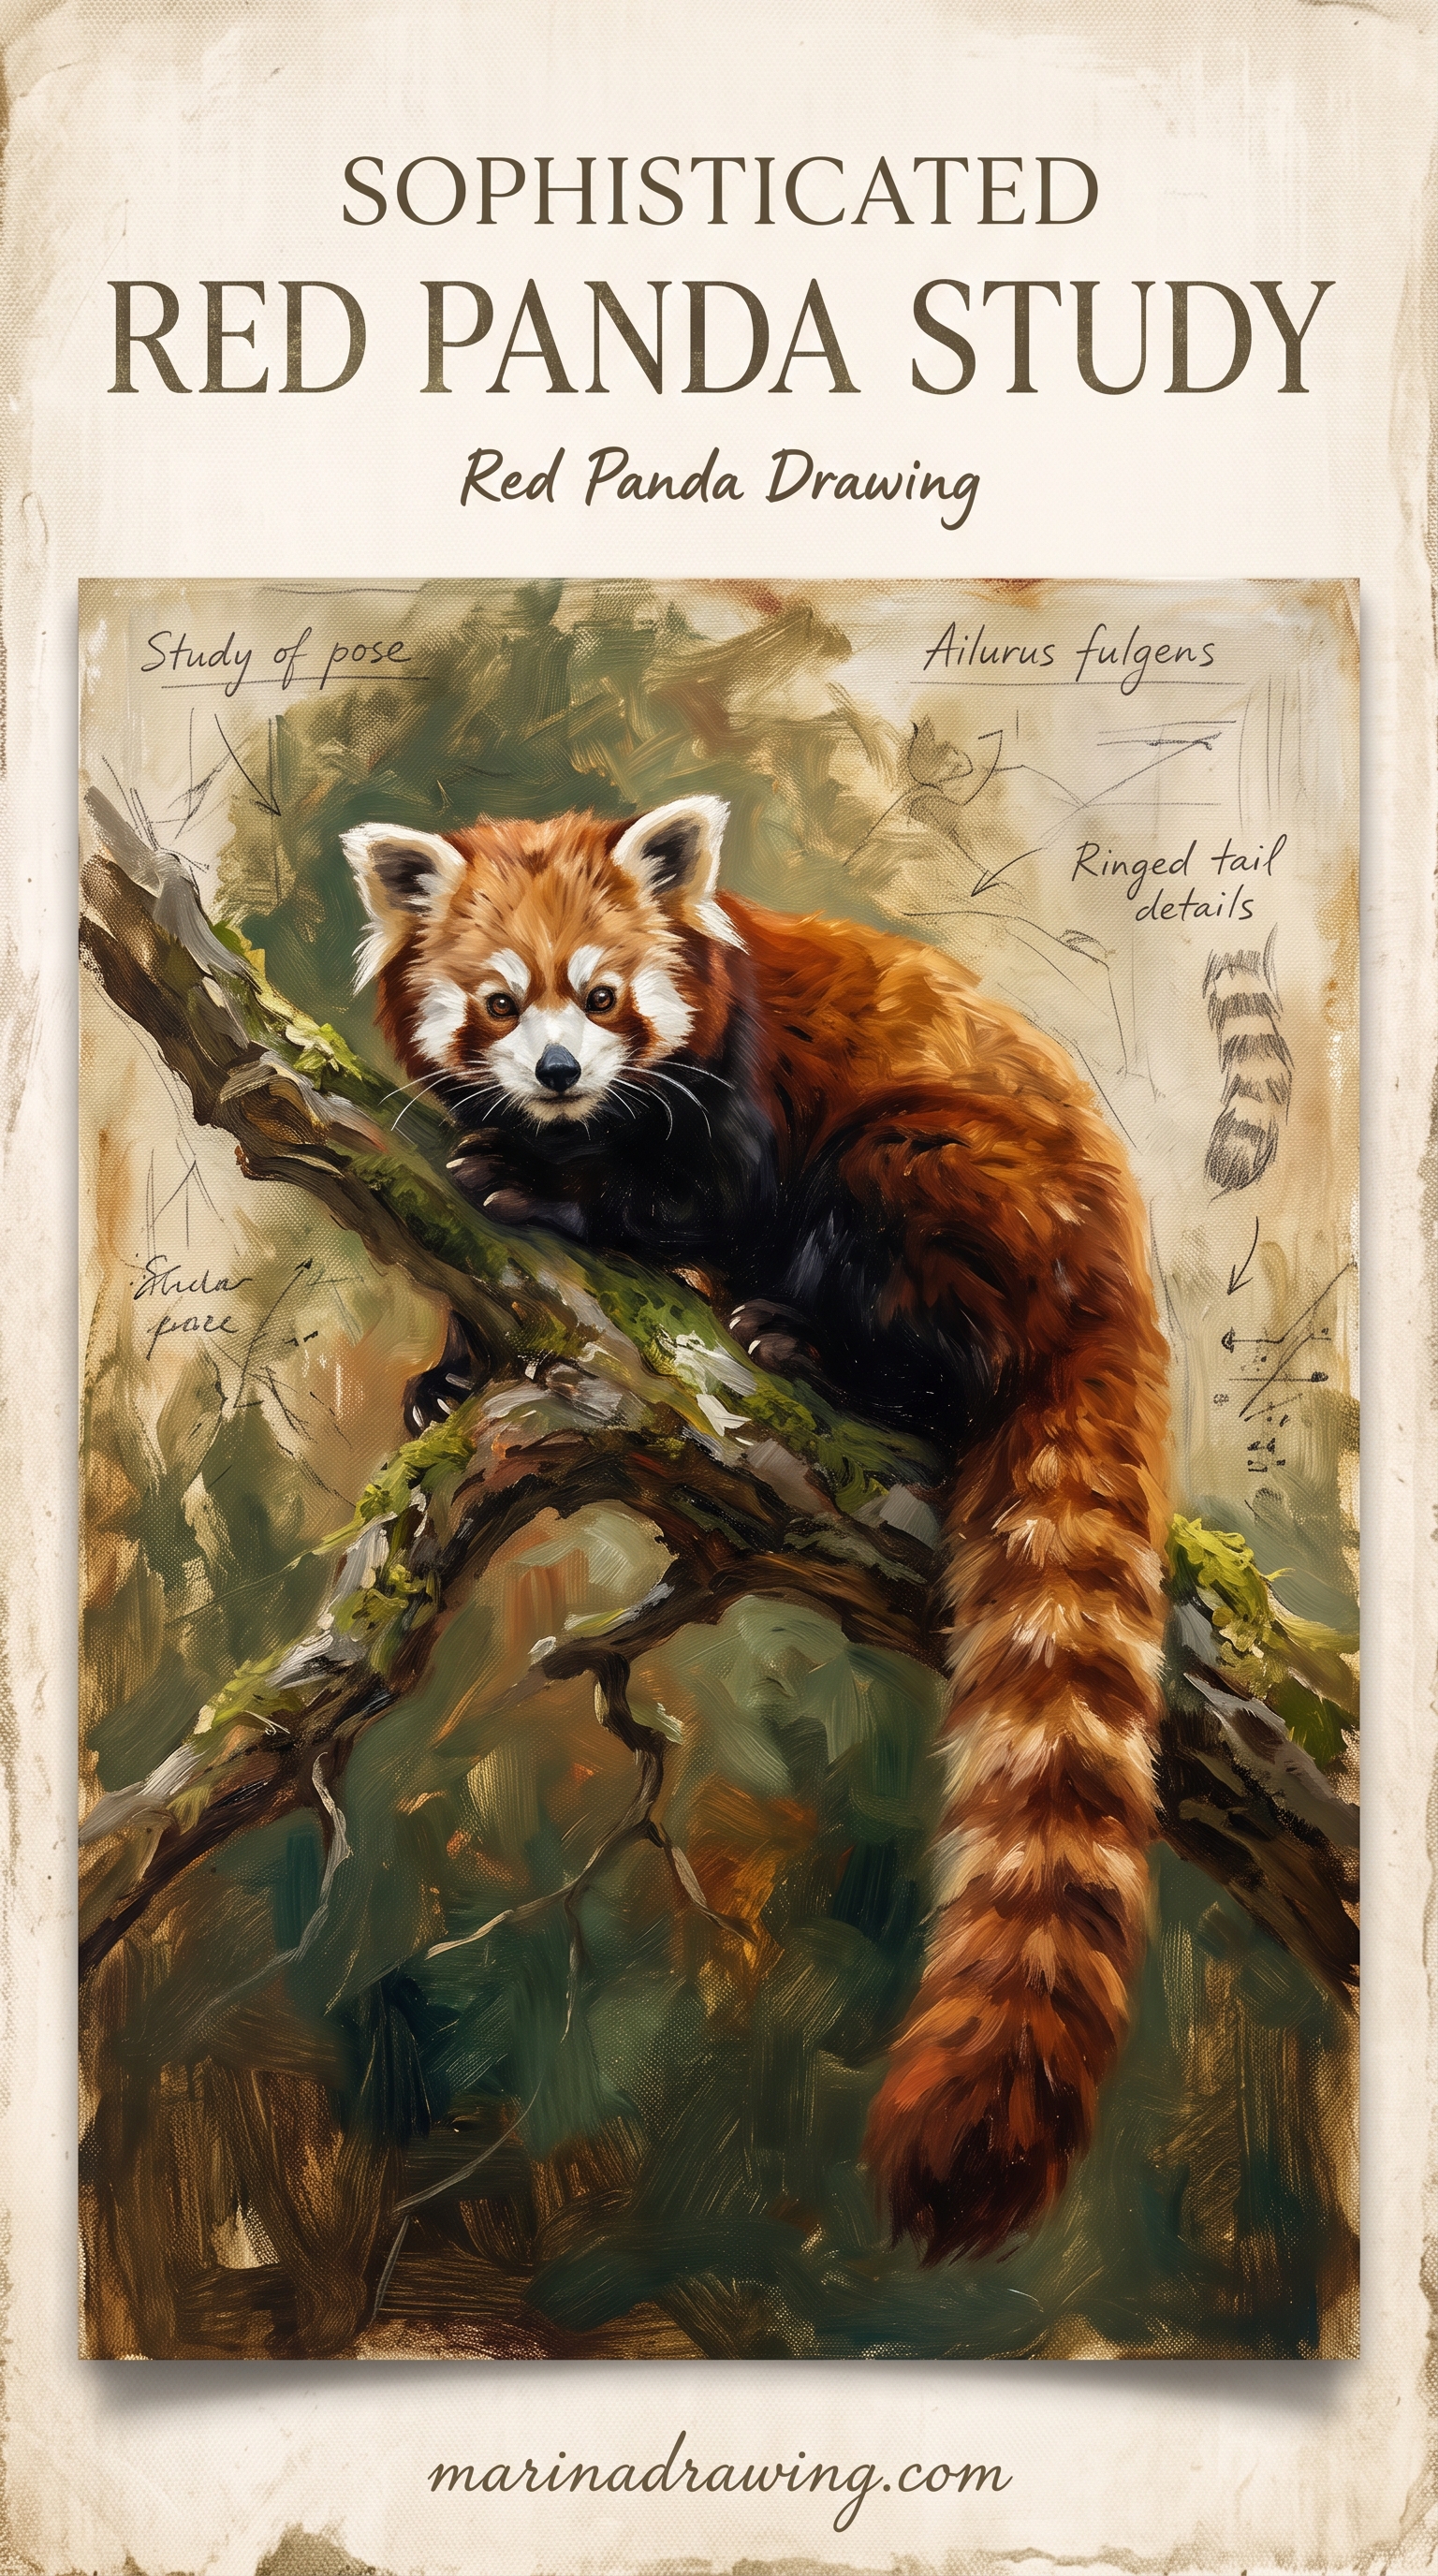
A red panda is not a small black-and-white one. You build it differently:
- A narrower skull and a pointed muzzle.
- Large ears set wide, white inside.
- A white face mask with dark tear lines, not solid patches.
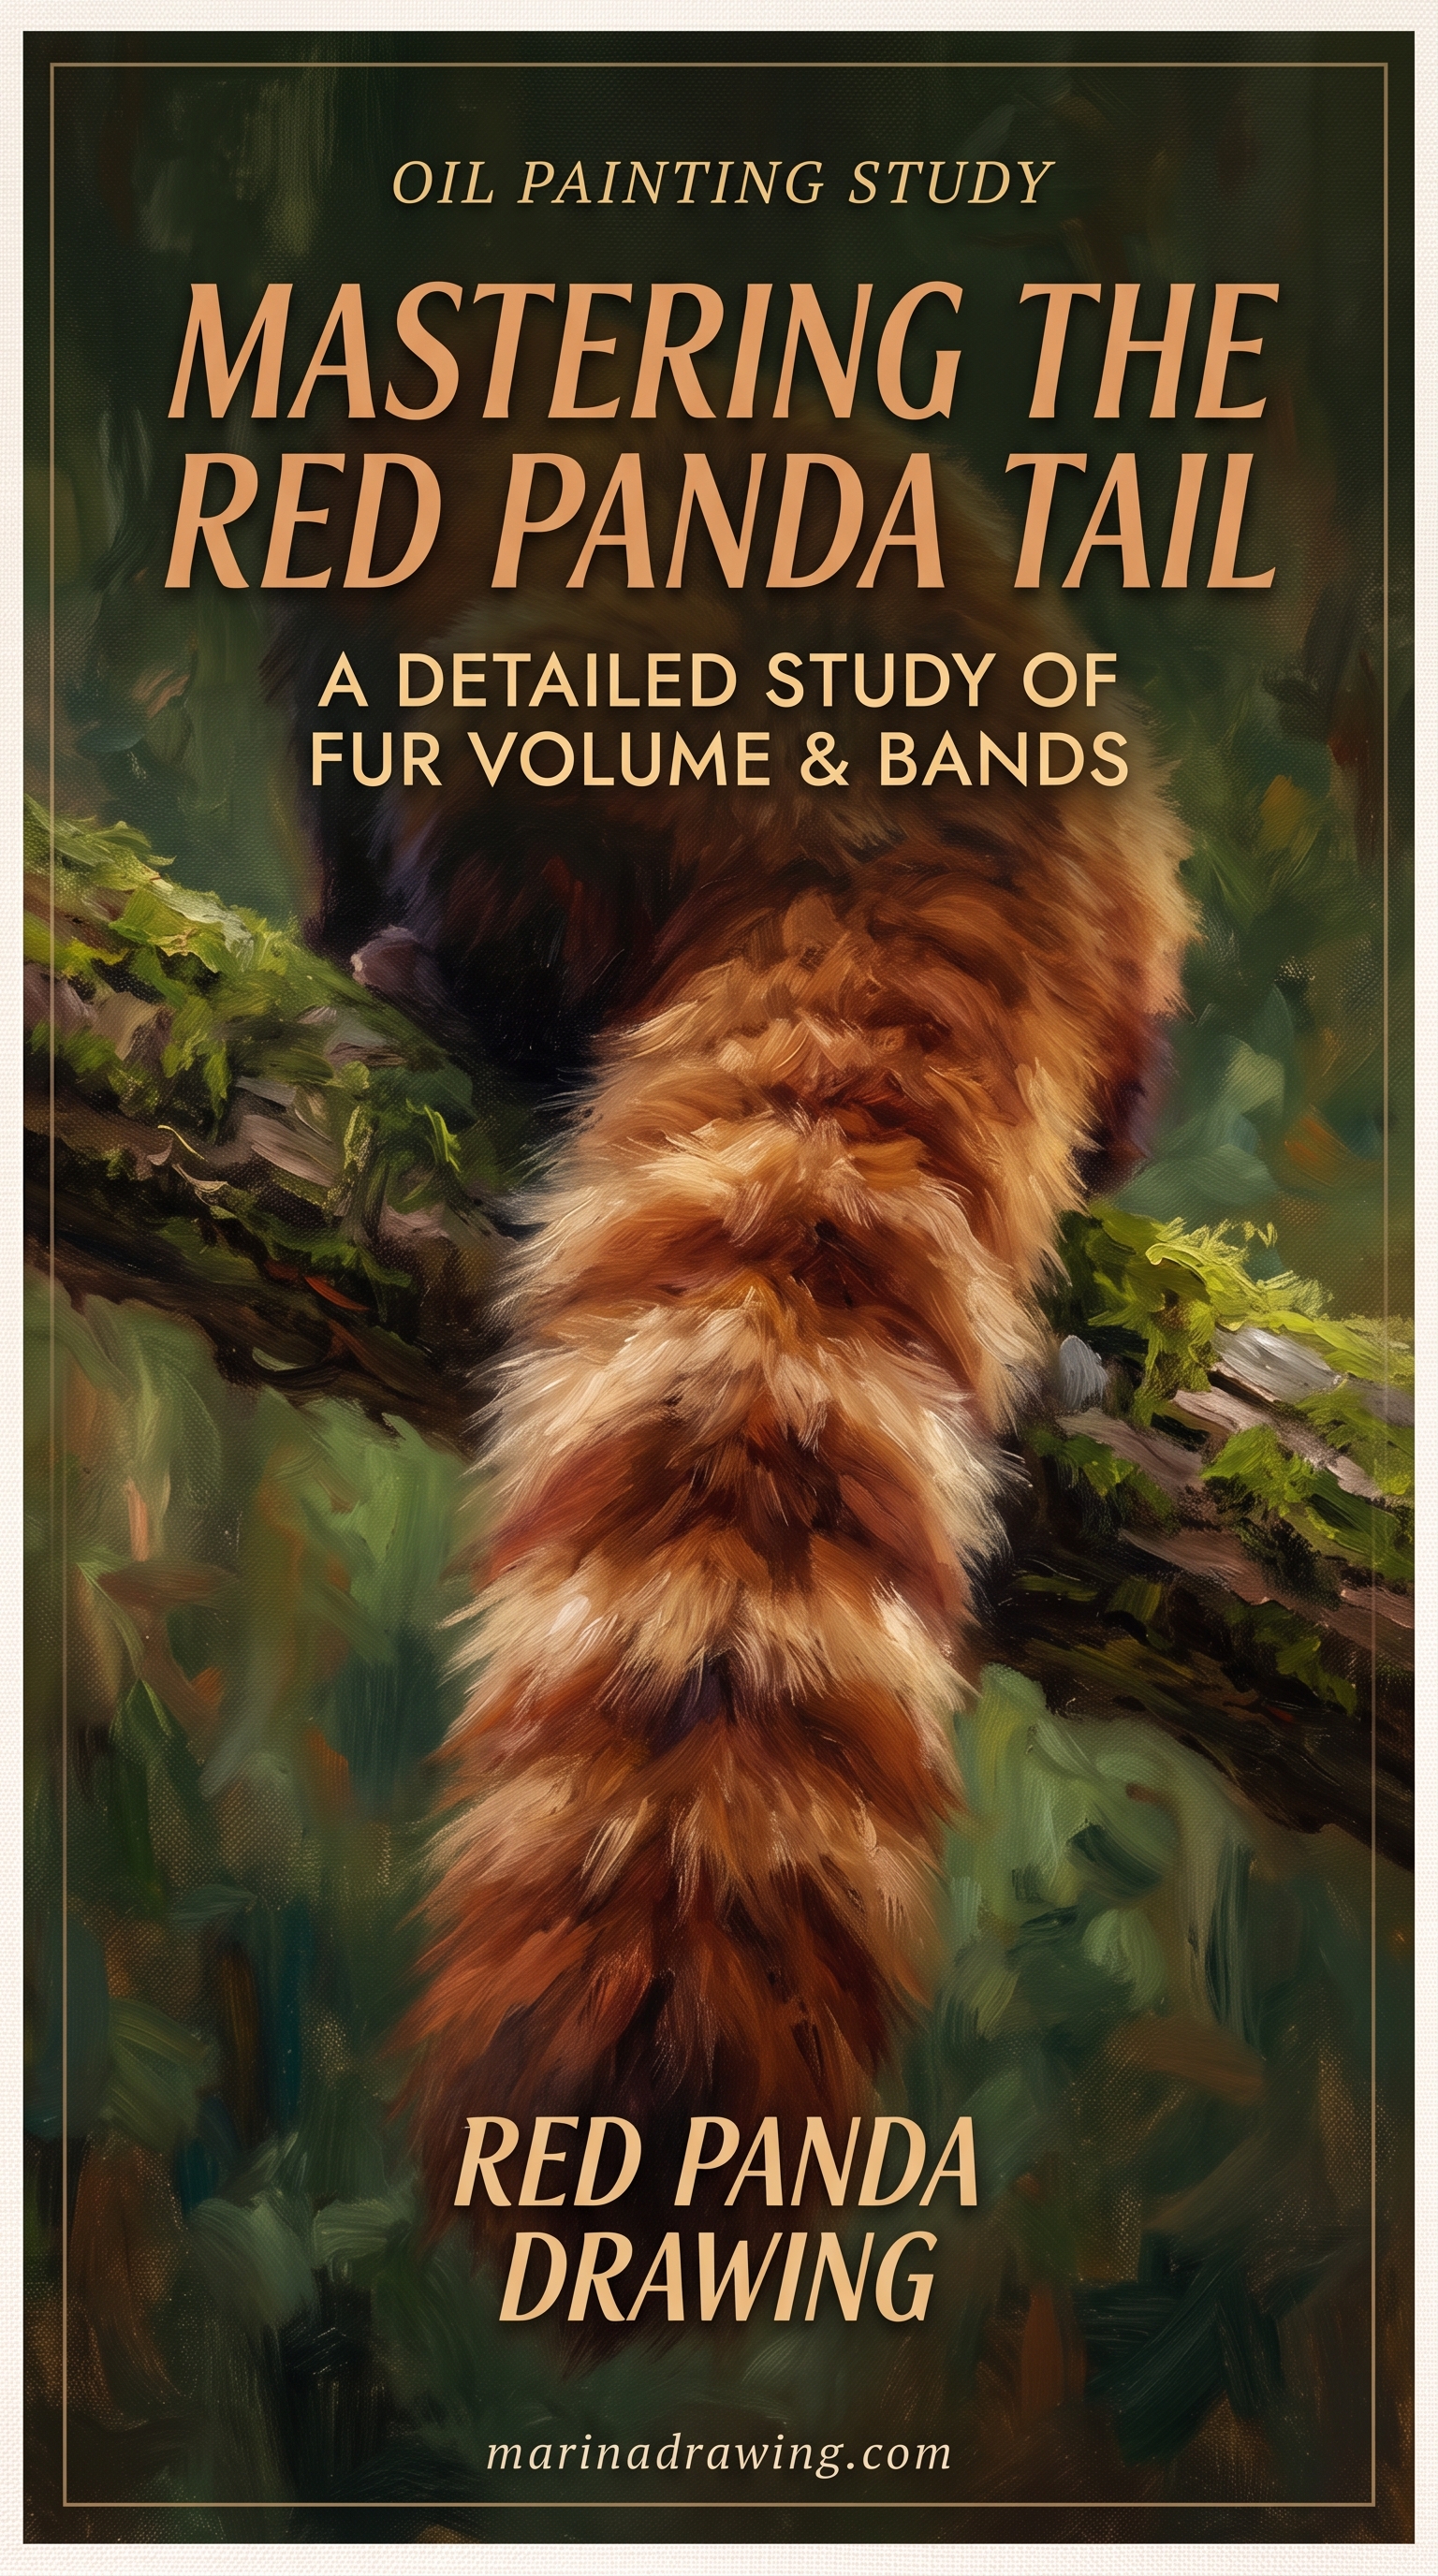
- A long thick tail, ringed in at least five separated bands.
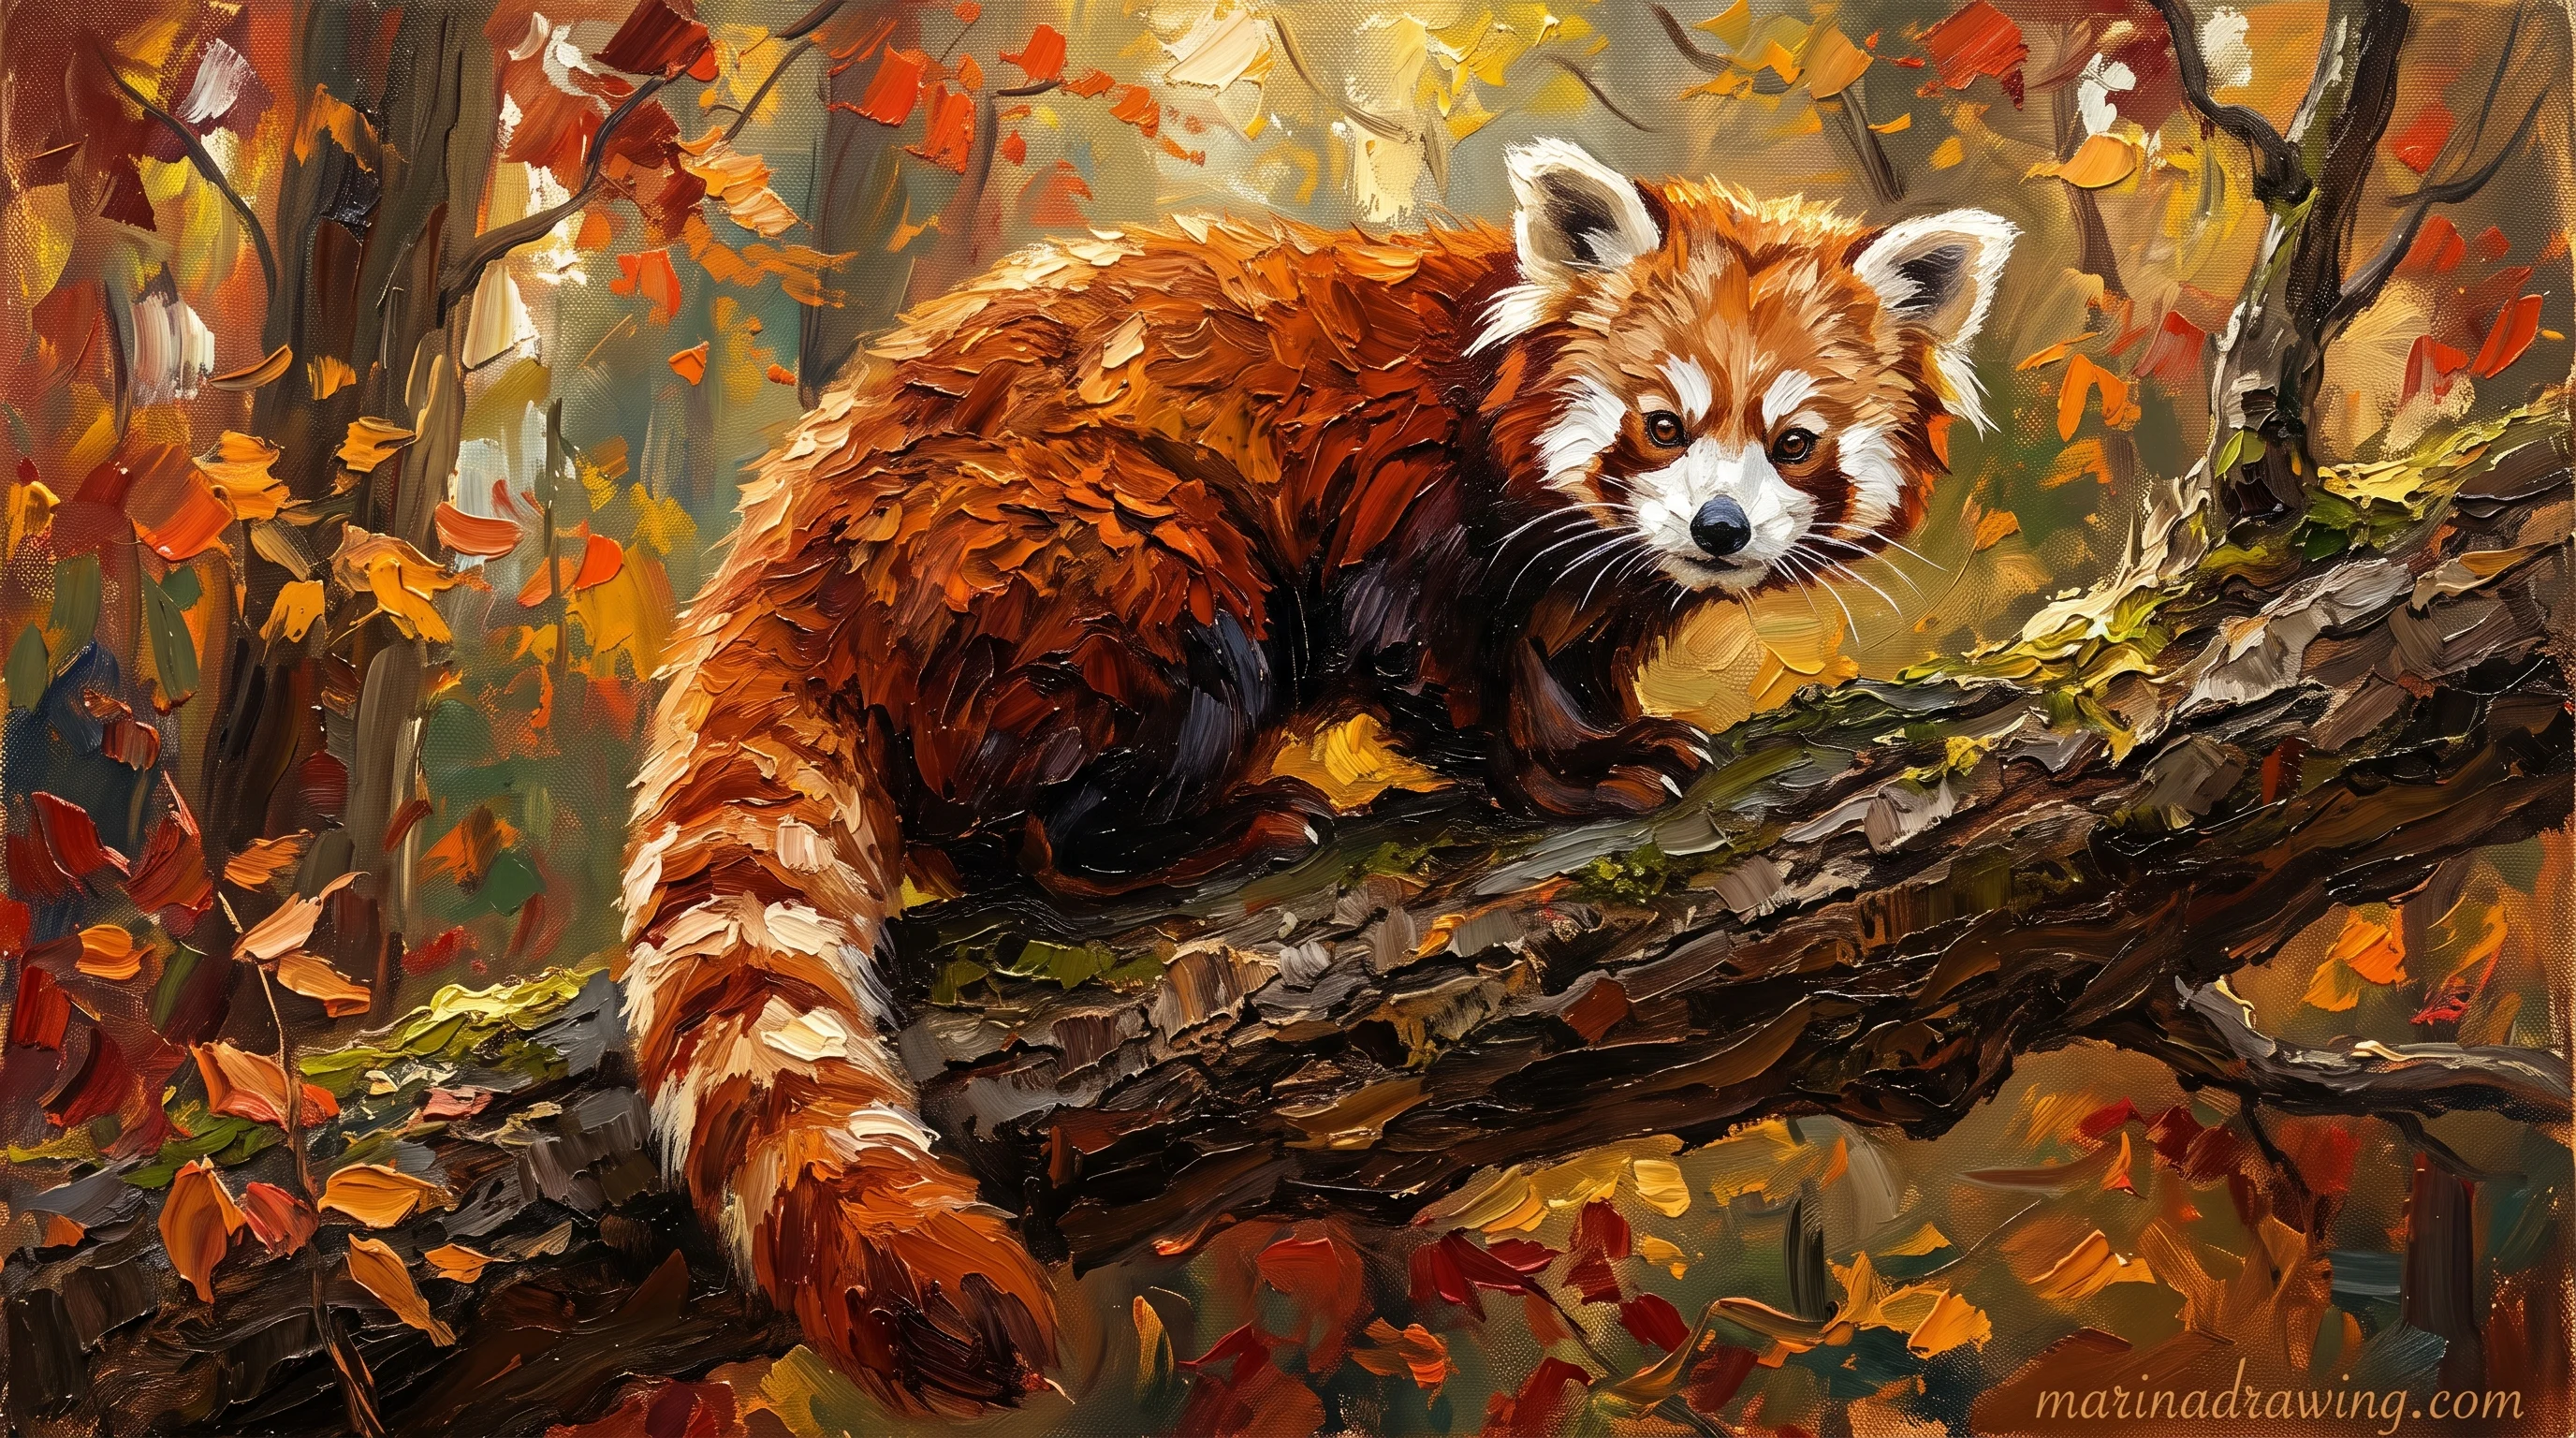
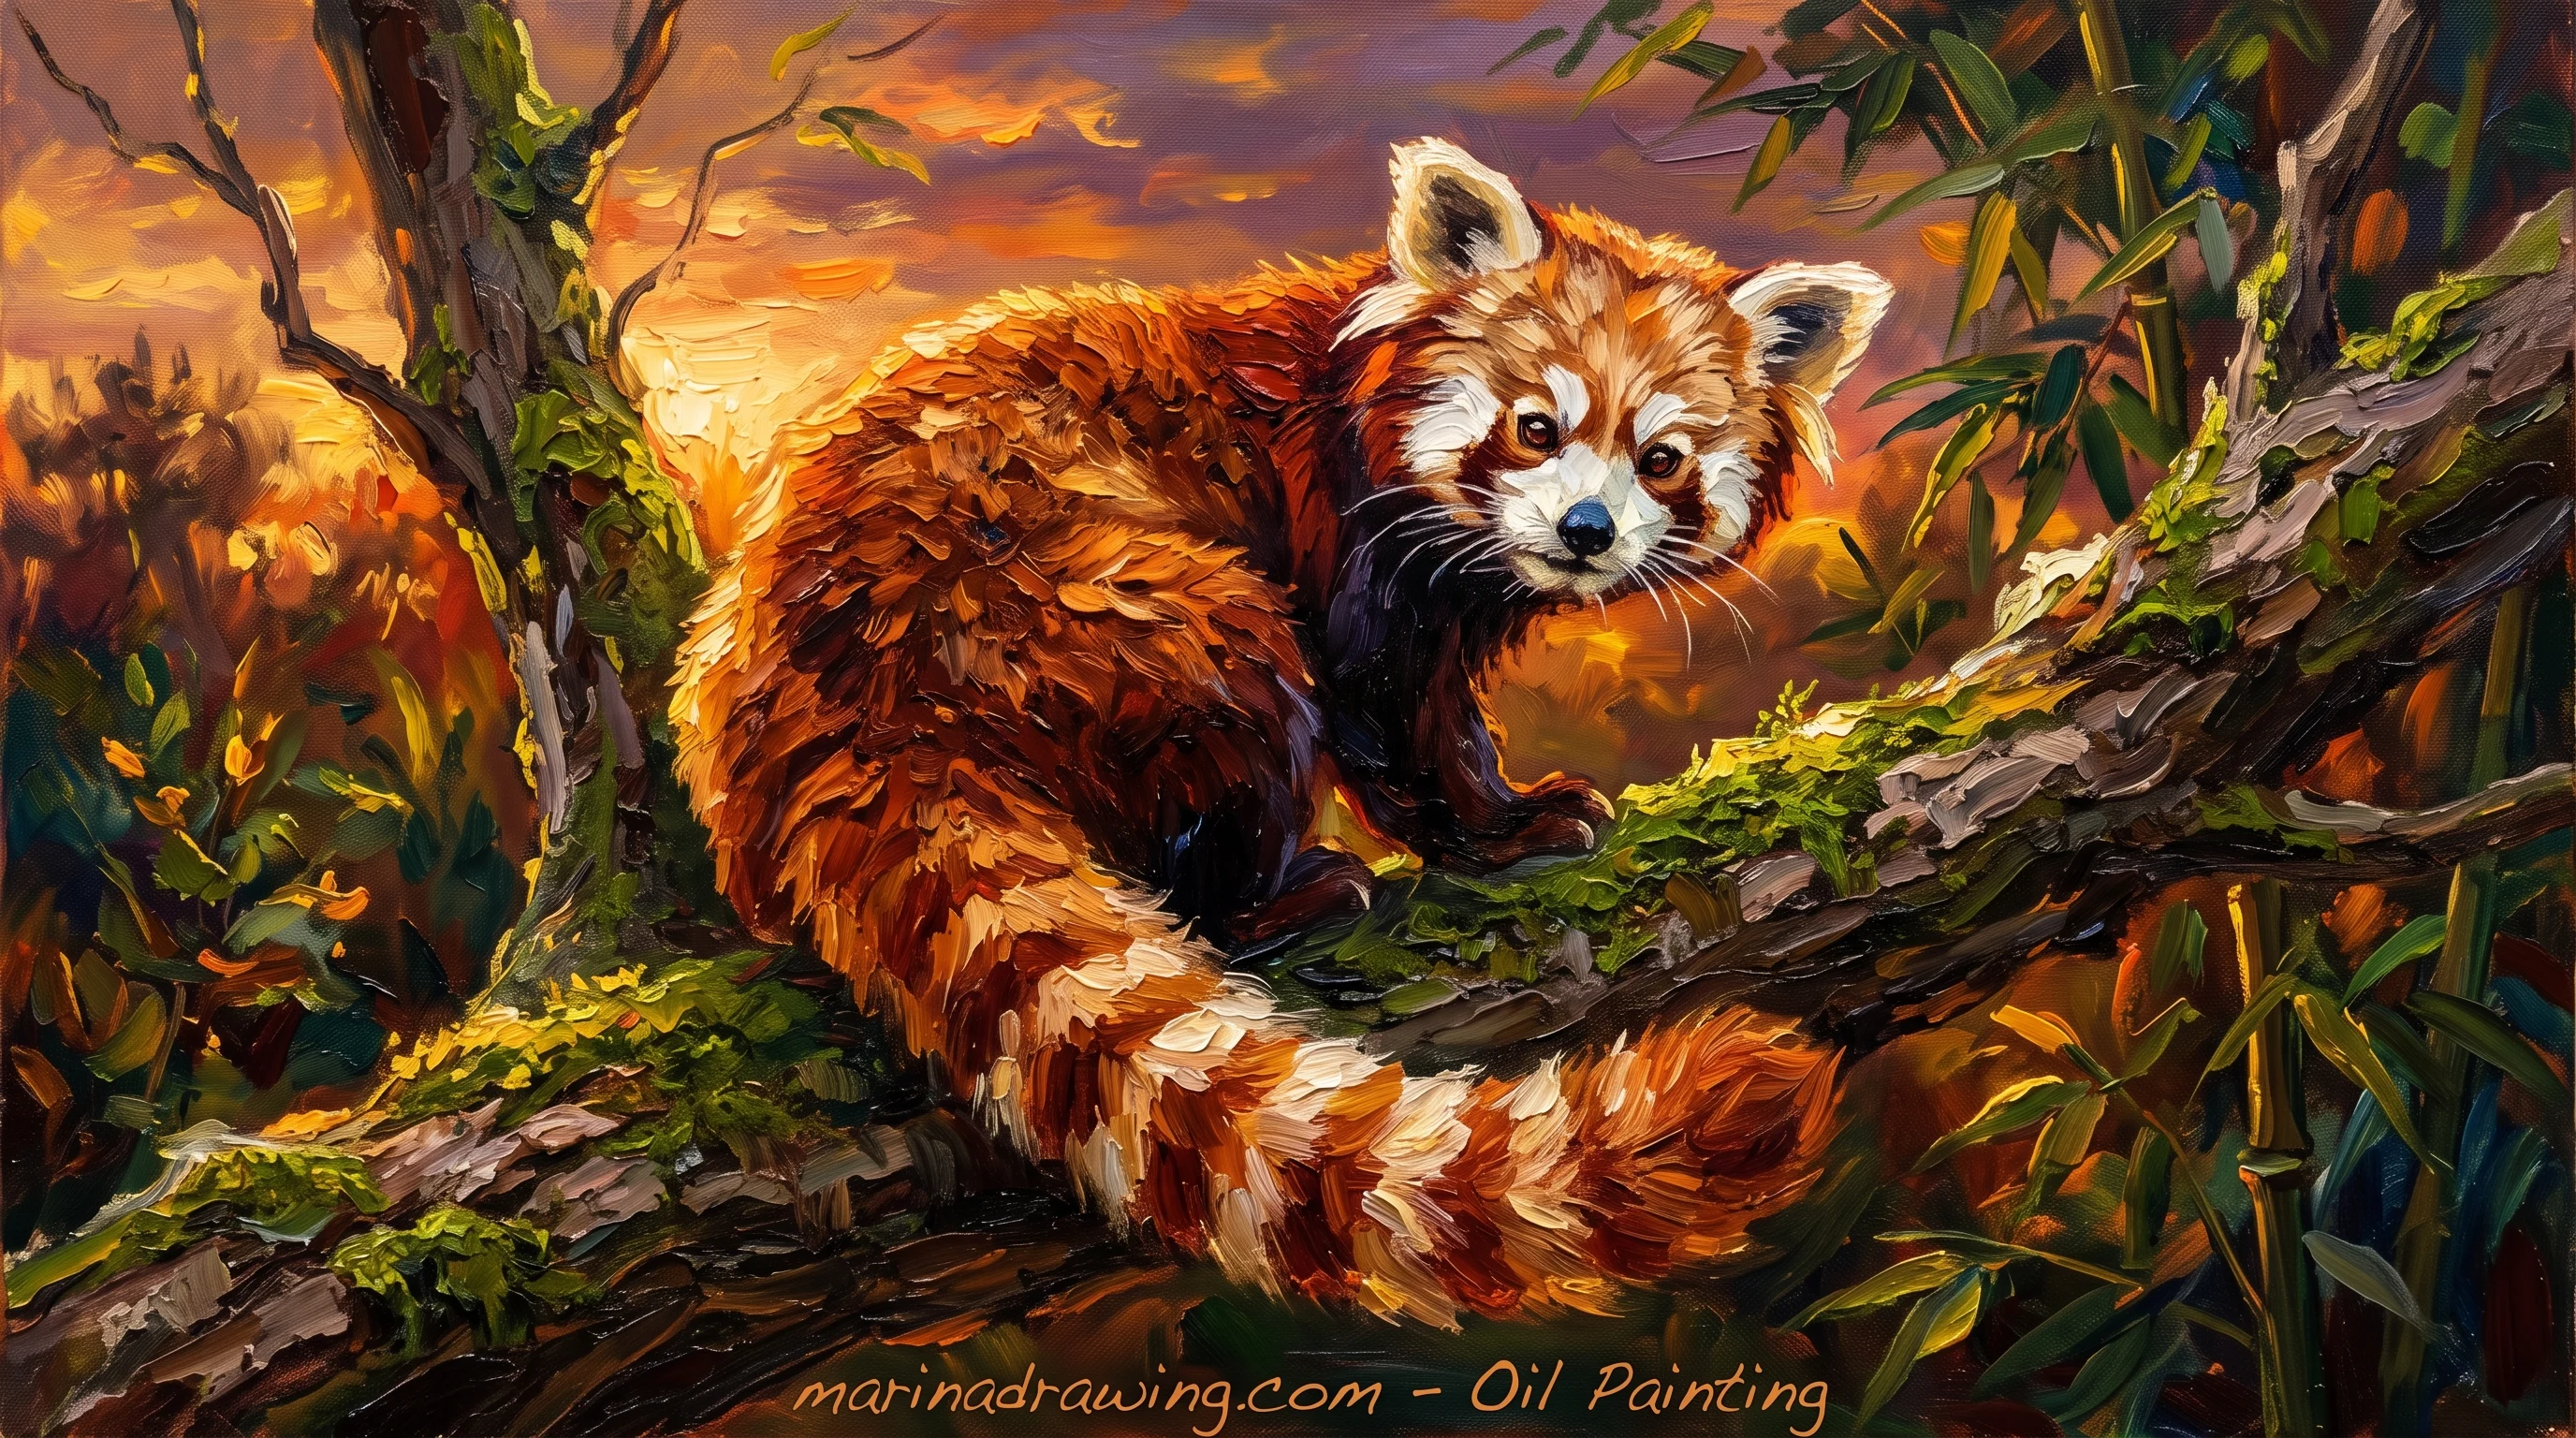
The tail is my giveaway, and people search for this one almost as hard as for the black-and-white panda. Want these builds handed to you in order? A graded animal section saves you the guesswork.
6. Two pandas: the best friend panda drawing

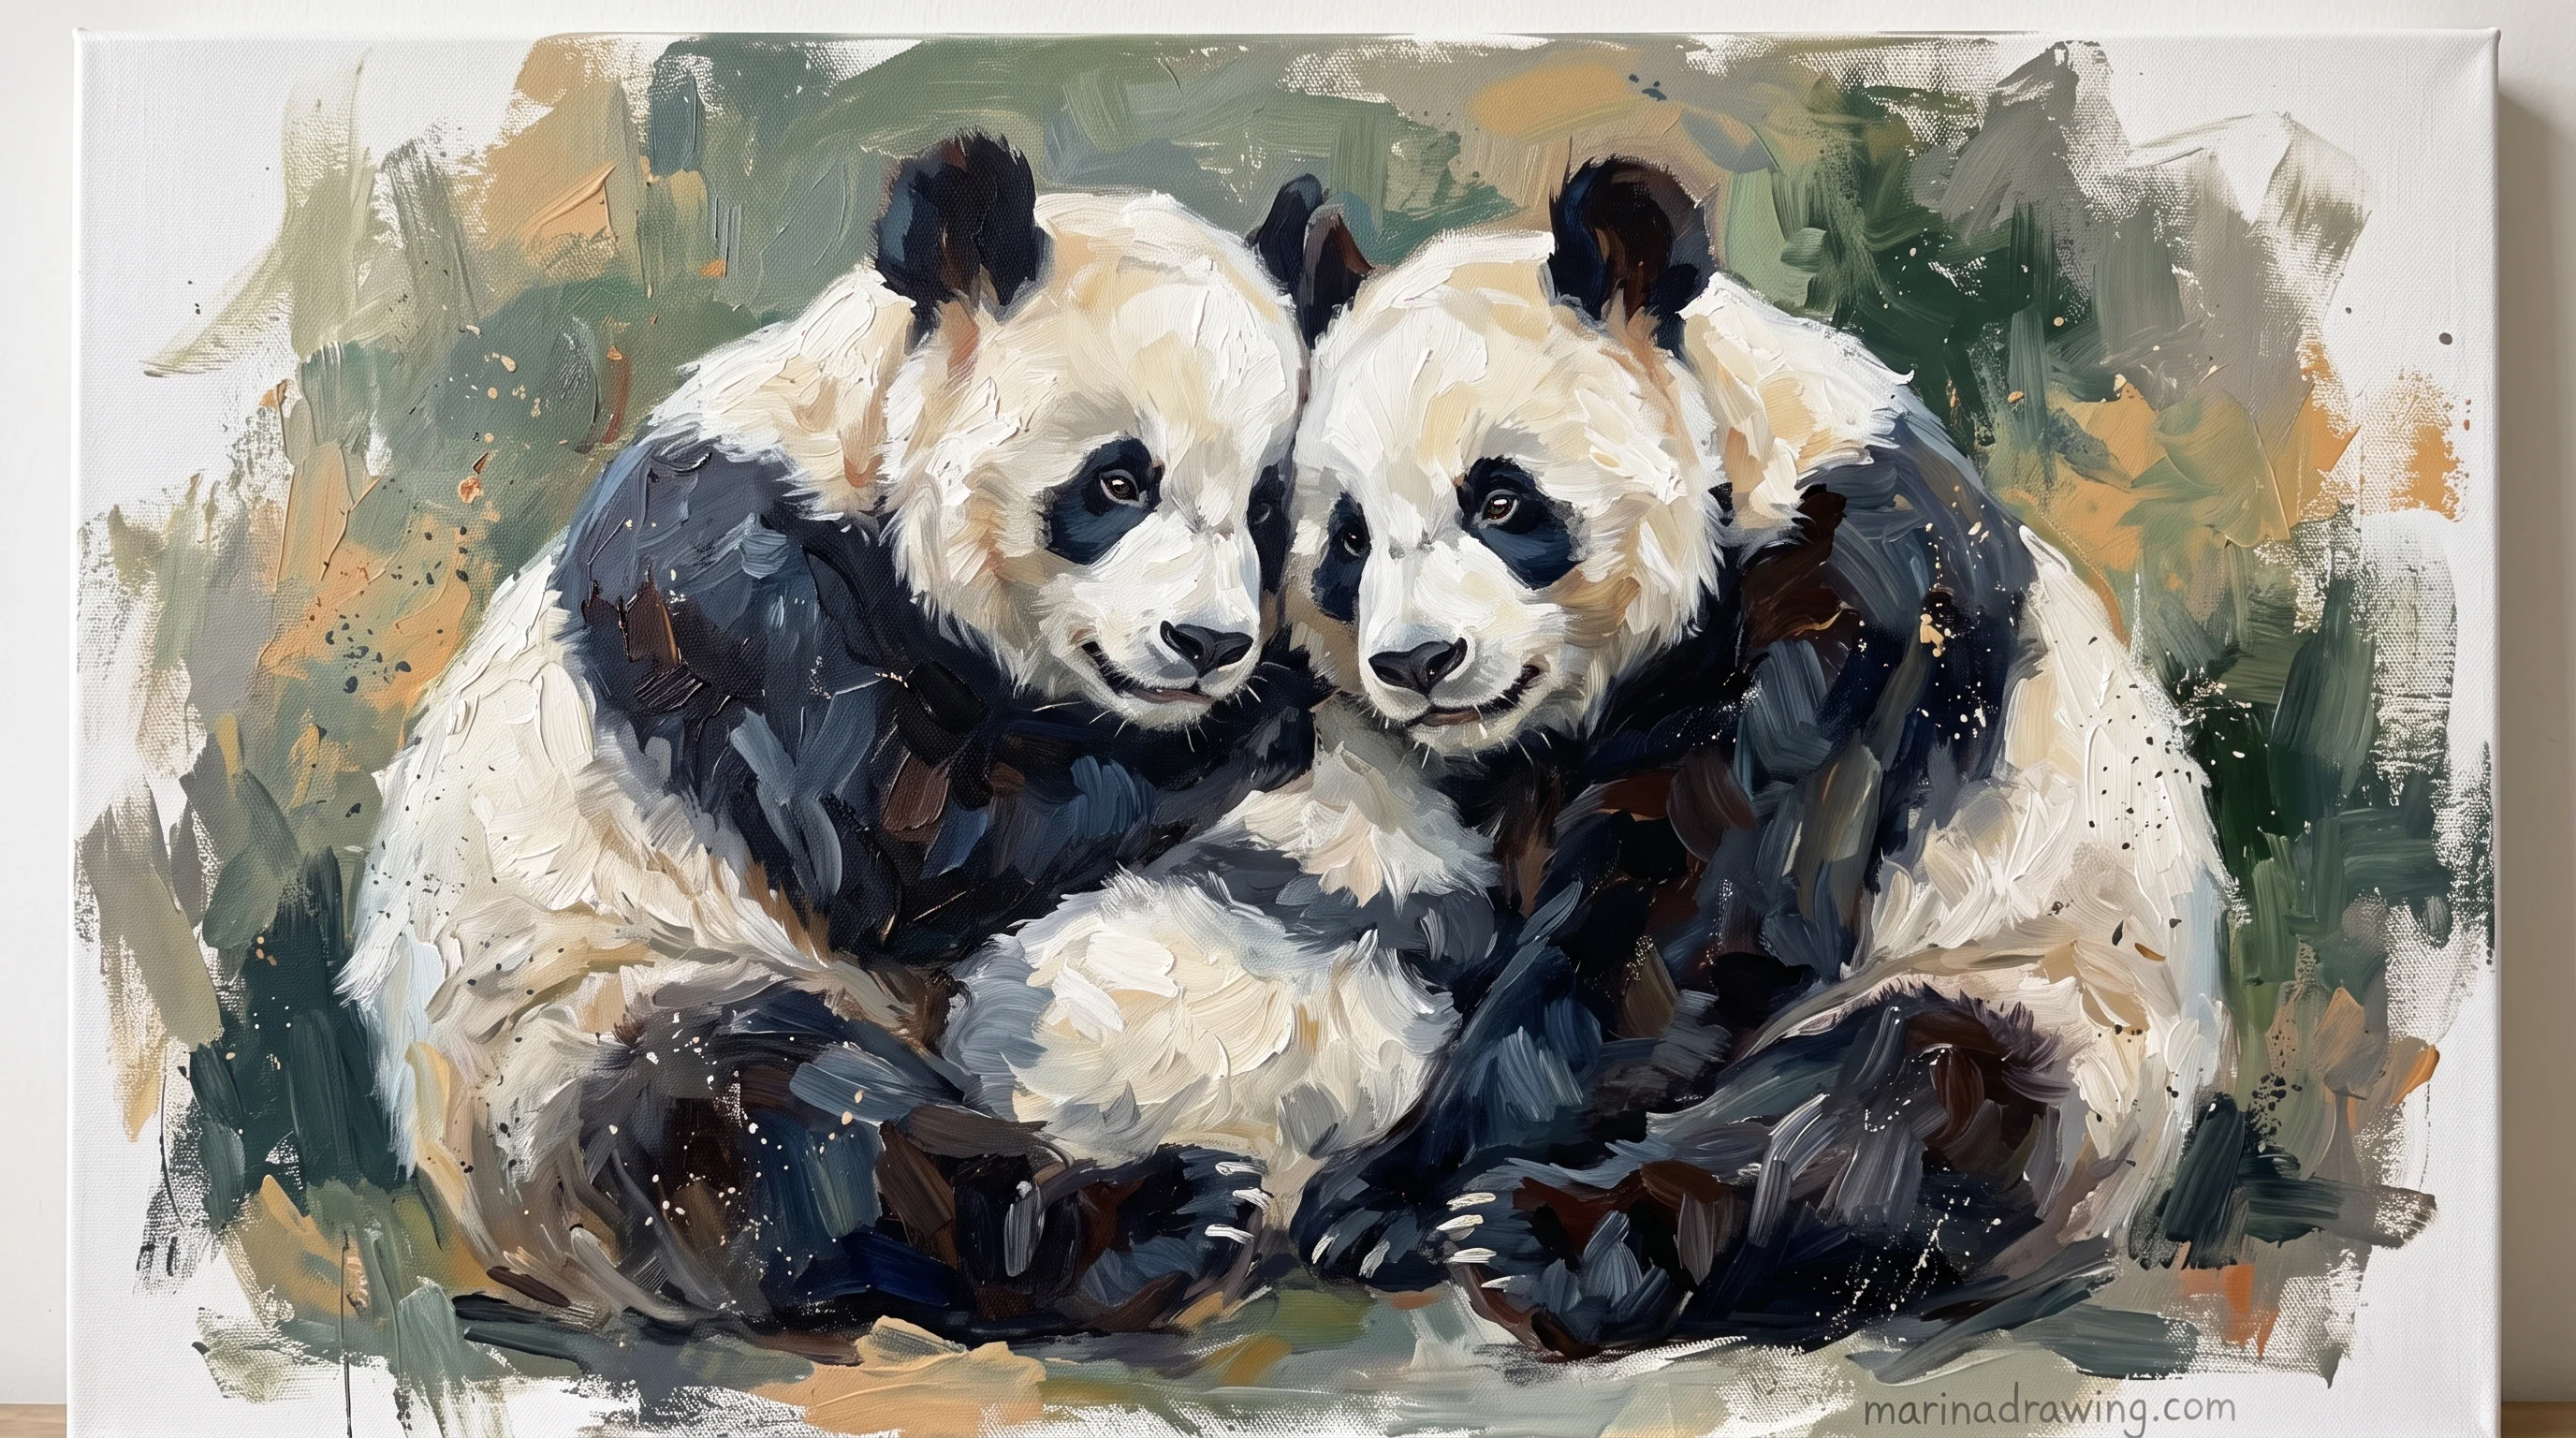
Two pandas are harder than one for one reason: overlap. Decide which is in front, draw it completely, then draw the second behind and stop every line where the front edge begins.
Offset your heads vertically. Level heads read as a logo; one slightly lower, leaning in, reads as two animals.
Where white meets white, put a thin band of grey along the back one’s contour. That is all the shading you need. Overlap is the skill here, and a course with a composition unit drills it on harder pairs than pandas.
7. A panda with a boba cup
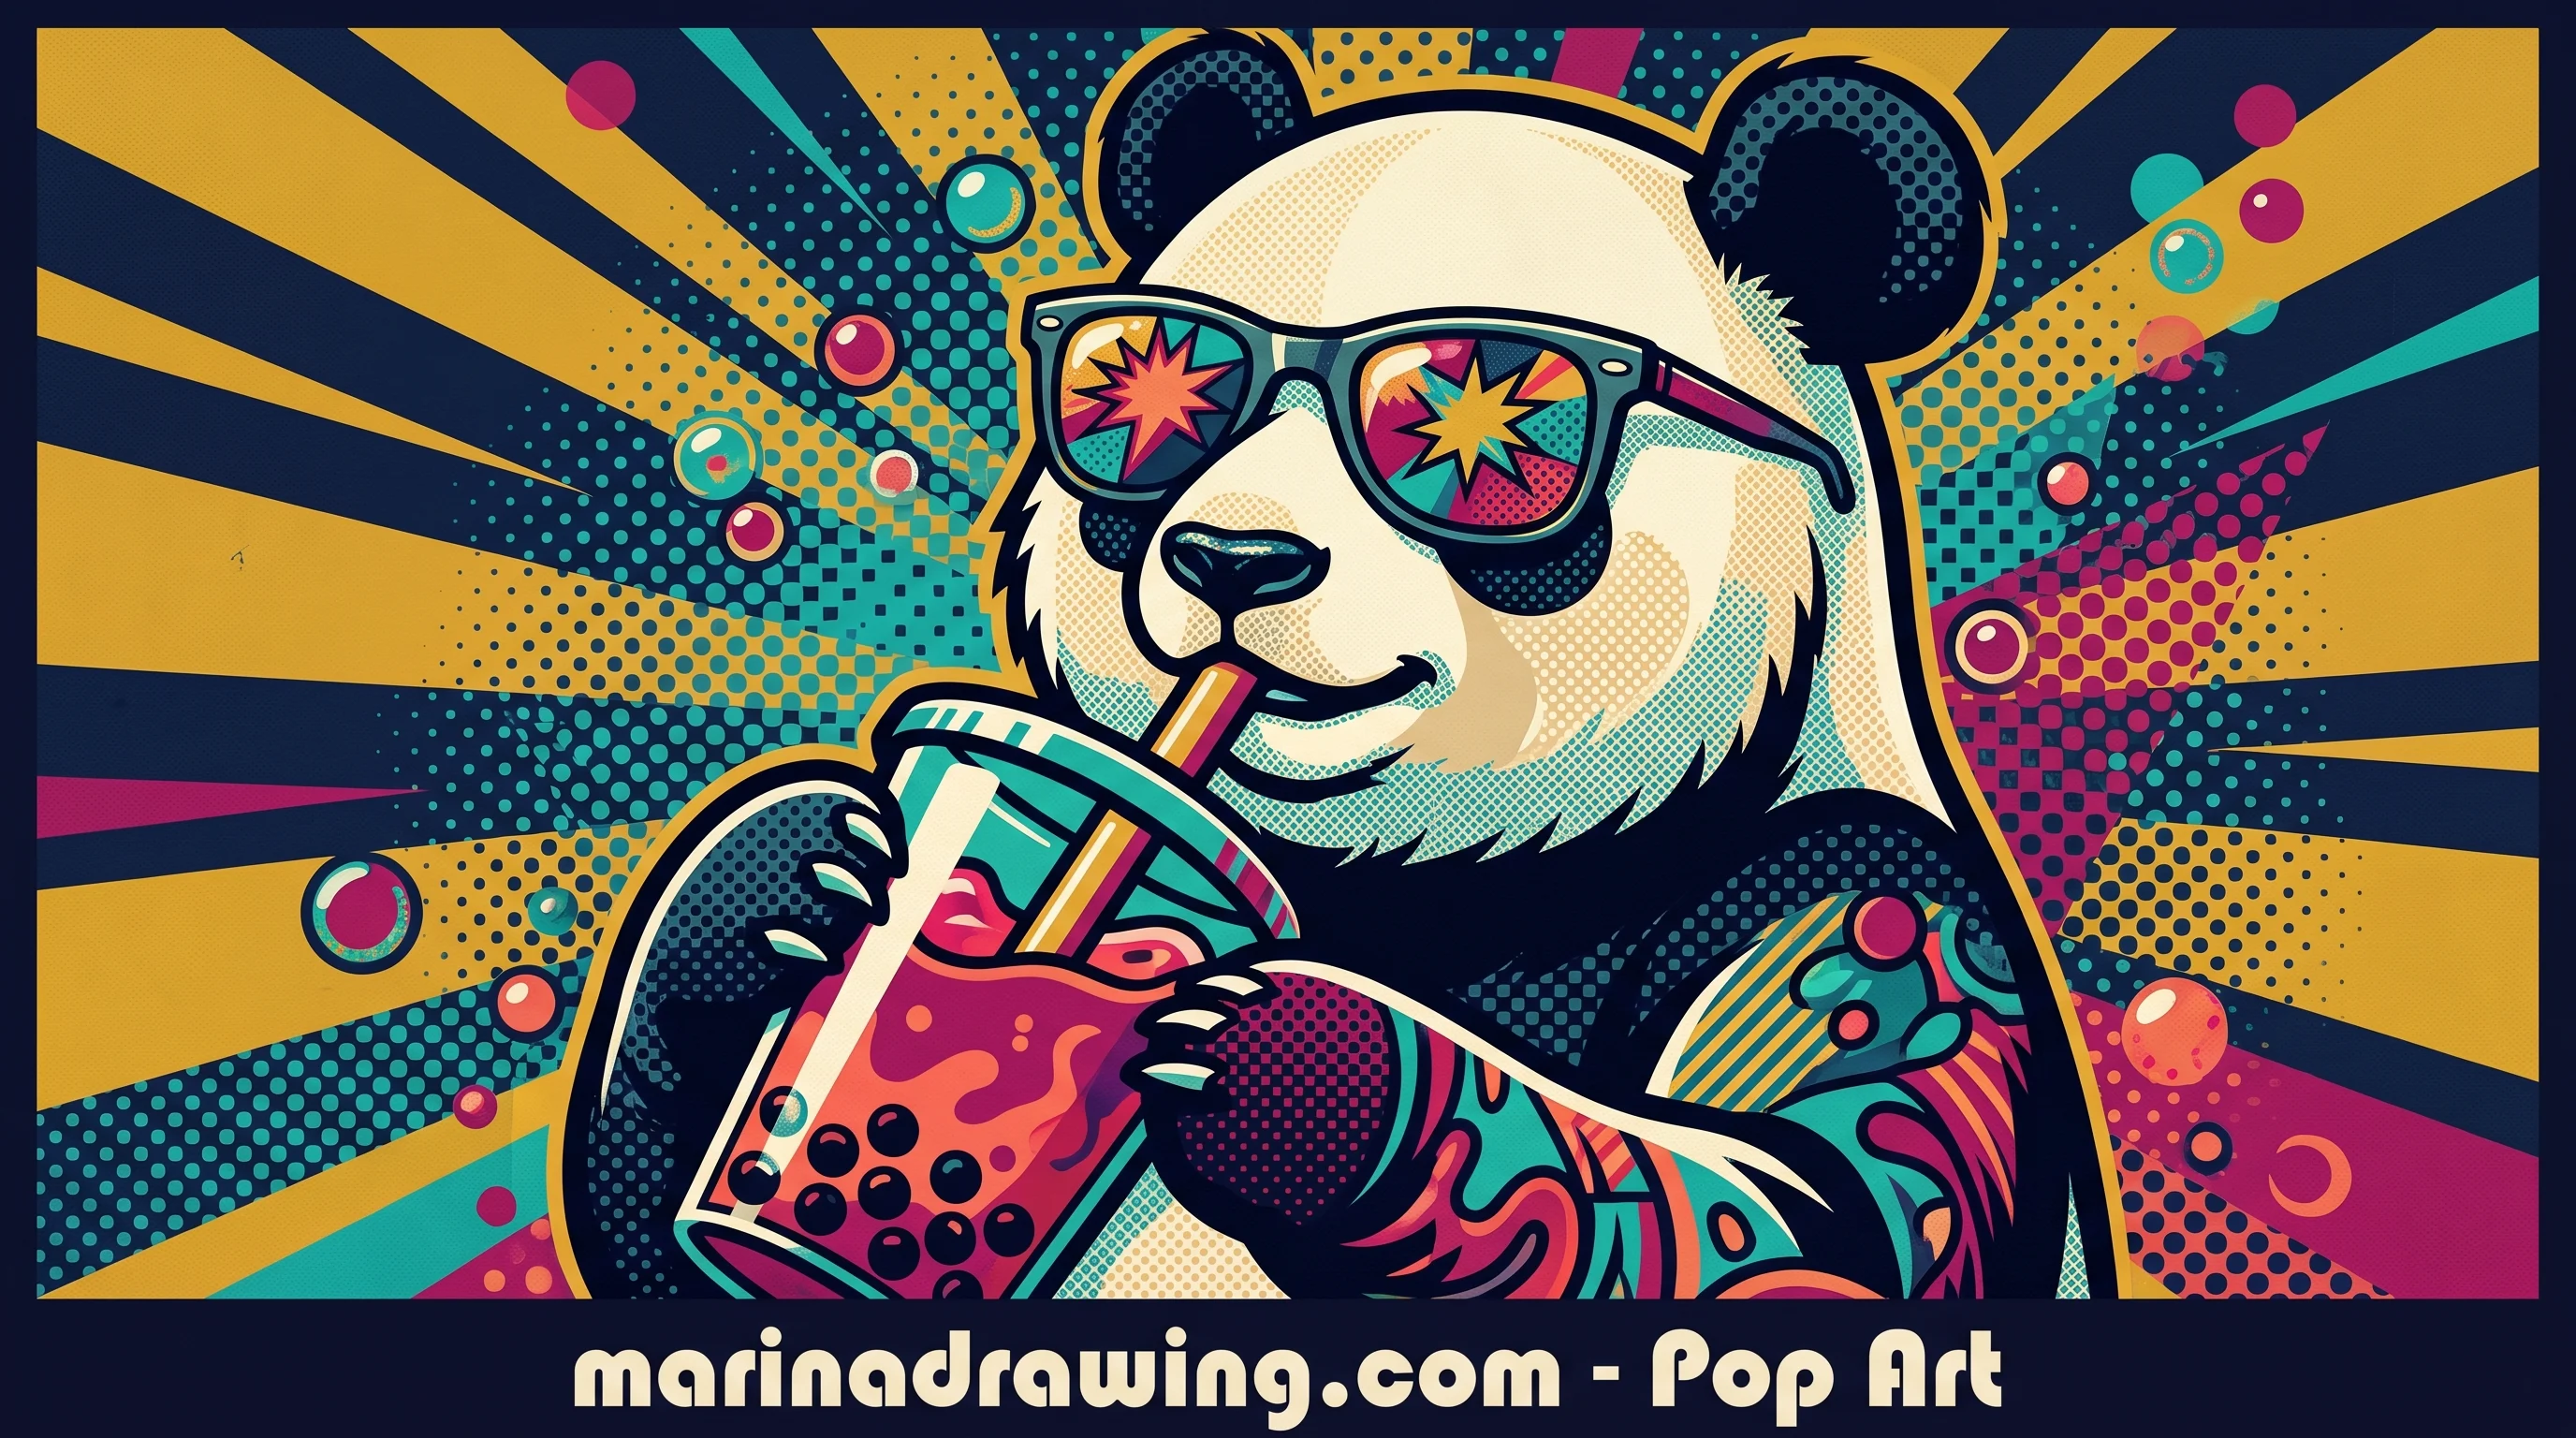
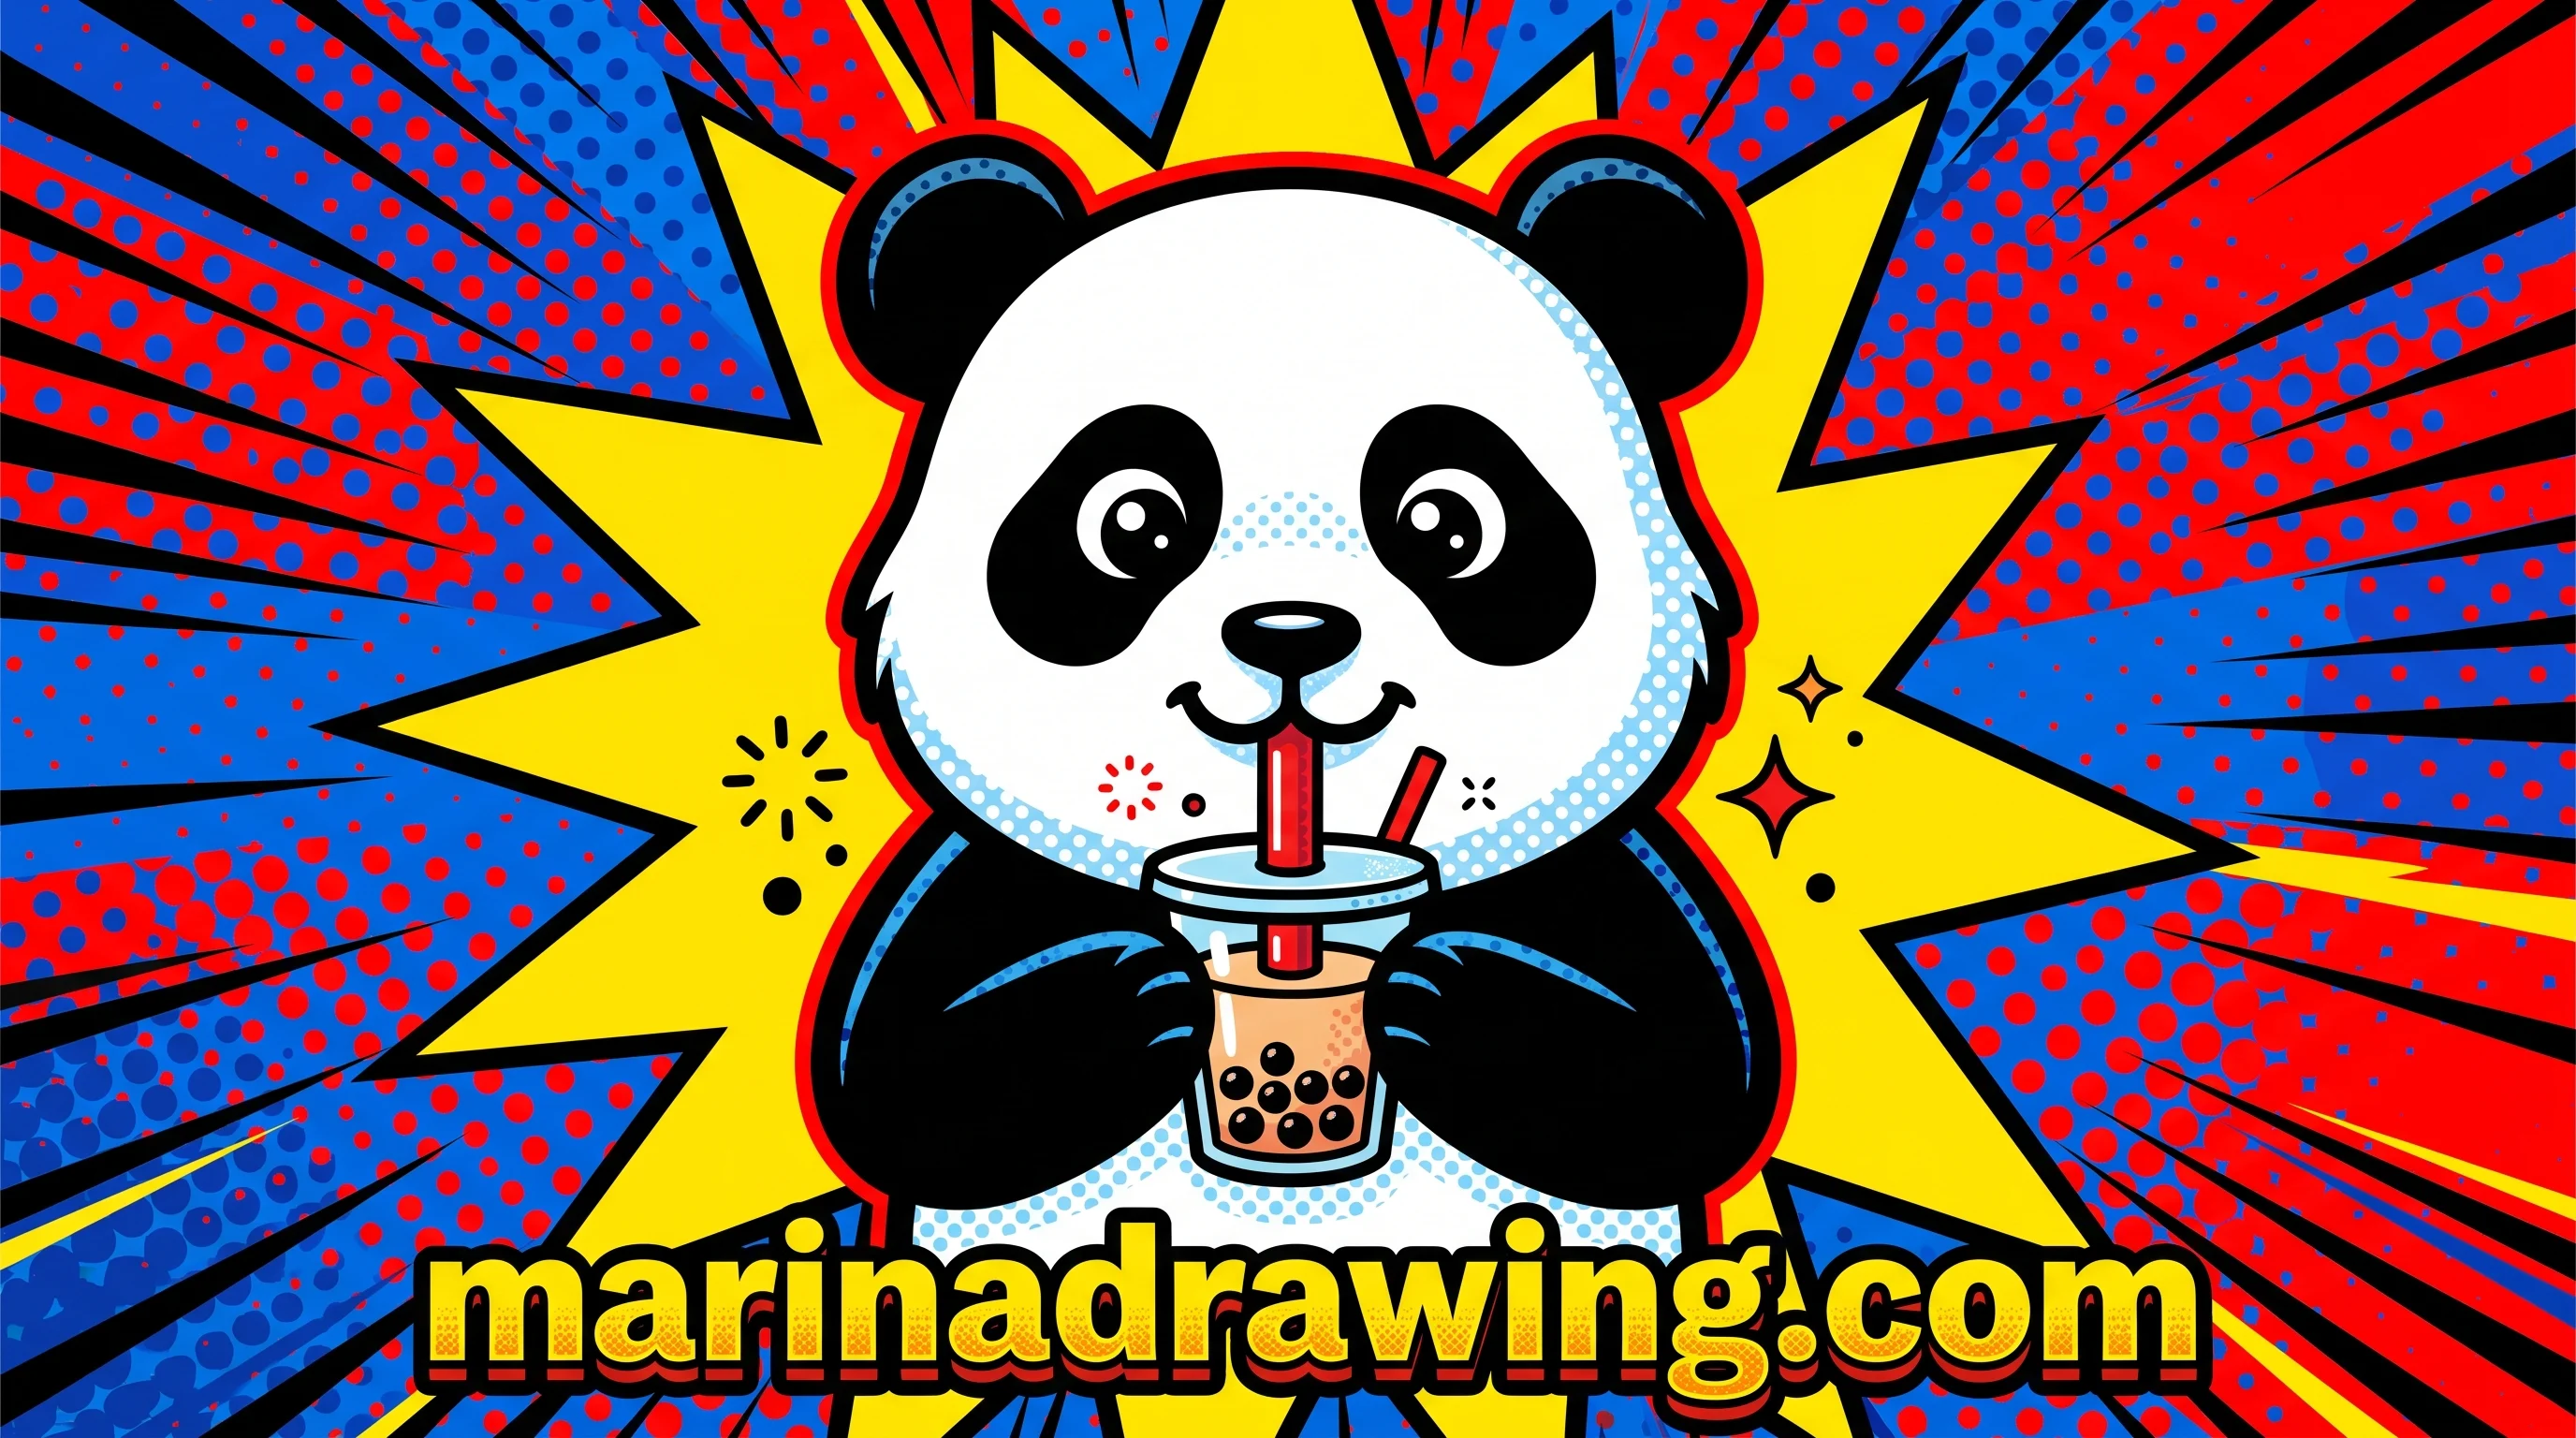
I use the bamboo rule here: object first, panda around it. Your cup is a tapered rectangle with a domed lid, a straw at a tilt, dark circles in the bottom third. Keep it small enough that two paws can hold it; the version you see everywhere is torso-sized.
8. A panda in colour
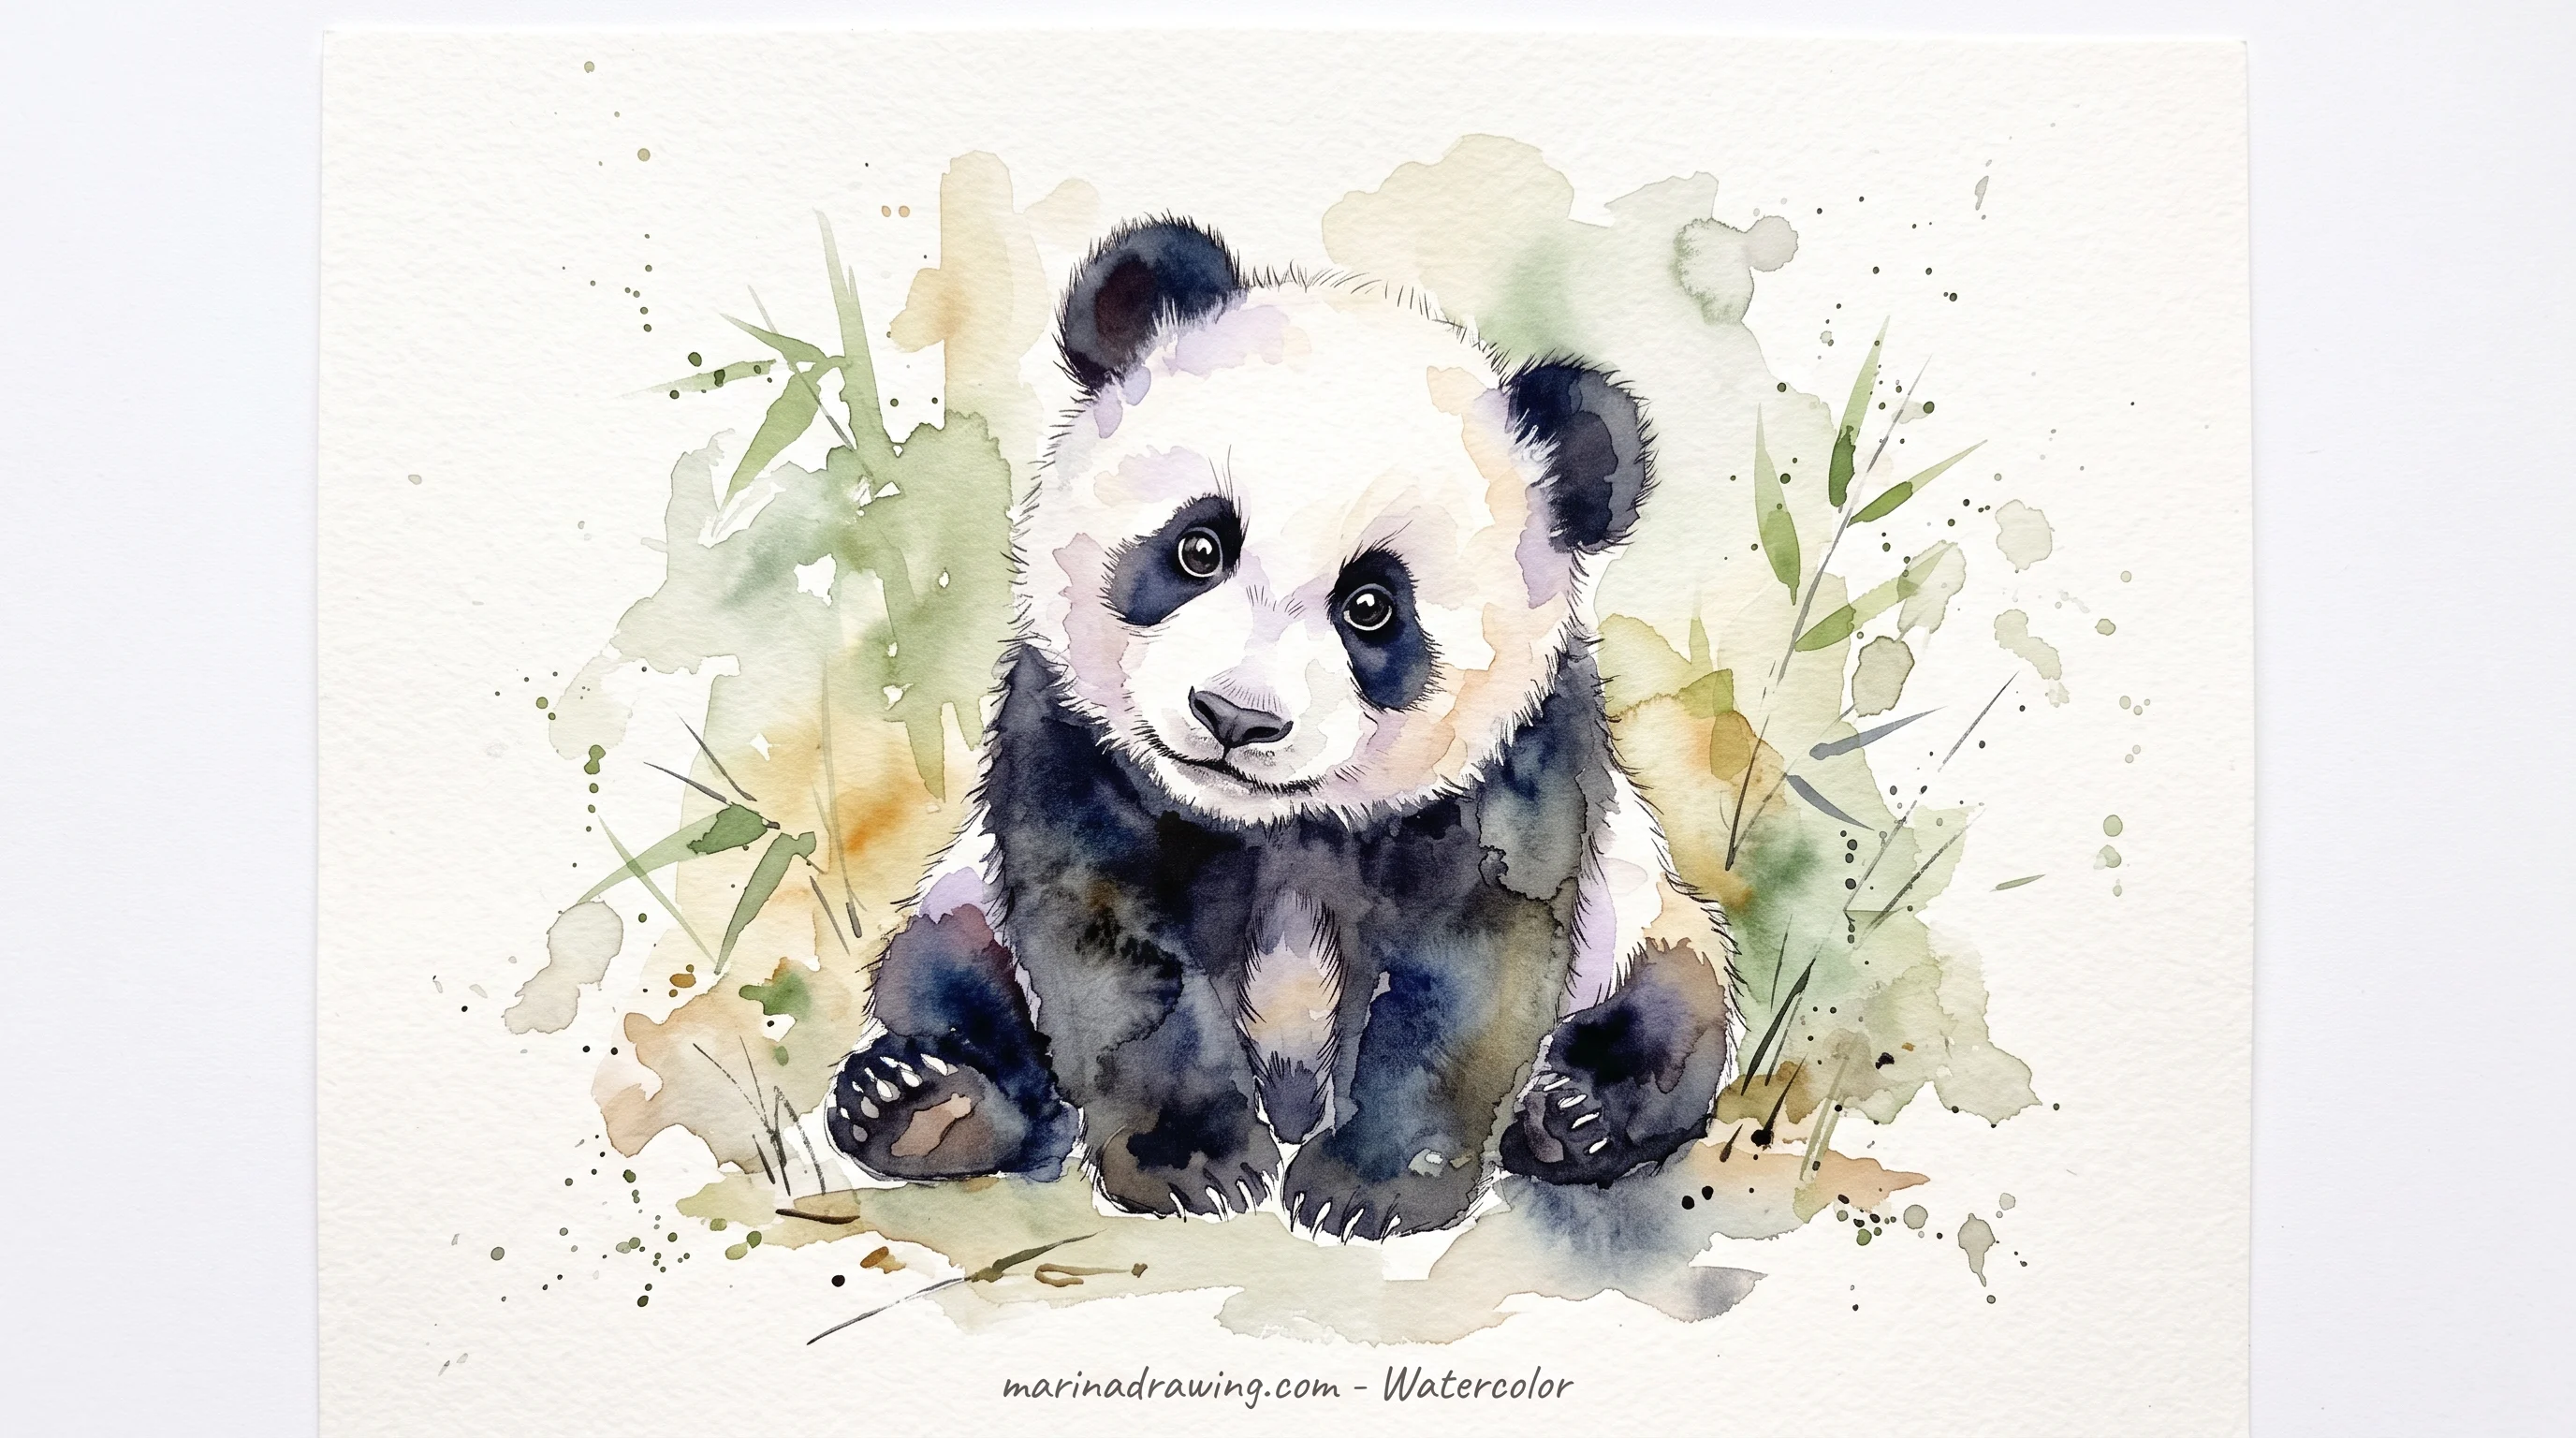
Your mistake in a colour panda is using black for the black. Use the darkest cool grey you have, press hard, and save real black for the nose and the deepest crease between the ears. Your patches then look like fur instead of ink.
The white is not white either. Lay light warm grey along the underside, the chin and the inside of the legs, and leave paper where the light hits.
Three pencils do it all. Add one flat background colour and your panda pops. For ready-made bamboo and backgrounds, a graphics library is your quick route.
9. A one-line panda
42 hours of pencil drawing training, lifetime access
The video course I point plateaued students to — full lessons on portraits, hands, and realistic shading, not another short tutorial.
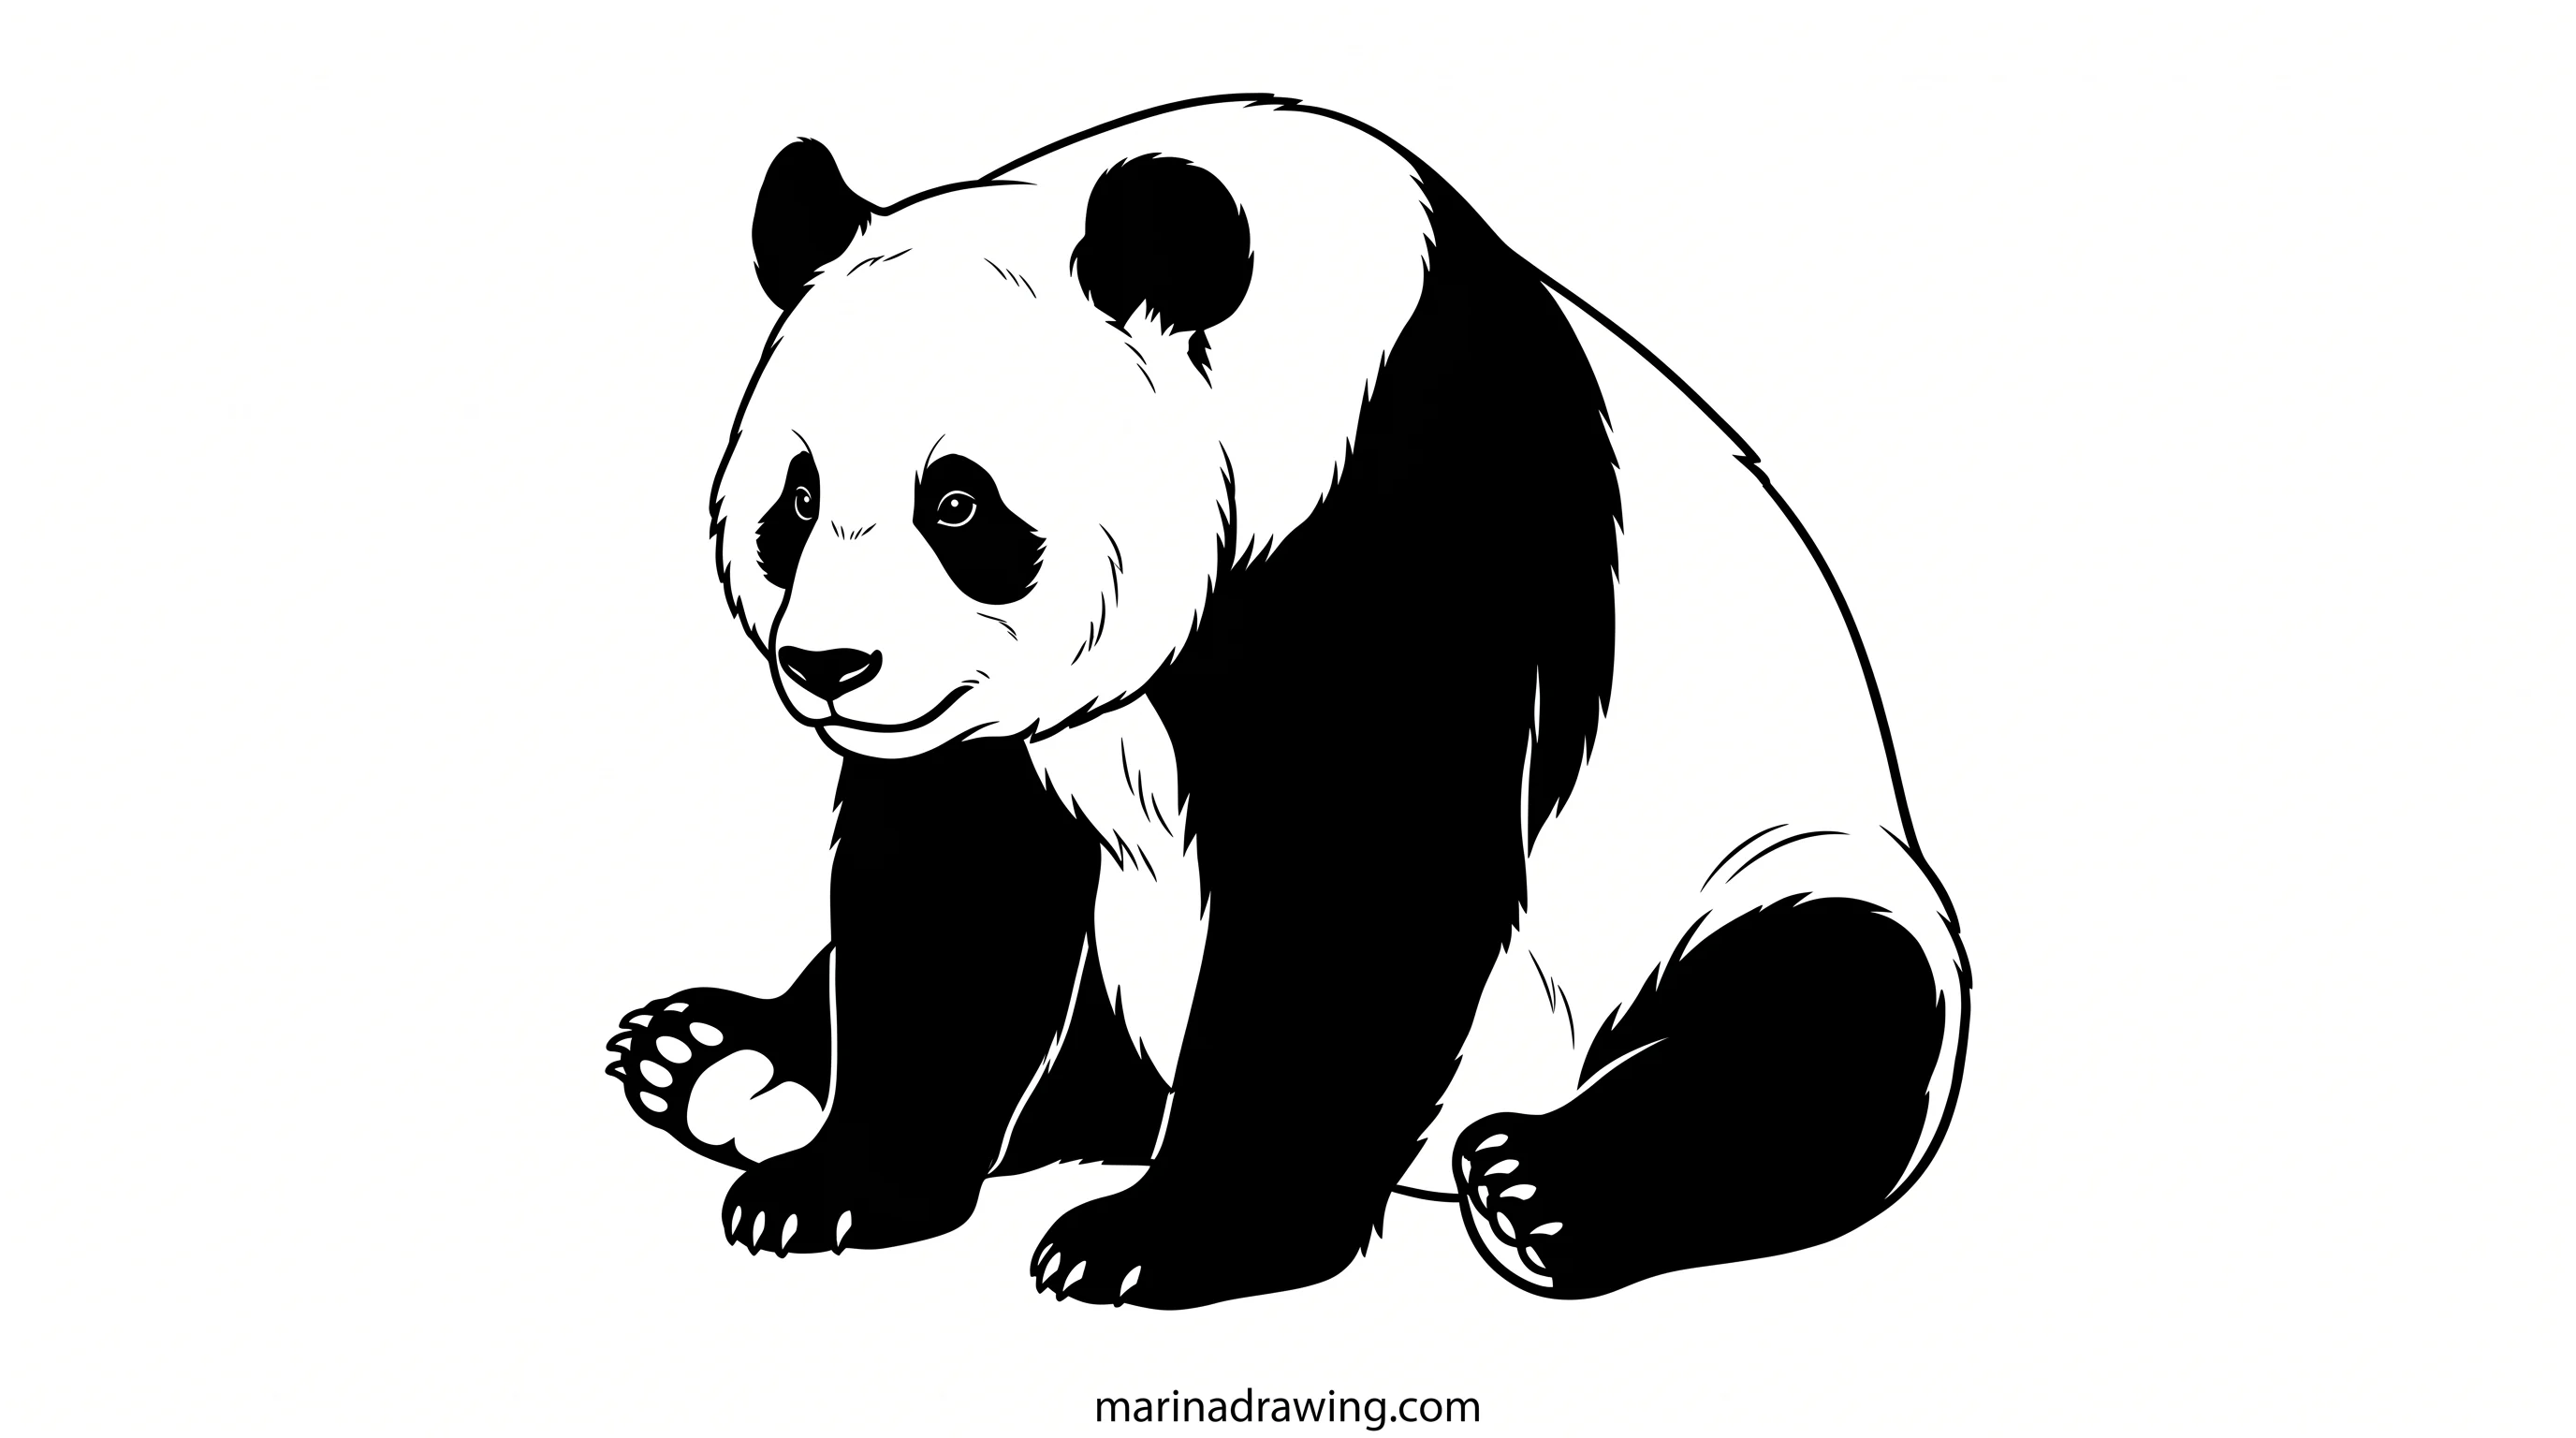
One continuous line, no lifting, patches added as two filled shapes after. Start at one ear, go round the head, down the back, round the body and legs, up the front to the other ear.
It is a diagnostic too. If your one-line panda looks right and your careful one does not, your hand is fine. You slow down and correct proportions that were already right.
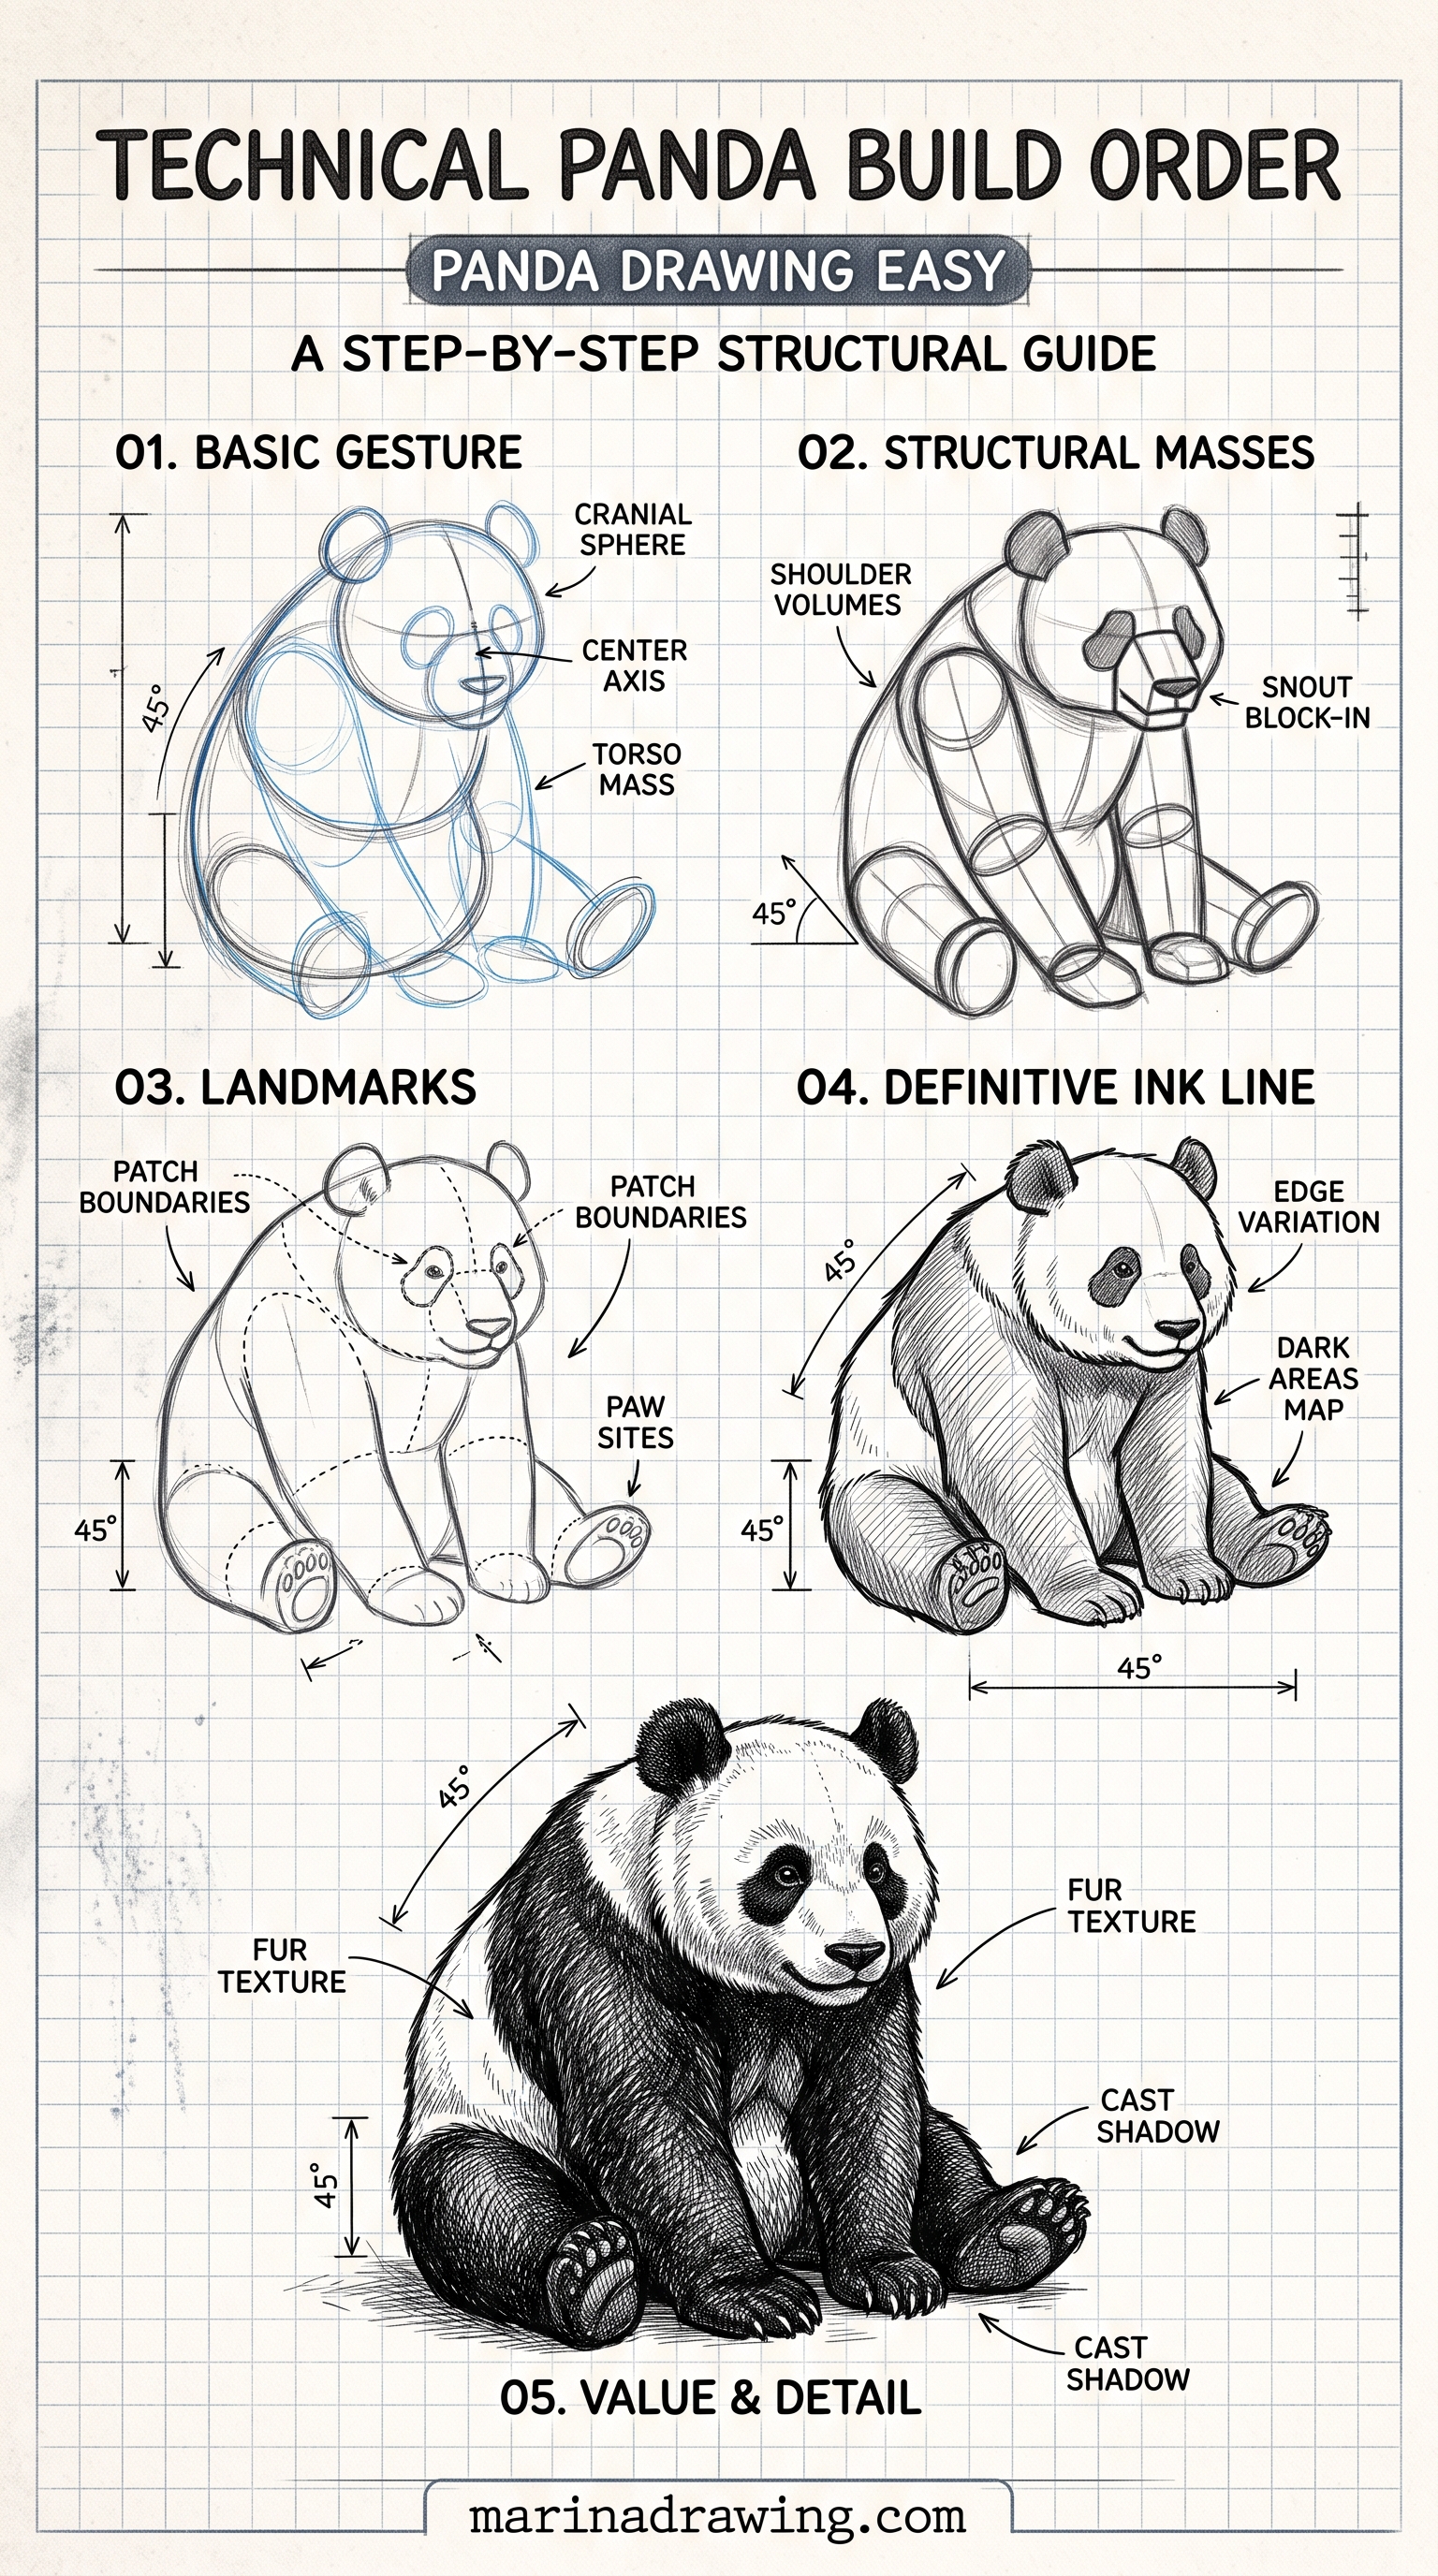
10. A realistic panda drawing in graphite

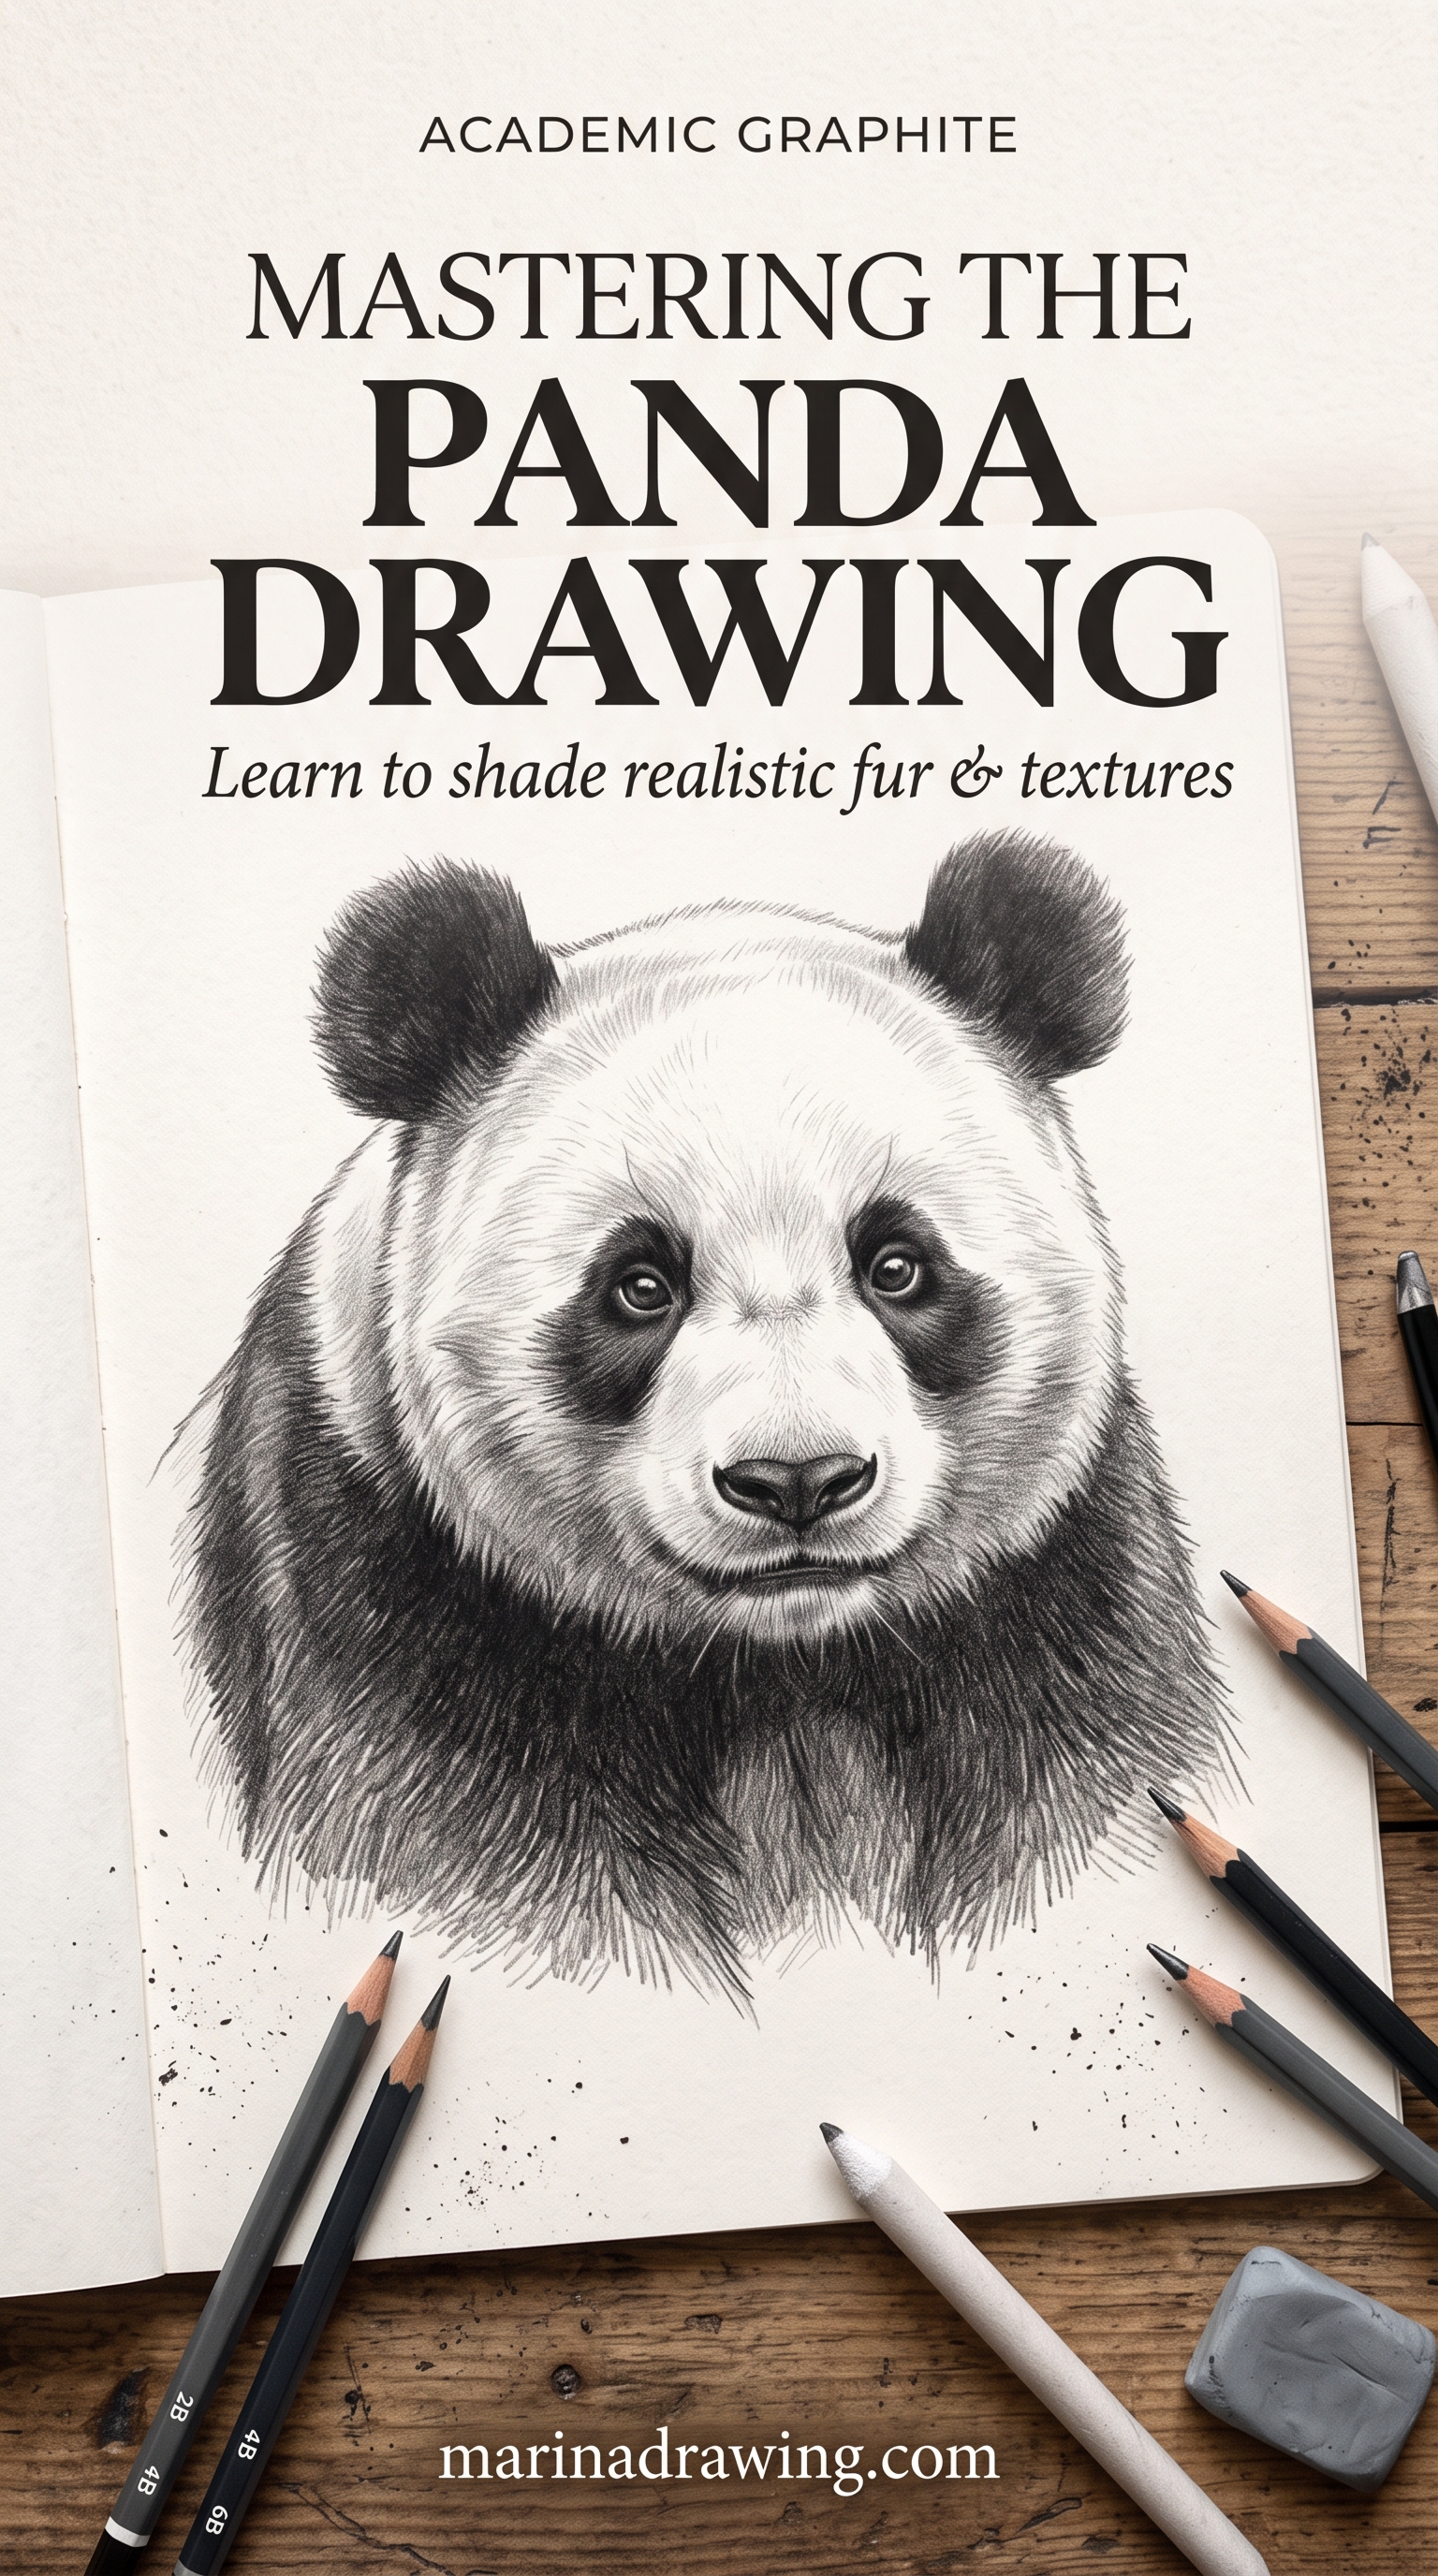
Fur is tone, not hairs. My first one looked flat for exactly that reason. Commit to three separated values and put your darkest in first: patches, ears, the shadow under the chin, the gap between the legs. Then mid grey under the white fur. Then nothing on the top planes, where you leave paper. The same three-value habit runs through realistic shading.
Three tones with hard edges beats twenty blended ones. If yours looks flat, you are missing a dark, not a detail.
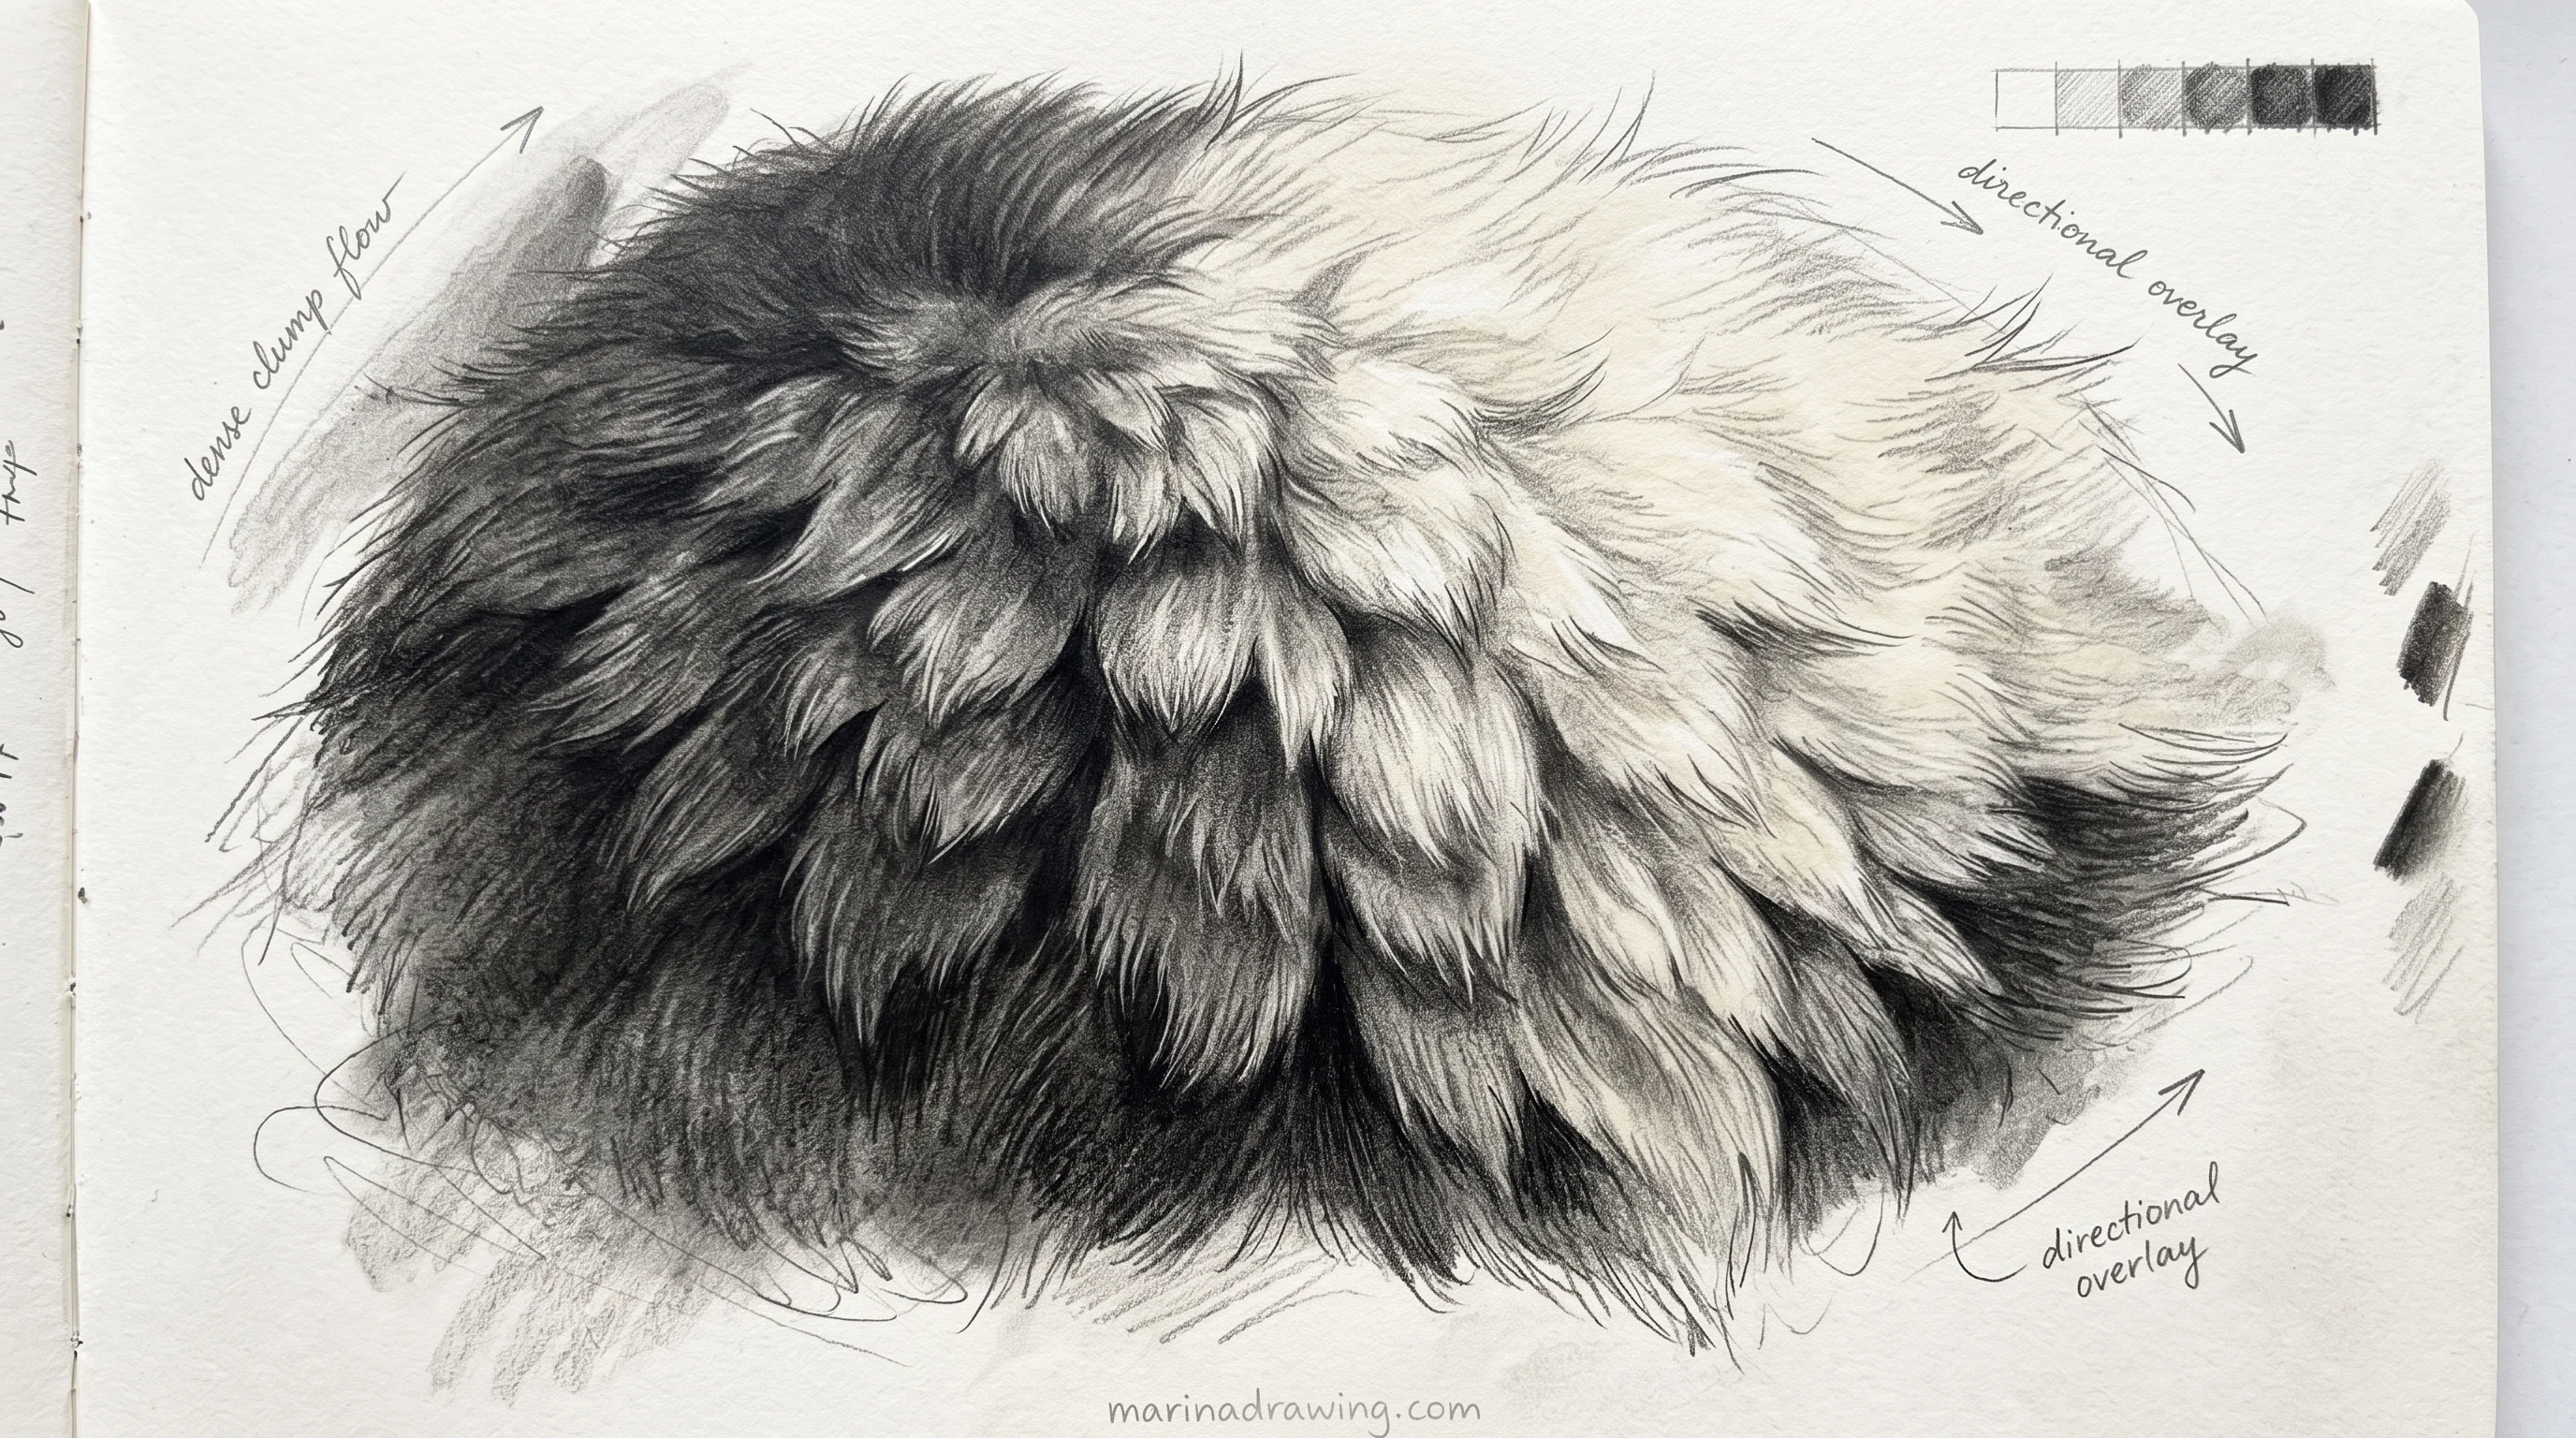
For texture, draw the shadows between clumps, not single hairs, and let a few strokes break your outline. A panda’s coat is short and dense, a fraction of the fuzz you give a fox.
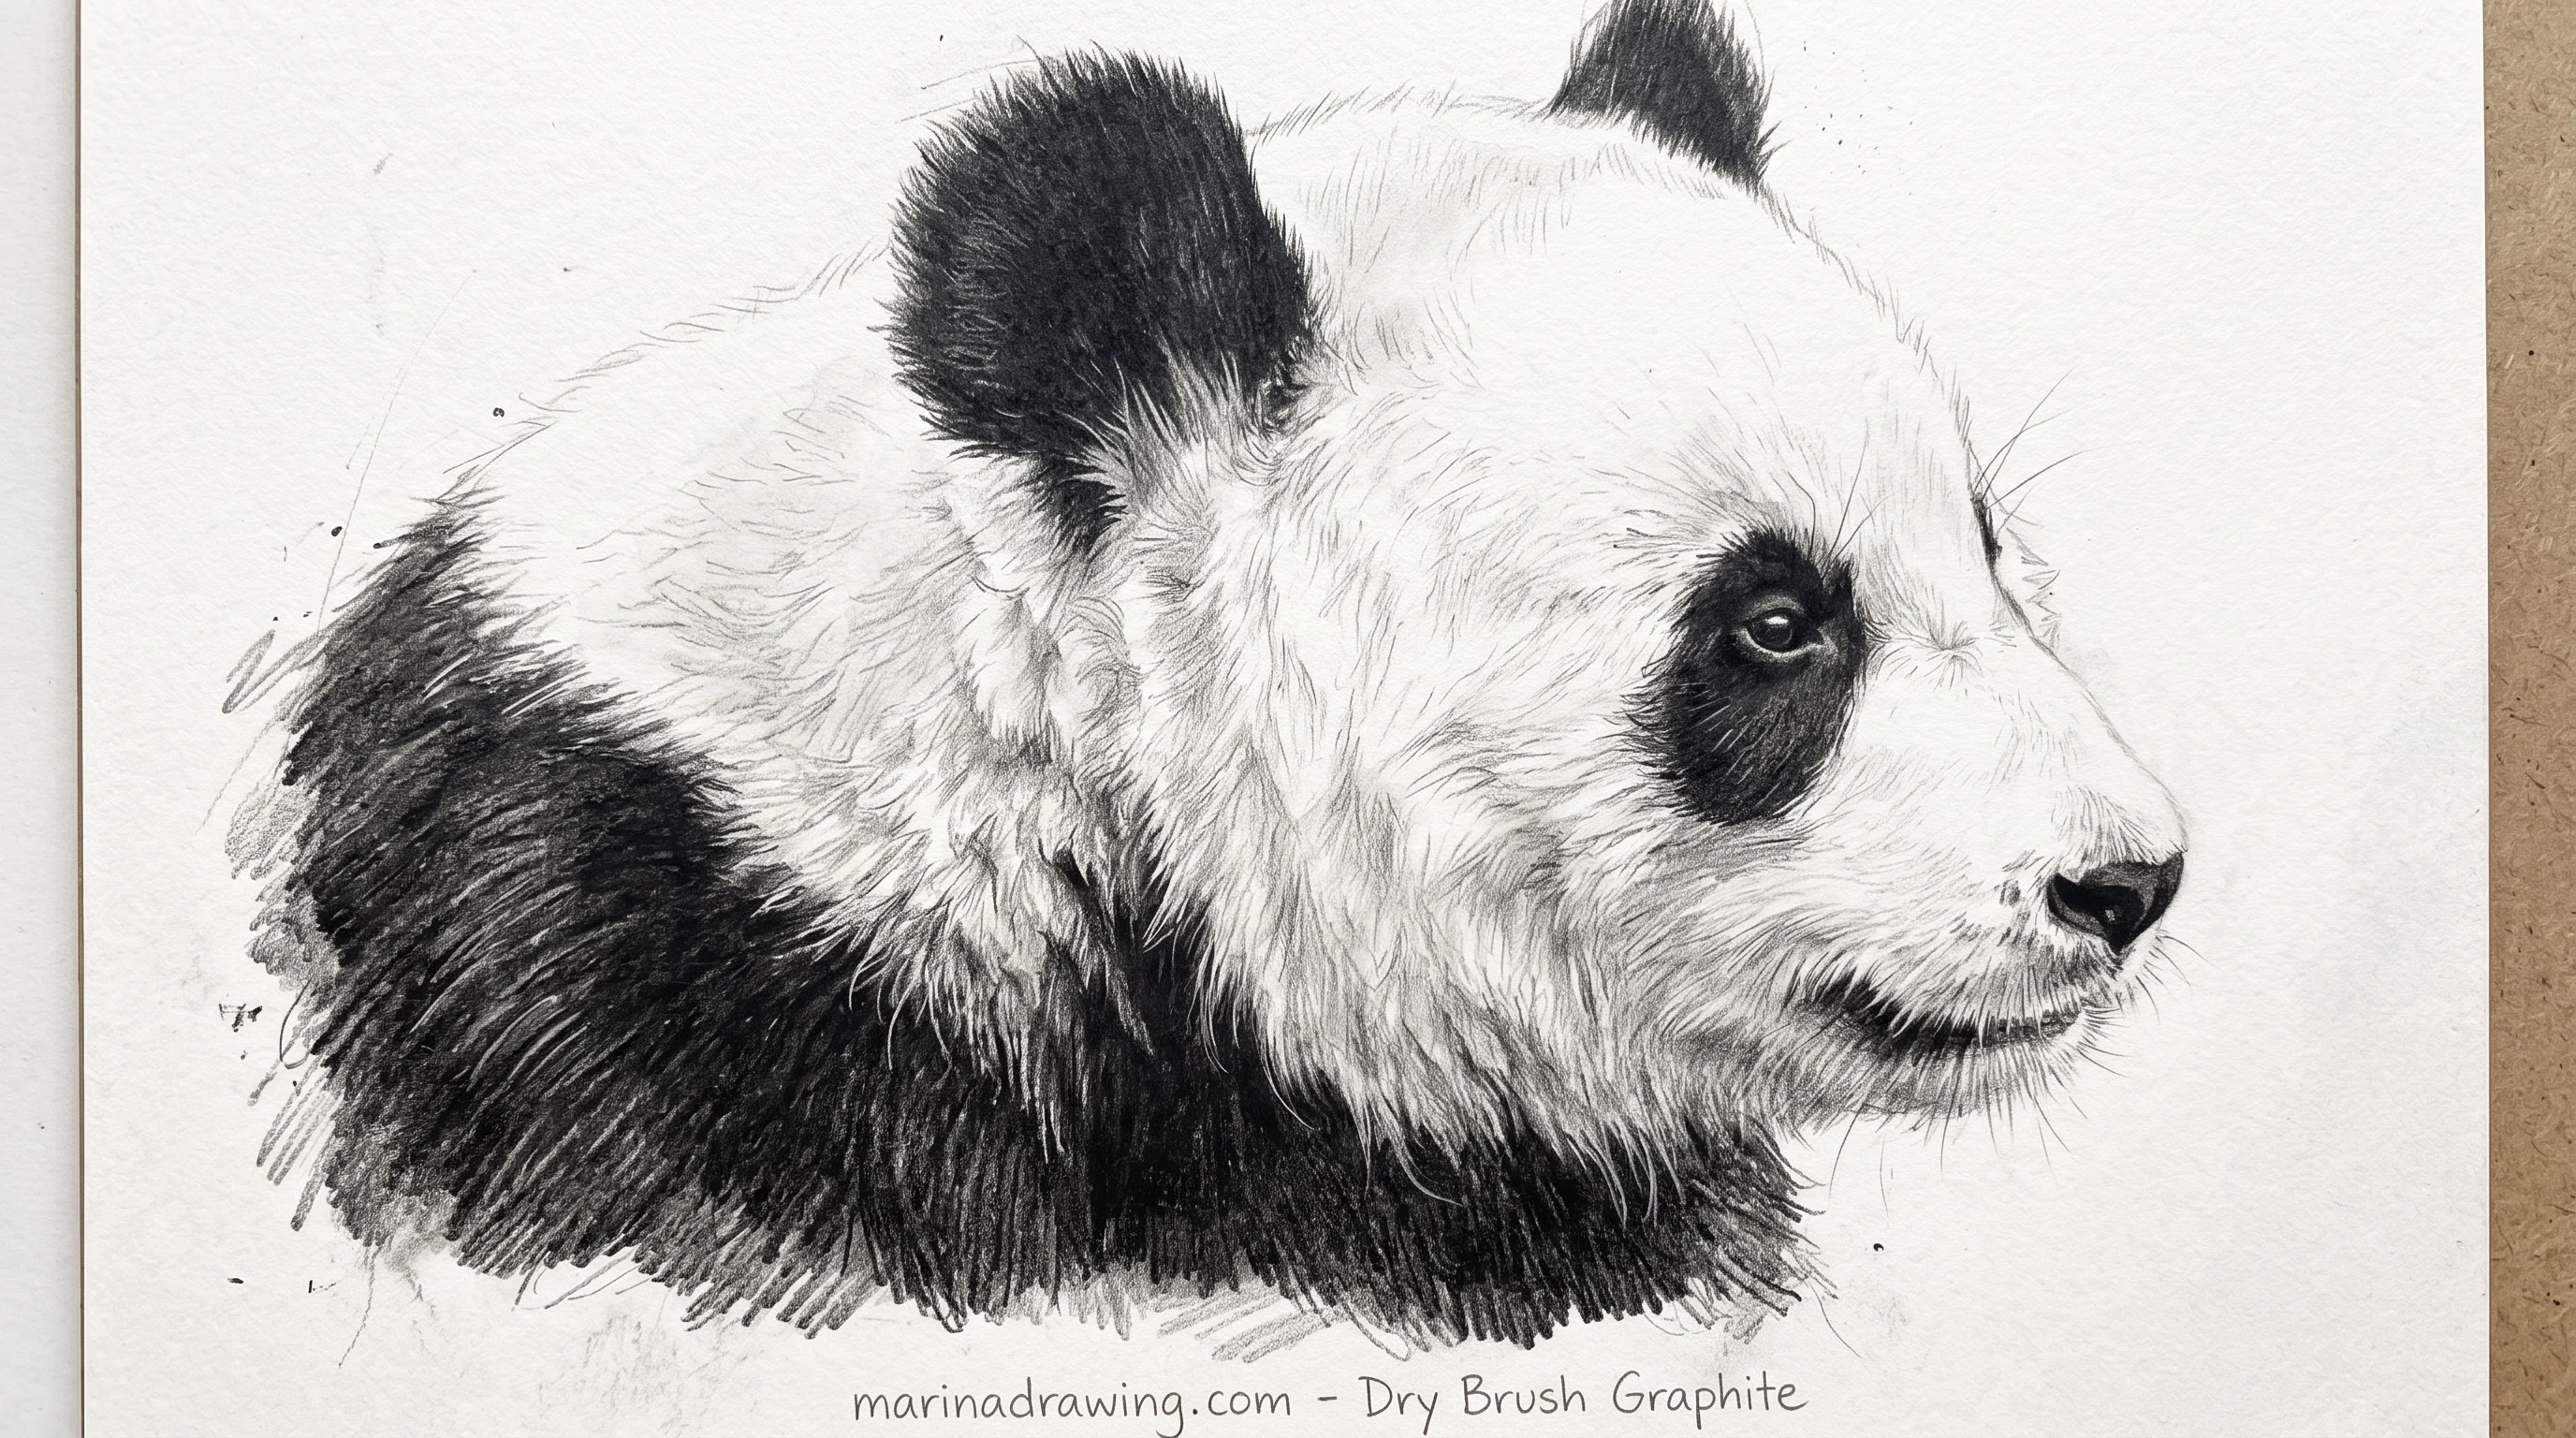
This one takes an hour, and it is where knowing the shapes stops being enough. A course with a graded value section is your shortest way across.
11. A panda outline big enough for a wall
Large-format pandas, around a light switch or across a sheet of A3, follow one extra rule: outline only, no shading, patches as flat solids. Scale up from your circle and keep every ratio.
At wall size a patch two centimetres too high shows from the doorway, so measure instead of judging. Reach for the marker only after you stand back.
Which mistake did you make?
Put your drawing next to this and read down the left column. I still check my own pandas against it.
| What you see | What is actually wrong | Your fix |
|---|---|---|
| It looks like a round bear | Your patches sit at or above the middle of the skull | Drop your eye guide below halfway, redraw the patches on it |
| The face has no expression | Your patches are circles, or have no white dot inside | Tilt each oval inward, leave a dot of paper for the eye |
| Something is missing, the face is fine | You outlined the ears instead of filling them | Fill both ears solid in the patch black |
| The head looks long | Your muzzle is stretched forward or sits too low | Shorten it to a third of the skull, tuck it under |
| The body is a white blob | No shoulder band, no black limbs | Black both paws, both back legs, and the band |
If the same row describes every panda you draw, your gap is construction rather than practice. That is where a programme that builds the order in does more for you than the next eleven pages of steps.
Questions people ask about drawing a panda
How to make panda drawing easy?
Draw a circle, two black half-circle ears, two tilted black ovals below the middle, a small nose and a short curve. Six marks. Add nothing until that reads as a panda to you.
Why does my panda look like a bear?
Your eye patches are too high and your muzzle is too long. Drop your eye guide below halfway, shorten the muzzle to a third of the skull’s width, and fill your ears black. That is usually your whole fix.
How do you do a panda face drawing?
Circle, centre line, horizontal guide below halfway. Tilted ovals on the guide, their own width apart, a dot of paper inside each. Small muzzle box beneath them, nose at its top edge. Ears last, solid black.
How to make panda drawing with colour?
Use your darkest cool grey for the black and keep real black for the nose. Lay light warm grey on the underside of the white fur and leave the lit planes as paper. One flat background colour. Three pencils, not twelve.
How do you plan a panda drawing for kids?
Draw the six-line version and let them fill your shapes with a marker. Big low patches and a tiny muzzle do all the work, and there is nothing to shade, so it finishes before their interest runs out.
How to make a red panda drawing?
Narrower skull, pointed muzzle, large ears set wide with white inside, a white face mask with dark tear lines from the eyes, and a long thick tail with at least five clearly separated rings. You build it differently, you do not recolour it.
Which panda should I draw first?
The six-line one, then the cute face, then the bamboo pose. If you want that order chosen for you, a graded course sequences subjects by difficulty.
Key takeaways
- Your panda is read by its black shapes. Place those correctly and your outline barely matters.
- Your eye guide goes below the middle of the skull. Across the middle is the commonest mistake you can make.
- Patches are tilted ovals a quarter of the skull wide, their own width apart, each with a dot of paper for the eye.
- Ears are solid black half-circles set wide. Outlined ears break your drawing.
- Your muzzle is short, a third of the skull wide, tucked under the patches.
- Cute is a ratio: bigger patches, lower on the skull, tiny muzzle.
- Bodies need the shoulder band and black limbs, or they stay white blobs.
Draw two or three and you will know which row is yours. I keep the same habit on other animals: the fox, the duck, plain drawing practice. Want the placement drilled instead of read? A construction-first course moved mine.