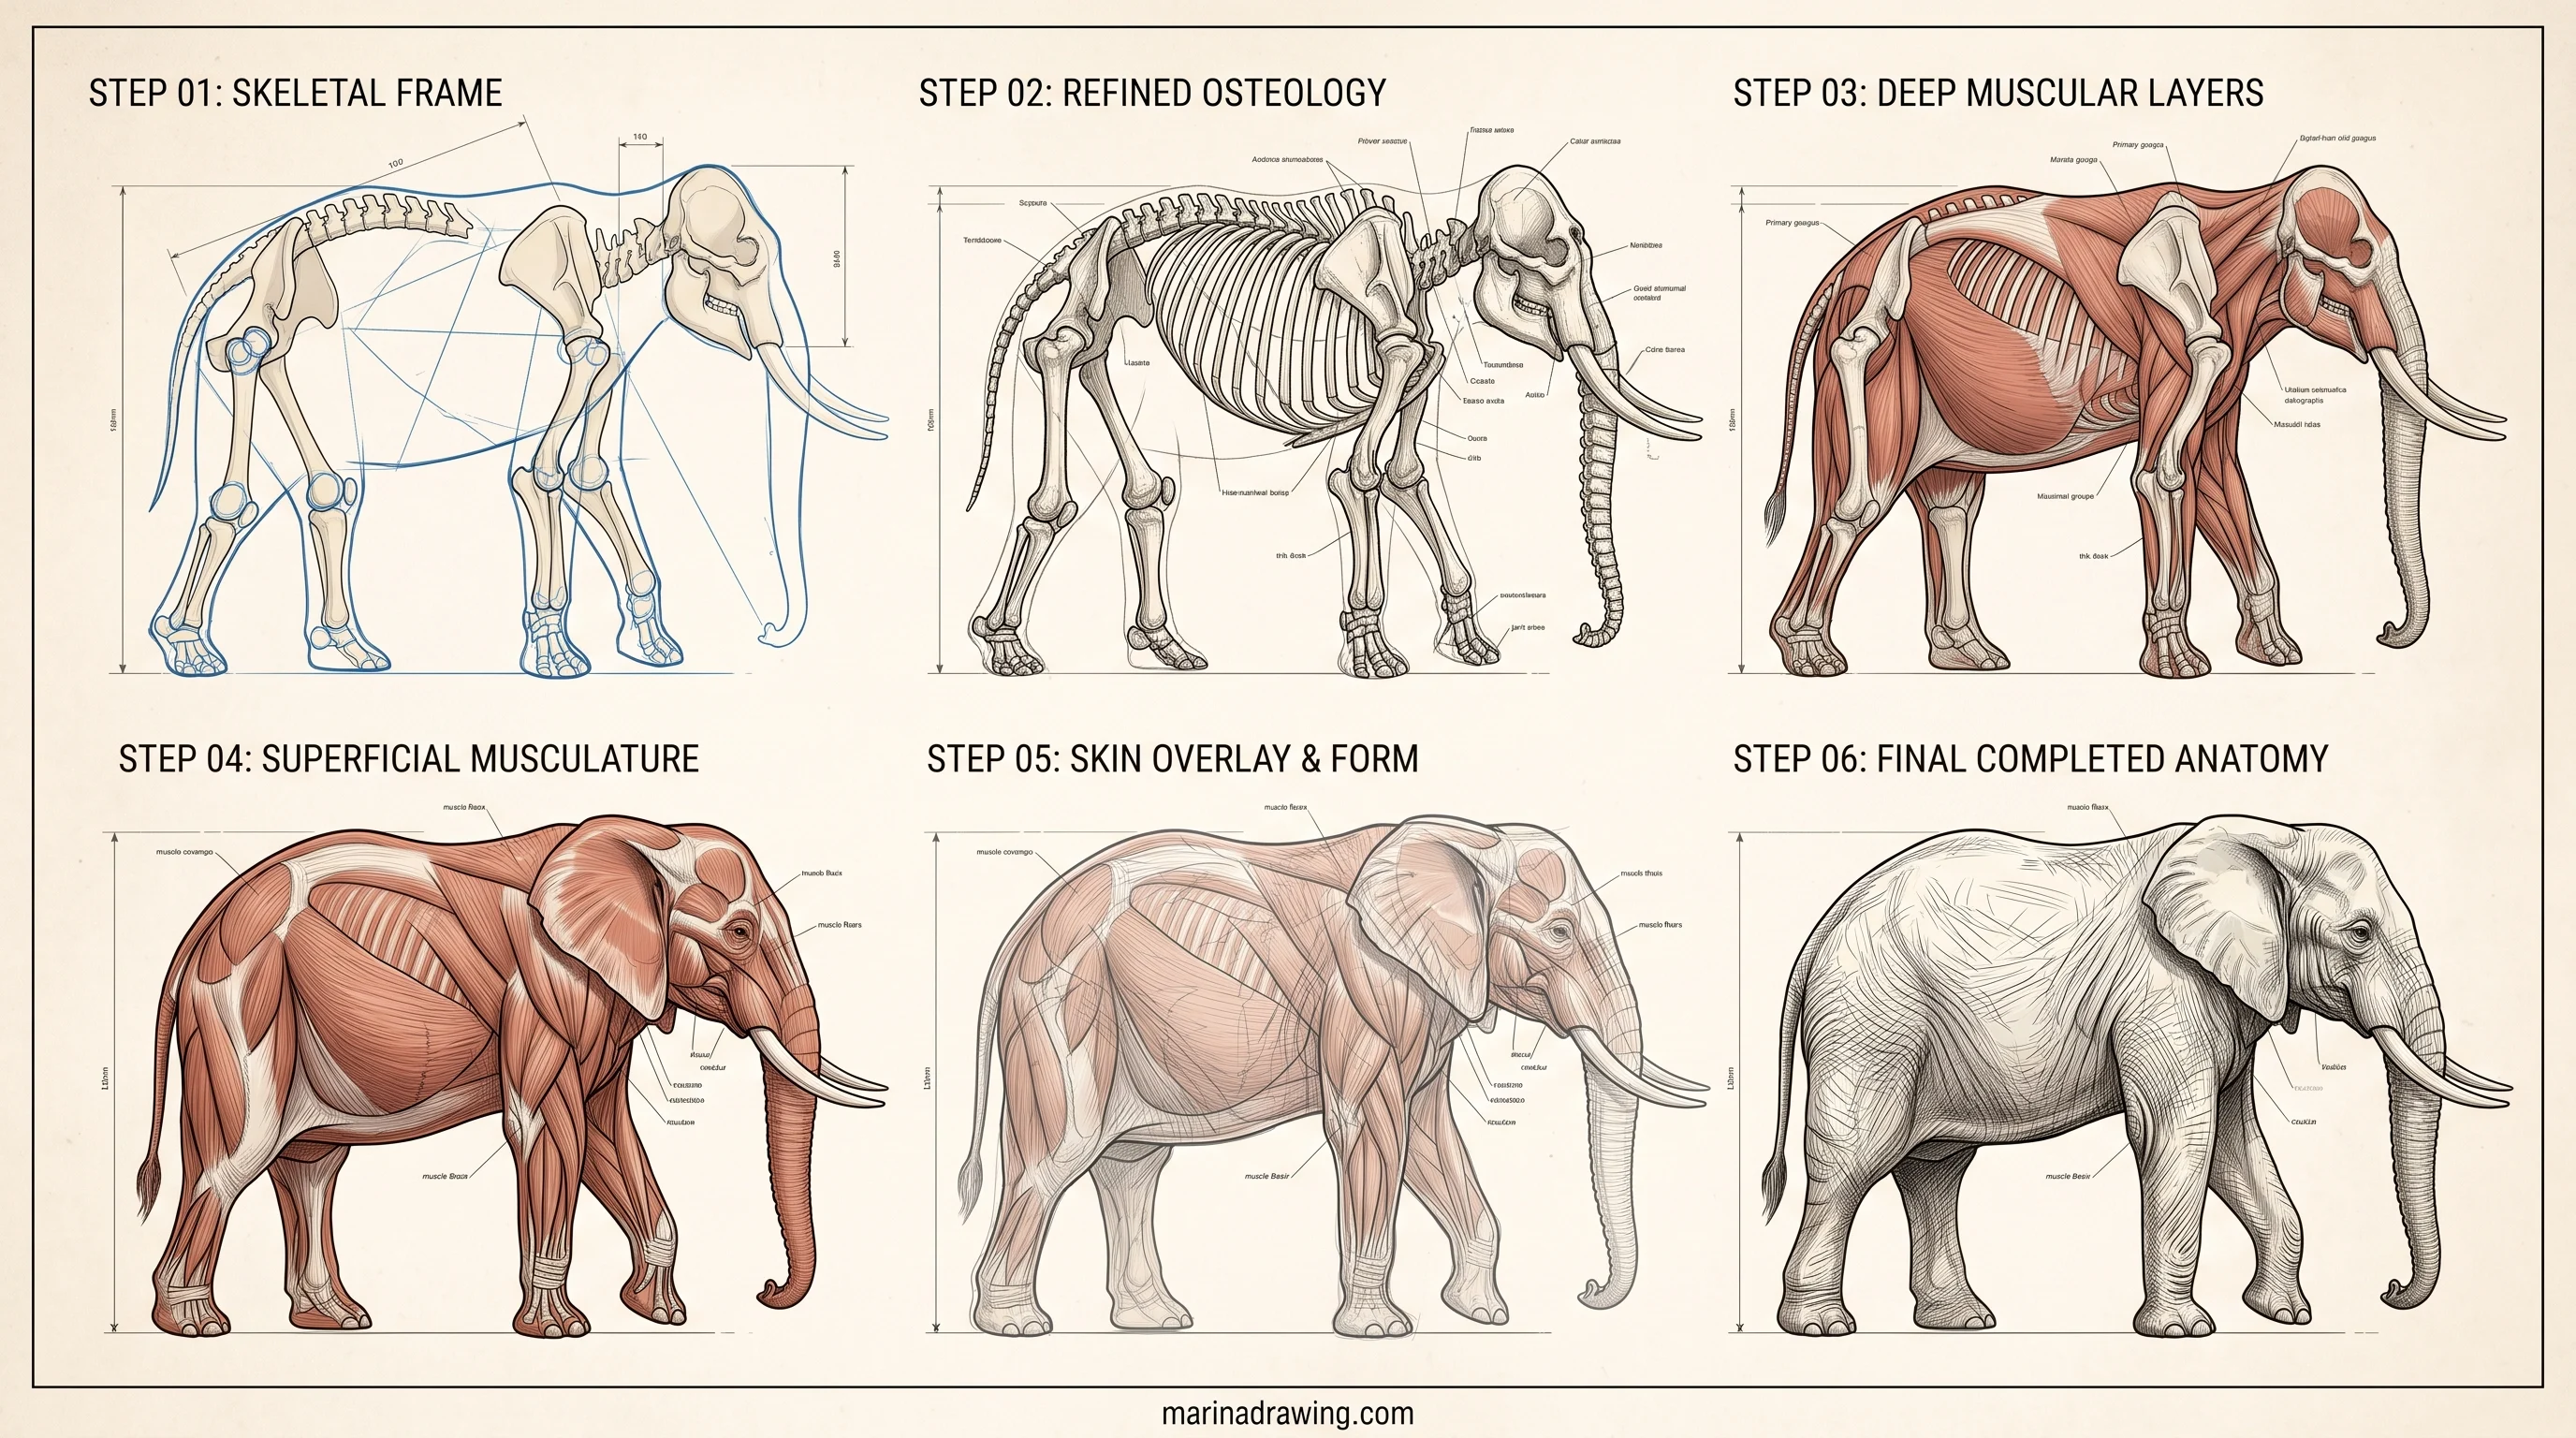
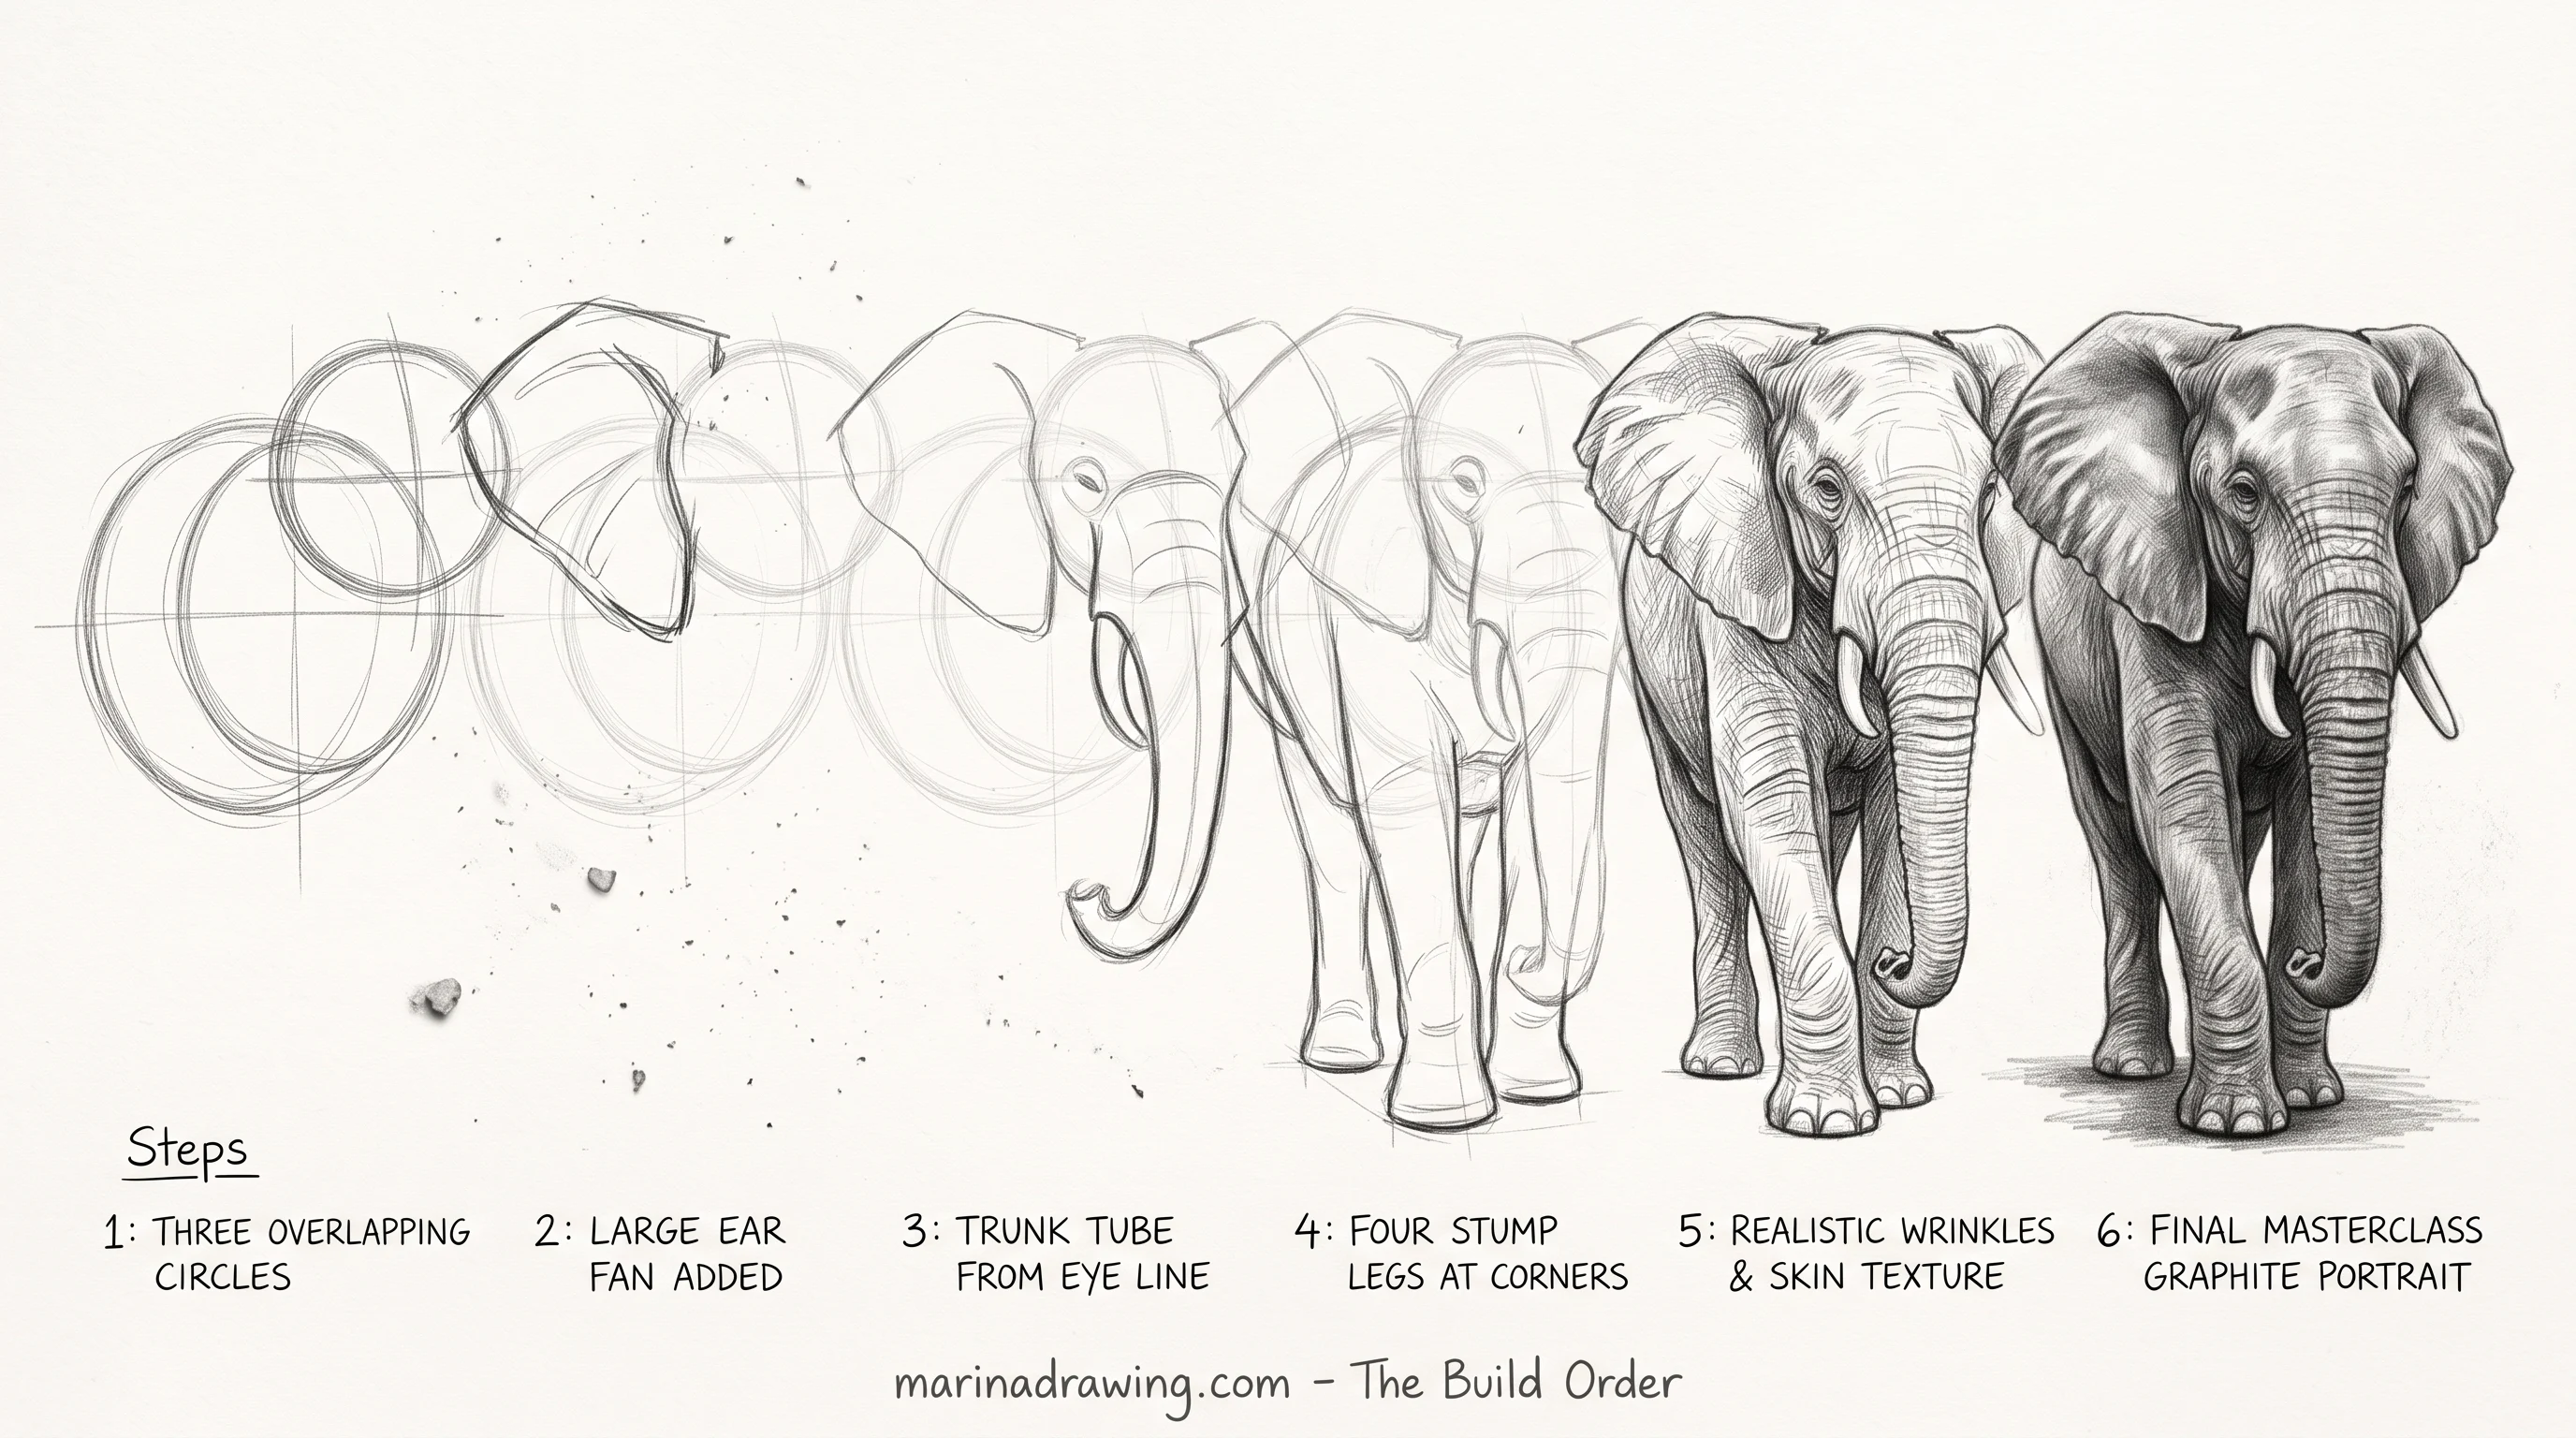
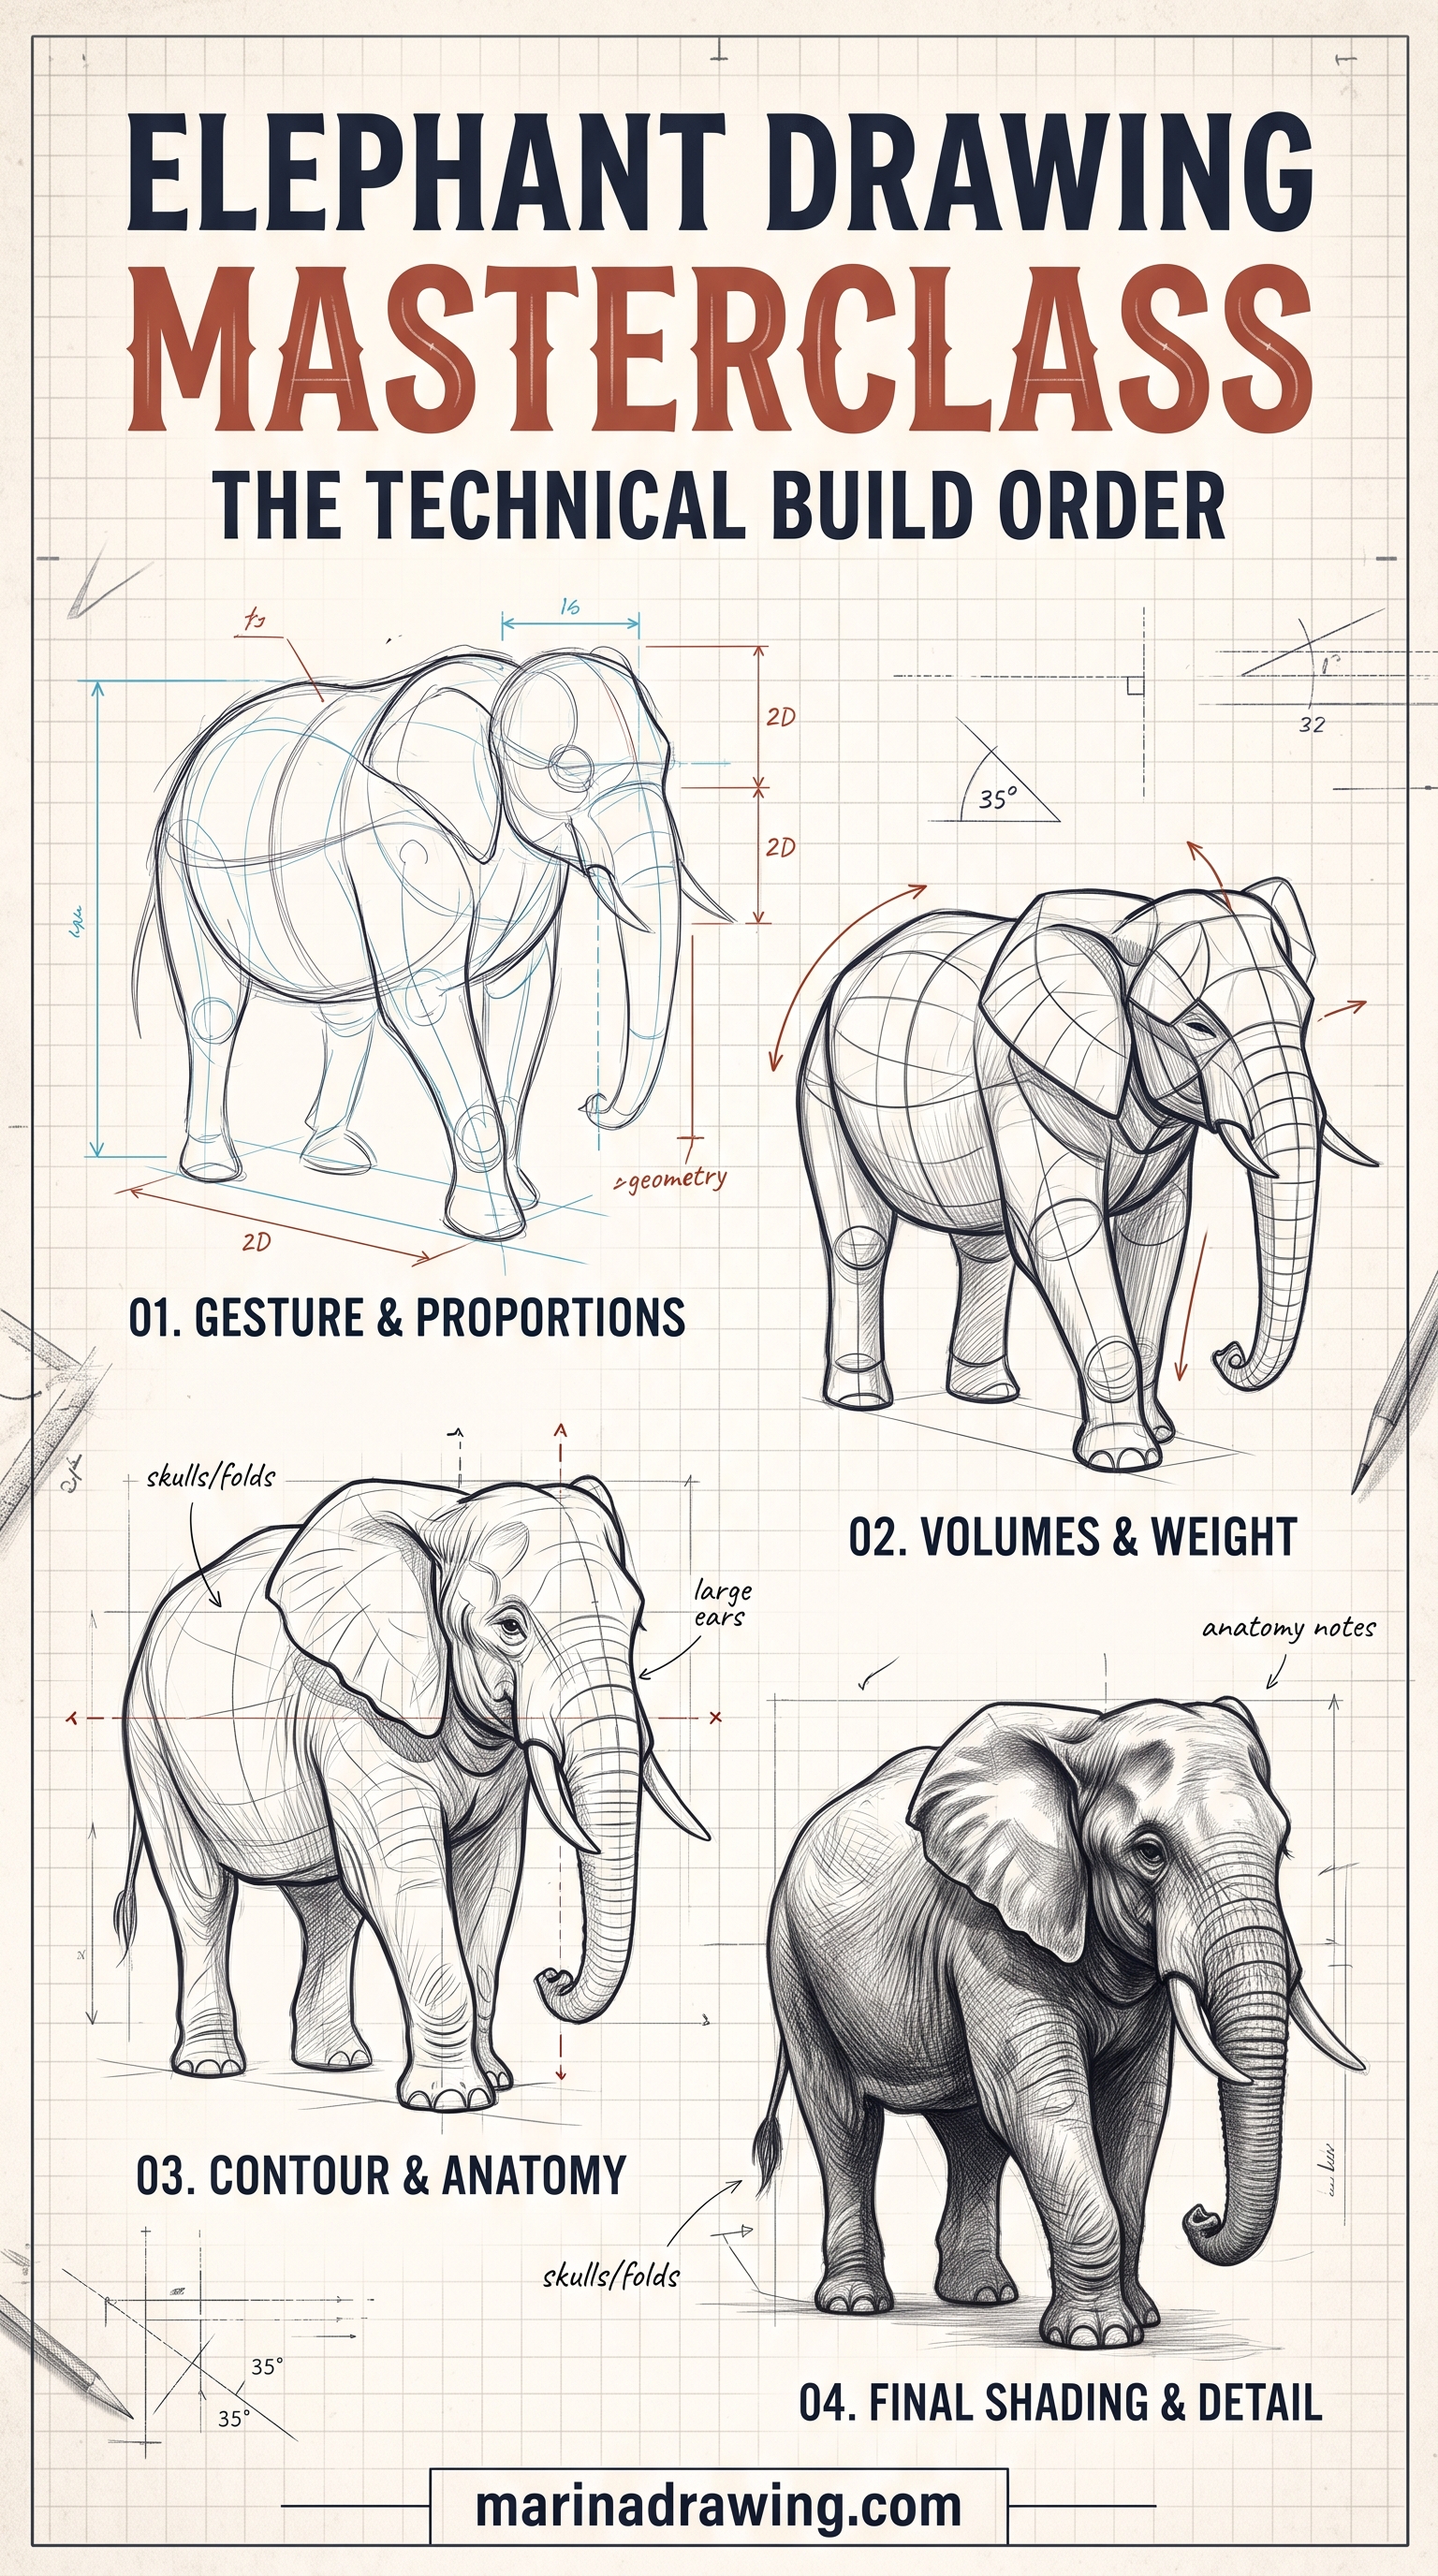
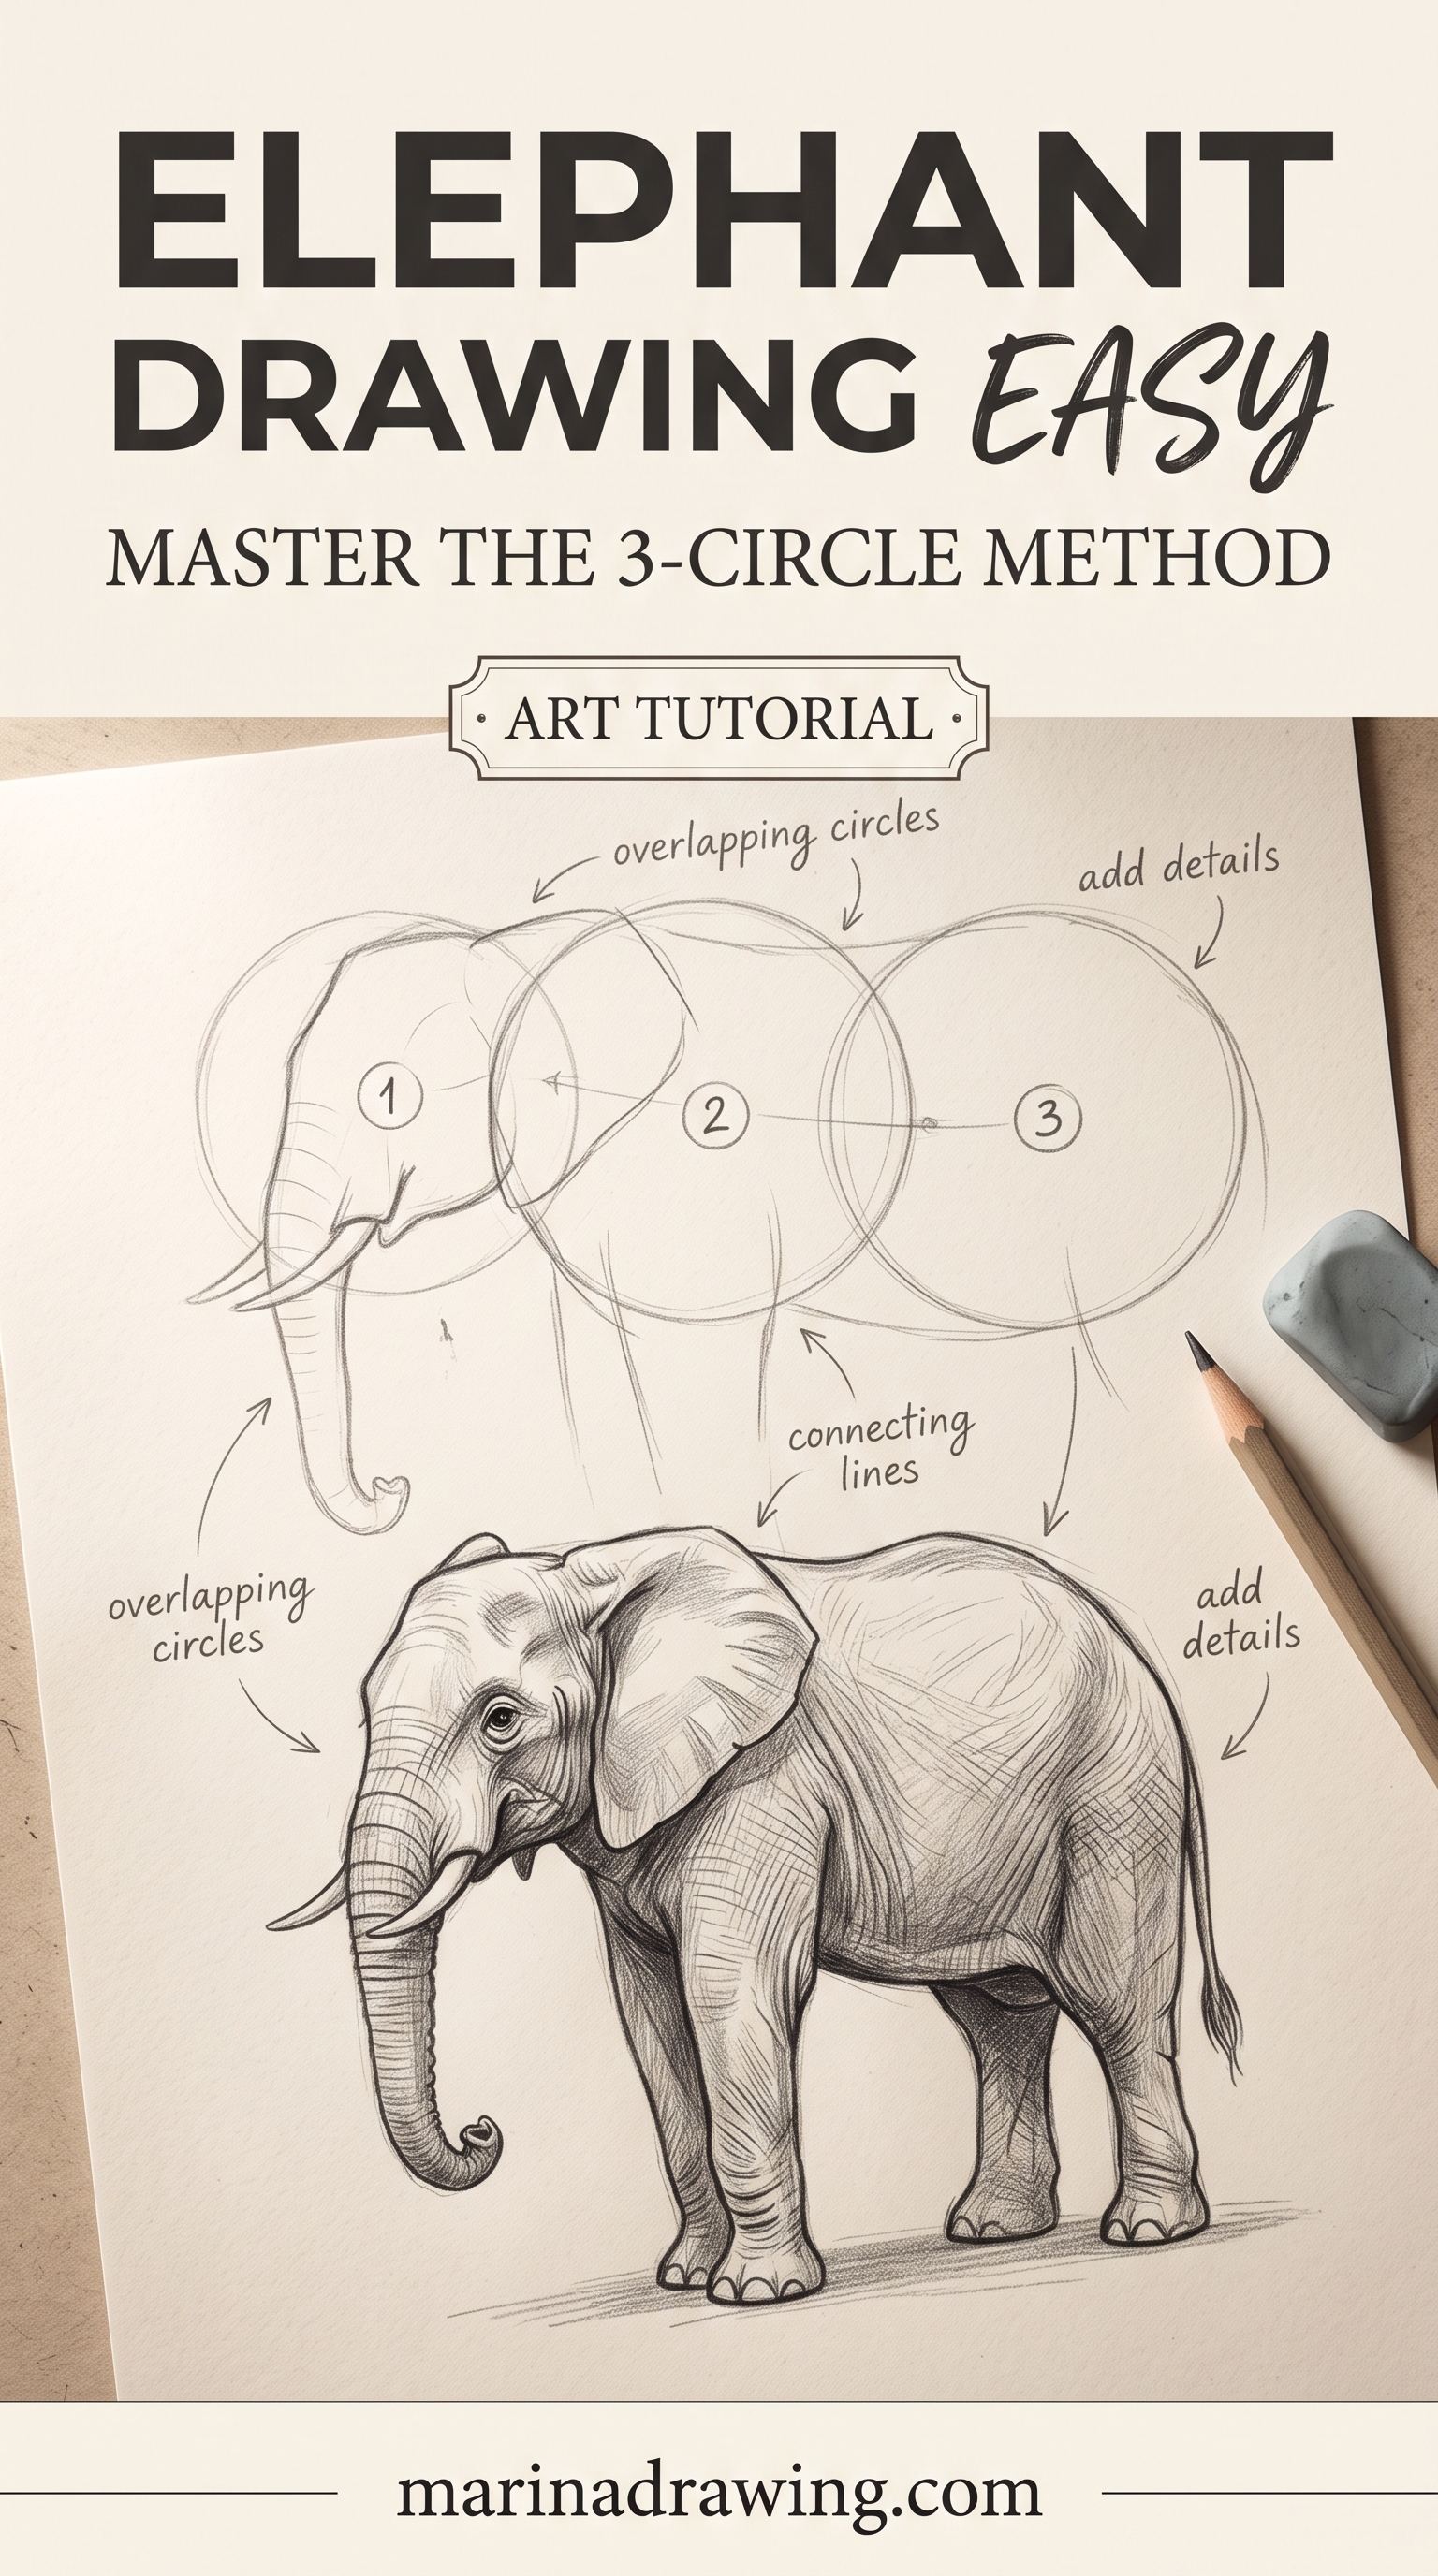
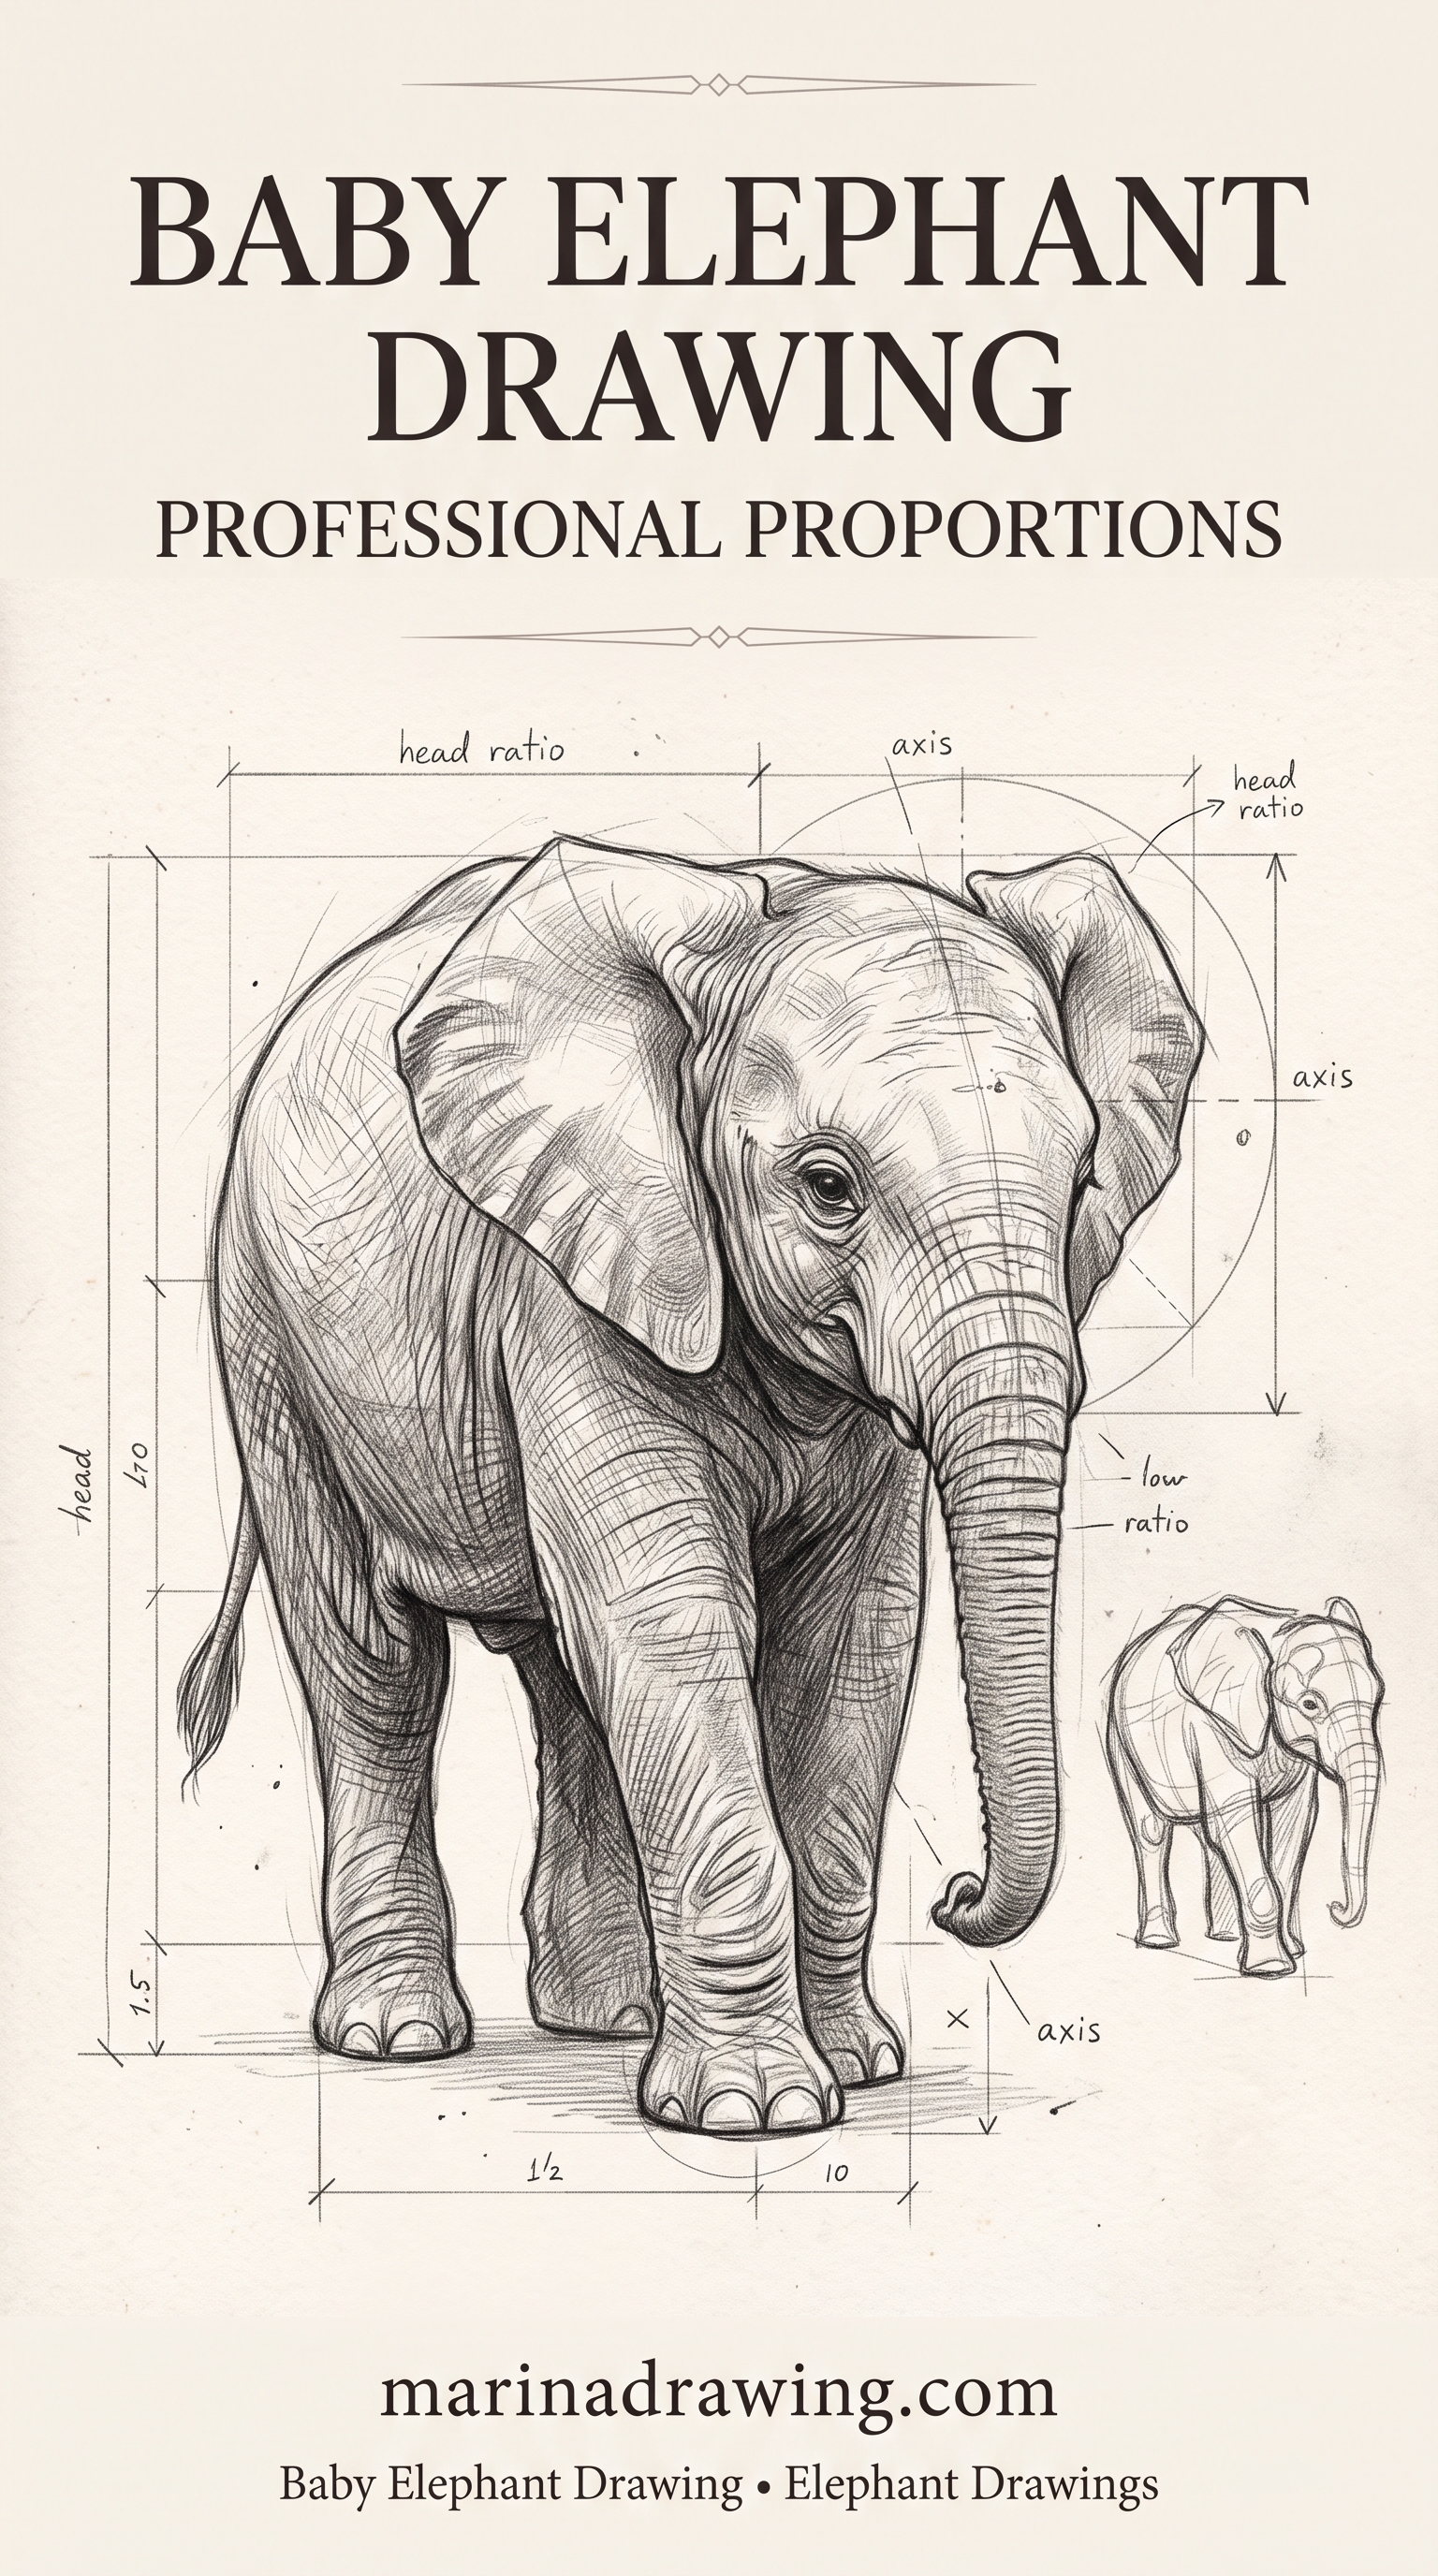
An elephant is three circles, two fans and a tube. Put those five shapes in the right places and you have the animal before a single wrinkle: chest and rump circles overlapping, a head circle half the chest wide, an ear fan wider than that head, and a trunk tapering down from the eye line.
The cute elephant drawings you keep scrolling past make it look obvious. If yours comes out as a hippo with a hose attached, your line quality is not what failed you: your ears are too small and your trunk starts in the wrong spot, and no step-by-step page says so.
An elephant reads as an elephant because of ear size and where the trunk leaves the face. A fan wider than the whole head, hanging from the crown down past the jaw, and a tapering tube that starts between the eyes. Shrink your ear or drop your trunk and you have drawn a hippo.
Quick answer: draw three overlapping circles for chest, rump and head. Hang an ear fan on the head that is wider than the head itself. Start your trunk between the eyes and taper it over about one and a half heads. Then pick your elephant from the eleven below and read the table near the end for your own mistake.
Three circles decide the elephant, not the trunk
Every elephant here starts with five light marks, still movable, before any outline.
Check them while your pencil still lifts off cleanly. Want these ratios drilled rather than listed? A structured pencil drawing programme works through construction subject by subject.
- The chest circle. The biggest of the three. This is the front half of your body shape.
- The rump circle. Slightly smaller, set to the right, overlapping the chest by about a quarter. The dip between them is your back.
- The head circle. Half the chest circle wide, sitting above and forward, touching the chest.
- The ear fan. One on the near side, one peeking behind. Your near one is wider than the head circle and drops from the crown to below the jaw. This is the mark everybody draws too small.
- The trunk tube. Two lines, not one. They leave the eye line between the eyes and converge as they fall, over about one and a half head circles.
Your legs come after, with their own rule: each as tall as the chest circle is wide, a third of that thick, set at the outside corners rather than under the belly. Four stumps at the corners hold an elephant up. Four under the middle give you a cow.
Whether your elephant works is settled in those five marks. The rest is detailing a decision you already made.
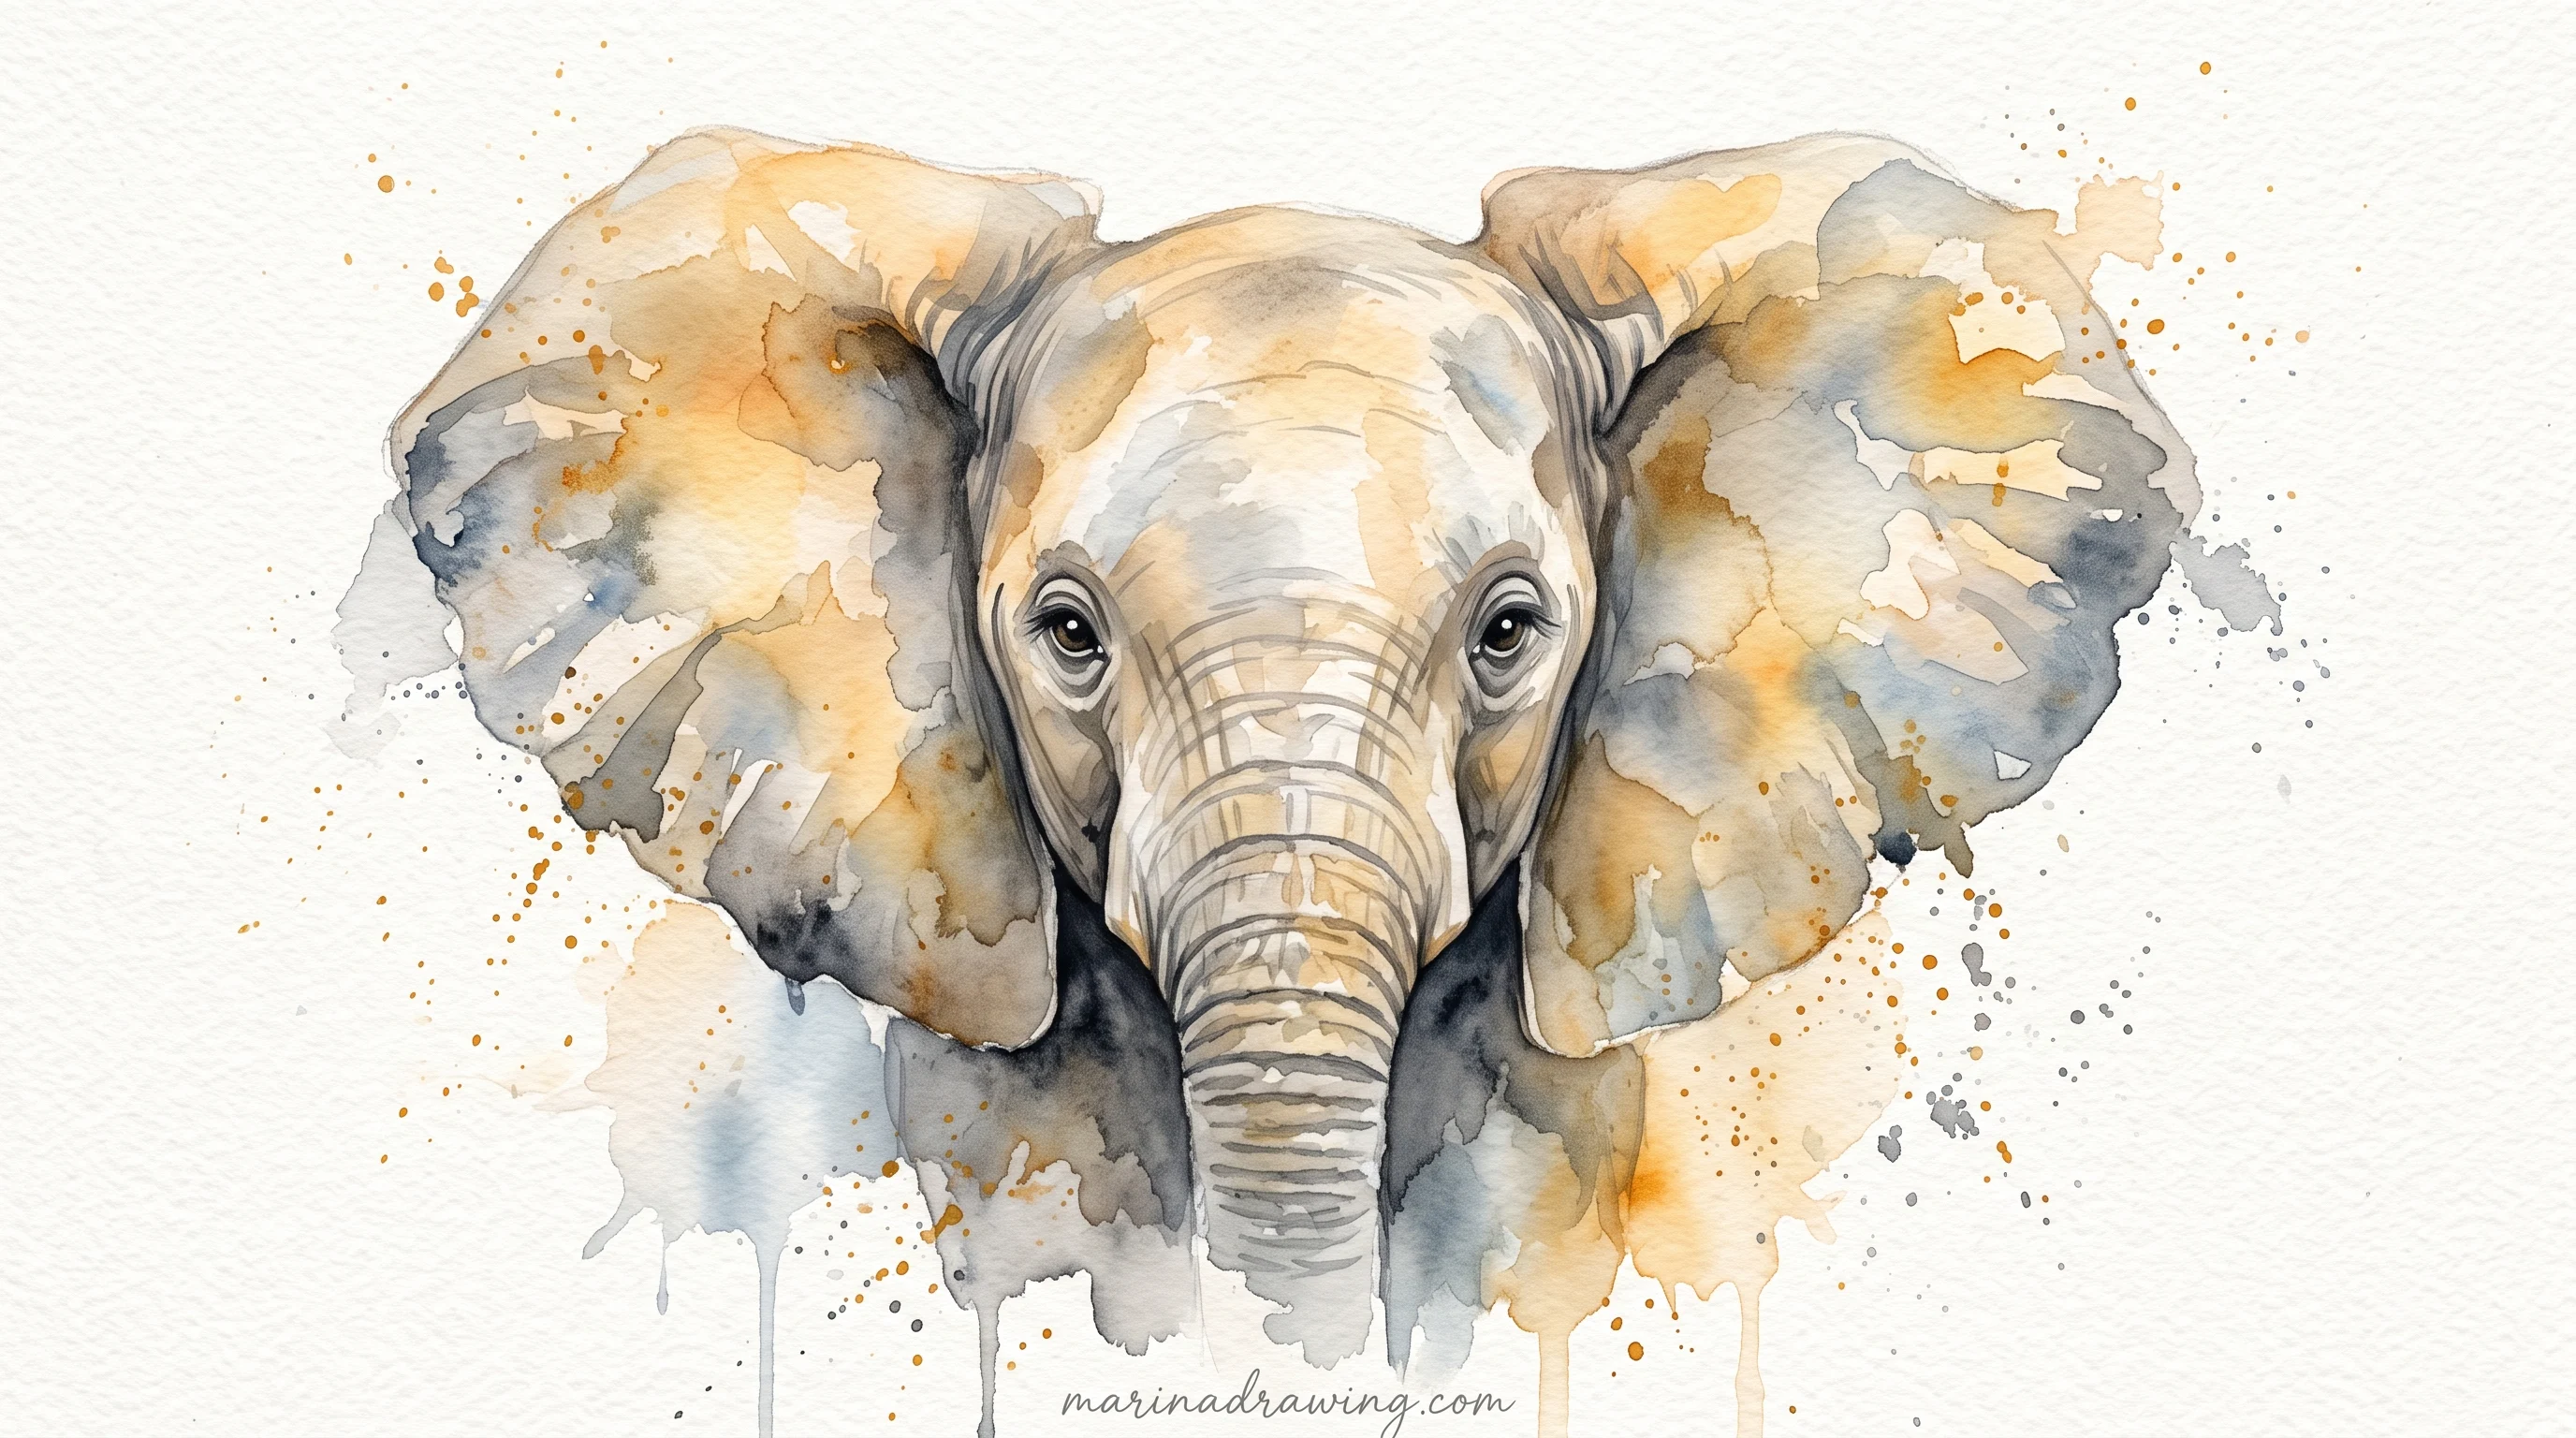
Where elephant drawings go wrong
Twenty pages went under the ruler, nine left standing once the thin ones and the mirror sites dropped out. The tally:
| What was looked for | Pages that had it |
|---|---|
| A section on what goes wrong | 0 of 9 |
| Elephant proportions given as a number or a fraction | 0 of 9 |
| A wrong elephant drawn beside a right one | 0 of 9 |
| A set of ideas with a technique attached to each | 1 of 9 |
| Numbers about time, paper or pen width only | 4 of 9 |
Every number on offer was materials and minutes: forty minutes, ten sheets, three hundred gsm paper, liner widths from 0.05 to 0.8 mm. Not one told you how much bigger your ear should be than your head.
Each page shows its own elephant going right, in sixteen photographs if it is the thorough one. None shows the one that came off your pencil.
Four mistakes account for nearly all of it, and one of them is probably yours:
- You drew the ear smaller than the head, or tucked it in behind.
- Your trunk leaves the bottom of the face instead of starting between the eyes.
- Your trunk is an even-width line rather than a tube that tapers.
- Your legs sit under the belly instead of at the four outside corners.
None of those nine pages names any of them. All four are placement problems you settle in the first minute, which is why another set of steps rarely helps. The steps are fine; what they skip is the thing you got wrong.
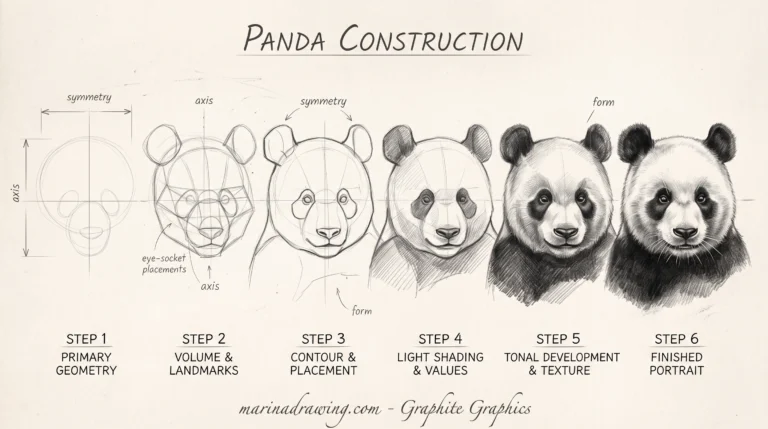
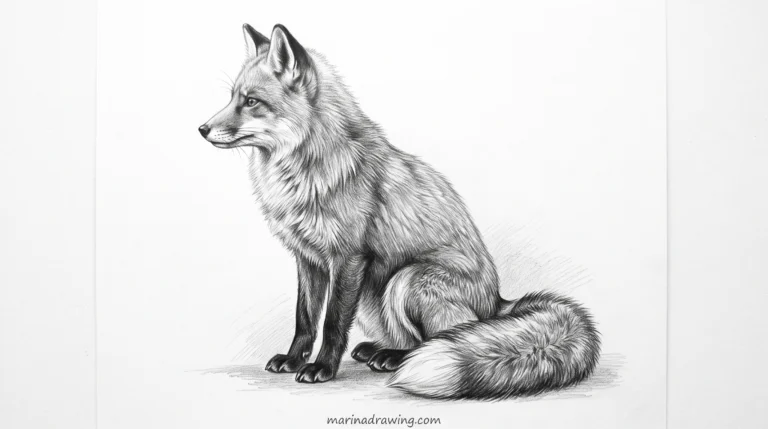
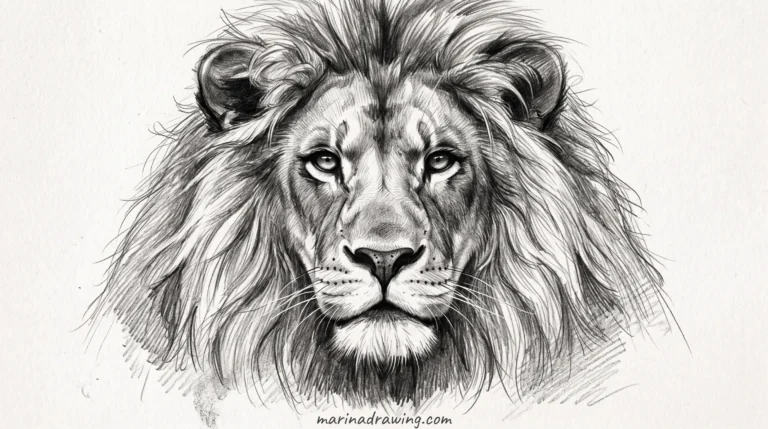
This is not an elephant problem. Among self-taught artists the usual complaint is that something looks off, while the word that fixes it turns up in barely one post in seventy. Same trap, different animal: the panda, the fox and the cute lion all fail on you this way too.
What you need: one pencil, one eraser, one pen
Every elephant here works with three things.
- One sharp 2B pencil for your circles and guides.
- An eraser that lifts guides cleanly, not smearing them.
- One black fineliner, medium width. A fine nib makes wrinkles disappear; a fat one turns them to mud.
- Optional: three grey pencils for the realistic one. Three, not a set of twelve.
Buy a boxed set before you can place an ear and your evening becomes sorting pencils. That was me once, sorting a tin of forty-eight instead of drawing. A drawing app does the same to you: it tidies your line and leaves your placement as wrong as it was.
1. Elephant drawing easy: the five-shape version
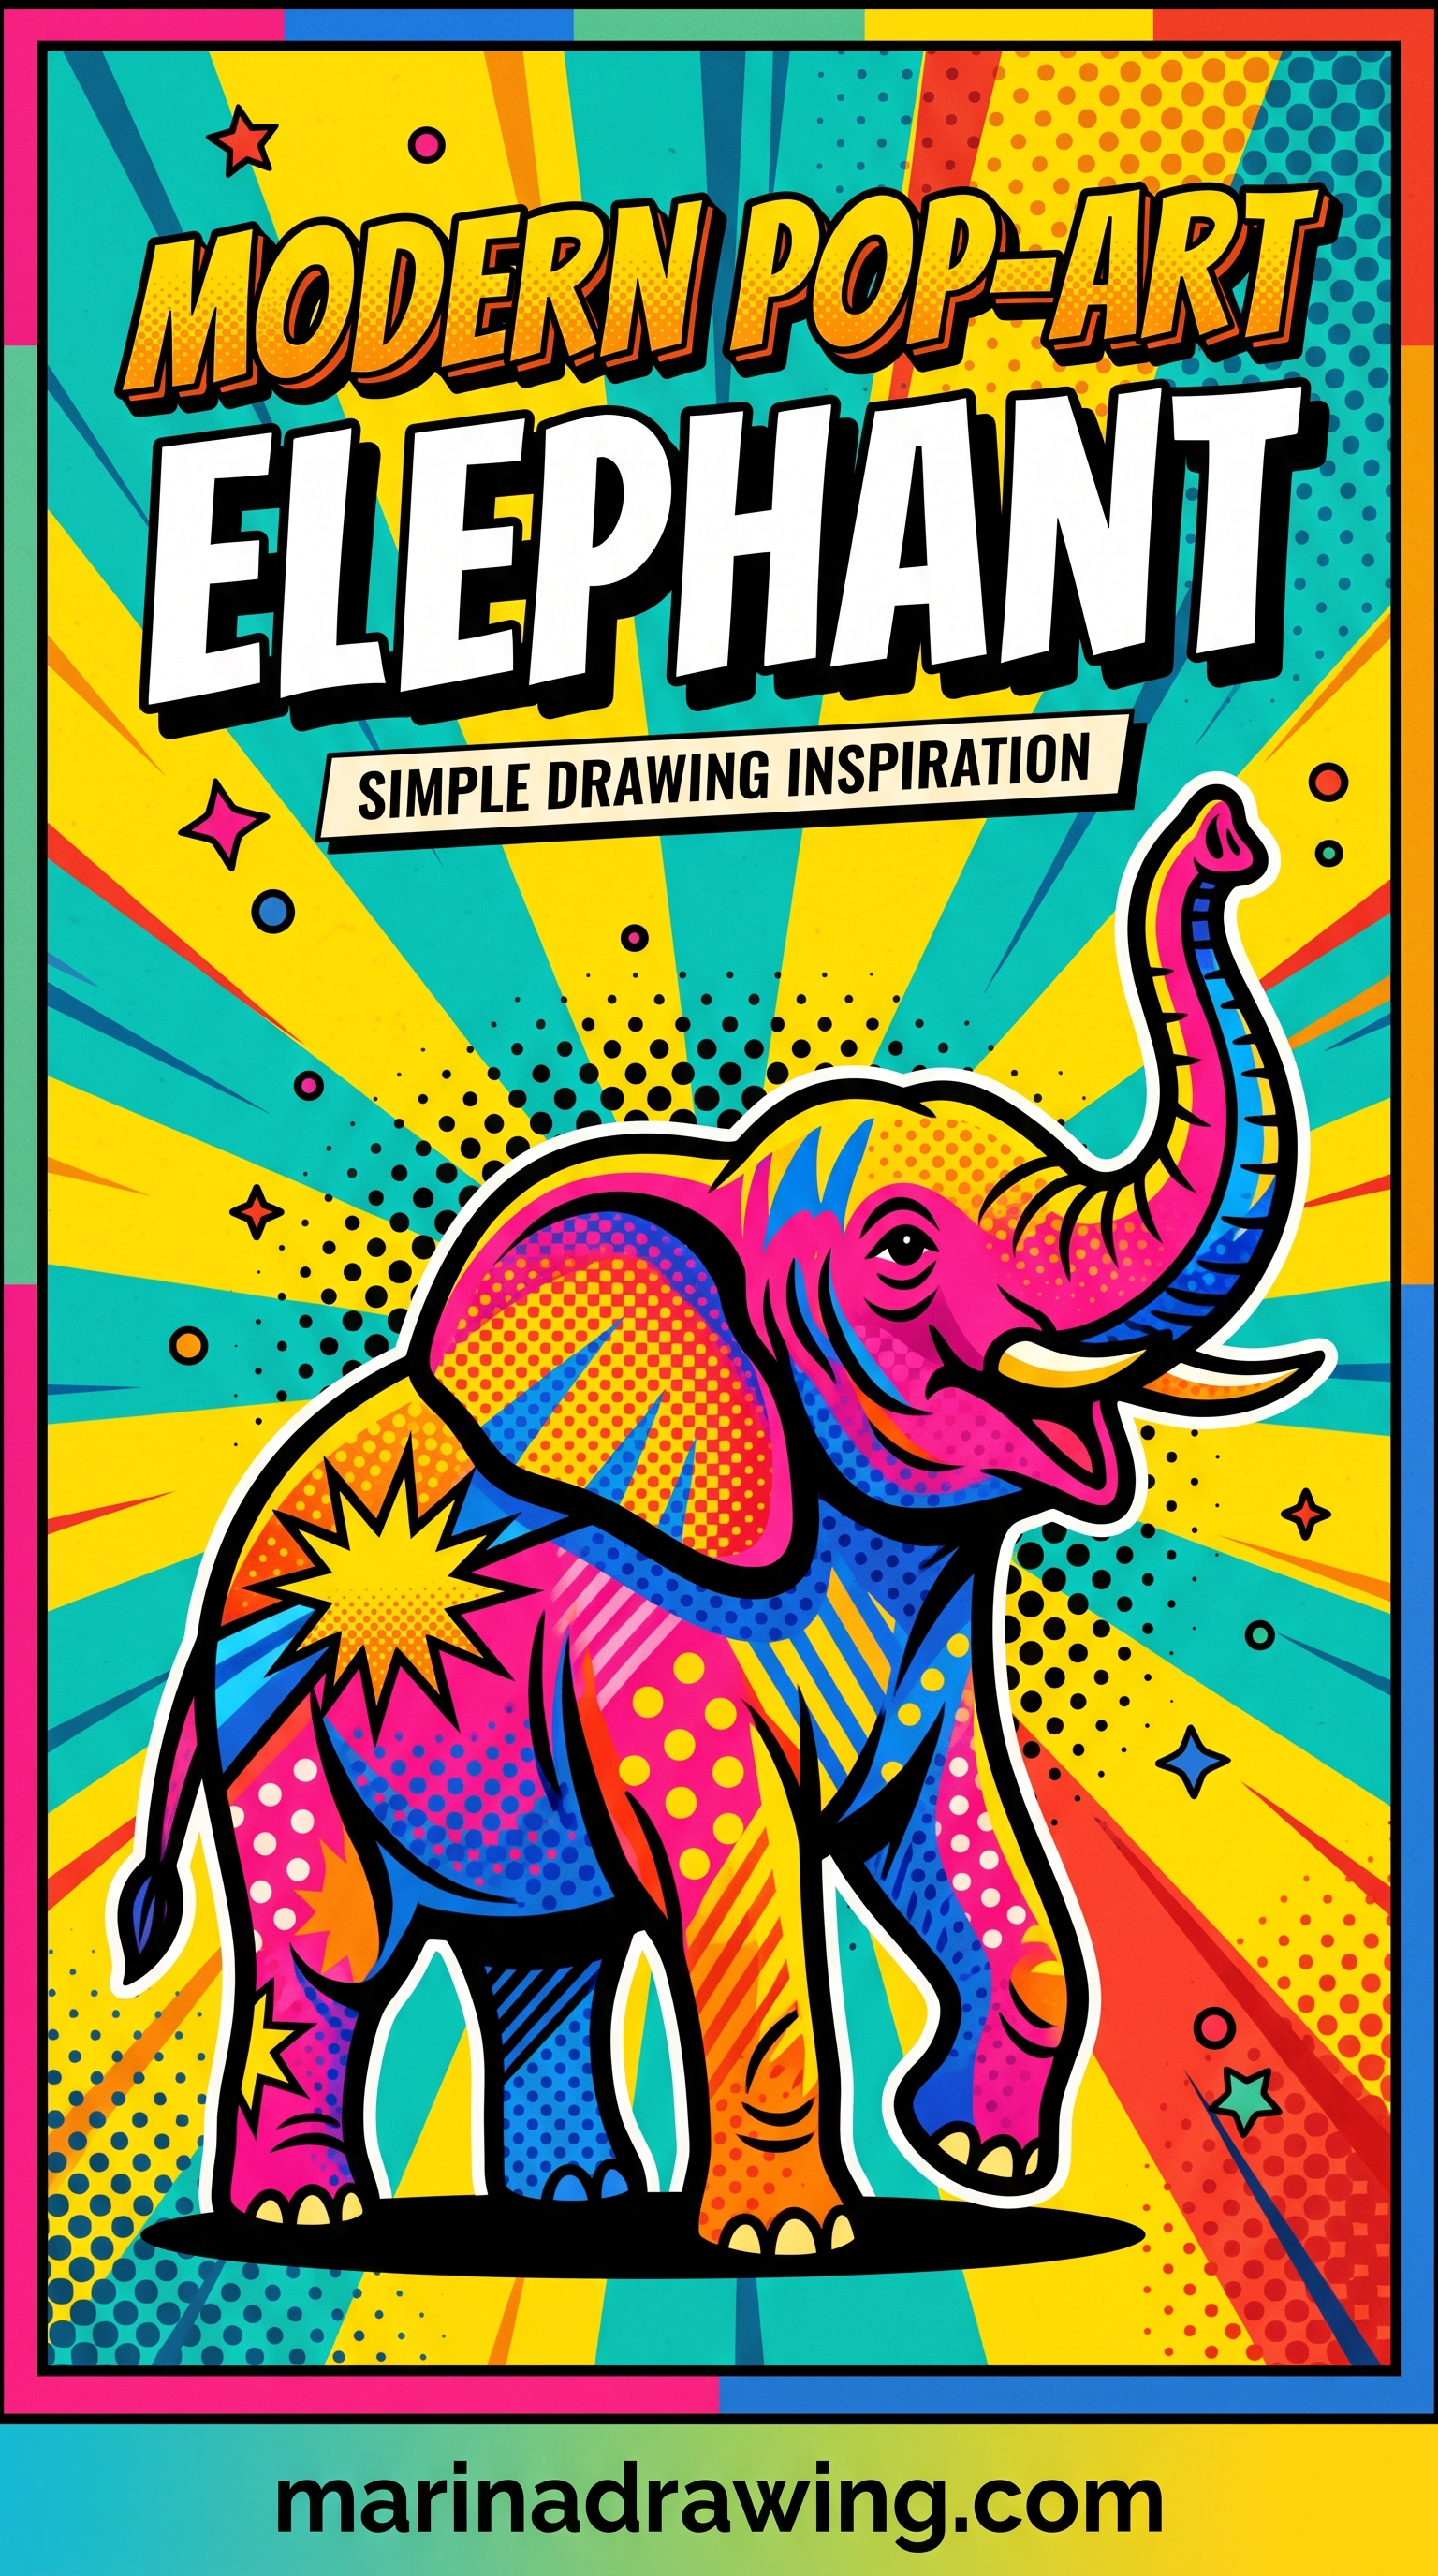
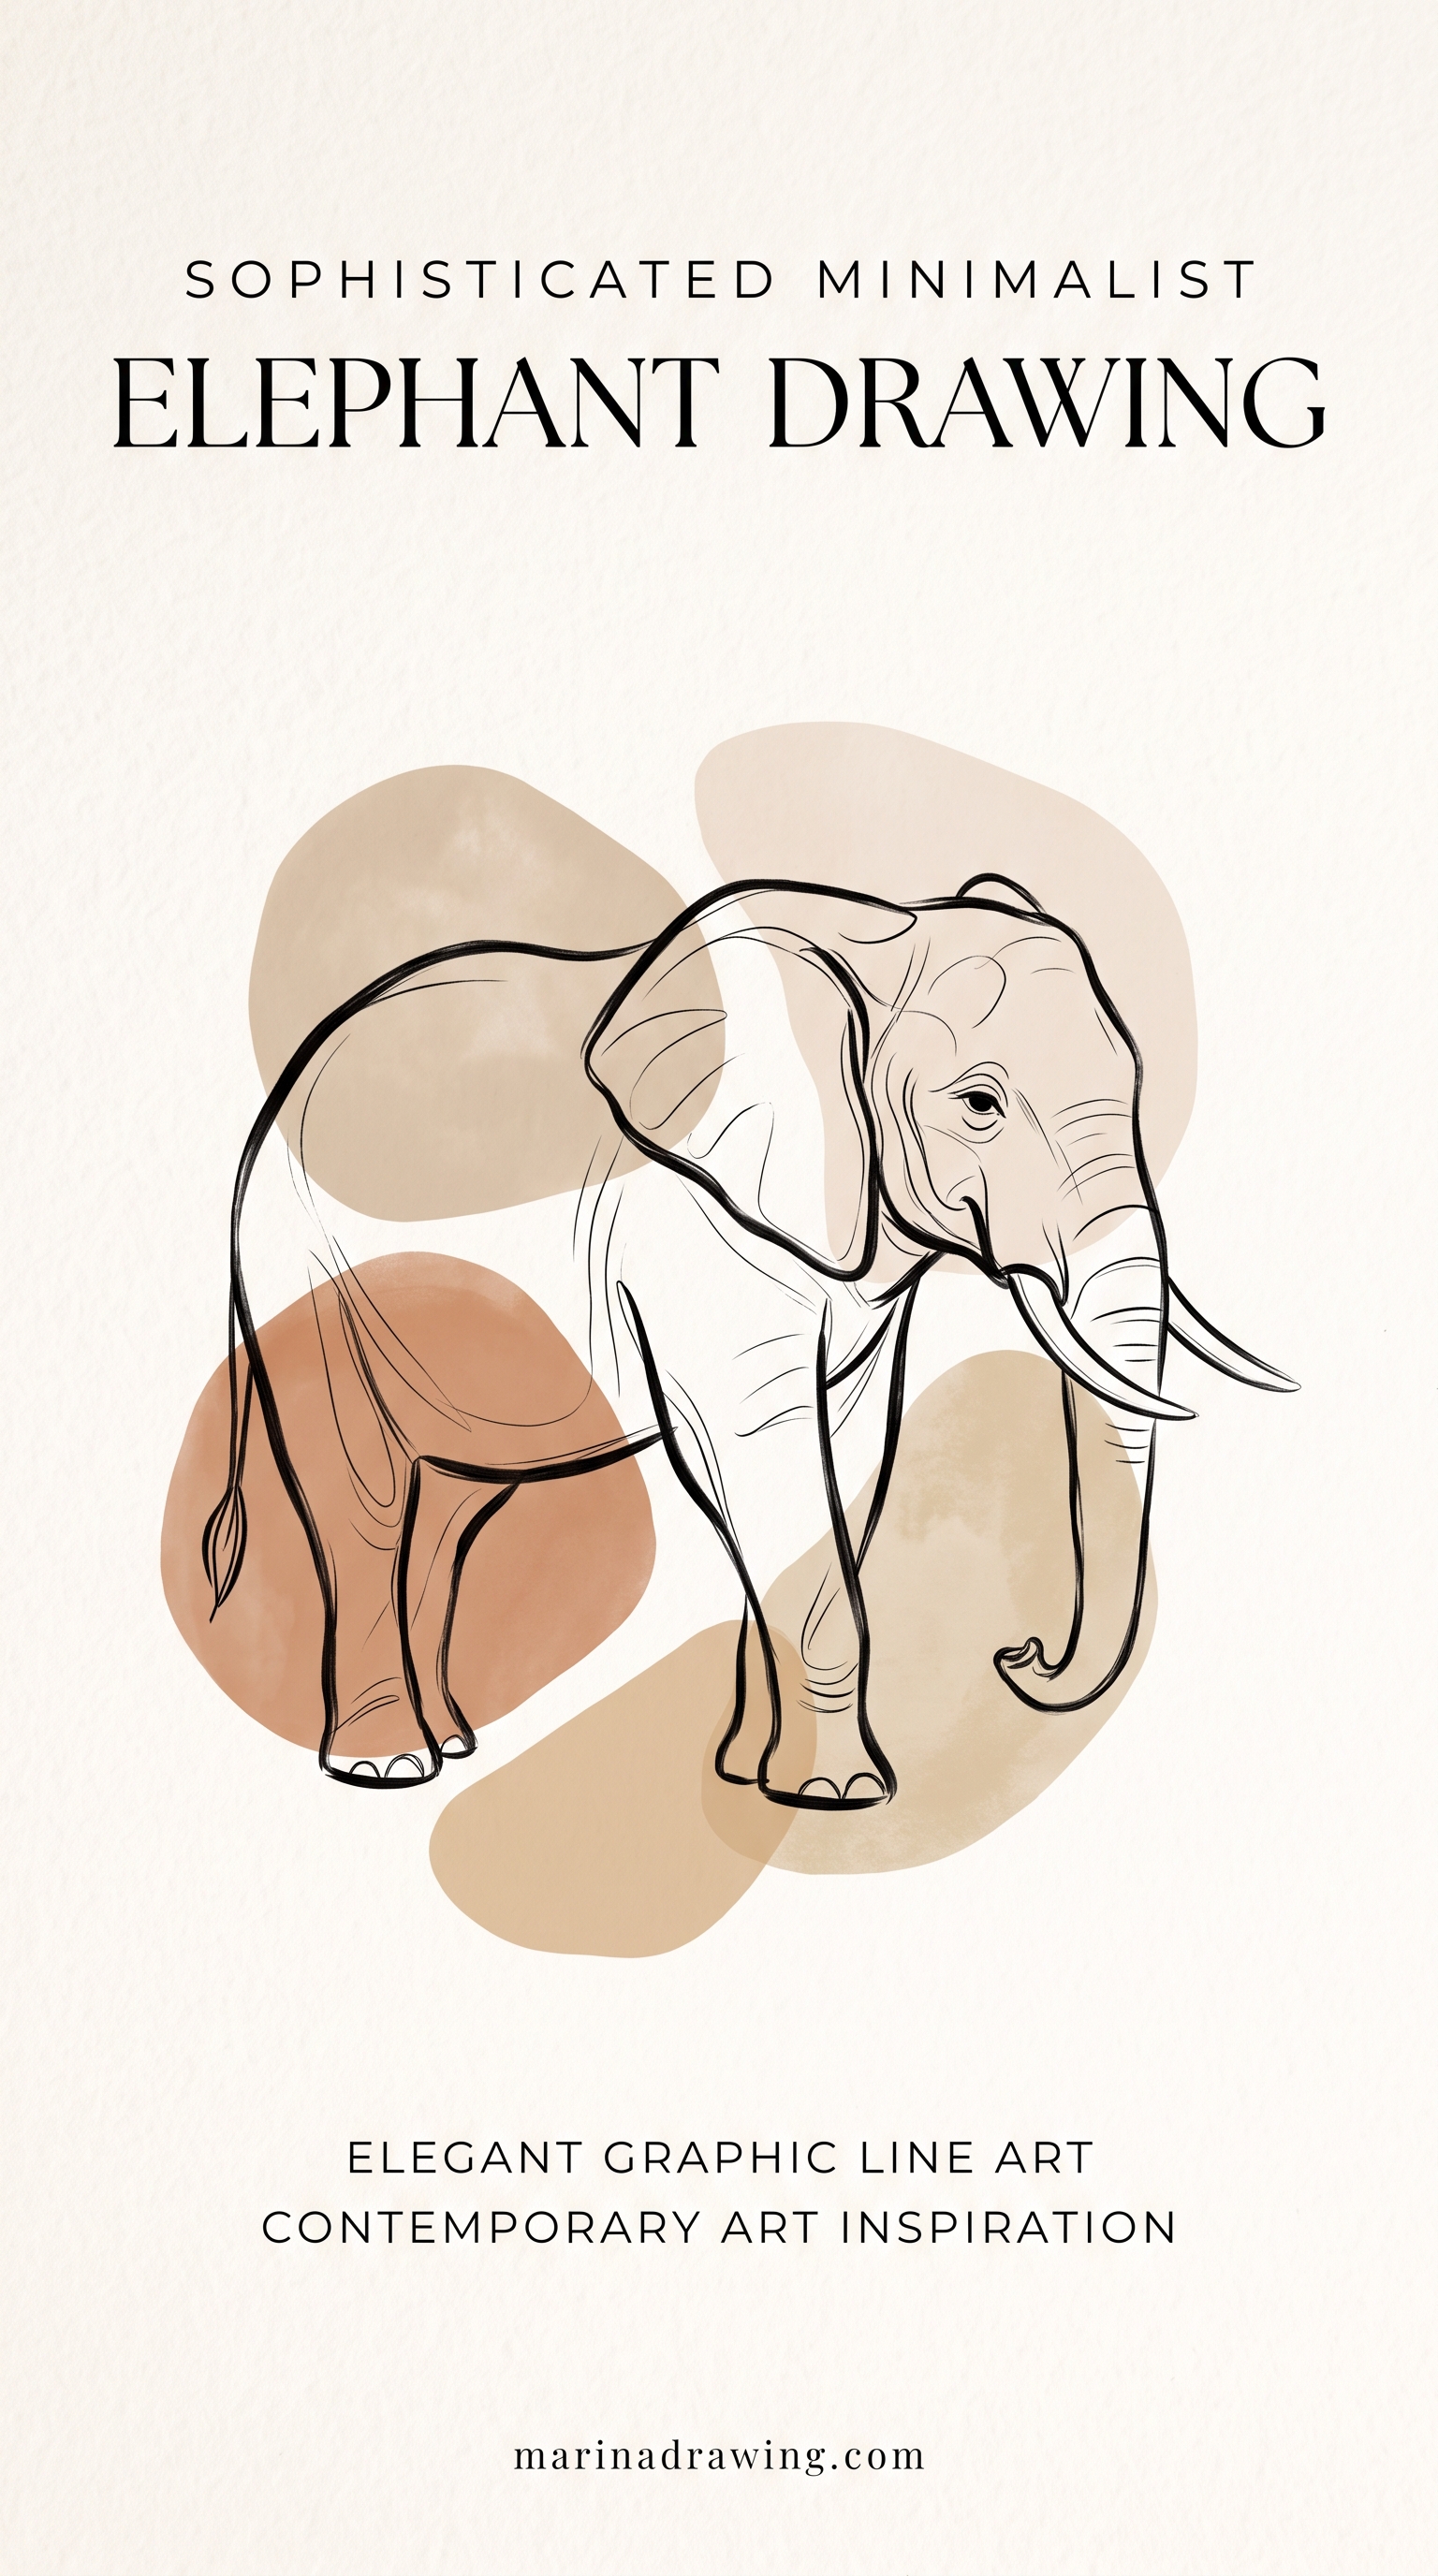
Draw this one first. Under a minute: a big body circle, a smaller head on top left, one wide fan on the side of it, a tapering tube from the eye line, four stumps at the corners, a curl at the tail end. Five shapes, and it reads from across the room.
Draw it five times and change your ear size each time, head-sized up to twice the head. The version that suddenly looks right teaches you more than any tutorial will.
2. A cute elephant face, front on
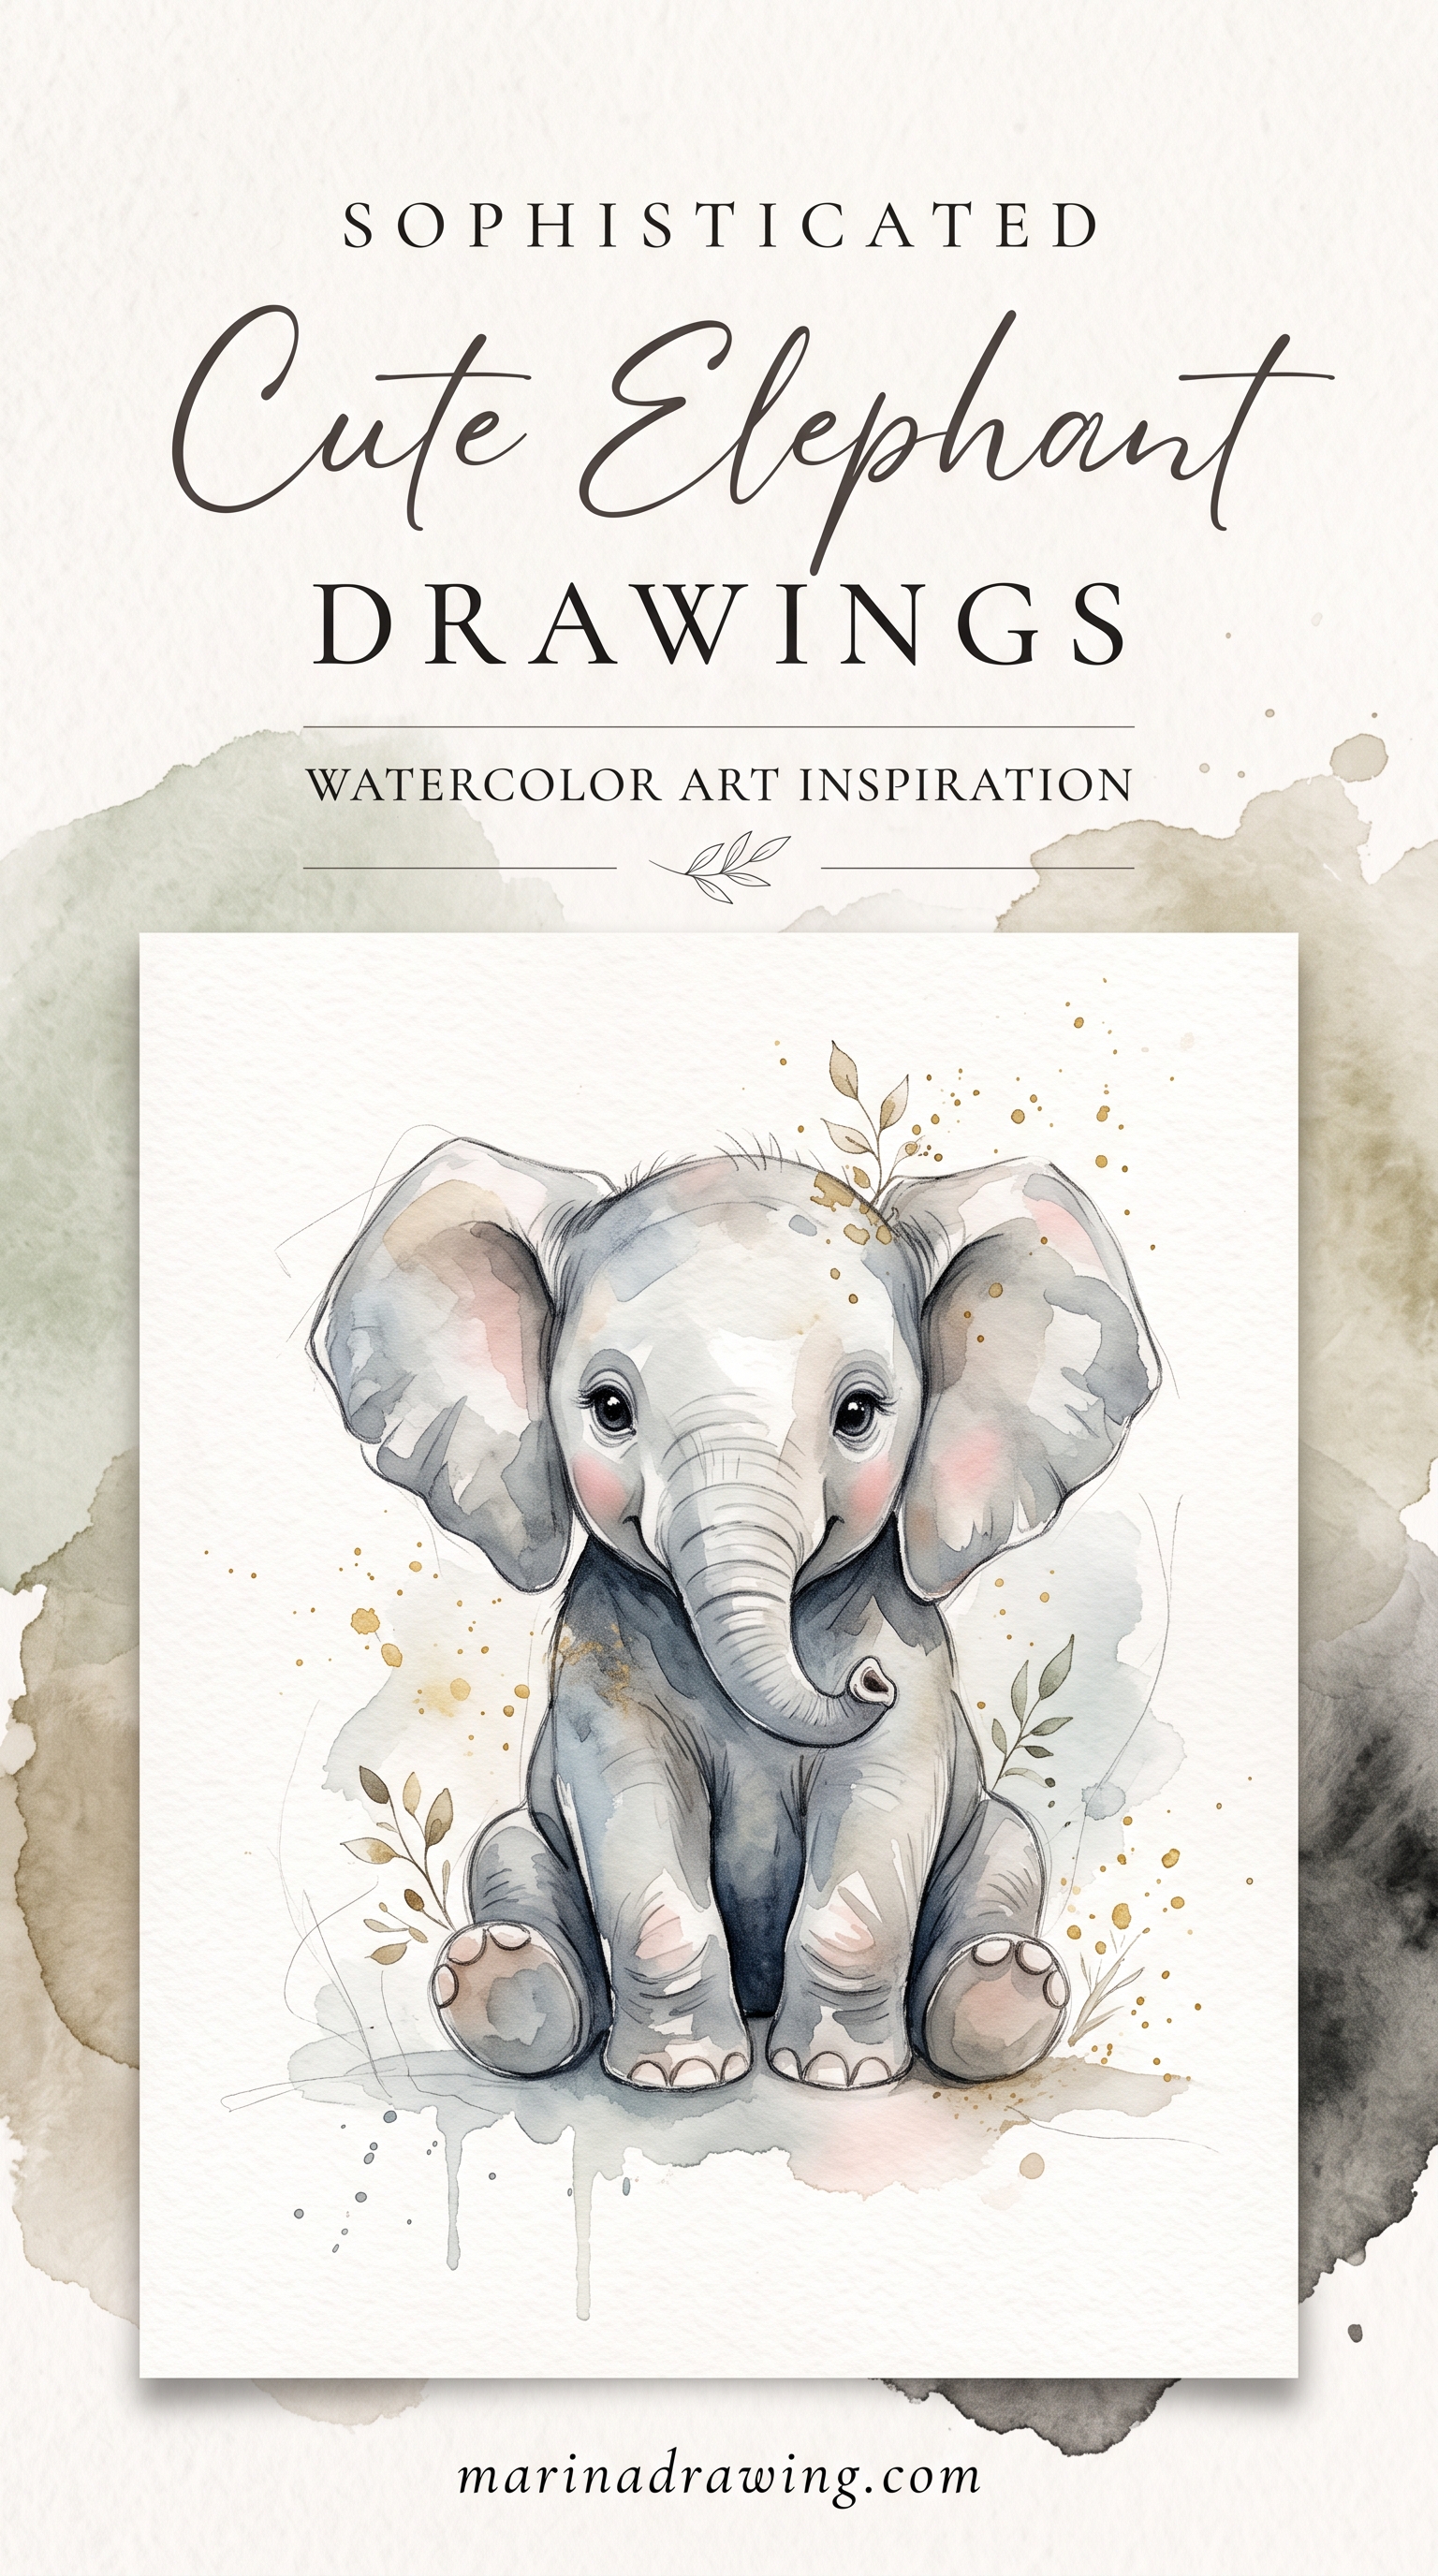
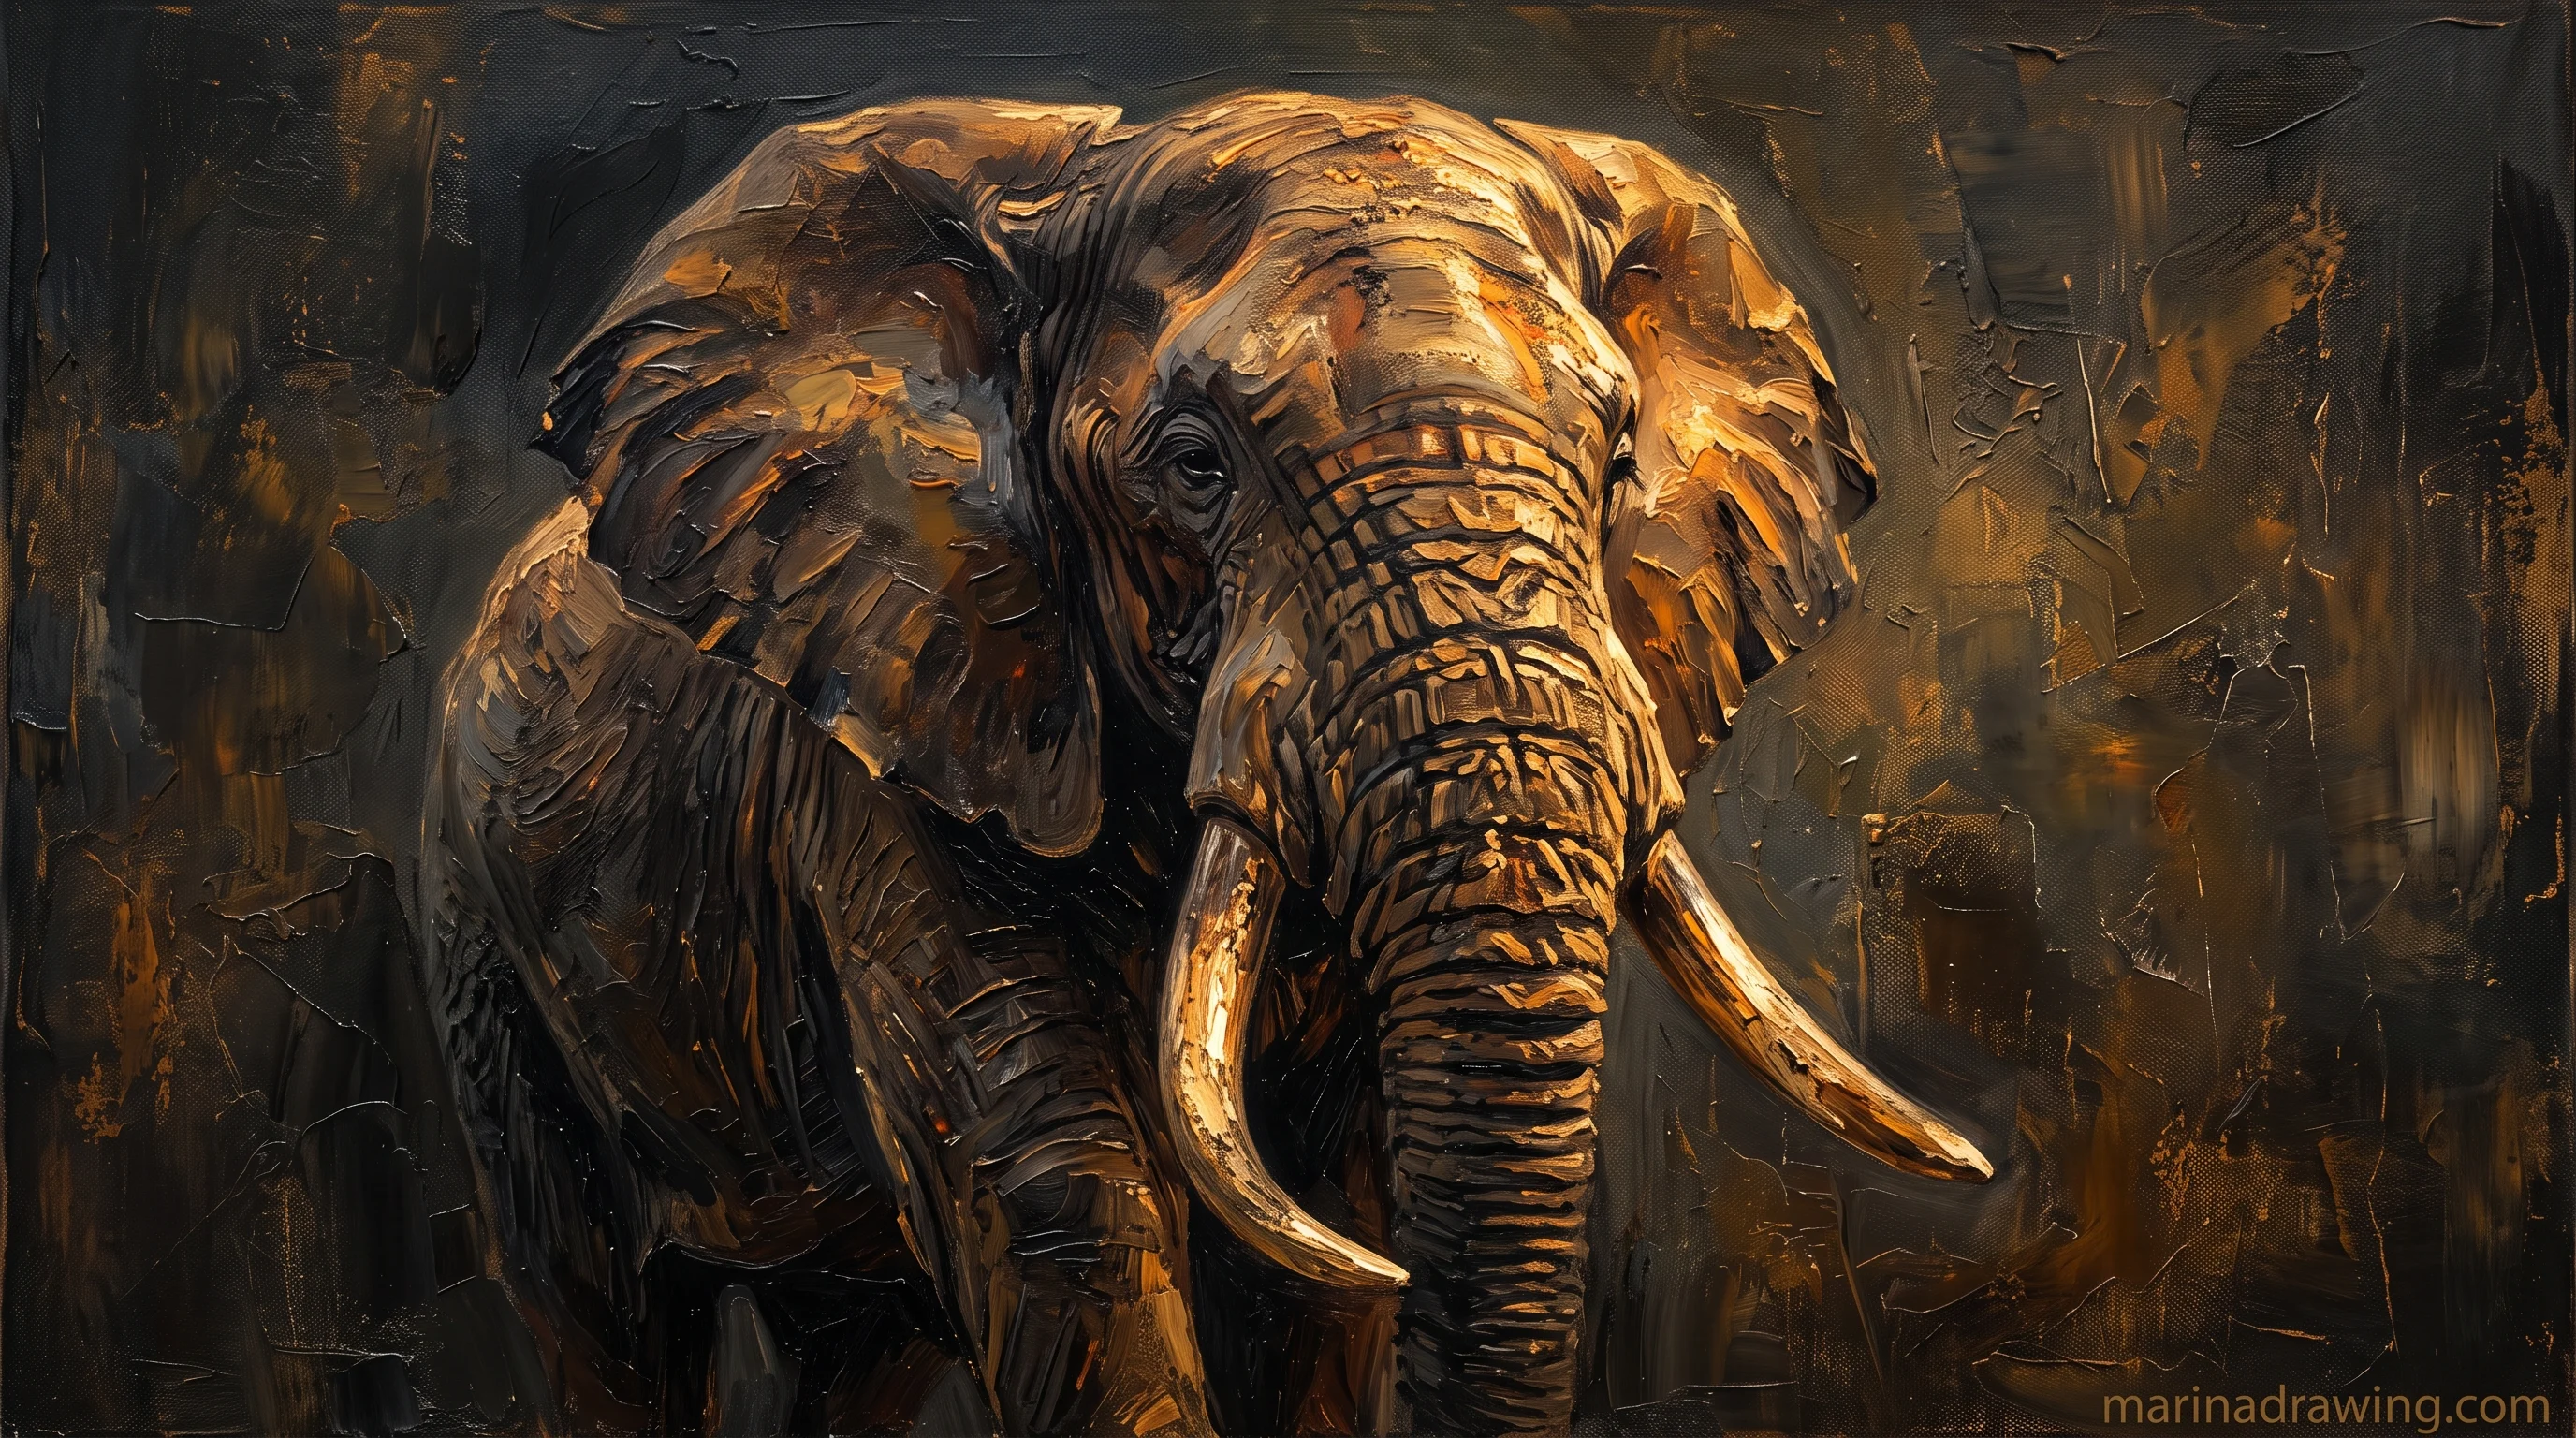
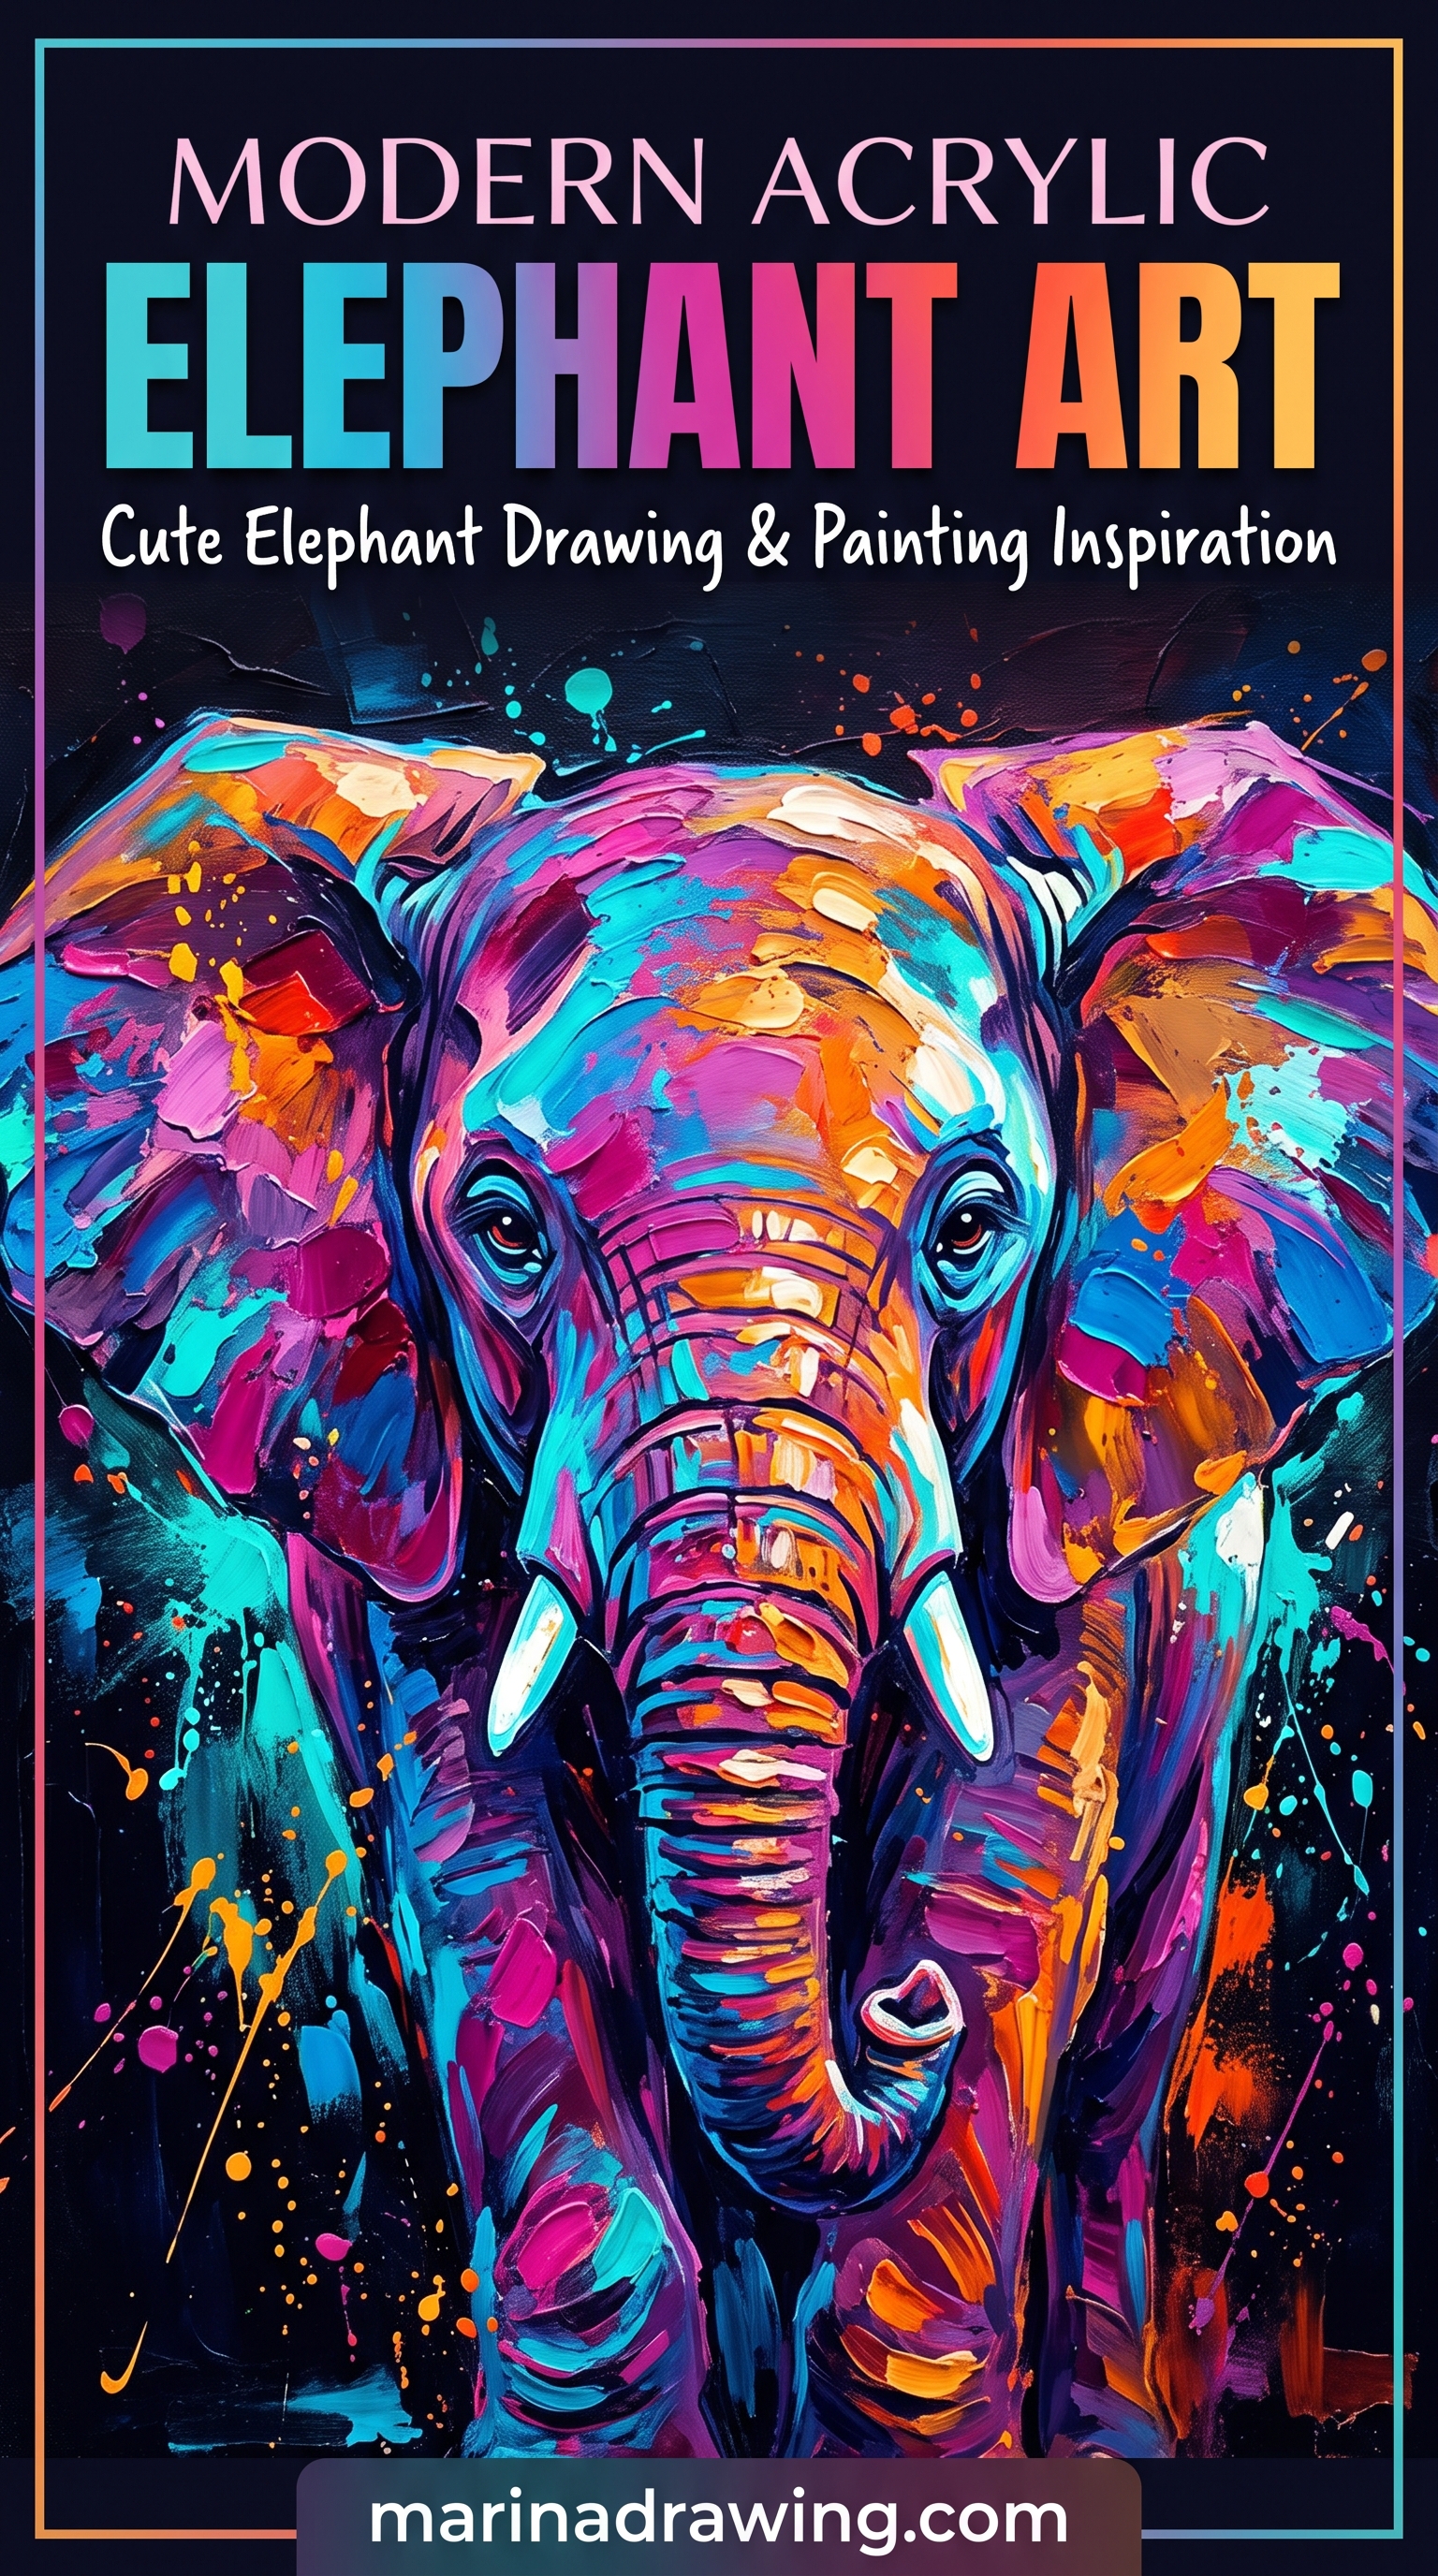
Cute is a ratio, not a style. An elephant face drawing front on is one circle plus two ear fans so wide that together they are nearly three times your head.
Put your eyes low and wide apart, almost at the edge of the circle, and start your trunk between them so it drops straight down the centre line.
Keep it short, about one head long, and round off the end. Long trunk and small ears reads as an old bull; short trunk and huge ears is the cutest elephant on the page, every time.
Nobody states that ratio out loud. I had to be shown it, and a construction course puts it up front.

3. A baby elephant, legs like stumps
42 hours of pencil drawing training, lifetime access
The video course I point plateaued students to — full lessons on portraits, hands, and realistic shading, not another short tutorial.

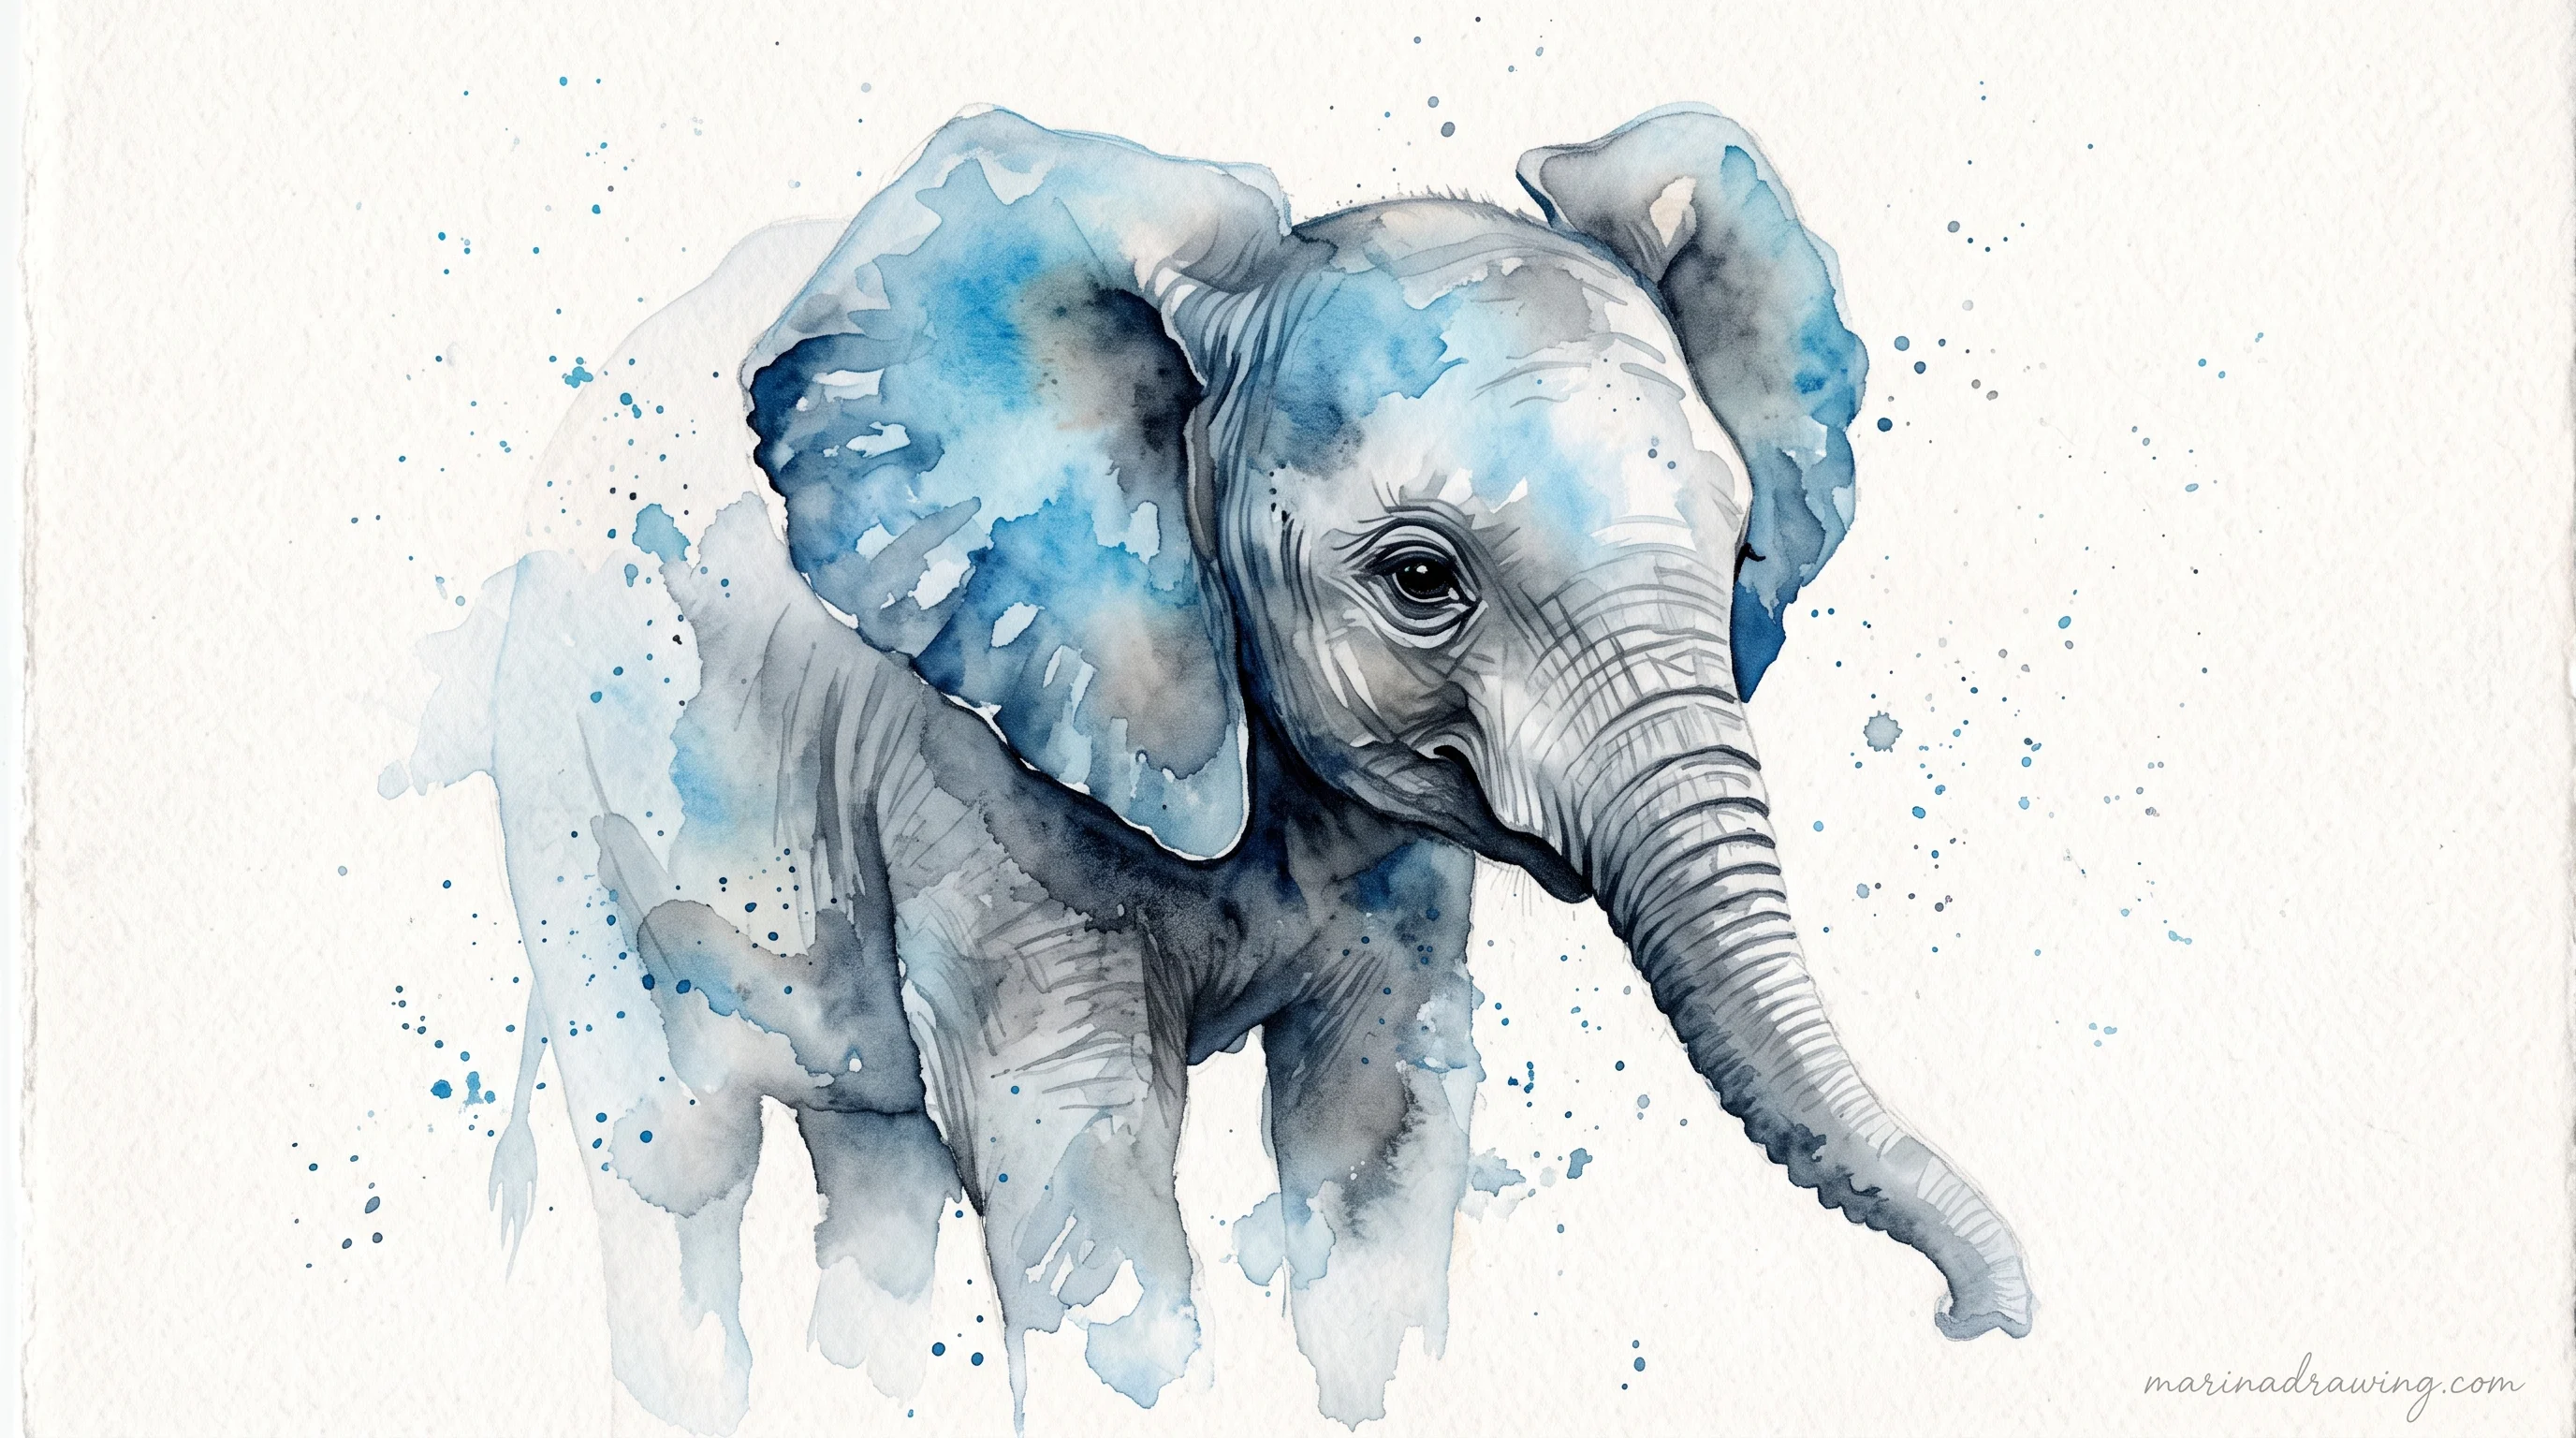
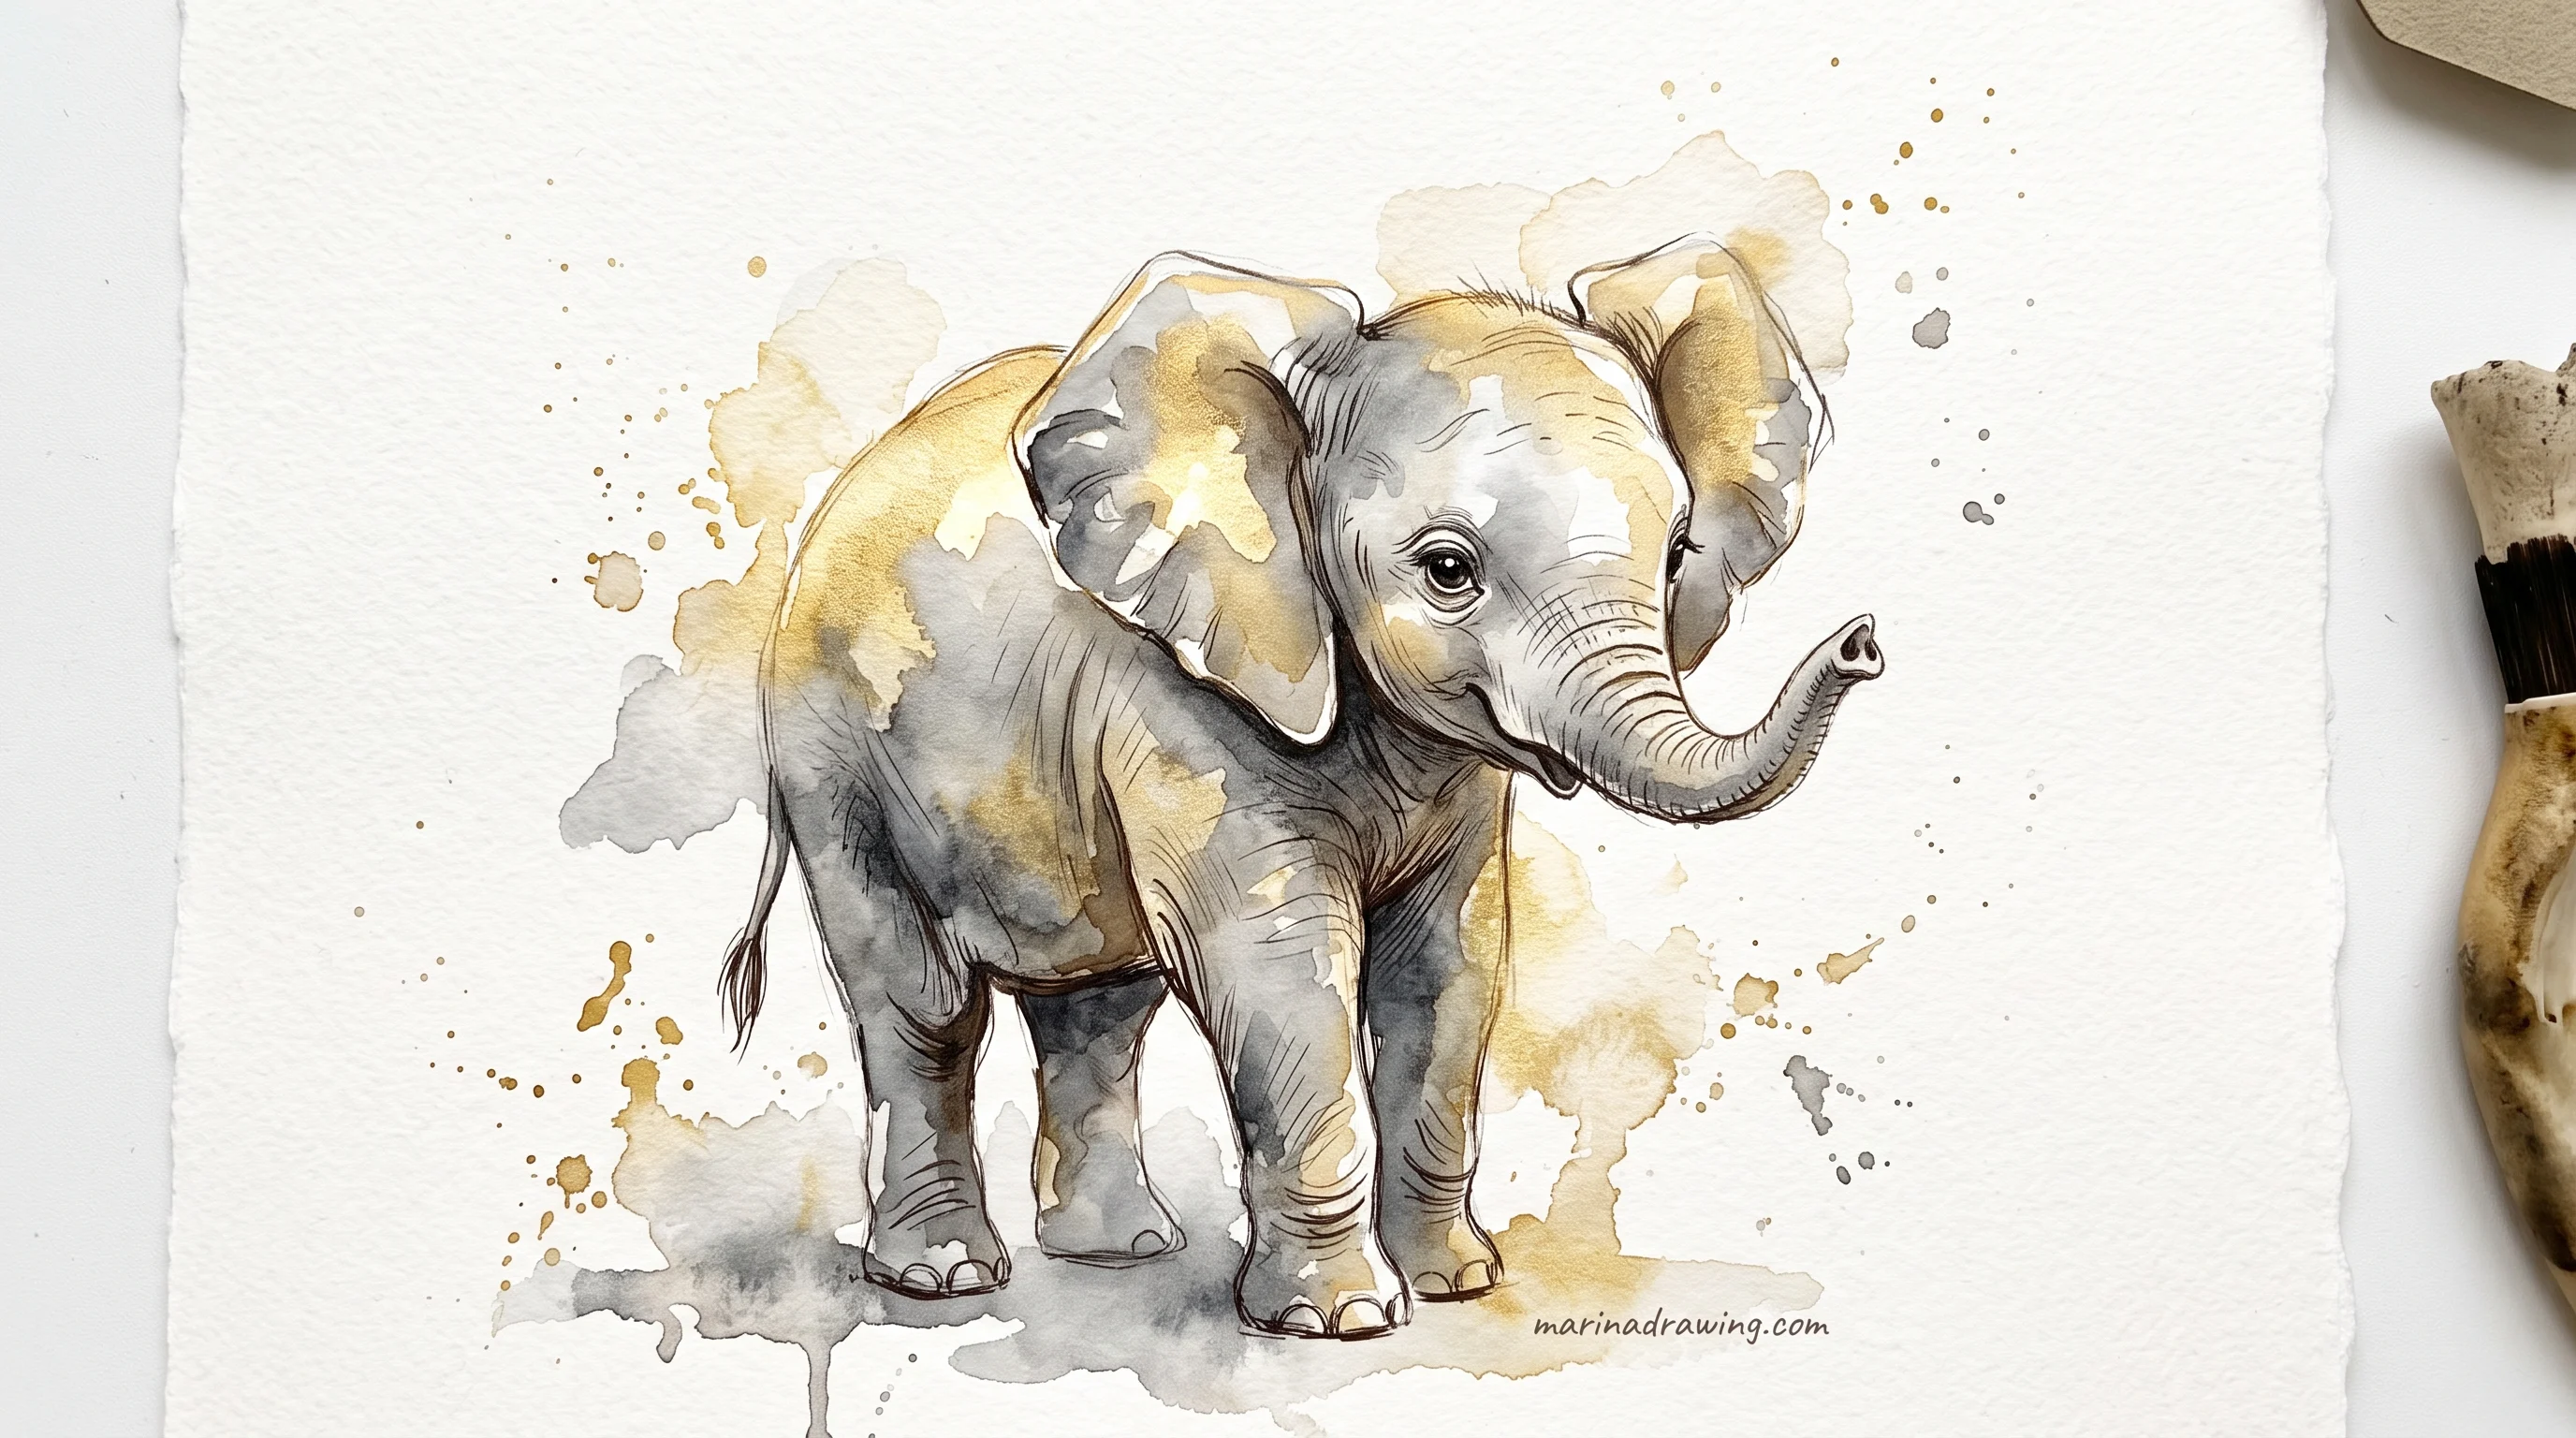
A baby elephant drawing is the same shapes at different proportions. The head is nearly as wide as the body, and the legs shorten to half the chest circle, so they read as stumps, not pillars.
The ear stays big but sits higher, near the crown, and your back curves into a soft hump behind the head.
Keep your trunk thick for its whole length and skip the taper. A baby trunk has barely any. The same rule got my duckling to stop looking like an adult duck.

4. An elephant with the trunk curled up
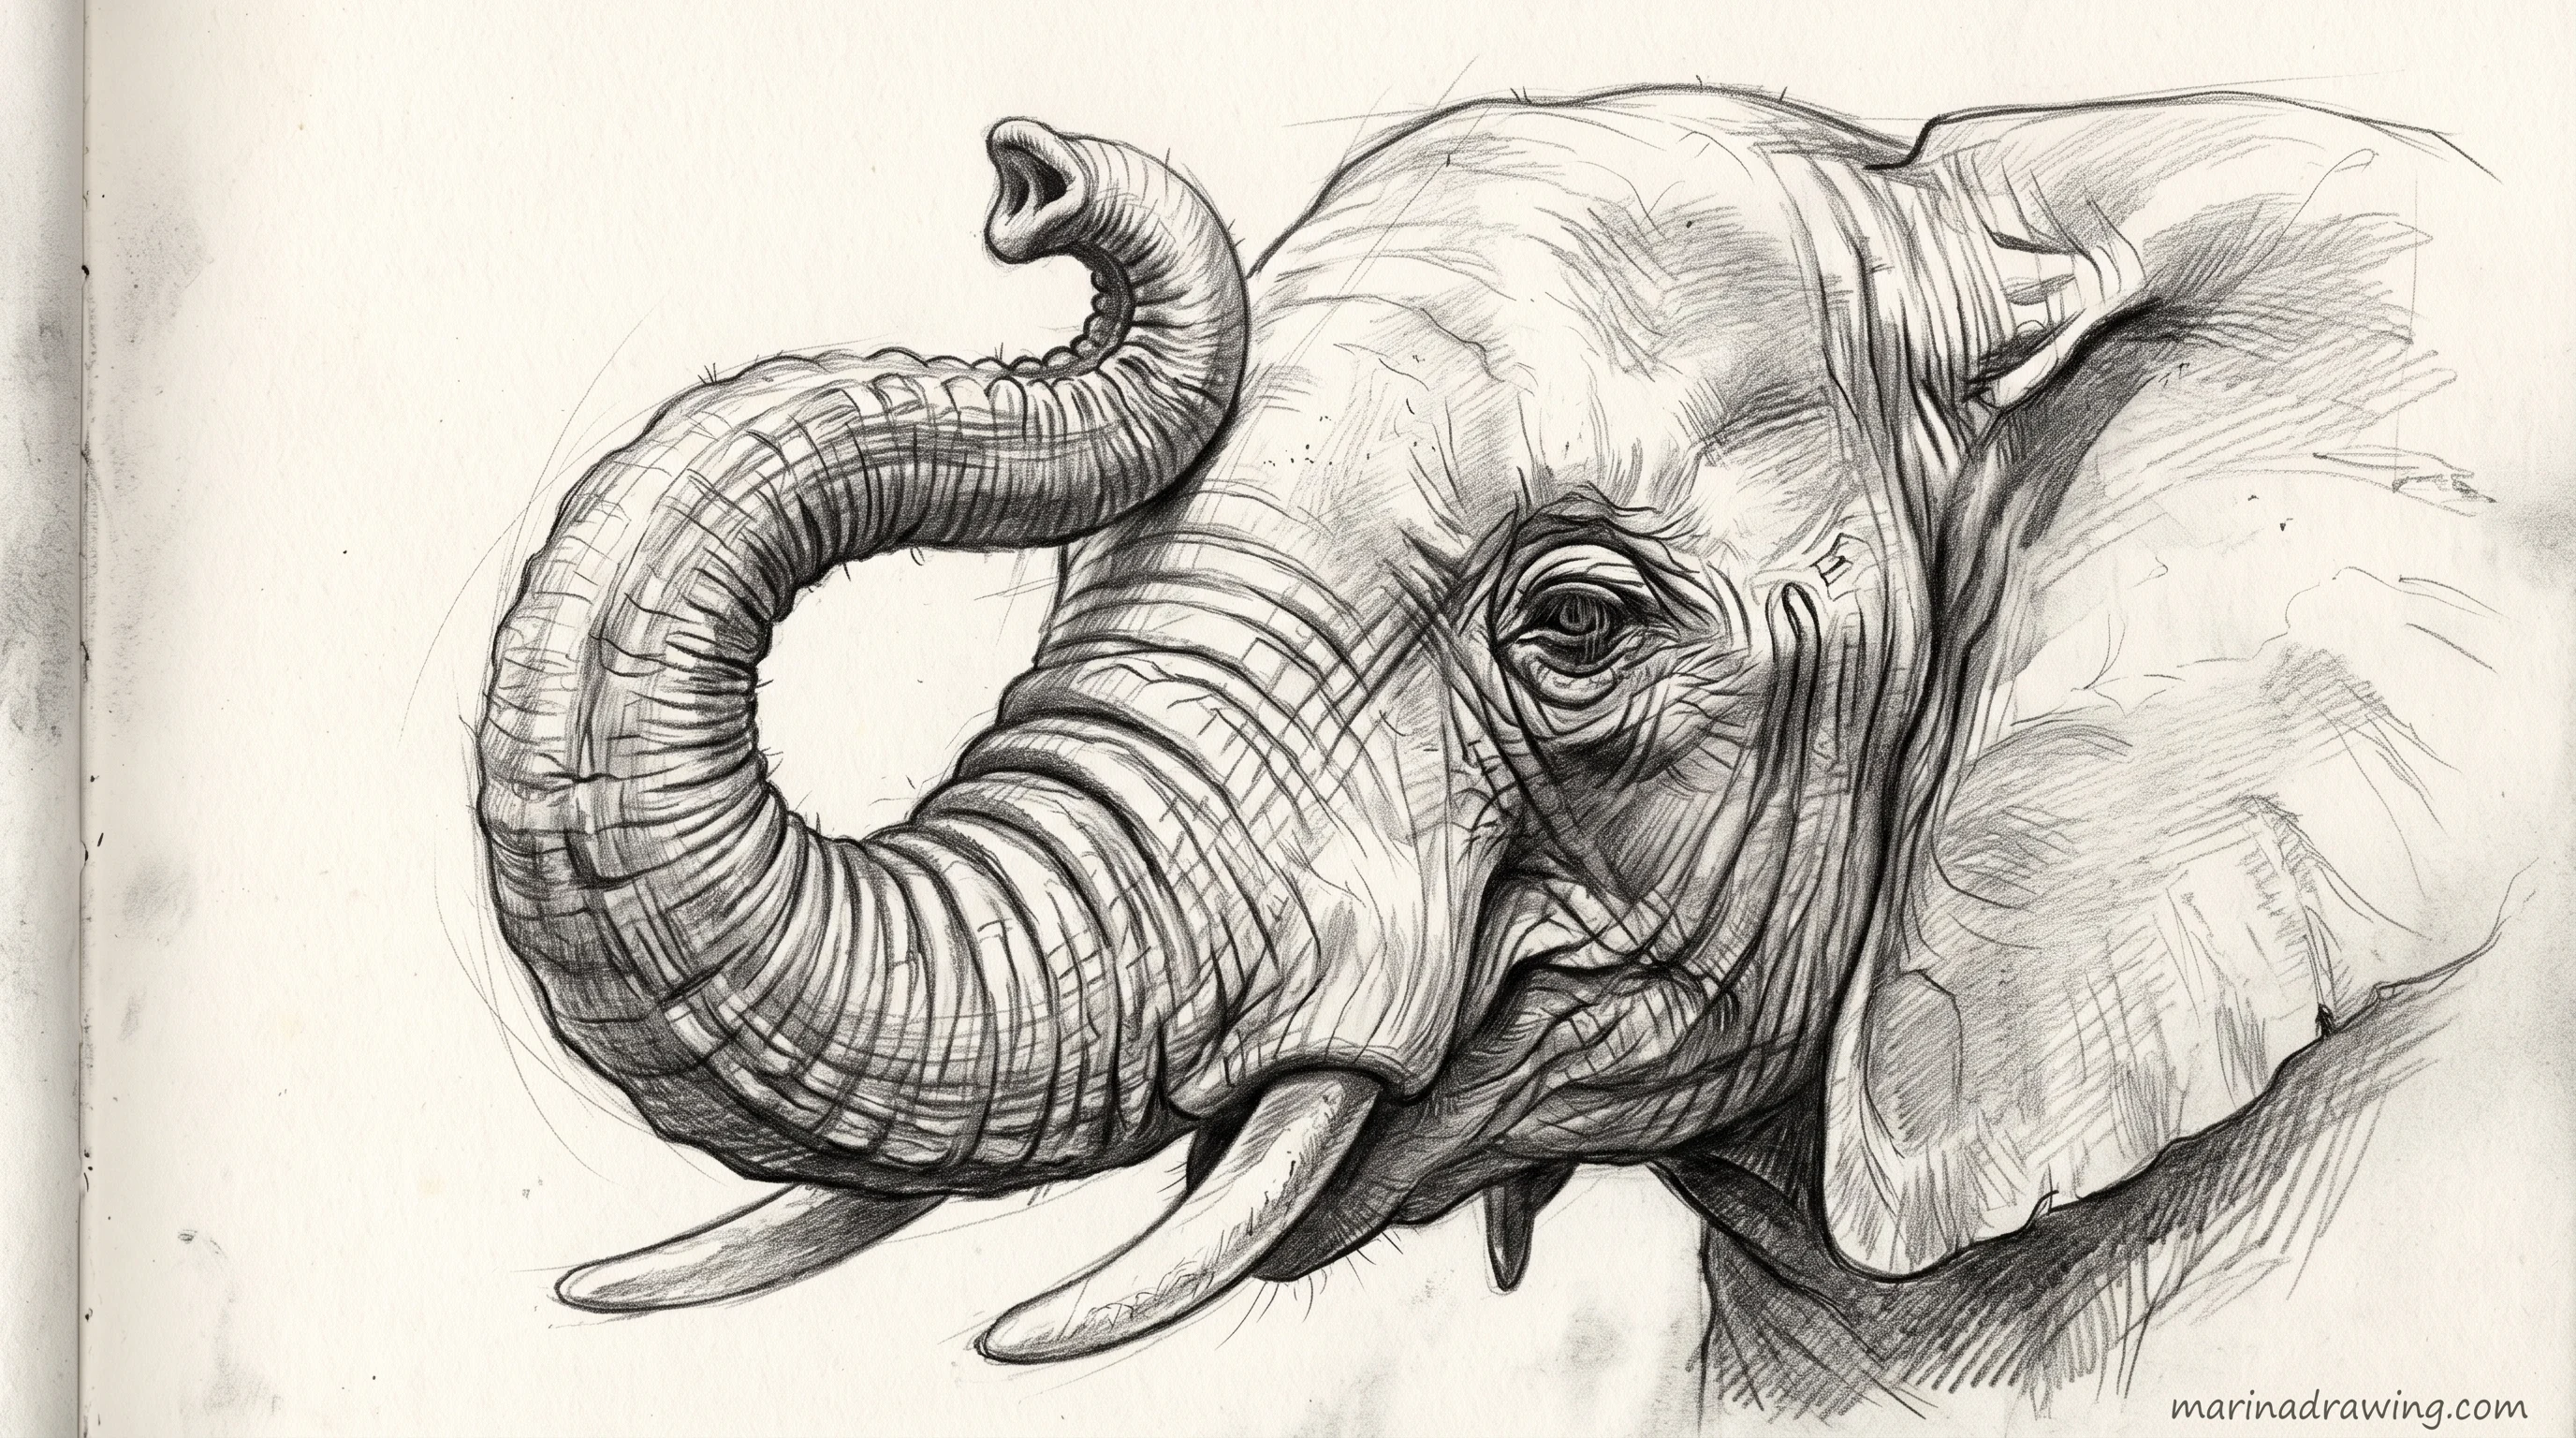
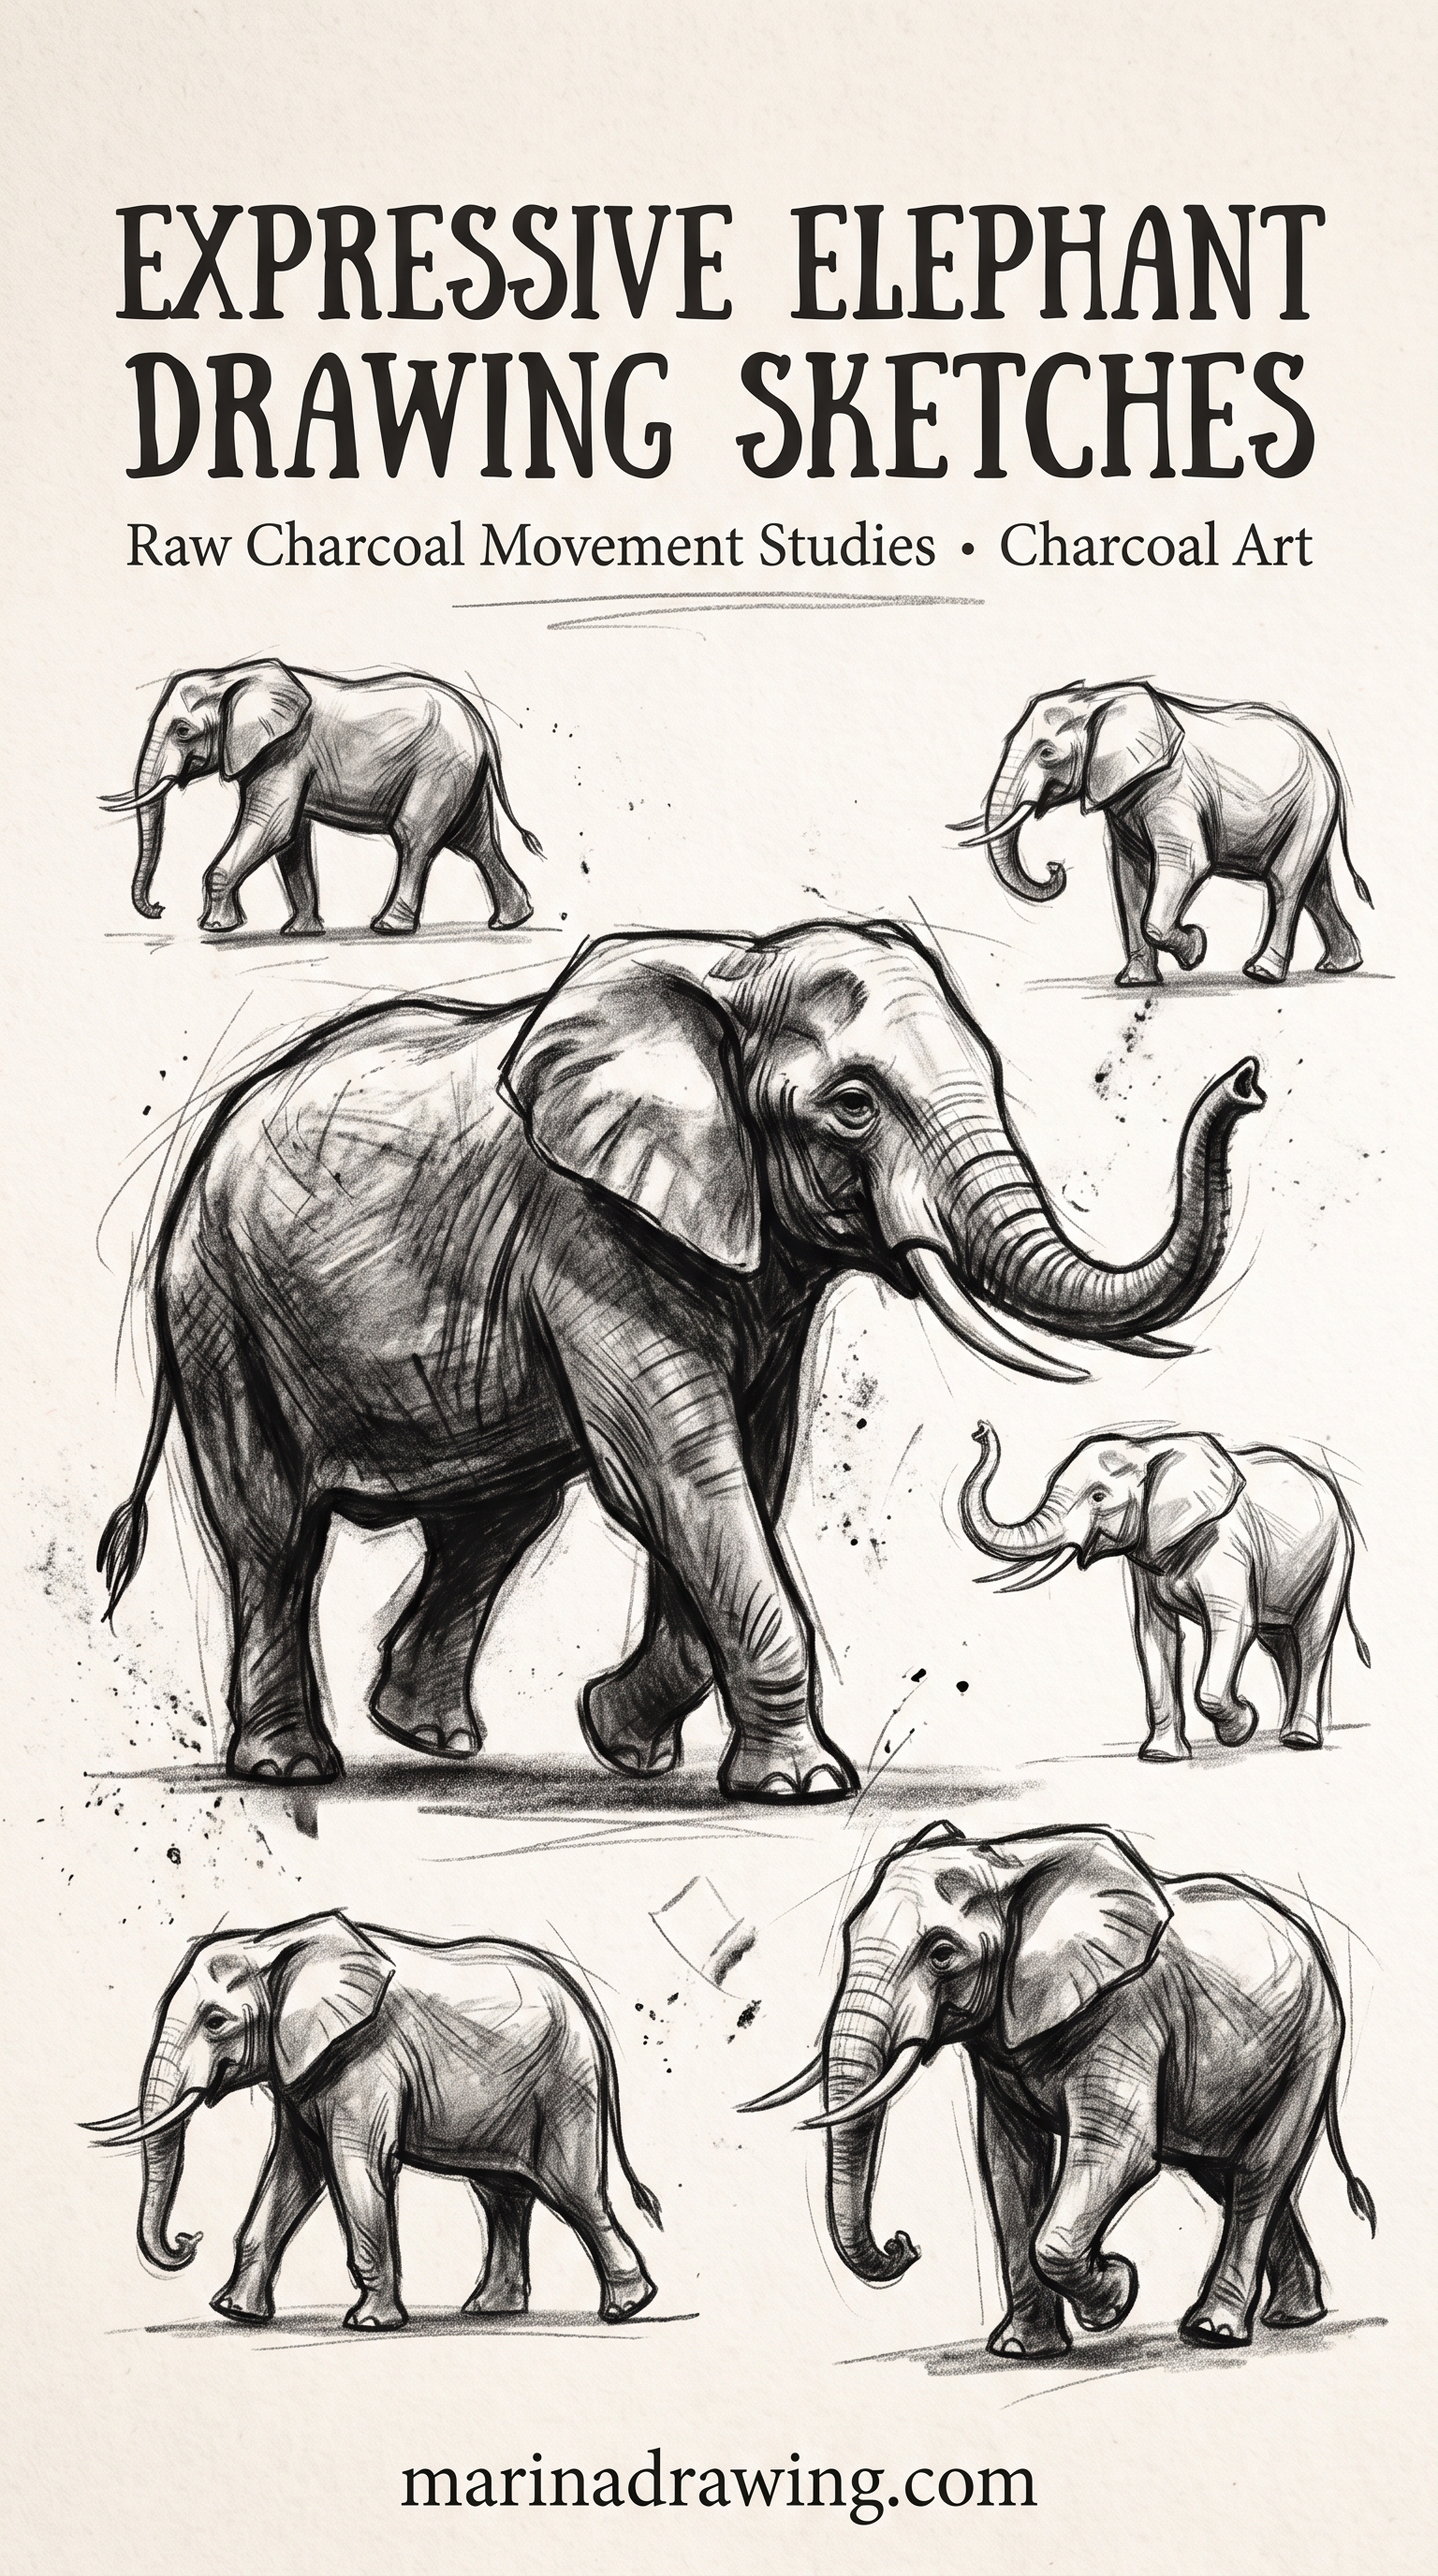
A raised trunk bends in two places, not one. Draw it as a question mark rather than an arc.
- Straight down from the eye line for half its length.
- A forward bend, roughly a right angle, at that halfway point.
- A soft curl upward and back for the last third, tip pointing at the sky.
Where your bend sits, the tube creases on the inside edge. Three or four short curved lines there, nothing on the outside, sell the lift. Wrinkles evenly round put you back to a hose. A course that drills bends and tapers gets this into your hand faster than repeating it.
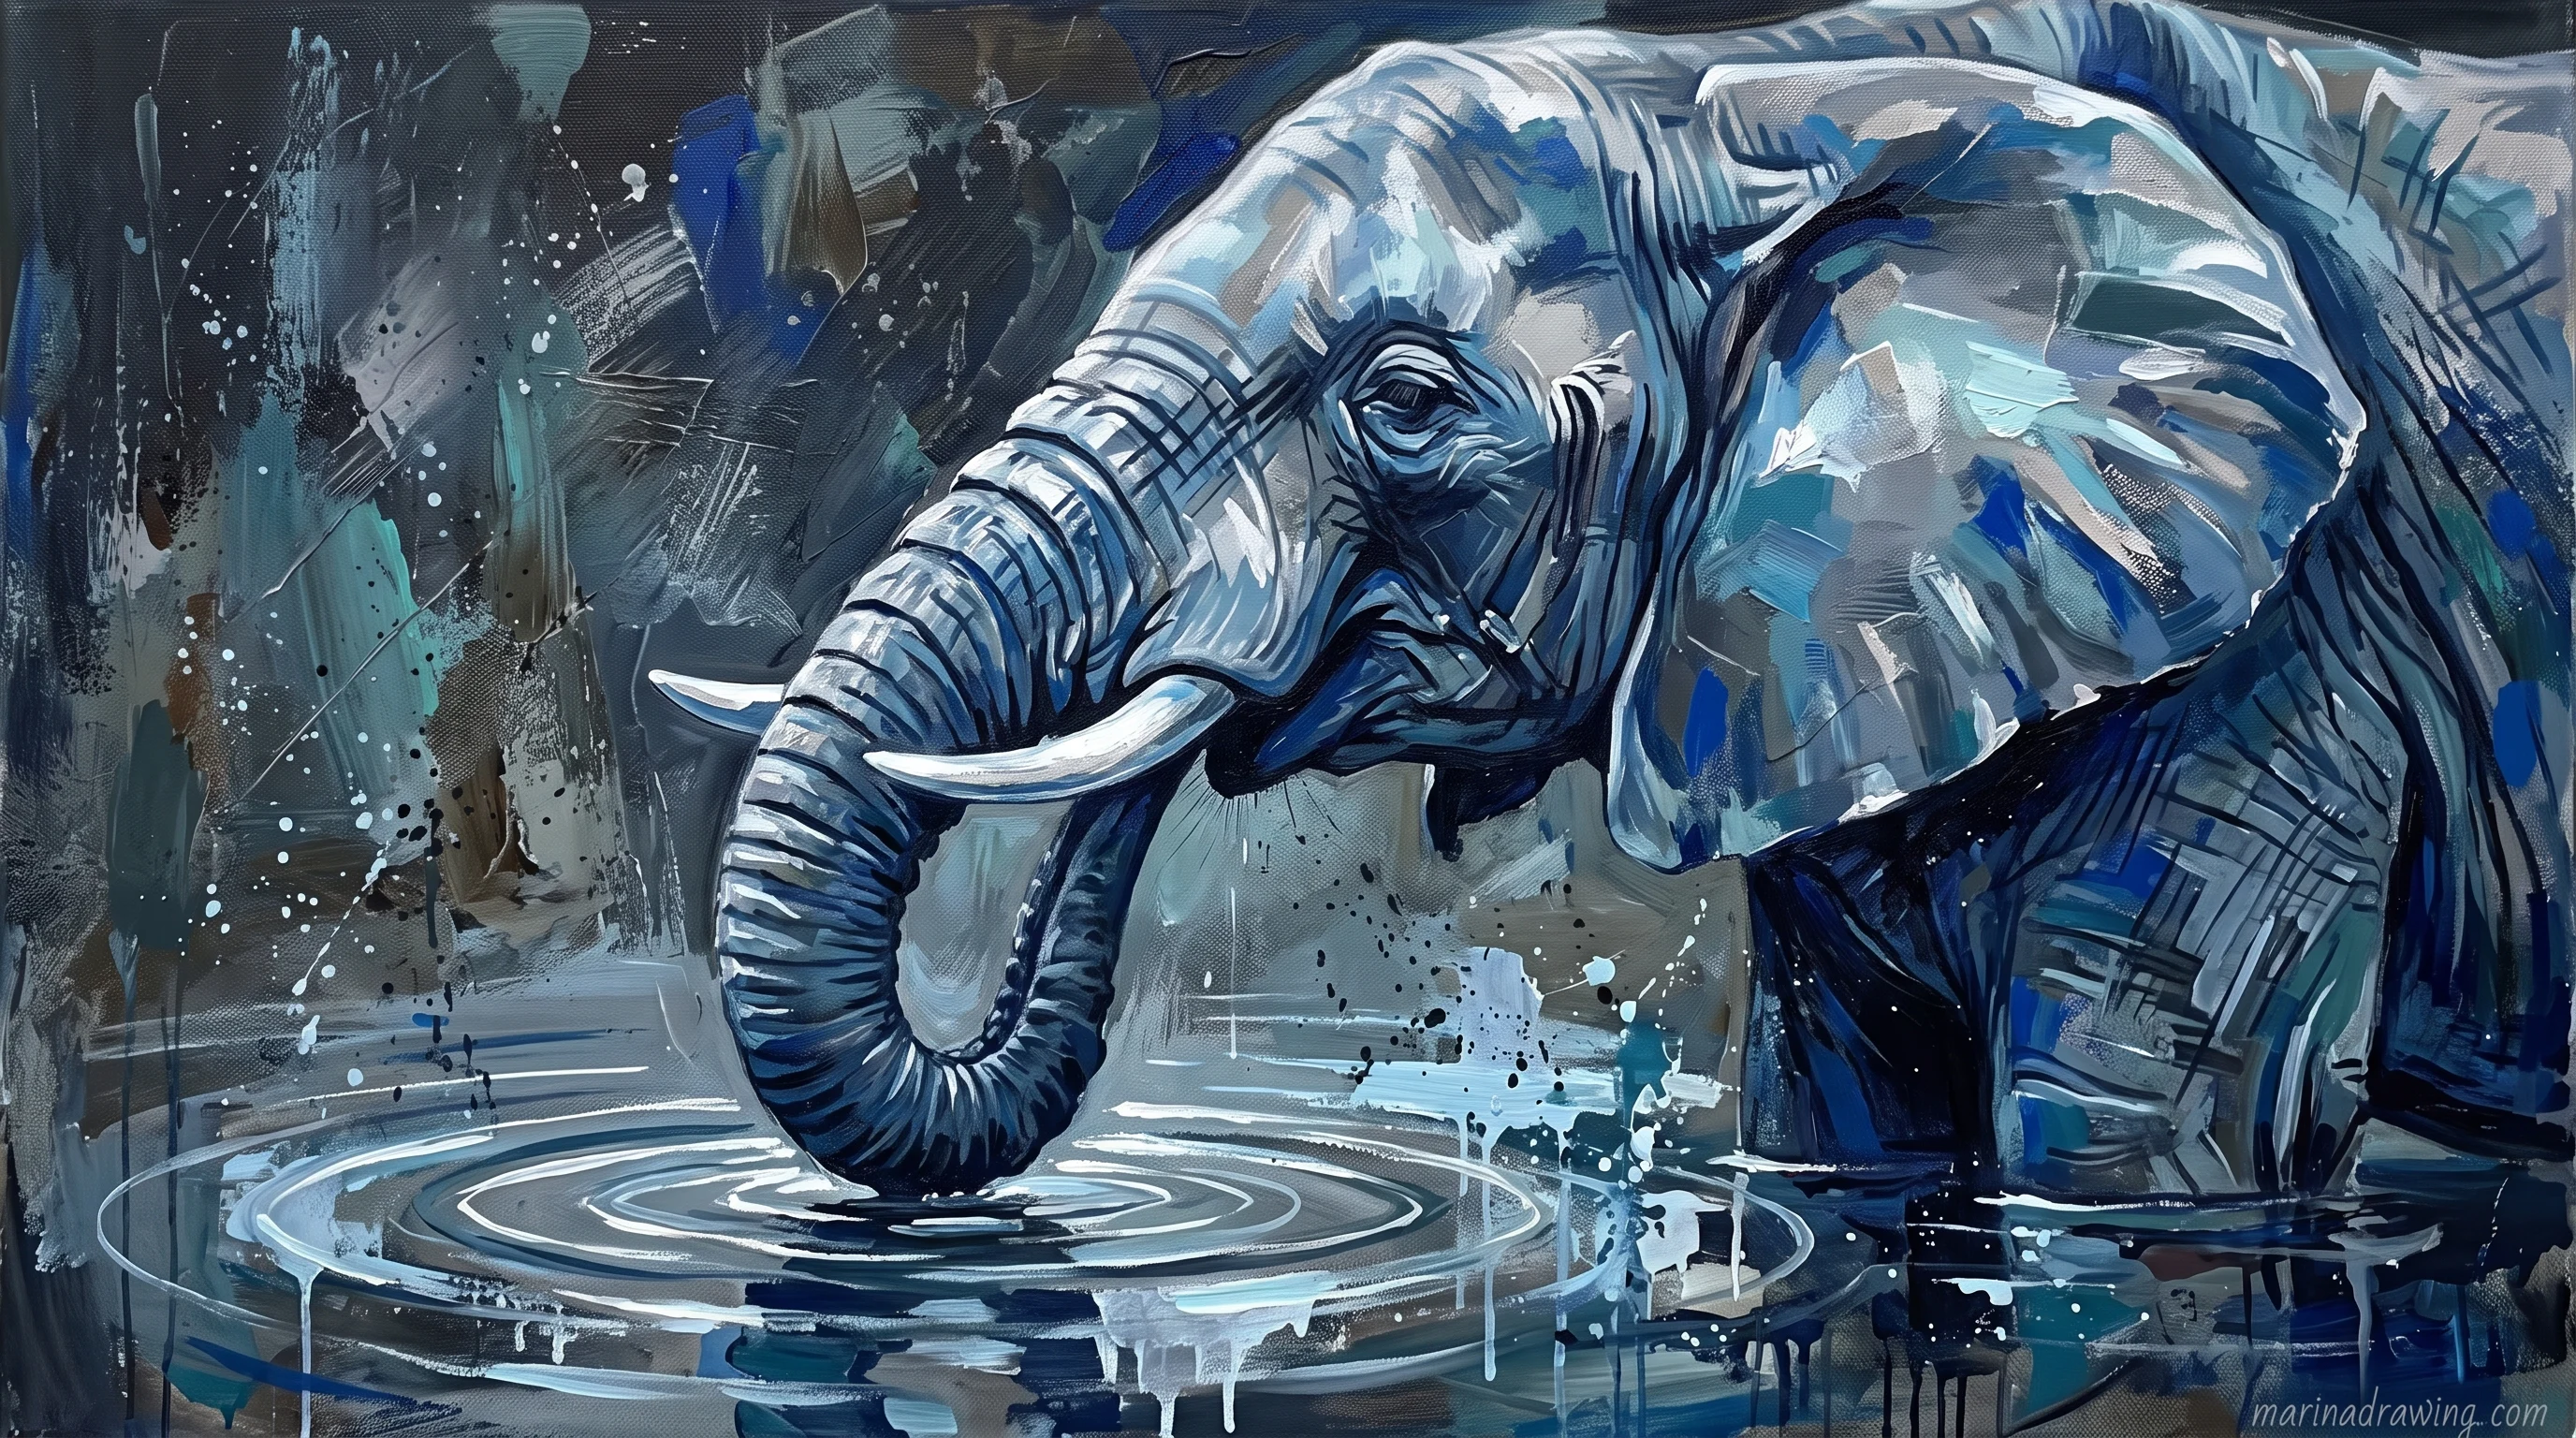
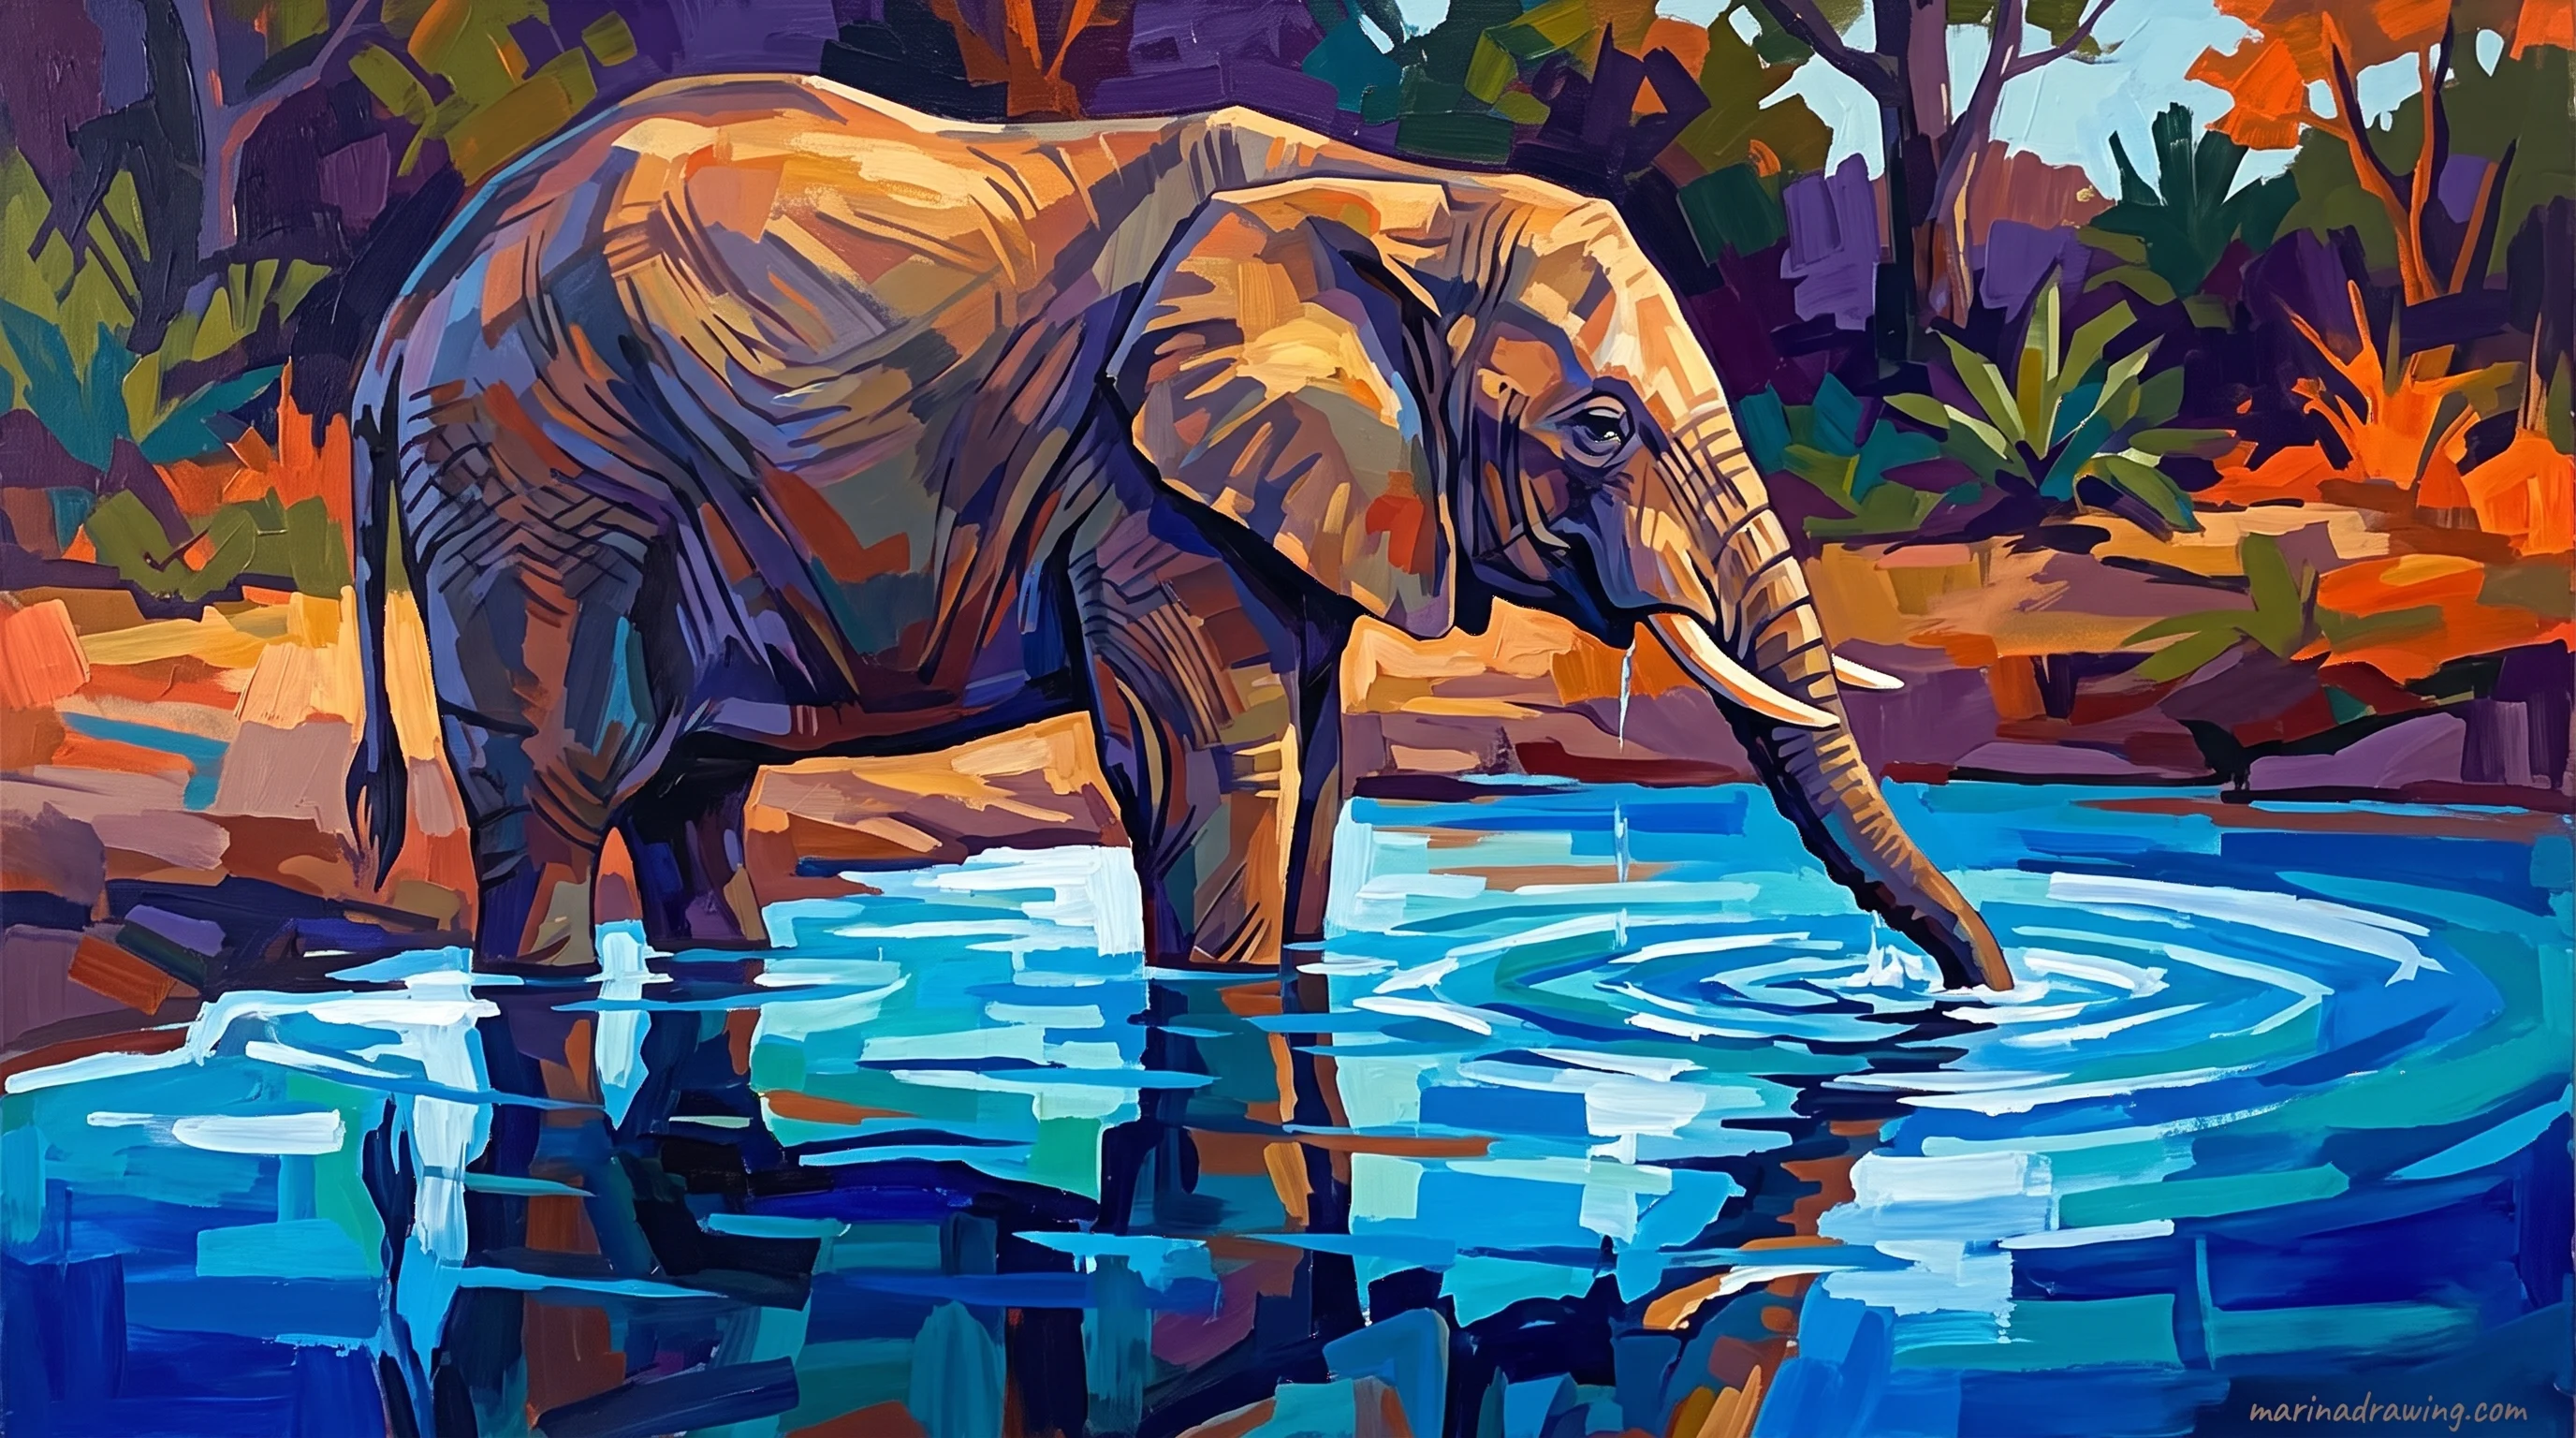
5. An elephant drinking water
The most searched pose after plain standing, and the easiest to get wrong: your trunk here is a tube with a thickness, not a line.
Draw the water first: one horizontal line, a shallow ellipse where your trunk tip meets it, two ripple arcs. Then your elephant behind it, head tilted down about twenty degrees.
The tell is that tilt. A level head with a dangling trunk reads as standing around. If poses are where you stall, plain drawing practice on this one shape beats a new subject.
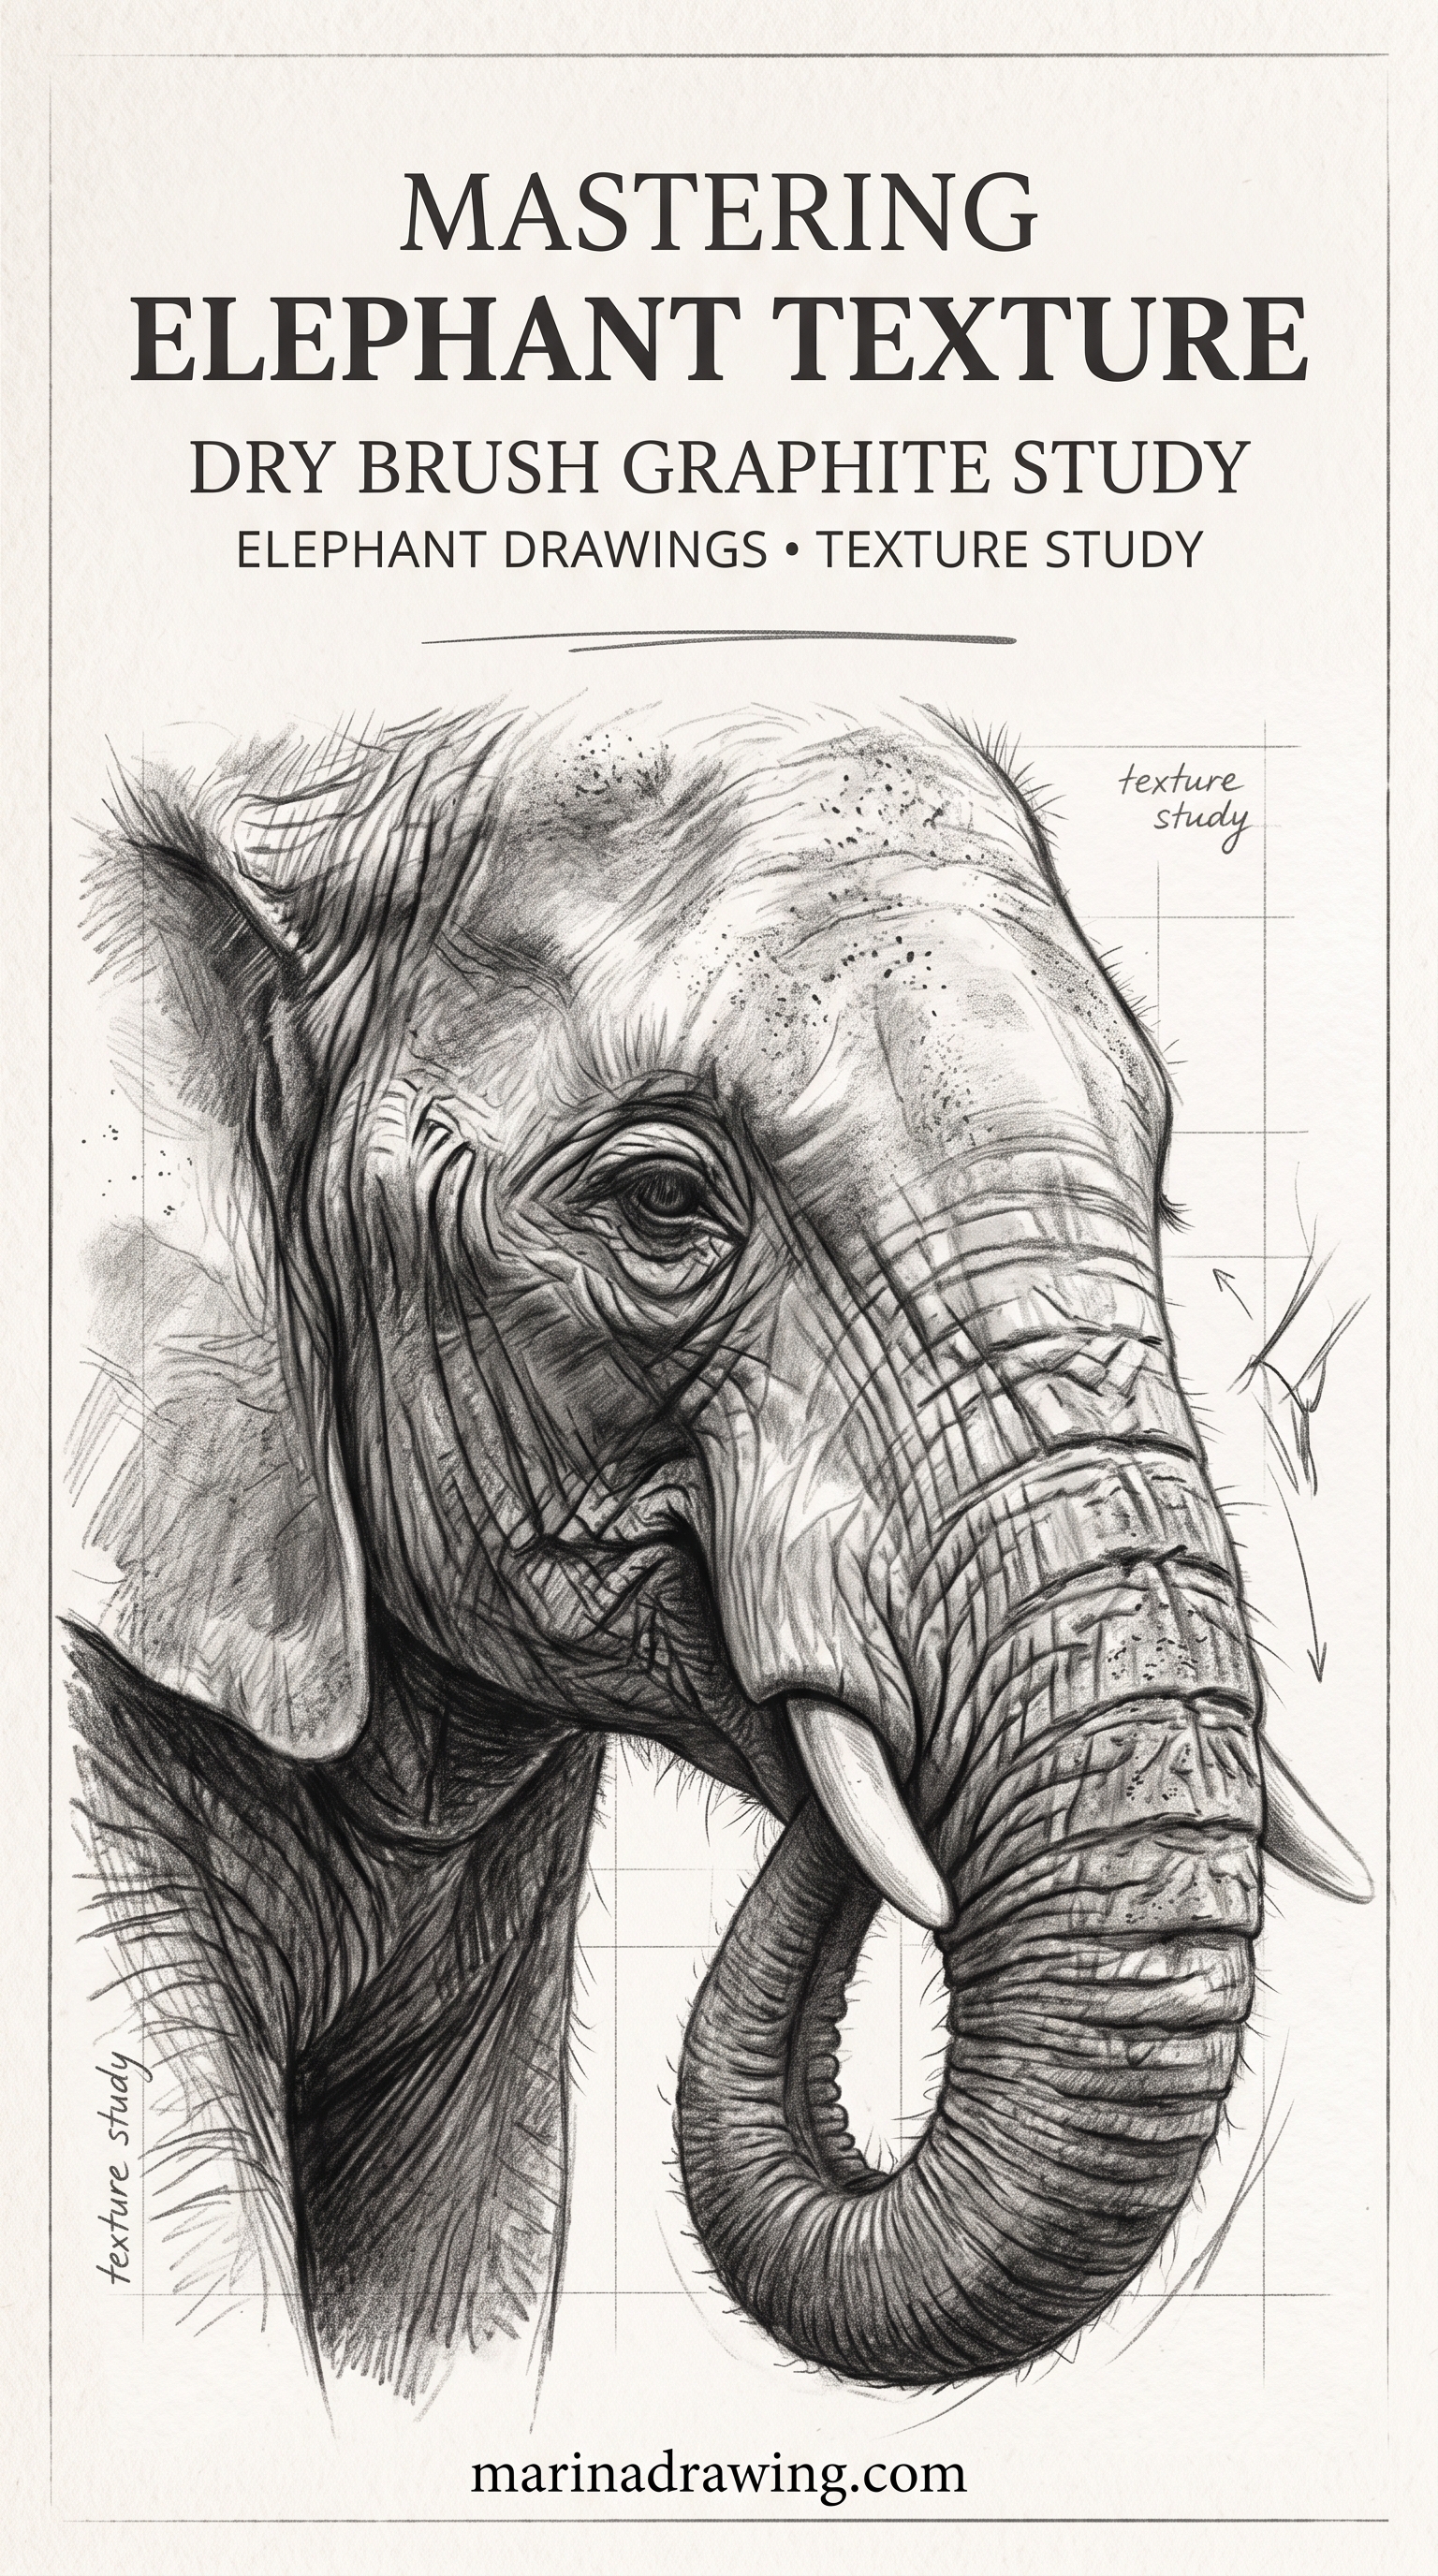
6. A simple elephant head doodle
One minute, no body. A rounded square for your head, two fans off the sides, a trunk from the middle, two dots for eyes. The cartoon version, and the one I use to fill a margin.
It works as a test too. If your doodle reads as an elephant and your careful full-body one does not, your hand is fine. You slowed down and corrected proportions that were already right. The same thing shows up in beginner drawings that look off.
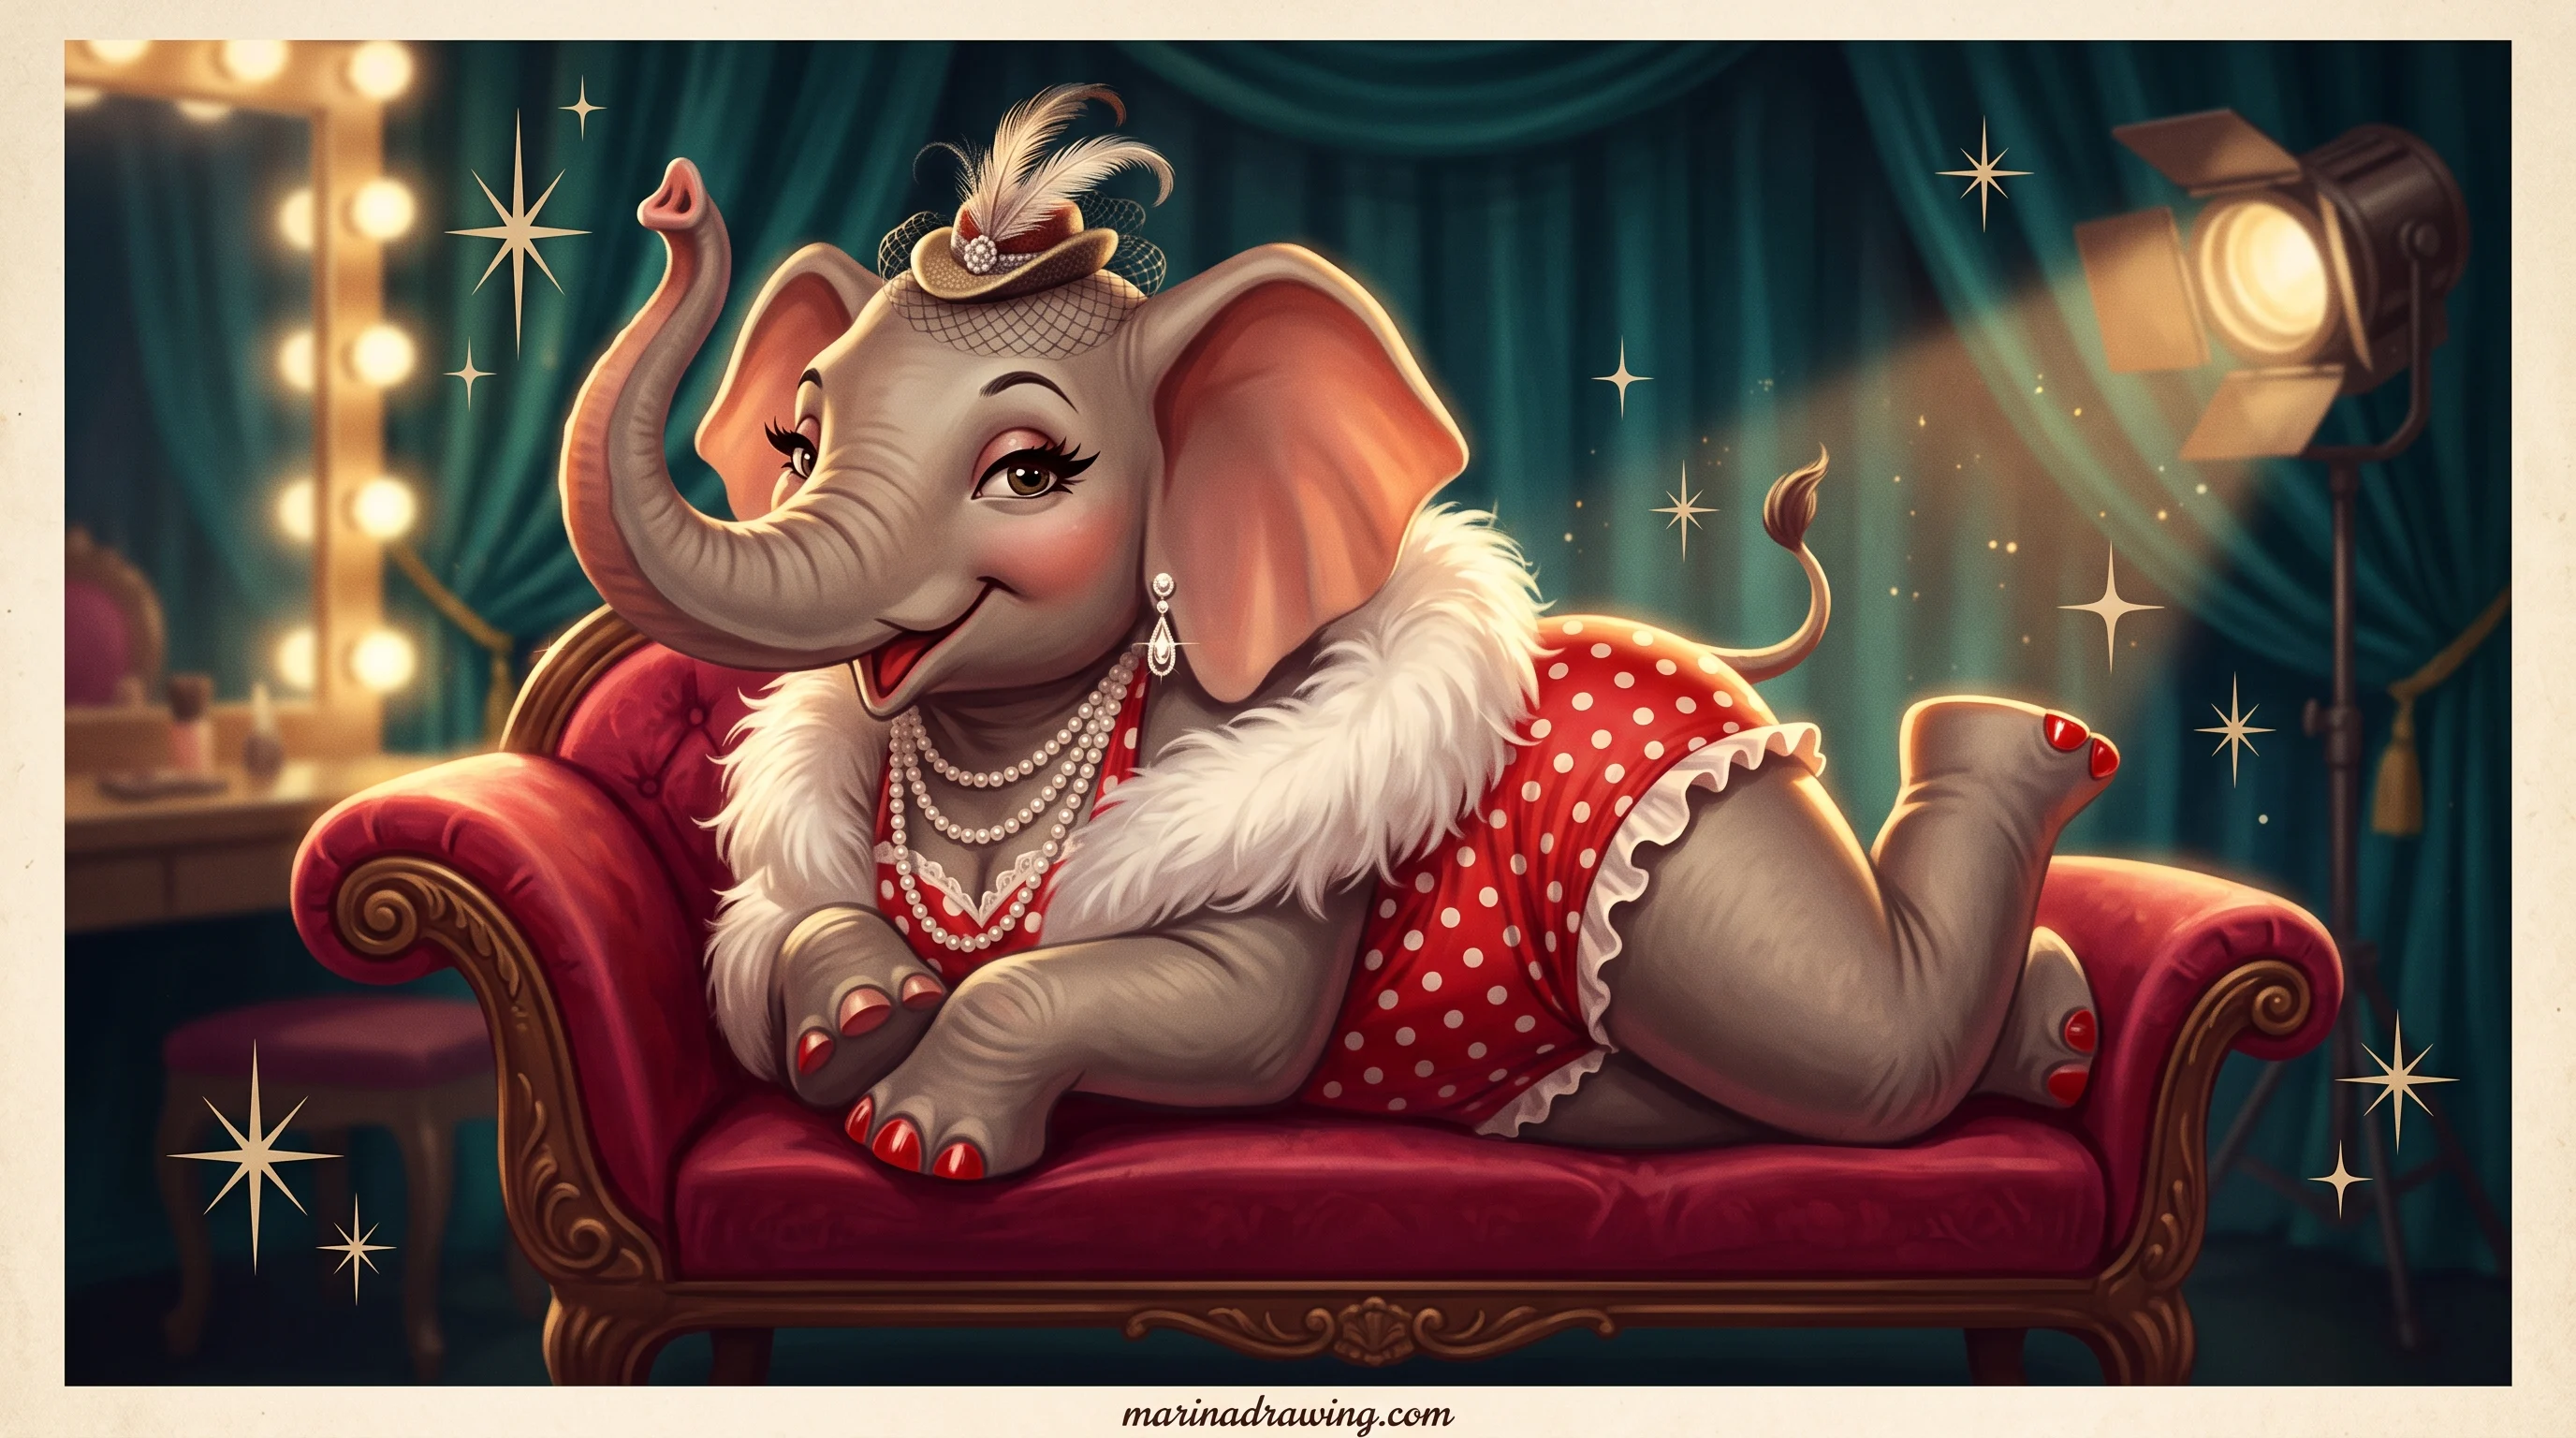
7. An elephant holding a flower in its trunk
Object first, animal around it. Draw your flower where you want the focus, about a third of the head circle wide, then curl your trunk tip around its stem.
The grip is one detail: your last inch of trunk wraps the stem, tip crossing in front. Without that crossing the flower looks balanced on top, not held.
Tilt the head slightly toward it and your pose is done. Need more props to try? Our simple drawing ideas page is full of them.
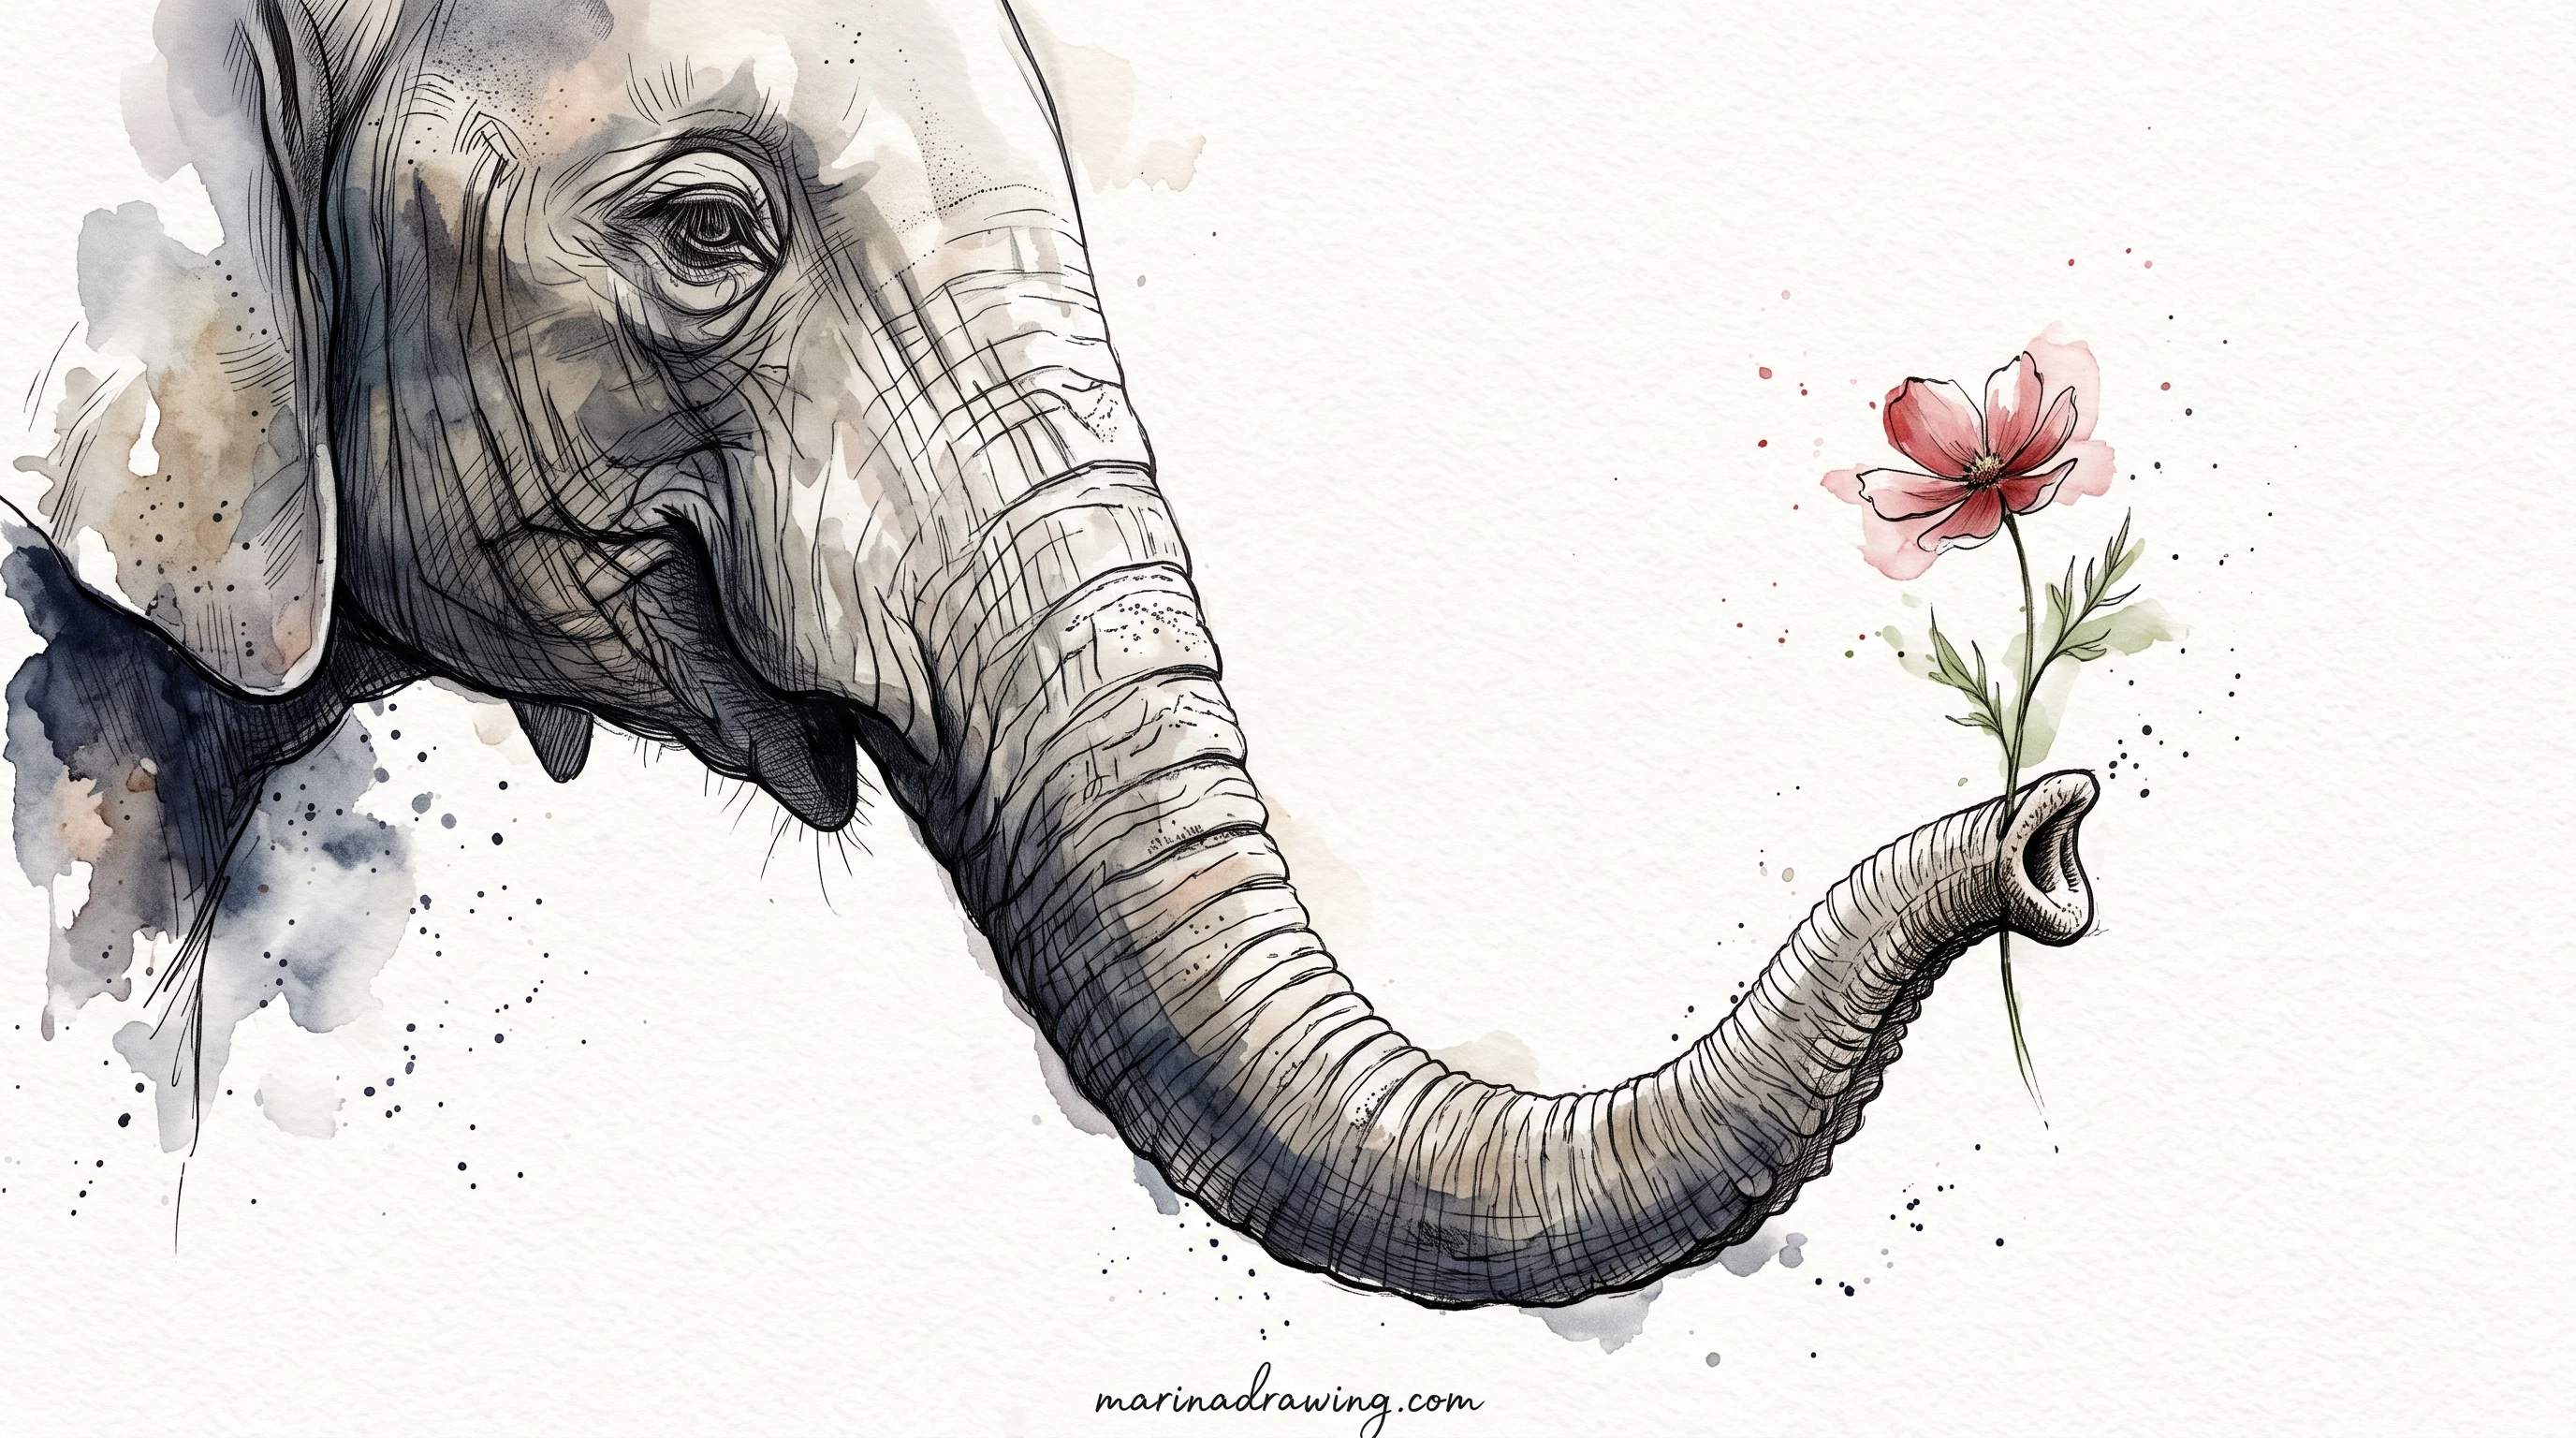
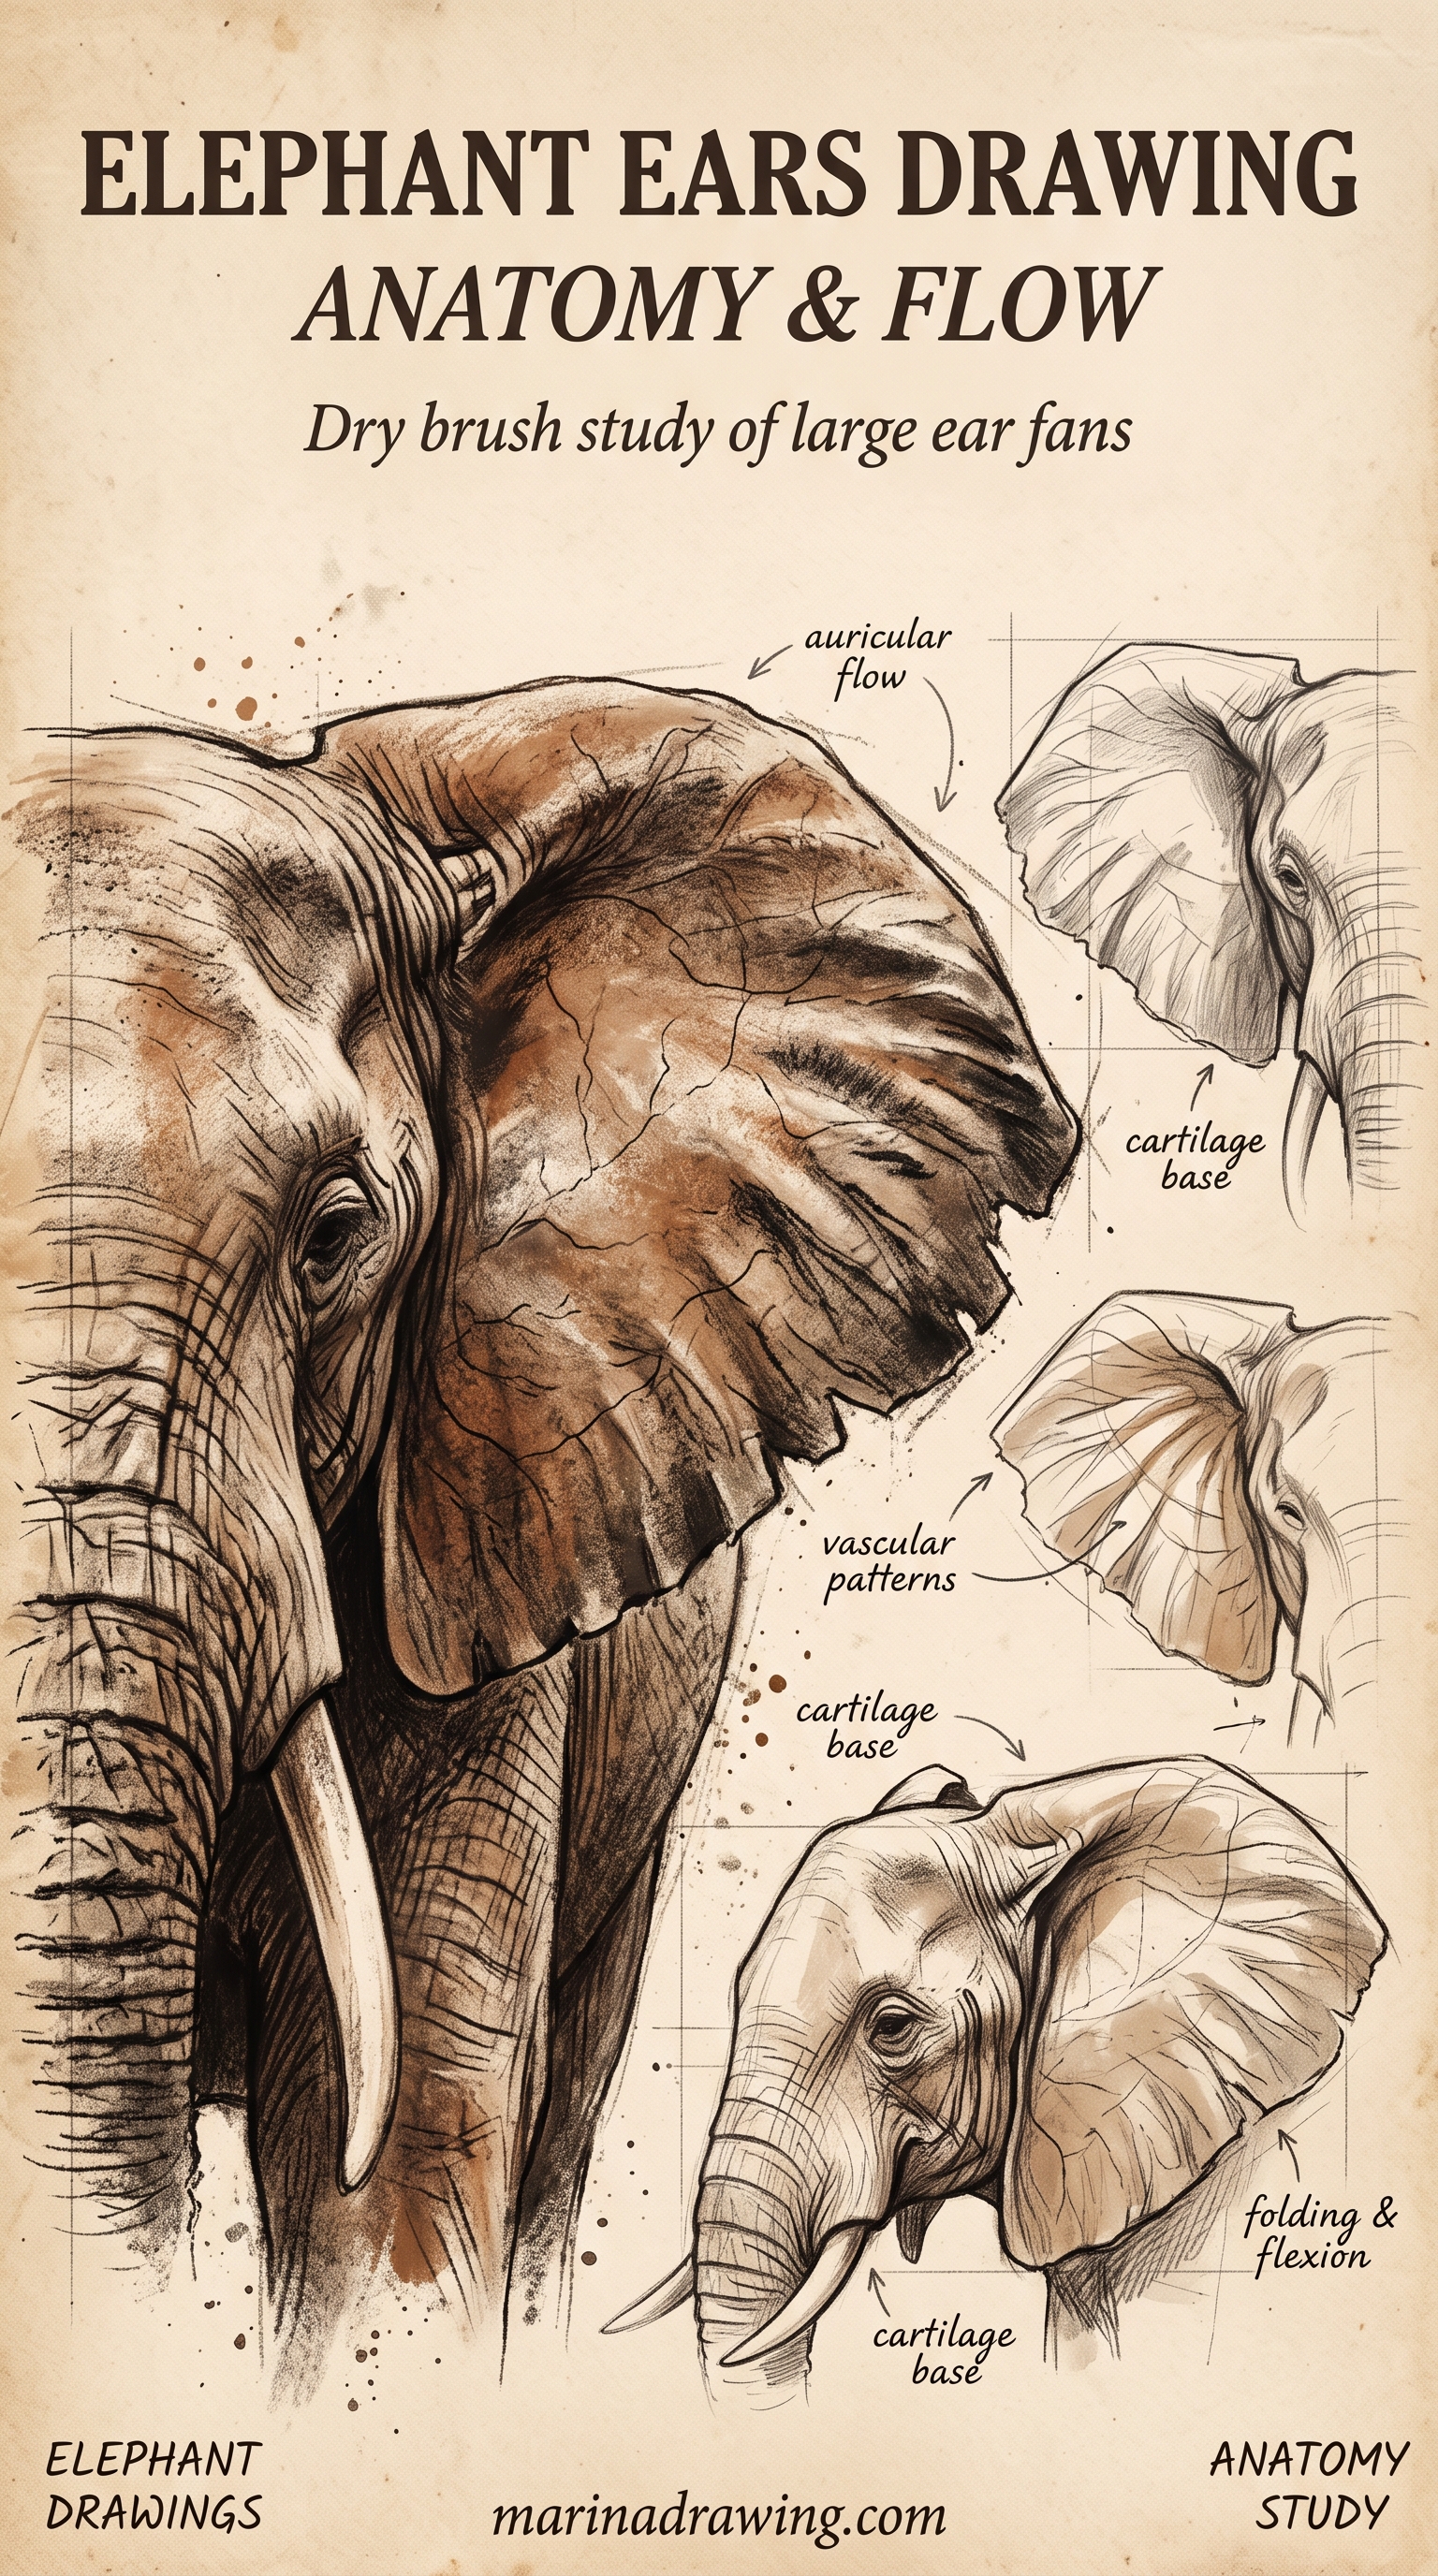
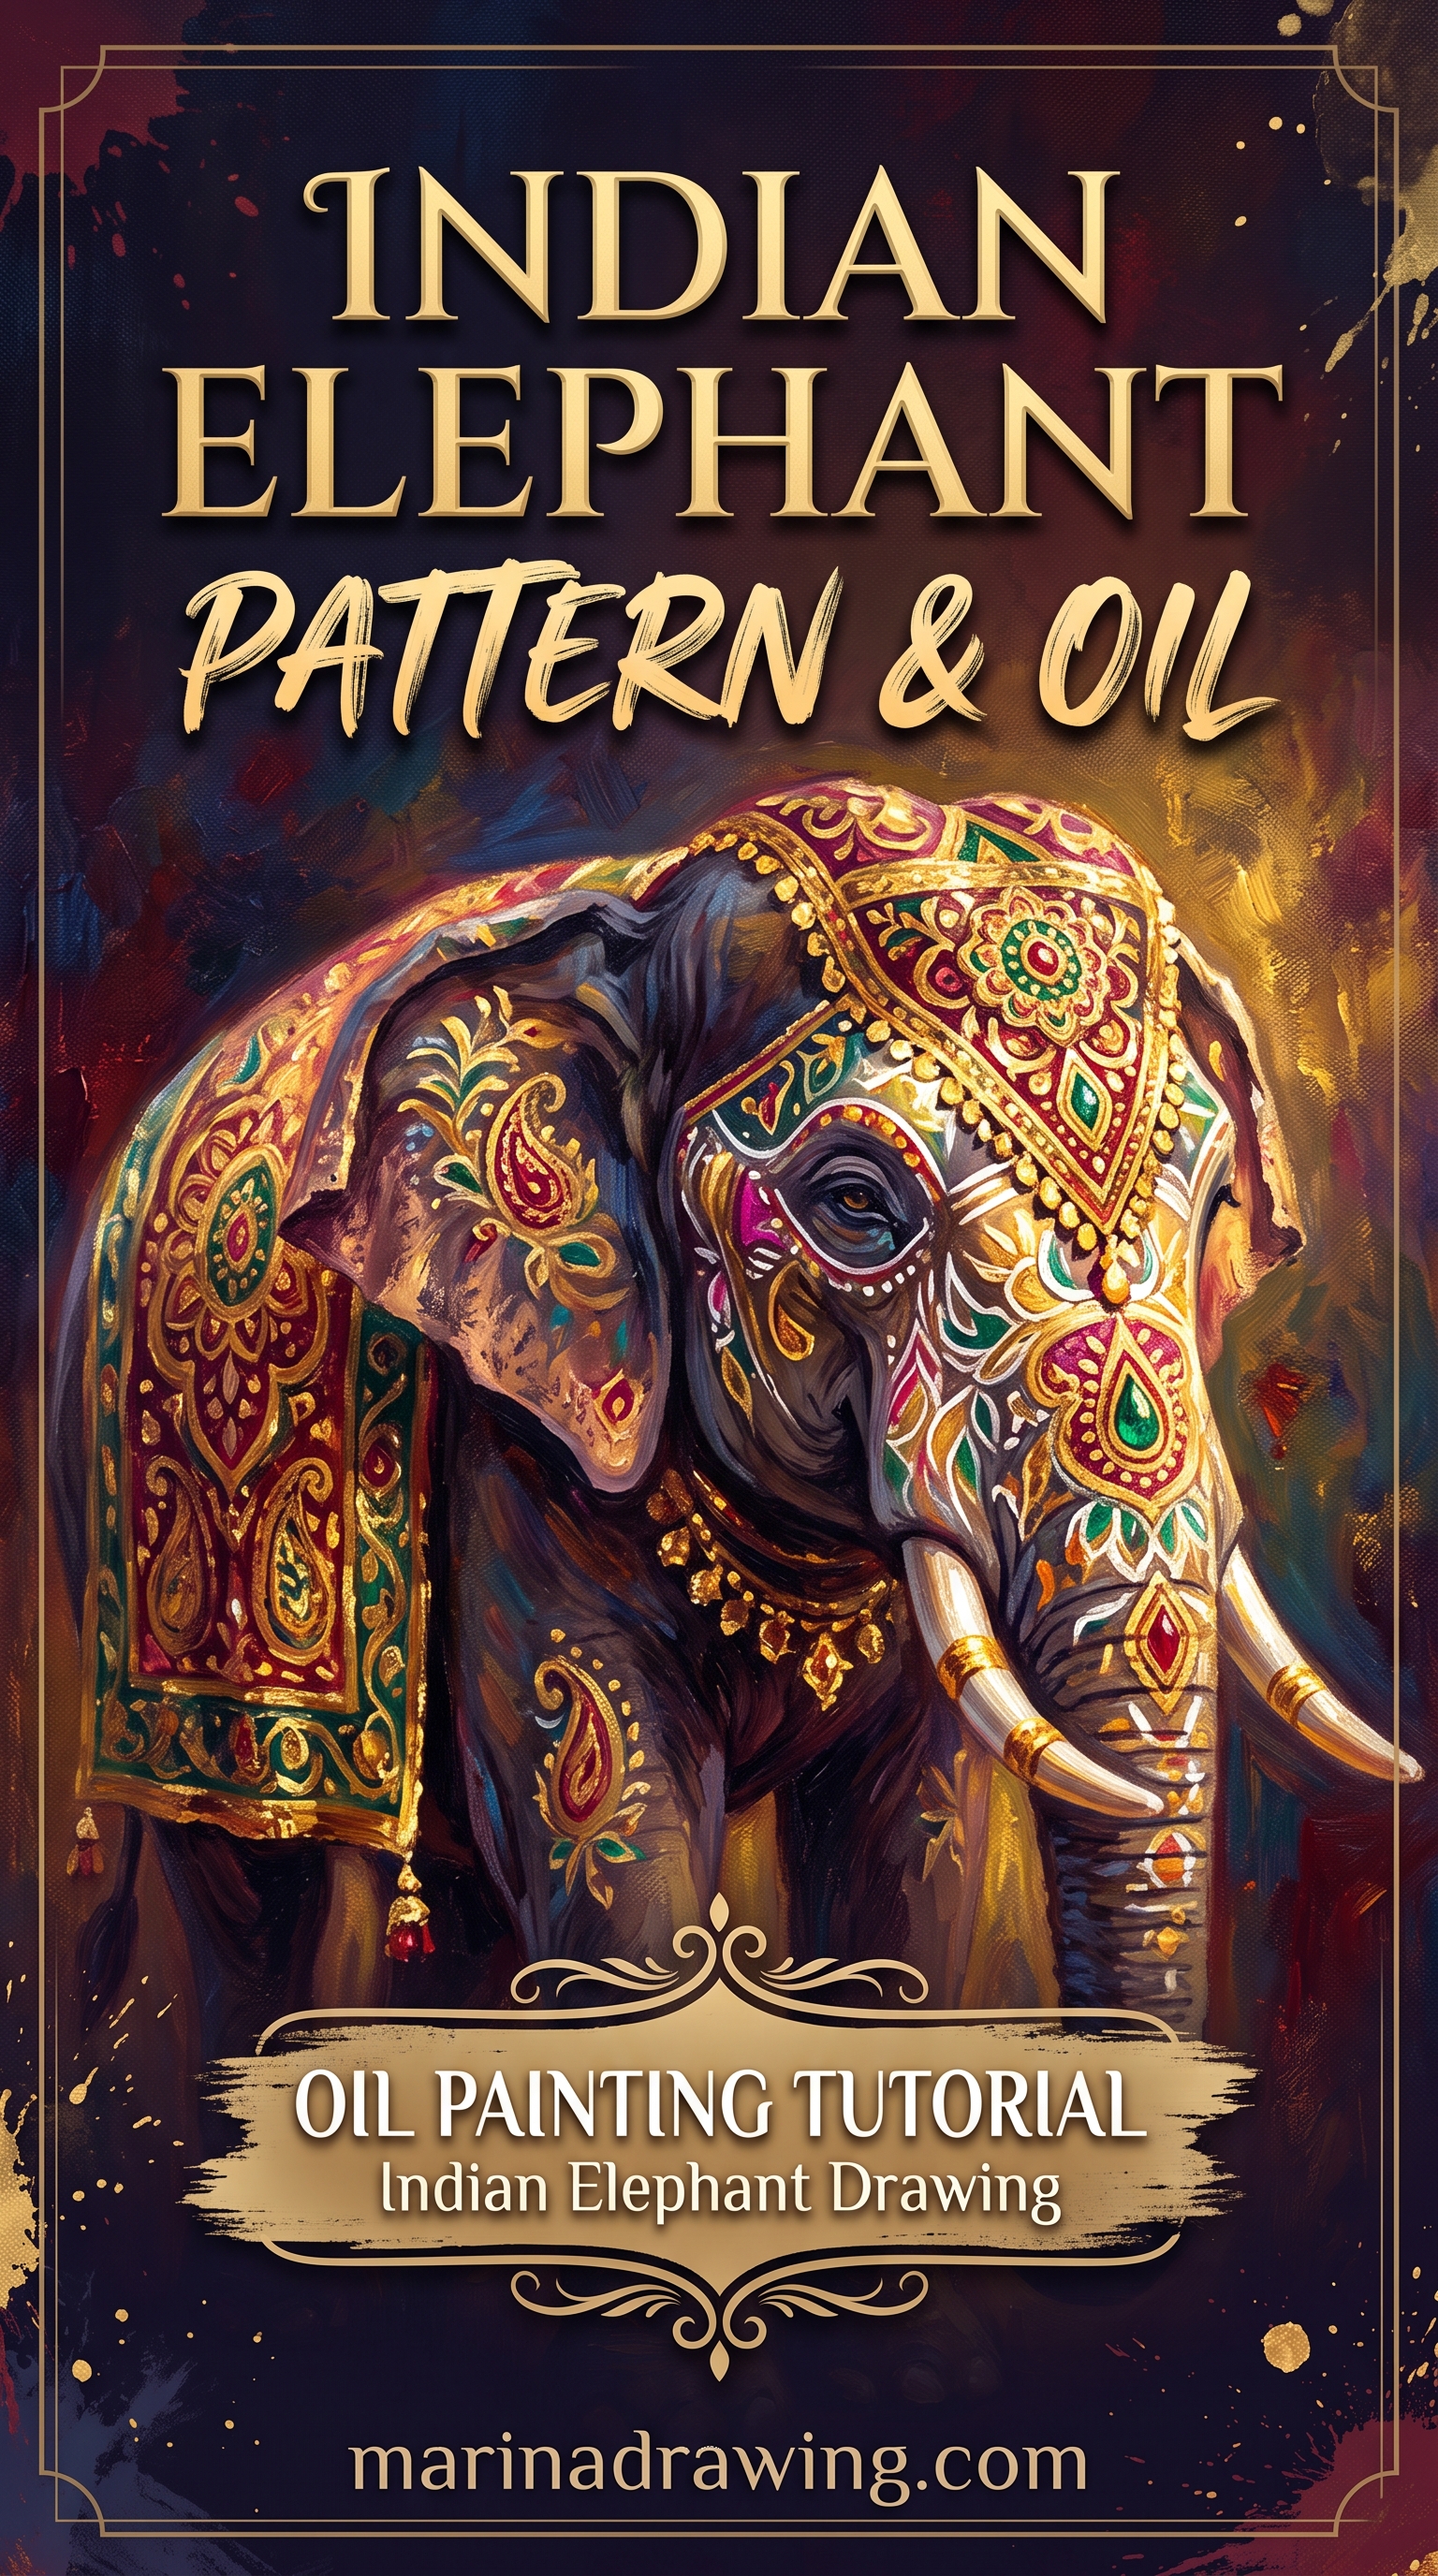
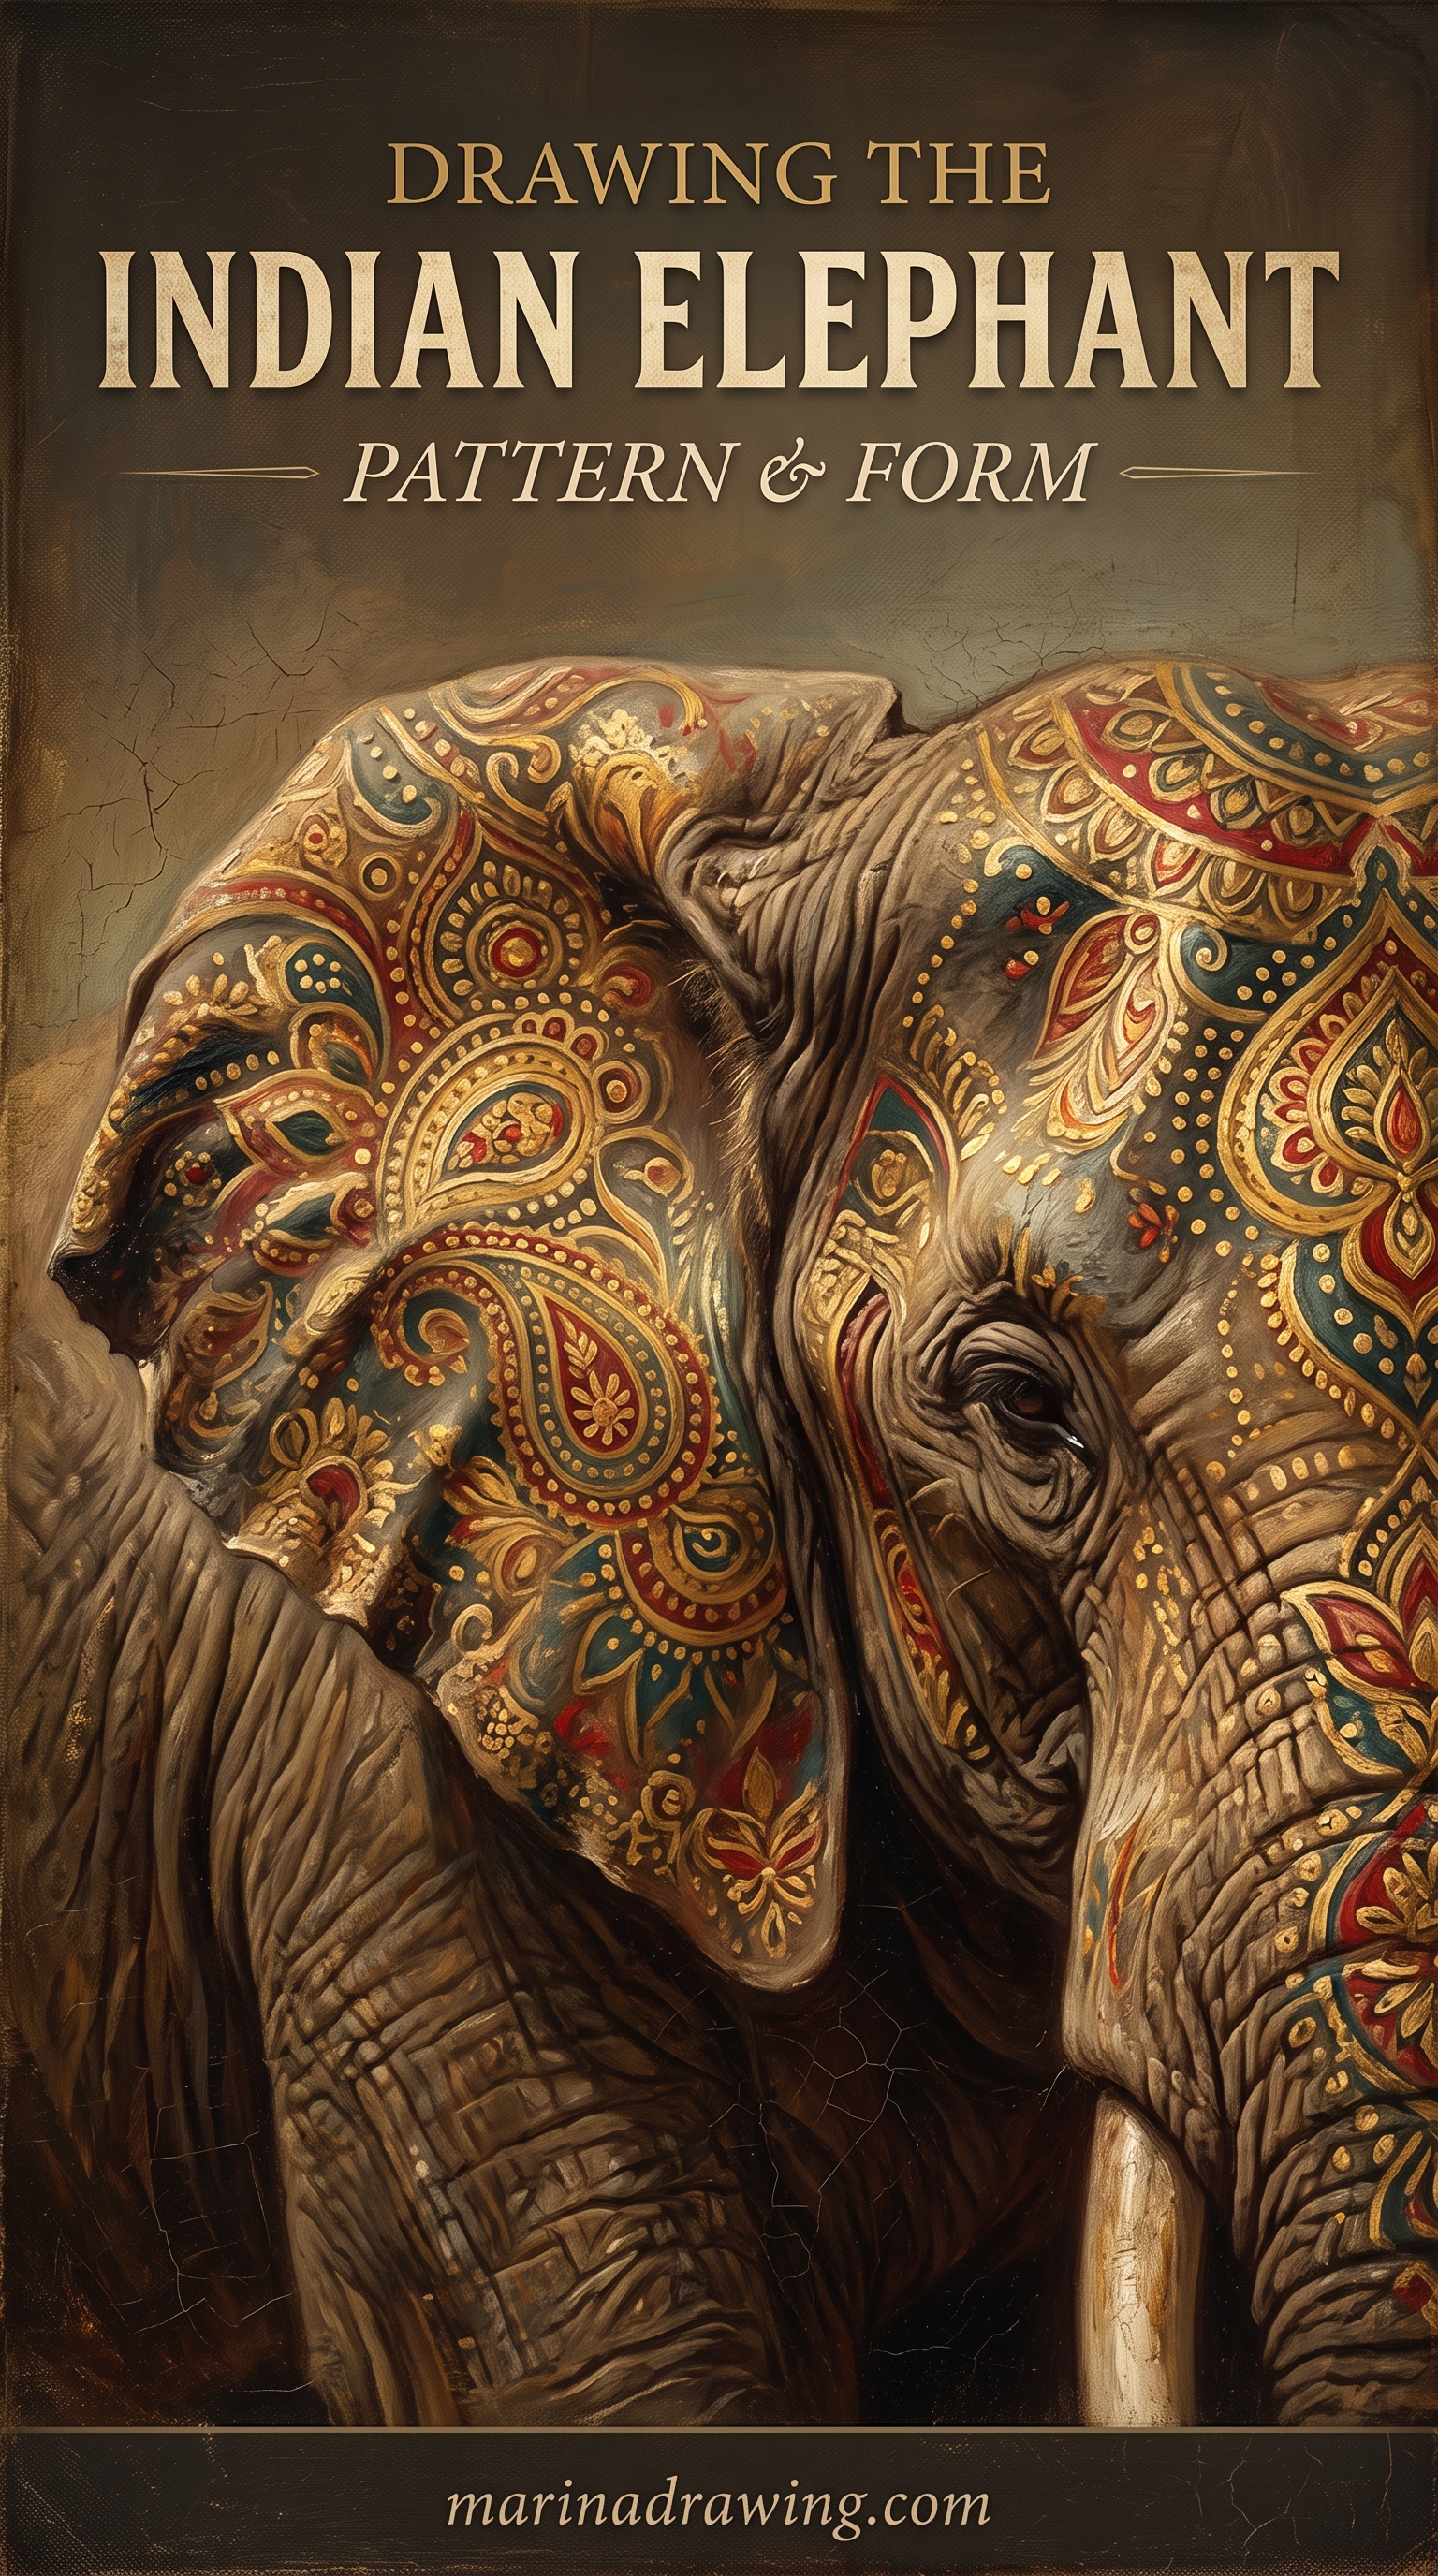
8. An Indian elephant with patterned ears
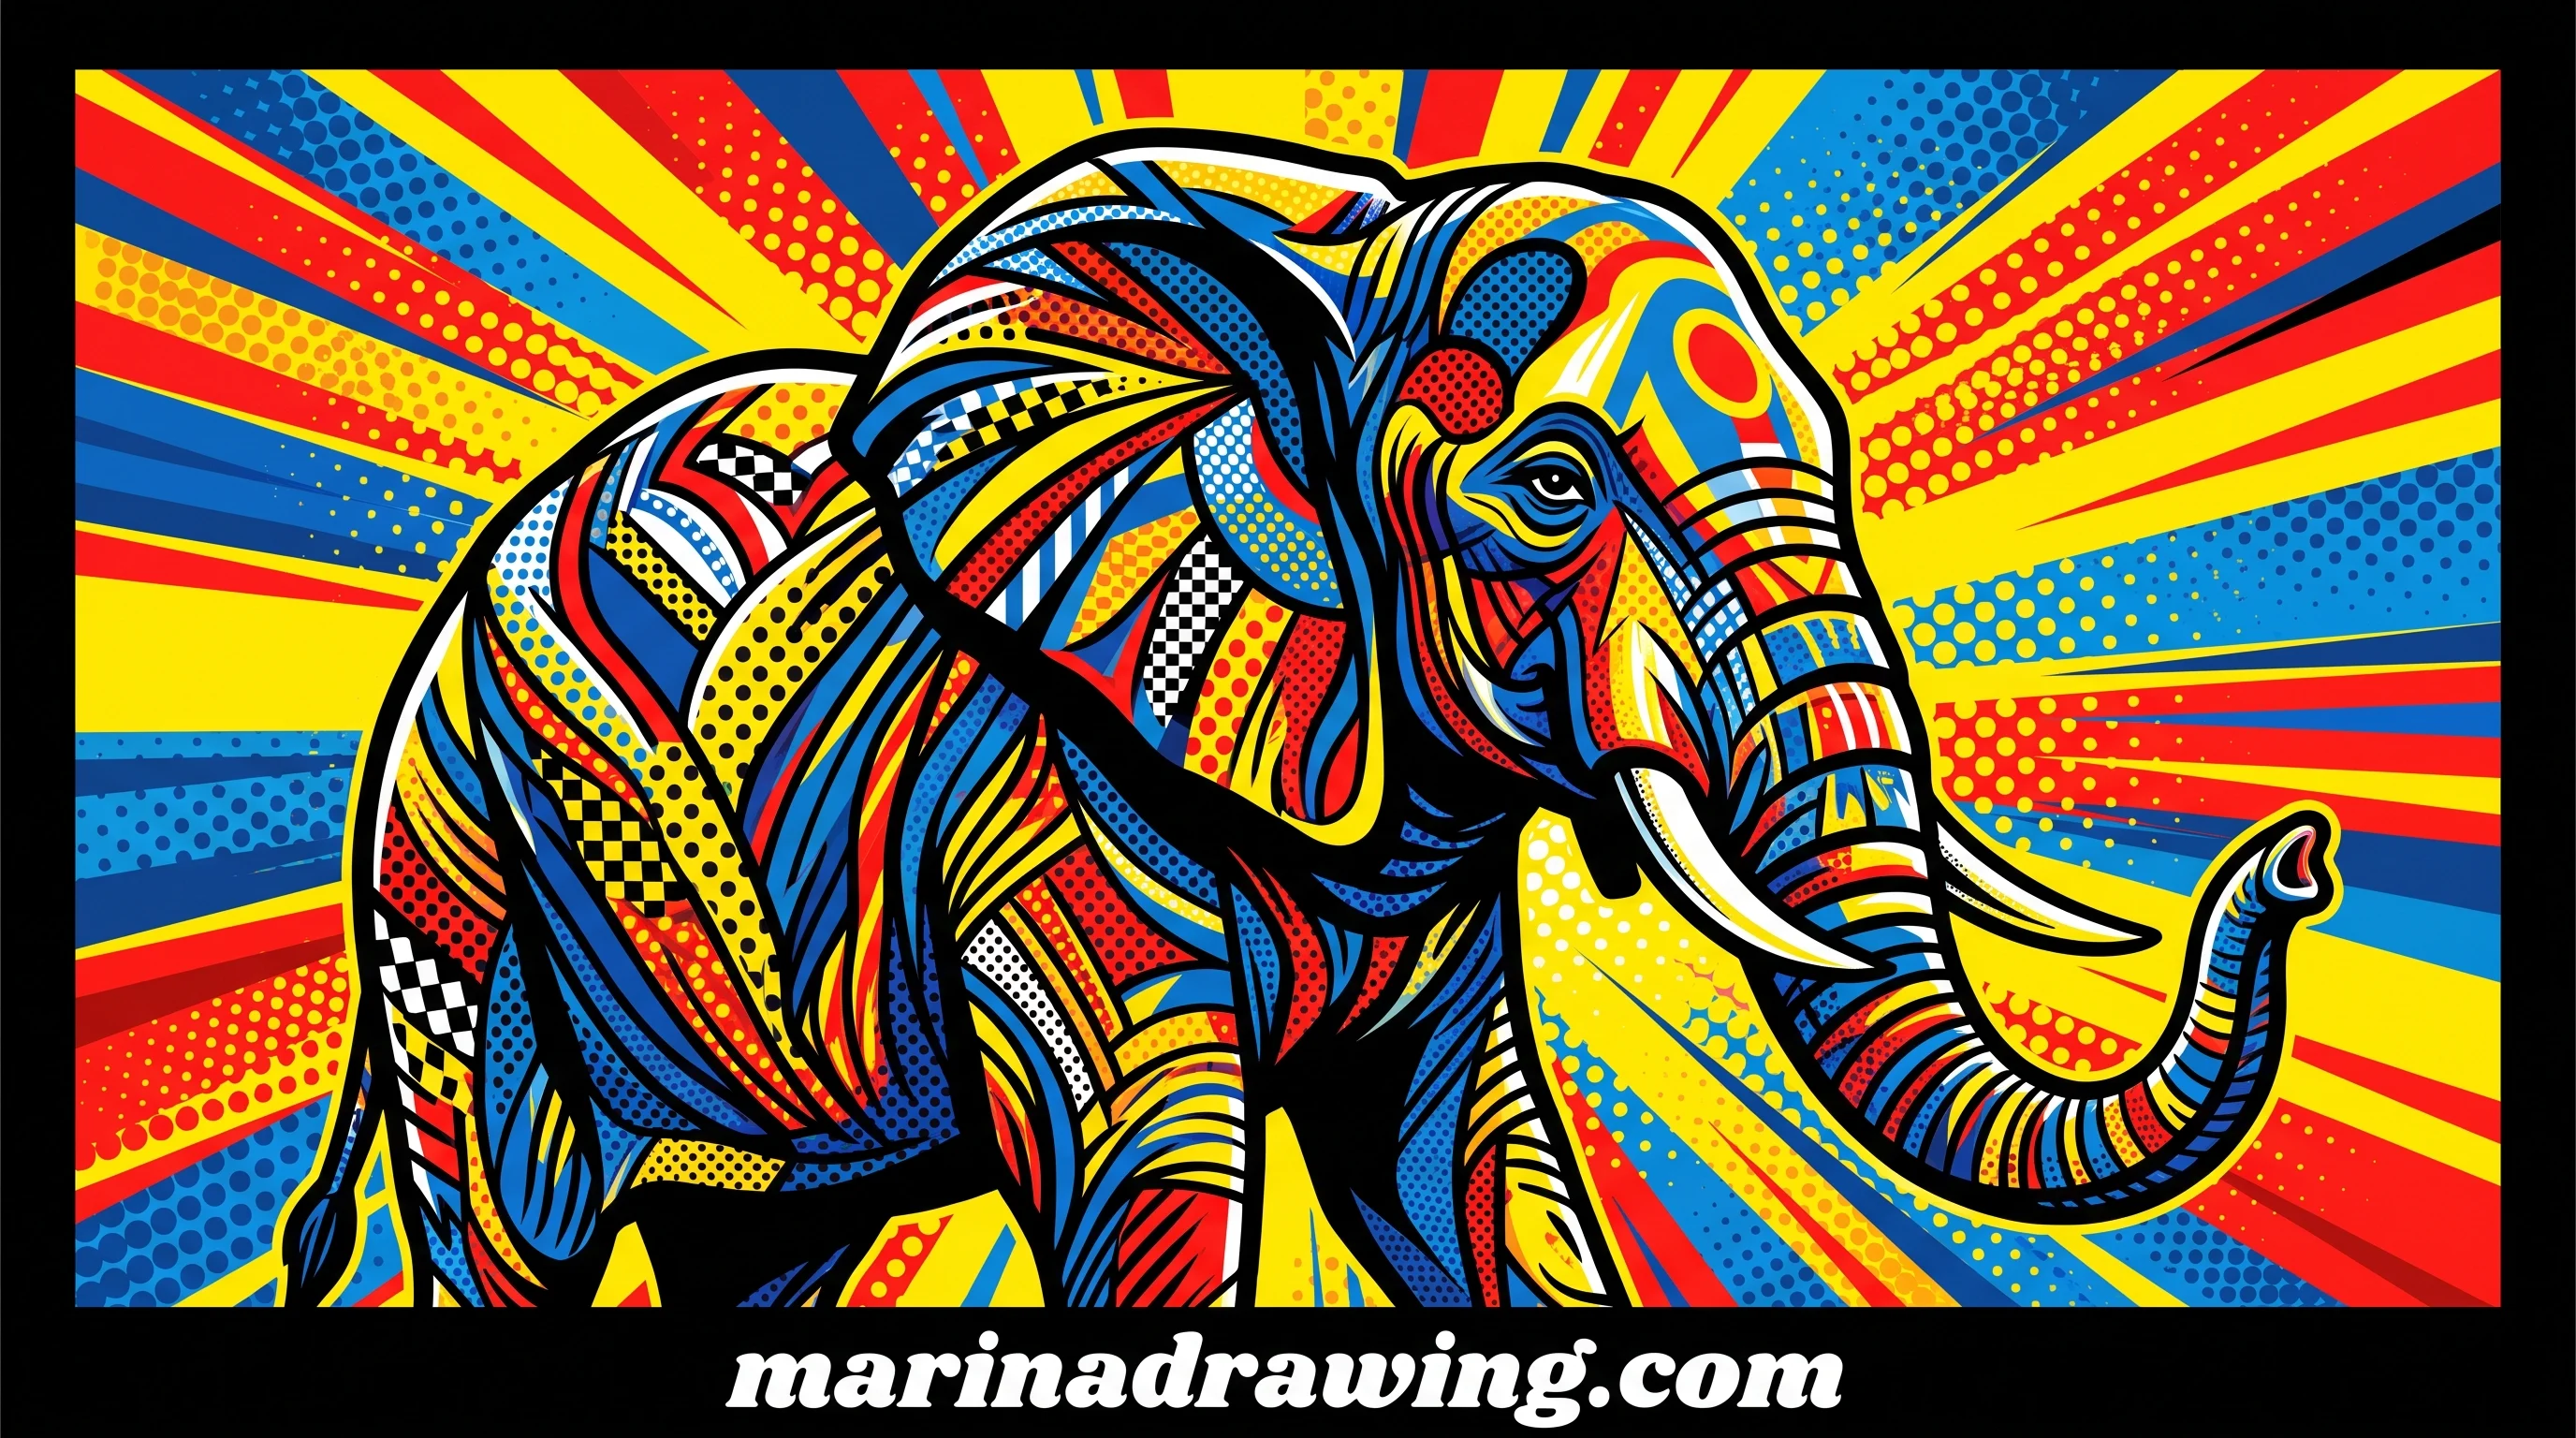
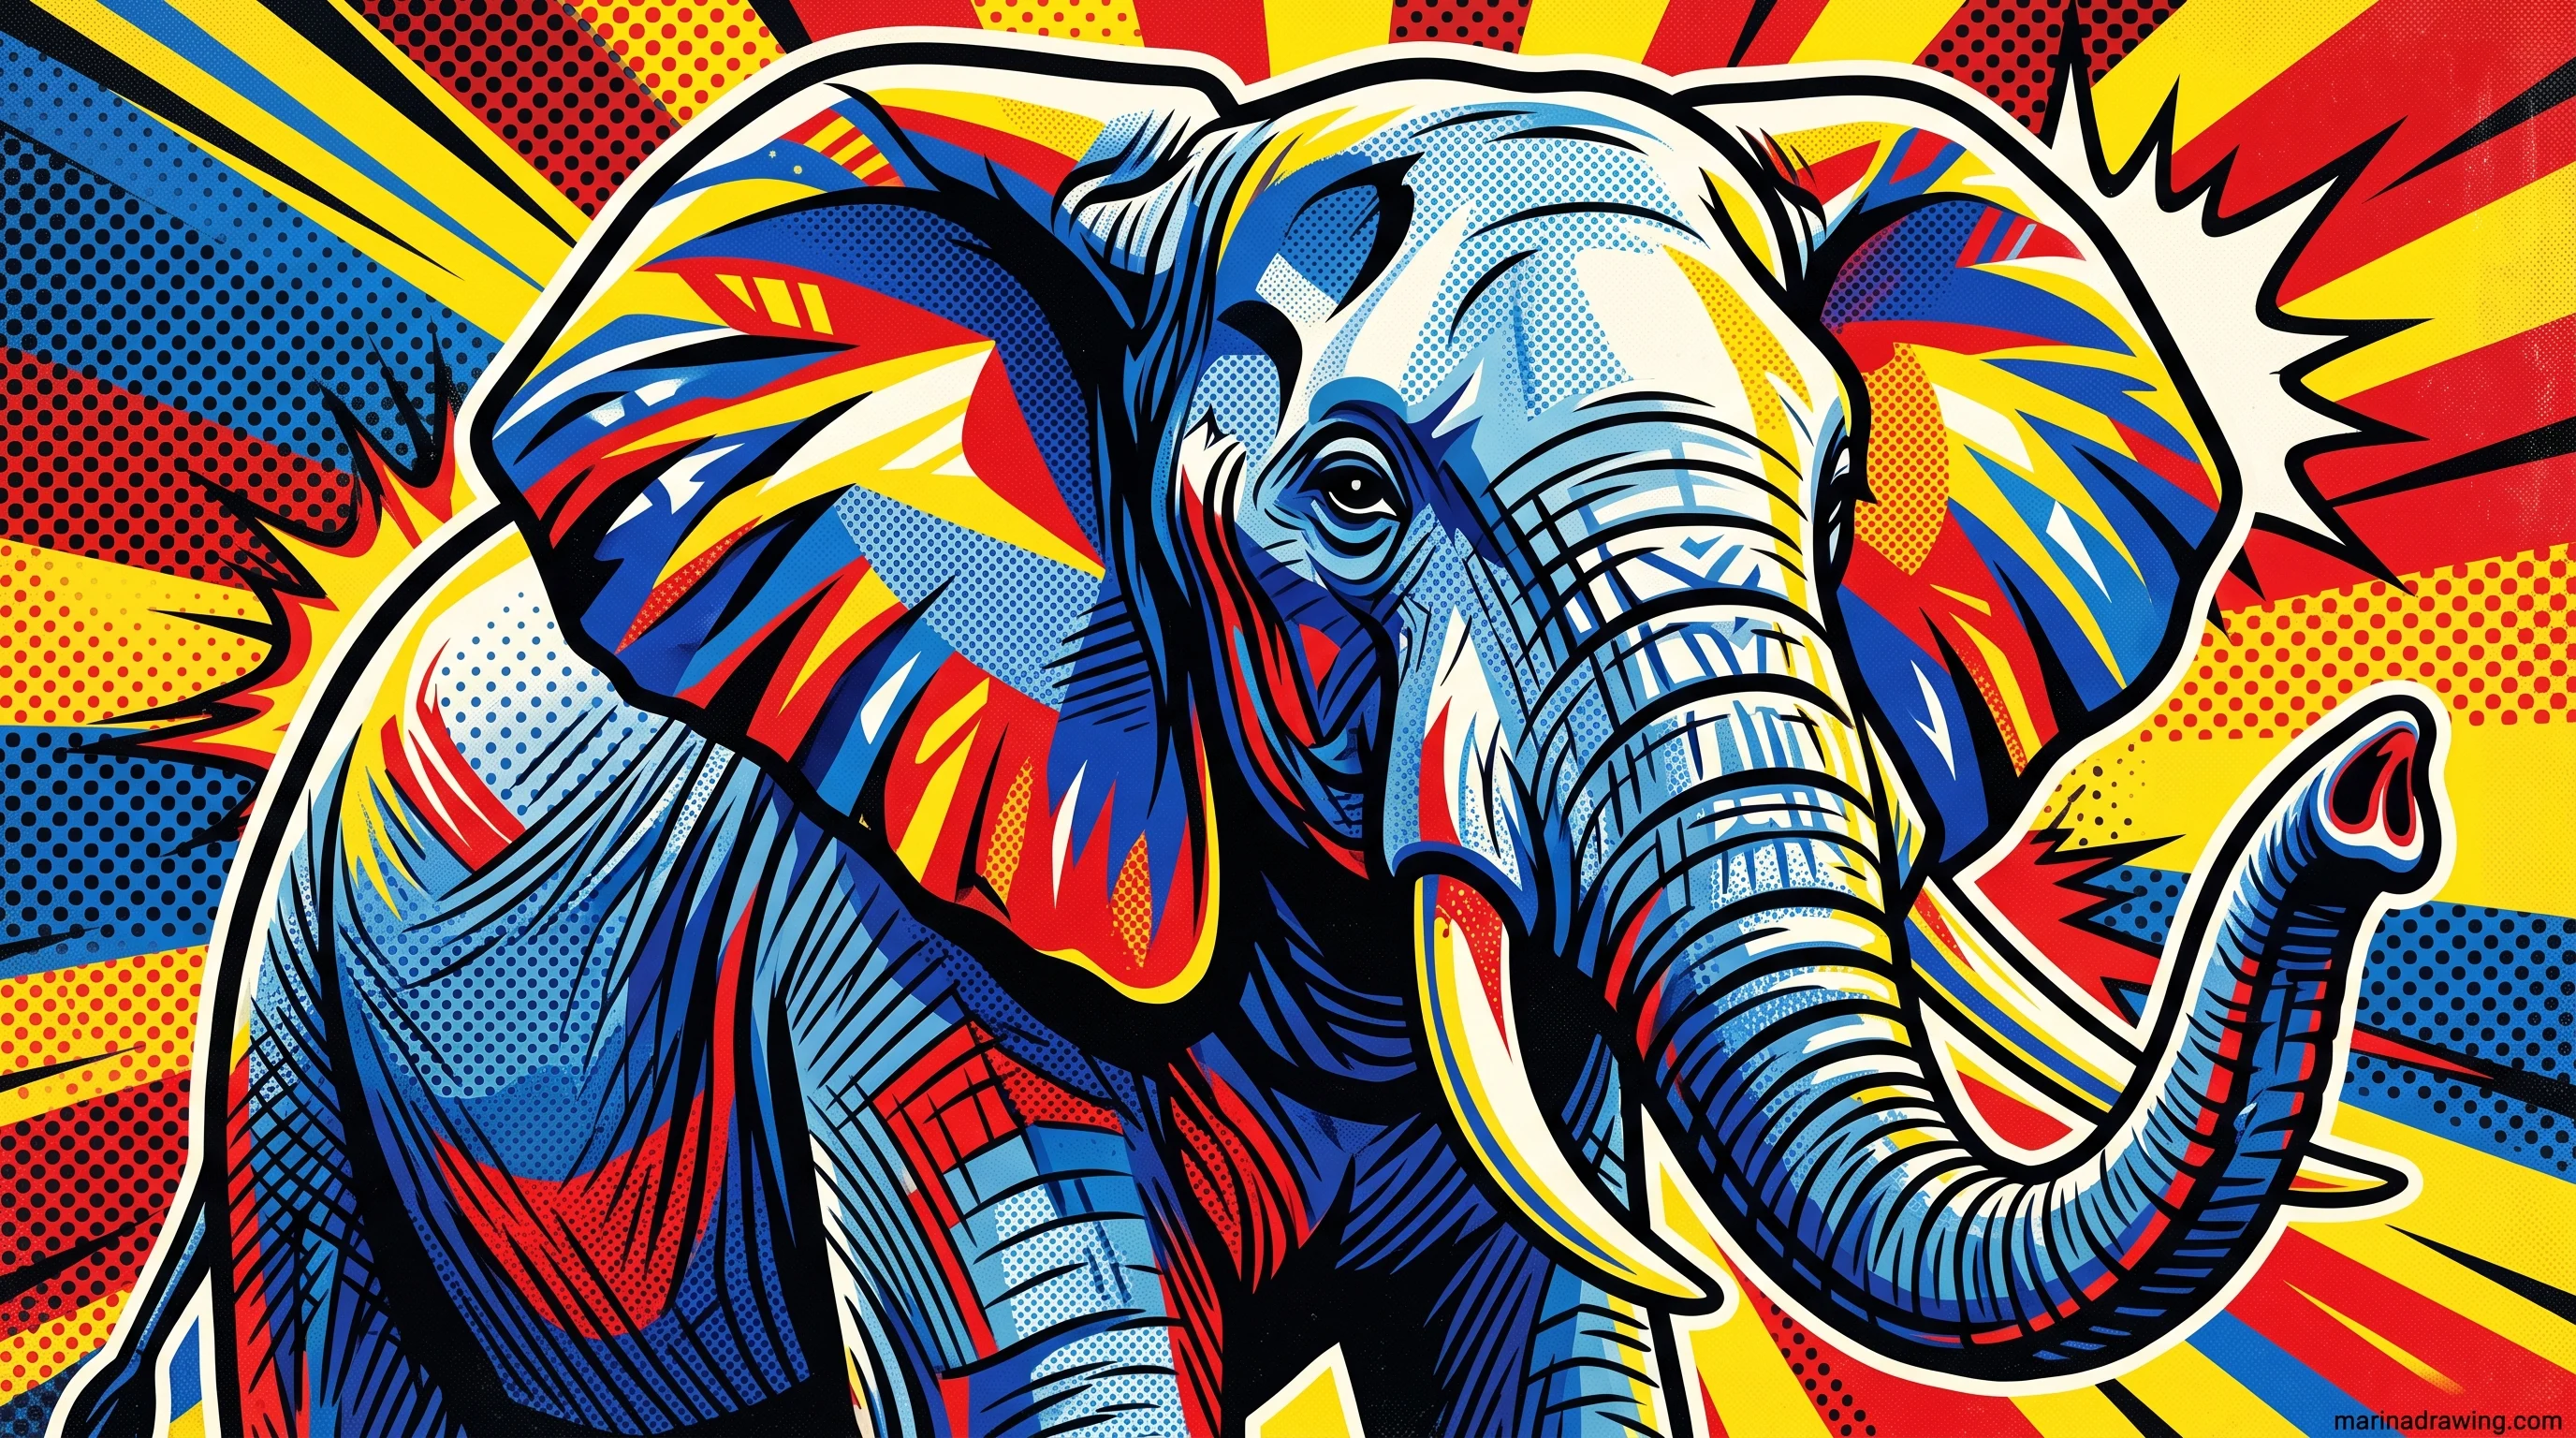
An Indian elephant drawing is not a decorated African one. You build it differently:
- A smaller, rounder ear, about the width of your head rather than wider.
- Two domes on top of the skull instead of one, with a dip between them.
- A back that arches up in the middle rather than dipping.
- A trunk tip with one finger, not two.
Your pattern follows the ear: arcs running with the curve of the edge, each row smaller as it nears the base. Rows drawn straight across flatten your ear into a paddle. Same rule on the back blanket and the ankle bands.
Ornament and border motifs are worth borrowing rather than inventing on the spot, and a graphics library gets you a sheet of them in a minute.

9. An elephant outline drawing big enough to colour in
42 hours of pencil drawing training, lifetime access
The video course I point plateaued students to — full lessons on portraits, hands, and realistic shading, not another short tutorial.
Large-format elephants follow one extra rule: outline only, no shading, every shape closed so your colour cannot leak.
Scale up from your circles and keep every ratio. At that size an ear a centimetre too small shows from the doorway, so measure against your head circle.
Thicken your outline where the body meets the ground, leave it thin along the back, and your flat drawing still reads as solid. This is the one to create for a child to colour, and easy drawings for kids works the same way.
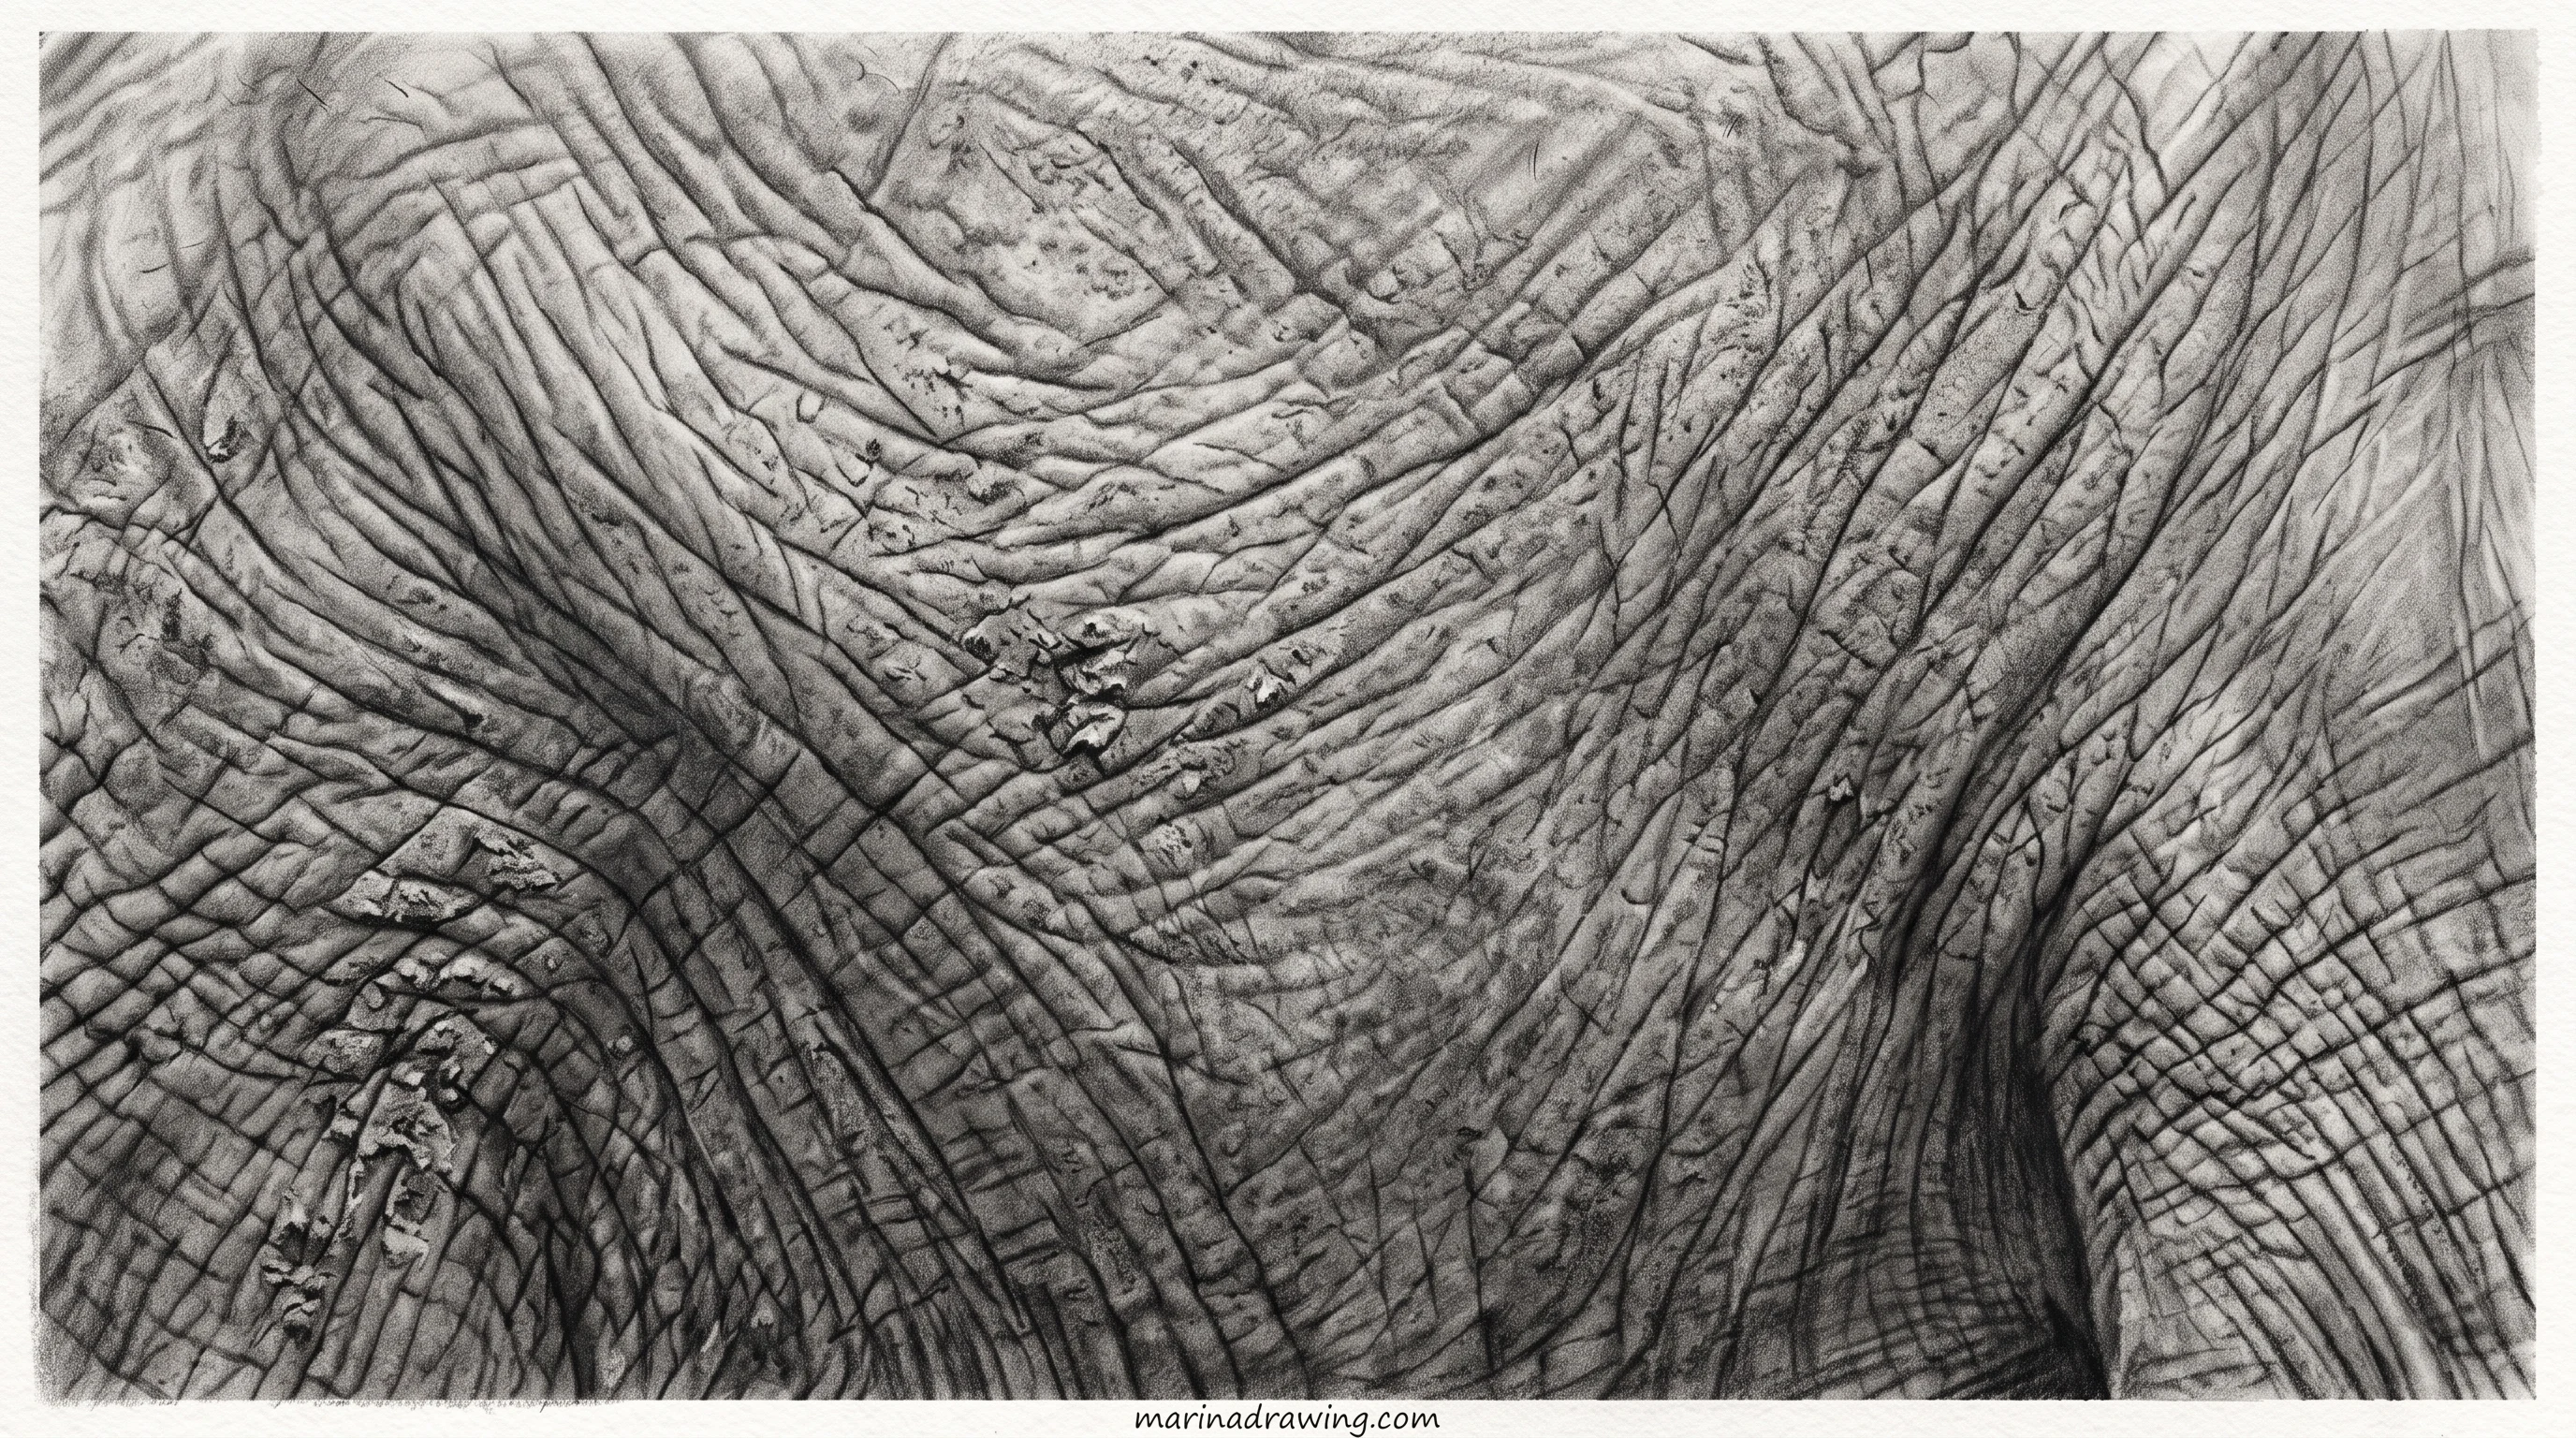
10. A realistic elephant drawing in graphite
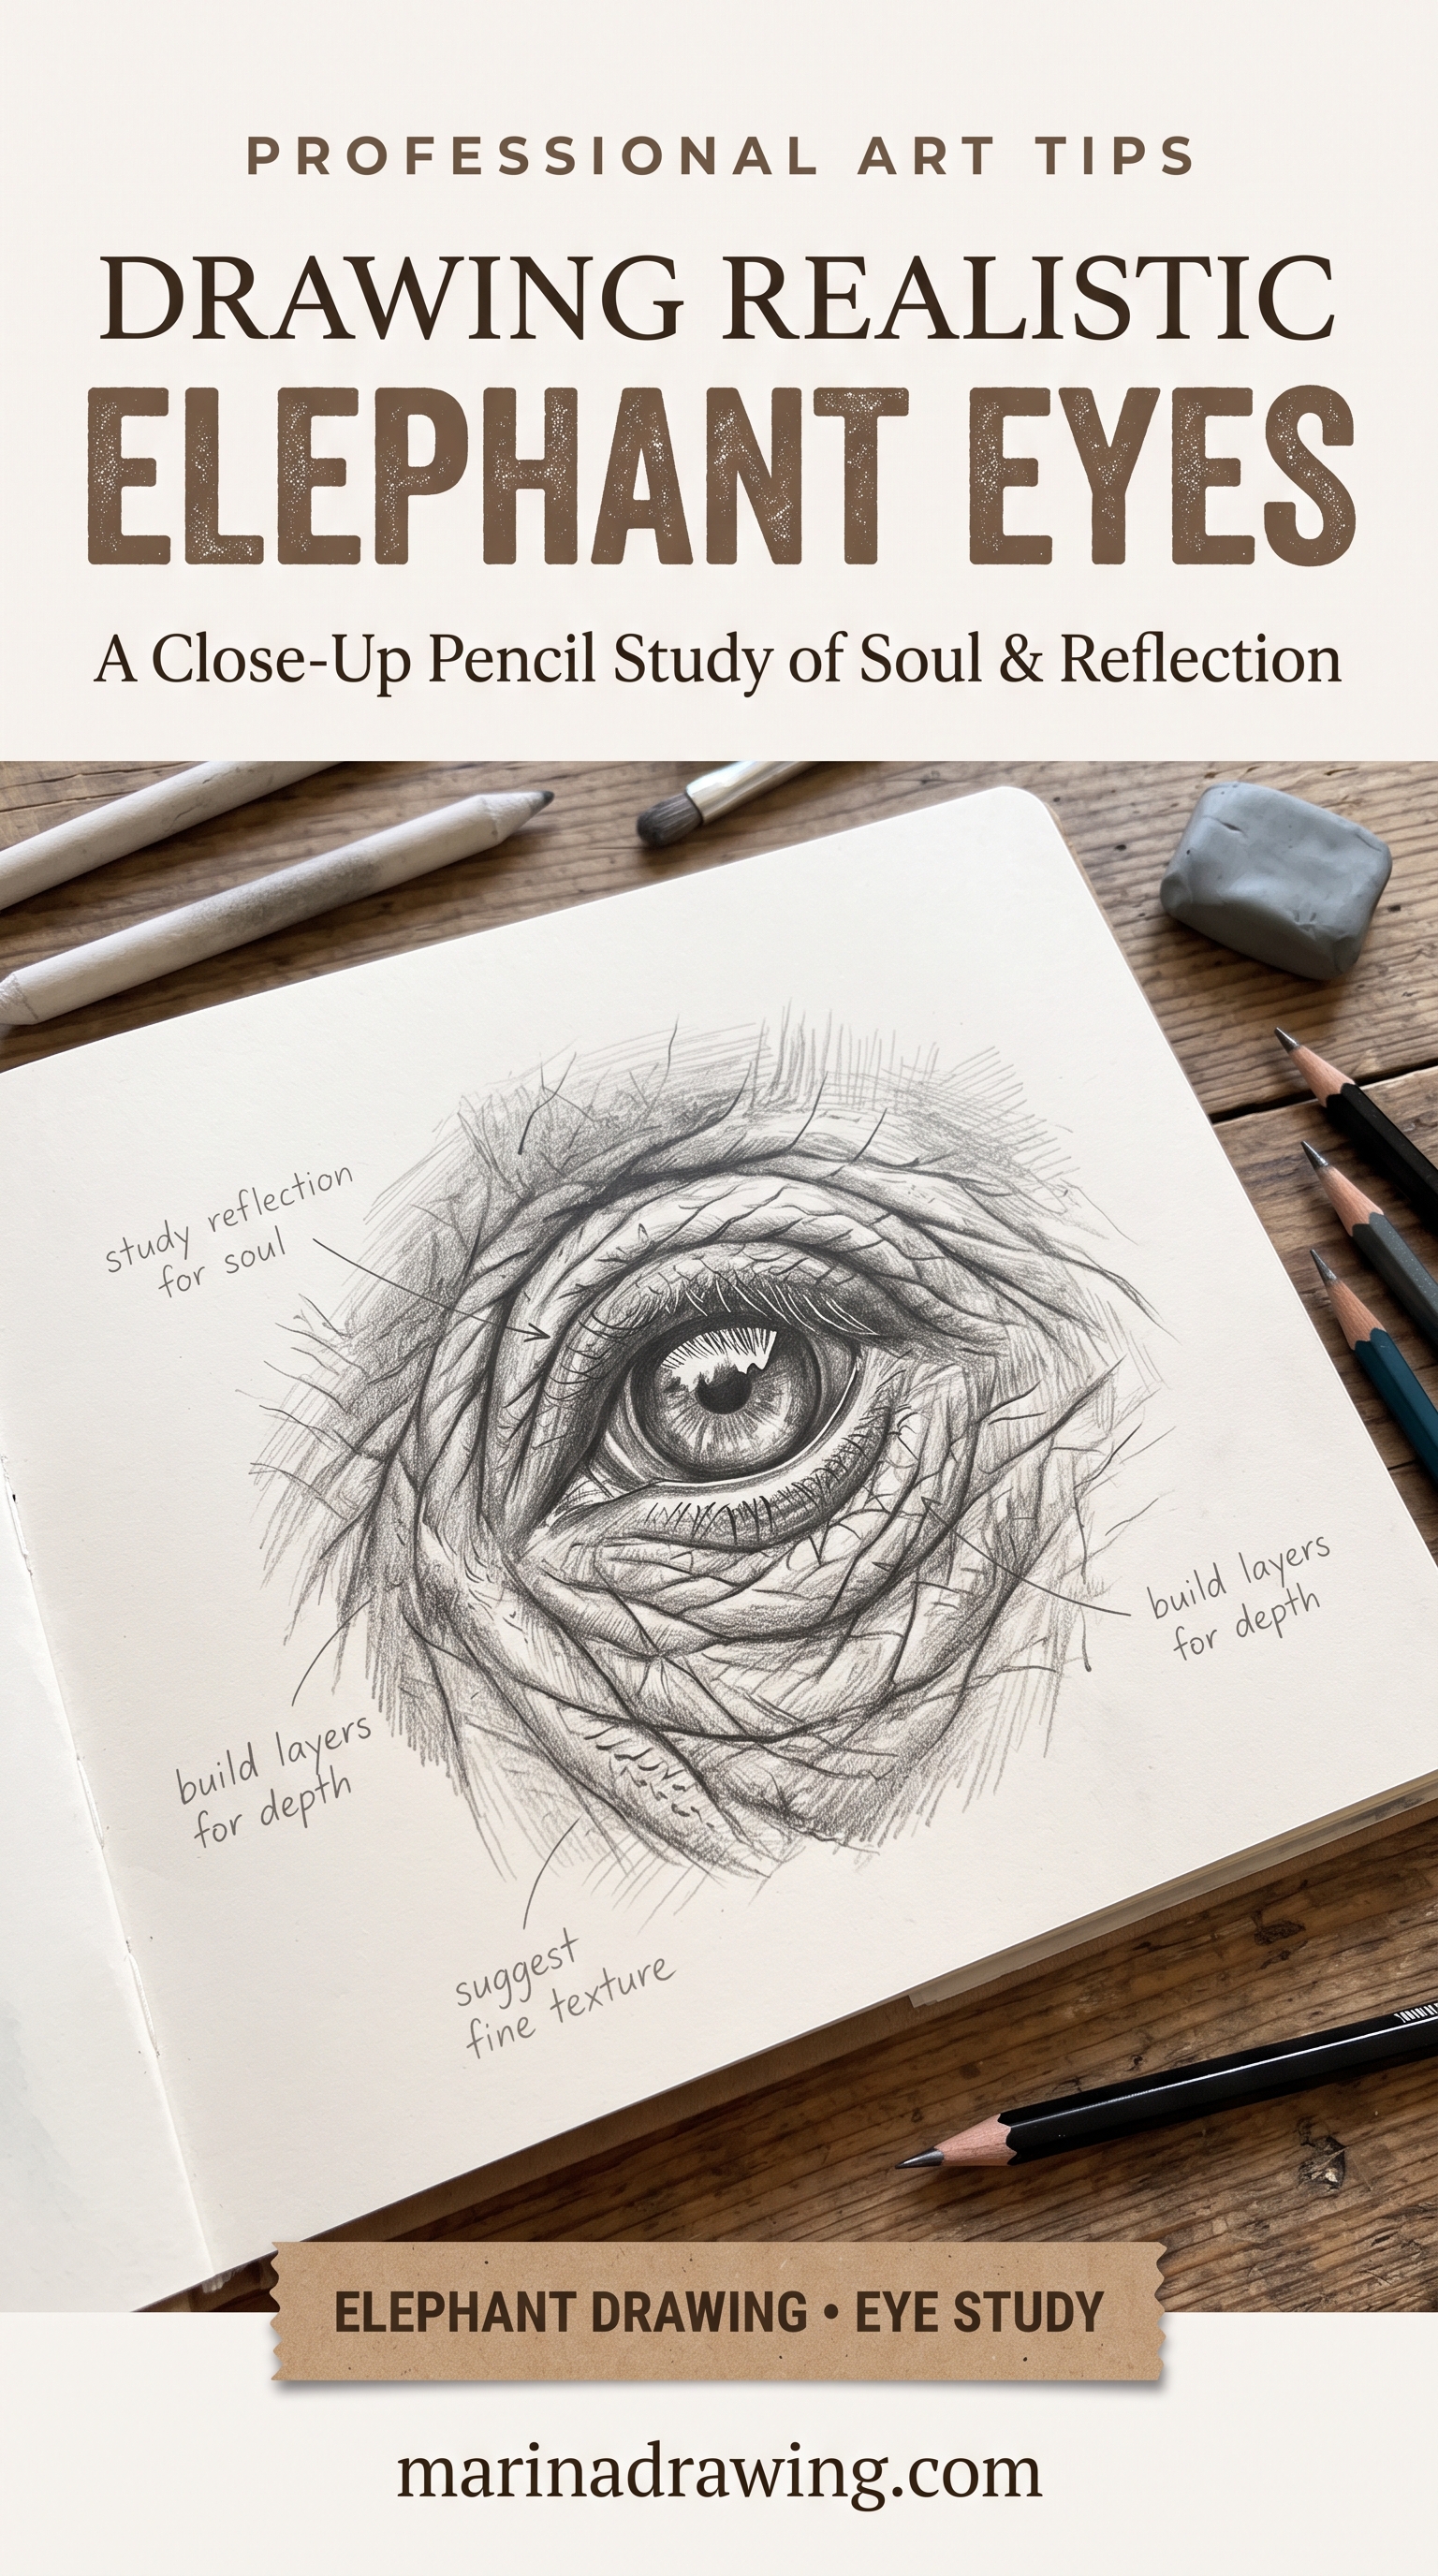
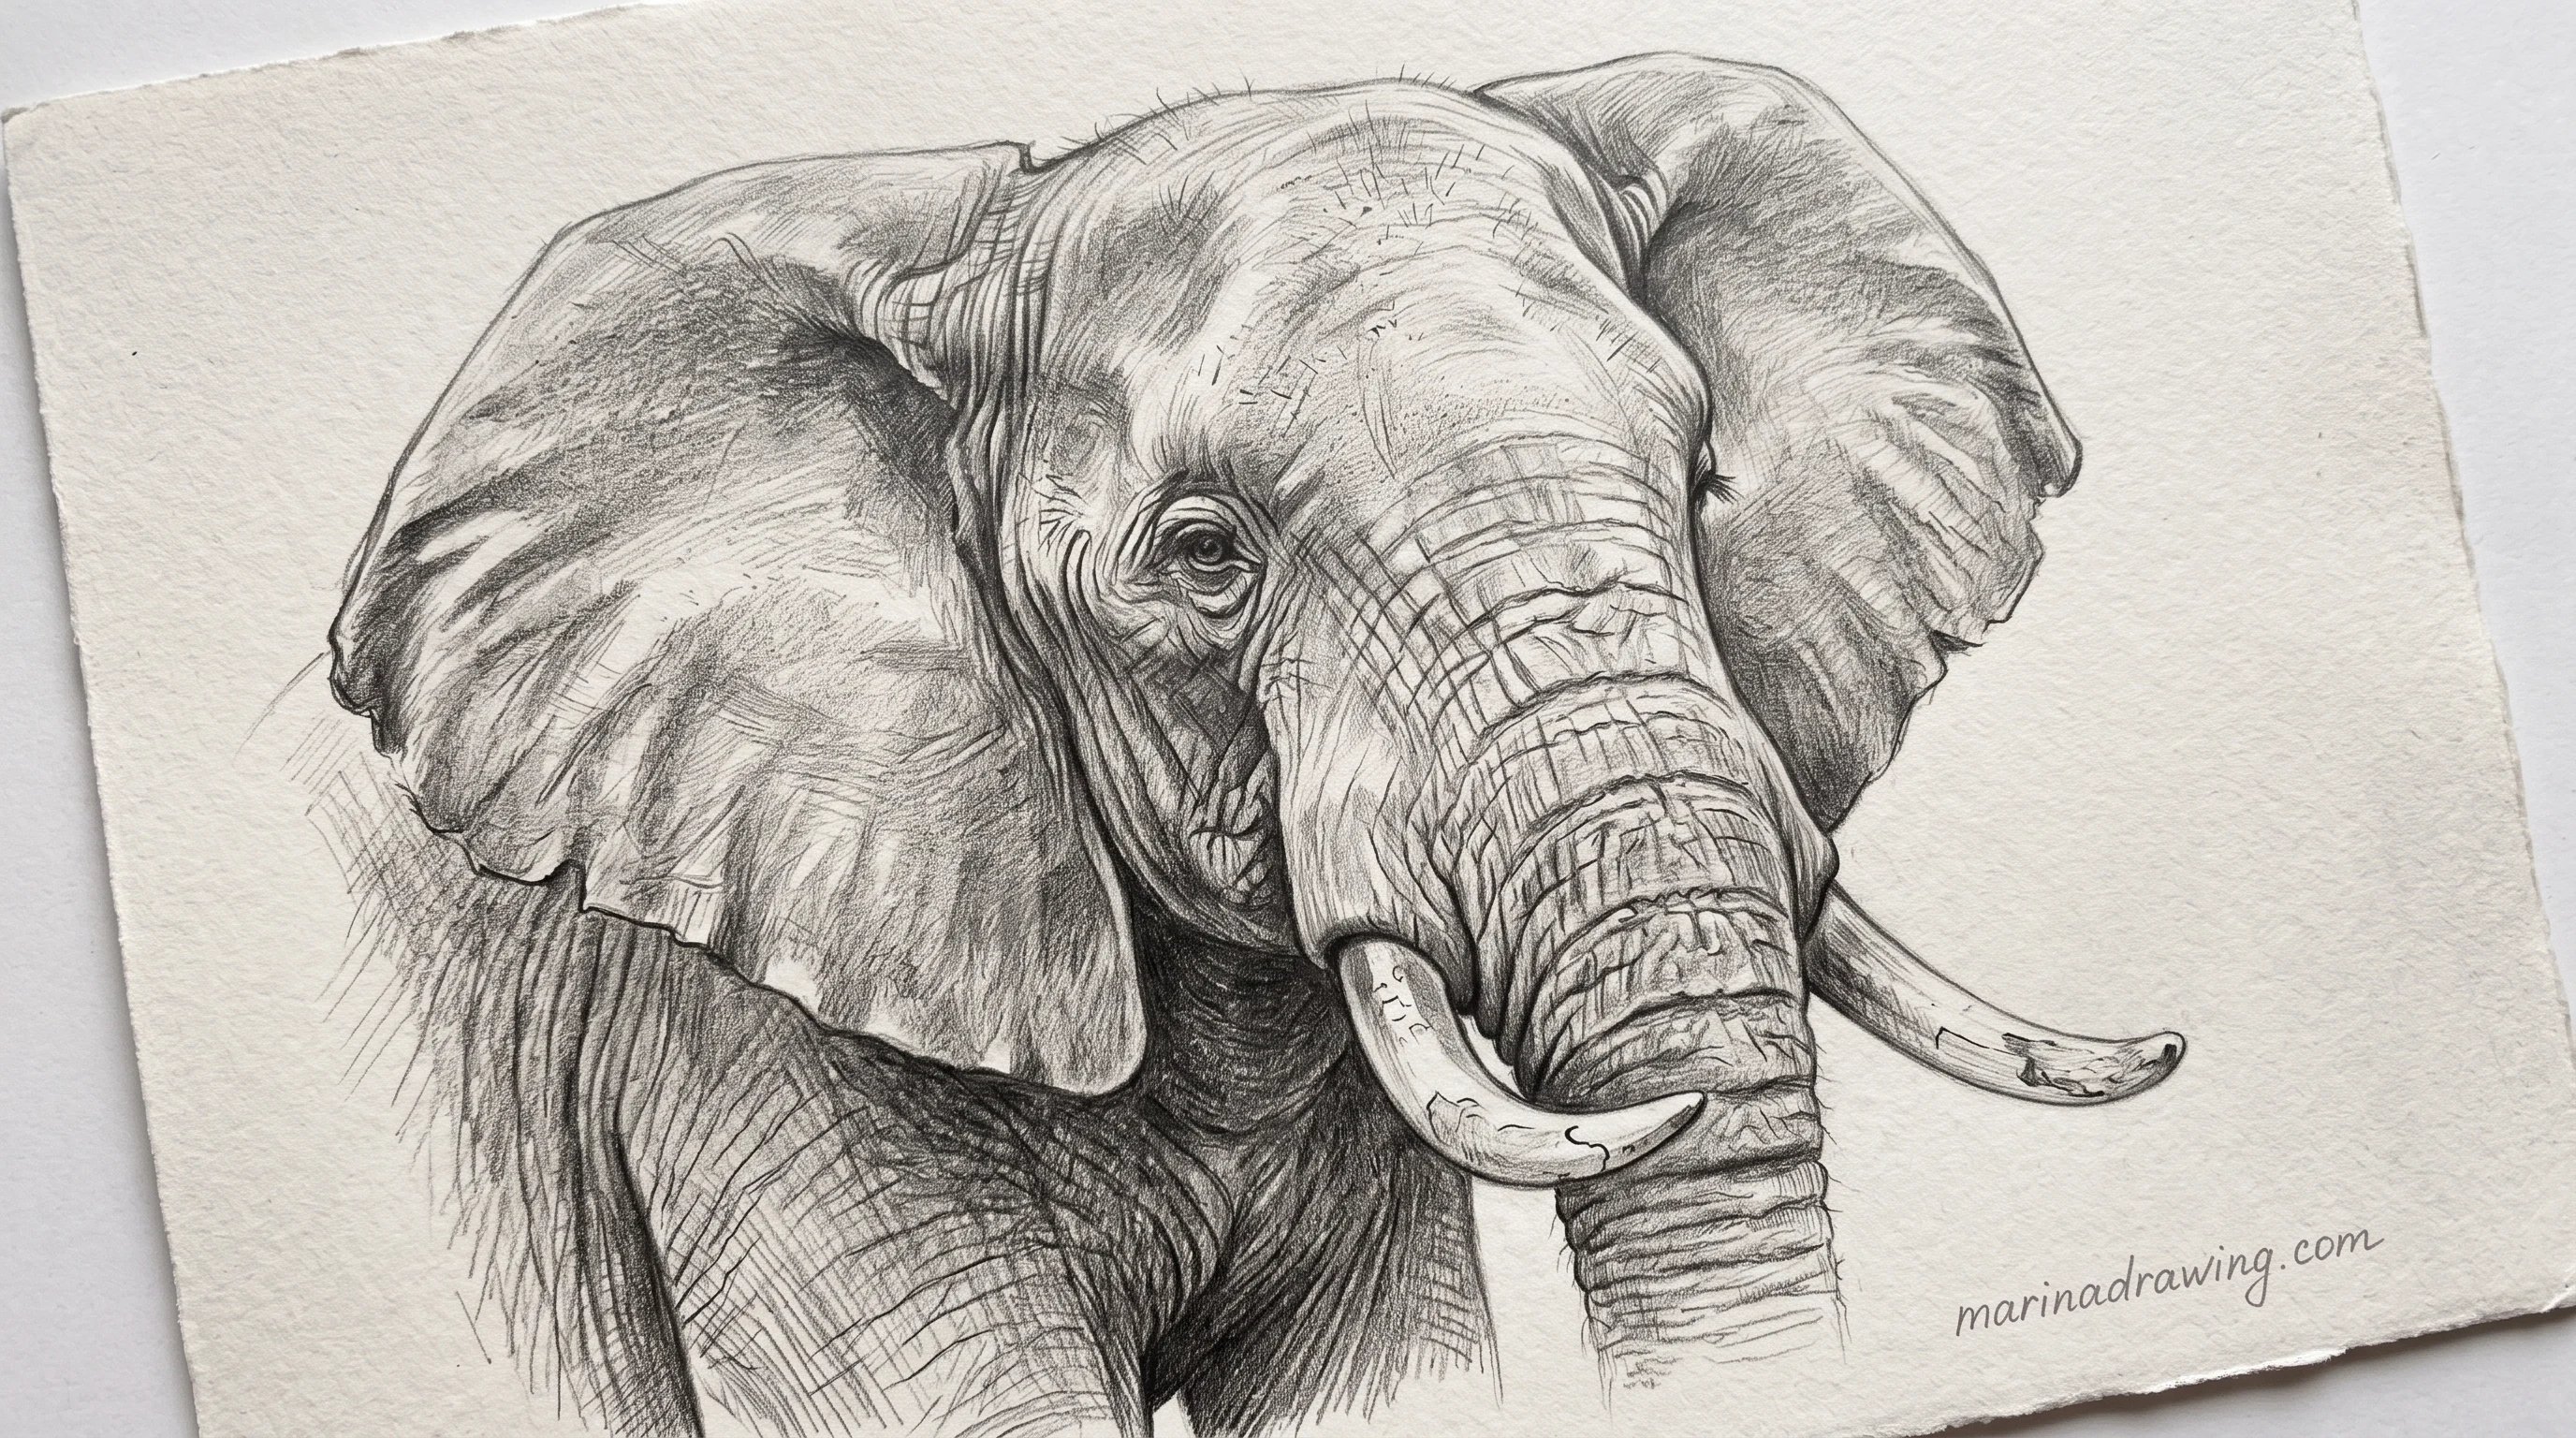
Skin is tone, not lines. My first elephant looked like a grey balloon for that reason.
Commit to three separated values and lay your darkest first: inside the ear, under the belly, between the legs, the crease where the trunk meets the face. Then mid grey over your flanks, then nothing on the top planes, where your paper does the work. The same three-value habit runs through realistic shading.
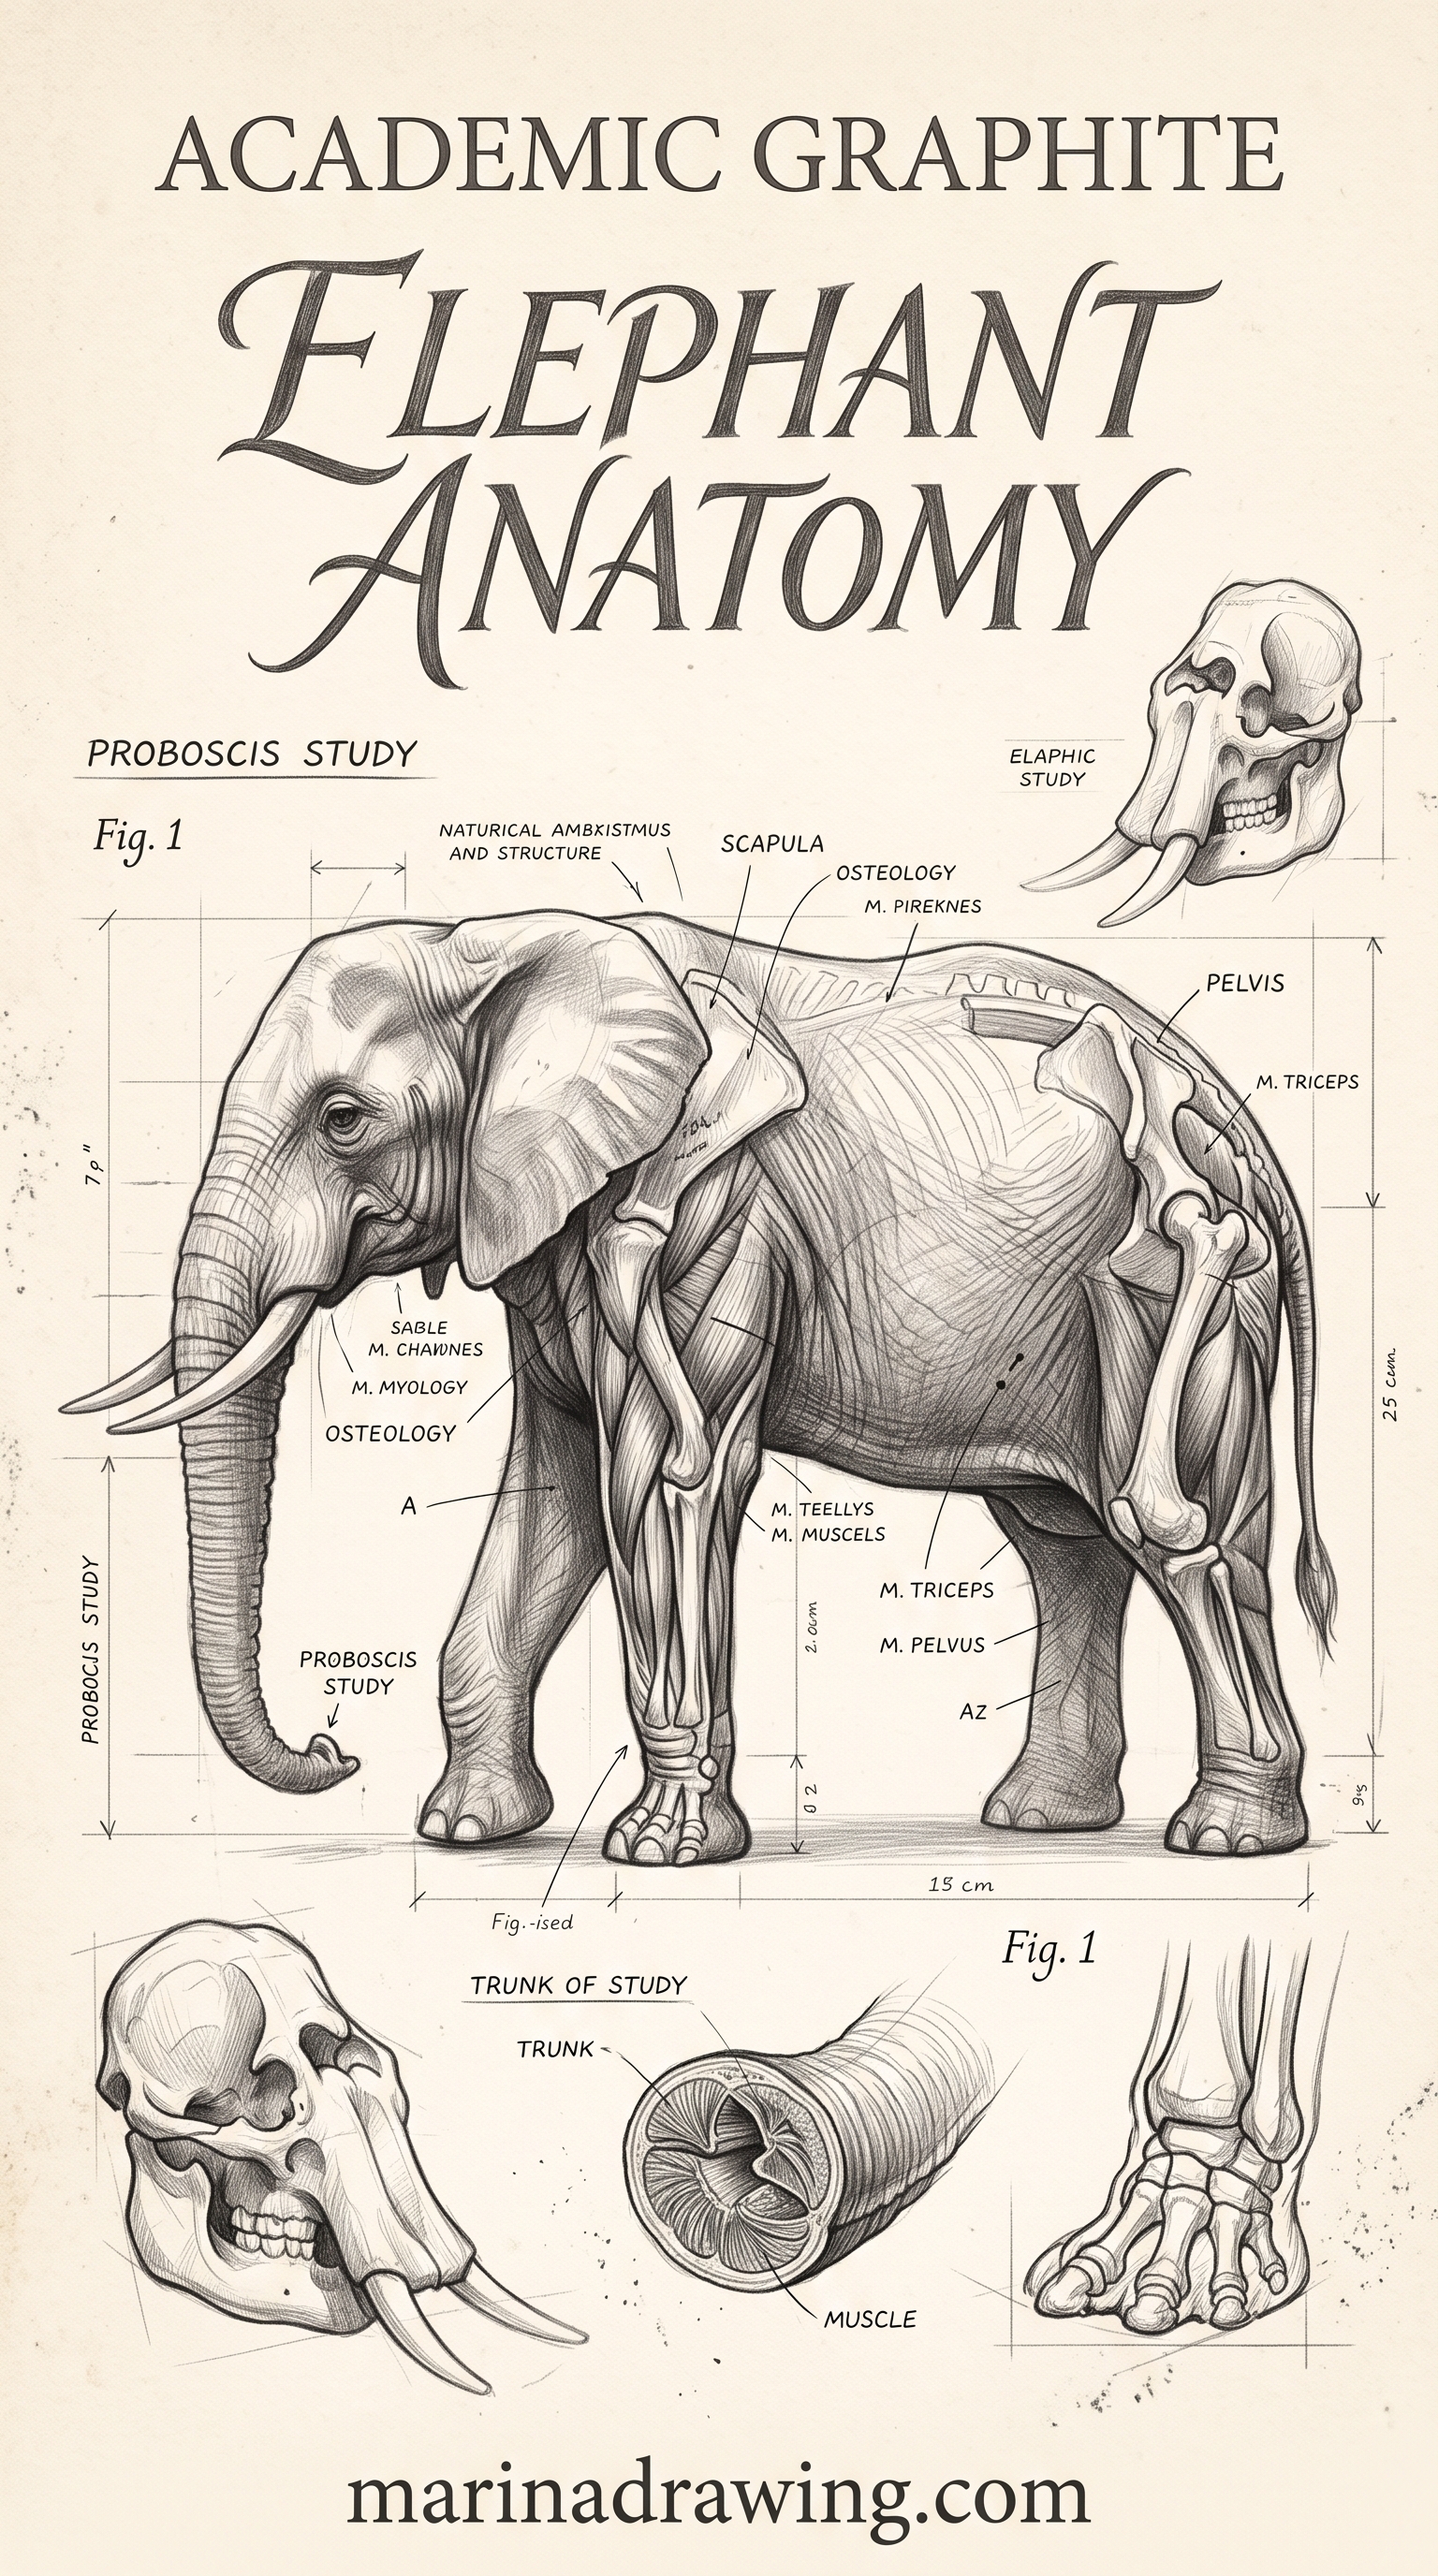
Your wrinkles then go on top, and they have a direction: rings around the trunk, horizontal bands across the forehead, long diagonals down the shoulder, tight crosshatching at the knee.
Four directions in four places. Draw them all one way and your elephant turns into tree bark.
Draw the shadow inside each fold, not the fold itself, and let a few lines stop halfway. It took me an hour, and it is where knowing the shapes stops being enough. A course with a graded value section is your way across that gap.

11. A one-line elephant
One continuous line, no lifting. Start at your trunk tip, up the front, over the crown, round the ear, down the back, round the rump and back legs, along the belly, up the front legs, back to the trunk. Your eye goes in after as a dot.
The ear is your hard part: the line has to come back on itself without crossing. Treat it as a loop off the crown and rejoin at the jaw.
Which mistake did you make?
Put your drawing beside this and read down the left column. I still check mine against it.
| What you see | What is actually wrong | Your fix |
|---|---|---|
| It looks like a hippo | Your ear is the same size as the head or smaller | Redraw the near ear wider than the head circle, from crown to below the jaw |
| The face looks like a snout with a pipe | Your trunk starts at the bottom of the face | Start it between the eyes, on the eye line, and run it down the centre |
| The trunk looks like a hose | Two parallel lines, no taper | Converge them over about one and a half head circles; rings only on the inside of a bend |
| It looks like it will fall over | Your legs sit under the belly | Move all four to the outside corners of the body circles |
| The body reads as flat | One grey everywhere, wrinkles all in one direction | Three separated values, and four wrinkle directions in four places |
If the same row describes every elephant you draw, your gap is construction rather than practice. That is where a programme that builds the order in does more for you than the next eleven pages of steps.
Questions people ask about drawing an elephant
How to make elephant drawing easy?
One big body circle, a smaller head on top left, one wide ear fan, a tapering trunk from the eye line, four stumps at the corners. Add nothing until those five shapes read as an elephant.
What shape should I draw first?
Your chest circle, the biggest of the three. The rump overlaps it by a quarter, the head sits above and forward at half the chest width. Ear and trunk hang off the head once all three are placed.
Why does my elephant look like a hippo?
Your ear is too small and your trunk starts too low. Make the near ear wider than the whole head circle and run it from the crown to below the jaw, then move the start of your trunk up to the eye line. That is usually your whole fix.
How to make elephant ears drawing?
Draw a fan, not an oval: a wide curve from the crown, bulging outward, narrowing at the jaw. African ears are wider than your head with a pointed lower edge; Indian ears are head width and rounded. The pattern follows the curve of the edge, never straight across.
How do you draw an elephant drinking water?
Water line first, then a shallow ellipse where your trunk tip meets it. Tilt the head down about twenty degrees, drop your trunk from the eye line keeping its taper, flatten the tip at the surface. The tilt is what makes it read as drinking.
How do you create a cartoon elephant?
Head half the body instead of a third, ears nearly as wide as the body, eyes low and huge, legs short. Thick pen, no shading. Exaggeration is what makes a cartoon read as cute rather than wrong.
What colour should an elephant be?
Not grey straight from one pencil. Darkest cool grey for the ear insides and belly shadow, mid grey for the flanks, bare paper on the back and crown. A touch of warm brown in your shadows stops the animal looking like concrete.
How do you make an elephant drawing for kids?
Use the five-shape version and let them outline it with a thick pen. Big ears and a short trunk do all the work, and there is nothing to shade, so it finishes before their interest runs out.
Which elephant should I draw first?
The five-shape one, then the cute face, then the drinking pose. Rather have the order chosen for you? A graded course sequences subjects by difficulty.
Key takeaways
- Three overlapping circles, chest to rump to head, carry your whole animal. Your trunk is the last thing to worry about.
- Your near ear is wider than your head and hangs from crown to below the jaw. Drawing it head-sized is the commonest mistake you can make.
- Your trunk starts between the eyes on the eye line, and tapers over about one and a half head circles.
- Your legs go at the four outside corners, each as tall as the chest circle is wide and a third of that thick.
- Cute is a ratio: huge ears, low wide eyes, a short rounded trunk.
- An Indian elephant is built differently, not decorated differently: rounder ear, two domes on the skull, arched back.
- Wrinkles have four directions in four places. One direction everywhere turns your skin into bark.
Draw two or three and you will know which row is yours. The panda and the duck come apart the same way. Want your placement drilled instead of read? A construction-first course is built for that.