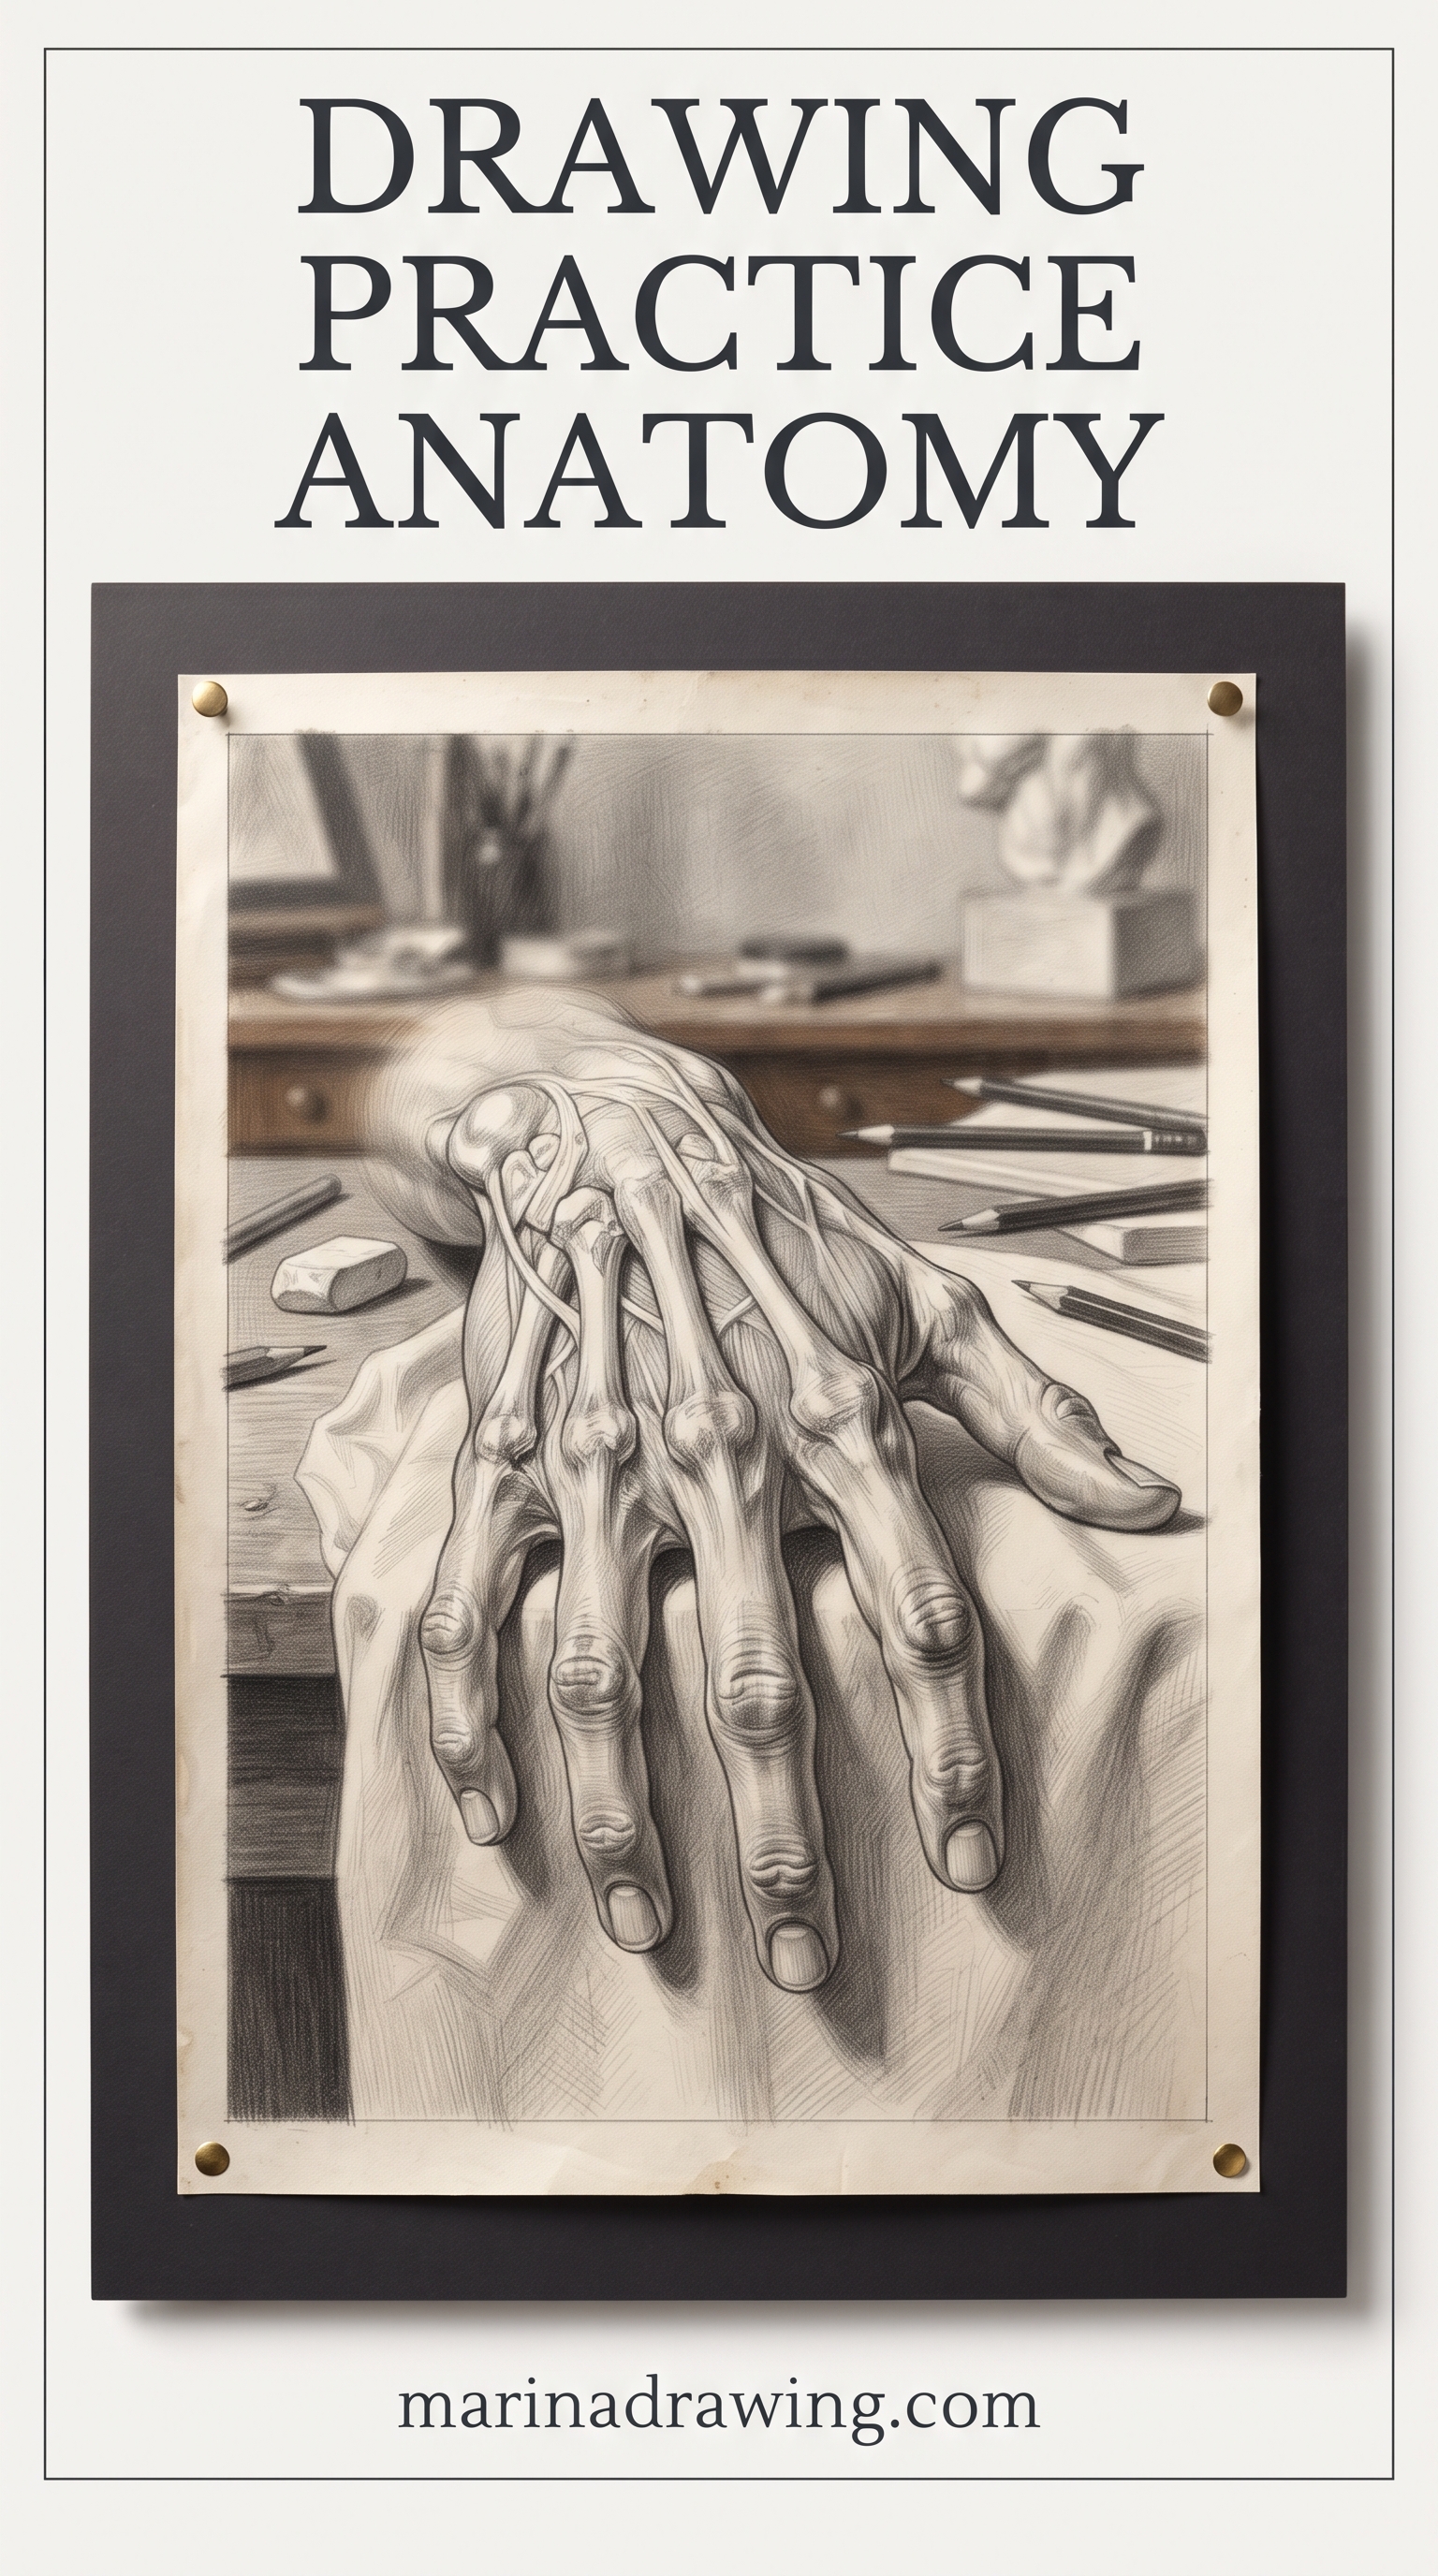
I spent my first year of figure drawing learning the names of muscles. My figures still came out stiff, and you may be stuck at the same place. What fixed them was not more anatomy but a different order of practice: pose first, proportion second, muscle last. This page is that order, with a twenty-minute routine you can start tonight. If you learn better from video, this drawing course teaches the same order.
Anatomy drawing practice is drawing the body in layers: gesture first, proportion second, forms third and muscle last, so you never add detail to a pose that is already wrong.
Quick answer: anatomy drawing practice works when you draw in three layers. Start with a two-minute gesture that catches the pose. Then set the proportions with head units. Only after that, add boxes, cylinders and the big muscle groups. Skip a layer and the figure goes wooden, however carefully the muscles are drawn.
Why Anatomy Drawing Practice Fails When You Start With Muscles
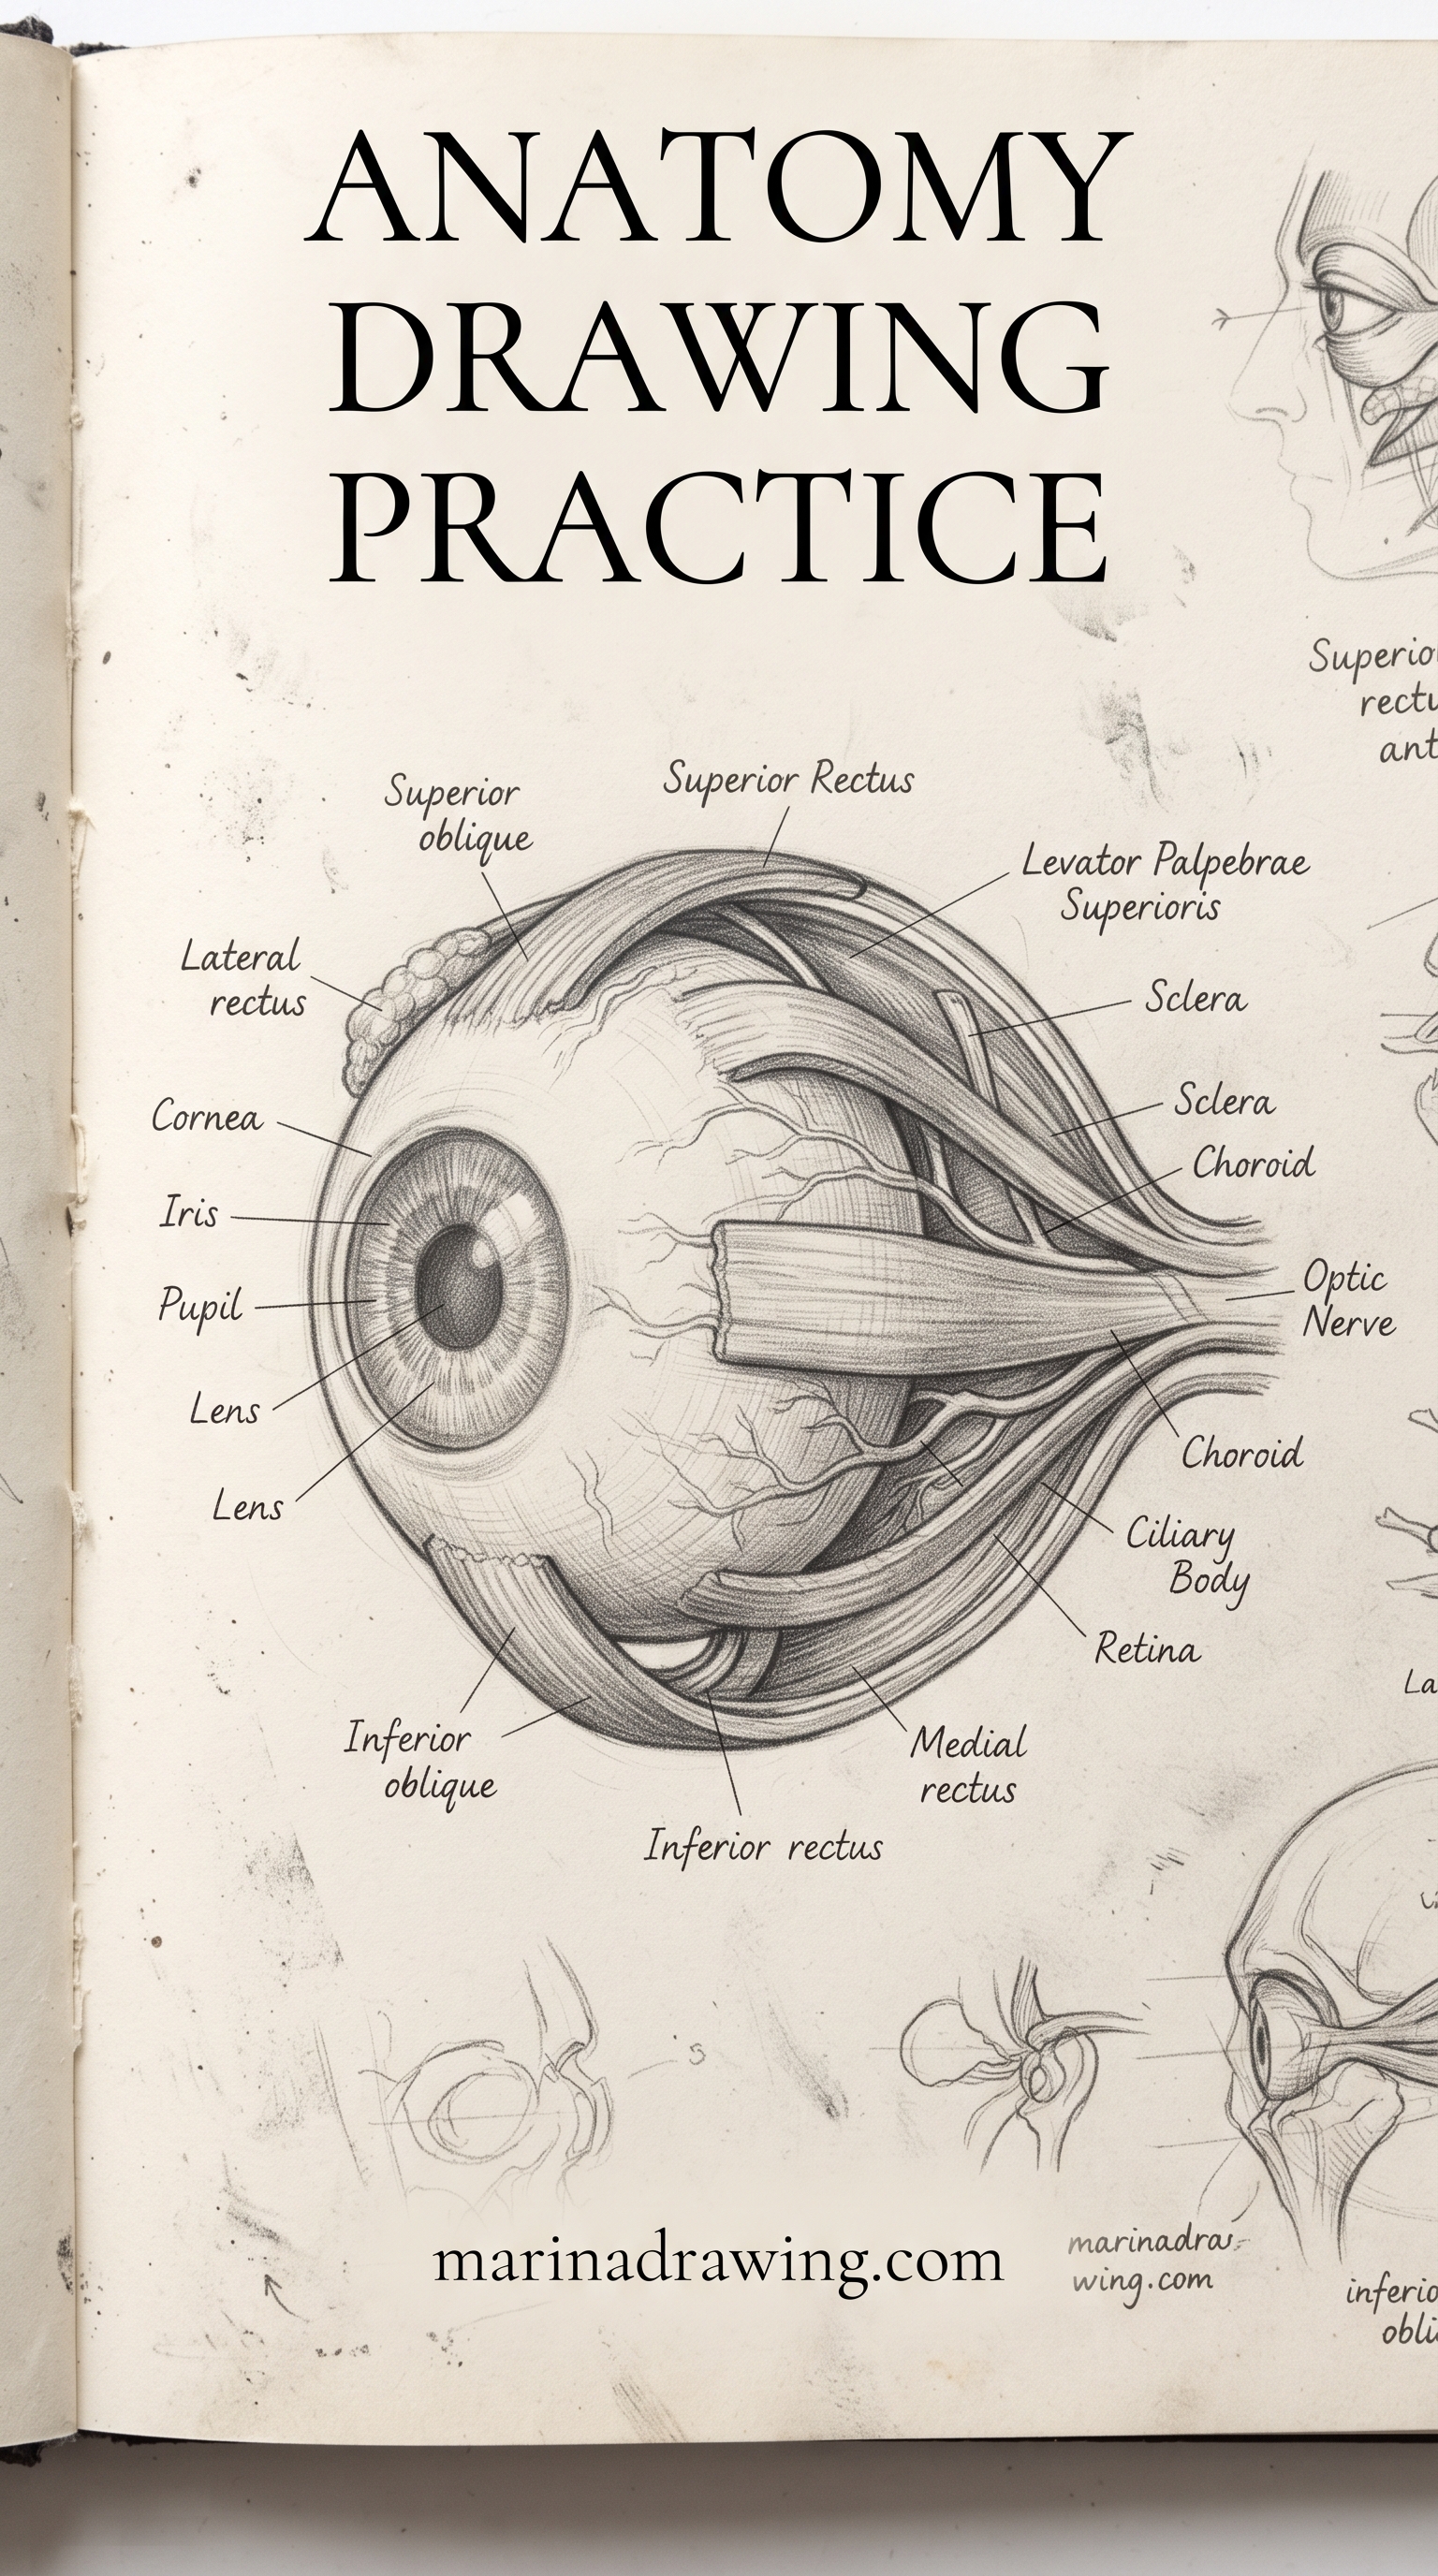
If you are wondering how to practice anatomy drawing, most advice opens with the skeleton and the muscle names. That feels like the serious way to begin, and you may have started there yourself. It is also where most self-taught artists get stuck.
Learners who ask about anatomy rarely ask about muscles. The questions split like this:
- pose or gesture comes up about three times as often as muscles
- proportion comes up about twice as often
- muscles are the smallest group
If you are stuck, you are probably not stuck on the deltoid. You are stuck on why the figure looks dead once it is drawn. One learner put it plainly: they had learned boxes and a little mannequin work, but clothes and faces still looked off, and nobody had told them what came next.
Anatomy is the third layer of a figure, not the first. A pose that is wrong stays wrong with every muscle drawn correctly on top of it.
If a course sells you more muscles, try the order below first and see whether your figures stop looking wooden. The self-taught anatomy guide covers the same trap from another side. If it does not, the video course I point people to covers the same build with someone showing each stroke.
Anatomy Drawing Practice in the Right Order: Pose, Proportion, Then Muscle
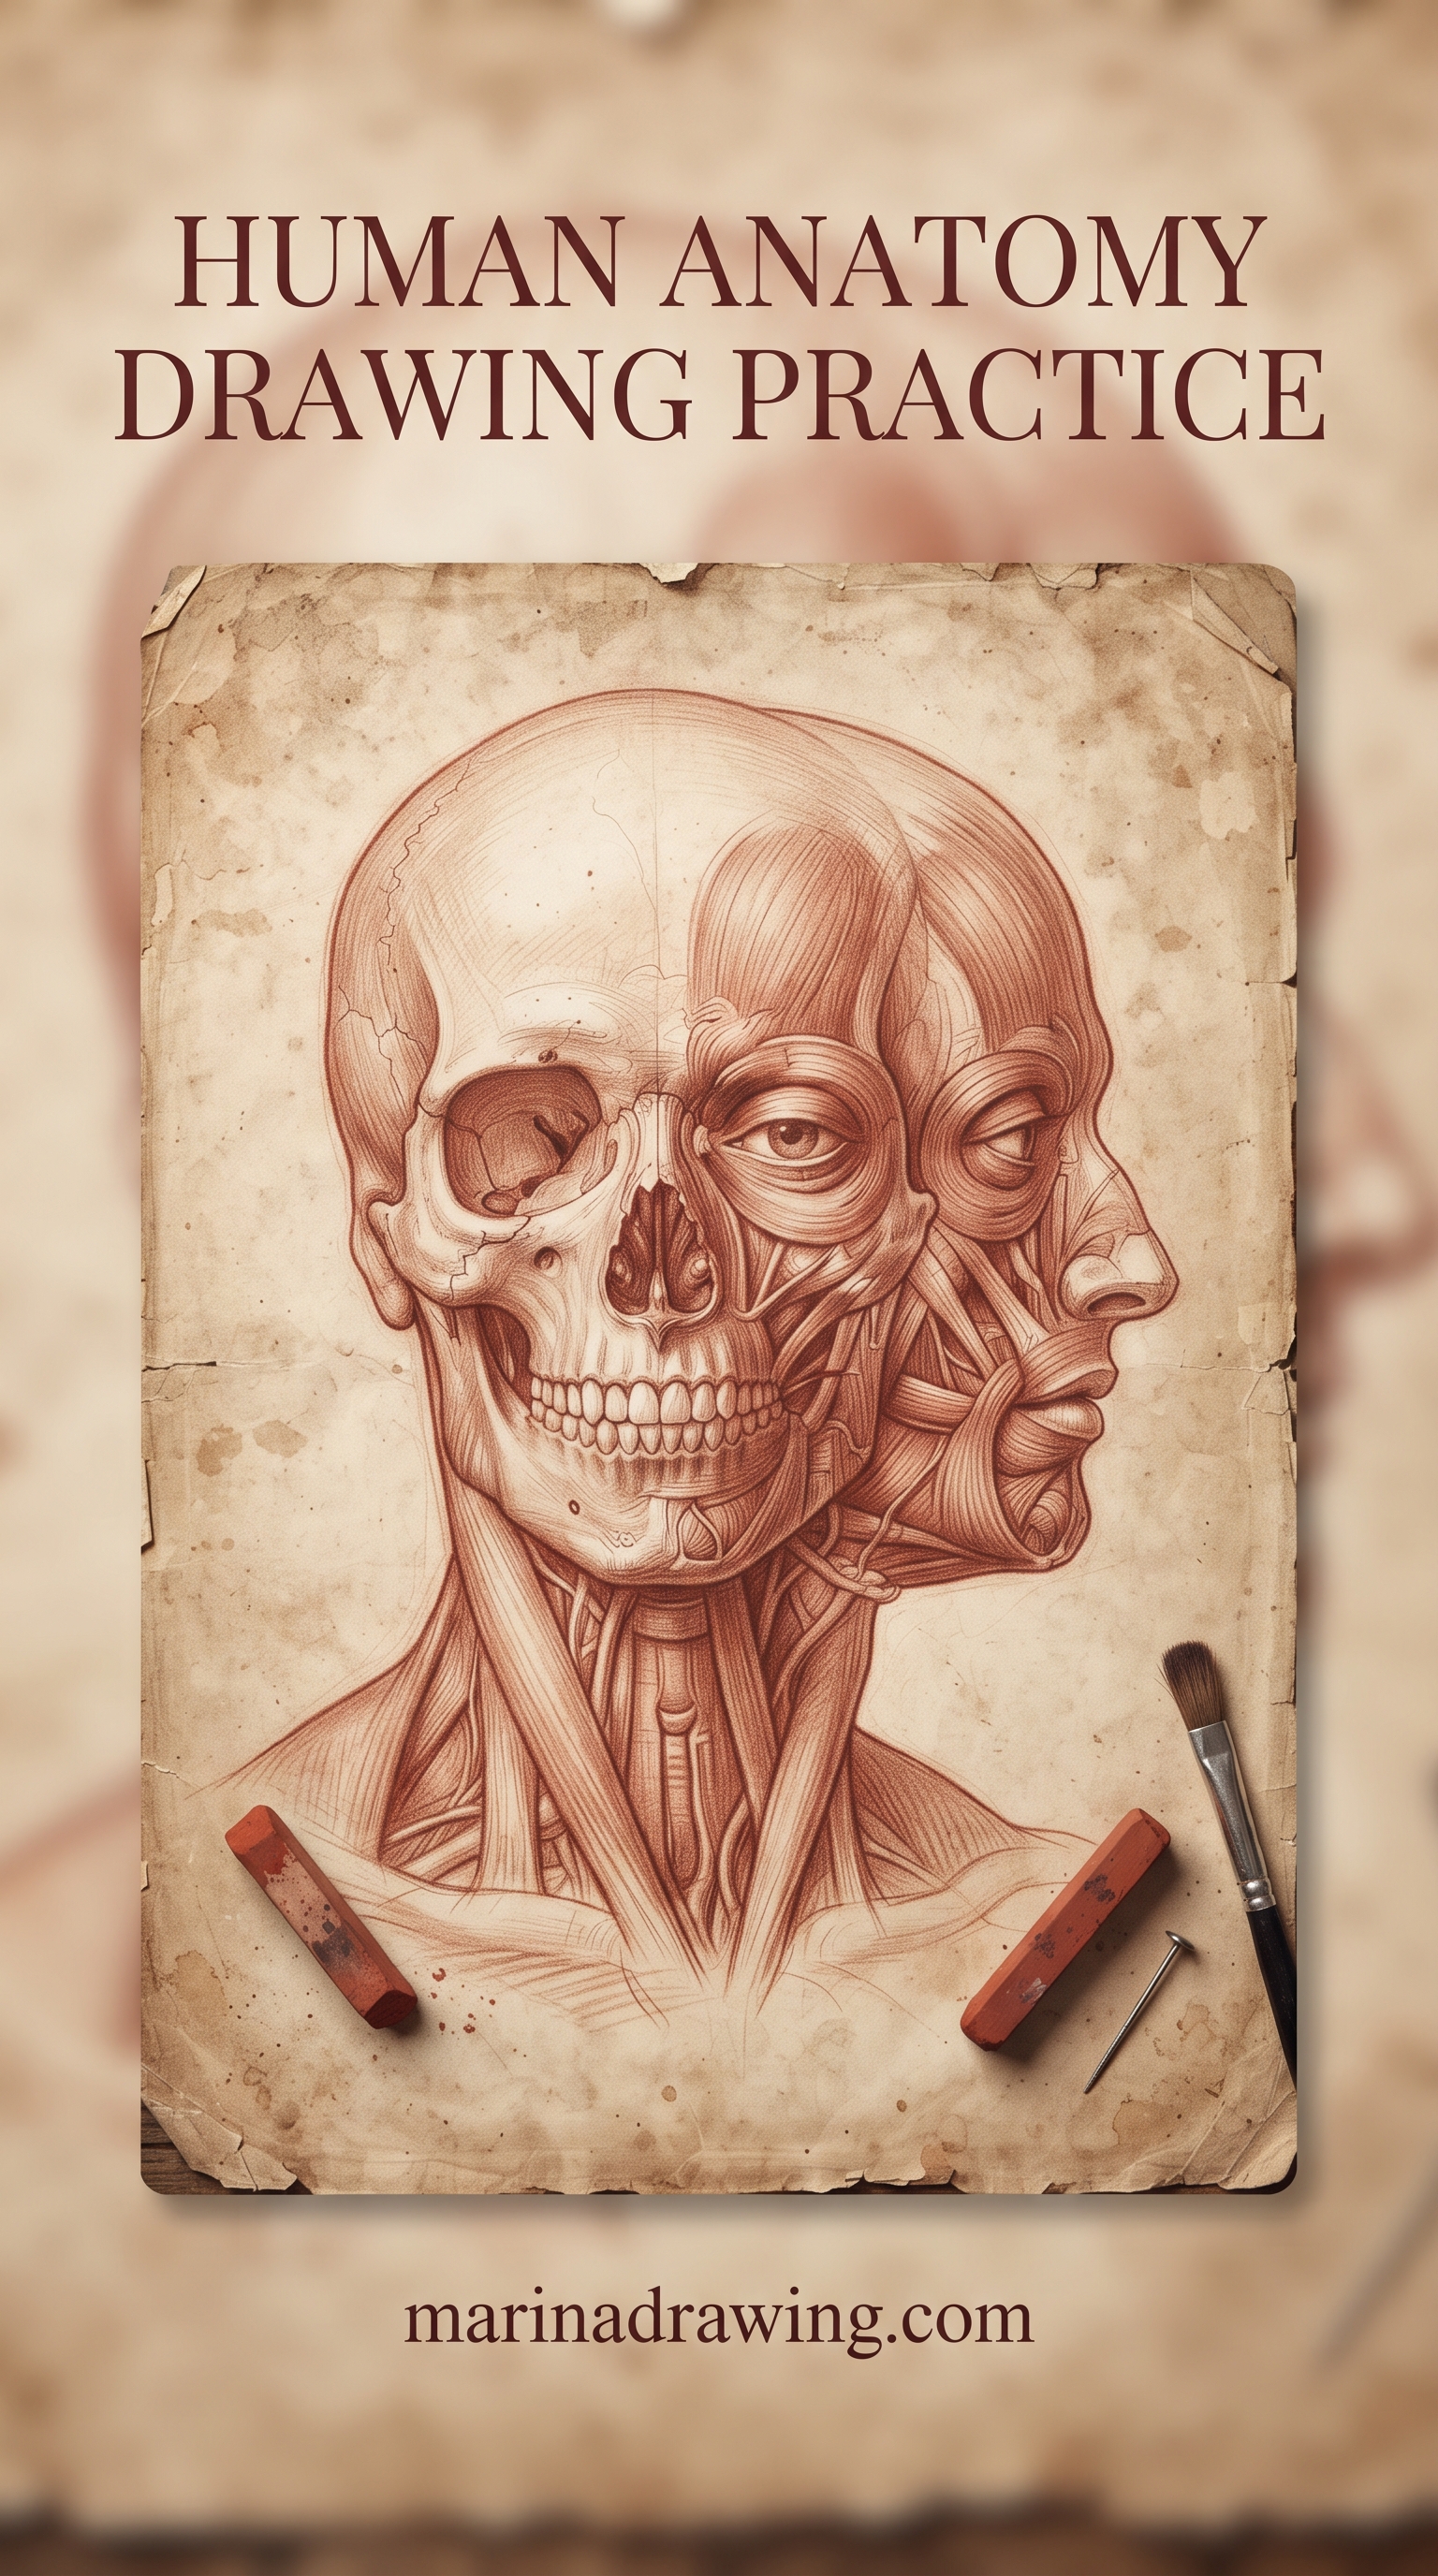
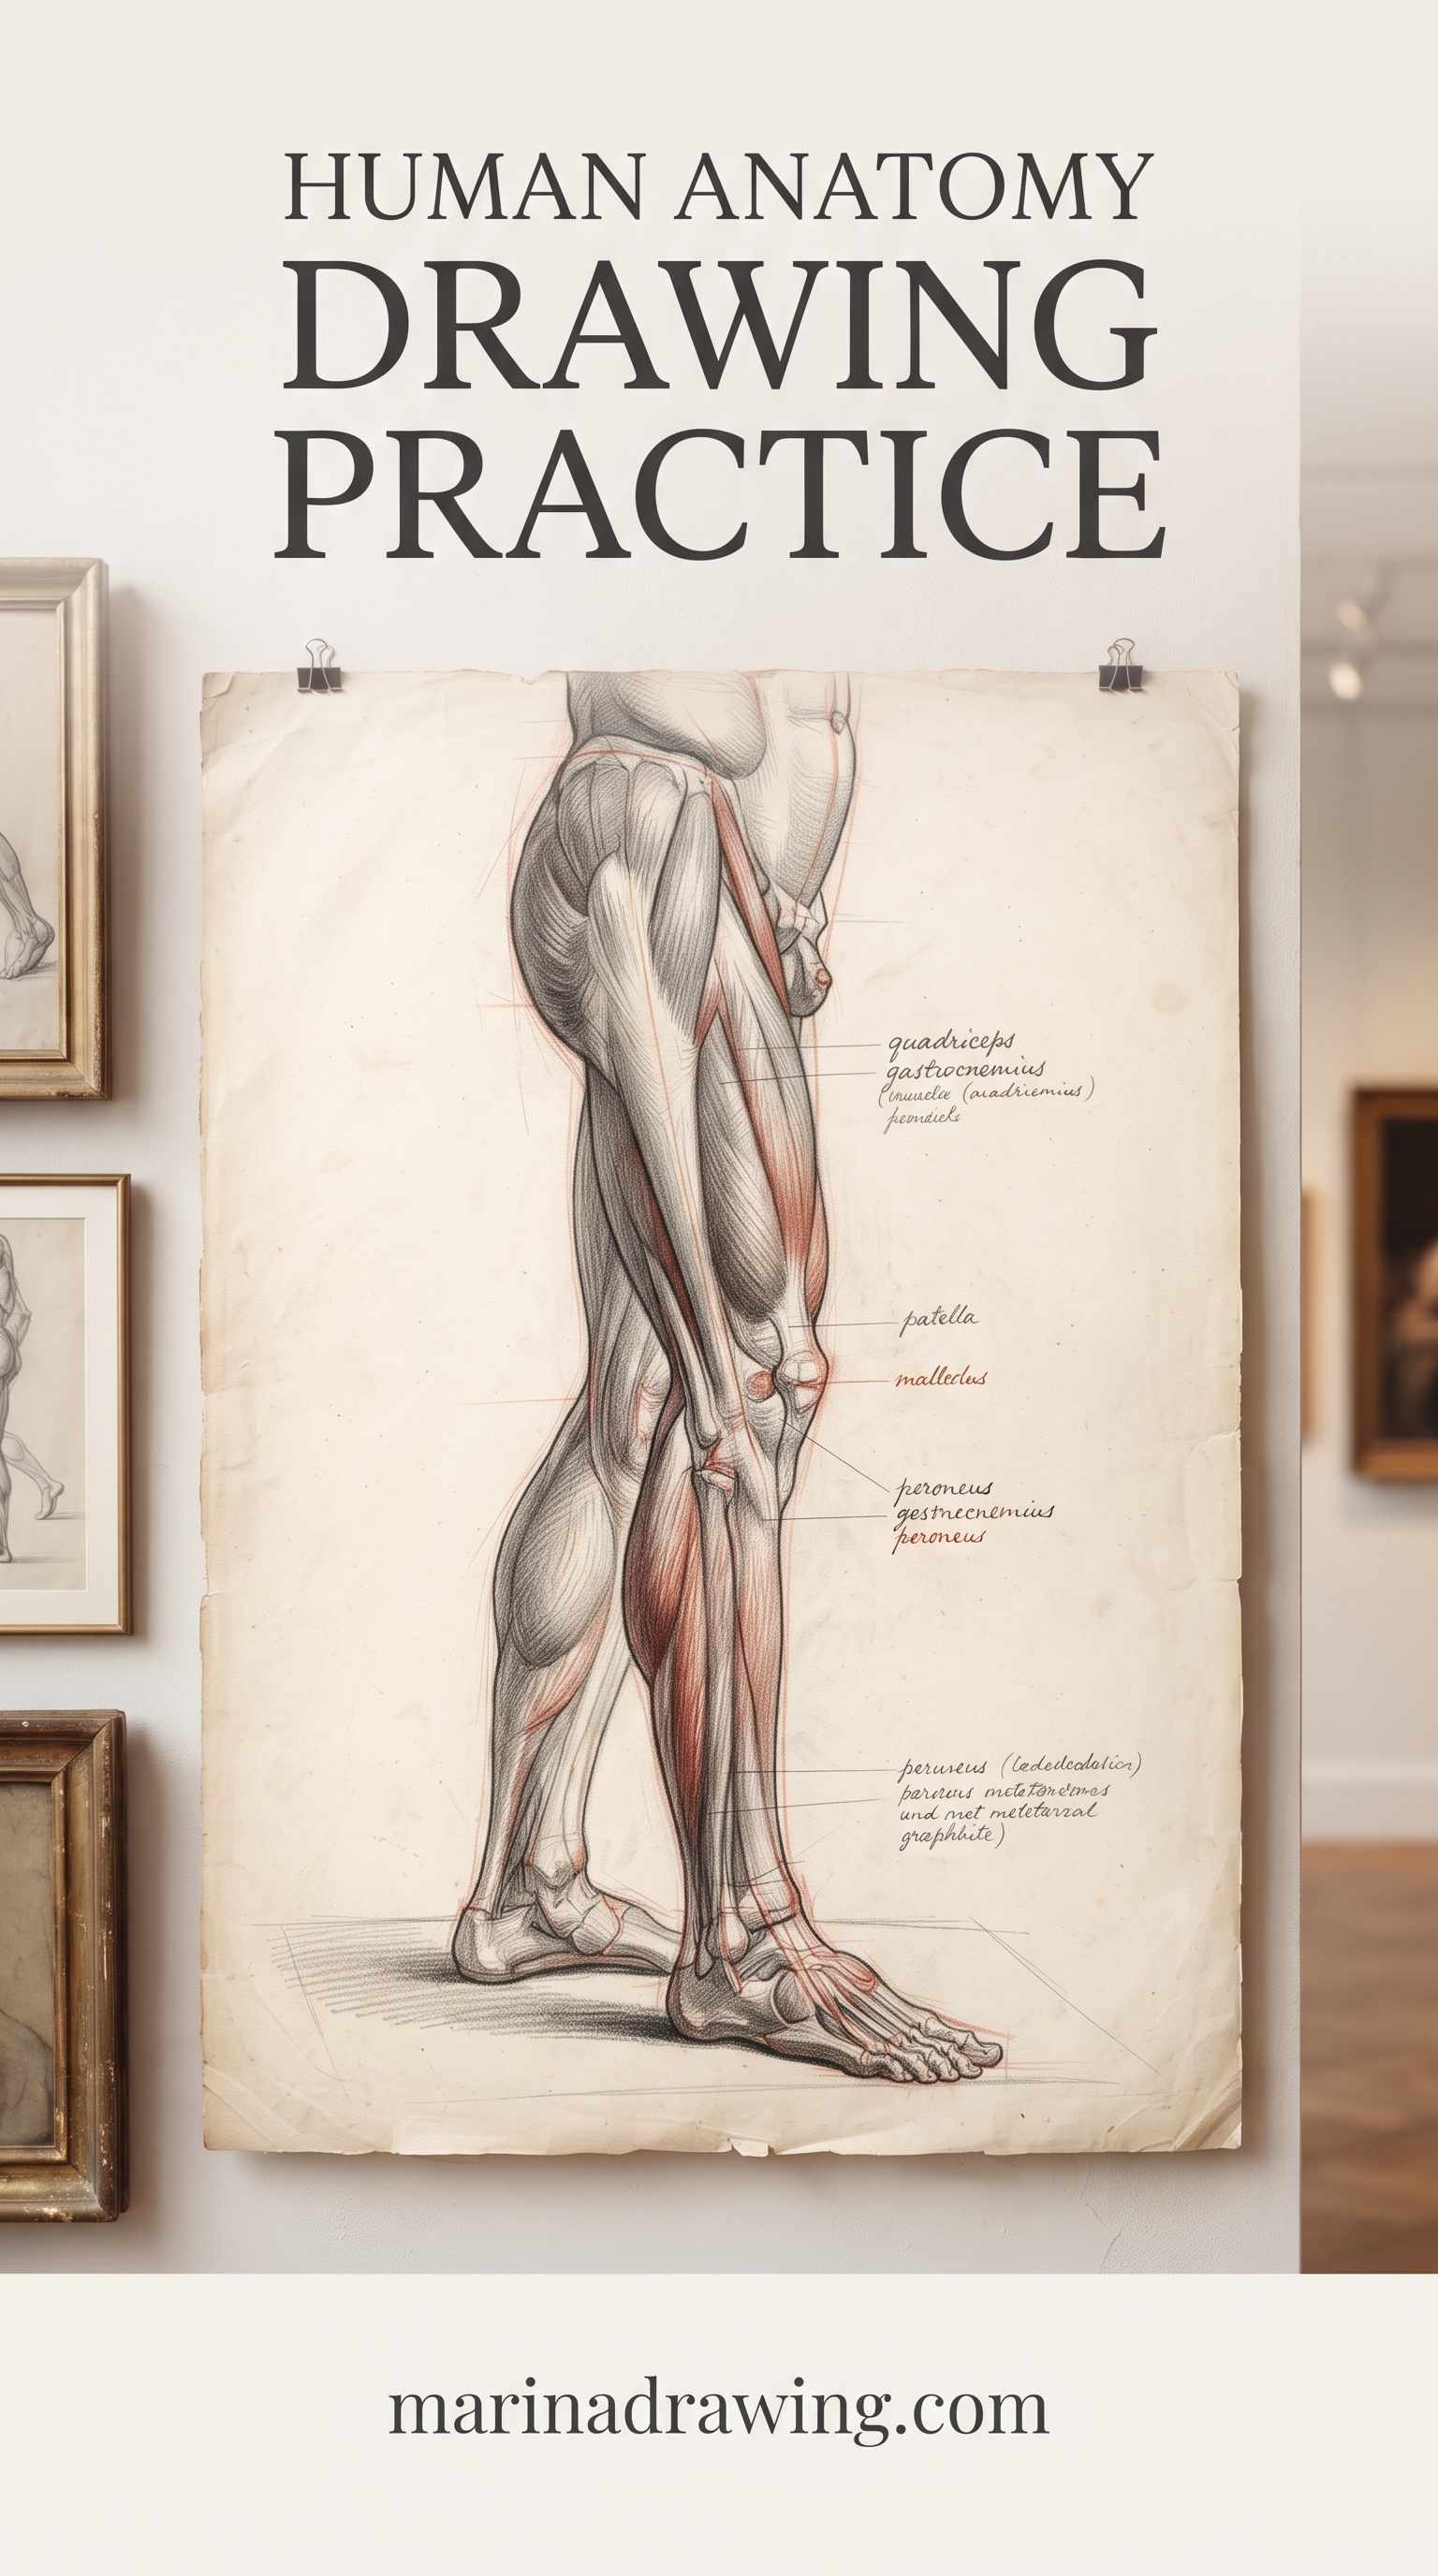
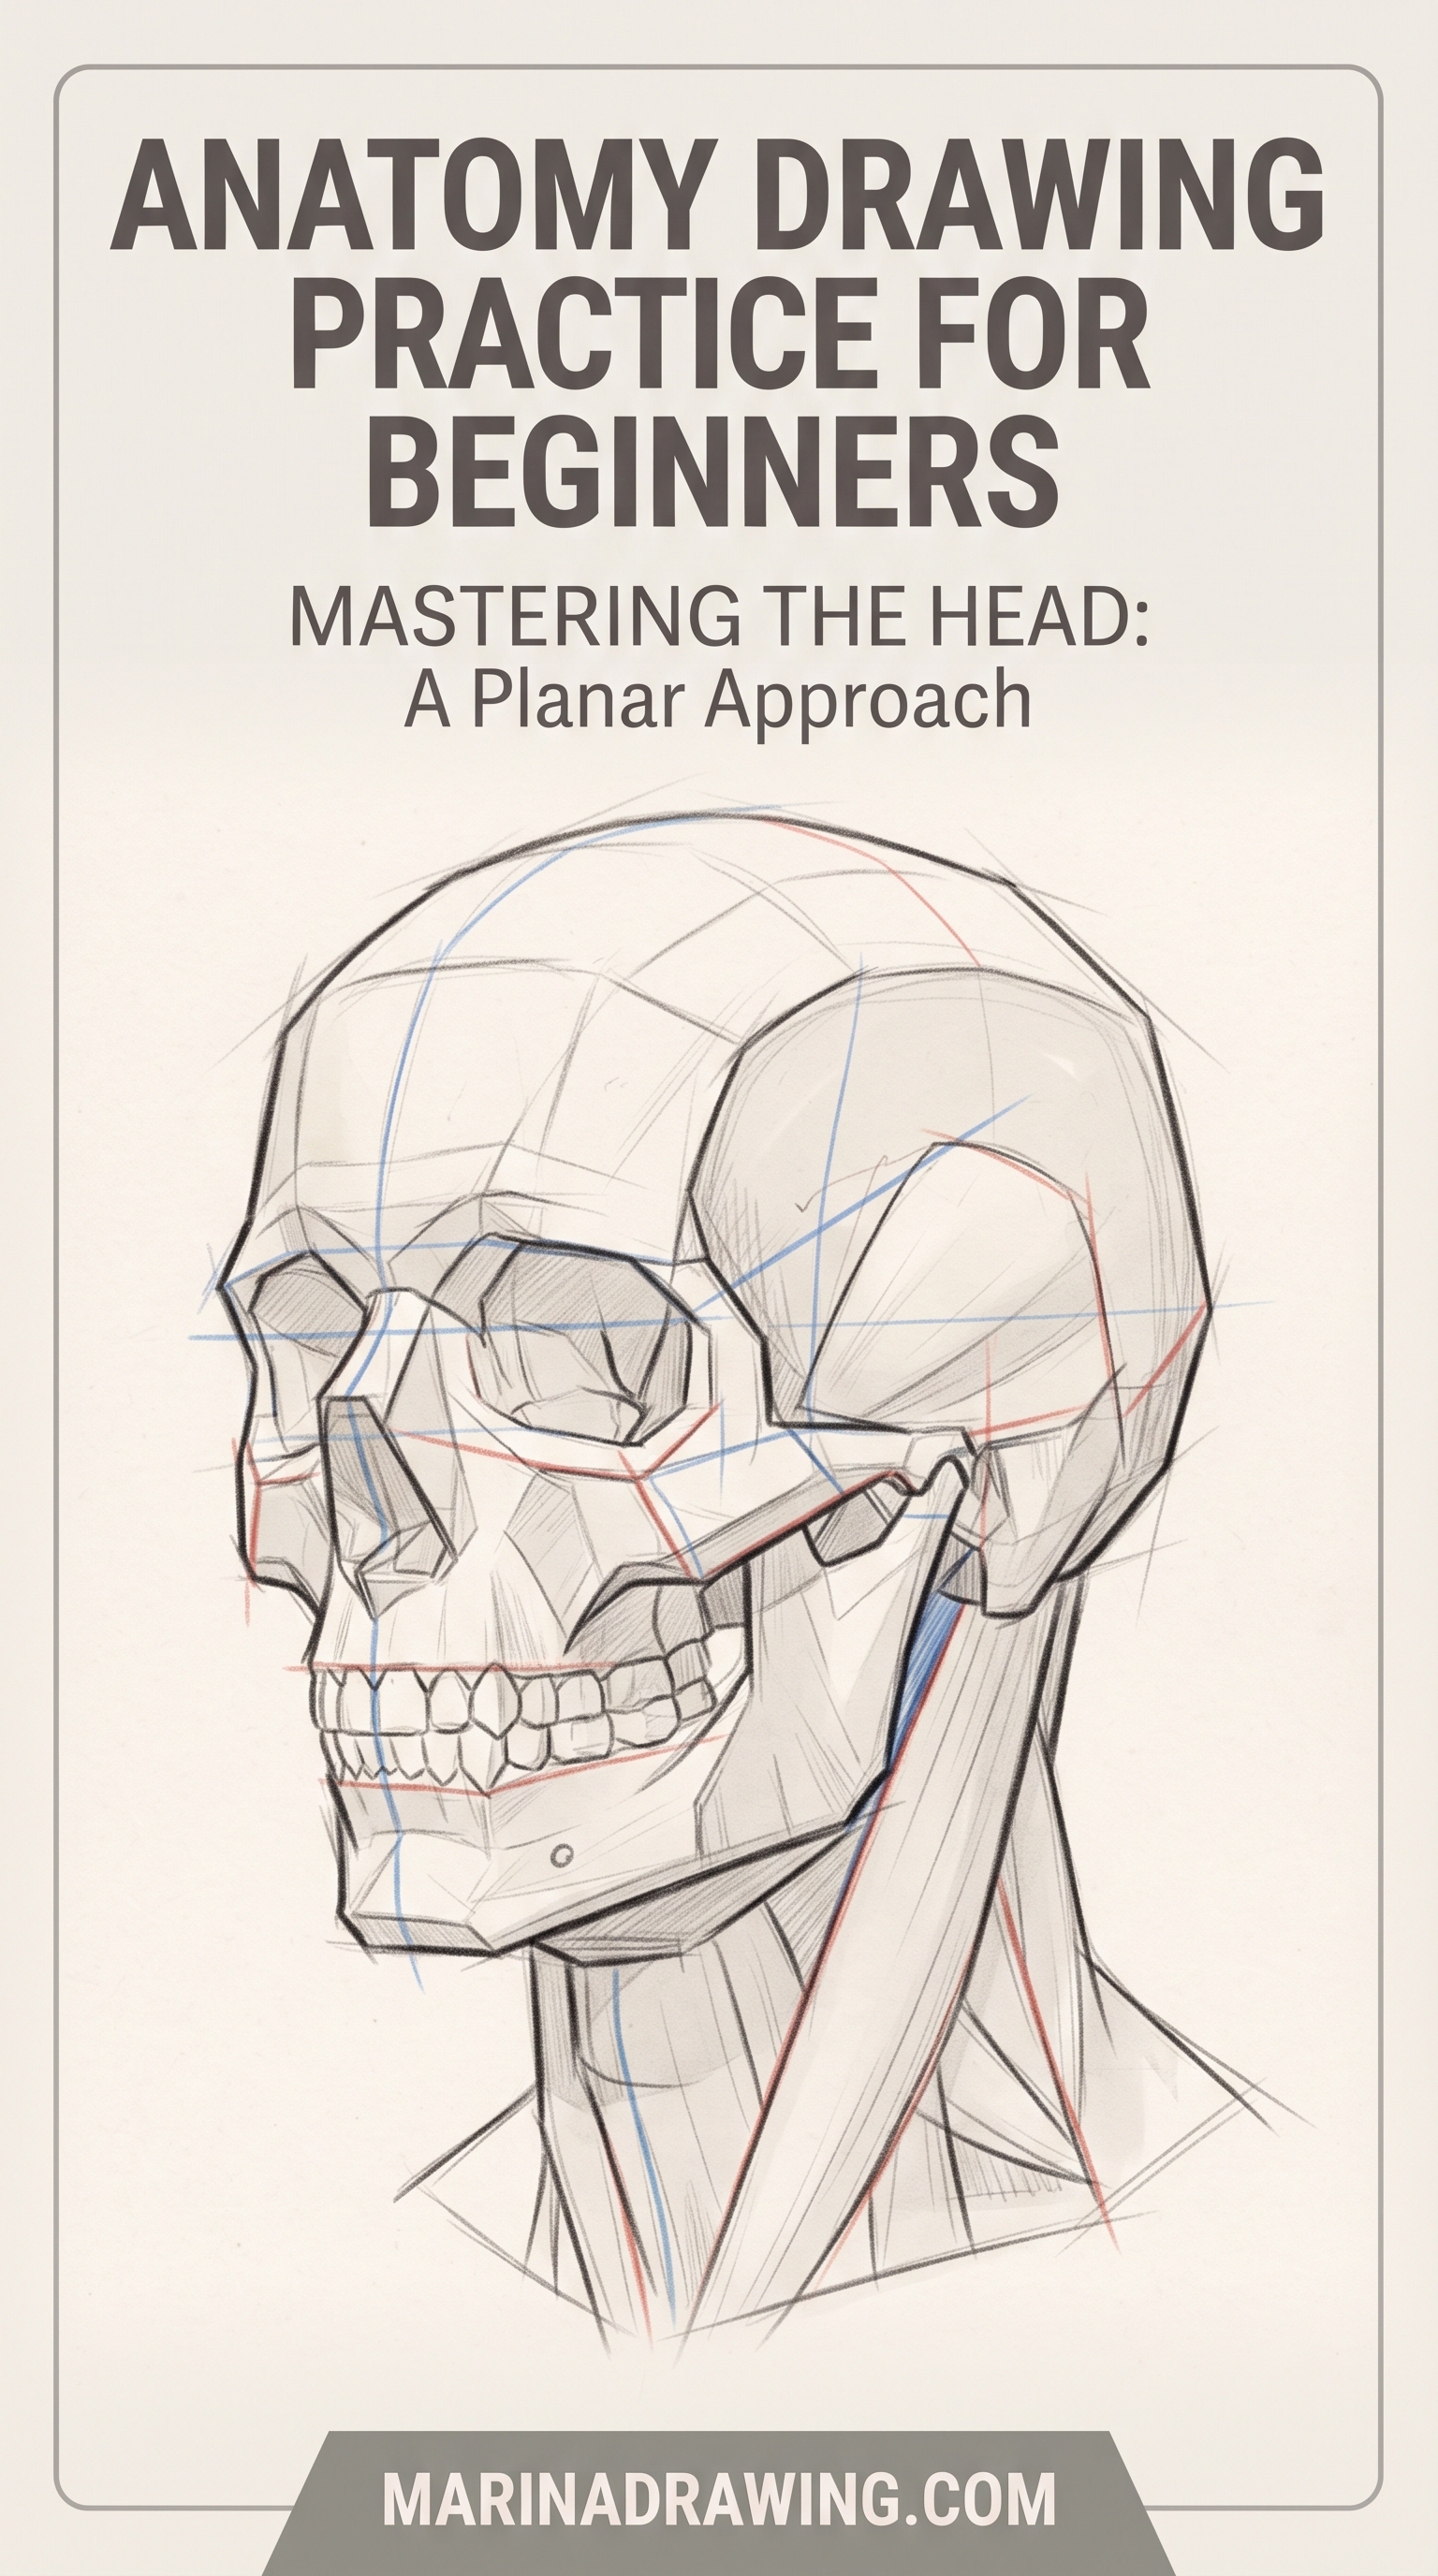
Here is anatomy drawing practice for beginners on one screen, the whole sequence. Each layer gets its own section below, and you can run through them in a week. A video course follows the same sequence if you need it shown.
- Gesture. One flowing line and a rough body, two minutes, no detail.
- Proportion. Head units, the halfway point, where the knees and elbows land.
- Forms. A box for the ribcage, a box for the pelvis, cylinders for the limbs.
- Muscle. Only the big groups, drawn on top of the forms.
- Parts. Hands, head and feet, each on their own page.
You need a pencil, a plain sketchbook and a timer. A tablet works too, but the timer matters more than the tool you pick. Practice under a clock is what keeps you from polishing, and you will feel the difference in the first week. For a warm-up set before you start, use the drawing practice drills.
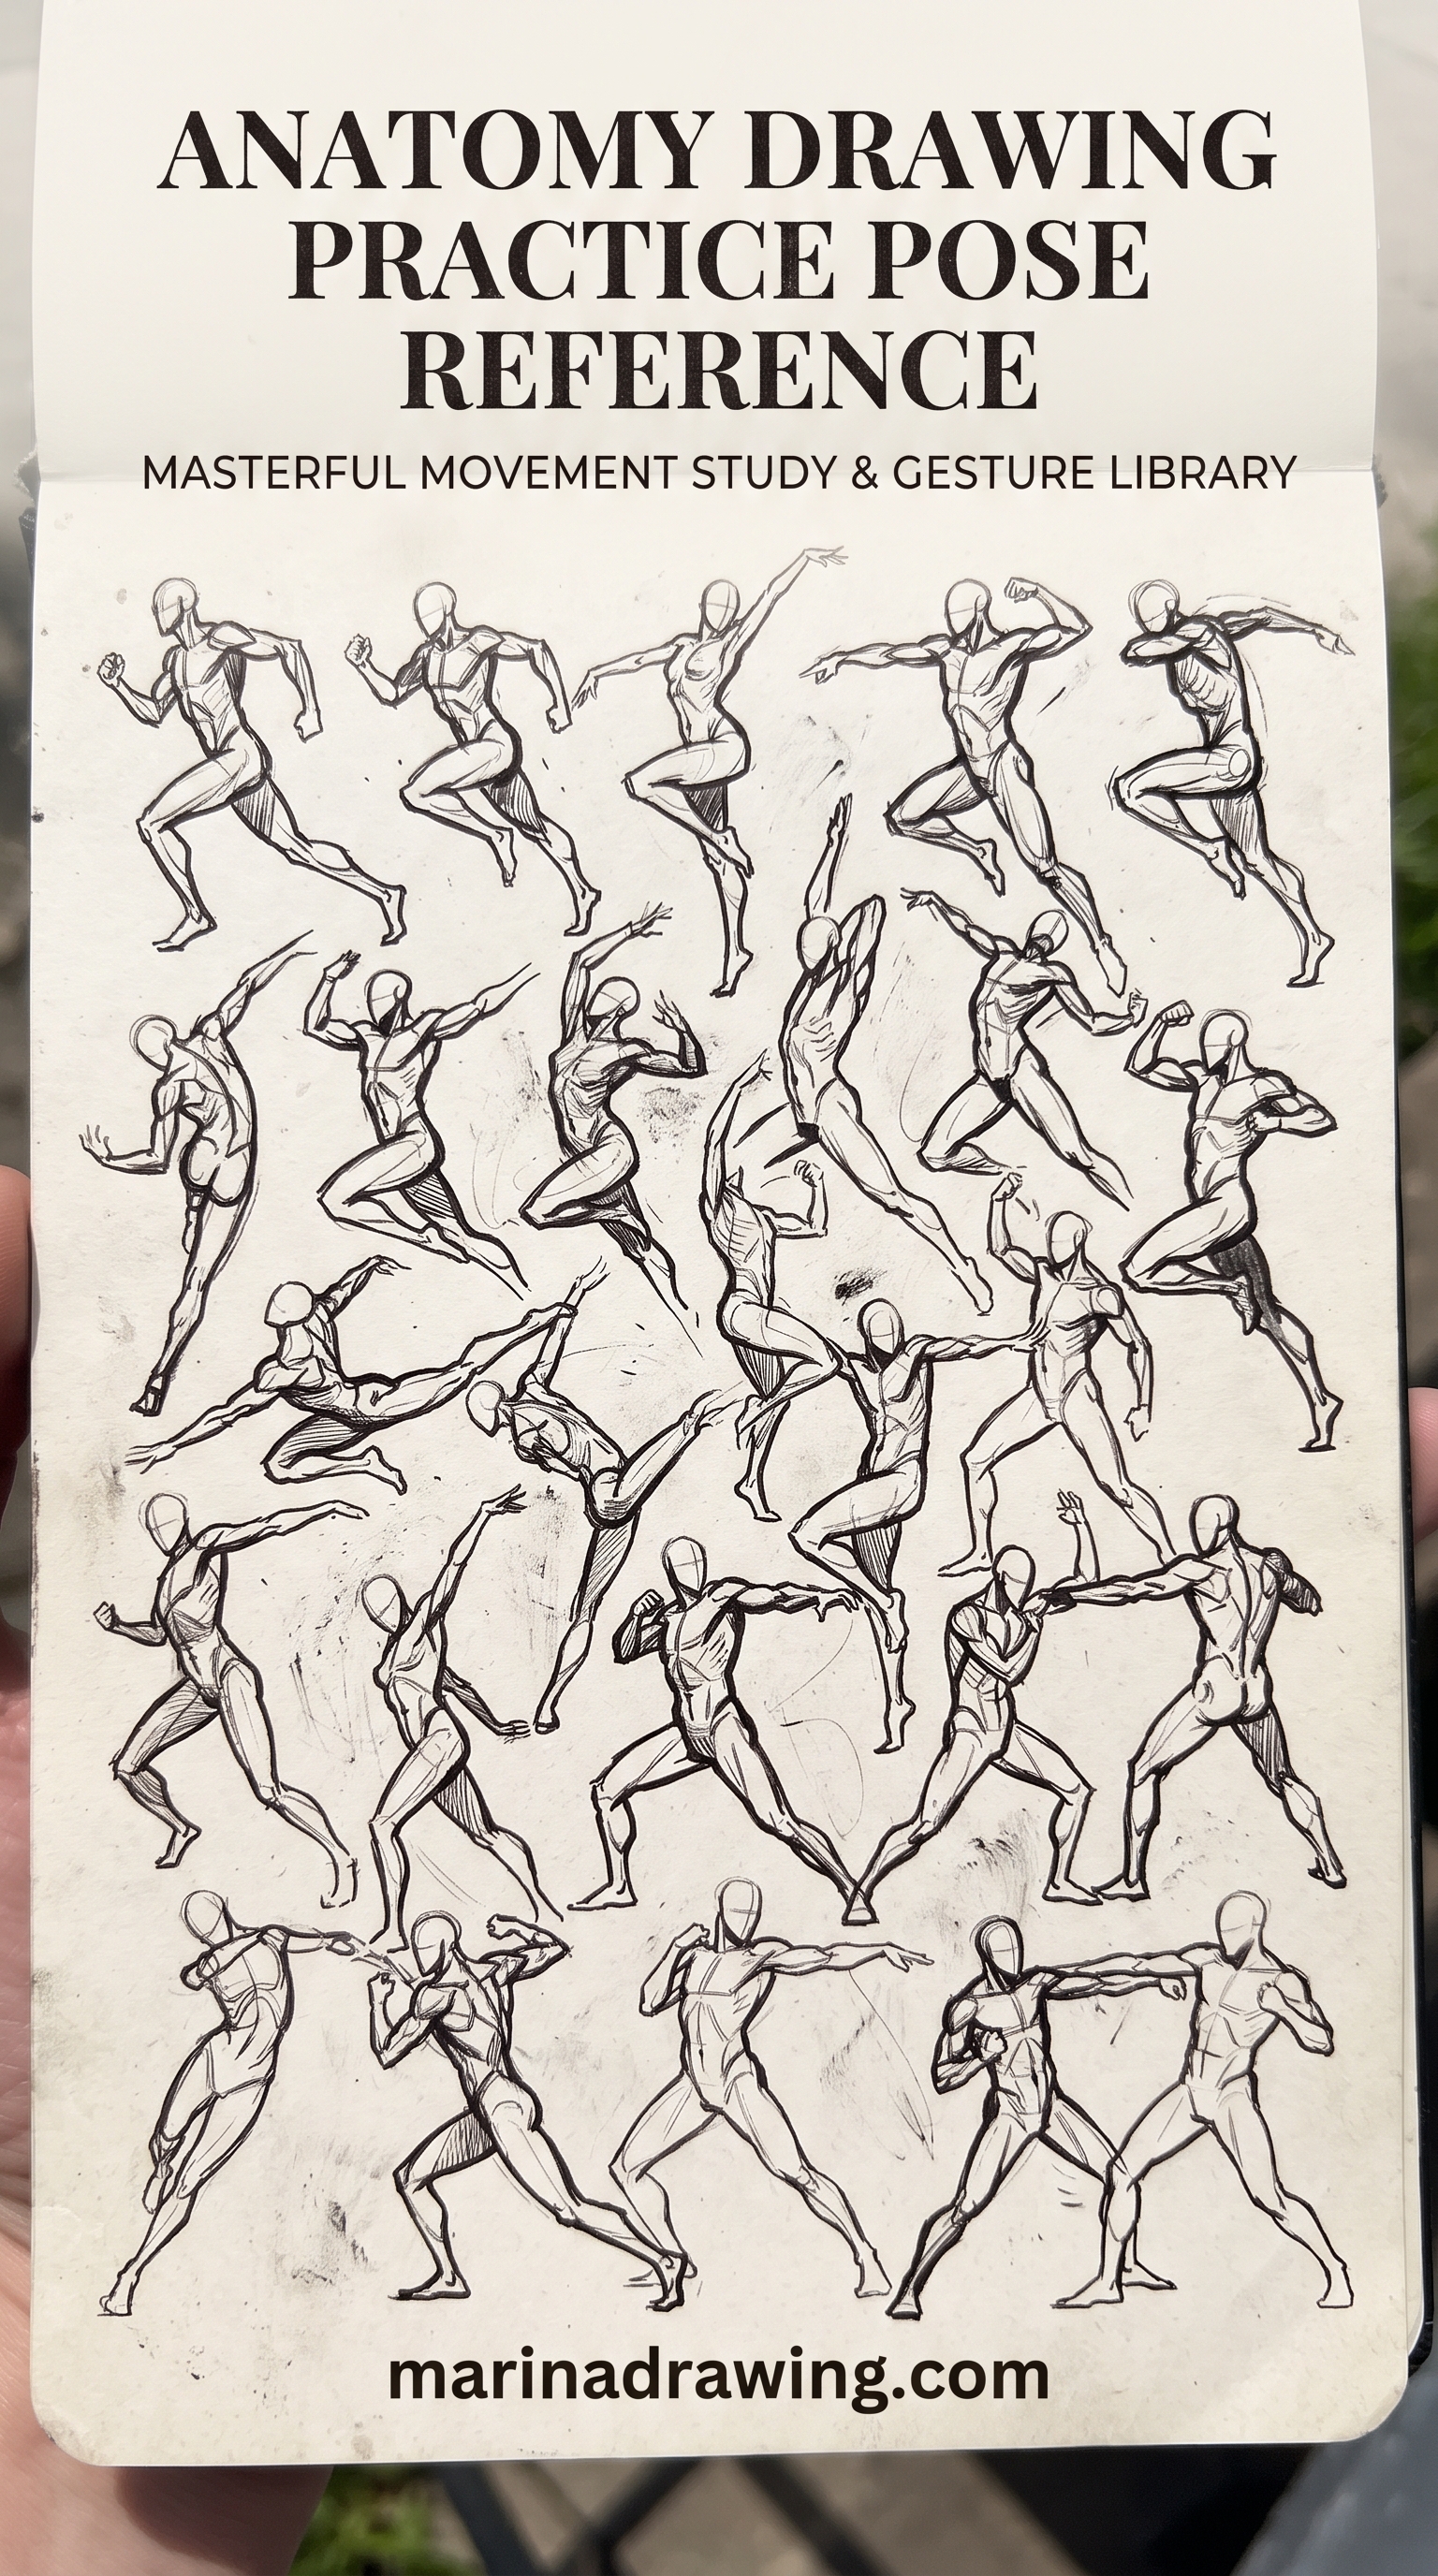
Step 1: Two-Minute Gesture Poses Before Any Anatomy

1. Draw the line of action first
Pick a photo of a standing or sitting person. You draw one long curve through the body from the head to the weight-bearing foot. This is the line the whole pose hangs on.
2. Hang a rough body on that line
An oval for the head, a bean for the ribcage, a bean for the pelvis, sticks for the limbs. Two minutes, then you stop. Turn the page and do the next pose.
The point is speed. A gesture that took ten minutes is not a gesture anymore. Do ten of these before you draw anything else, and keep them even if they look ugly. I keep mine in a separate folder and look back at them a month later.
Step 2: Proportion, the Eight-Heads Figure and Where the Halfway Point Sits
 Pin it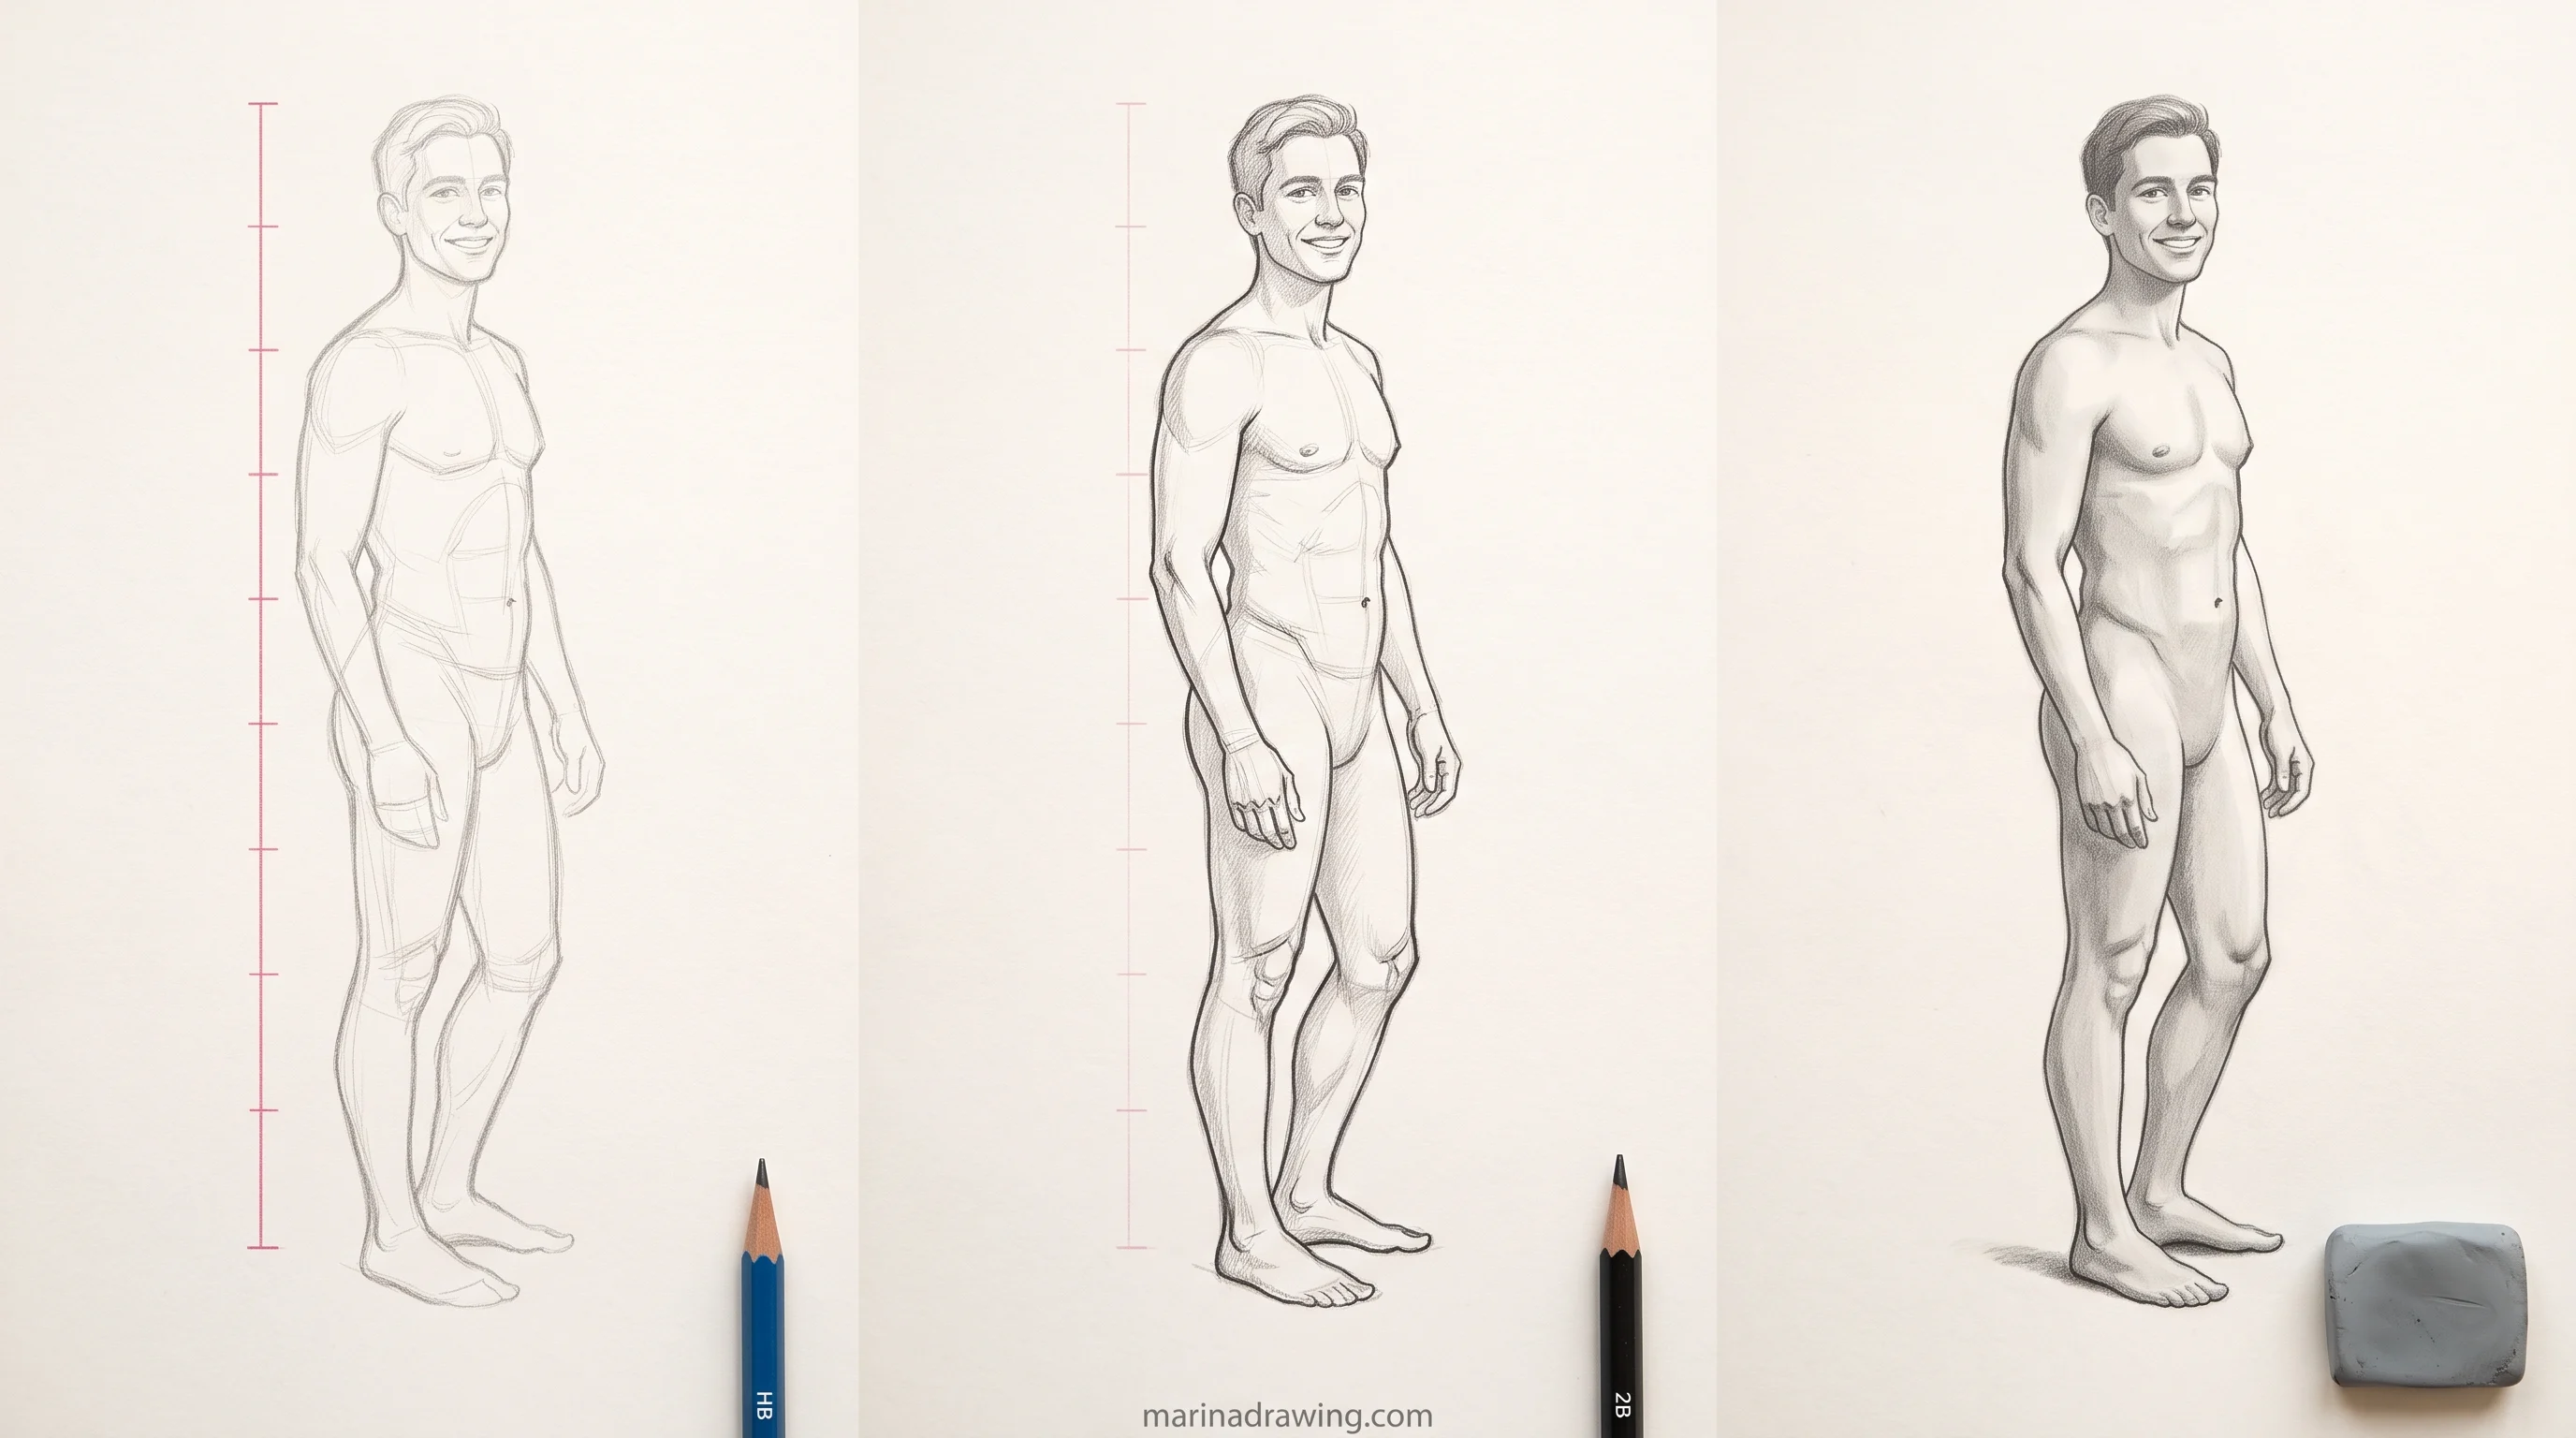
Proportion is the second layer because it decides where things go before you decide what they look like. The simplest tool is the head unit: use the height of the head as a ruler for the whole body.
- An adult figure is about seven and a half to eight heads tall. Eight is easier to draw, so most beginners start there.
- The halfway point of the body sits near the pelvis, not at the waist. Most people place it too high, and you probably do too.
- The elbows land near the waist line. The wrists land near the hips.
- The knees sit about halfway between the hip and the sole of the foot.
Draw a vertical line, divide it into eight equal parts, and hang your gesture pose on that scale. Do it once from the front and once from the side or back, and if you would rather watch someone measure a live figure, a video course does it stroke by stroke. If your figure looks fine from the front and wrong from behind, you are usually missing a proportion, not an anatomy detail.
Step 3: Build the Torso From Boxes, Front and Back
42 hours of pencil drawing training, lifetime access
The video course I point plateaued students to — full lessons on portraits, hands, and realistic shading, not another short tutorial.

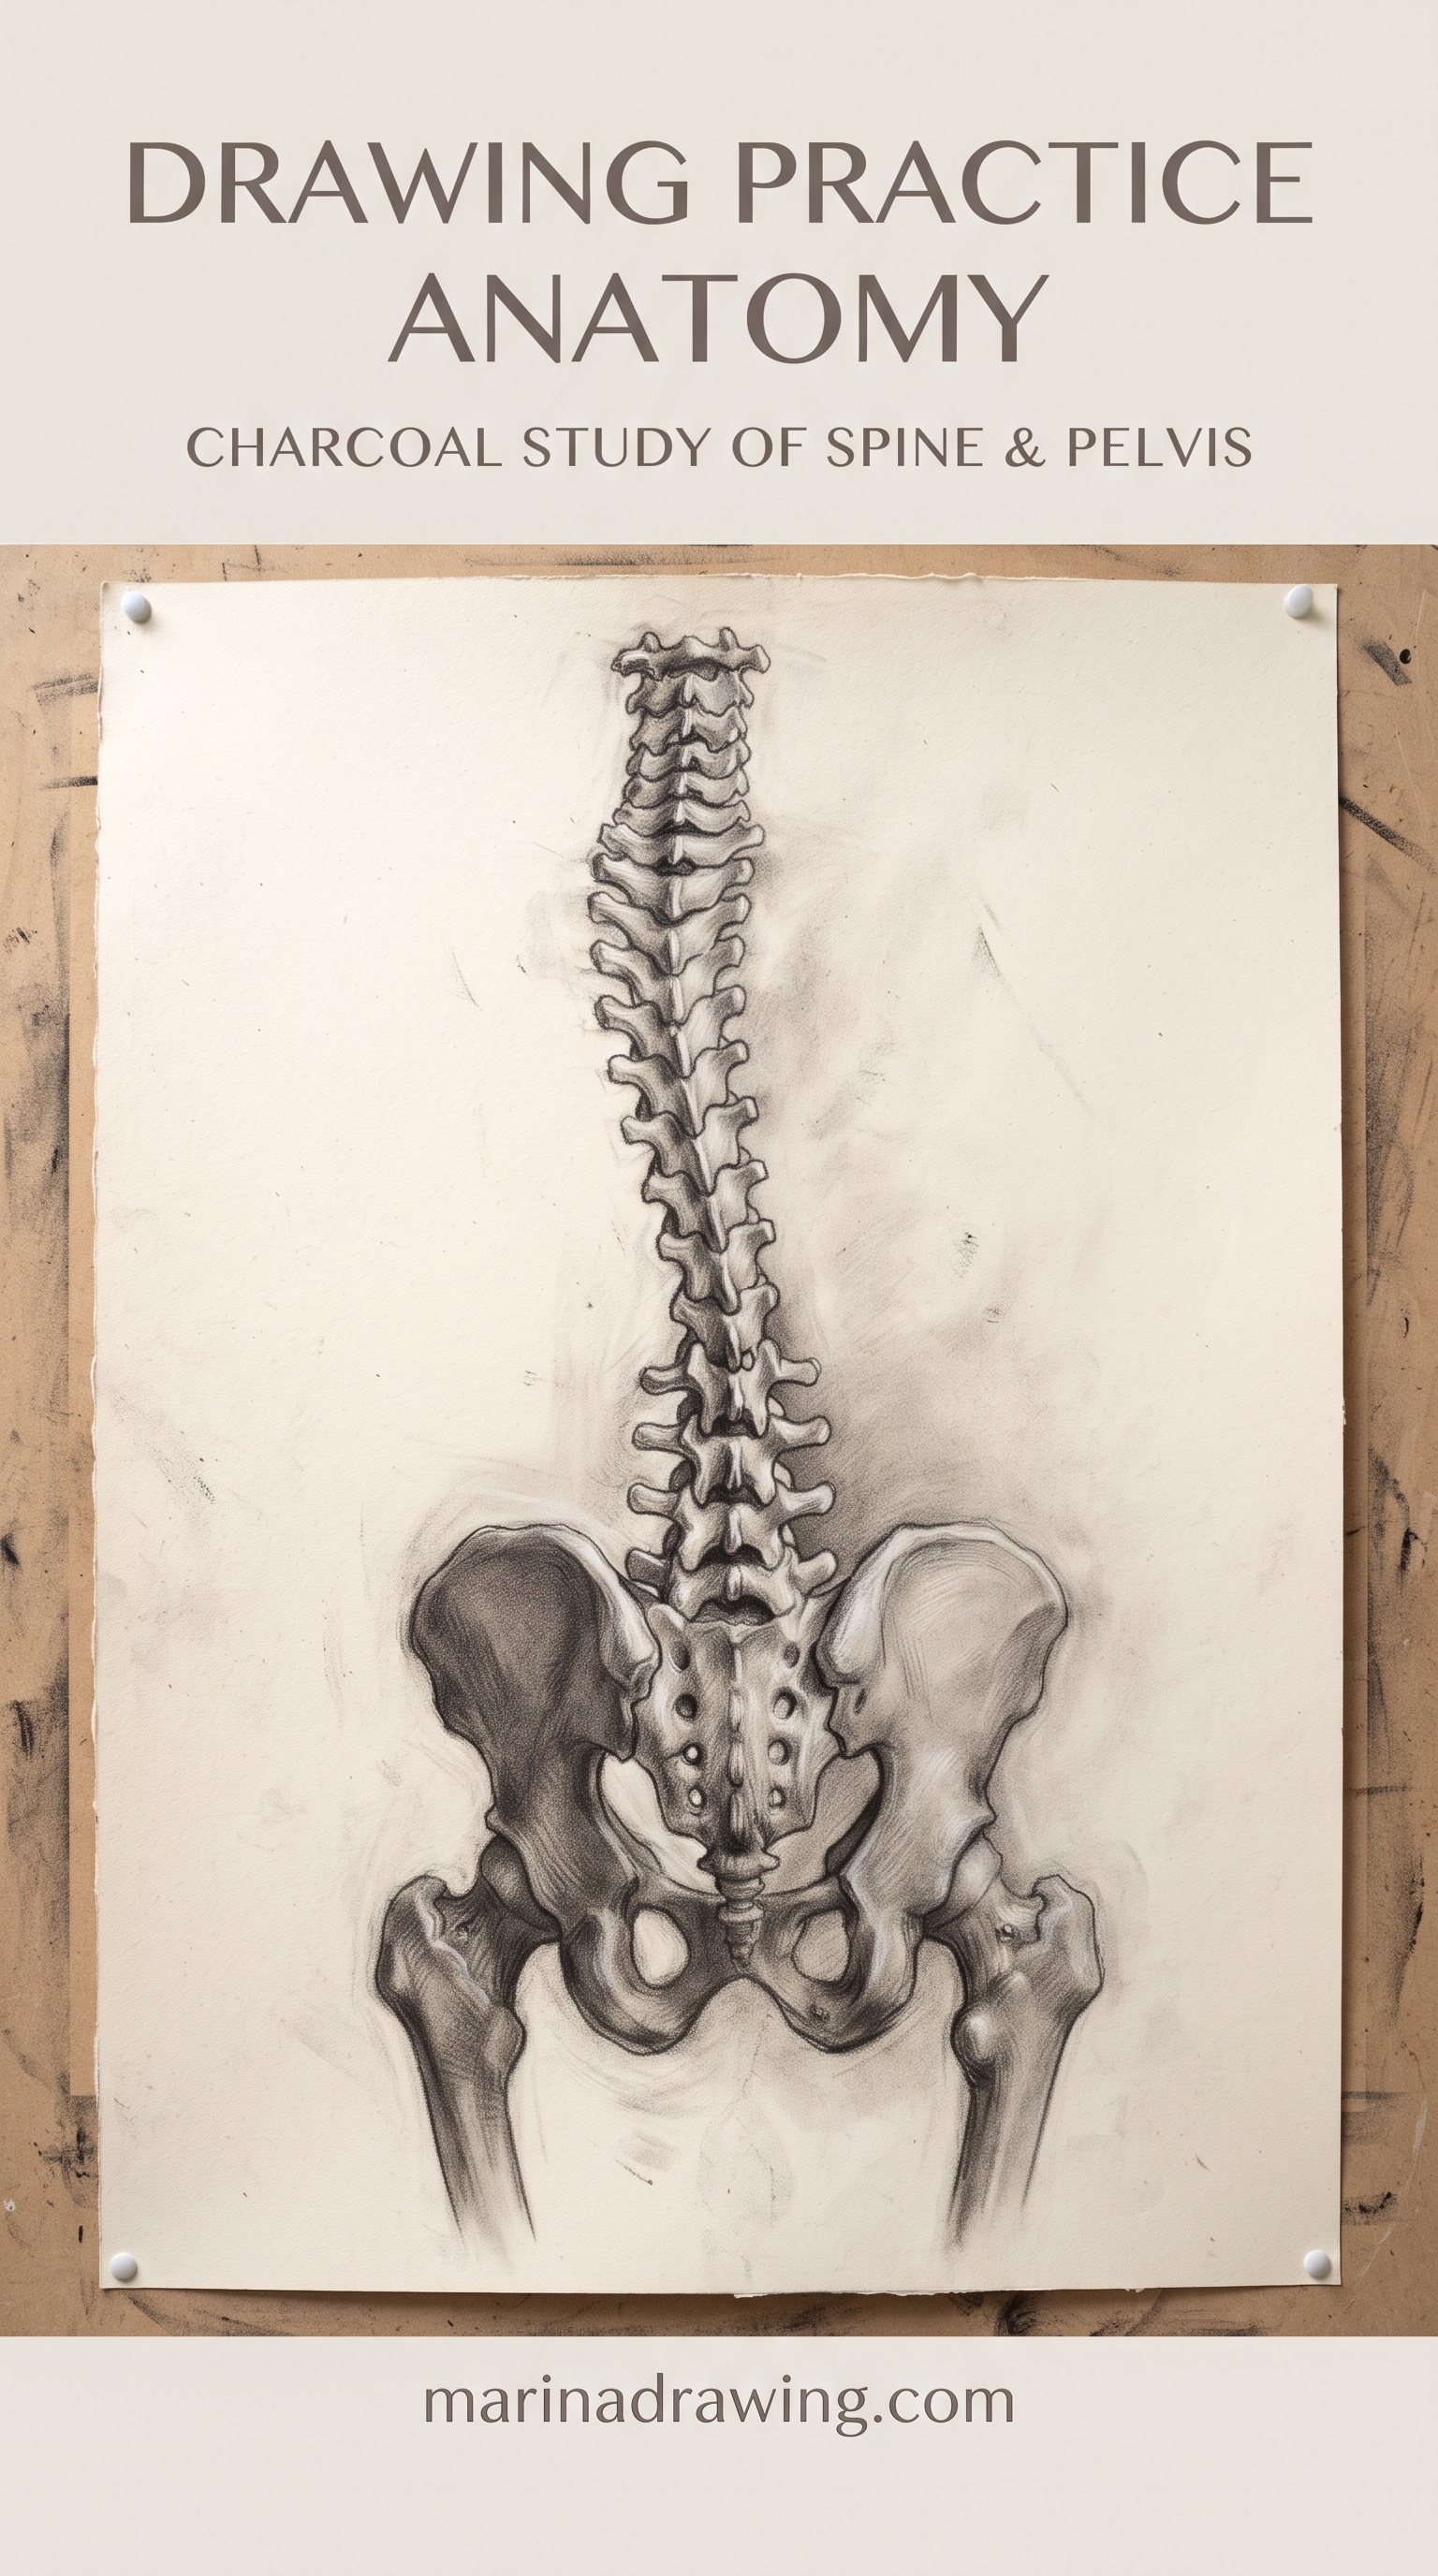
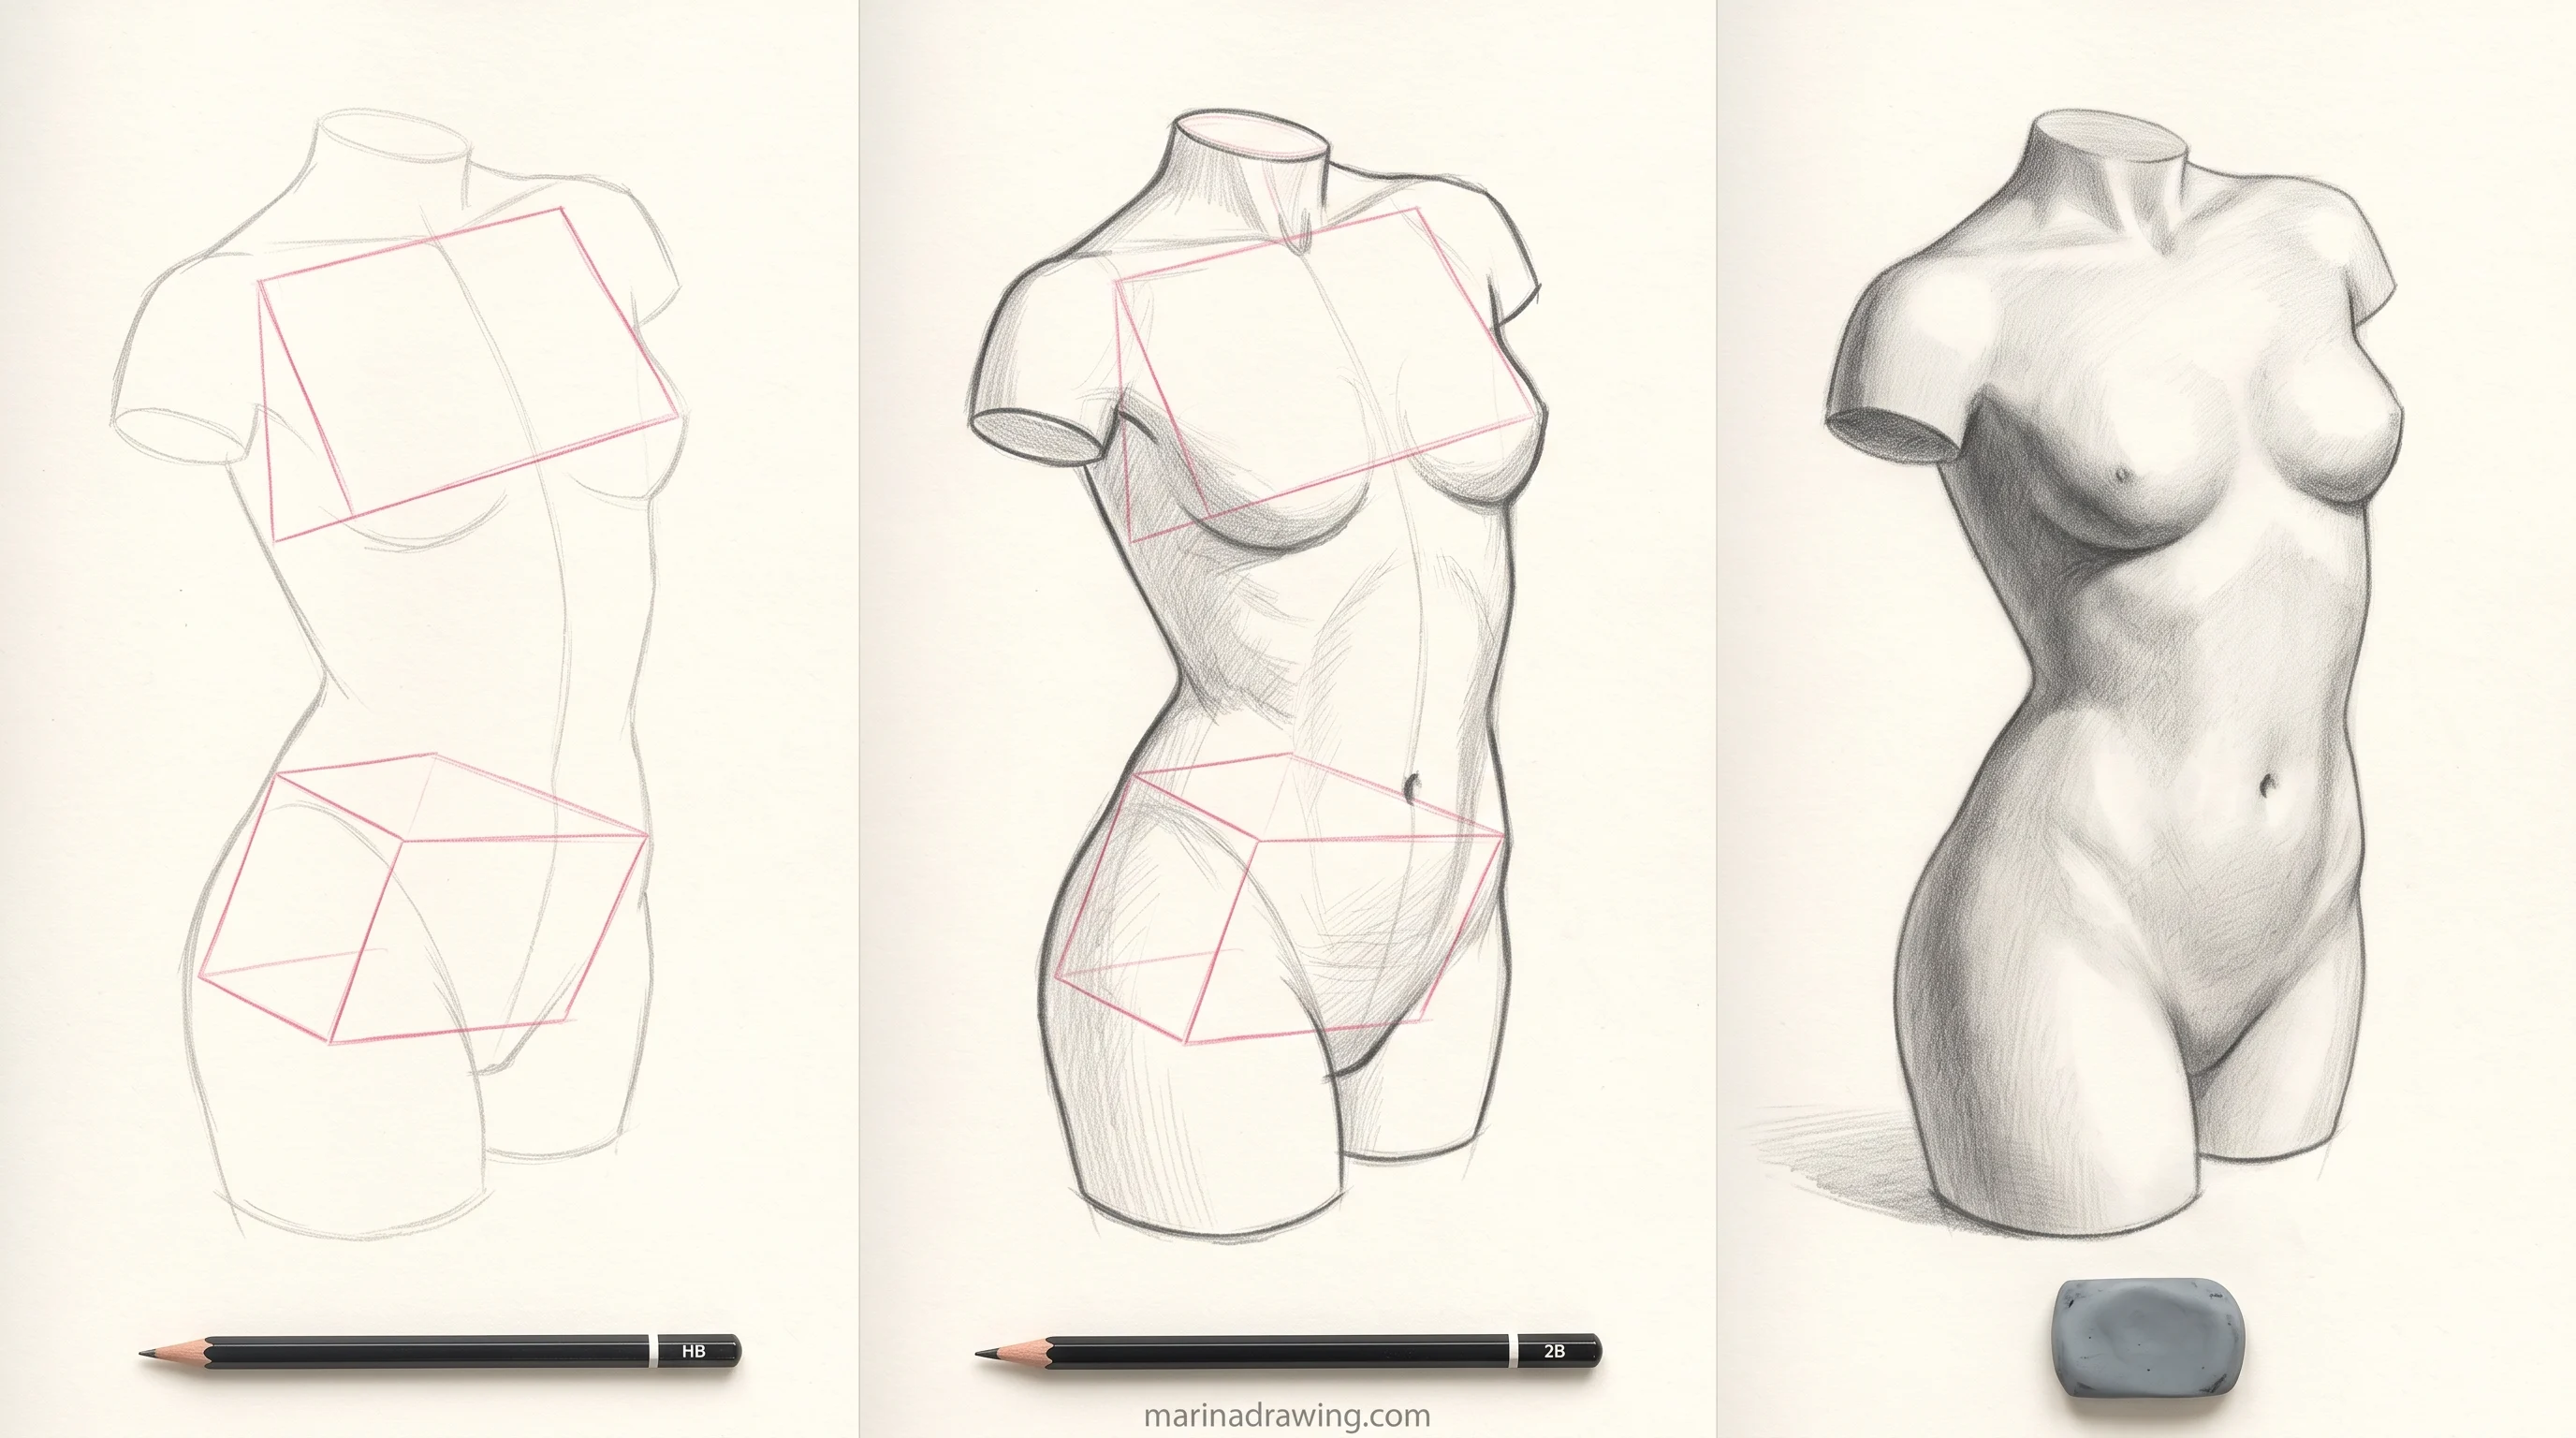
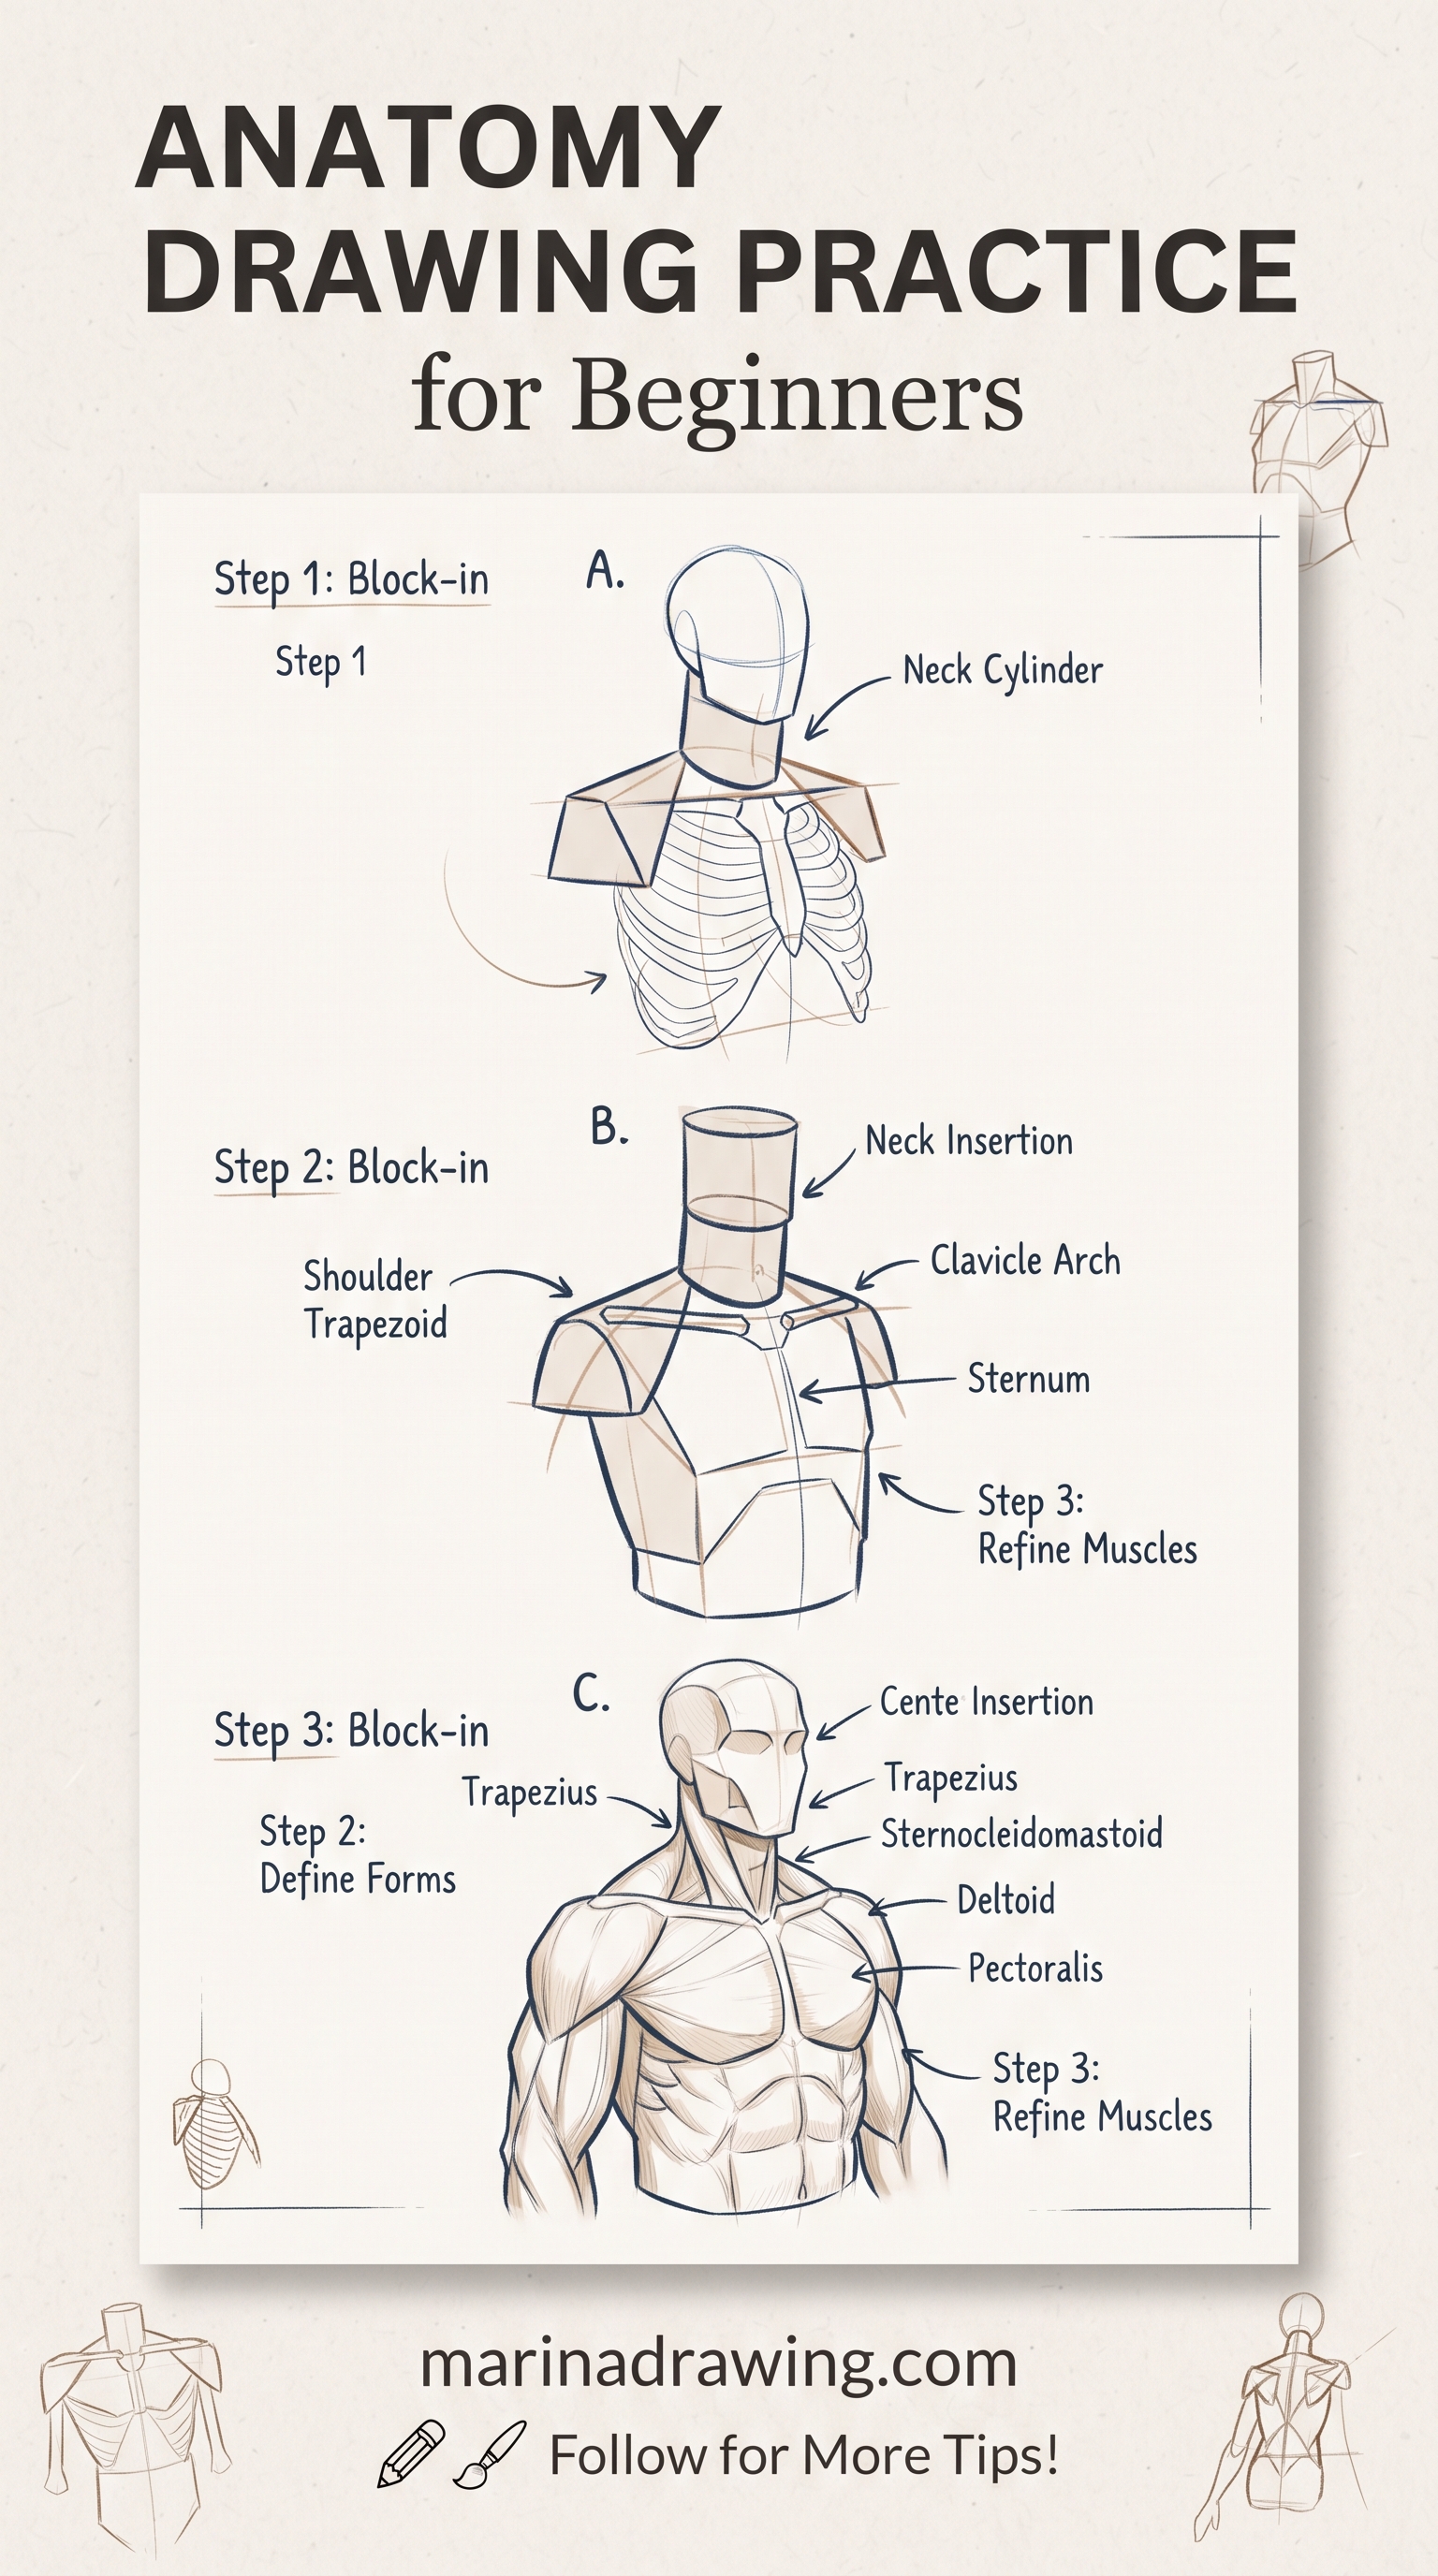
1. Draw the ribcage as a tilted box
A slightly tapered box, narrower at the waist end. Give it a centre line so you can see which way it turns.
2. Draw the pelvis as a second box
A smaller, flatter box. In a relaxed standing pose the two boxes tilt in opposite directions. That opposing tilt is what makes a standing figure look alive.
3. Join them with the spine
A flexible curve, not a straight rod. The gap between the boxes is where the figure bends and twists.
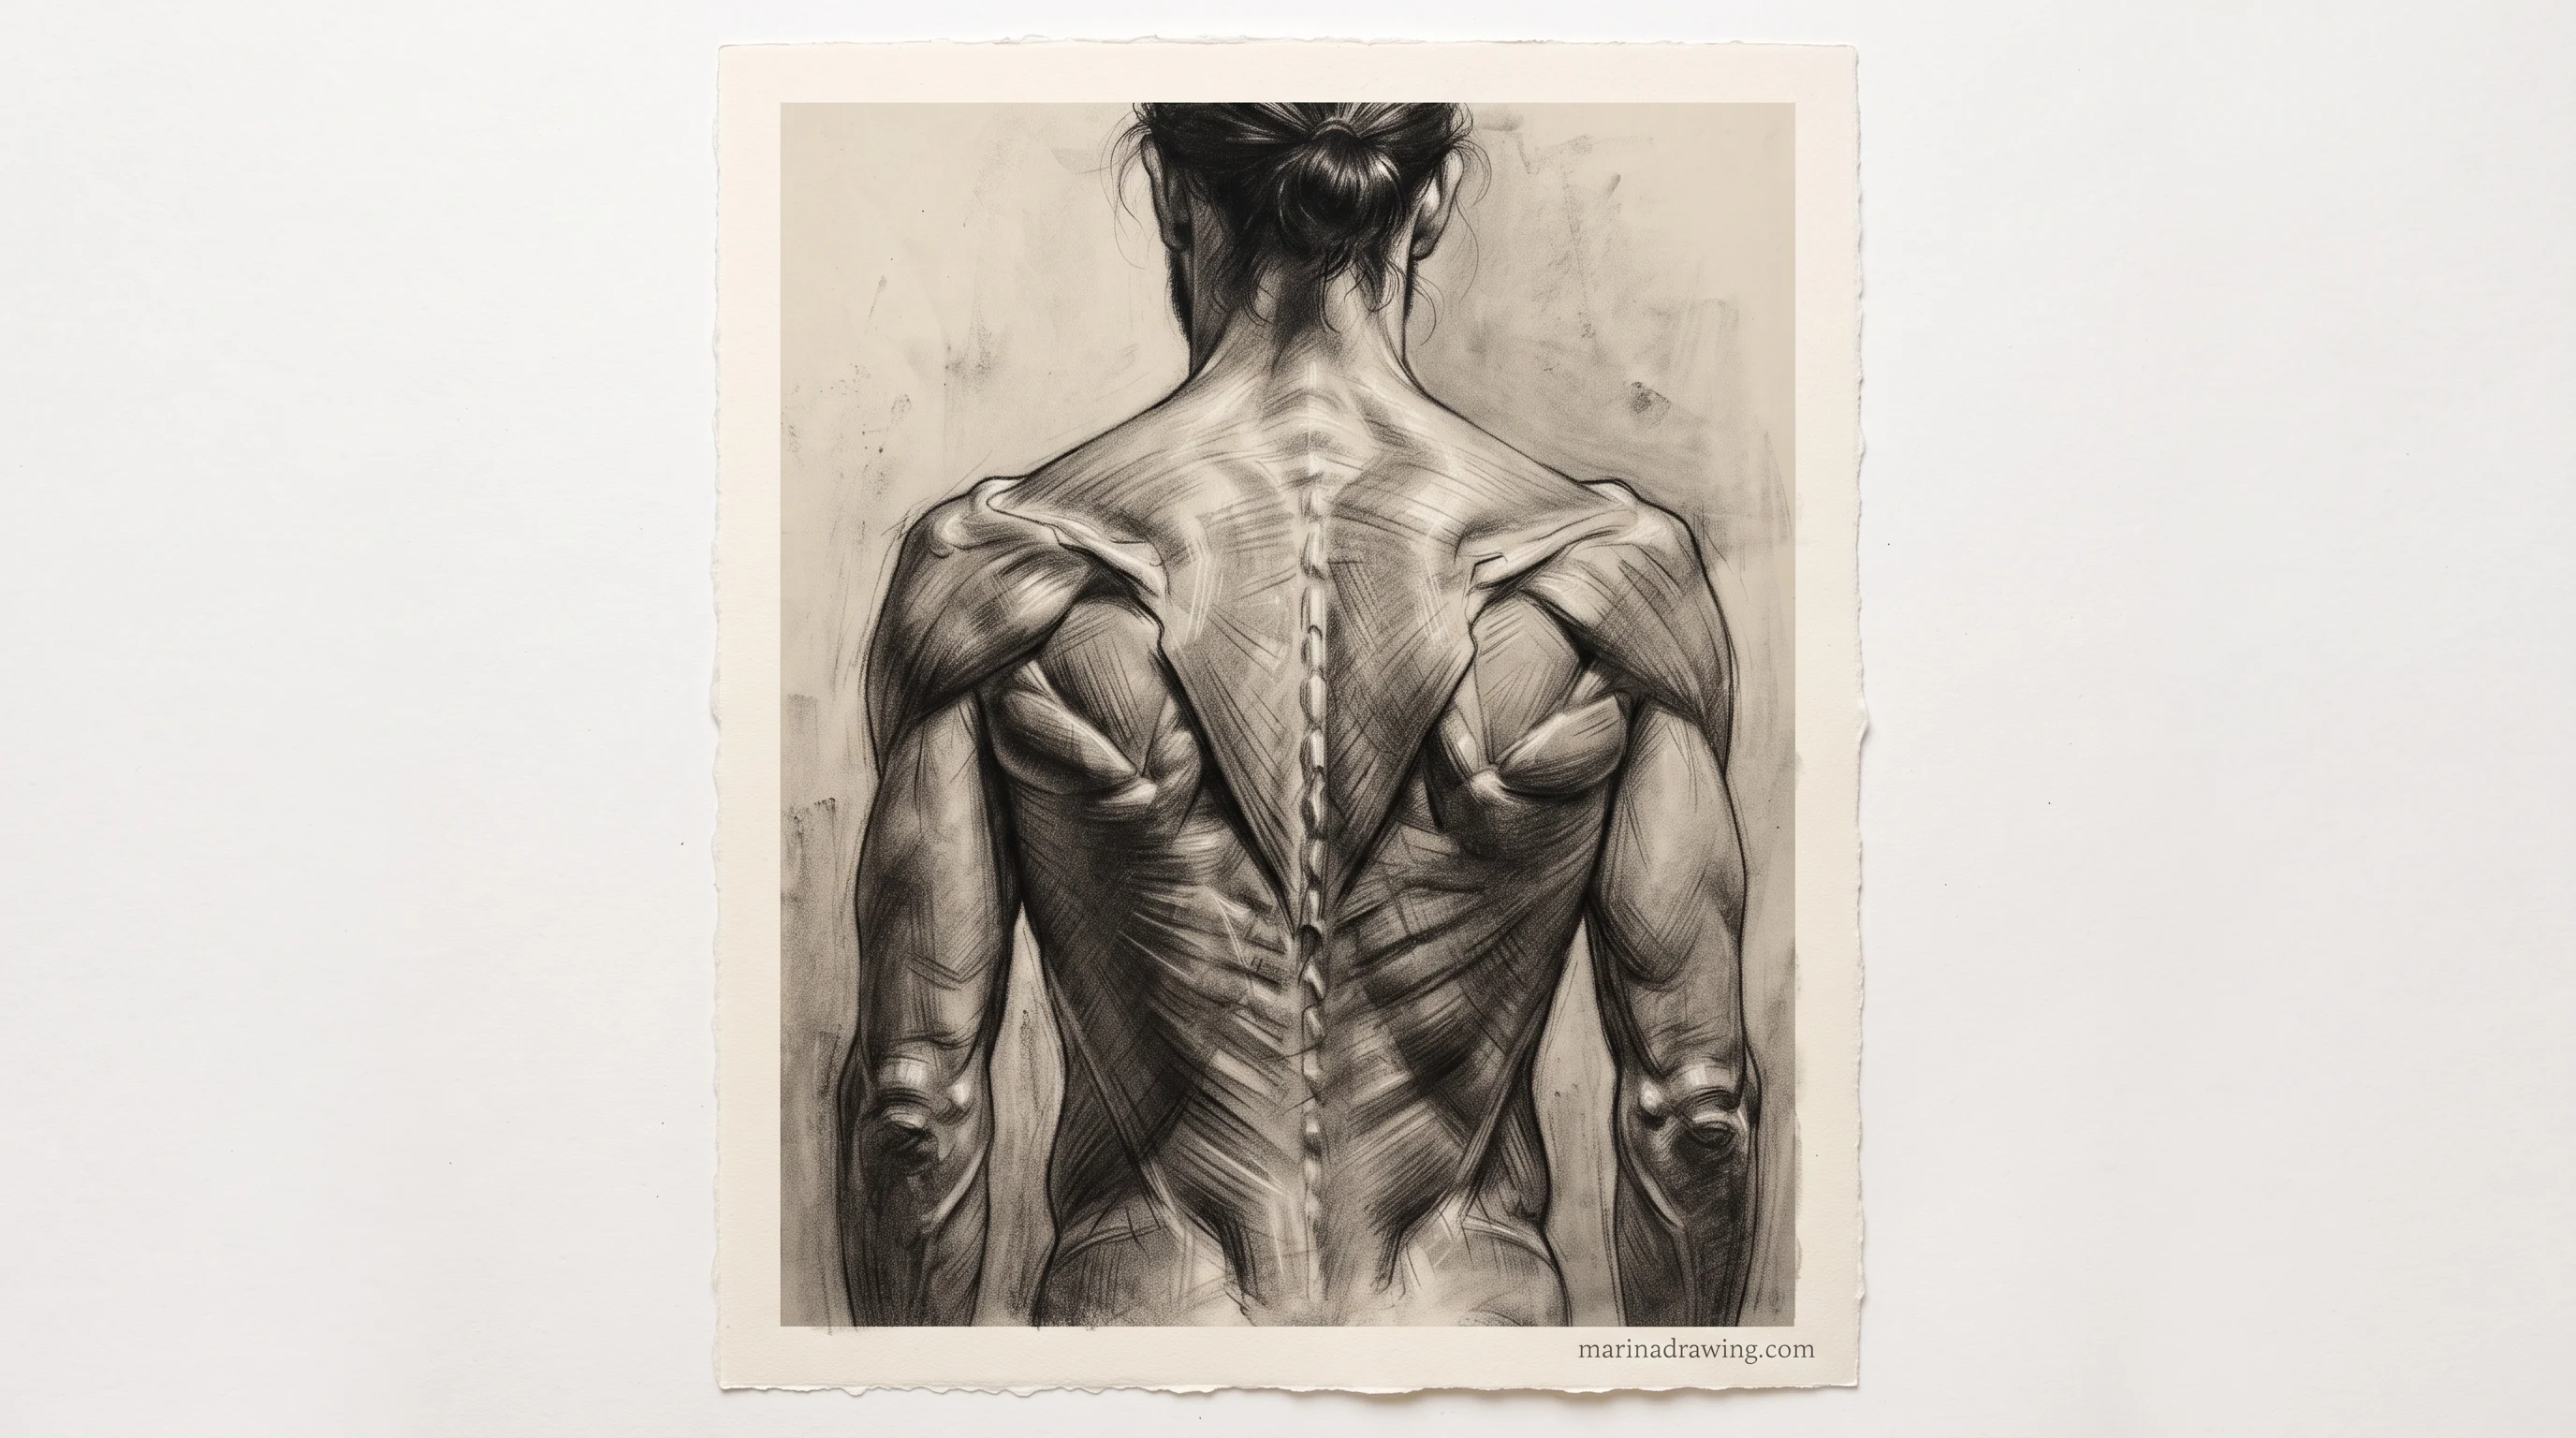
Draw the same torso from the front and from the back. From behind, the shoulder blades and the dimples above the pelvis tell you where the boxes are, so you can check your build fastest from a back view.
Step 4: Muscle Groups on the Torso, Only the Big Ones
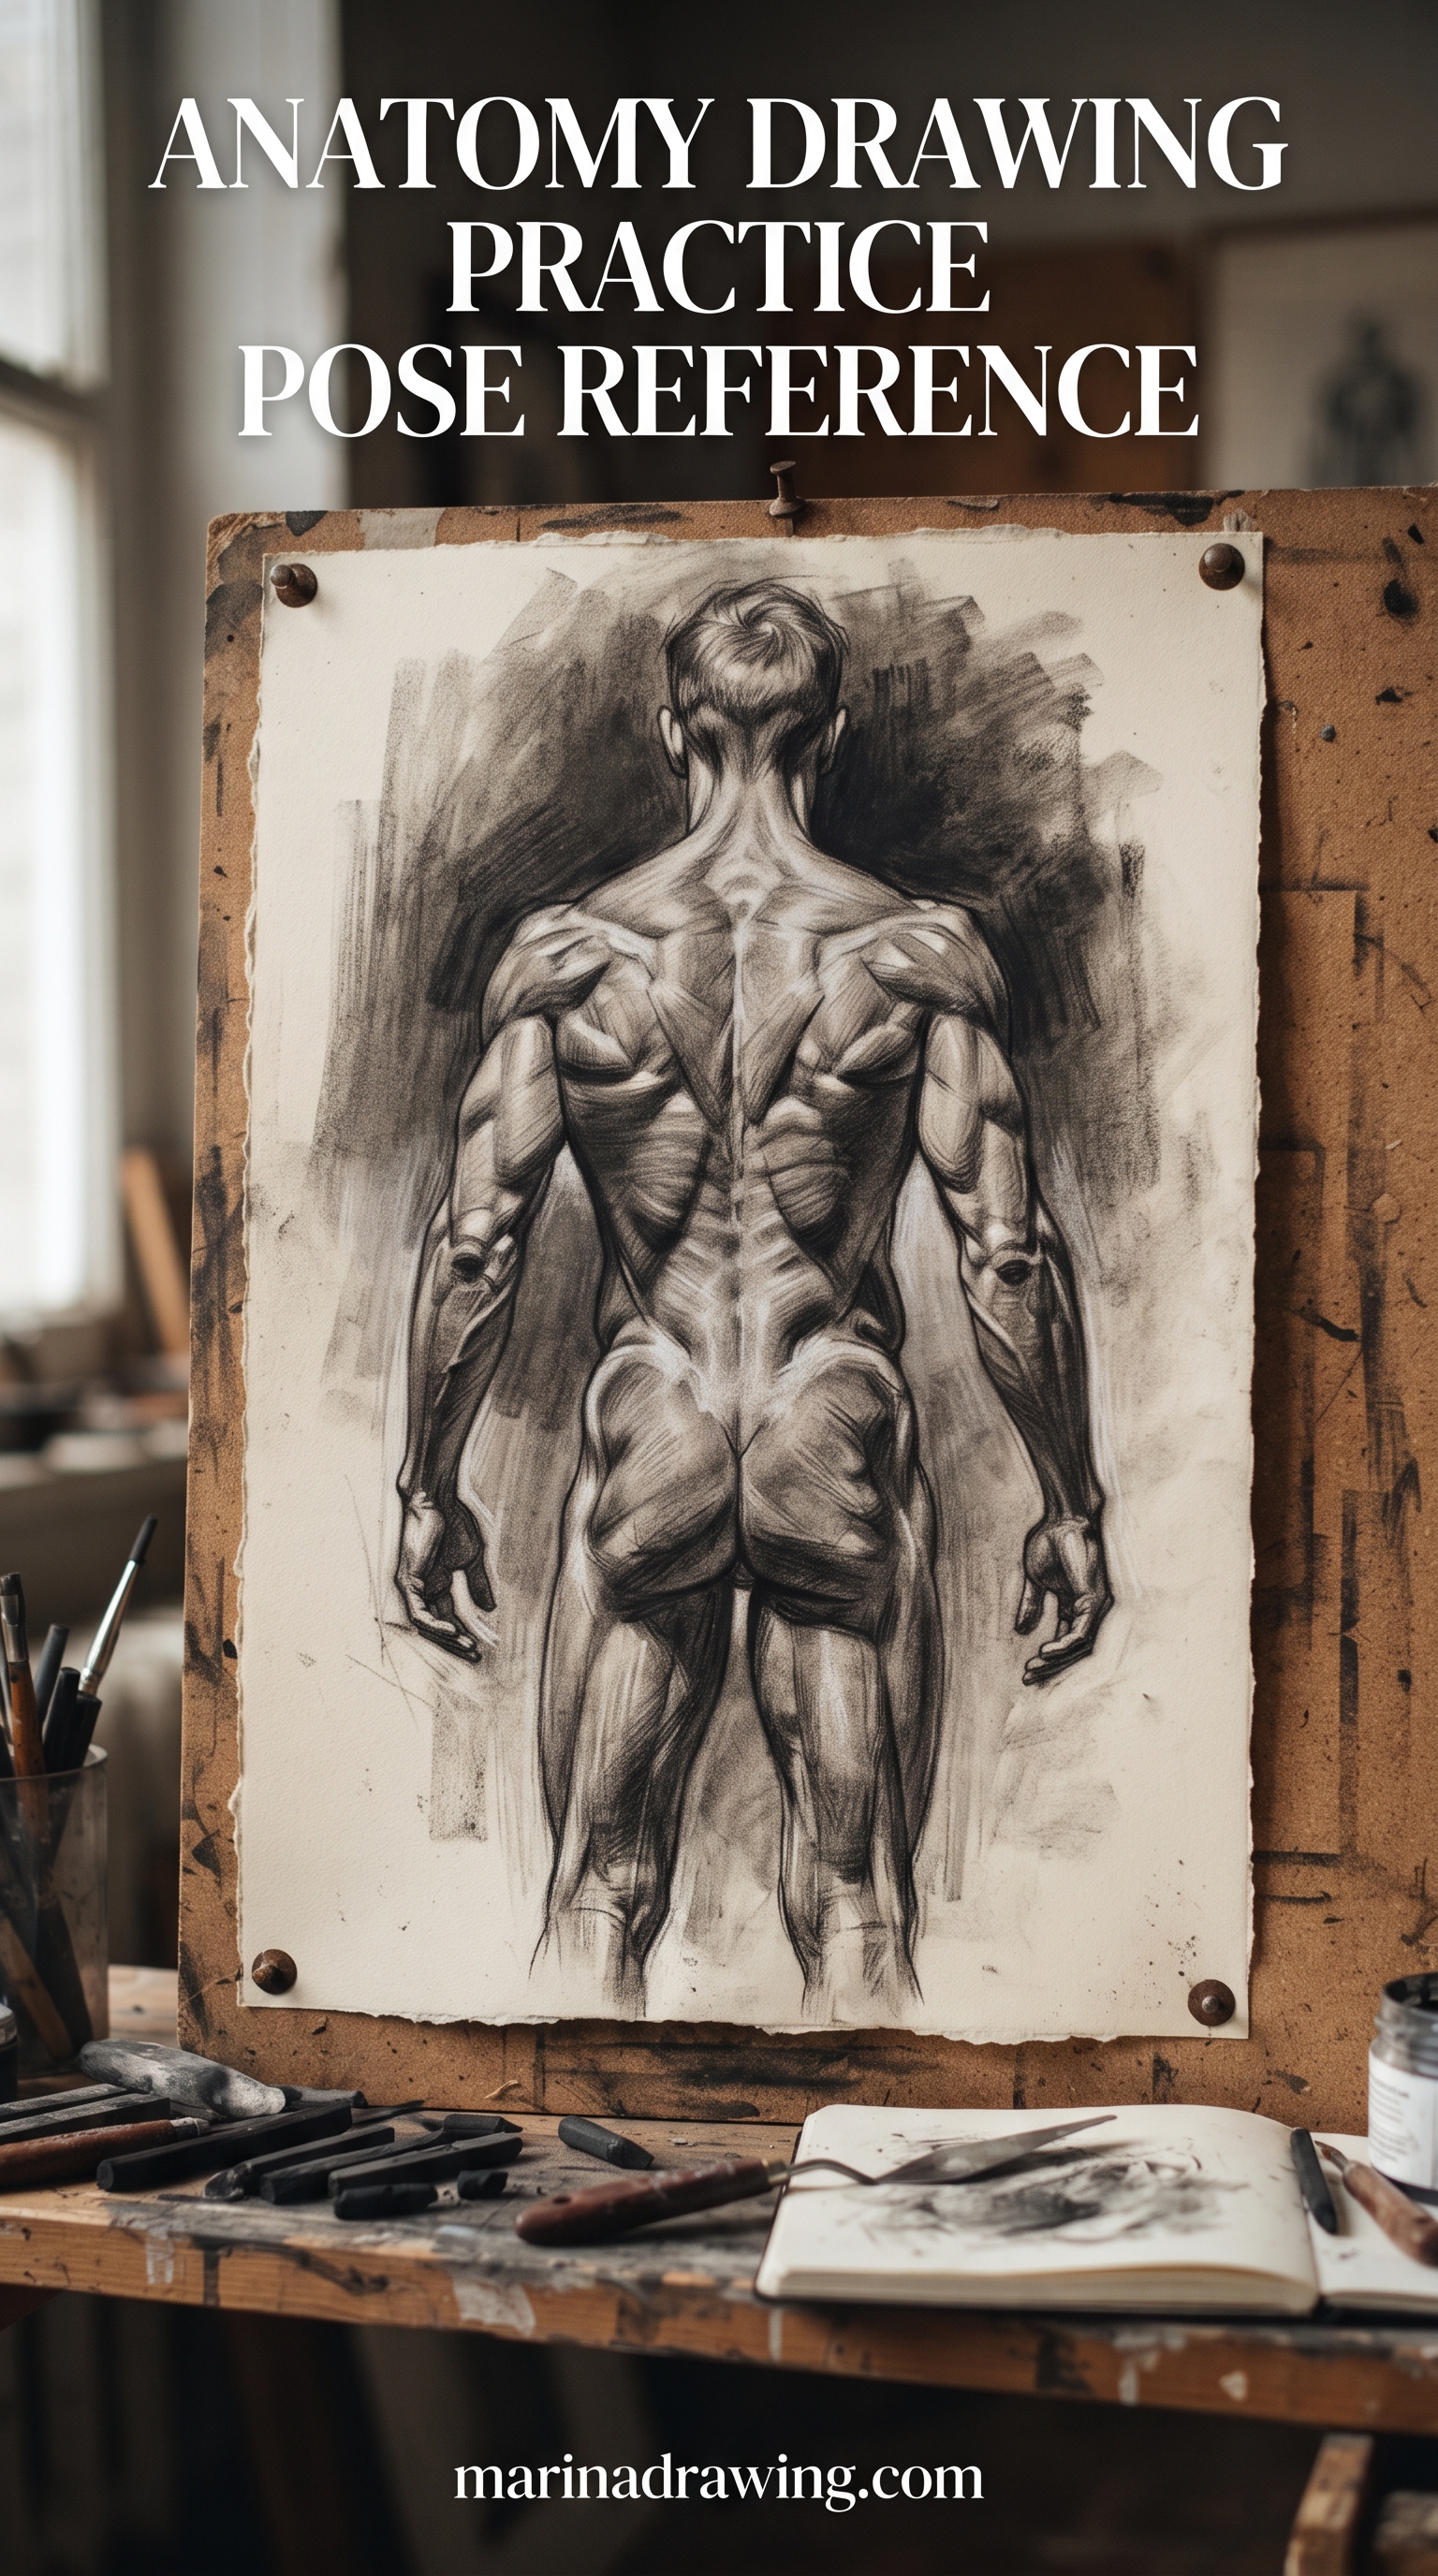
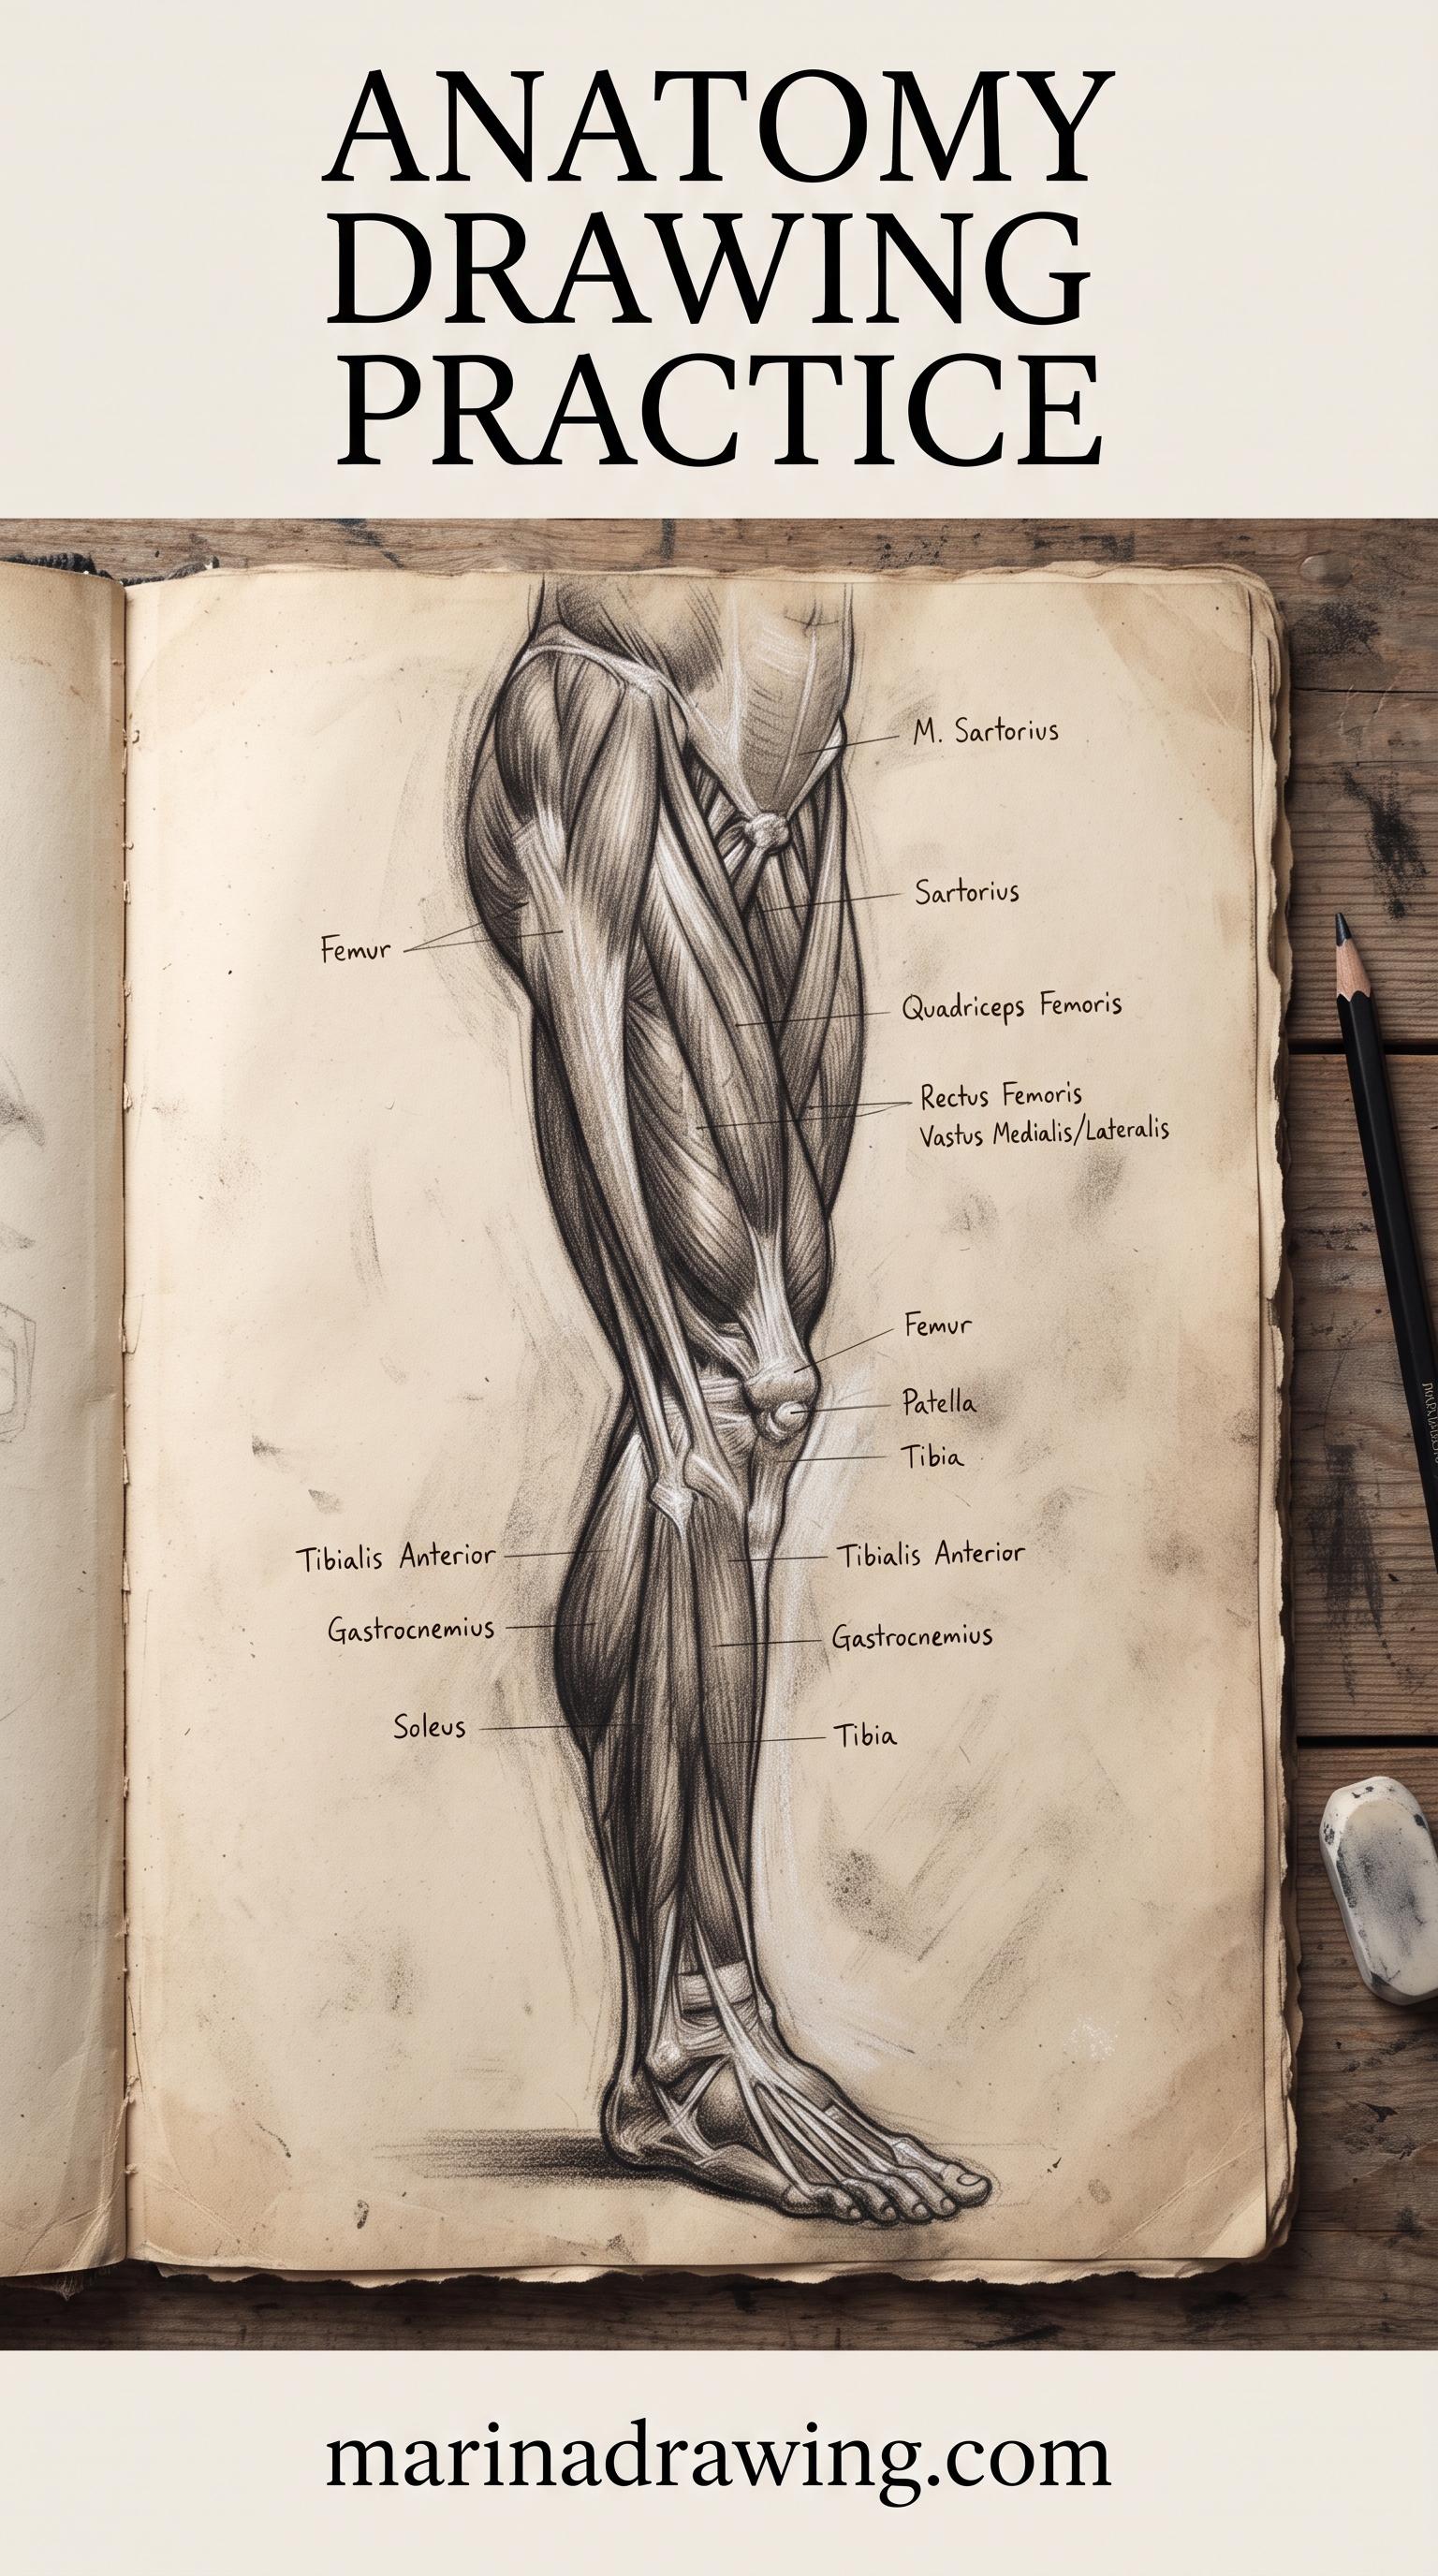
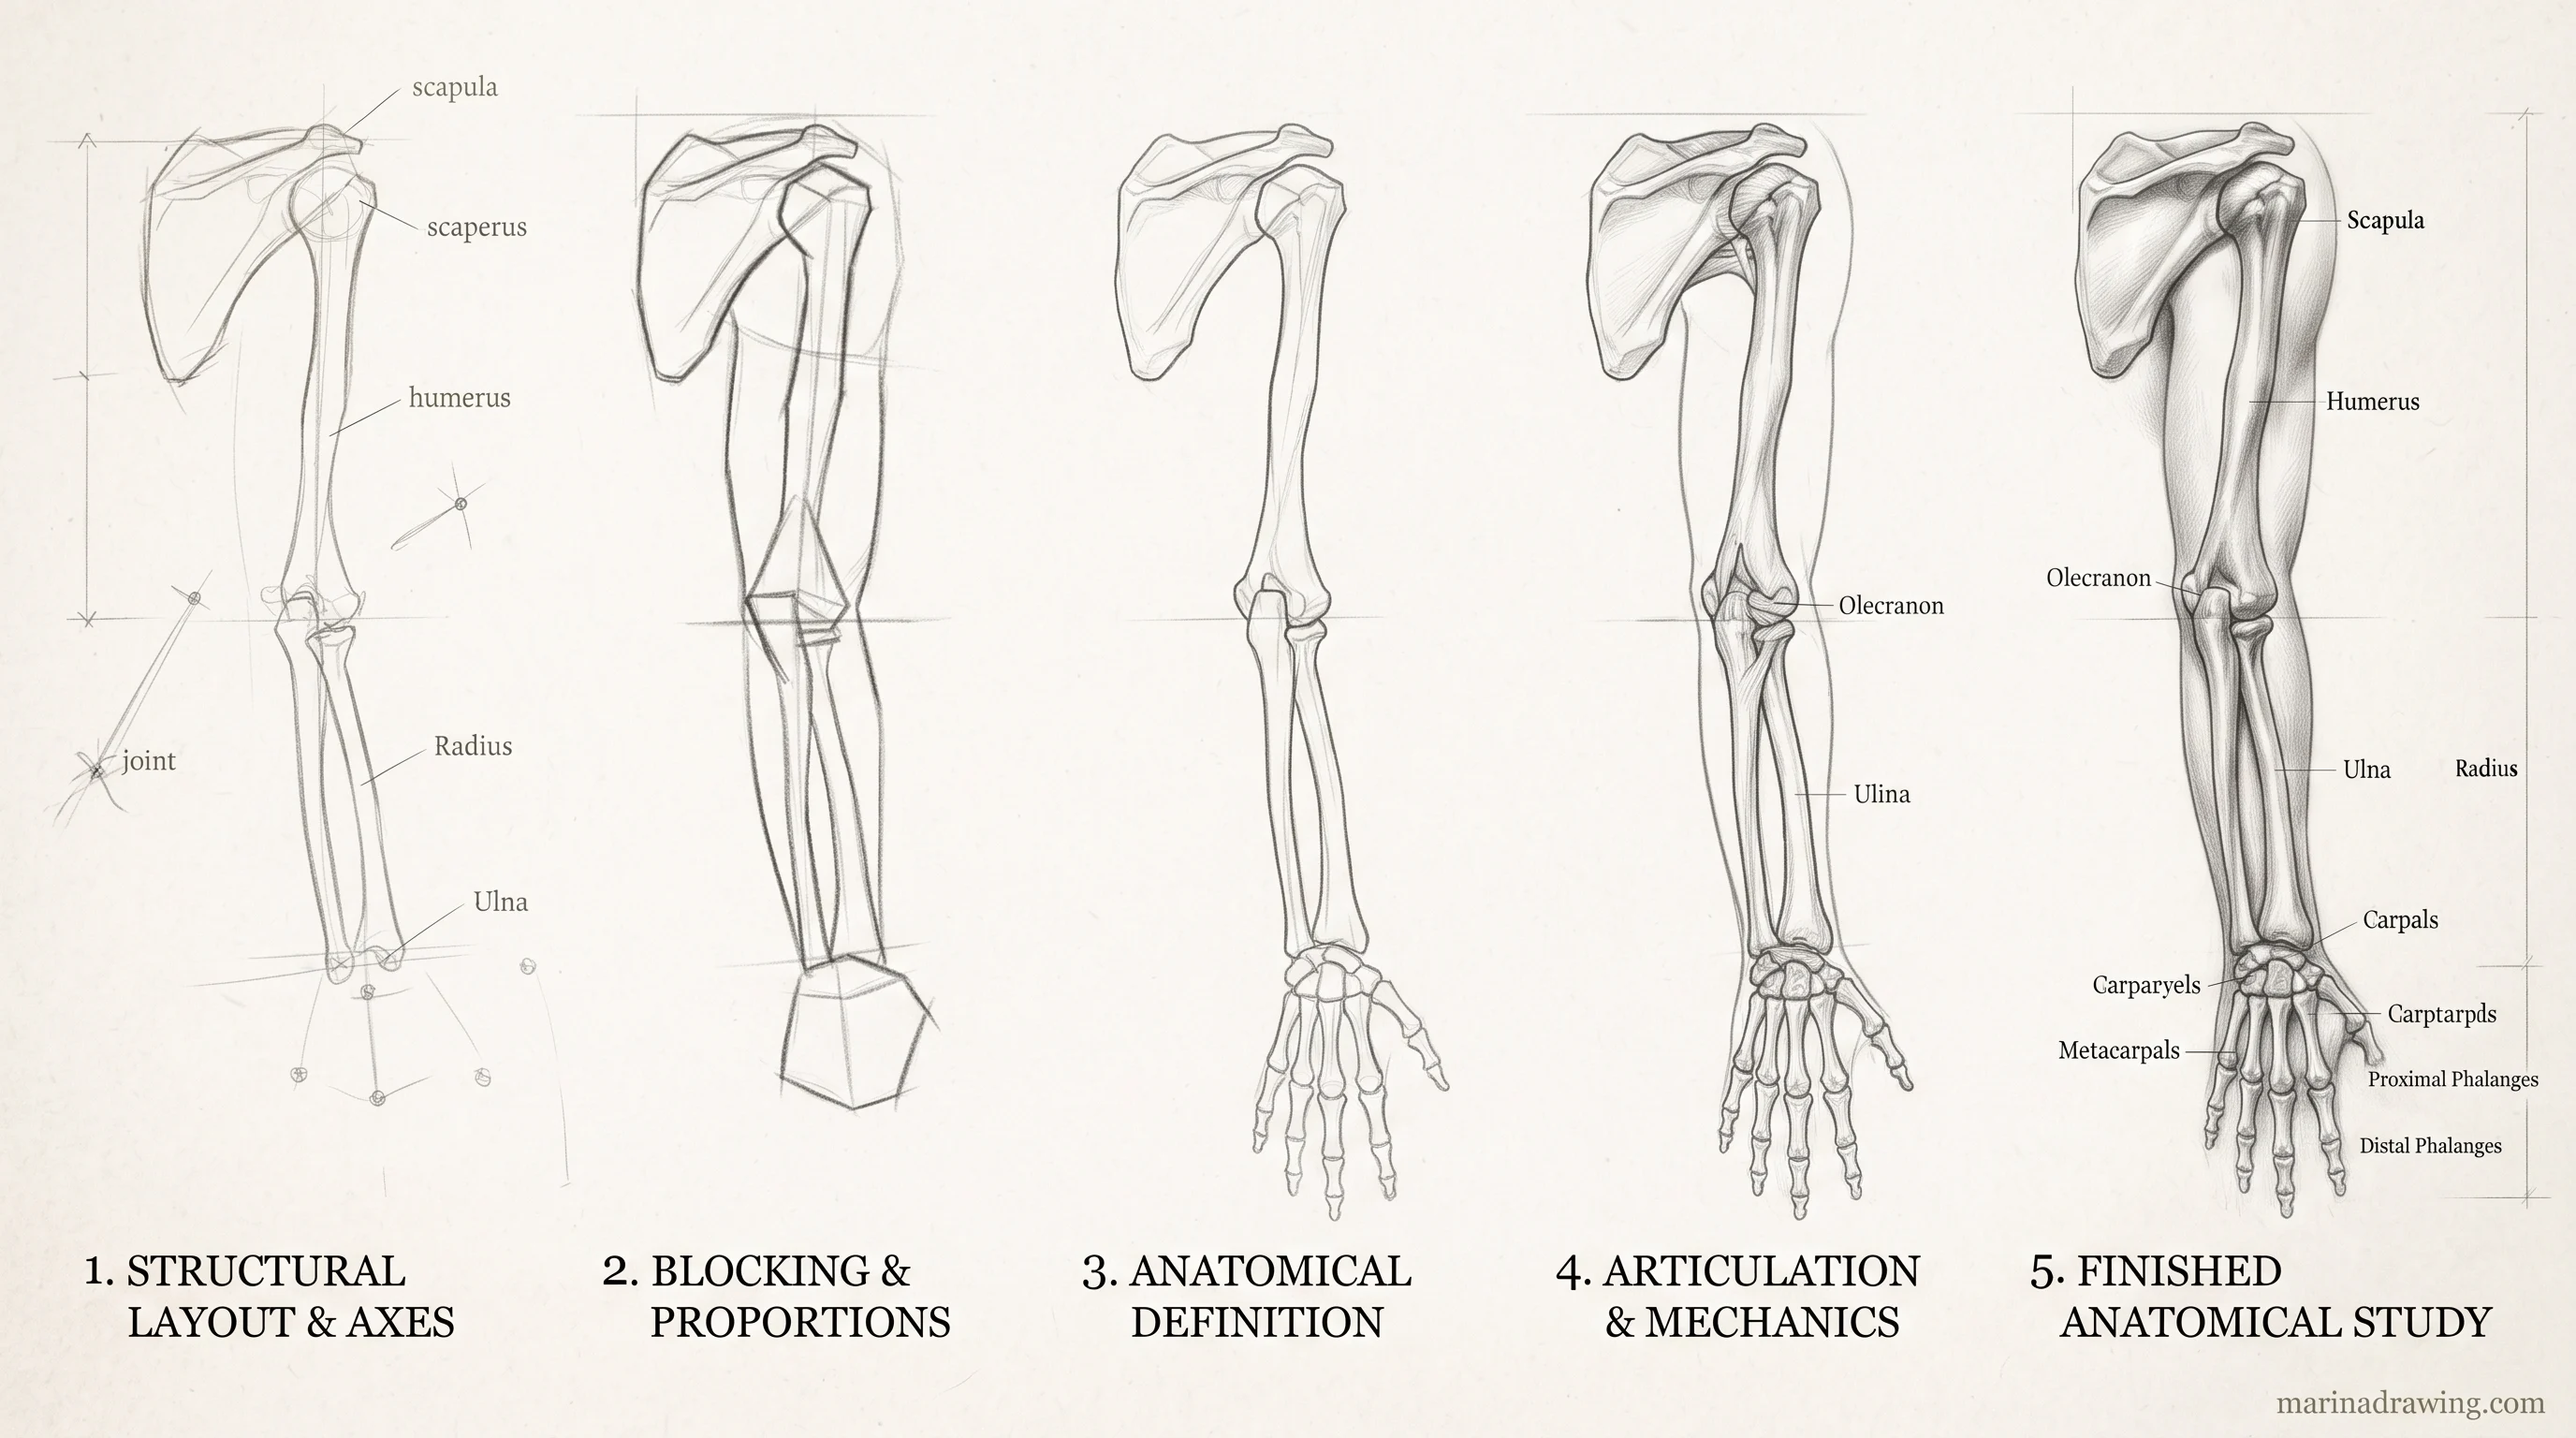
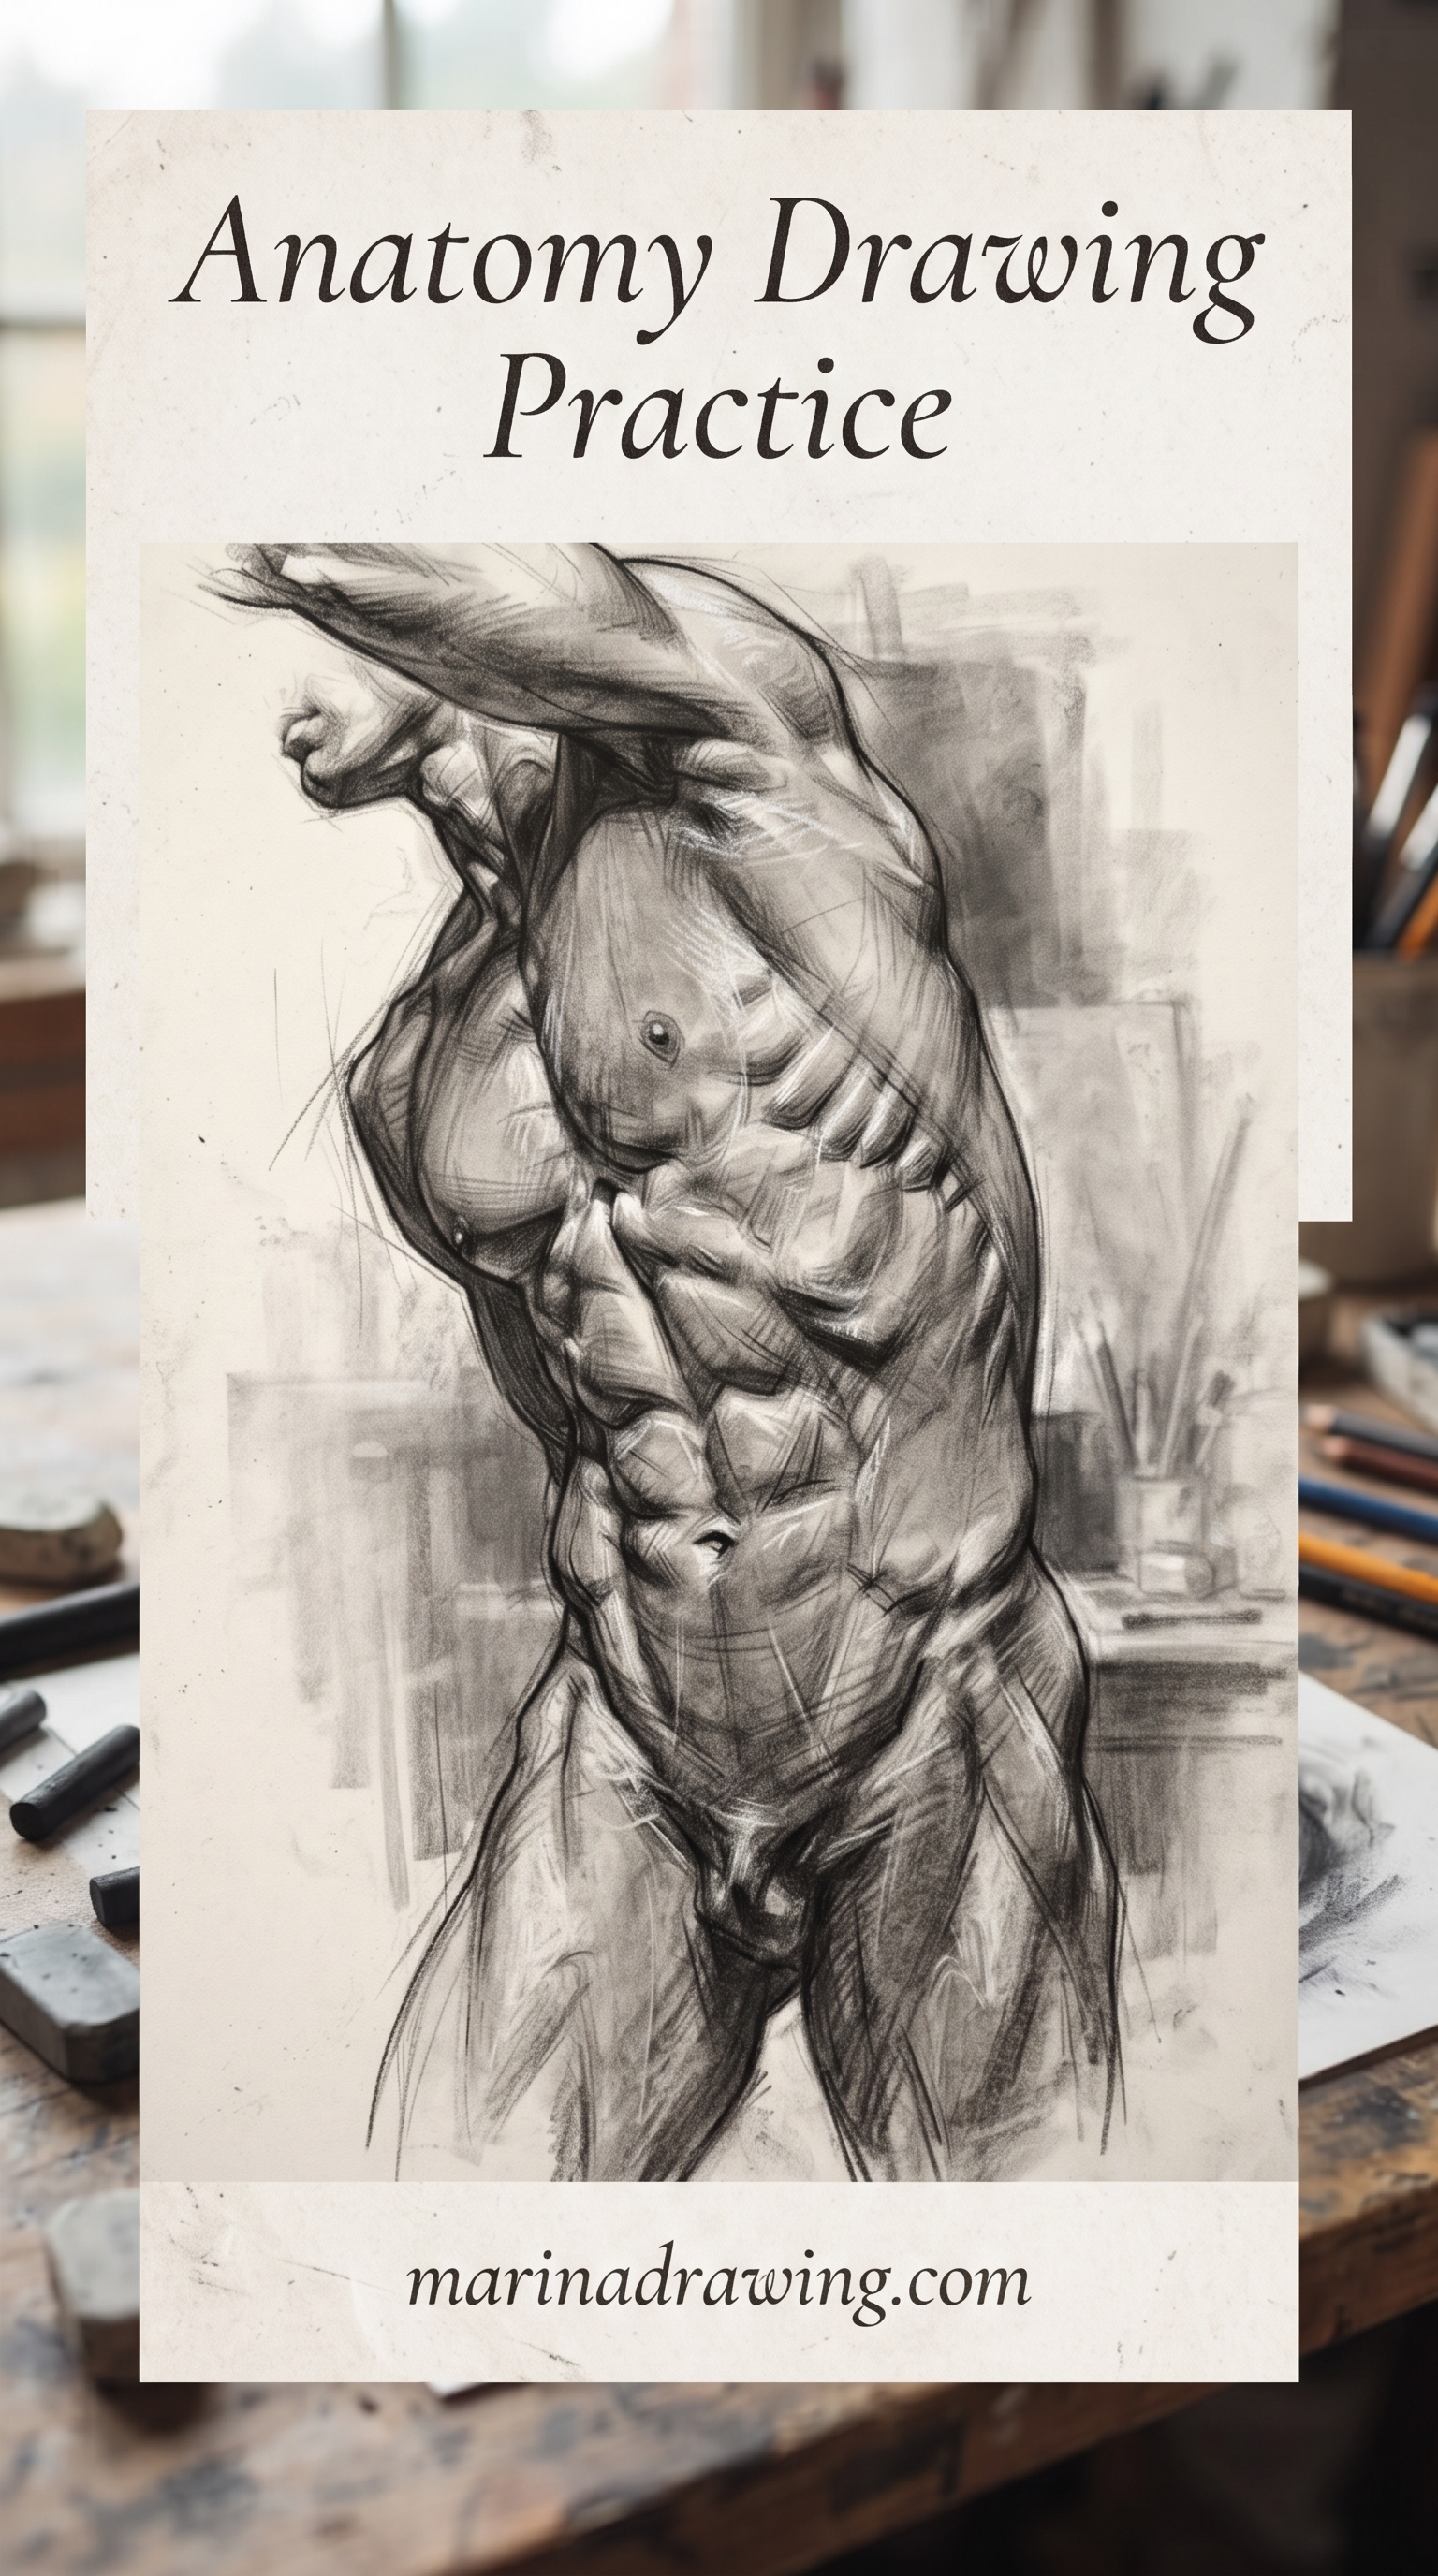
Now you can put muscle on the forms, and you only need six groups to make a torso read as a torso.
- Trapezius: the slope from the neck to the shoulders
- Deltoid: the cap of the shoulder
- Pectoral: the chest plate, attached to the arm
- Latissimus: the wide back muscle that tucks under the arm
- Abdominals: the block down the front of the ribcage
- Obliques: the wedge along the side, between ribs and pelvis
Colour each group a different colour on a practice copy. When the colours sit on the boxes correctly, your muscles will look right in graphite. Do not memorise the small muscles yet. Nobody I know has needed the serratus to fix a figure.
Anatomy Drawing Practice for Hands
 Pin it
 Pin it
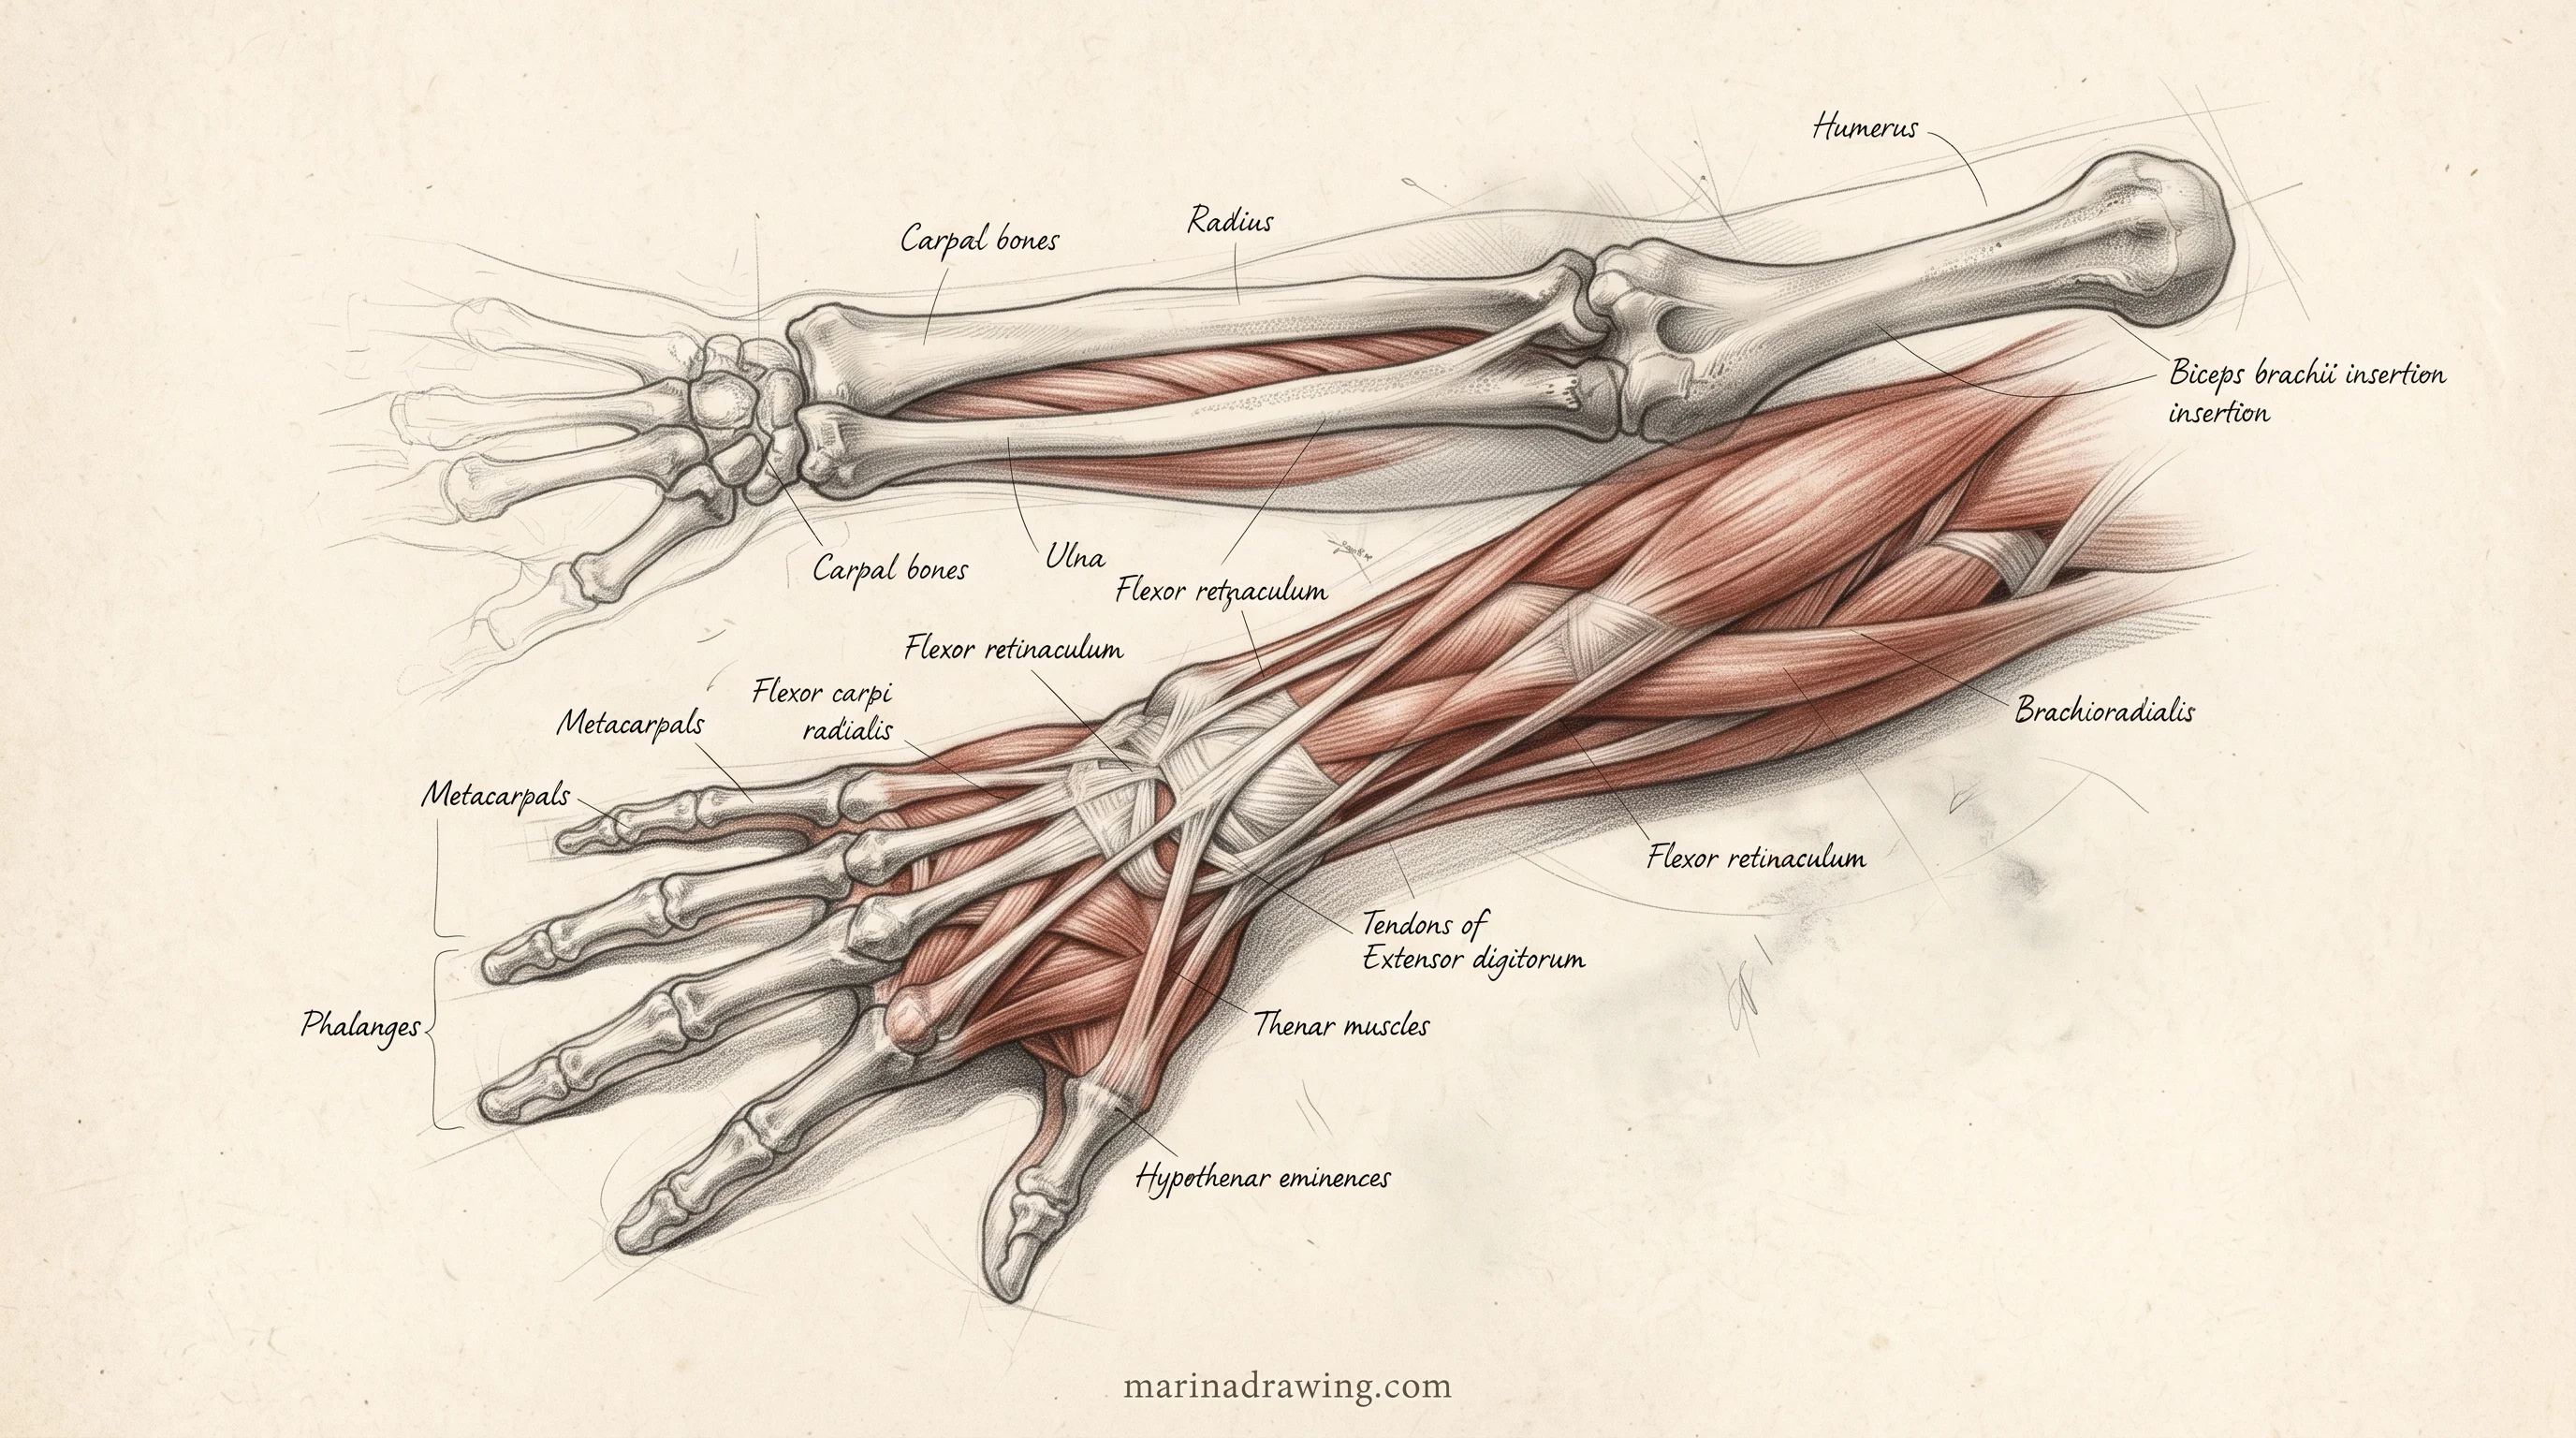
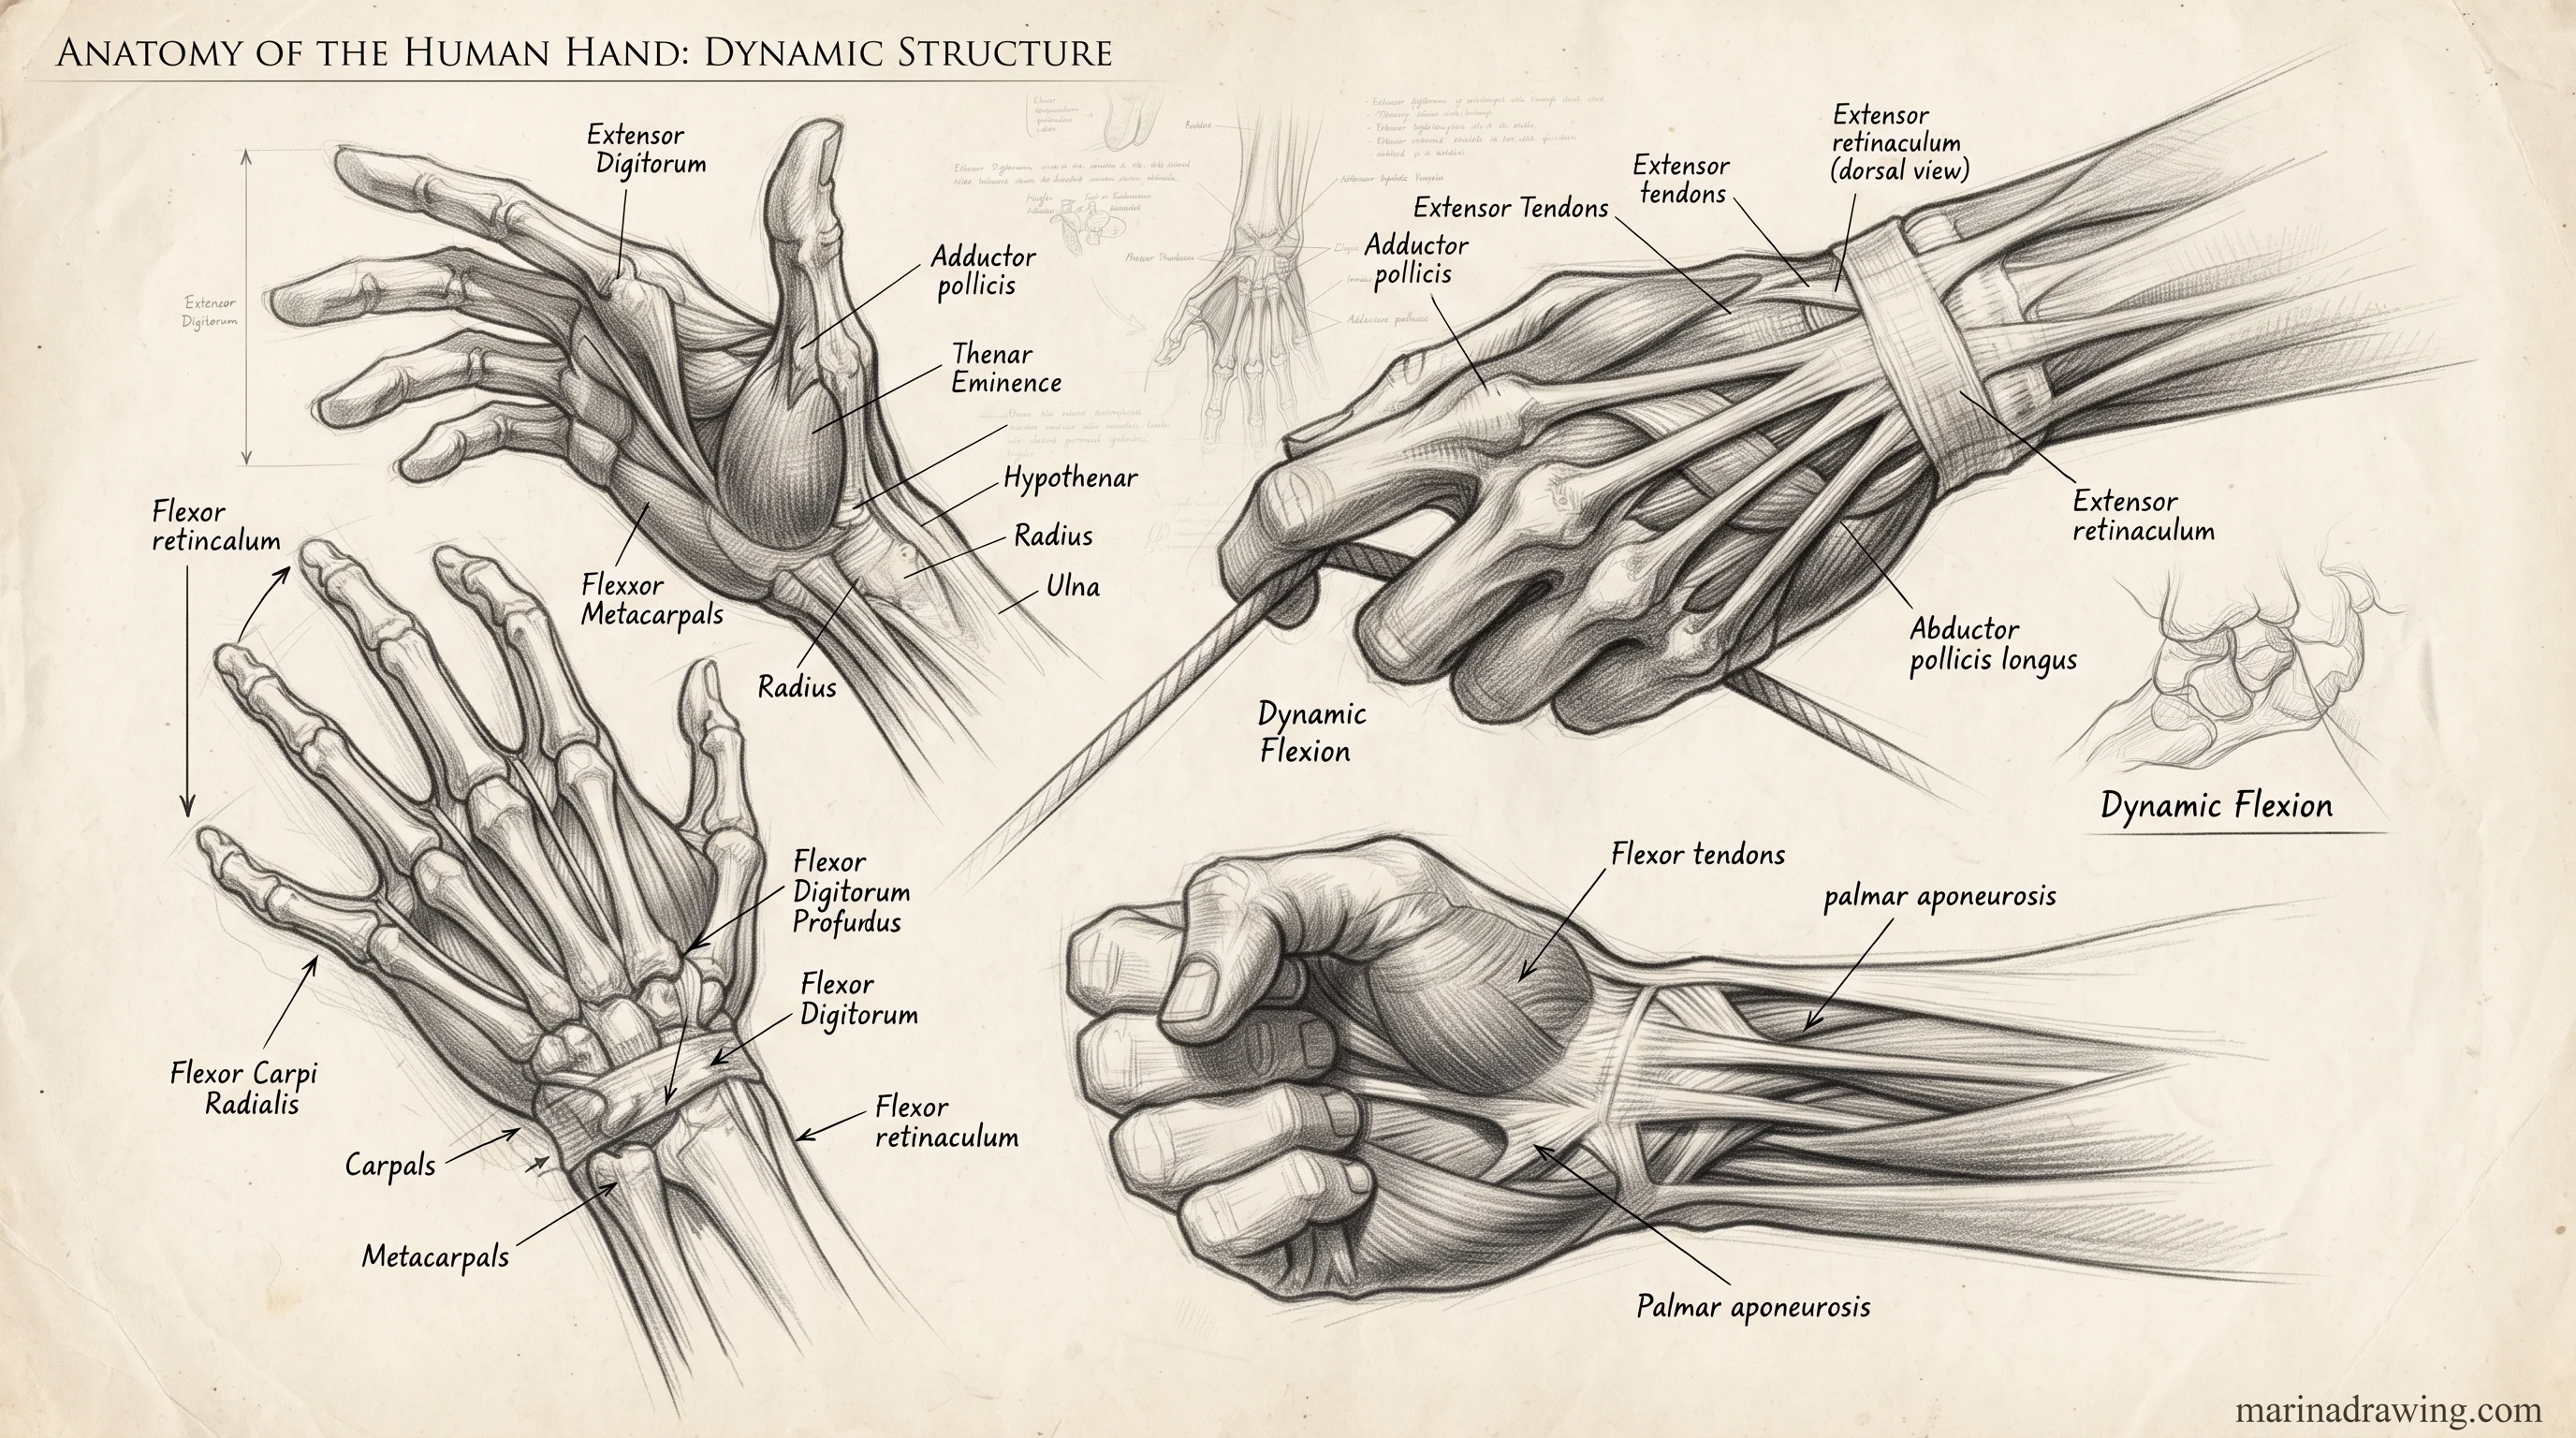
Hands are a pain because they are the smallest part with the most moving pieces. Treat them as their own practice page, not something to solve inside a full figure. My full walkthrough is in how to draw hands; here is the short version for anatomy practice.
- Palm is a flat box, a little longer than it is wide.
- Each finger is three short cylinders in a row, joined at the knuckles.
- The thumb starts inside the palm, at the wrist, not at the edge of it.
- Draw one hand from three angles before you draw two hands at once.
Do ten hands in ten minutes, each one a simple box with sticks. It is dull, but you will see your hands stop looking like bunches of bananas.
Anatomy Drawing Practice for the Head: Six Angles and Face Expressions
 Pin it
 Pin it
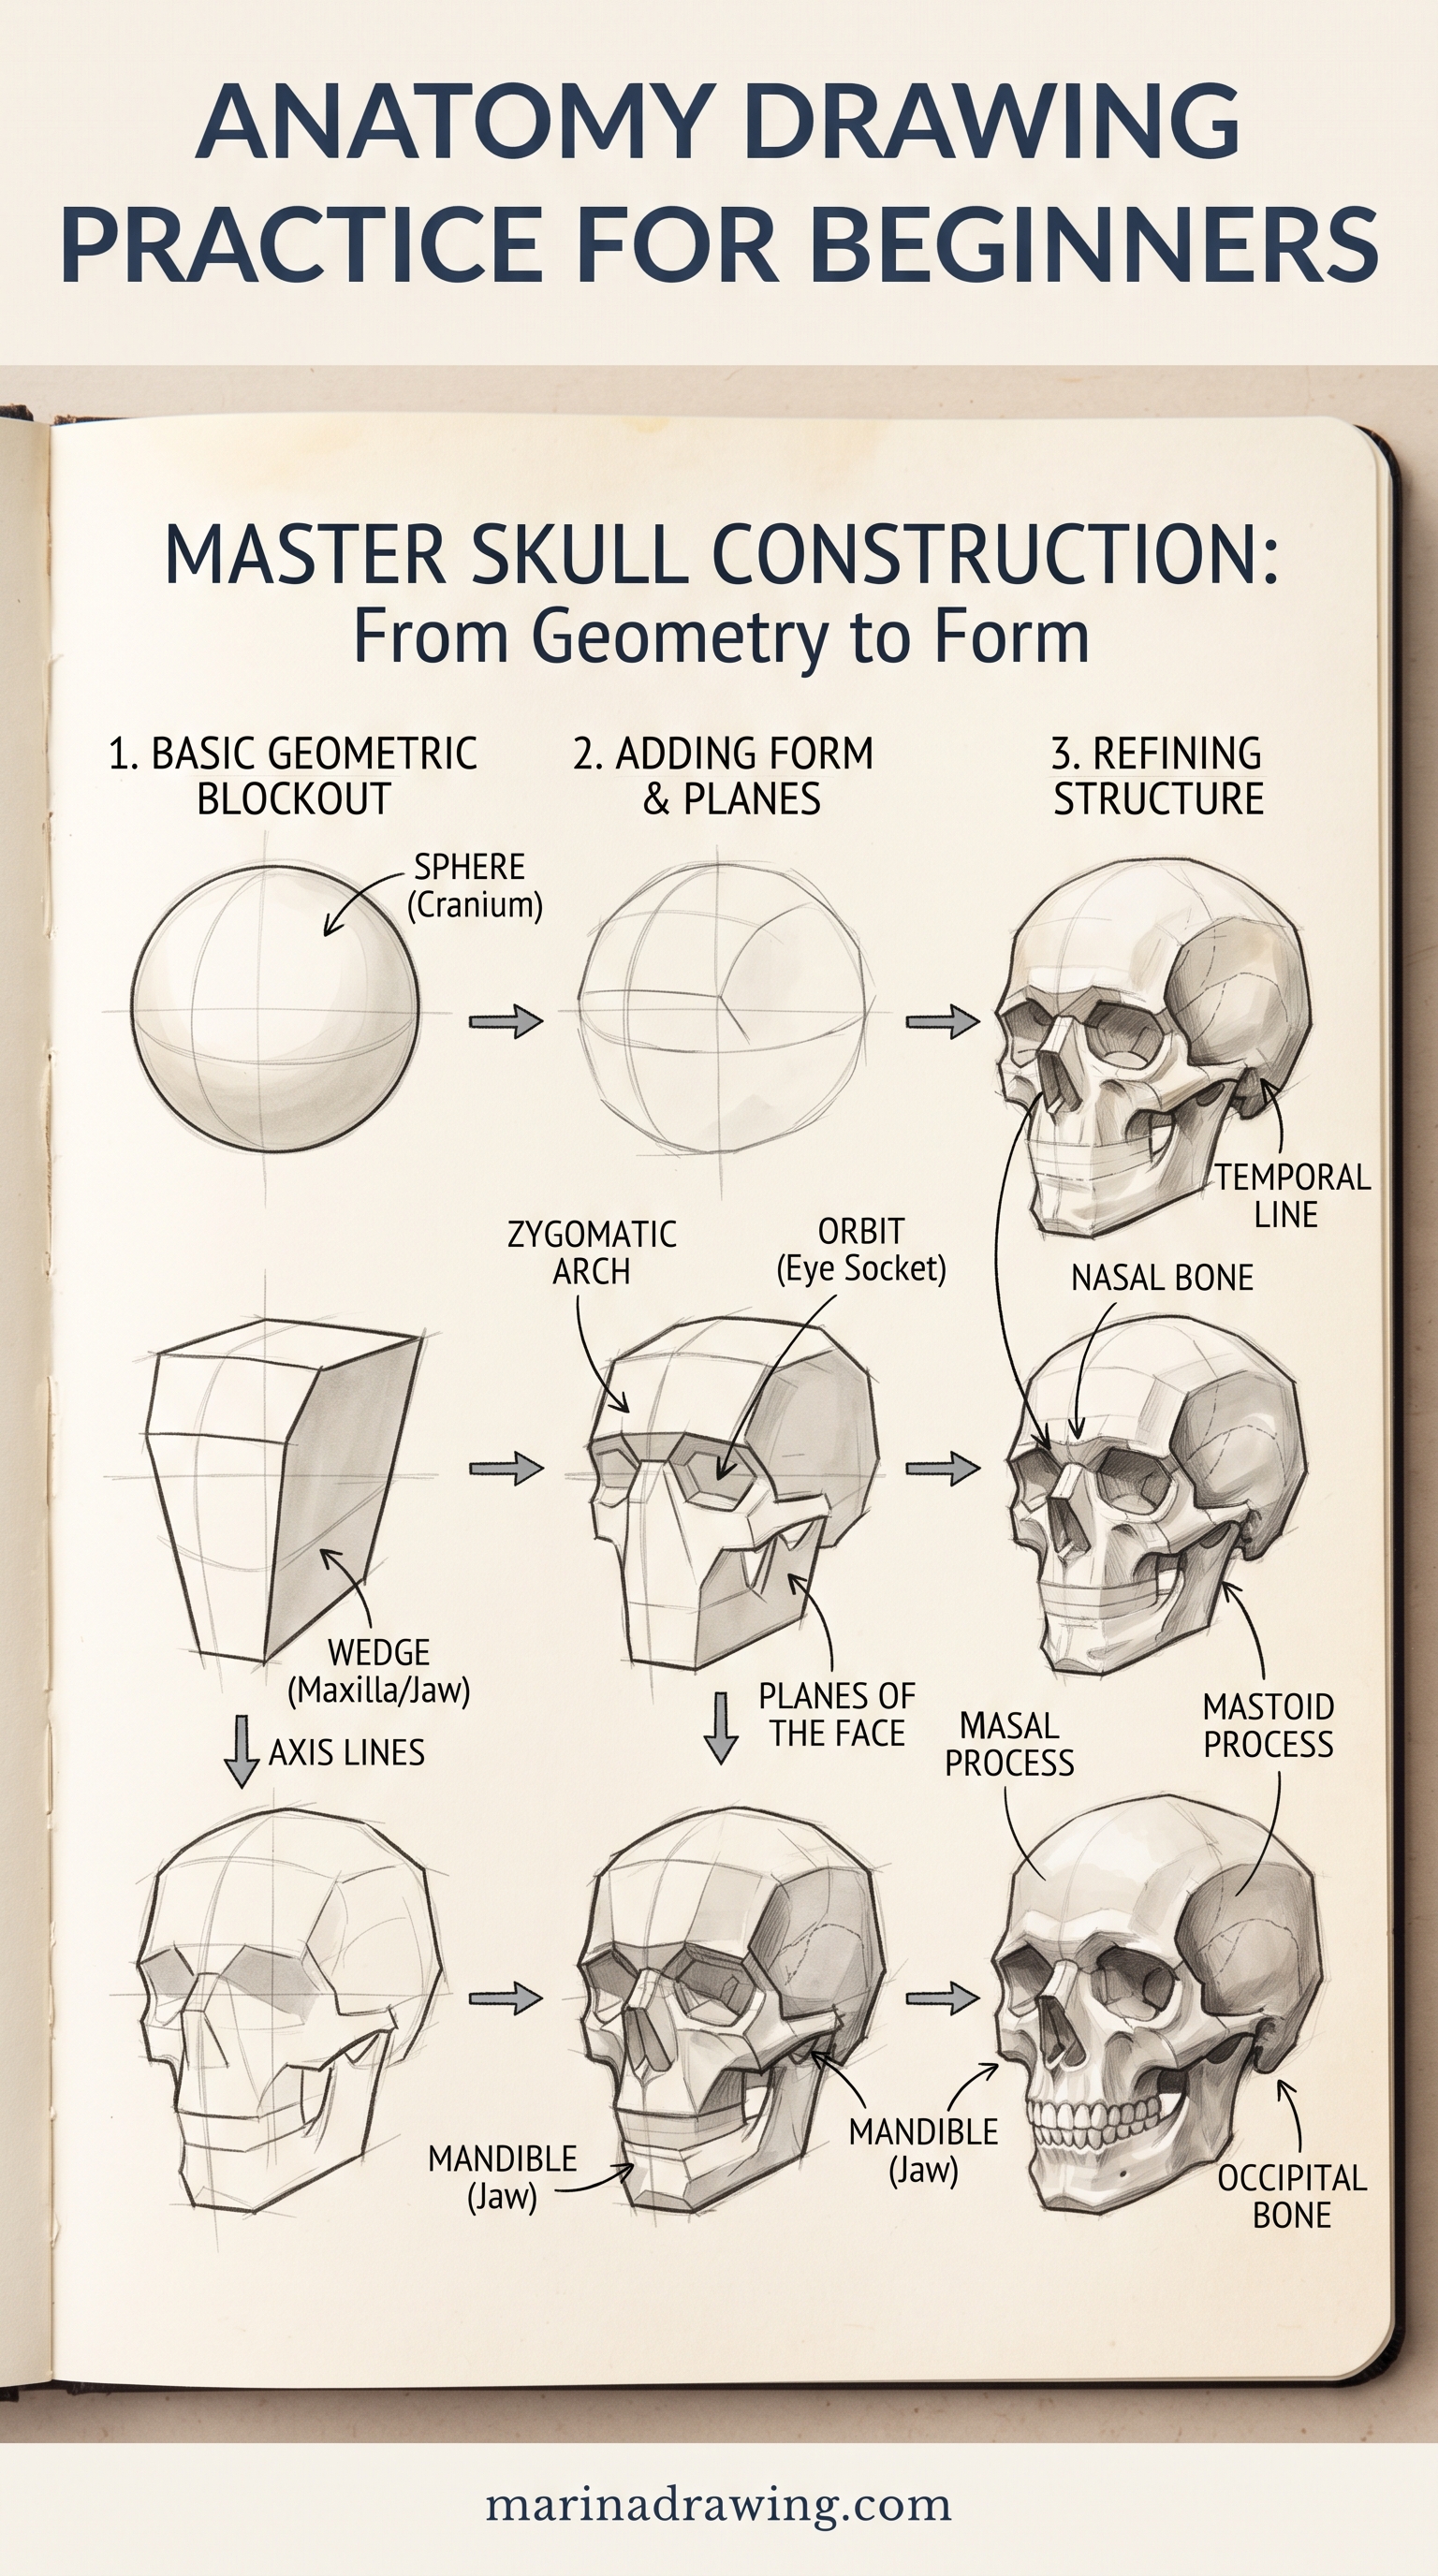
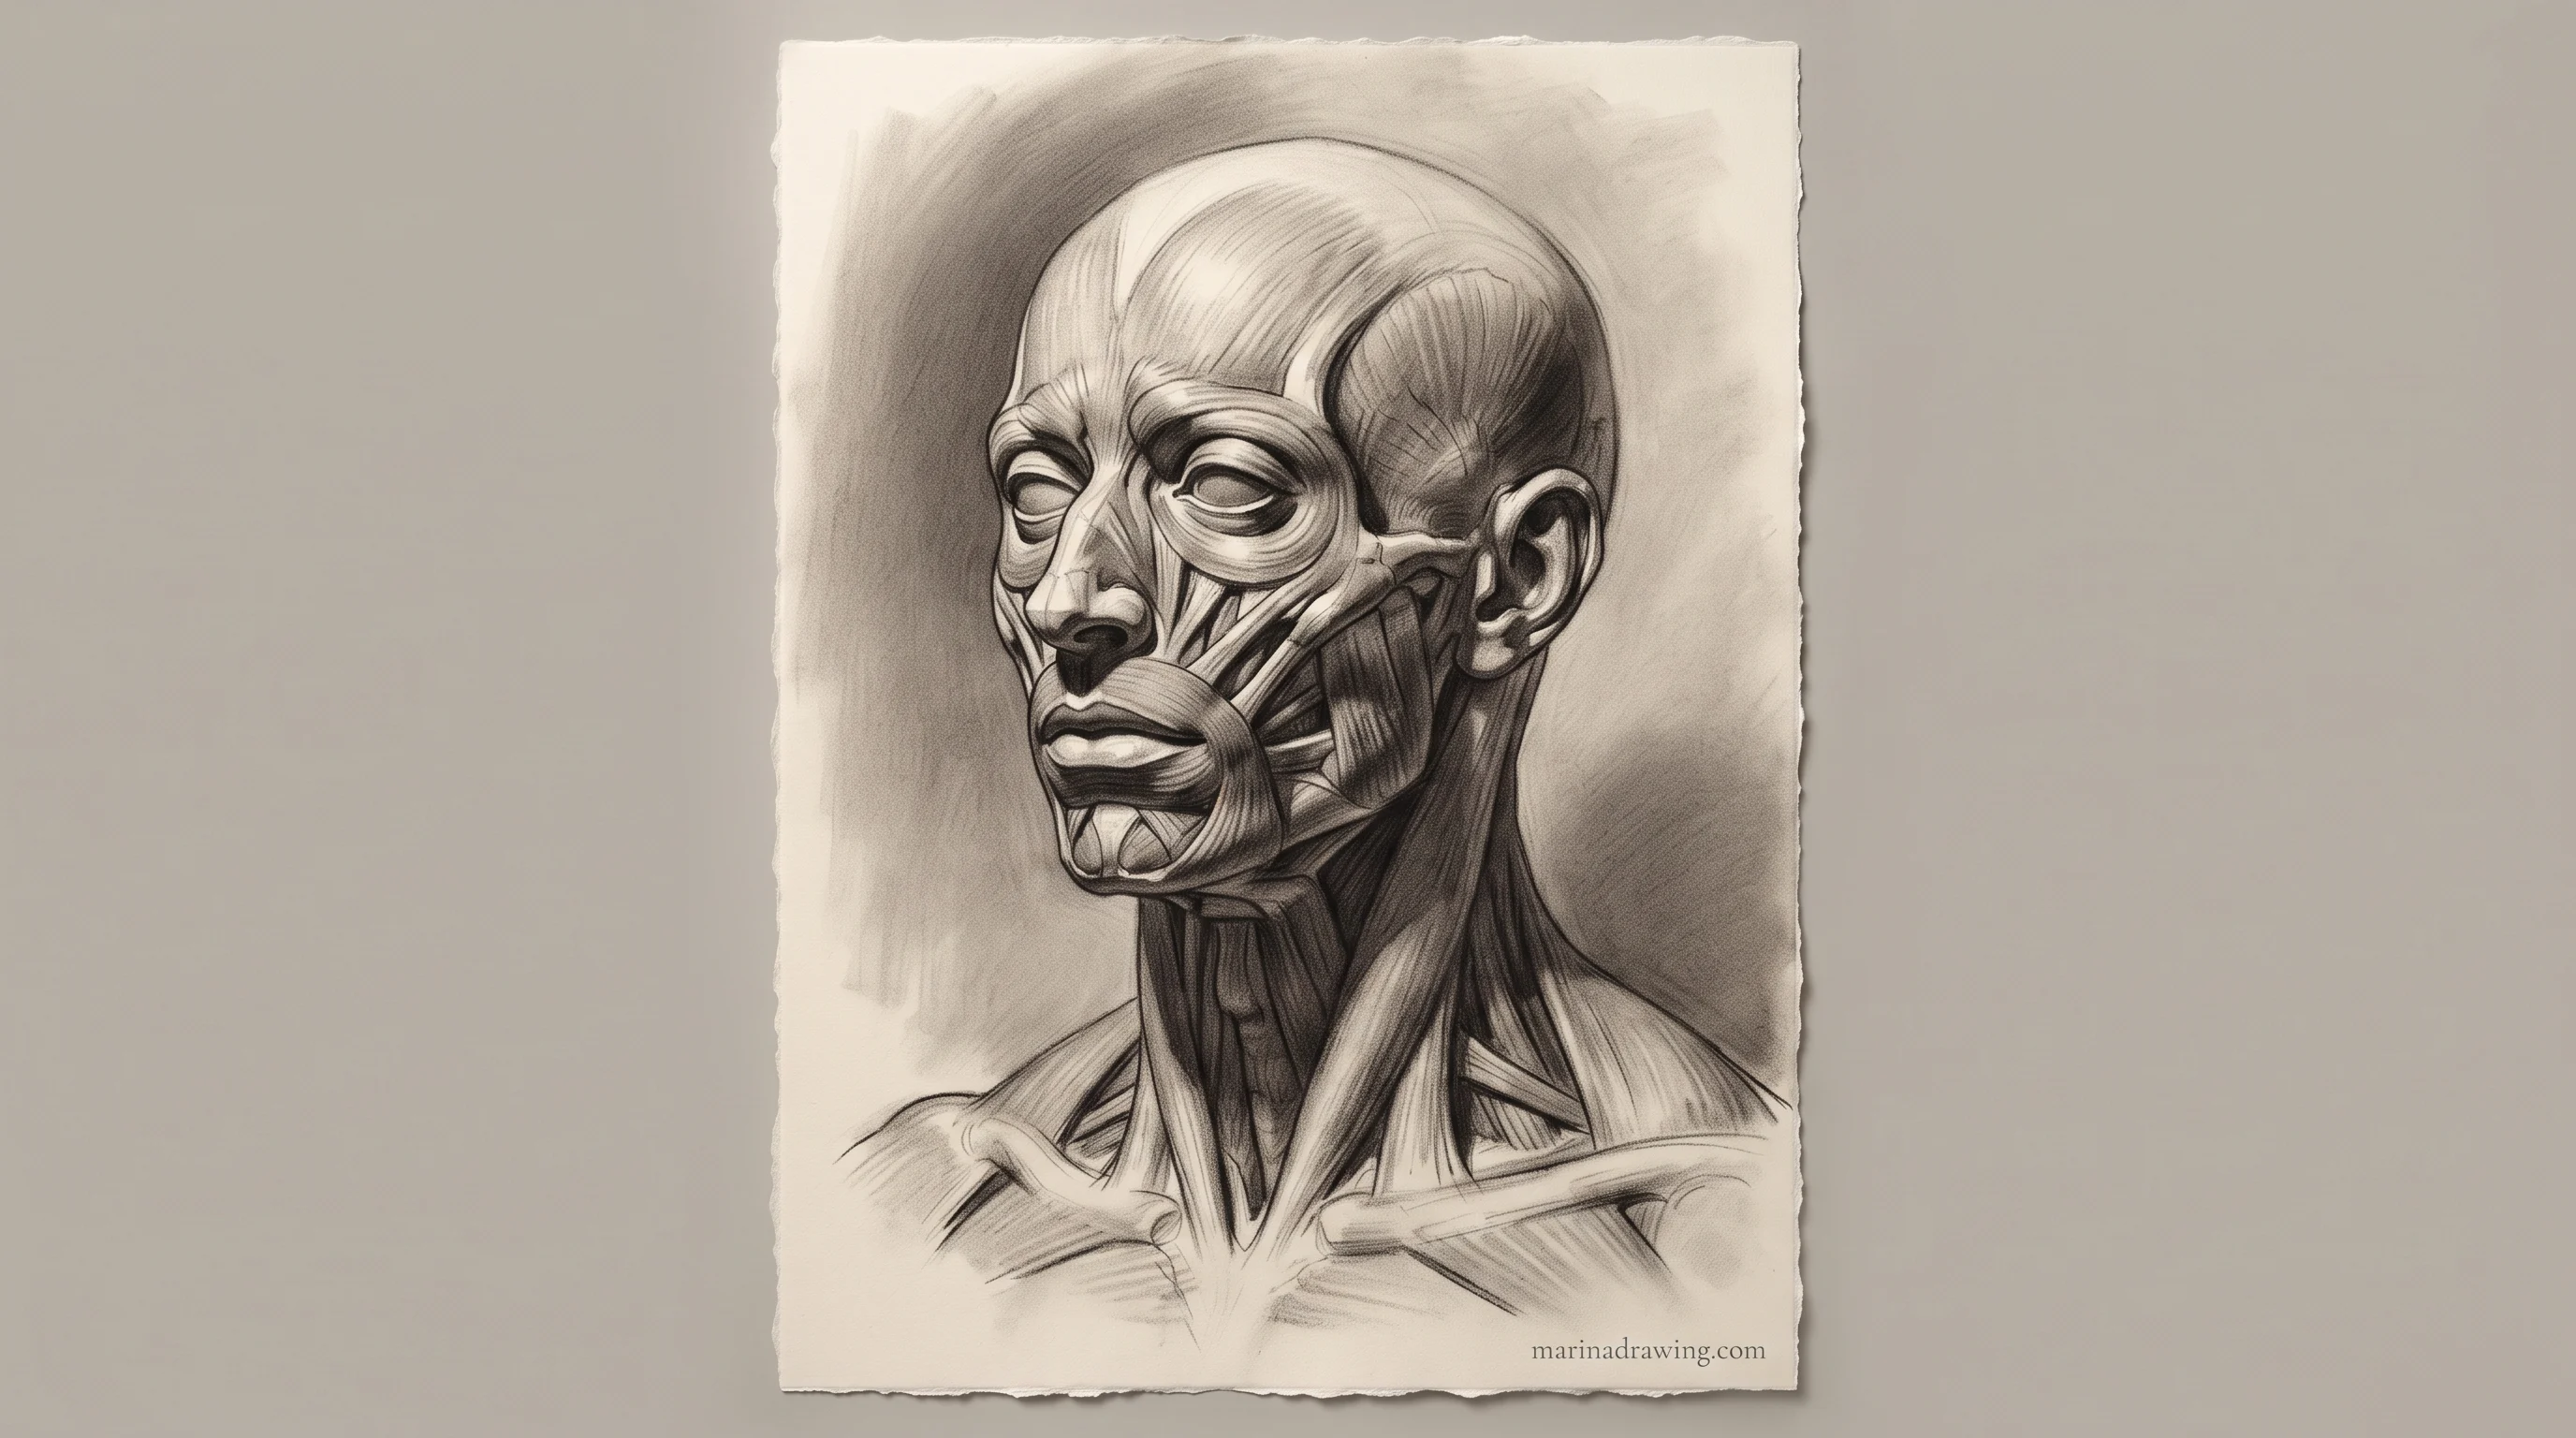
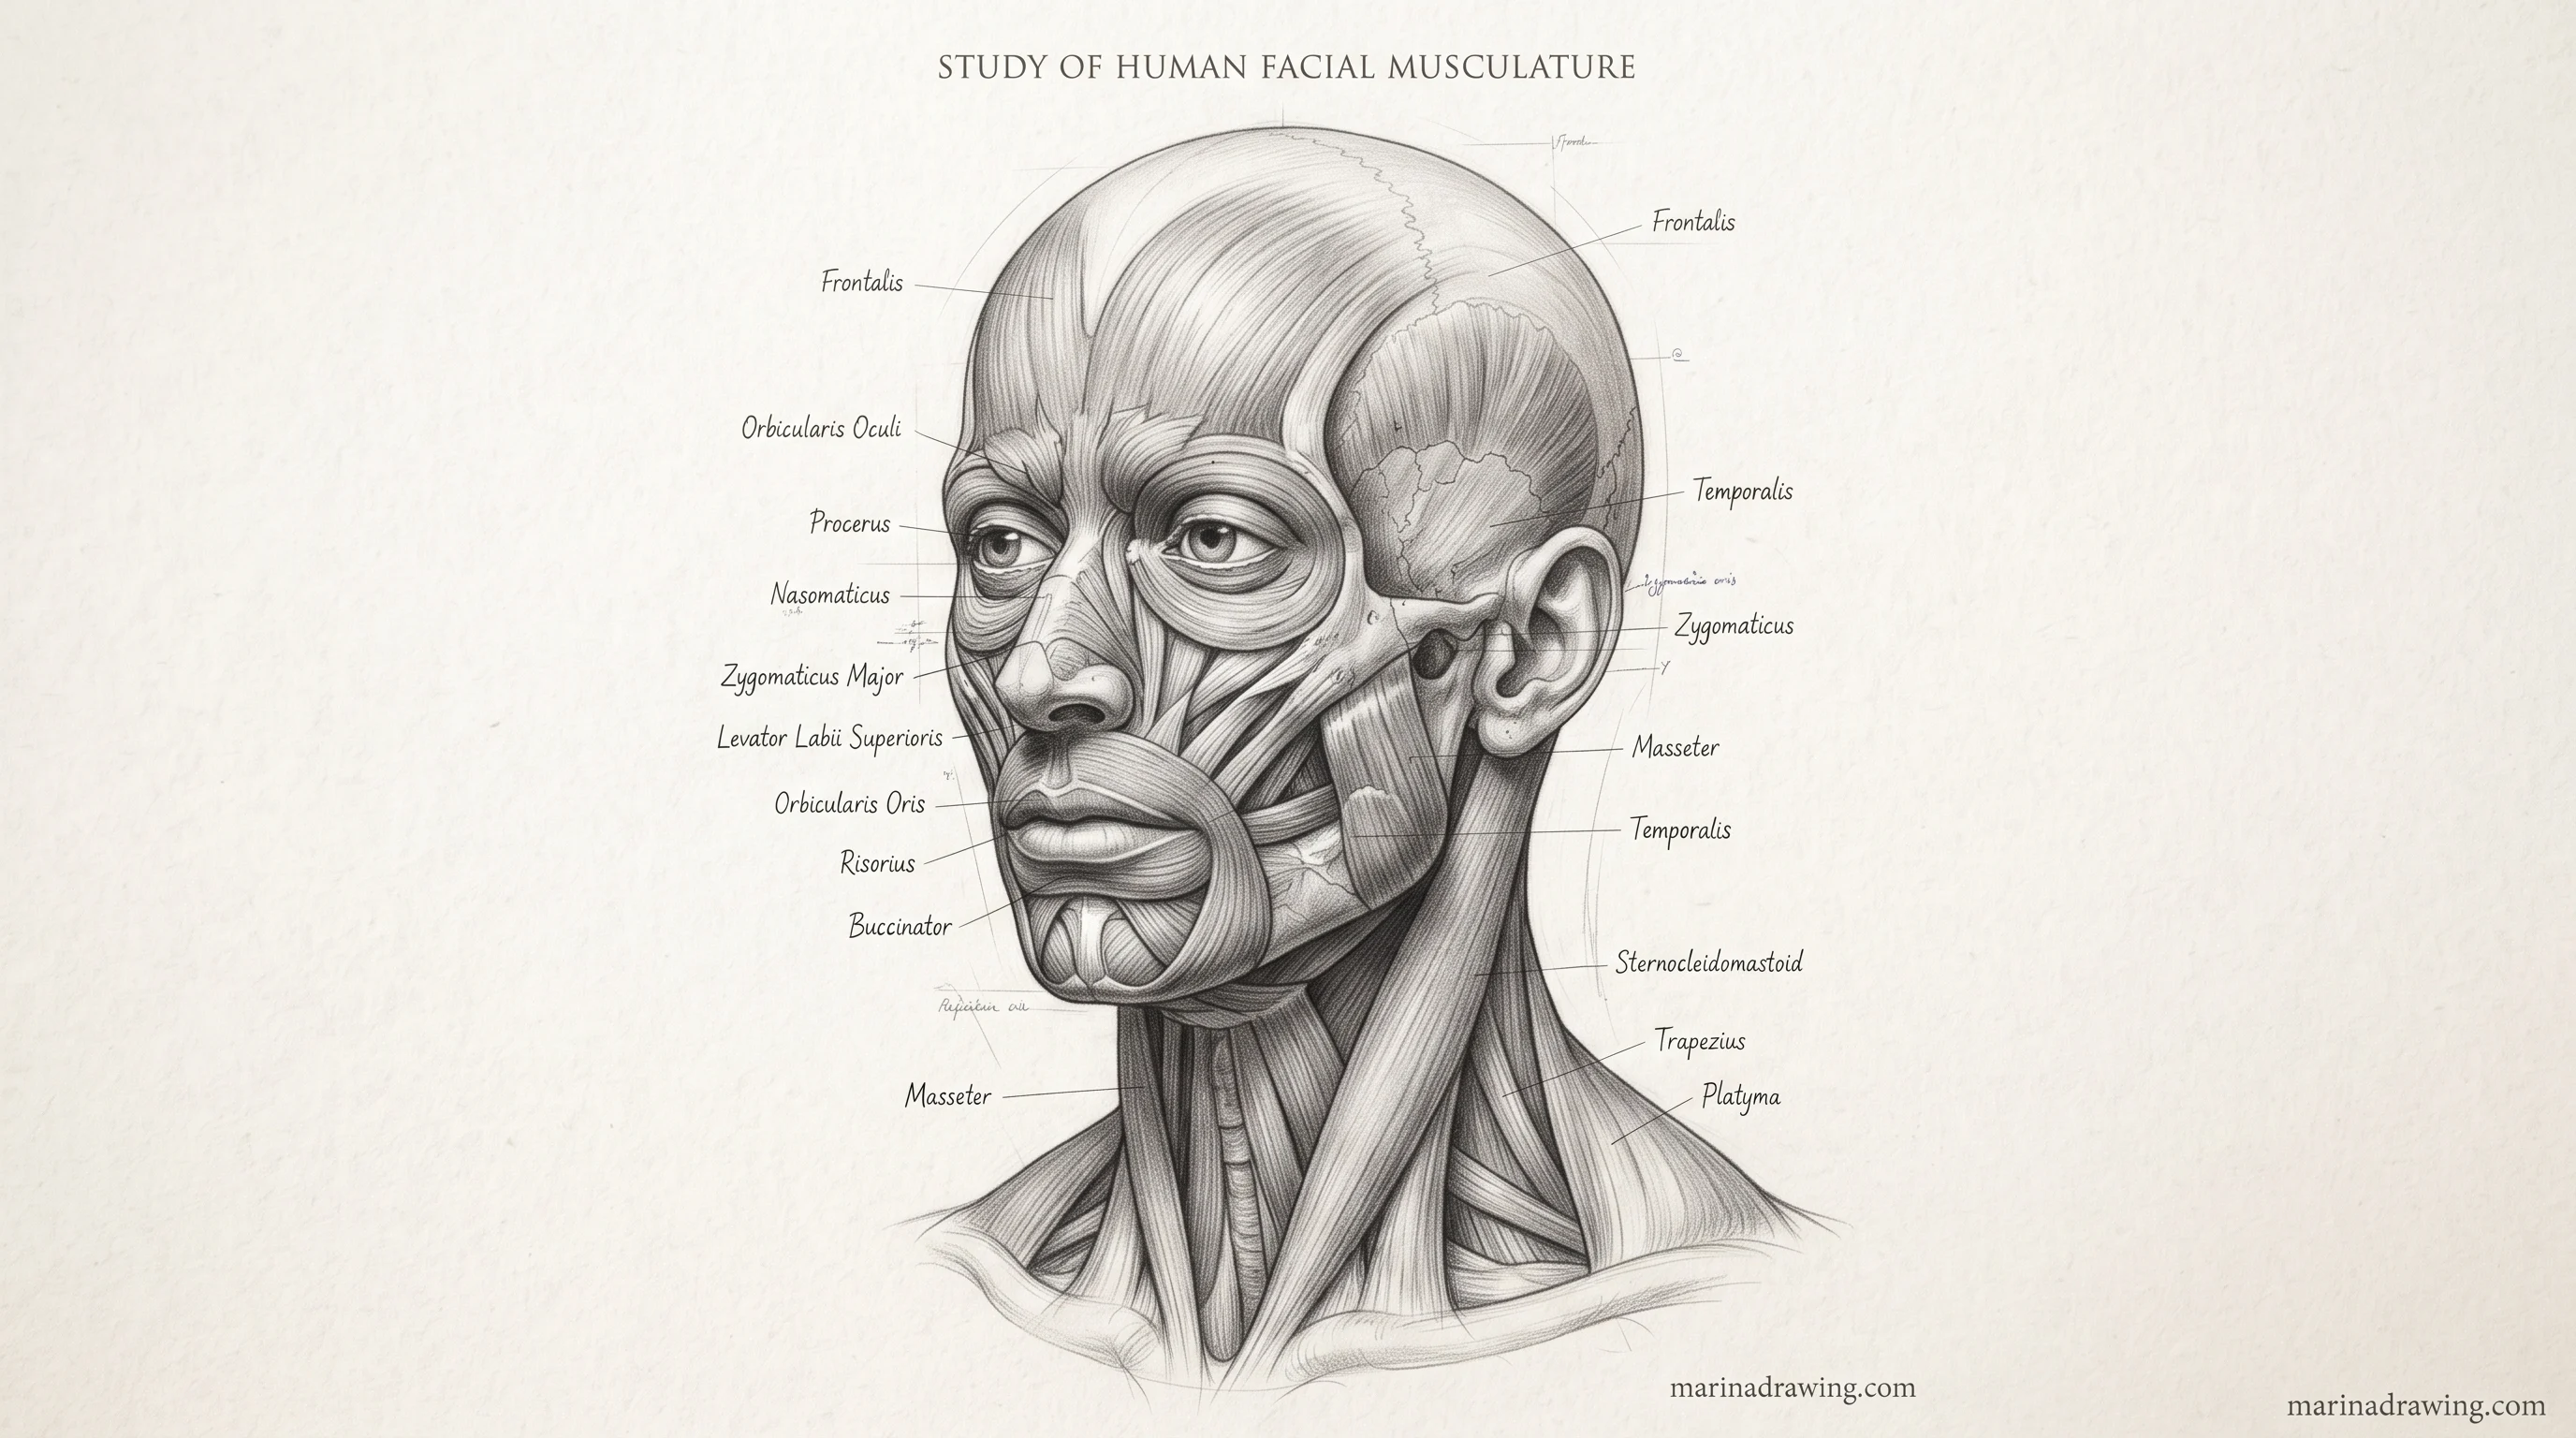
The head is a ball with the sides sliced off, plus a jaw. Once you can draw that ball turning, your faces stop collapsing when they leave the front view. To see the turn filmed, this course shows it.
1. Draw the head from six sides
Front, three-quarter, profile, back, from below and from above. Use the same ball each time and move only the guide lines. The brow line and the centre line curve around the ball, they do not stay flat.
2. Move the features, not the ball
For an expression, the skull does not change. Brows, lids, cheeks and the jaw move. A smile lifts the cheeks; surprise drops the jaw and lifts the brows.
If eyes give you trouble, the ball-and-lid build in how to draw eyes uses the same idea at a smaller scale. For placing all features on a face, see how to draw portraits.
Basic Shapes for the Whole Body: Cylinders, Spheres and Boxes
 Pin it
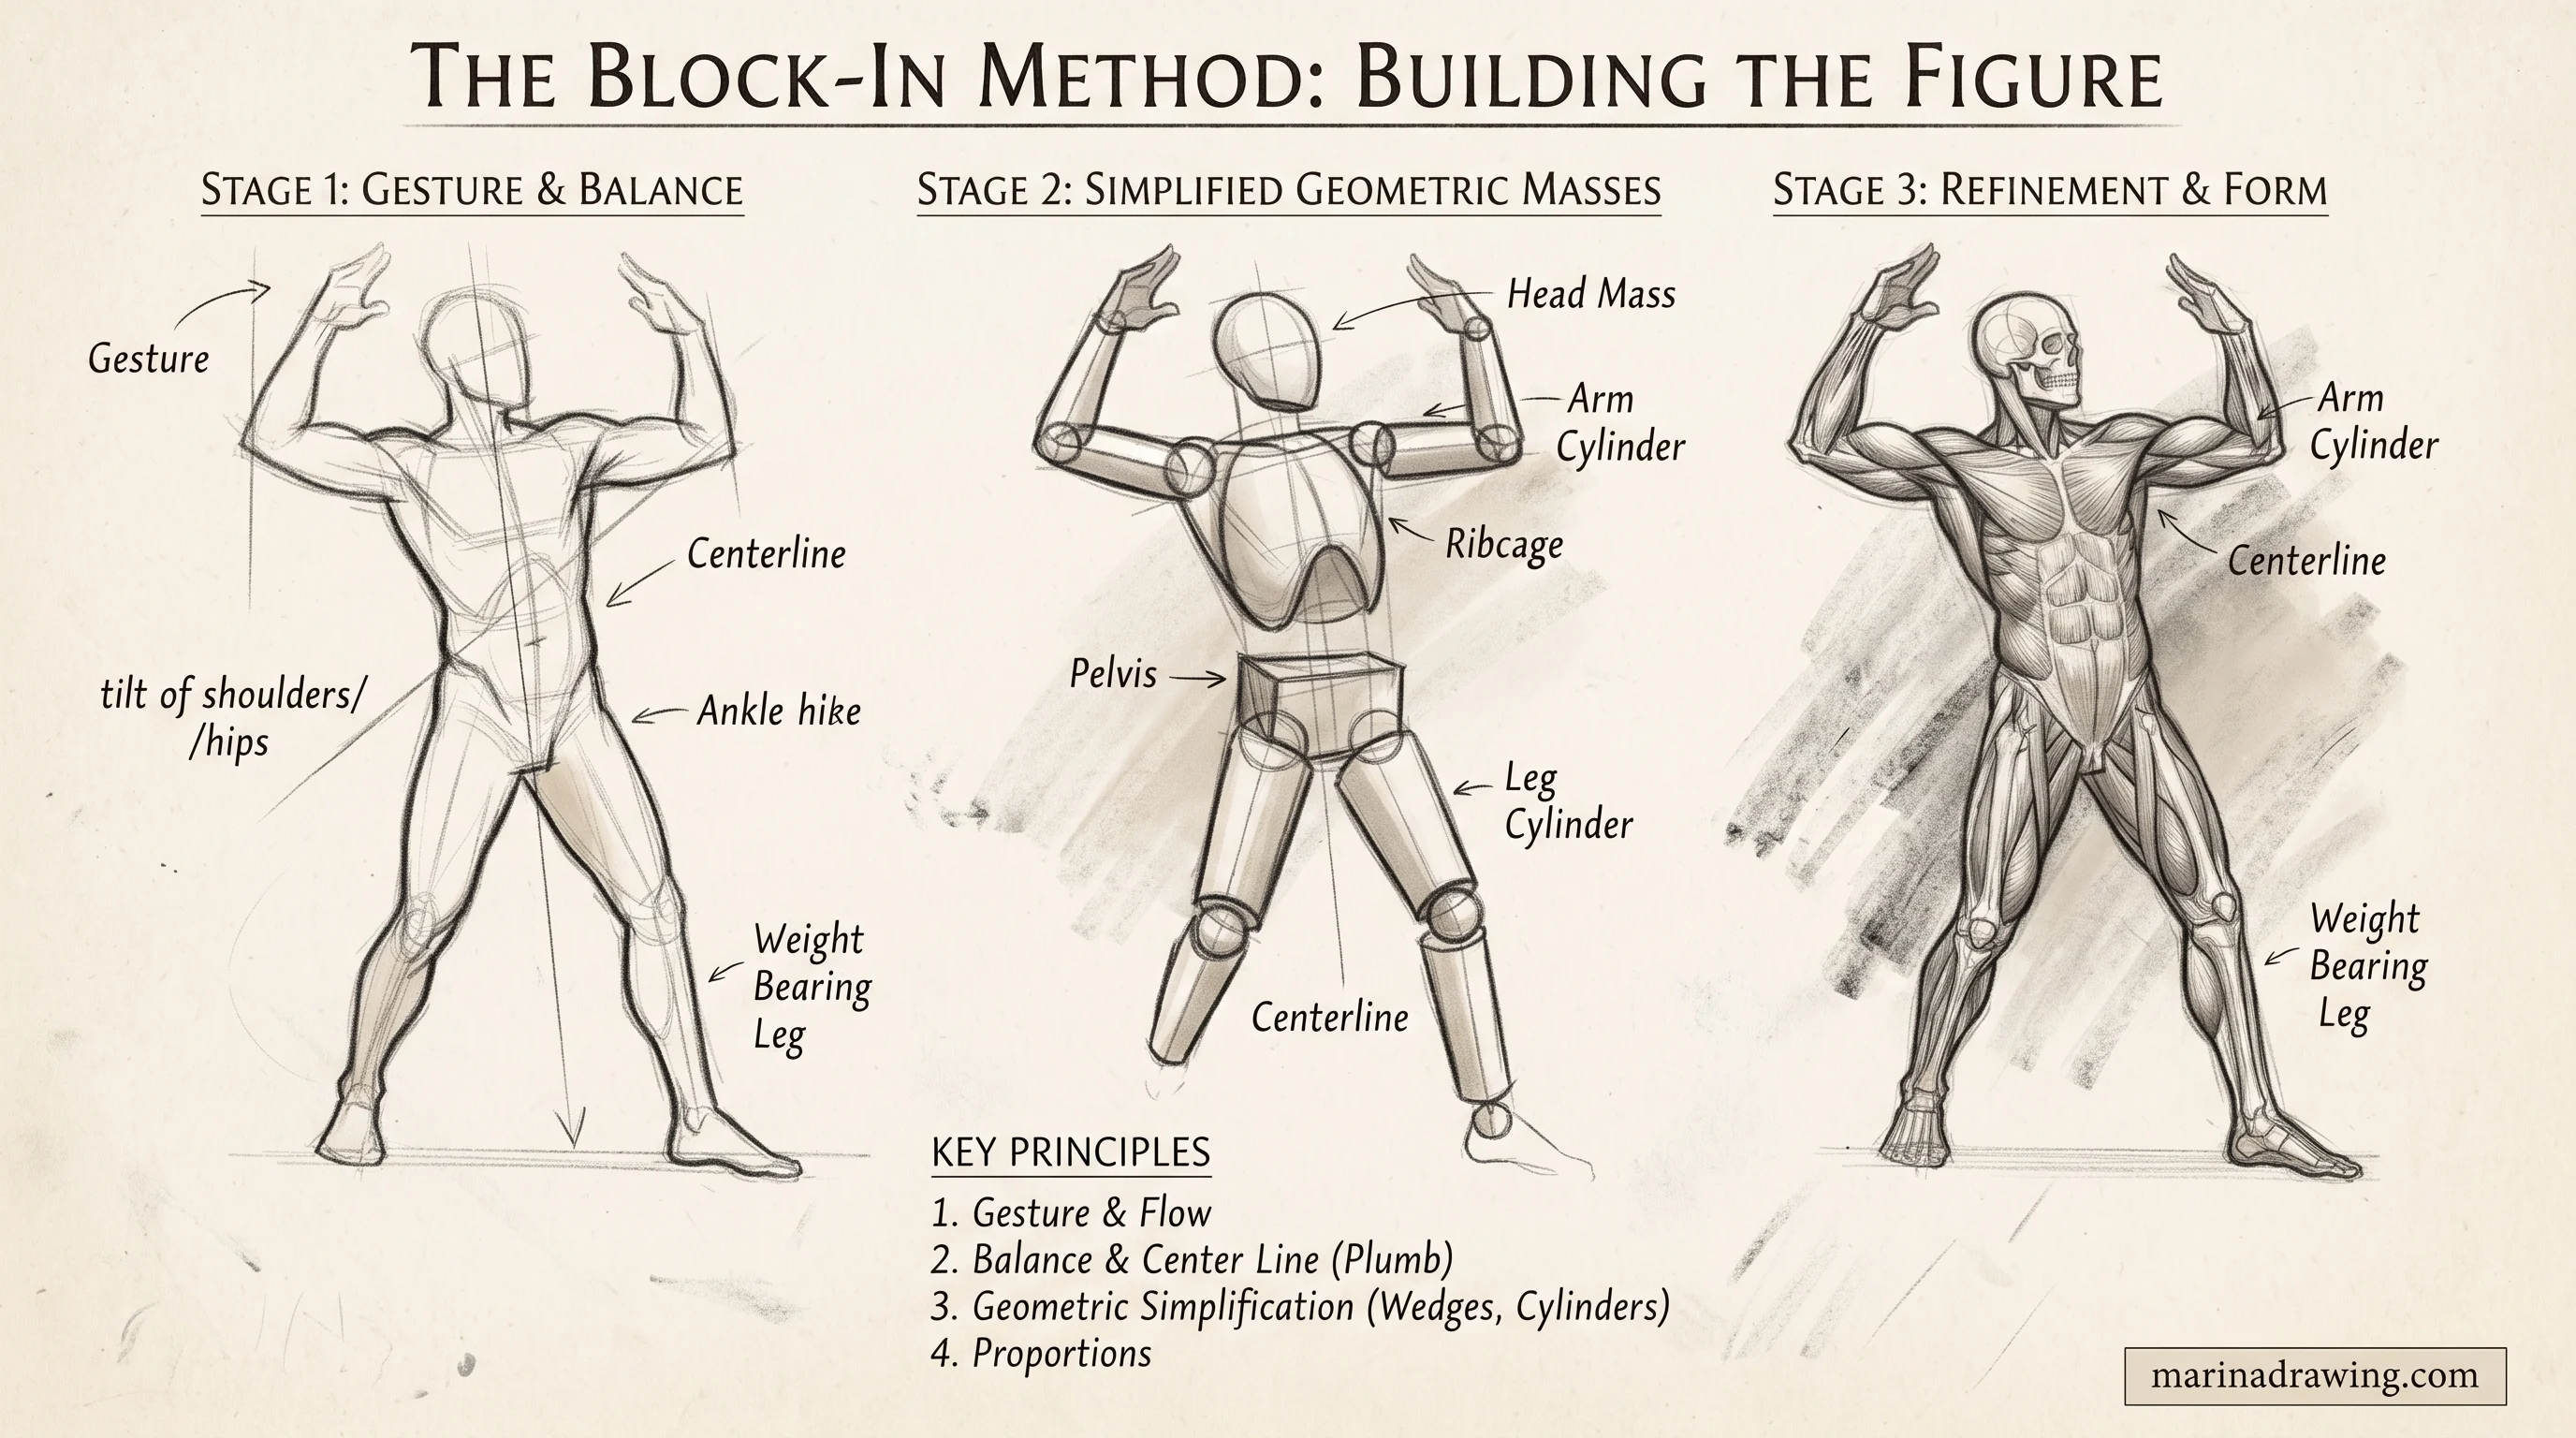
Human anatomy drawing practice gets easier once every part of the body is reduced to three shapes. This is the box-and-cylinder method, and it is what holds your figure together when you stop copying the outline.
- Spheres for the head, the shoulder joints, the knees, and the knuckles
- Cylinders for the upper arm, forearm, thigh and shin
- Boxes for the ribcage, the pelvis, the hands and the feet
Practise each shape from every angle before you build a body from them. If you are just starting out, the easy drawings for beginners set uses the same shapes on simpler subjects. A cylinder drawn from above is an ellipse. From the side it is a rectangle. The cross-section lines curve, and the curve tells you which way the form faces the viewer.
Then draw the whole body from these shapes. To see a full figure built this way, the course does it start to finish. Leave the construction lines on the page. If you erase them, the wooden look sneaks back in.
Cartoon Anatomy Poses Without Losing the Structure
42 hours of pencil drawing training, lifetime access
The video course I point plateaued students to — full lessons on portraits, hands, and realistic shading, not another short tutorial.
 Pin it
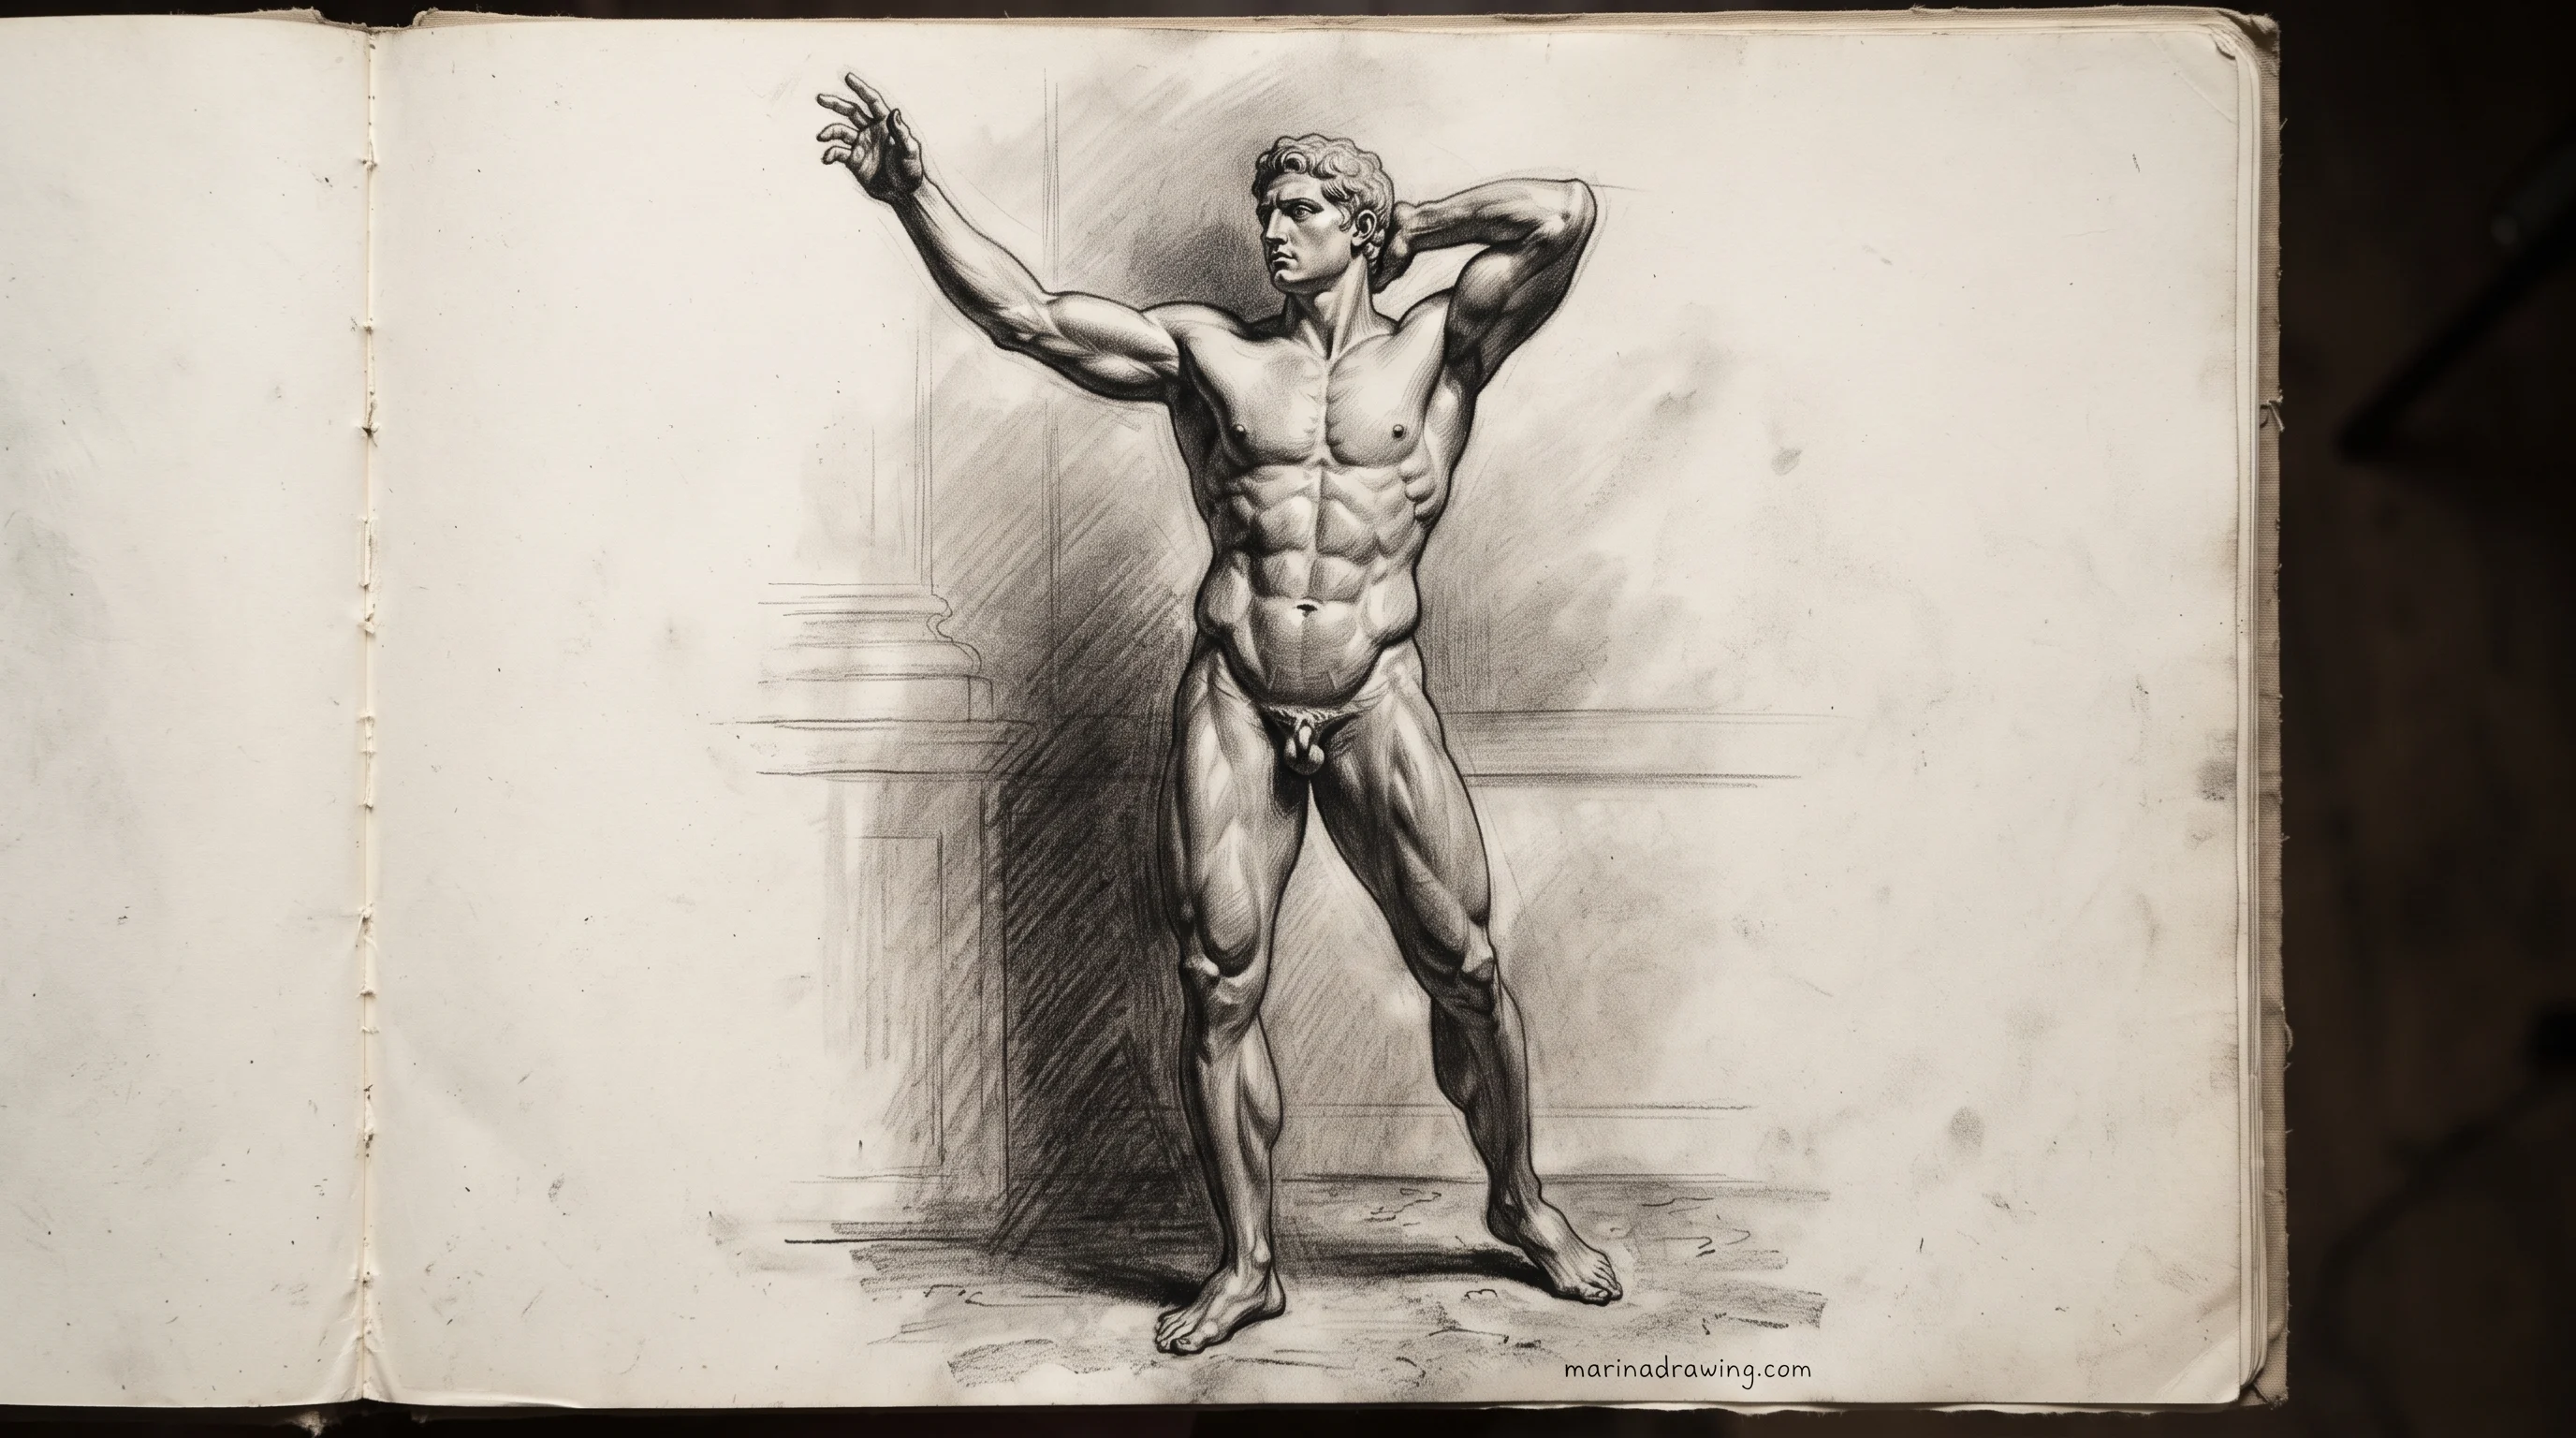
Stylised figures still use anatomy. Cartoonists simplify it, but they do it on top of a structure they understand: pose, proportion, then simple forms.
- Change the head units. A cartoon figure can be four heads tall or twelve, but keep the count consistent across the page.
- Exaggerate the line of action. A stronger curve makes the same body look more energetic.
- Keep the two-box tilt. Even a very loose cartoon pelvis and ribcage still tilt against each other.
Draw the same pose twice, once realistic and once cartoon, and compare where the boxes sit. If they land in the same places, you have kept the structure.
A Weekly Anatomy Drawing Practice Routine, Twenty Minutes a Day
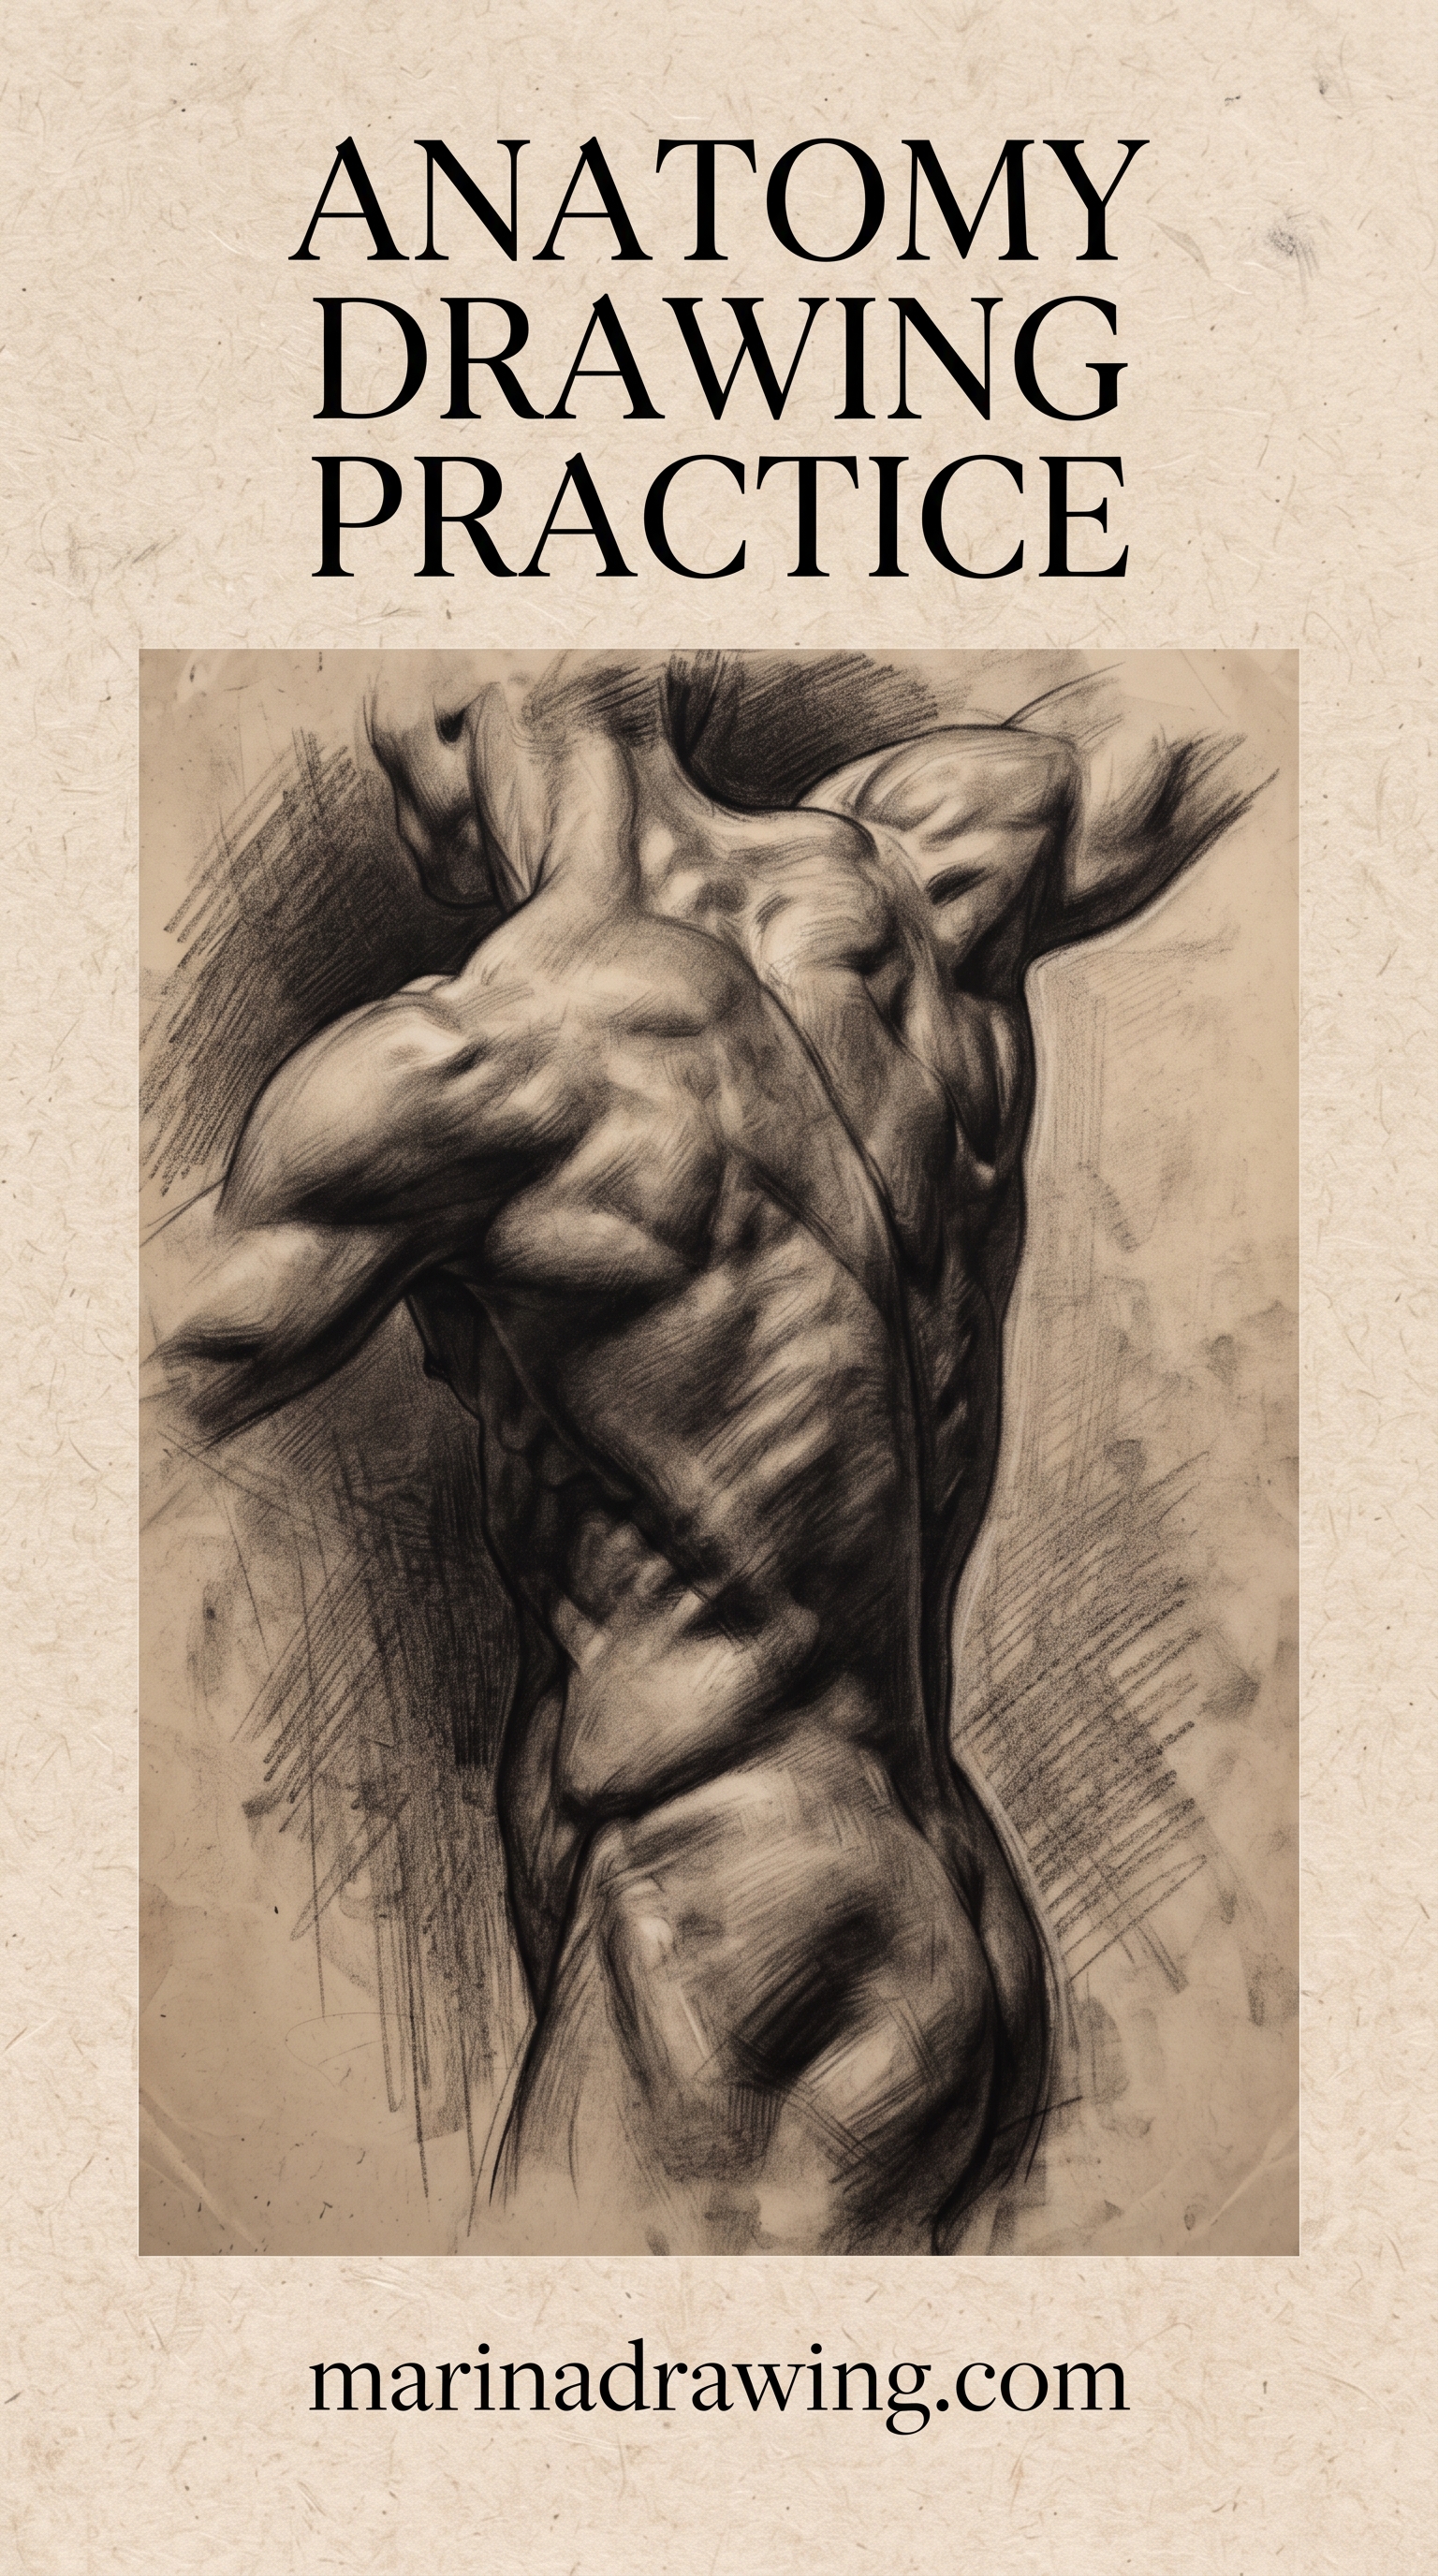
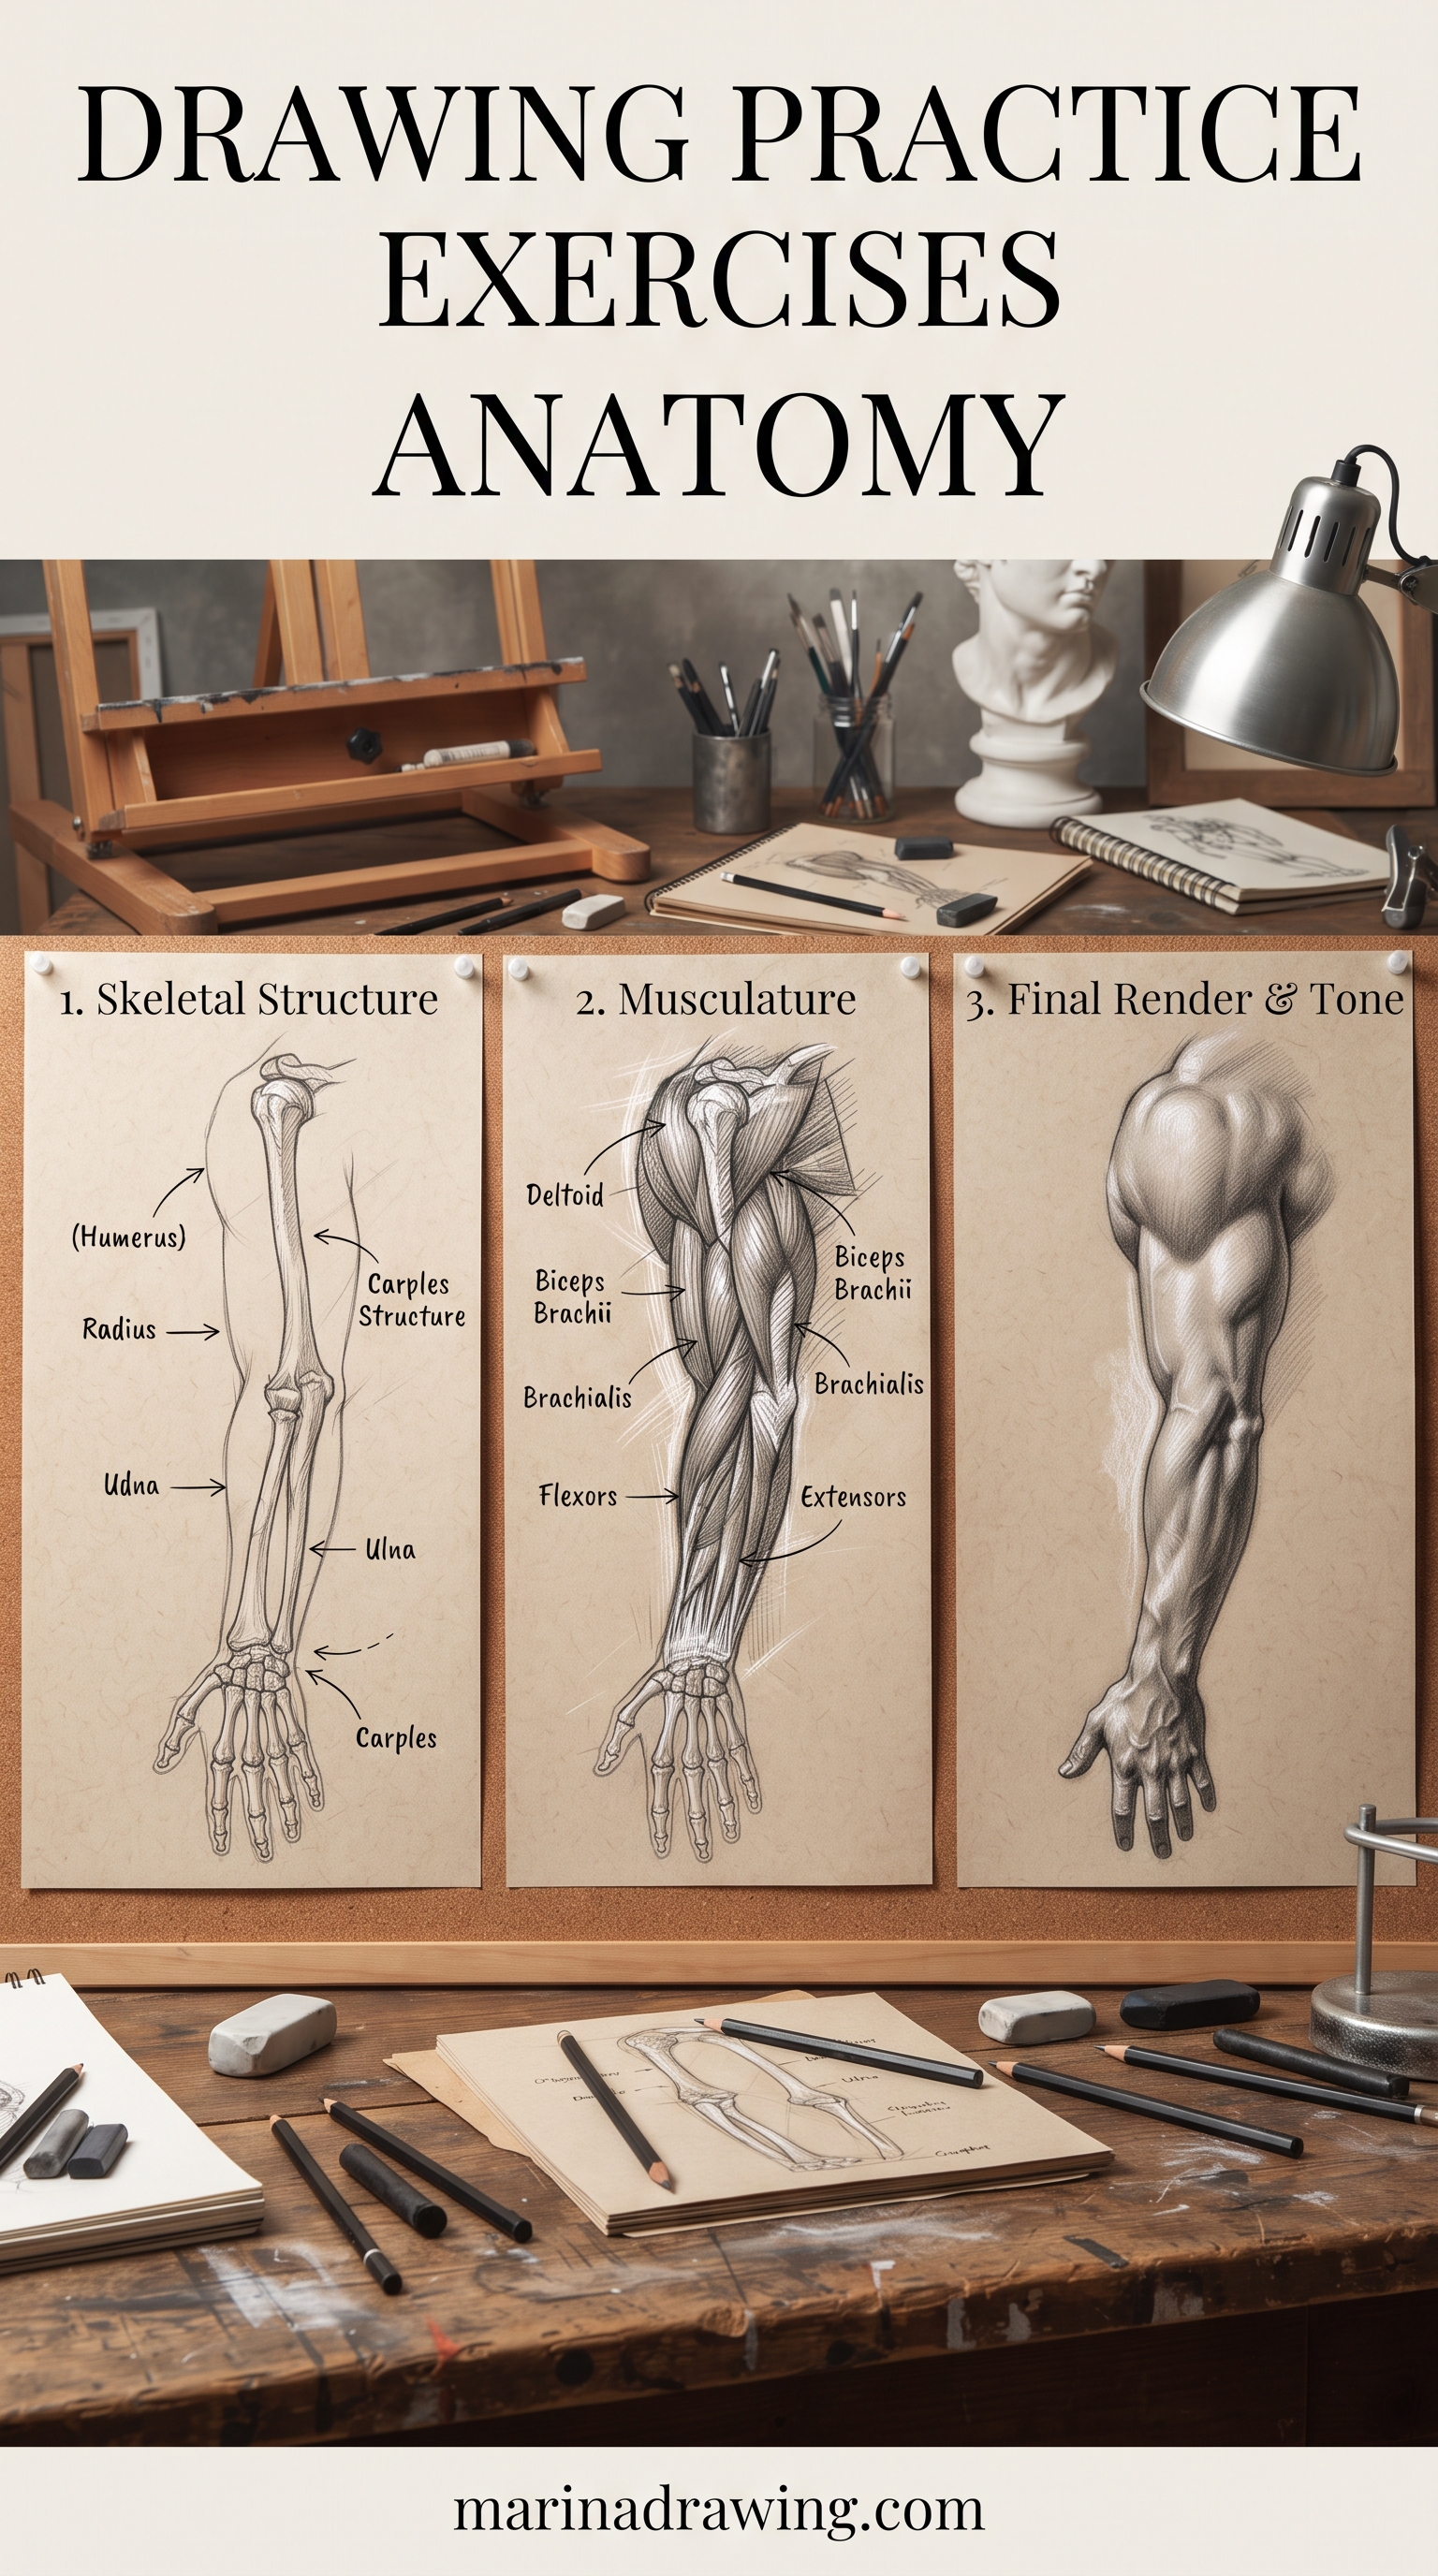
Short daily sessions beat a long weekend one, and that goes for figure drawing practice in general. Here is the week I give to anyone who asks.
- Monday: ten two-minute gestures
- Tuesday: proportion, one figure at eight heads, front and back
- Wednesday: torso boxes from three angles
- Thursday: the six muscle groups, coloured on a copy
- Friday: hands, ten small boxes with fingers
- Saturday: head from six angles
- Sunday: one full figure using every layer, then compare it with your Monday gestures
Twenty minutes a day is enough for you to see a change in a month. Once the hands feel steady, easy sketches make a good cooldown. If you skip a day, do not double up the next one. You just pick up where you left off.
Three Checks That Catch a Wooden Figure
 Pin it
 Pin it
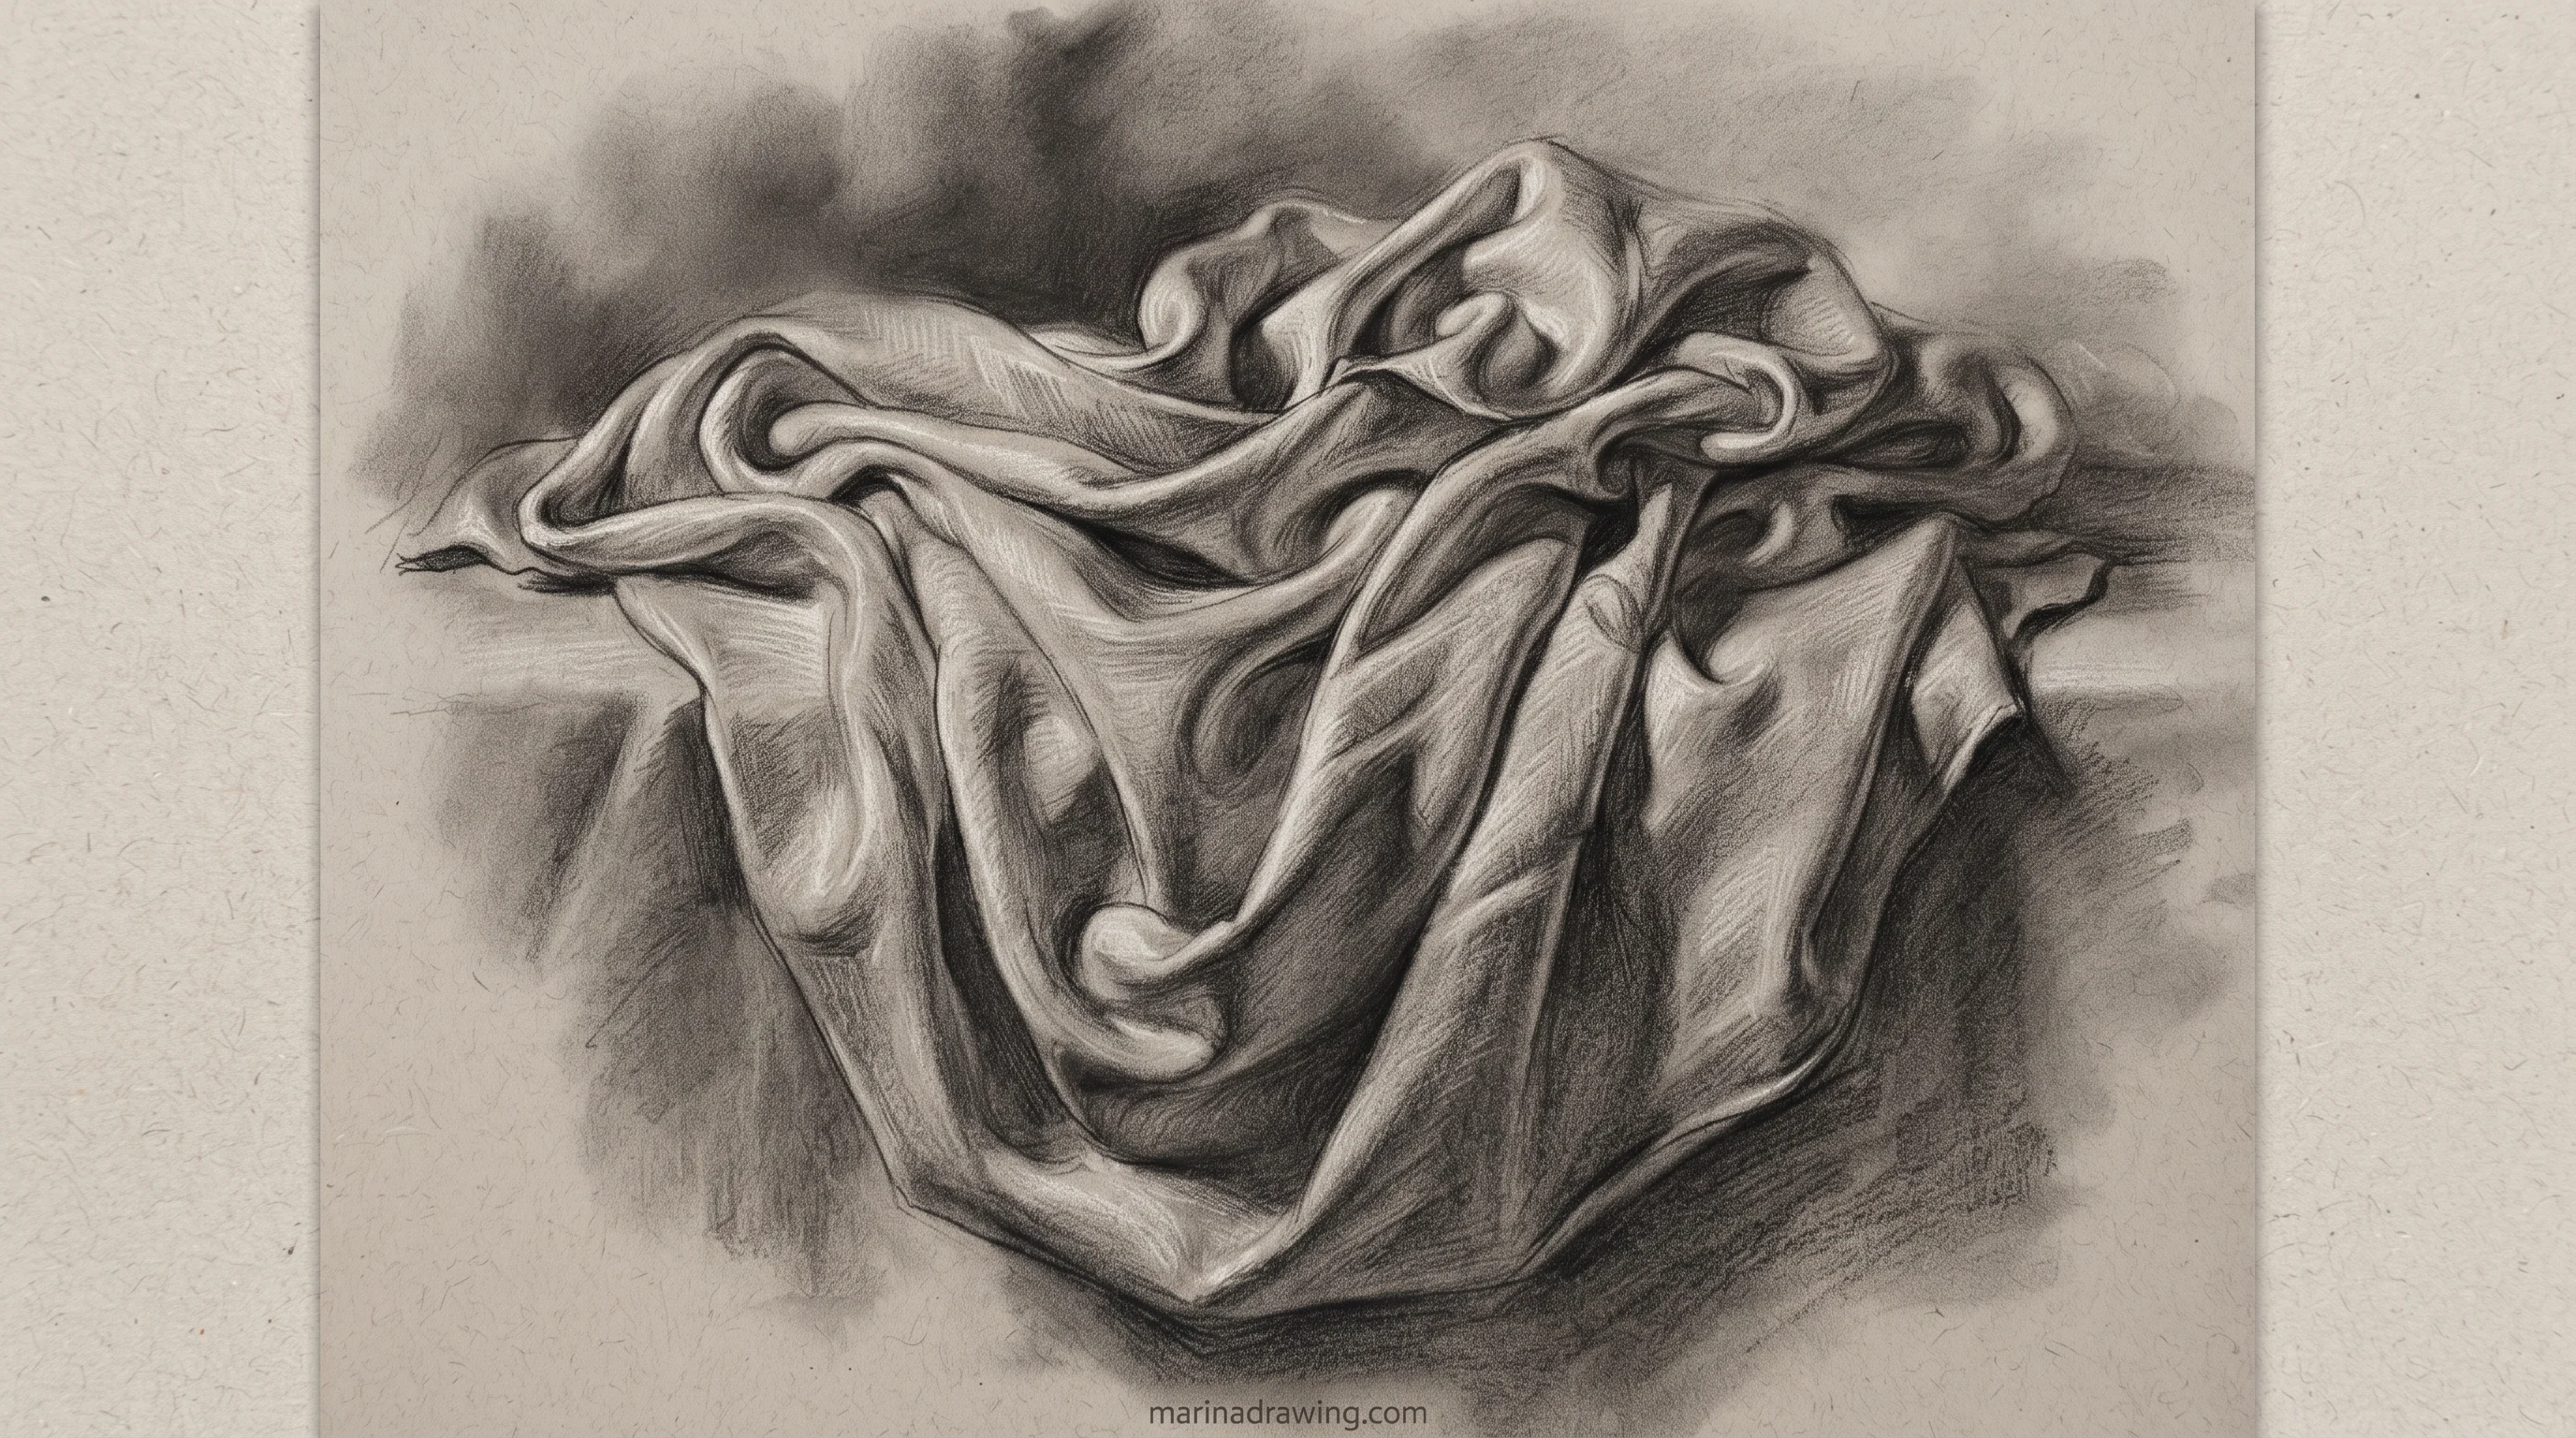
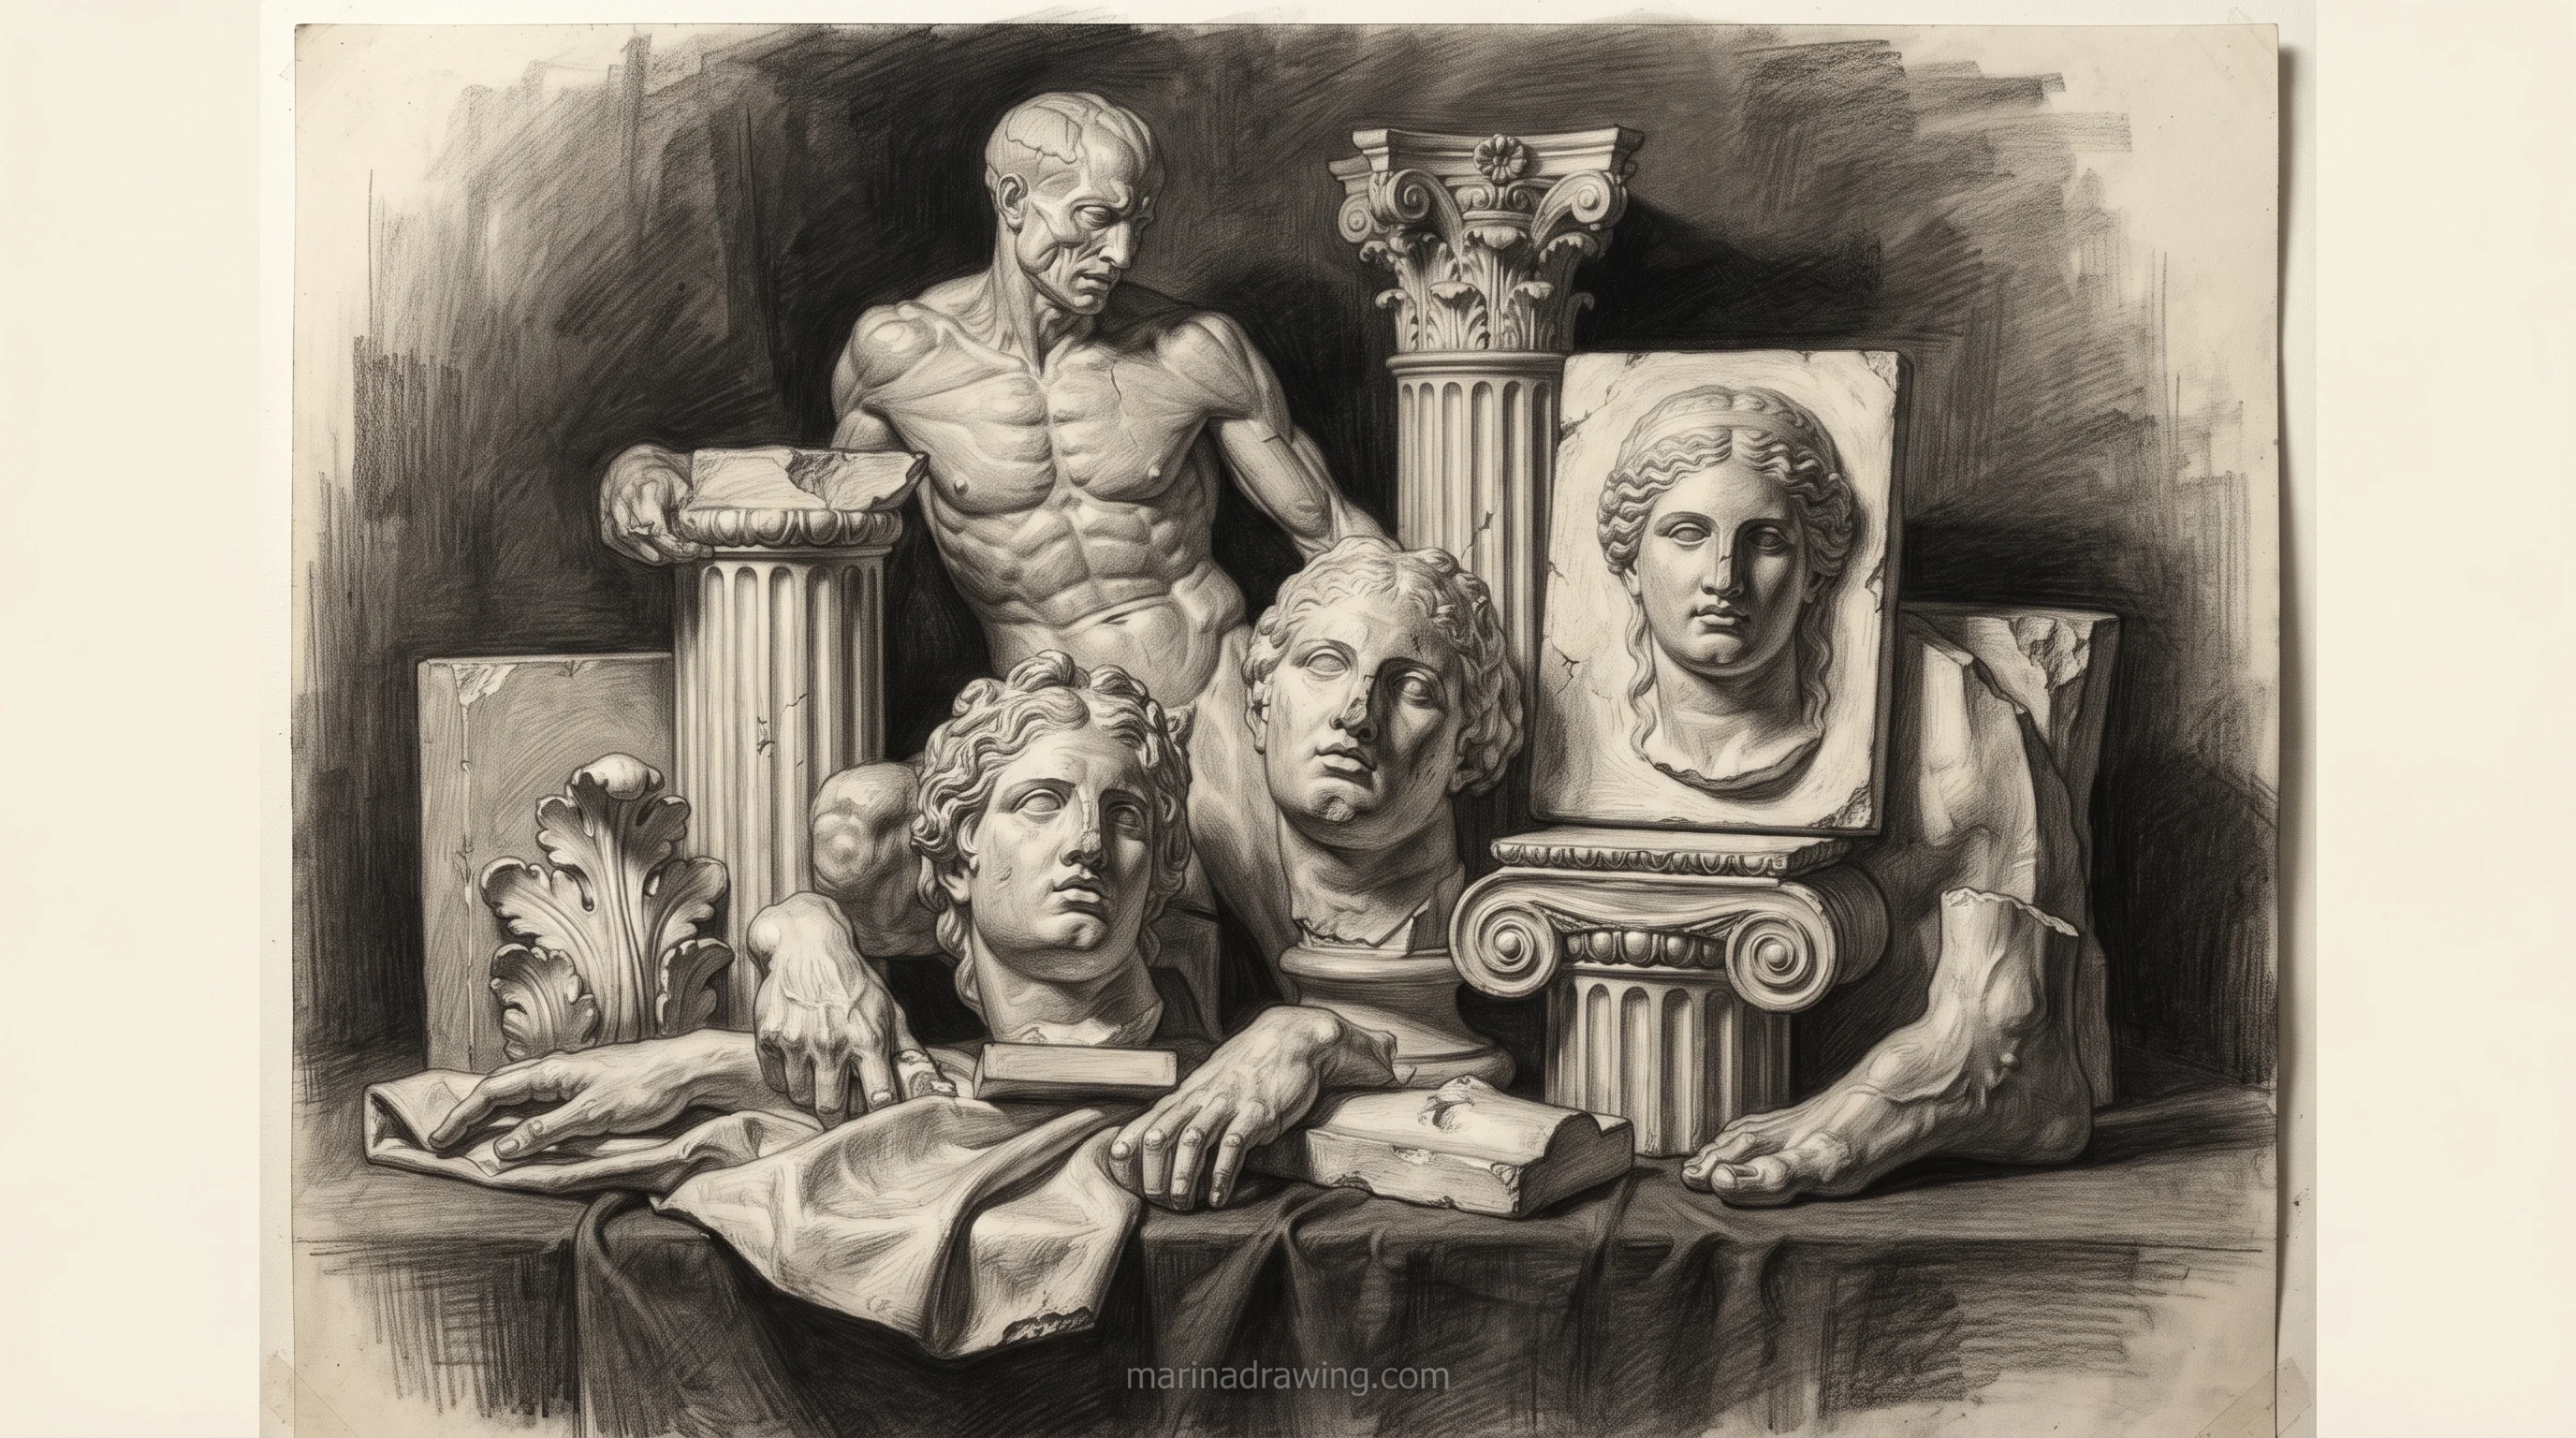
After the Sunday figure, run these three checks while the pencil marks are still light enough to move.
1. The line of action check
Hold the page up and squint. Can you see one flowing curve from head to foot? If the figure reads as a stack of parts, the gesture layer was skipped.
2. The box tilt check
Look at your ribcage and pelvis. If both point the same way, you have a doll at attention. Tilt one against the other.
3. The flip check
Hold the page to a mirror or flip it on a light table. Errors you could not see in a familiar view jump out when you reverse the image.
Four Mistakes That Keep Anatomy Practice From Sticking
 Pin it
 Pin it
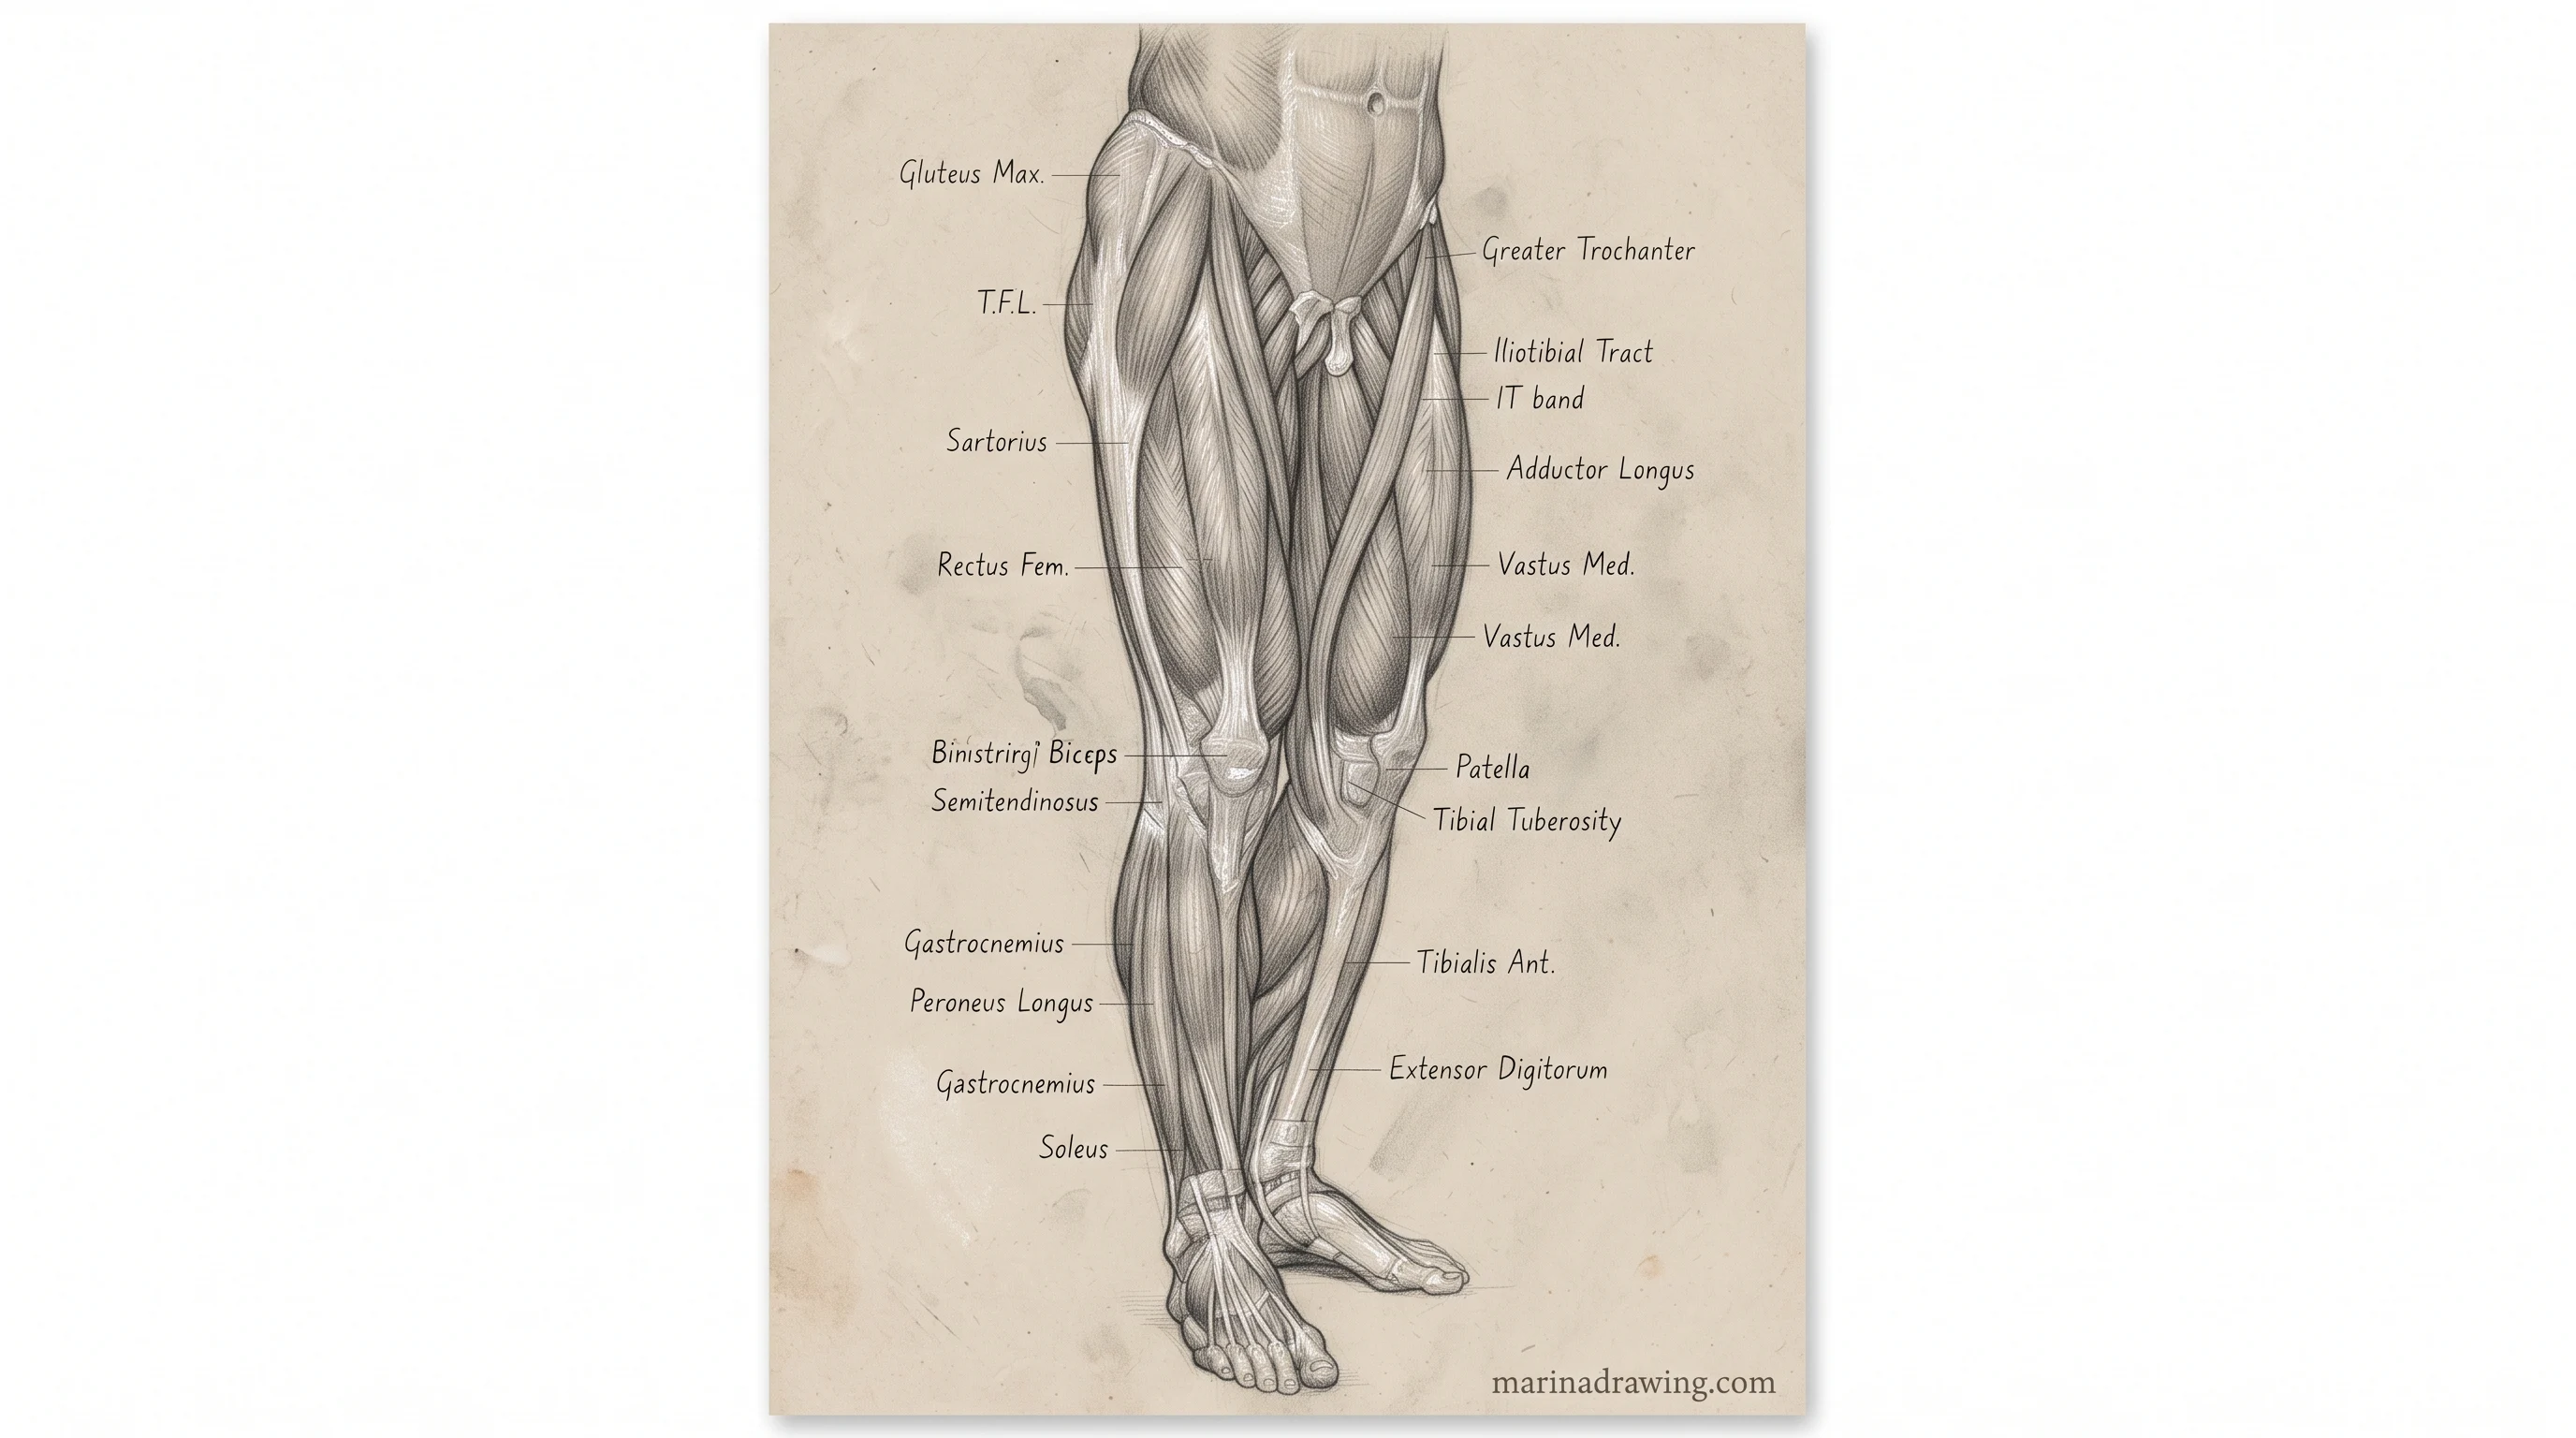
- Starting with muscle names. You learn pose and proportion first, then the six big groups. The small ones can wait for months.
- Copying the outline. Tracing the surface copies the result without the structure. Build the boxes even when you are copying a photo.
- Polishing early. If your gesture took ten minutes, it taught you nothing. Use the timer.
- Erasing the construction. The lines you rub out are the proof that your figure has a structure. Leave them in your practice pages.
If you catch yourself in any of these, go back one layer instead of adding more detail on top. If you still cannot see the error, a course with lessons gives you someone to name it.
Questions That Come Up Once You Start Practising Anatomy
How to learn anatomy drawing?
You learn it in layers. Draw two-minute gestures, set proportions with head units, build the torso from two boxes, and only then add the big muscle groups.
Where to start with anatomy drawing?
Start with gesture. You can draw ten poses in twenty minutes, and they teach you more about the body than a week of copying muscle charts.
What is the best anatomy drawing practice?
Short, timed and layered. Twenty minutes a day, each day on one layer, beats one long session a week.
What are the best figure drawing exercises?
Two-minute gestures, eight-head proportion figures, torso boxes from front and back, and hands as boxes with sticks. These four cover most of what you need at the start.
How to get good at anatomy drawing?
Repeat the layers in order and run the three checks on every figure. You get good by catching the same error early, not by adding more detail.
How to improve anatomy drawing?
Go back one layer whenever a figure looks wrong. If the pose is stiff, redo the gesture; if the proportions are off, redo the head units.
How to draw anatomy for beginners?
Skip the muscle names. Draw a gesture, hang an eight-head figure on it and build the body from boxes and cylinders.
Do I need to memorise every muscle?
No. Six groups on the torso are enough to make a figure read correctly. Add more only when a specific drawing needs it.
How often should I practise?
Twenty minutes a day beats two hours on a weekend. Keep sessions short and change the topic daily.
Should I practise gesture drawing or anatomy first?
Gesture first. It sets the pose that anatomy is then drawn on top of.
What is the best way to check my own drawing?
Run the three checks above: line of action, box tilt and a flipped view. If you still cannot name the problem, a course with feedback on your own work will shorten the search.