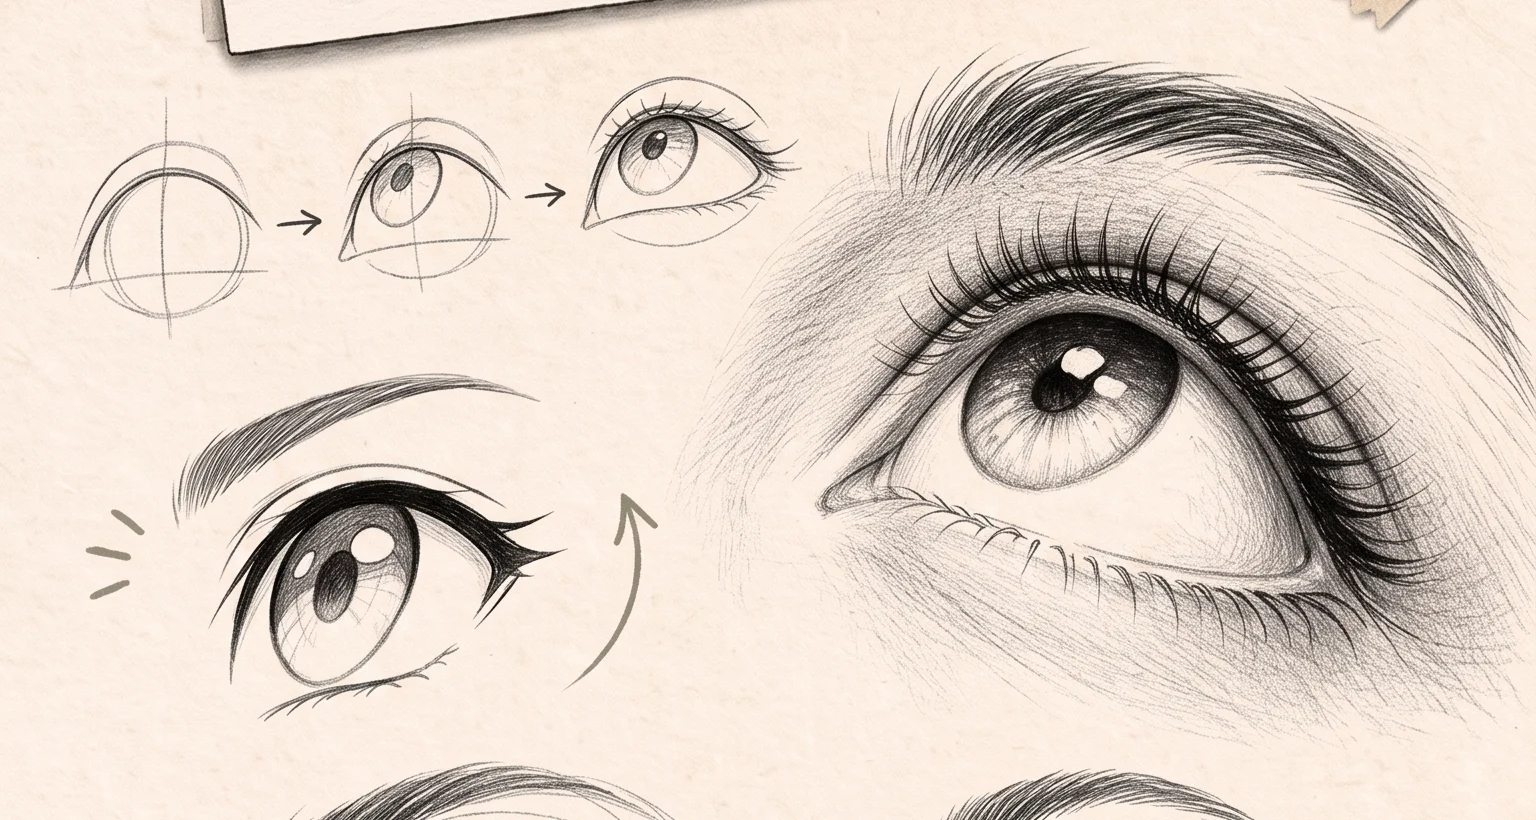
Draw the ball first. An eye is a sphere sitting in a socket, and the lids are two bands of skin wrapped around it, so the lid line has to curve the way a rubber band curves on a ball. Then place both eyes at once, one eye-width apart, measured with your pencil. Only then the corners, the iris, and last of all the lashes.
Your eye does not look wrong because of the lashes. It looks wrong because there was never a ball underneath.
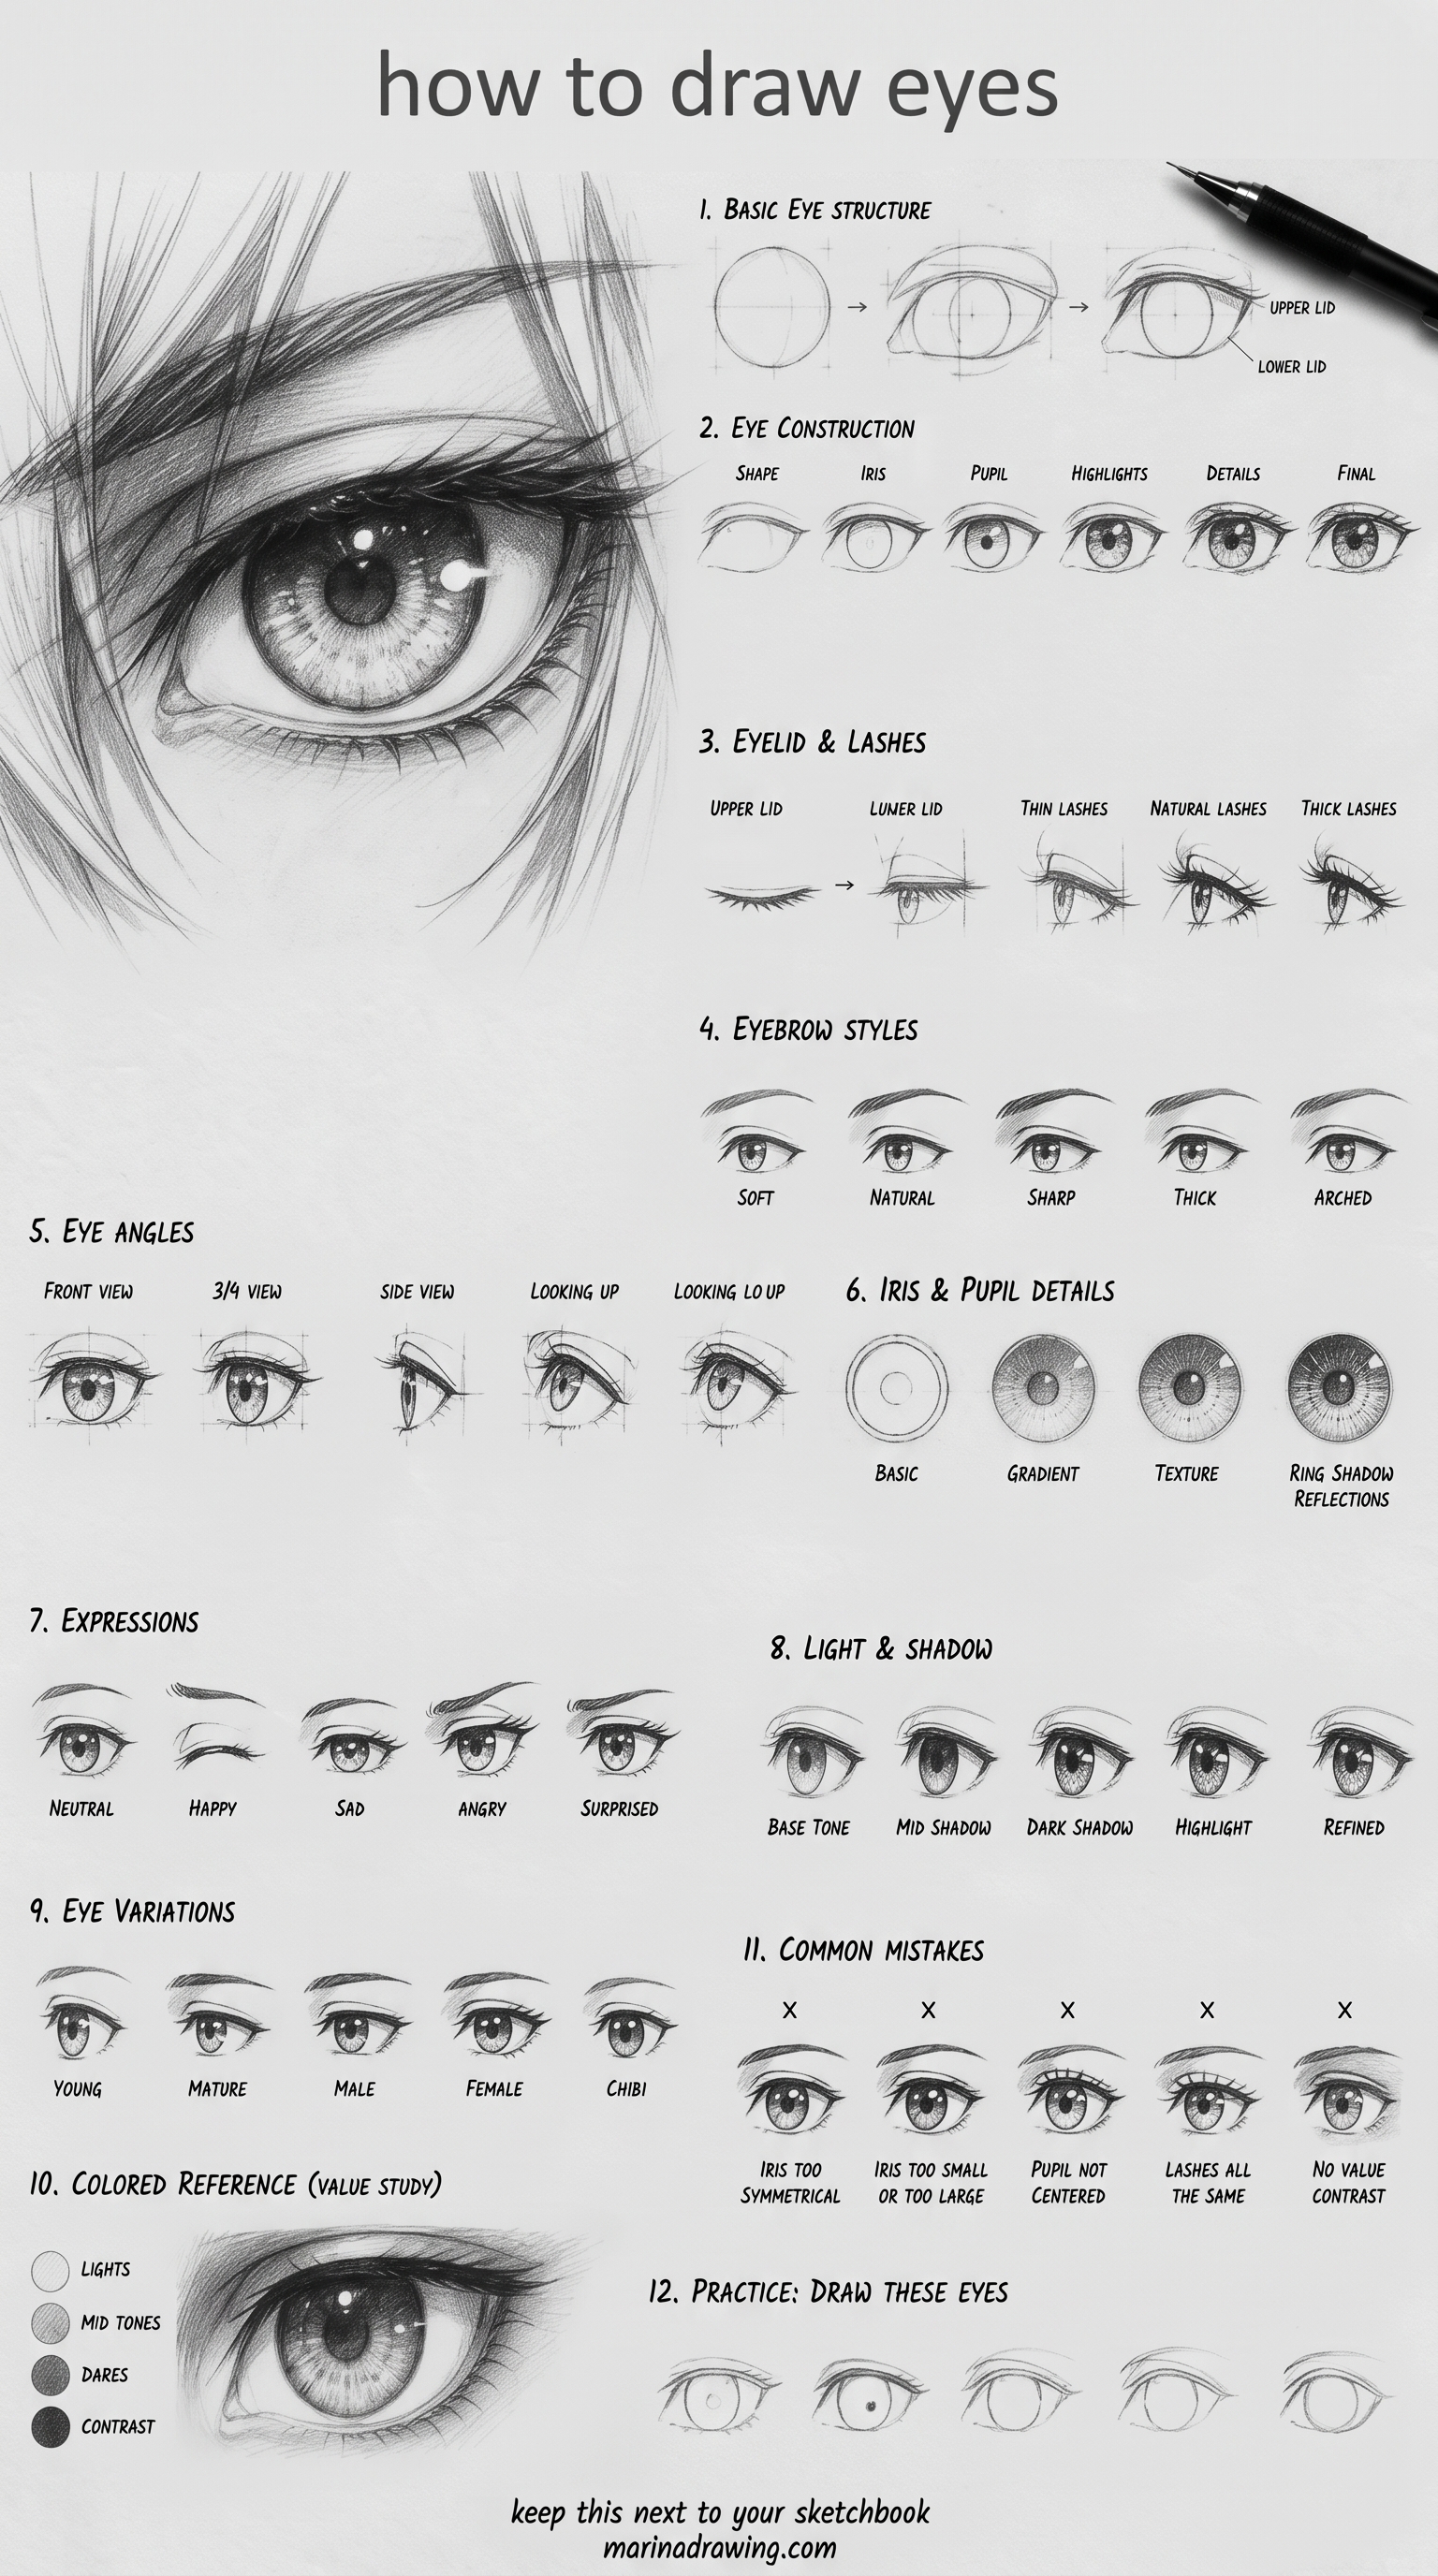
Below you get the build order, three checks you can run while the marks still move, and the versions people search for most: realistic and human eyes in pencil, anime for a girl or a boy character, cartoon, chibi, closed, crying, eyes behind glasses, eyes for kids, and the same eye at different angles.
This site’s own tally of 6,641 text posts by self-taught artists across four drawing forums, collected 1 April to 27 August 2026, puts eyes in 292 of them. Thirteen call the eye flat or pasted on. Another thirteen name the spacing instead. Both halves are one fault: the eye was drawn as a shape on the surface, so nothing held its form and nothing held its place.
Watching the ball go down first
Graphite lessons that build the eye from the ball outward, filmed, so the stage this article names is the stage you watch.
Why Your Eye Looks Flat: a Shape Instead of a Lid on a Ball
Your drawing goes wrong in the first minute, long before the lashes.
Here is the usual route. You outline an almond on flat paper. Two curves meeting at two points. You fill it with an iris, add lashes, and it looks like an eye on its own and wrong on a face.
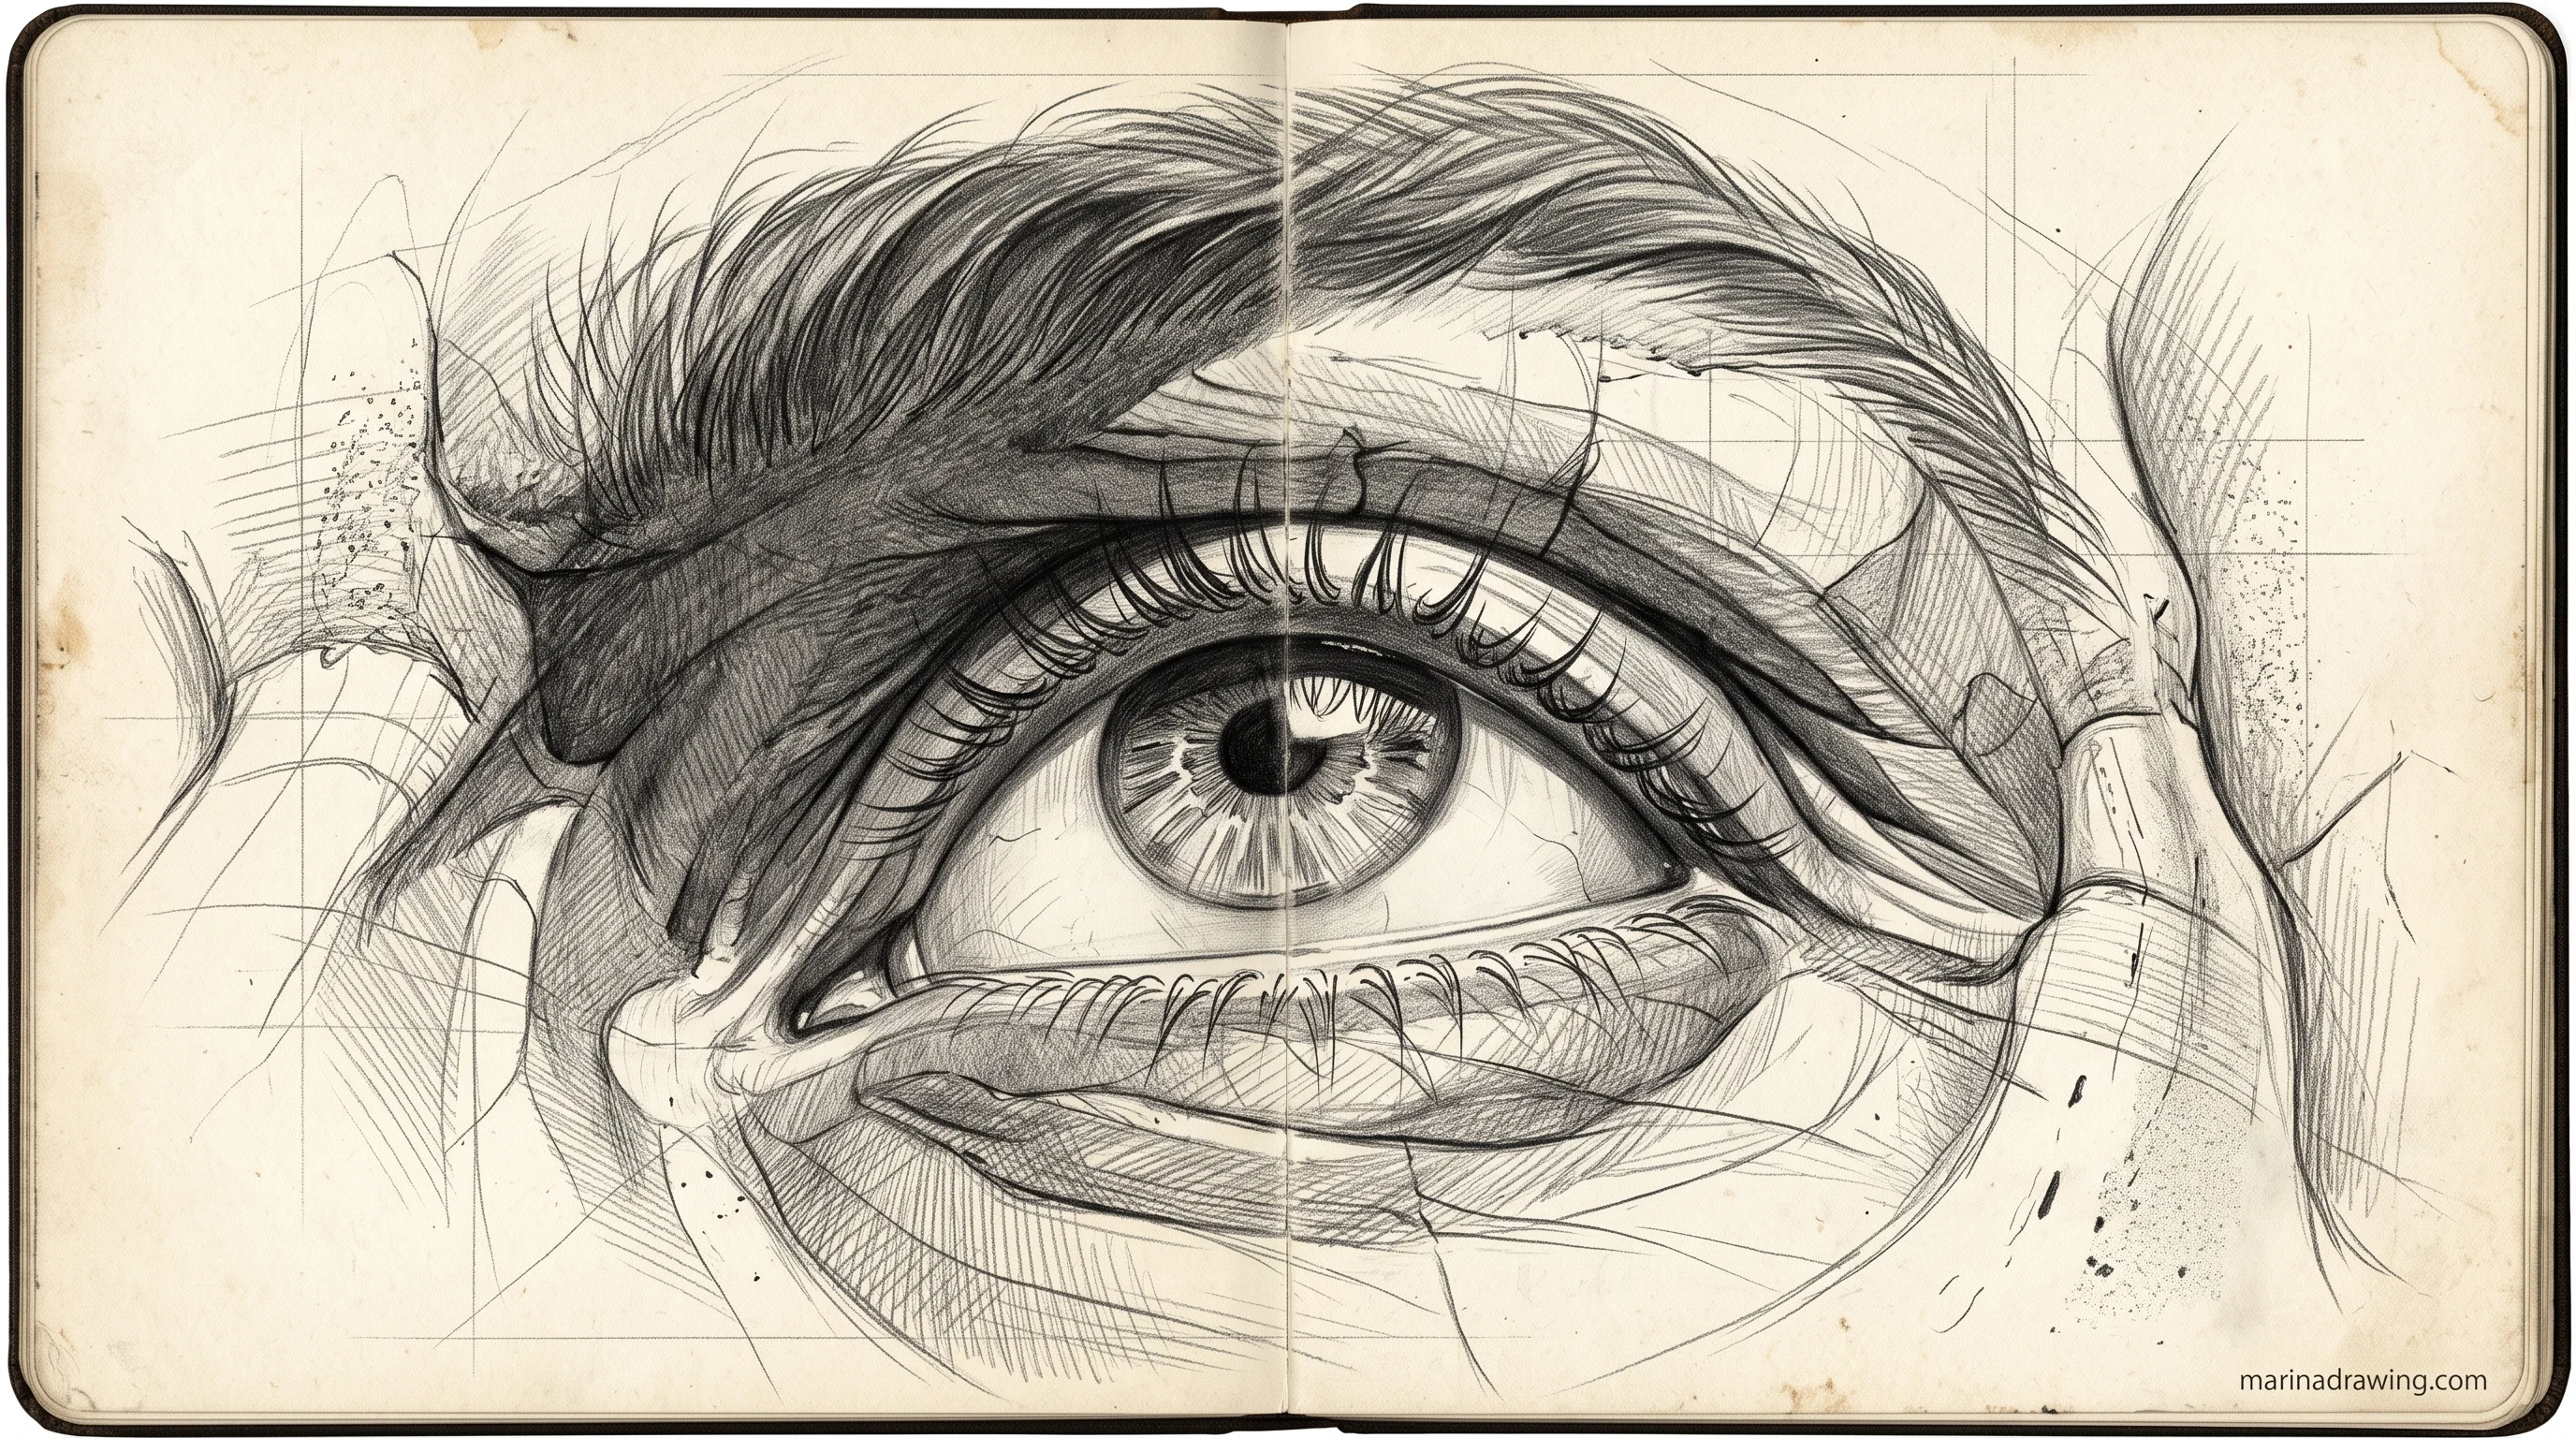
What you are drawing is not a shape on a surface. You have a sphere in a socket, and the lids are thin bands of skin wrapped around that sphere. Your upper lid has thickness, so it drops a shadow on the ball below it. Your lower lid tucks under the curve instead of running straight across.
| What you draw first | What it decides | What breaks if you skip it |
|---|---|---|
| The ball | How both lids curve | A flat almond that never sits on a face |
| Both eyes at once | Spacing and matching | Two eyes from two different faces |
| Corners | Where the iris can sit | An iris placed by feel, always off |
| Lashes, last | Nothing structural at all | A wrong eye, hidden under detail |
I drew eyes one at a time for two years. Left eye finished, lashes and all, then the right one started from nothing. By then my hand had drifted and the reference angle had moved, so the two eyes belonged to two slightly different faces. If you want that stage walked through out loud, the graphite lessons I keep open on the desk build the eye the same way.

What You Need to Draw Eyes With a Pencil
Very little. You have a form problem here, not a materials problem.
- An HB and a 2B. You build the ball and the lid bands with the HB, then take the 2B for your lash line and pupil.
- A kneaded eraser. You lift a construction line with it instead of scrubbing the paper.
- A hand mirror. Your own eye is the reference you already own.
That is your whole list. A tablet works too, and you get the digital version further down.
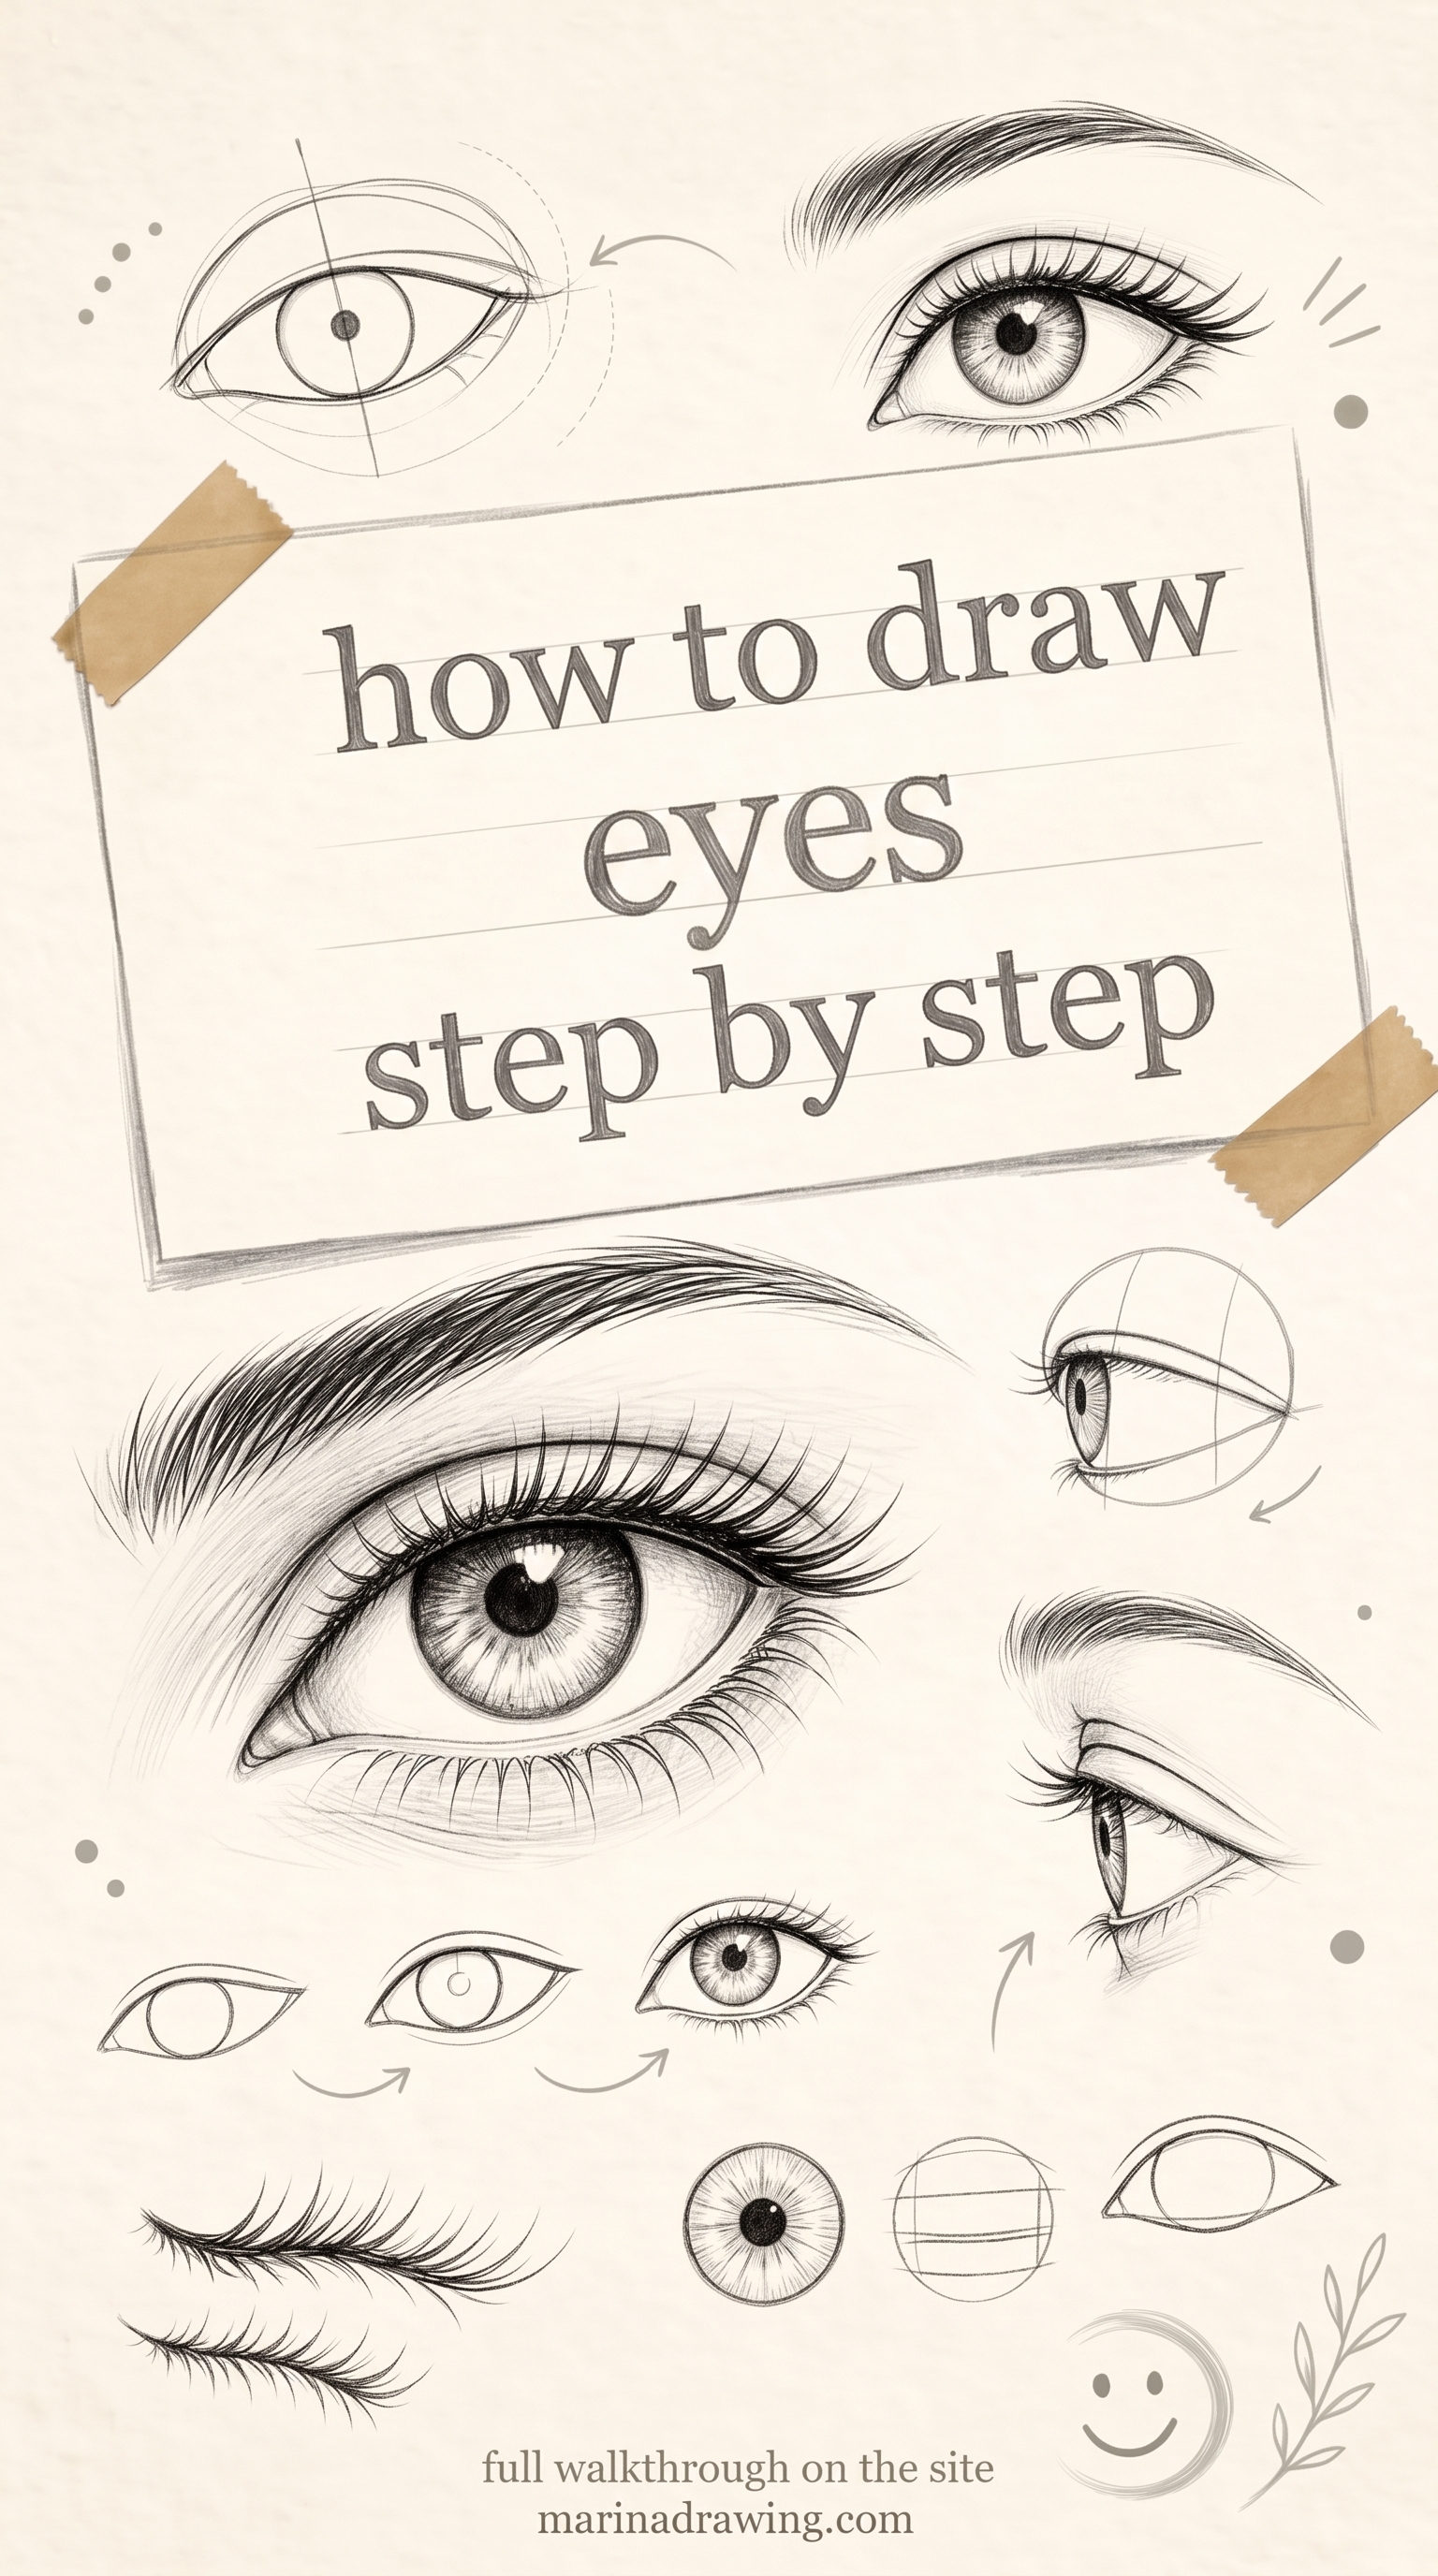
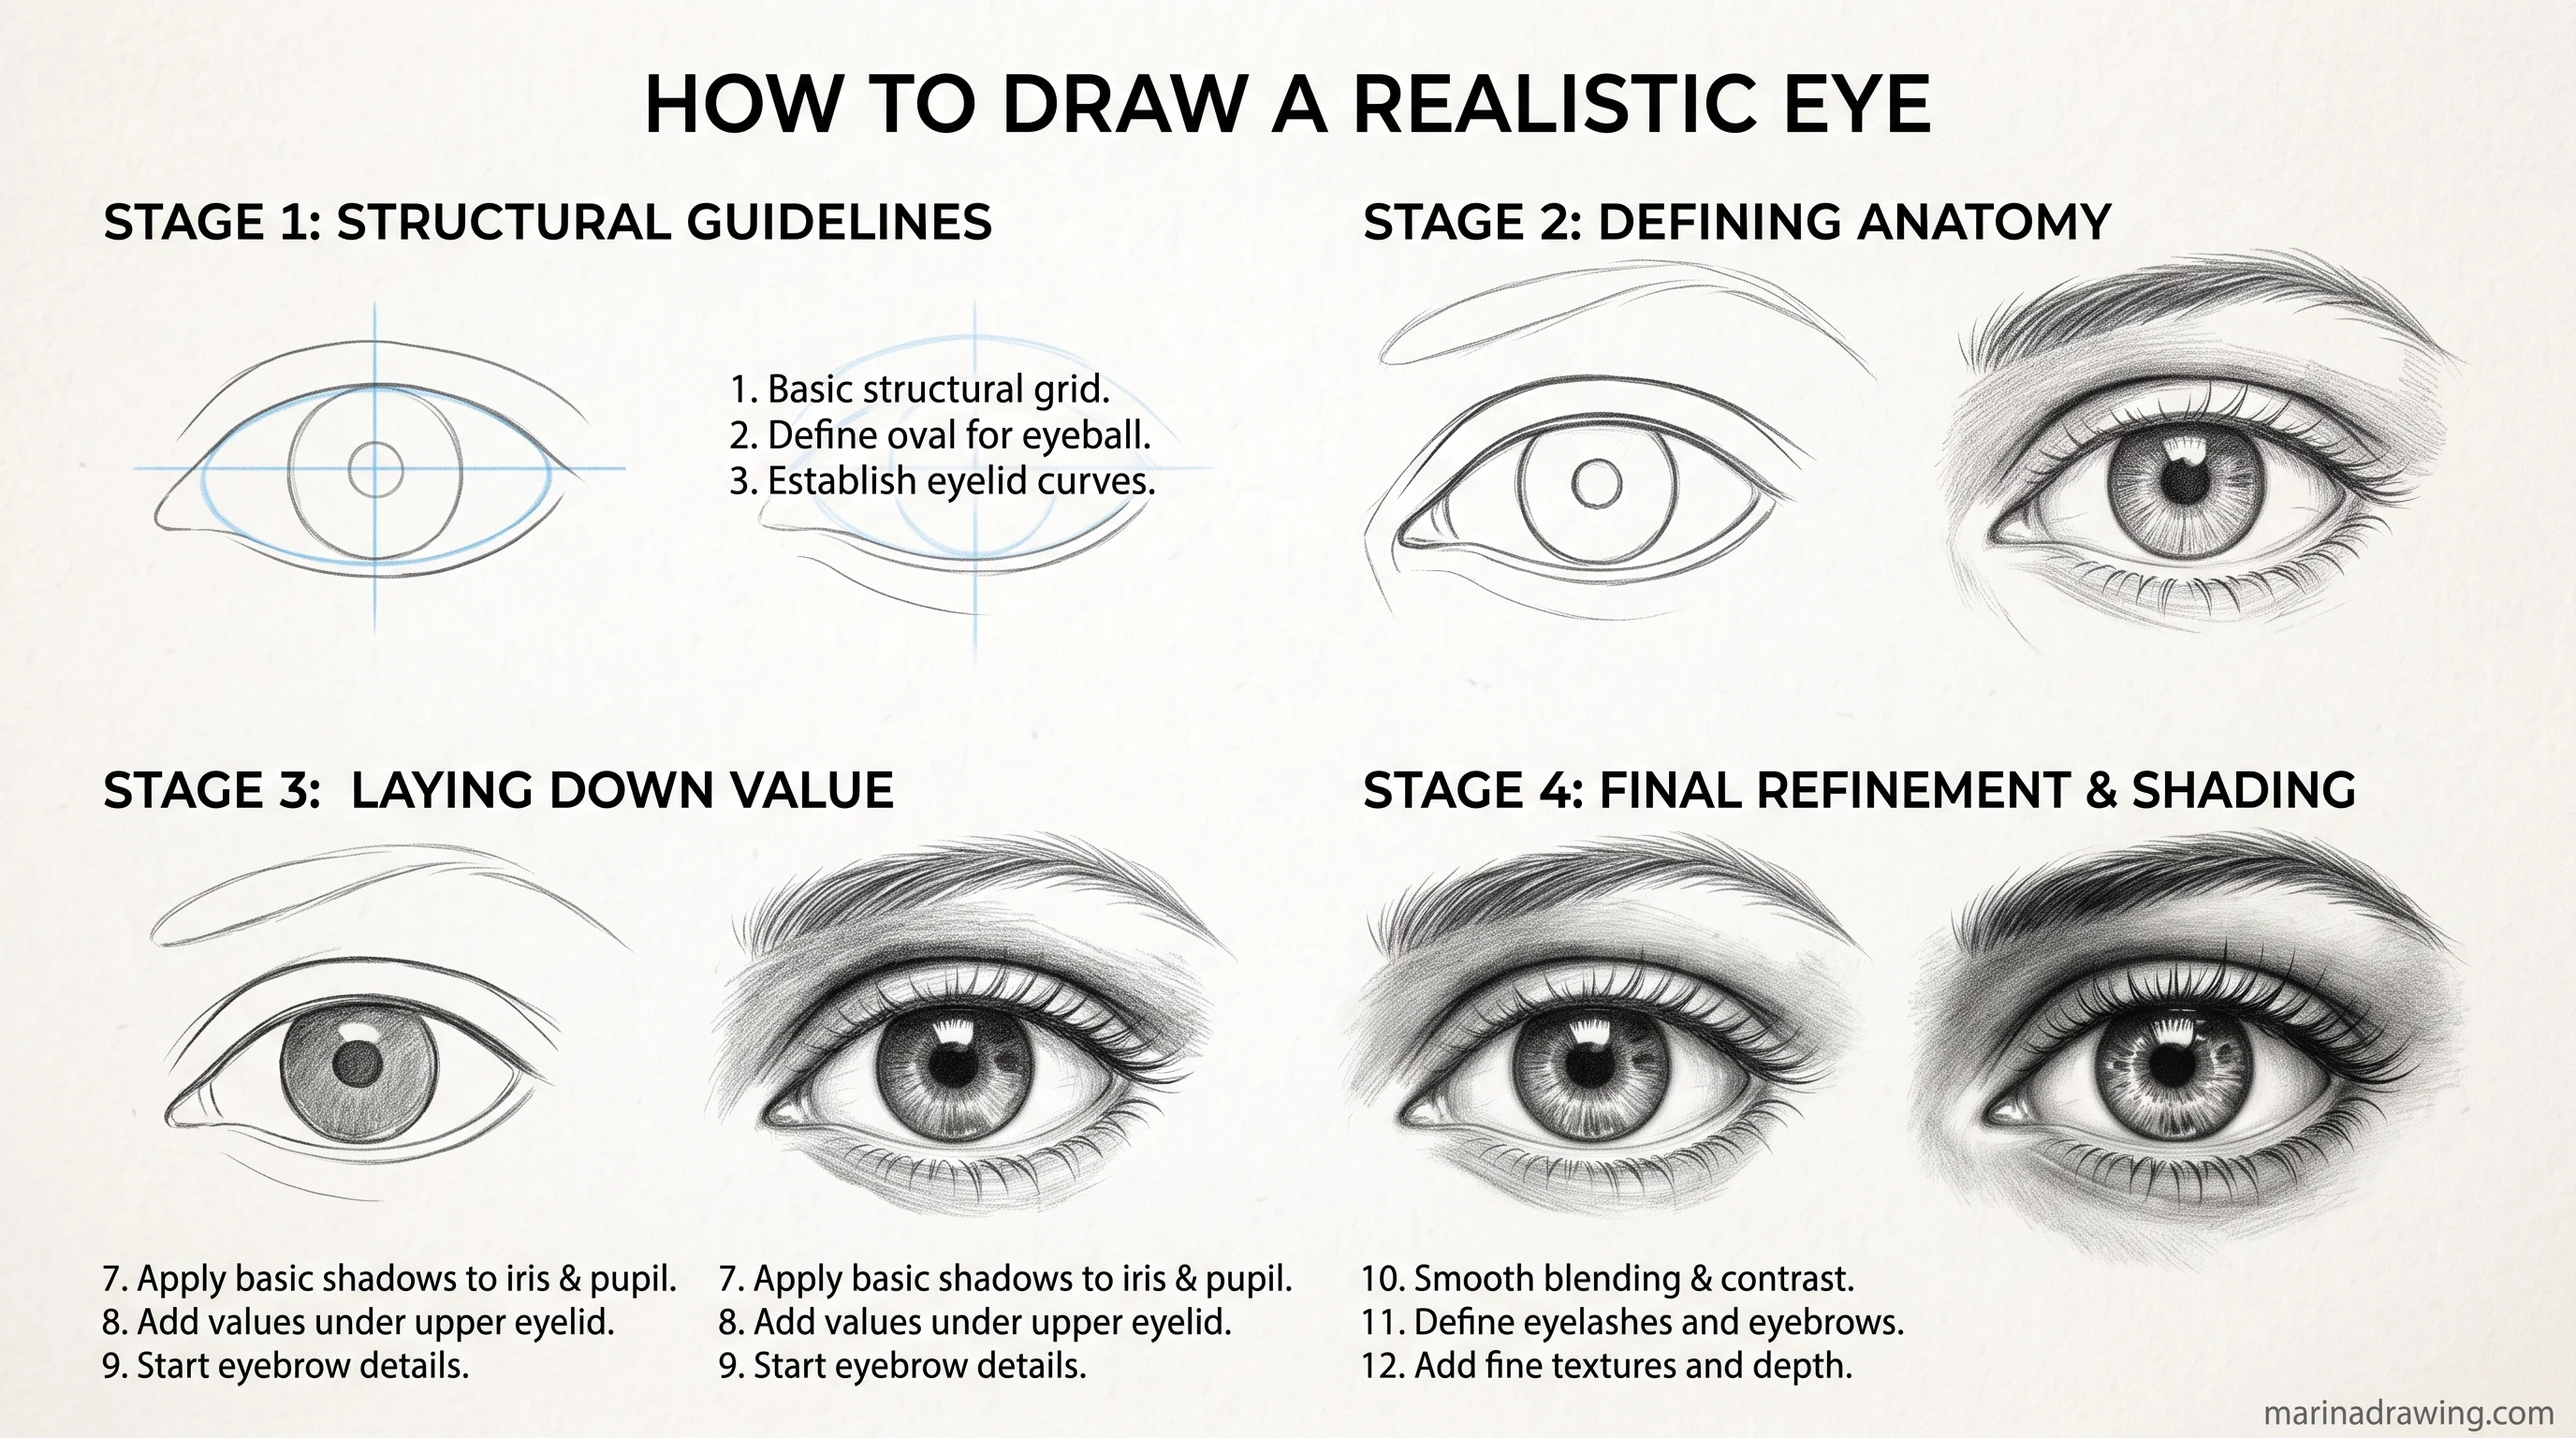
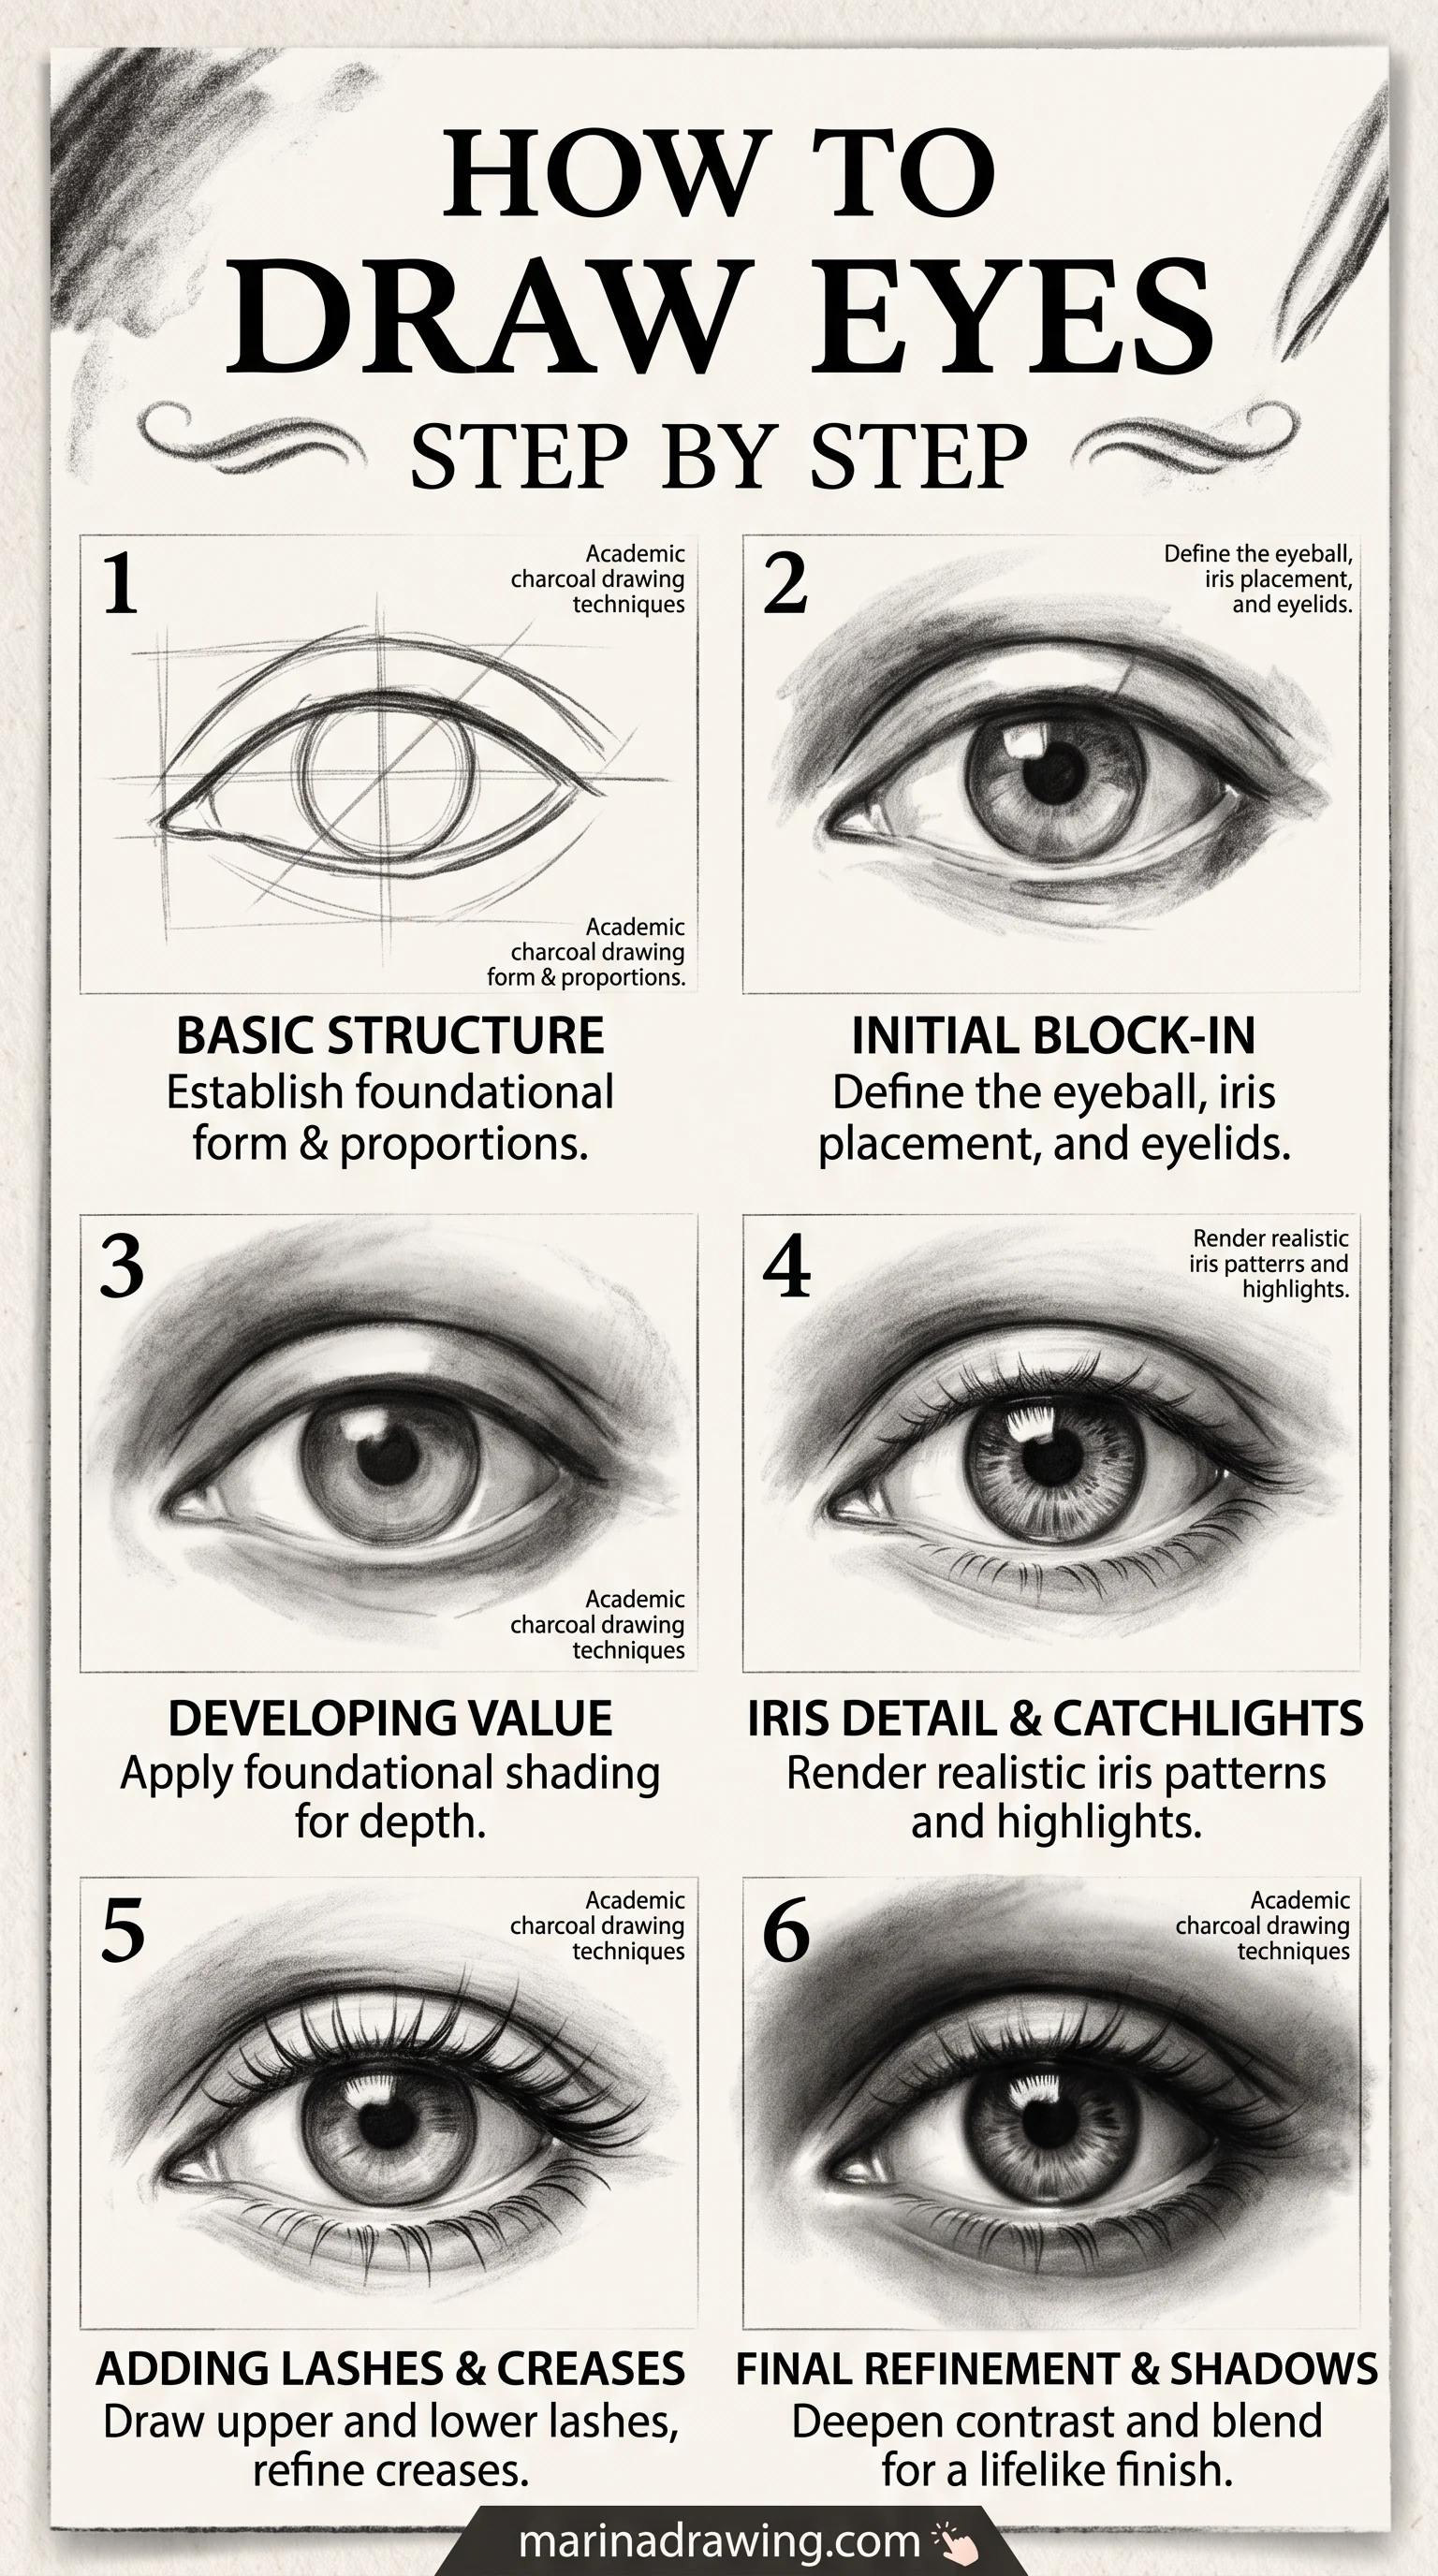
How to Draw Eyes Step by Step: Ball, Lids, Corners, Iris, Lashes
Work in this order. Every stage should still be findable on the page when you finish, even under the linework.
- Sphere. Draw a light circle for the eyeball, where the socket goes. Nothing else exists for you yet.
- Lids. Wrap the upper lid over the ball as a band with thickness, dipping at the outer corner. Then tuck a shallower curve under the same ball for your lower lid.
- Corners. Put the inner corner lower and rounder, and bring the outer one to more of a point. You place both before the iris, because your iris depends on them.
- Iris and pupil. Draw the iris as a circle and let your upper lid crop into the top of it, not the other way round. Your pupil sits centred.
- Lashes, last. Grow them from your lid line, angled outward, thicker at the outer corner.
If you cannot point to where the ball was, you did not draw it.
The same order on an iPad
Line brushes with real pressure taper, so the lid line thickens at the lash root the way a pencil does.
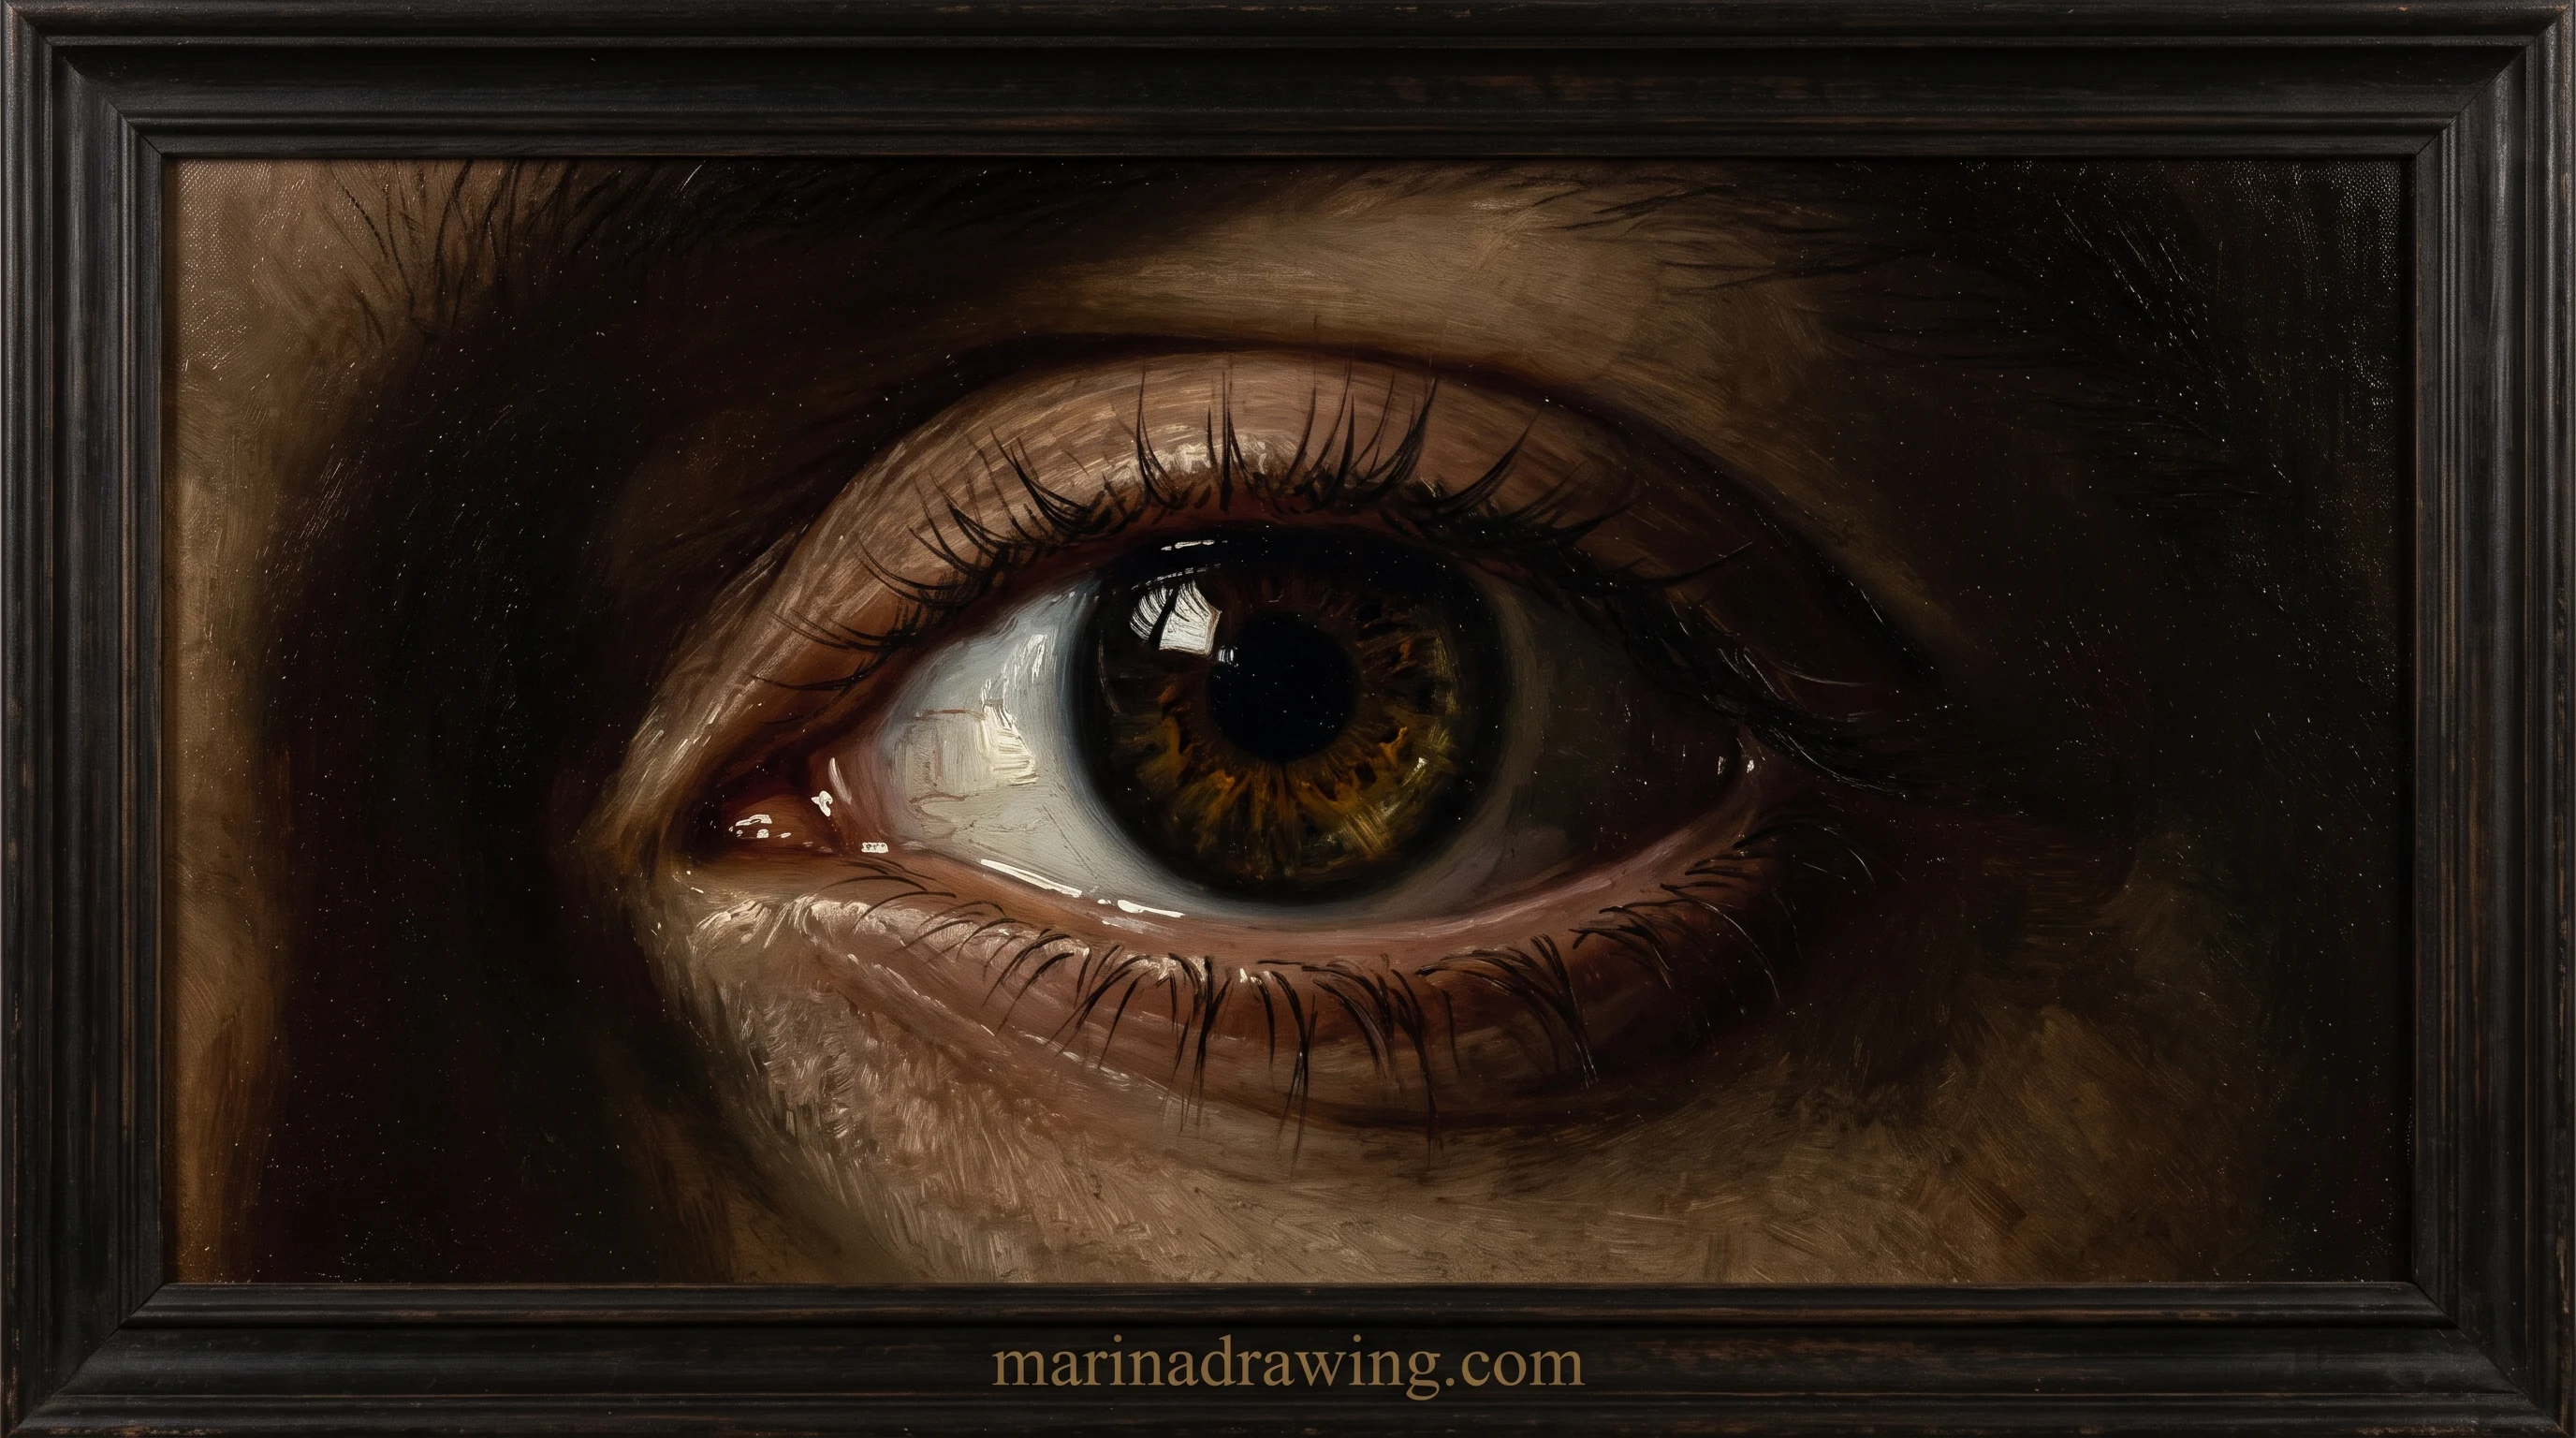
How to Draw Eyes Easy: the Simple Five-Minute Version
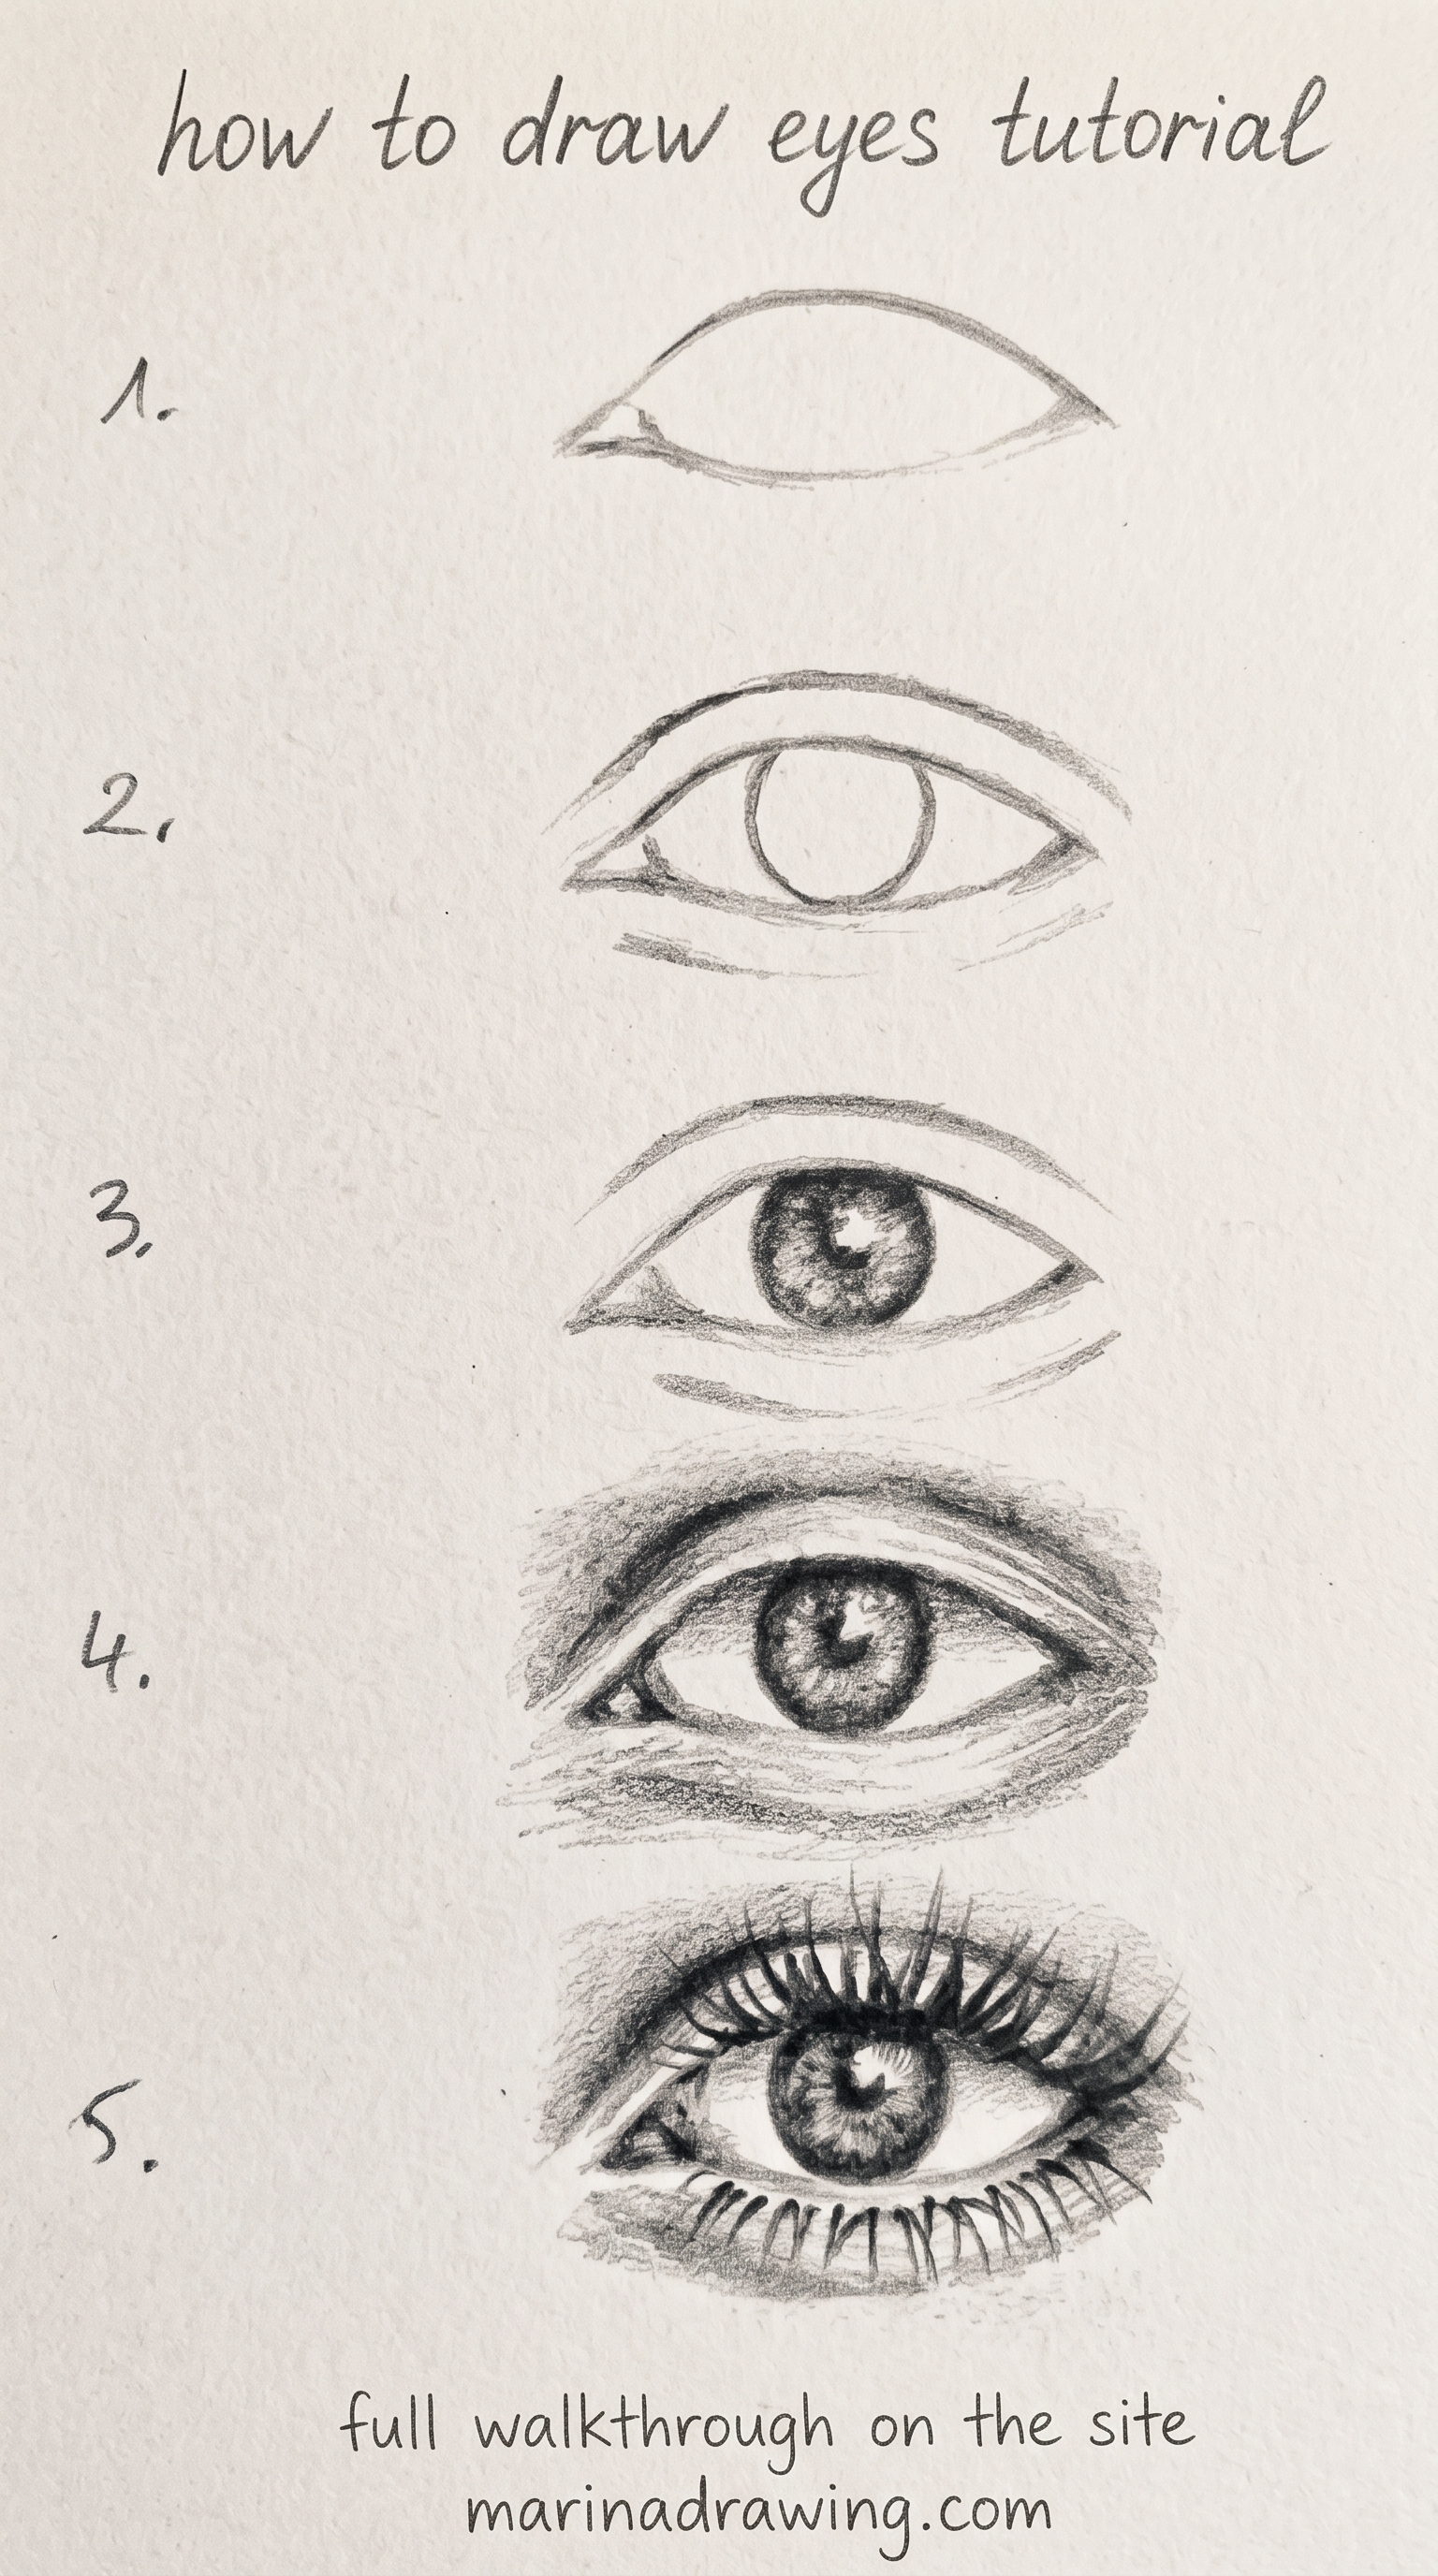
Five steps, and your first one takes seconds.
- Draw a light circle for the ball.
- Lay one curve over it for your upper lid, one shallower curve under it.
- Mark a dot for each corner, the inner one lower.
- Add a circle for the iris and let your lid crop it.
- Finish with one line of lashes, thicker outward.
Five minutes, and your eye already reads better than a careful almond. That is the basic version, and everything else on this page is the same five steps with more care.
Three Checks That Catch a Flat Eye Before You Ink It
 Pin it
Run these before you move to detail, not after the drawing feels finished. Each one is a physical action, not a second look.
The sphere check
 Pin it
Cover the iris with a finger and look only at the lid line. It should curve like a band on a ball: close together at the corners, arching apart in the middle. Two flat parentheses facing each other means there is no ball under there. Redraw the lids before anything else.
The one-eye-width check
 Pin it
Take the width of one eye with your pencil, thumb marking the length on the shaft. Lay that length between the inner corners. On most faces the gap reads as about one eye-width. Shorter and your eyes crowd the nose. Longer and they drift to the temples.
The both-at-once check
Find any stage where one eye has detail the other does not. If one is finished and the other is a rough shape, stop. That gap is the drift happening live: your hand is copying a finished eye instead of the source.
These are the checks nobody hands you in a written lesson, and they are the reason I keep recommending lessons where the correction happens on camera, mid-drawing, while the line still moves.
Brushes that keep the construction visible
Illustration brushes that leave your guide lines legible under finished linework, so a wrong lid curve is still fixable.
How to Draw Eyes on a Face: Placement and Spacing
A well-drawn eye in the wrong place still looks wrong, so this part matters as much as the form.
- Put your eyes on the halfway line of the head, not higher.
- Leave about one eye-width between them.
- Fit five eye-widths across the face, so your outer edges are not at the sides of the head.
- Line up the inner corners with the outer edges of your nose.
Use these to check a finished drawing, not to build one. Your placement can be perfect and the eye still flat, because flatness is a form fault, not a spacing one. Placement inside the whole head I cover in how to draw portraits.
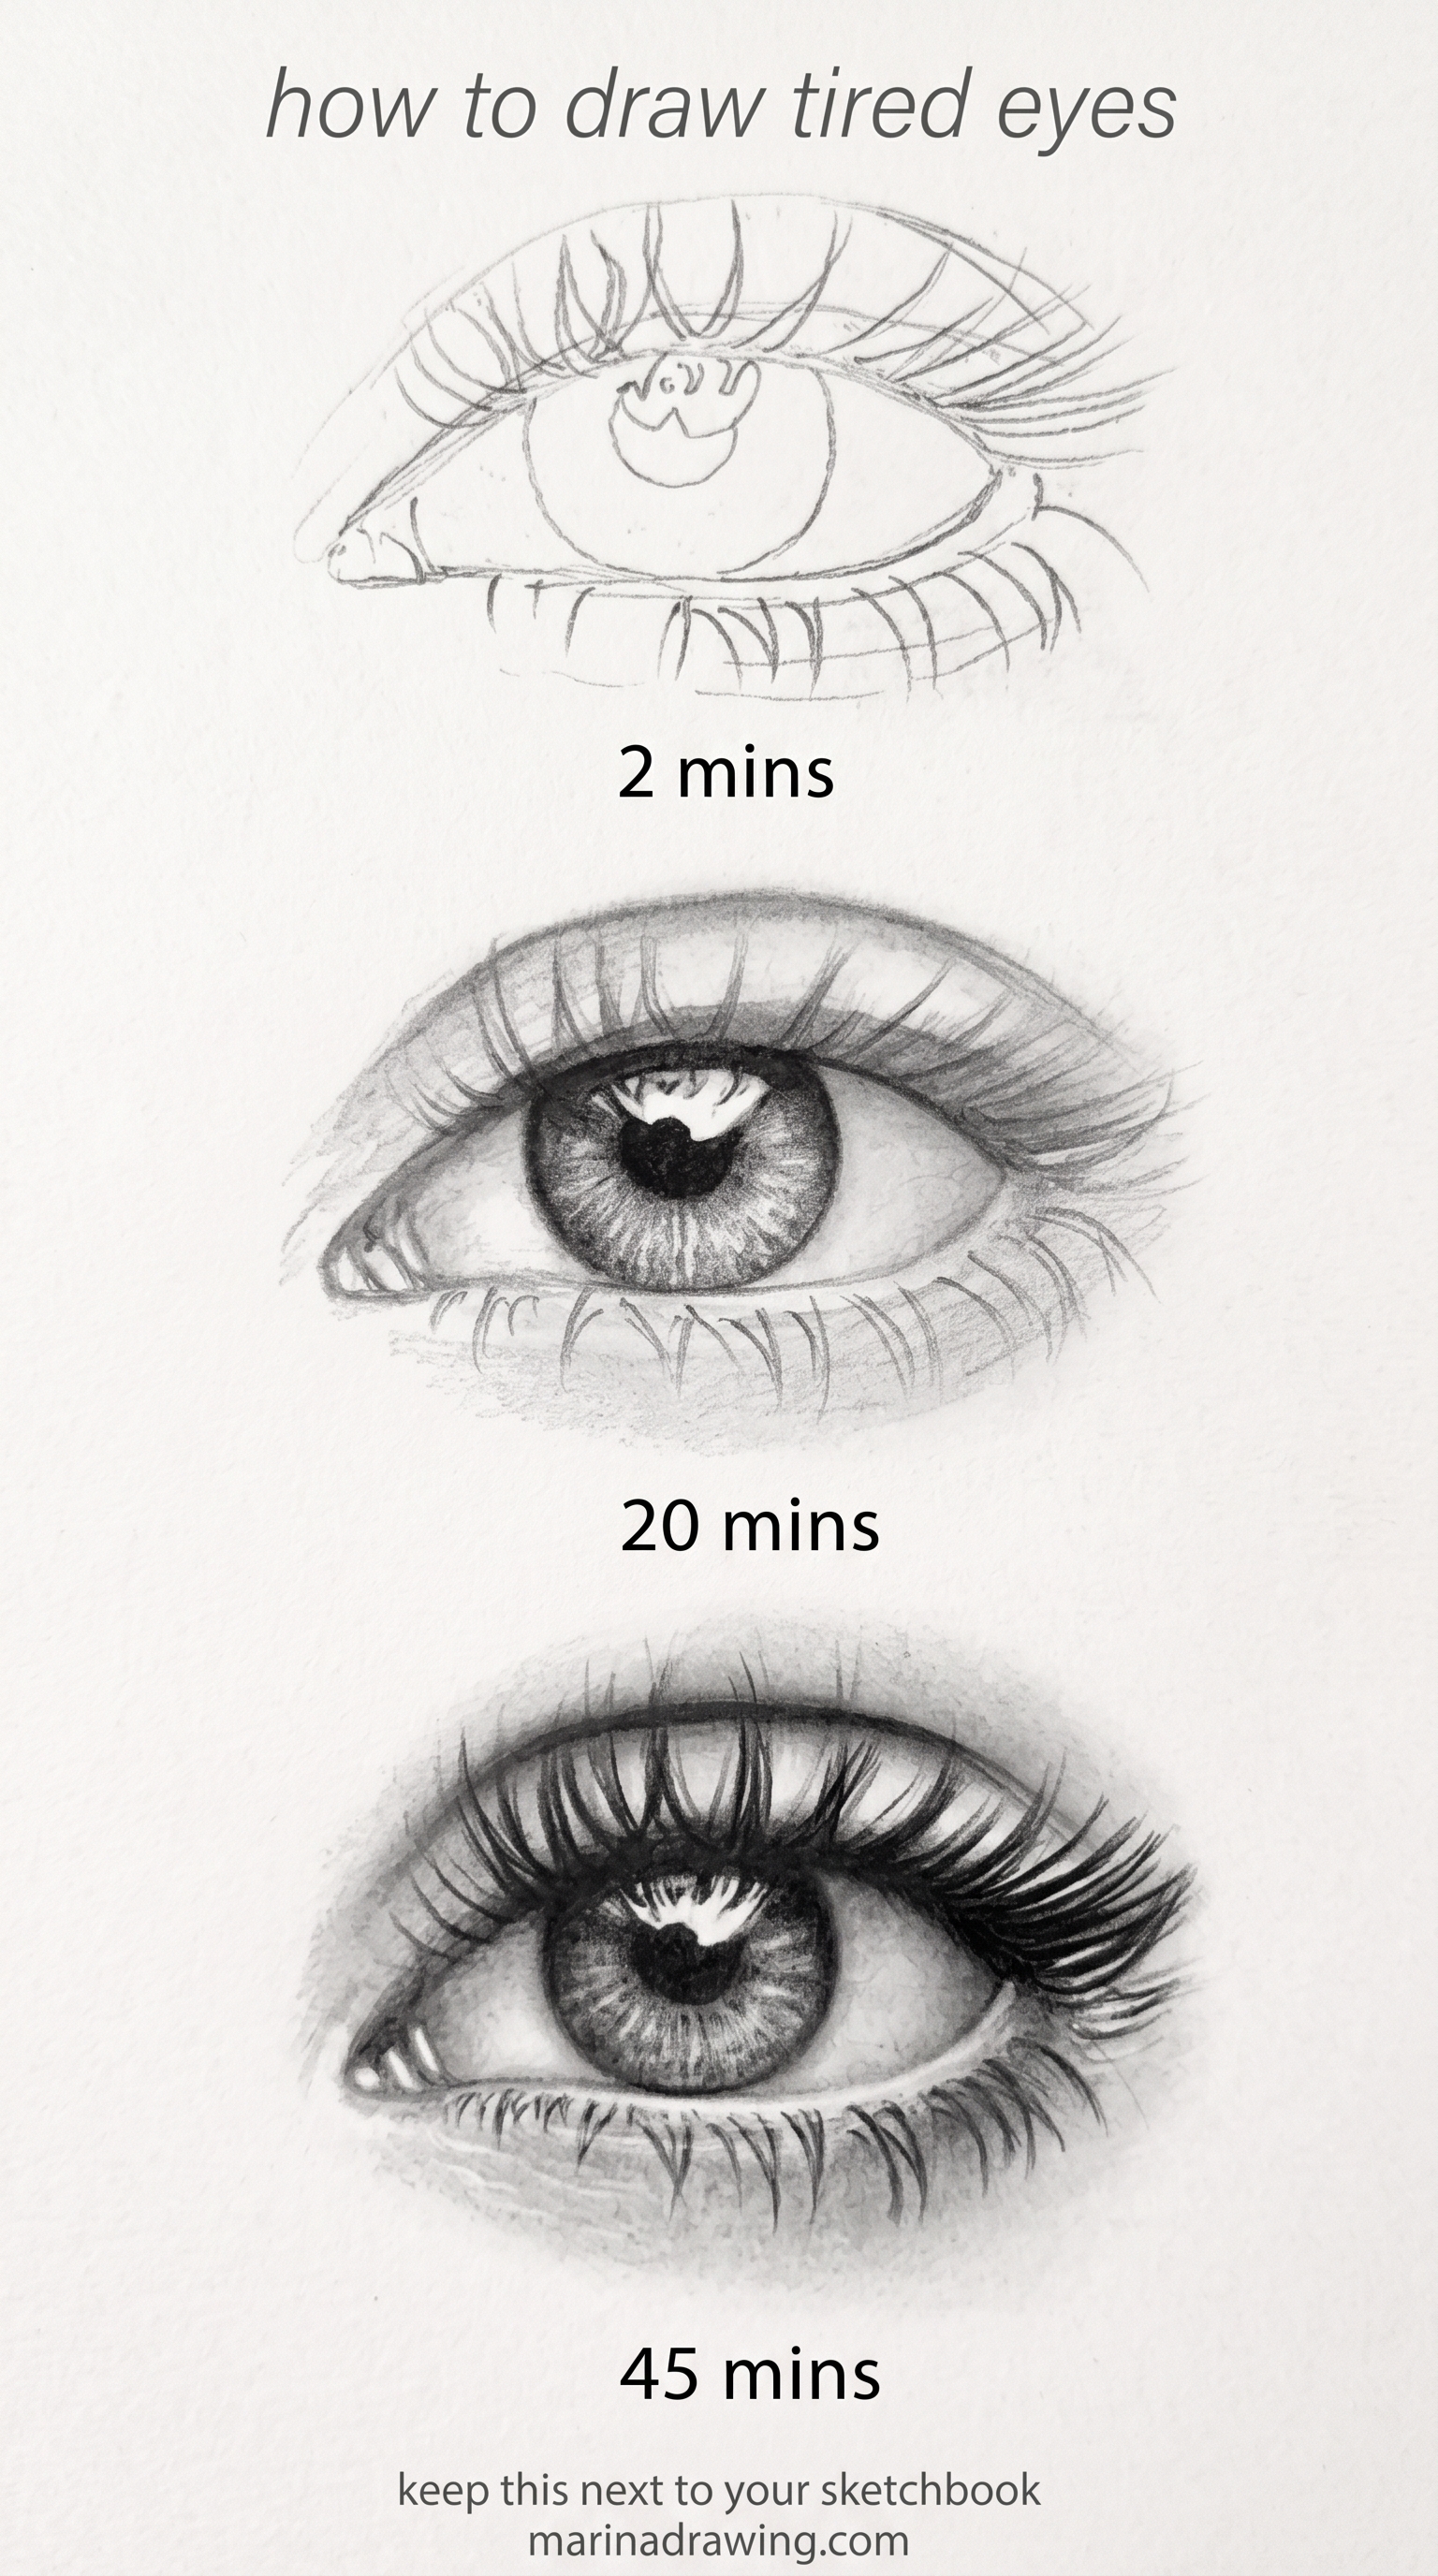

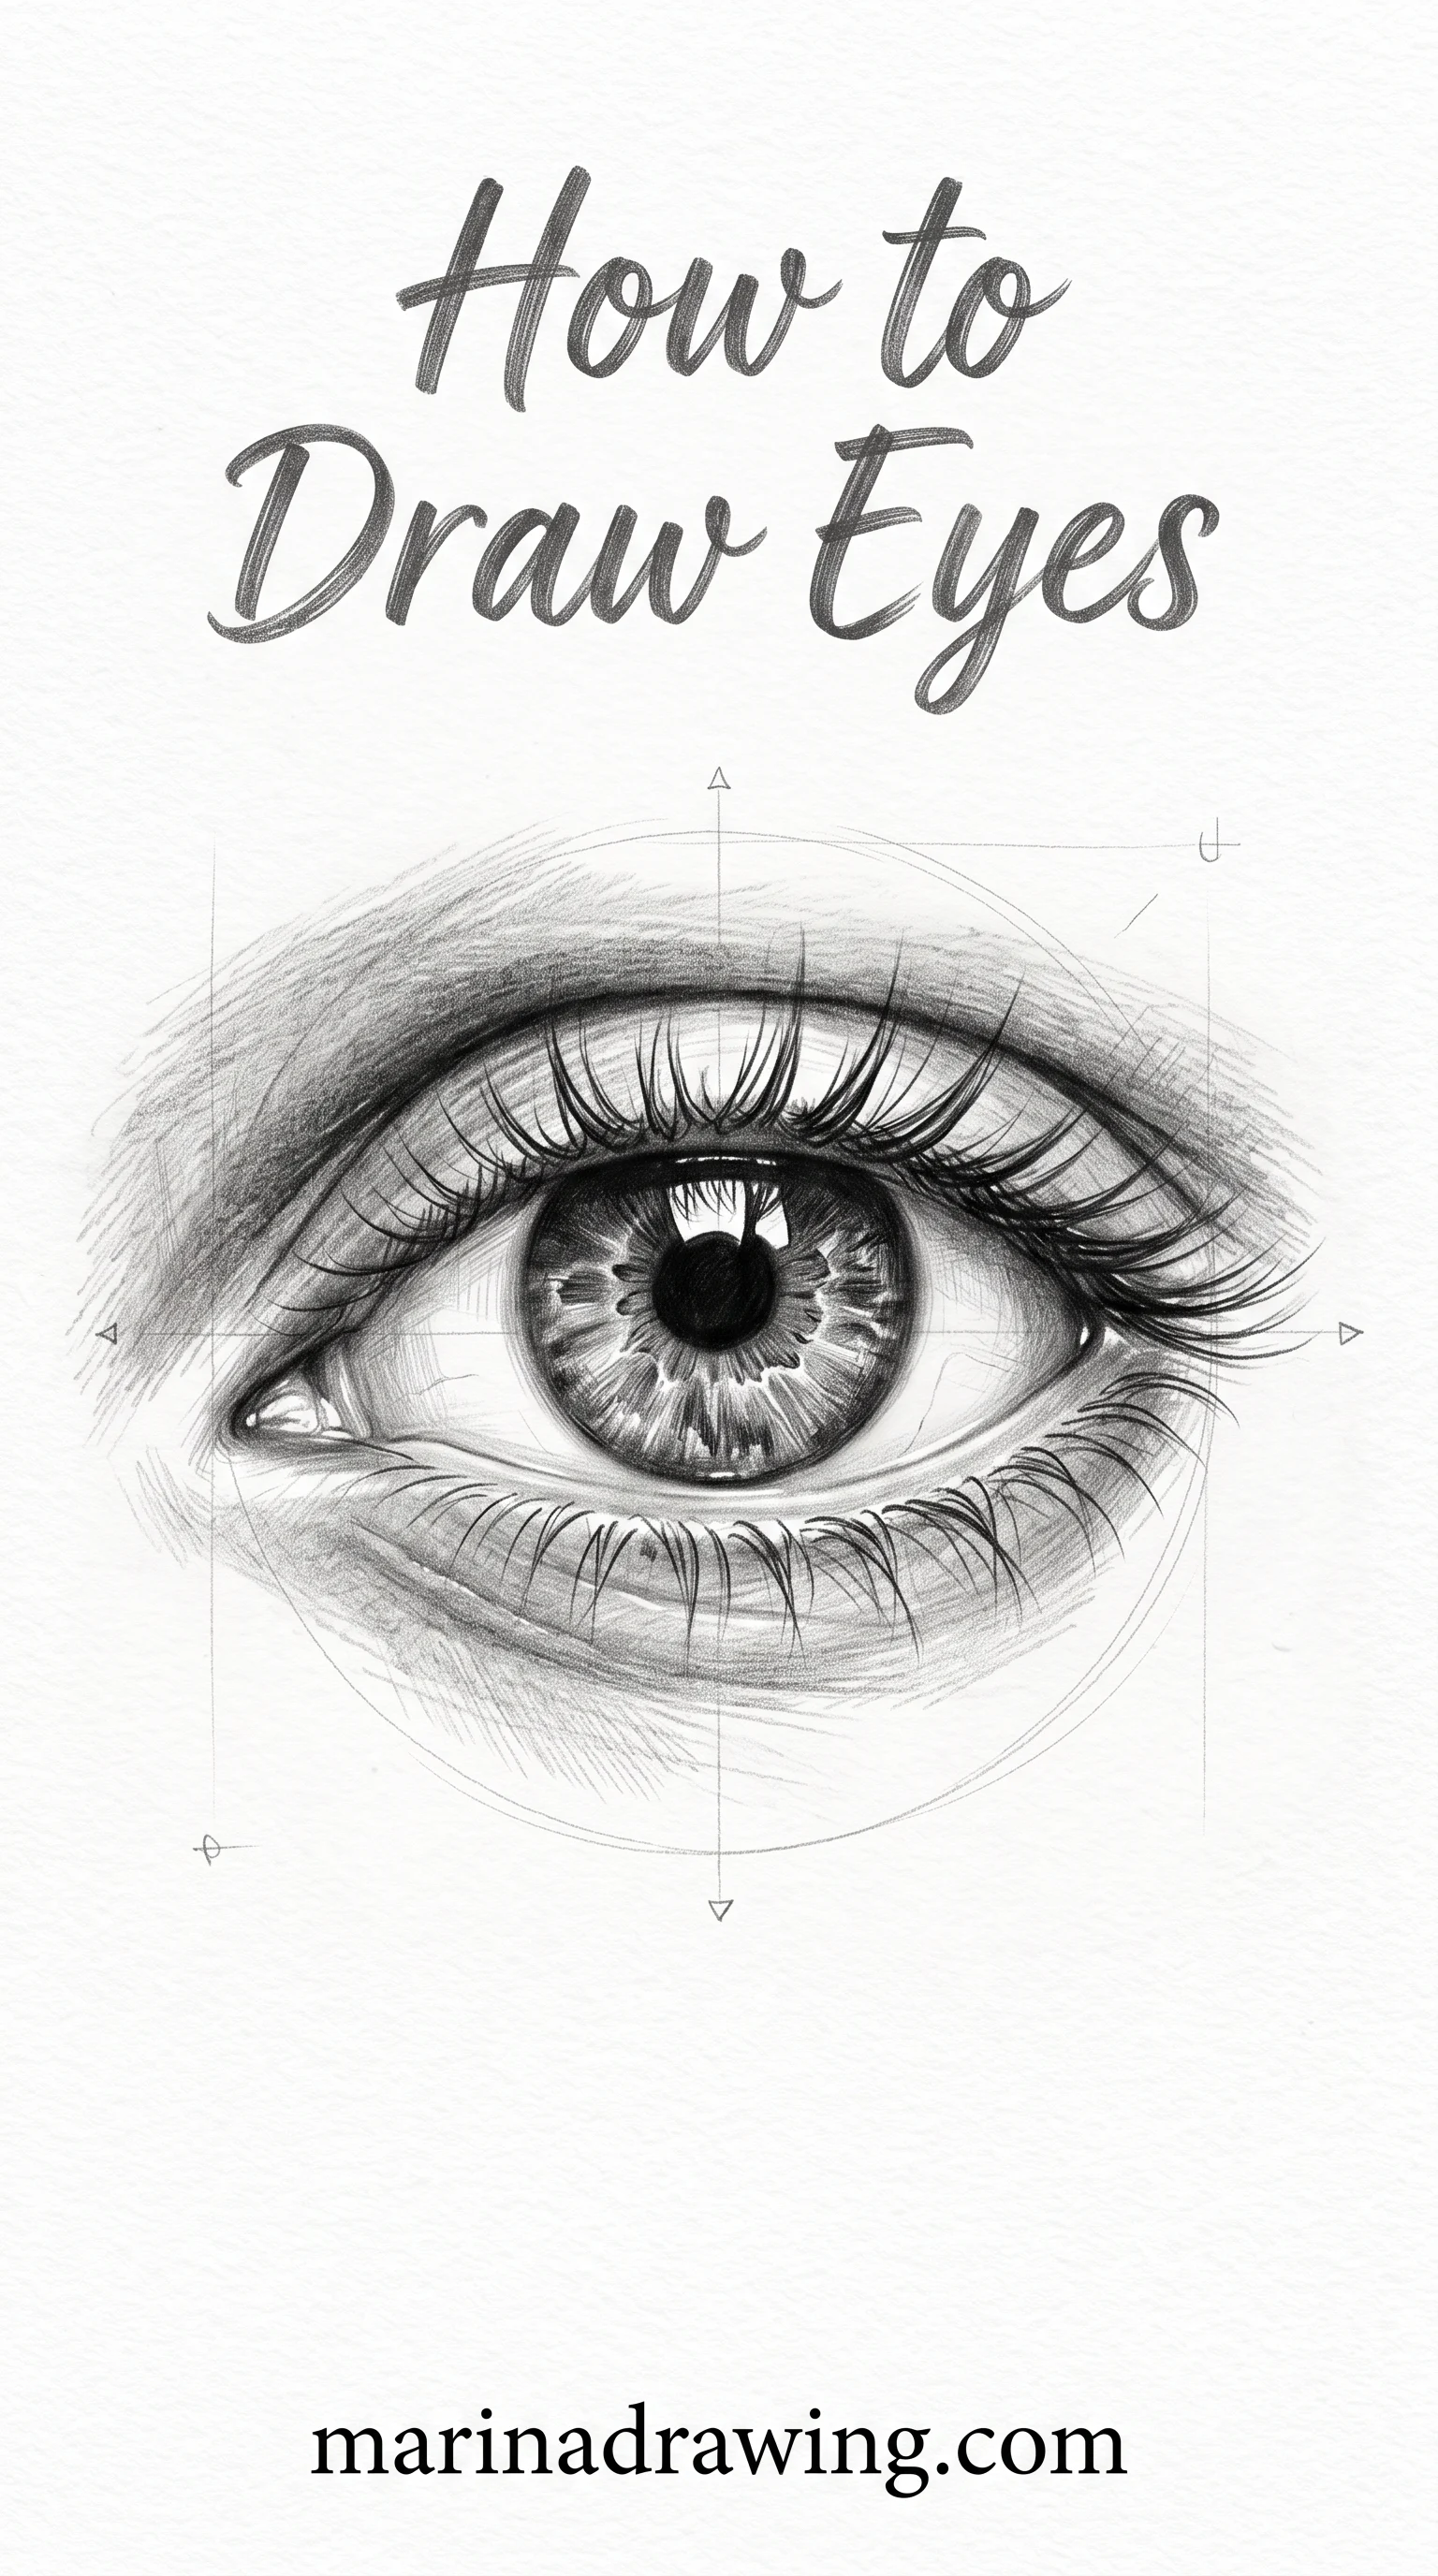
How to Draw Realistic Human Eyes in Pencil
42 hours of pencil drawing training, lifetime access
The video course I point plateaued students to — full lessons on portraits, hands, and realistic shading, not another short tutorial.

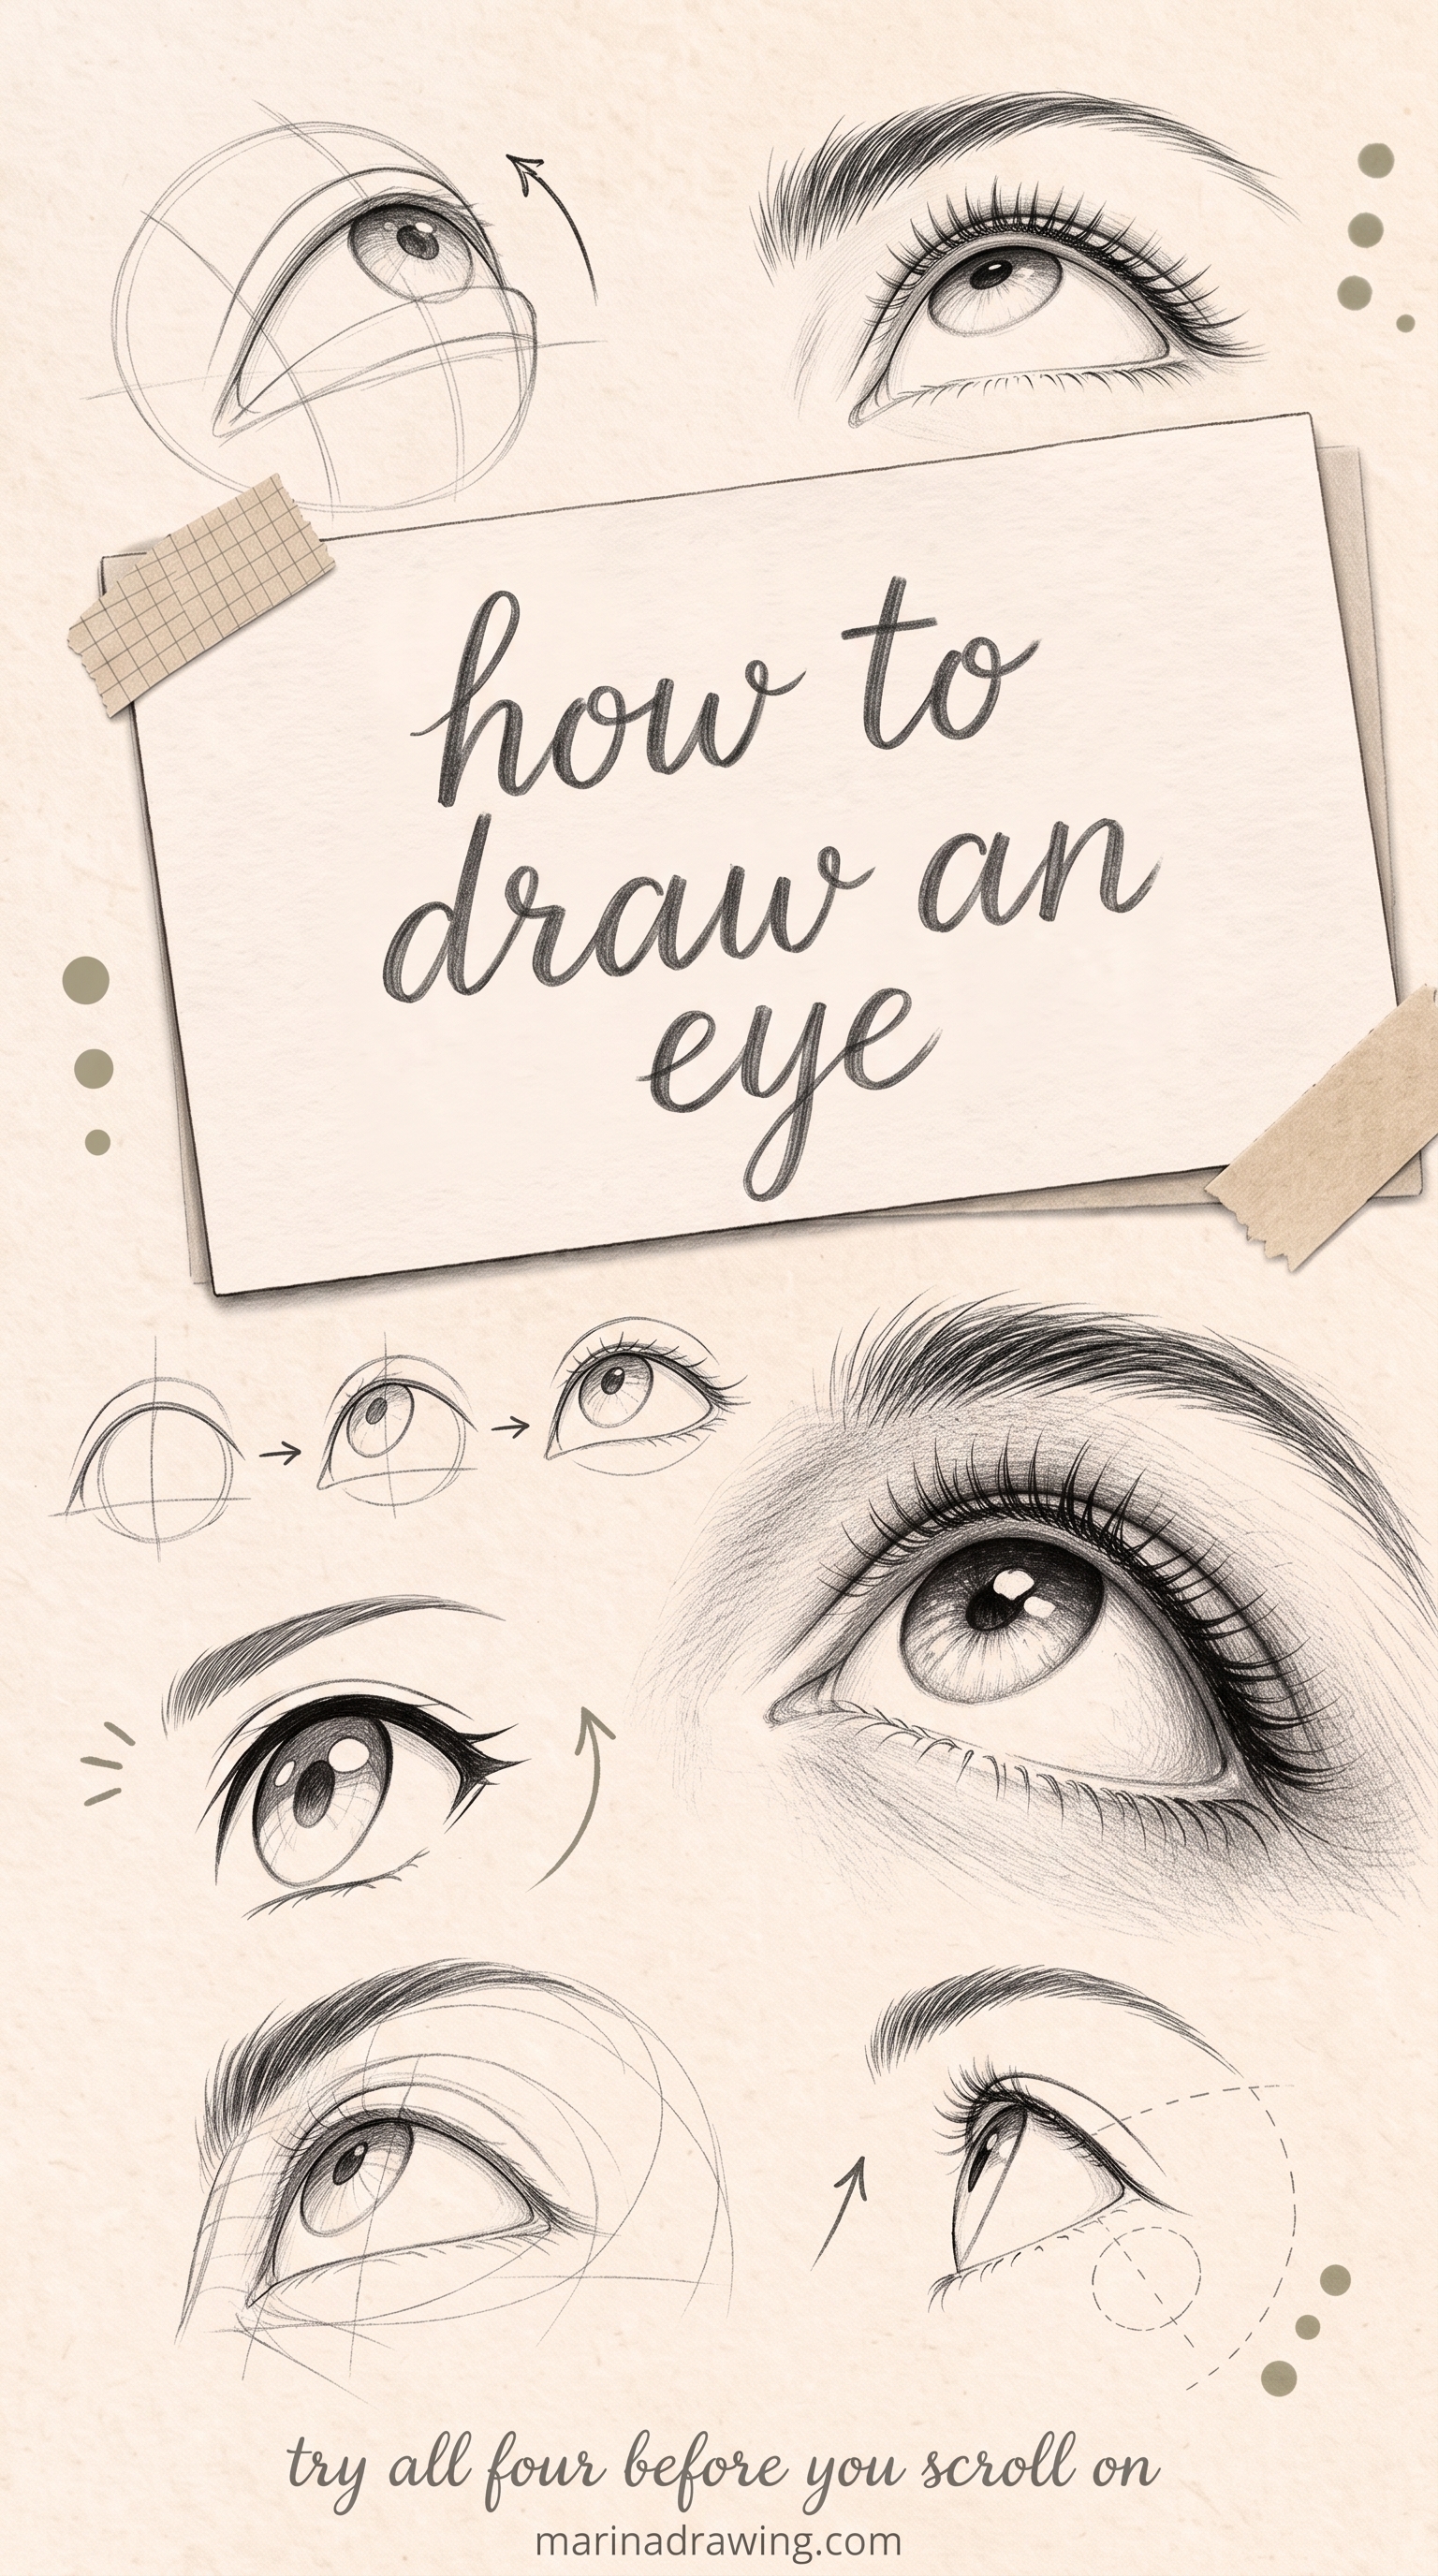
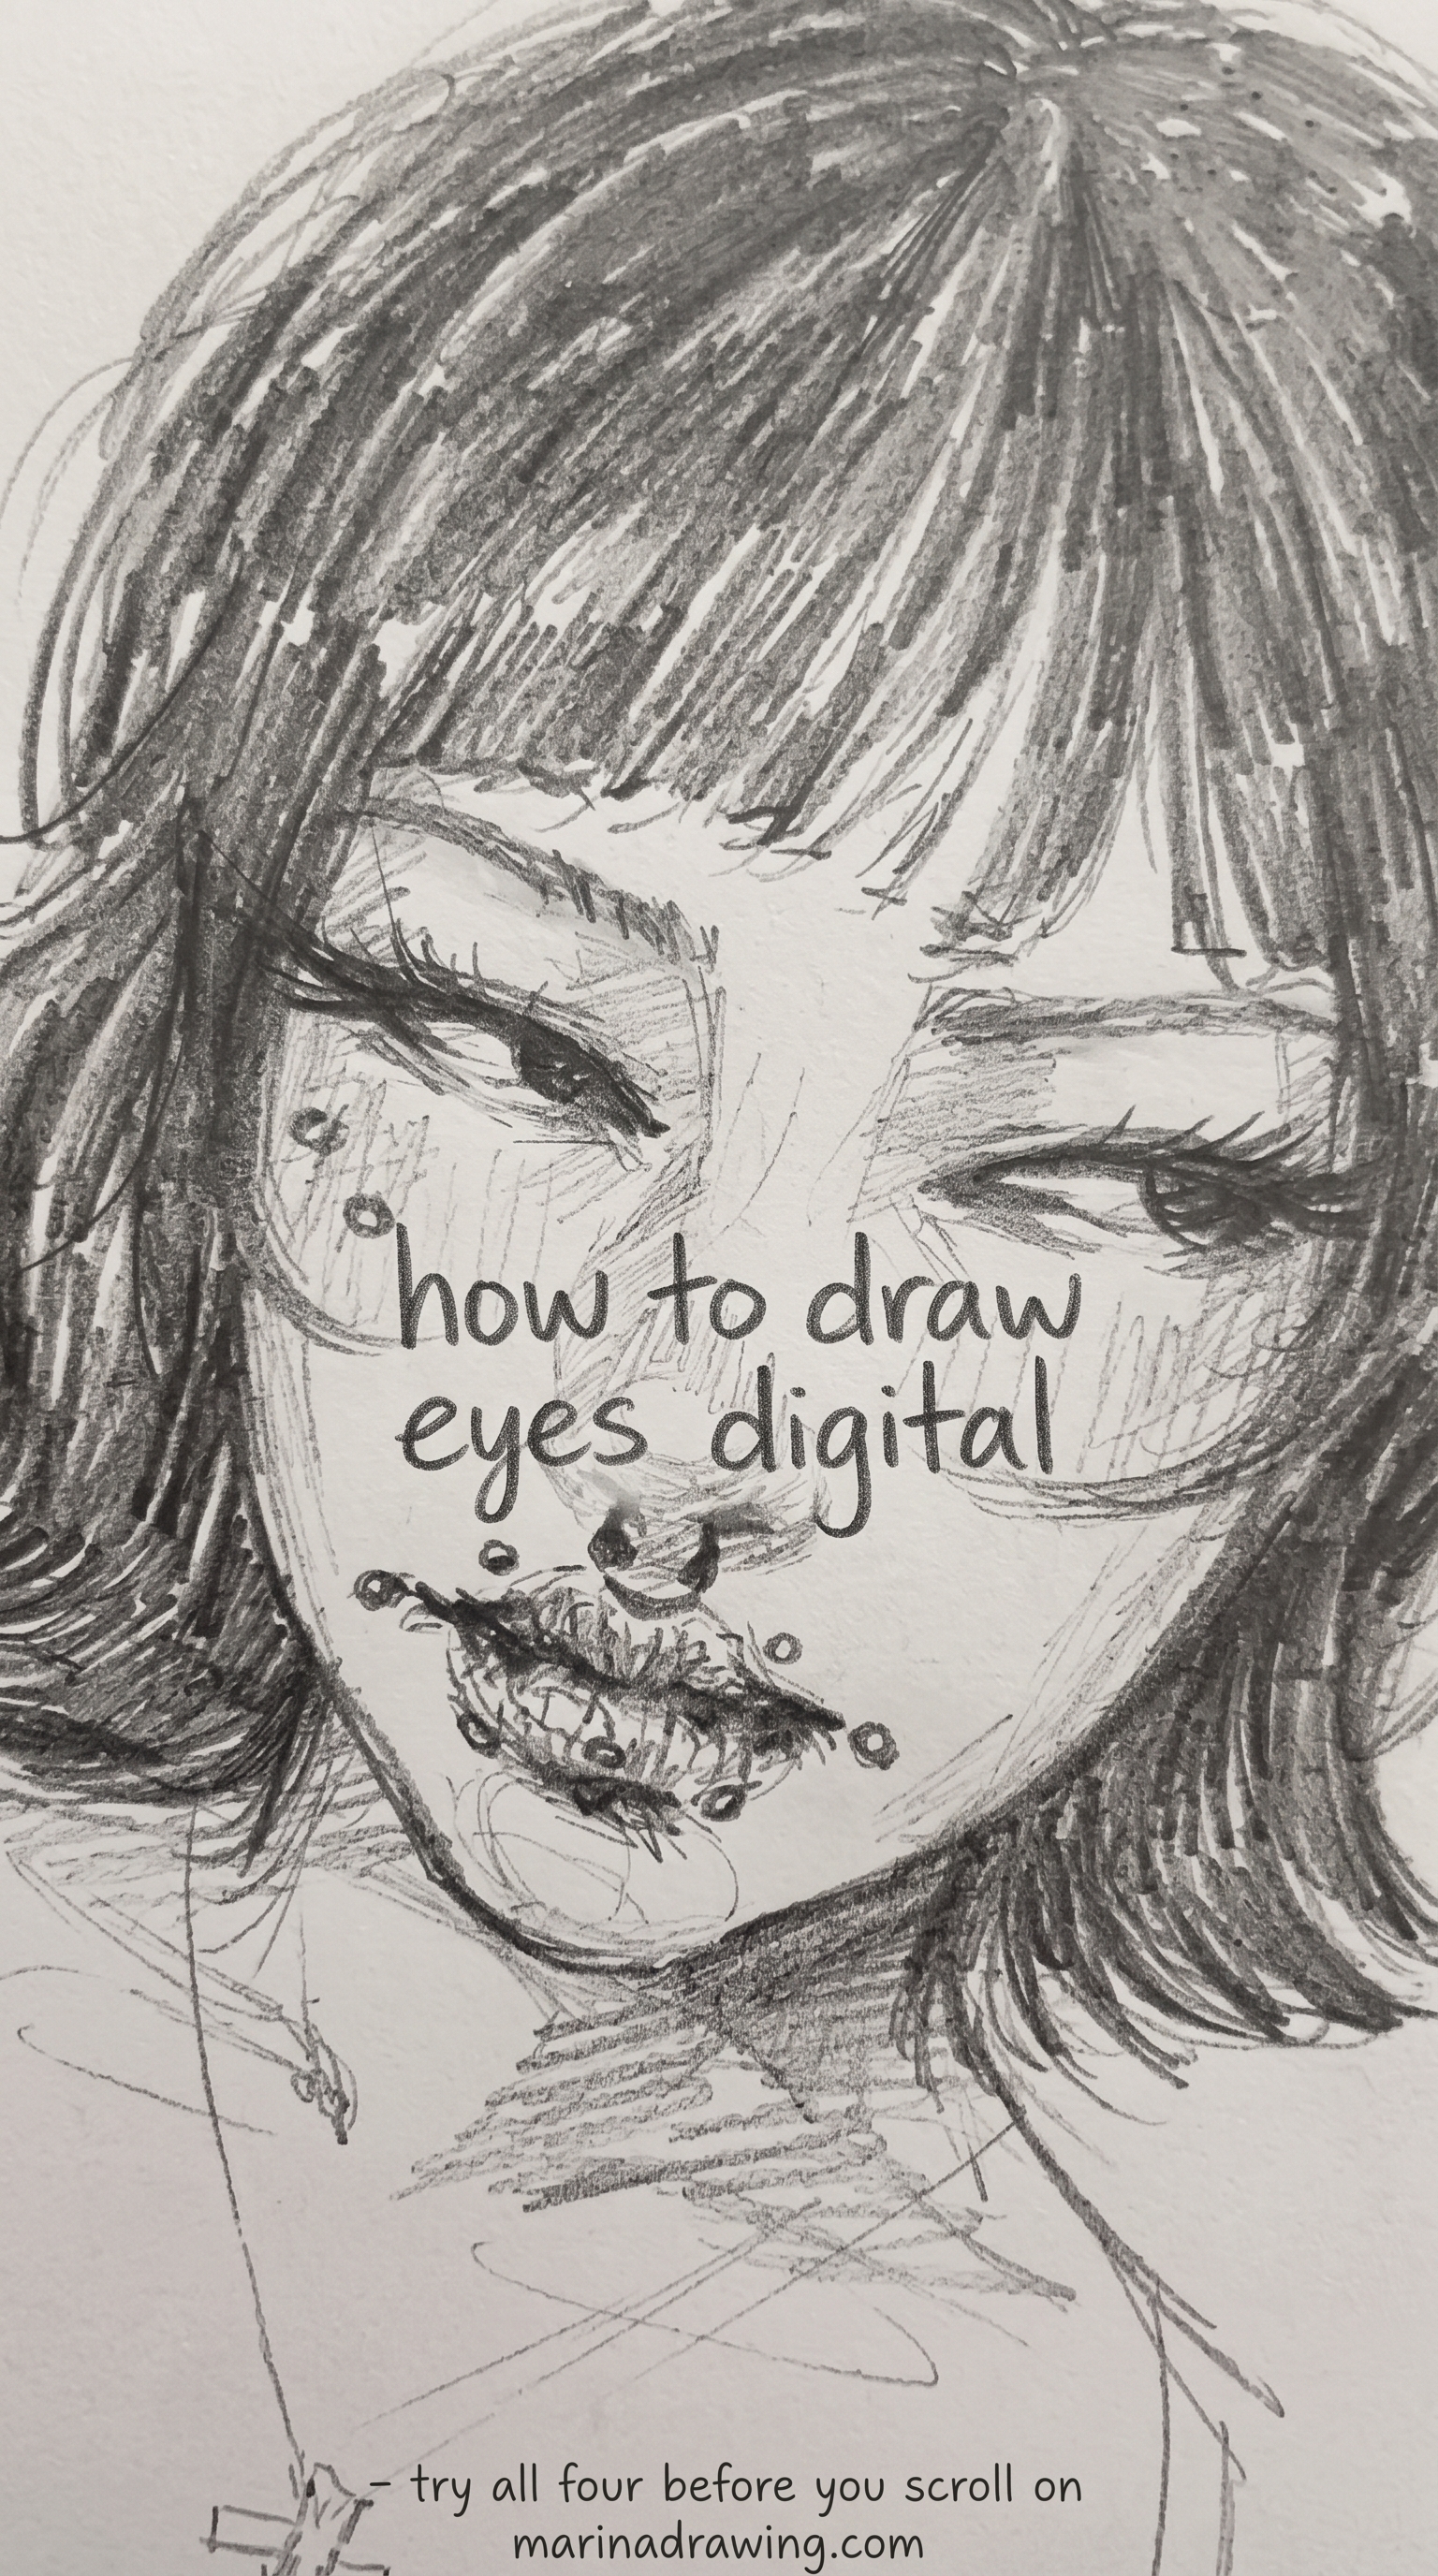
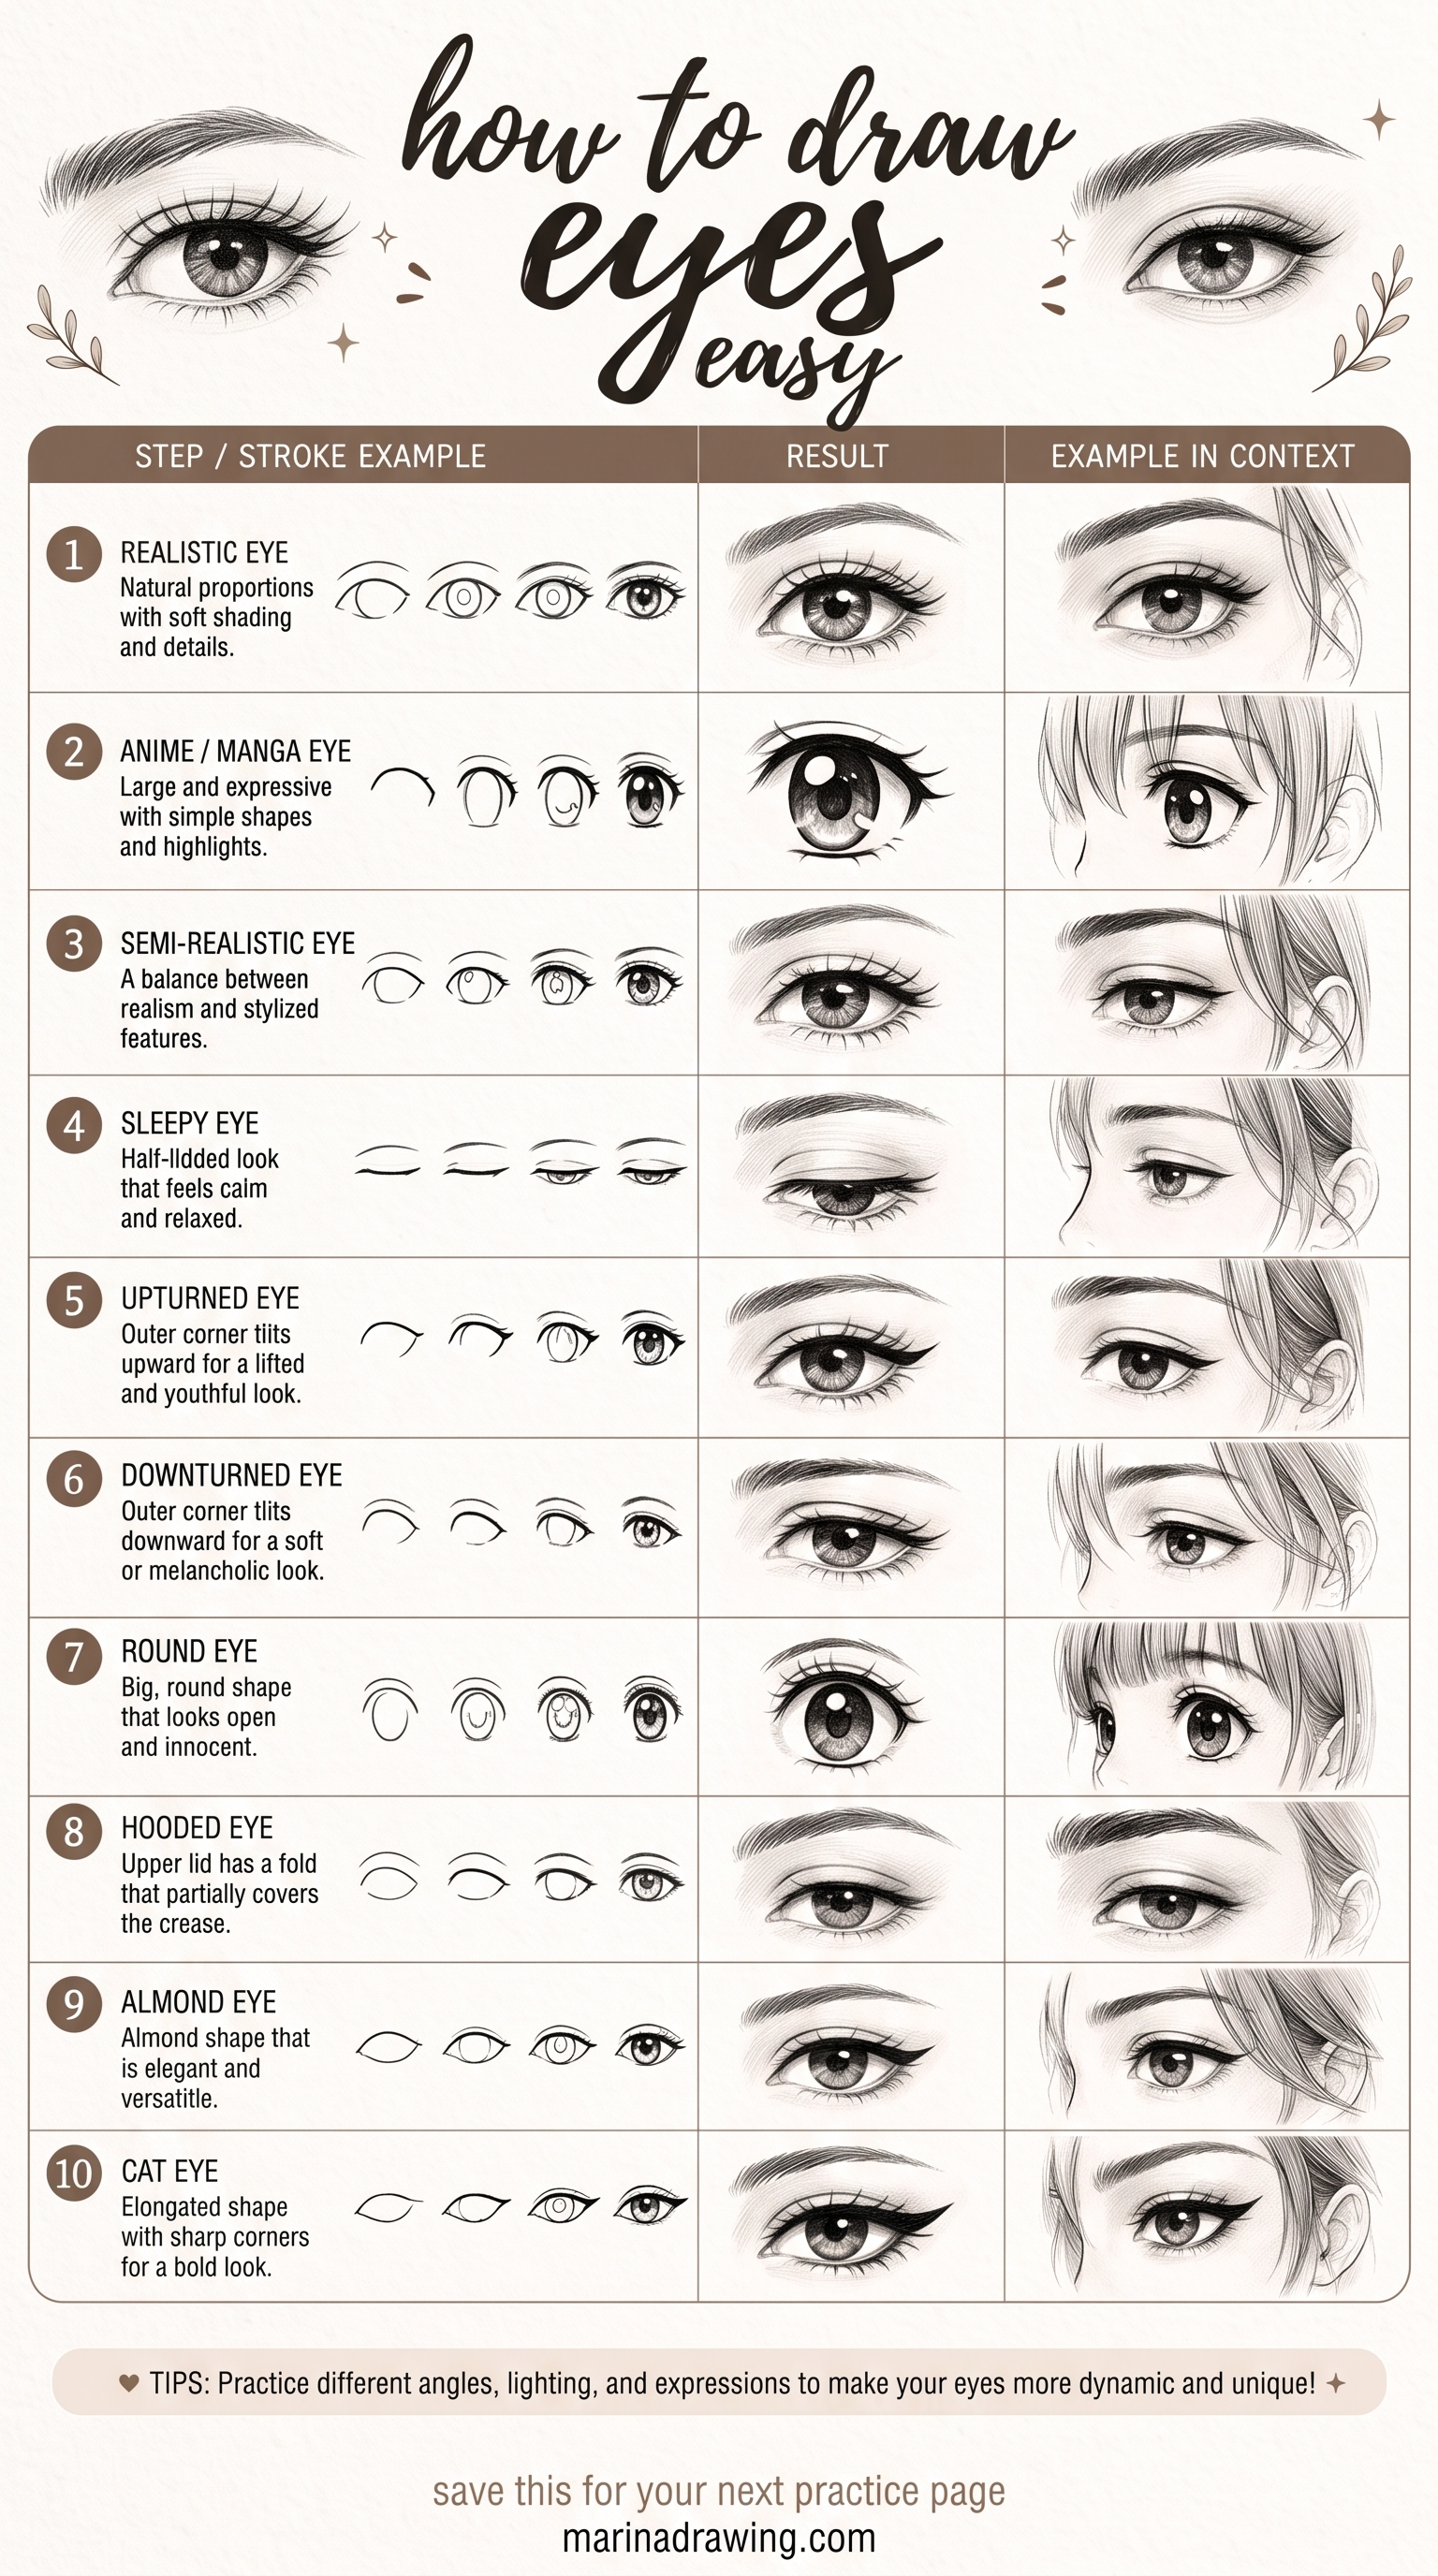
Realistic is not more detail. It is four things most drawings leave out.
- Lid thickness. Draw your upper lid as a surface, not a line, and let it cast a thin shadow on the ball.
- The white is not white. You are shading a sphere, so darken it toward the corners and under the lid.
- The iris is darker at its rim and lighter toward the pupil on the lit side.
- One highlight, paper white. Leave it as you go, and do not add it back later.
A human eye drawn with those four and no lashes still reads as real. An eye with perfect lashes and none of them does not.
Shading an iris without flattening it
Soft-edge brushes that hold a gradient across a small area, exactly where a default airbrush turns your iris into a flat grey disc.
Drawing Brown, Blue and Green Eyes Without Muddy Colour
 Pin it
Eye colour lives in the iris rim and the fibres, not in a flat fill.
Lay your darkest value at the outer rim of the iris. Then pull short strokes inward toward the pupil, leaving them lighter on the side your light comes from. For a brown eye you want warmth near the pupil, not a uniform brown. For blue or green, take the rim darker than you think, or your iris floats.
Your pupil is the darkest thing on the page. Nothing else gets that black. Watching someone build an iris in the graphite lessons settles the order faster than any written description of it, and the same values carry into shading work on the rest of the face.
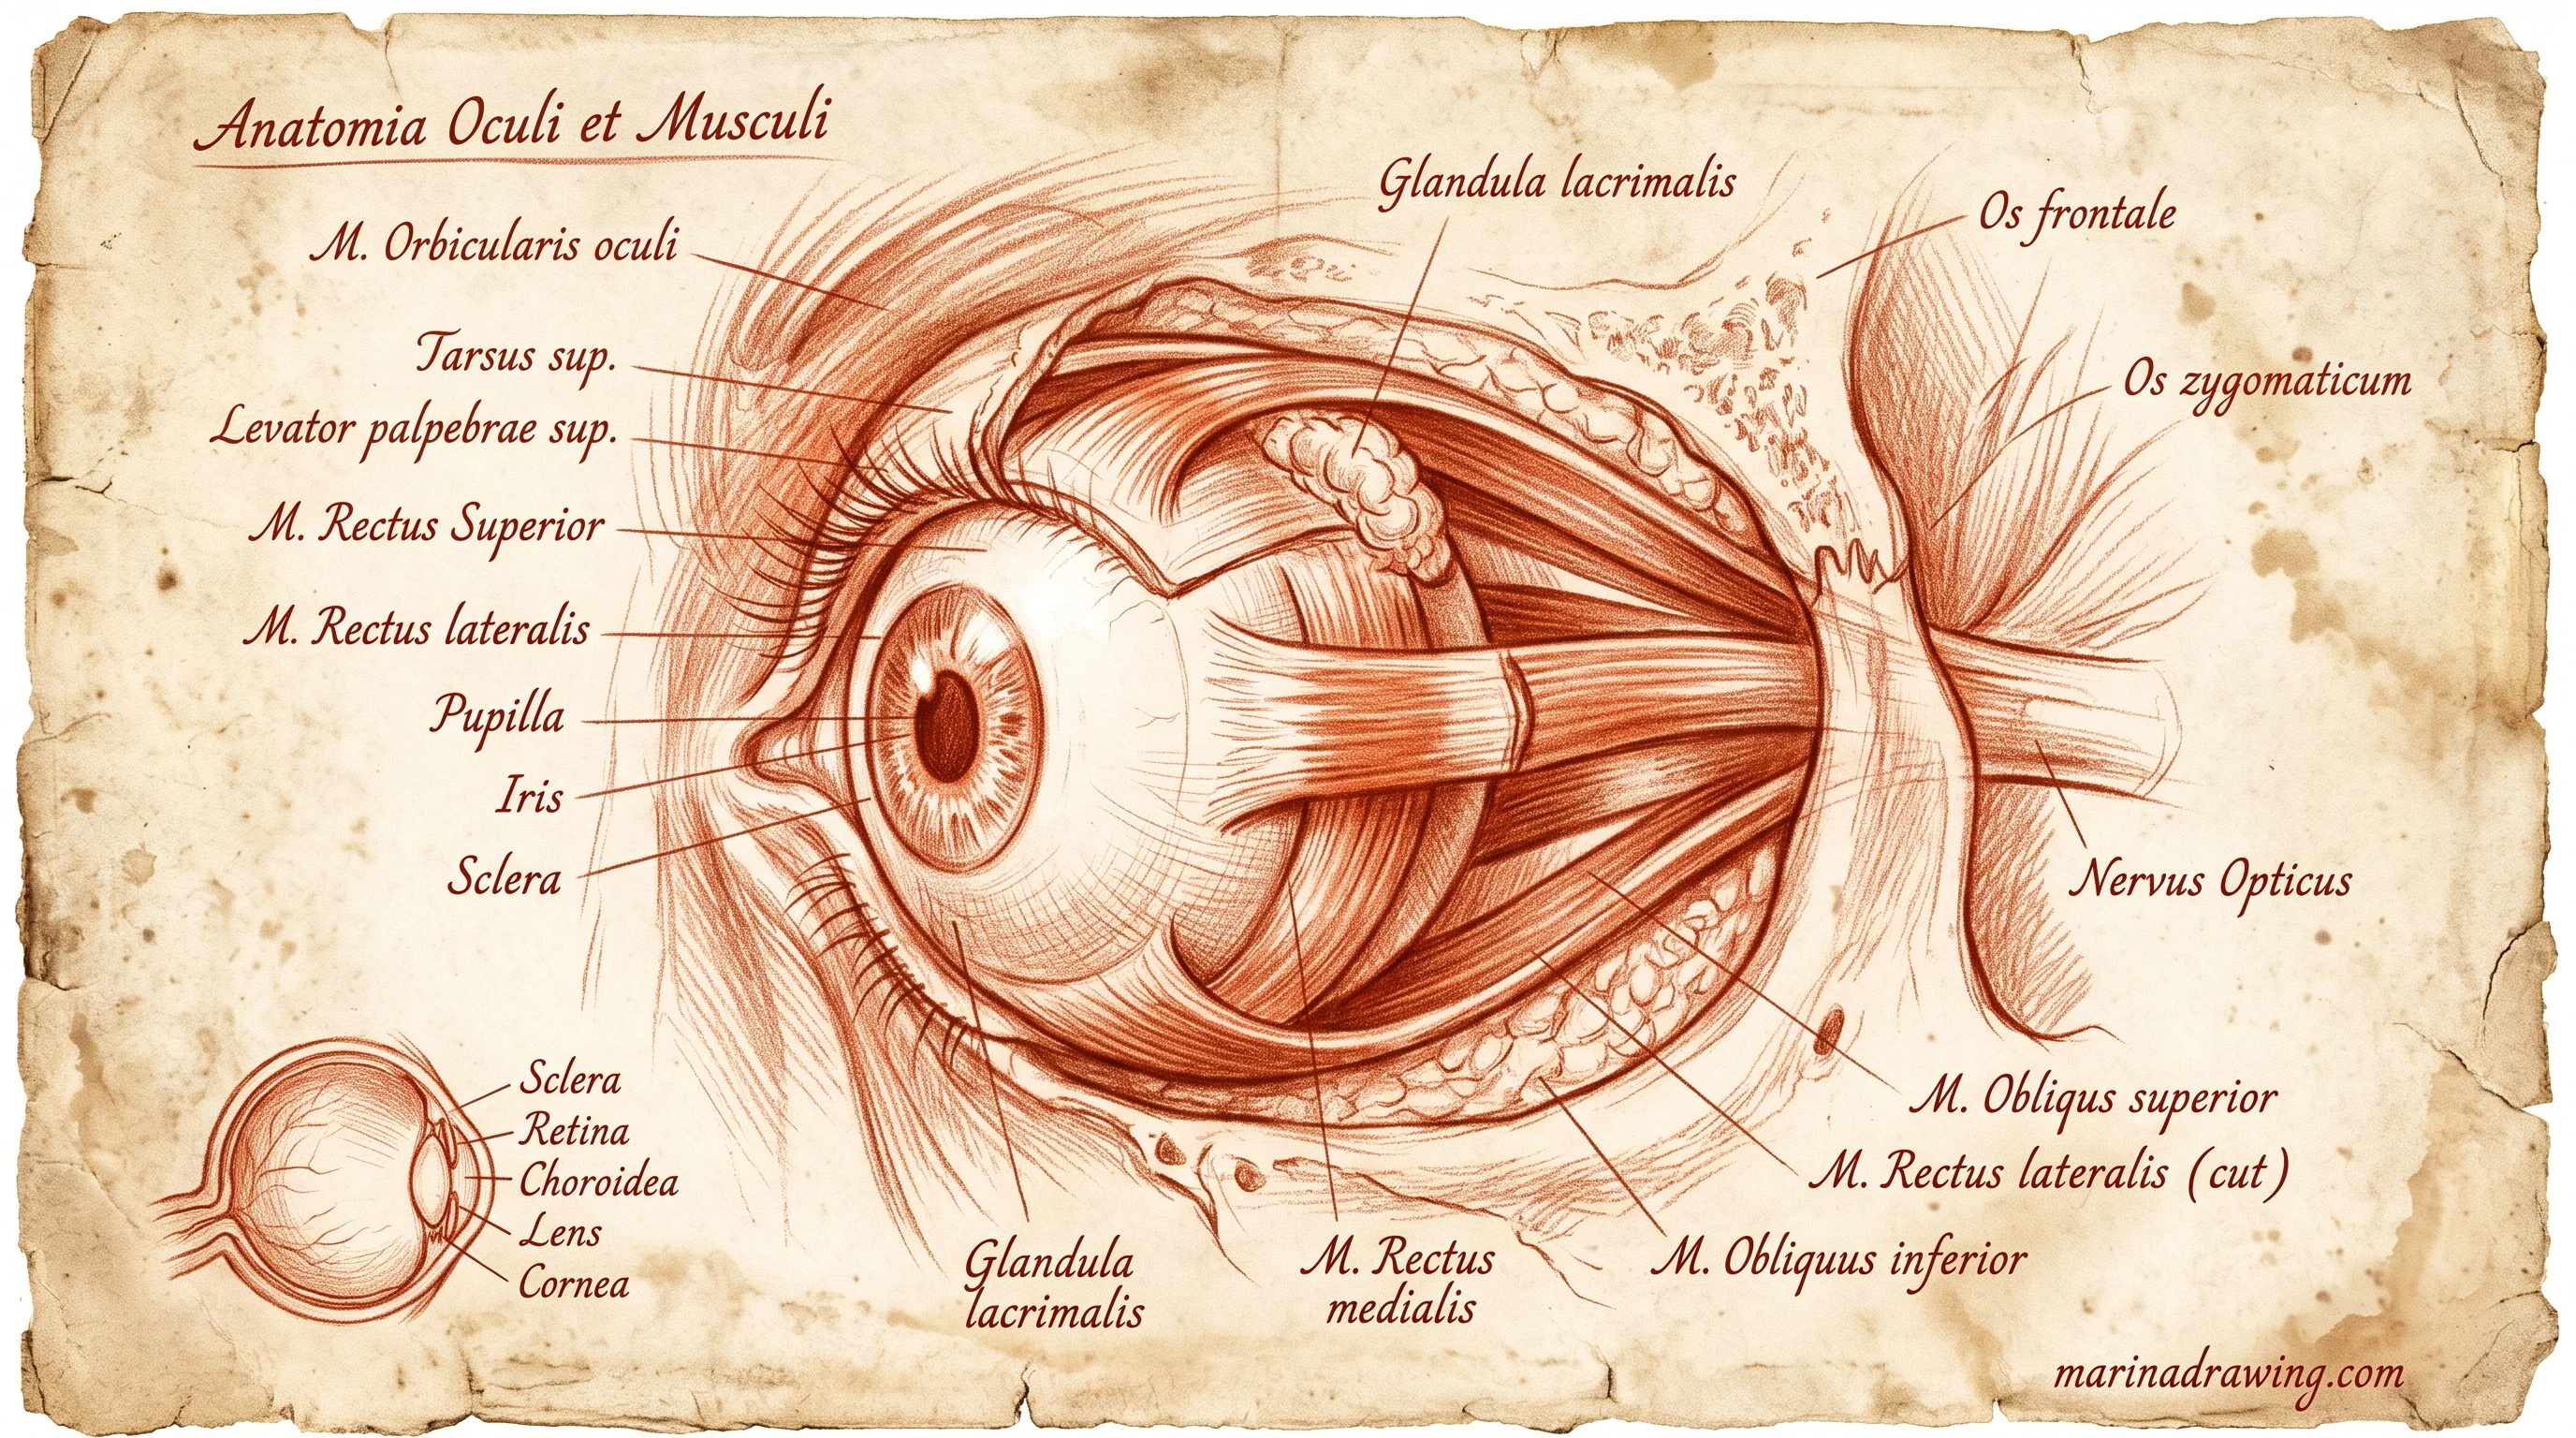
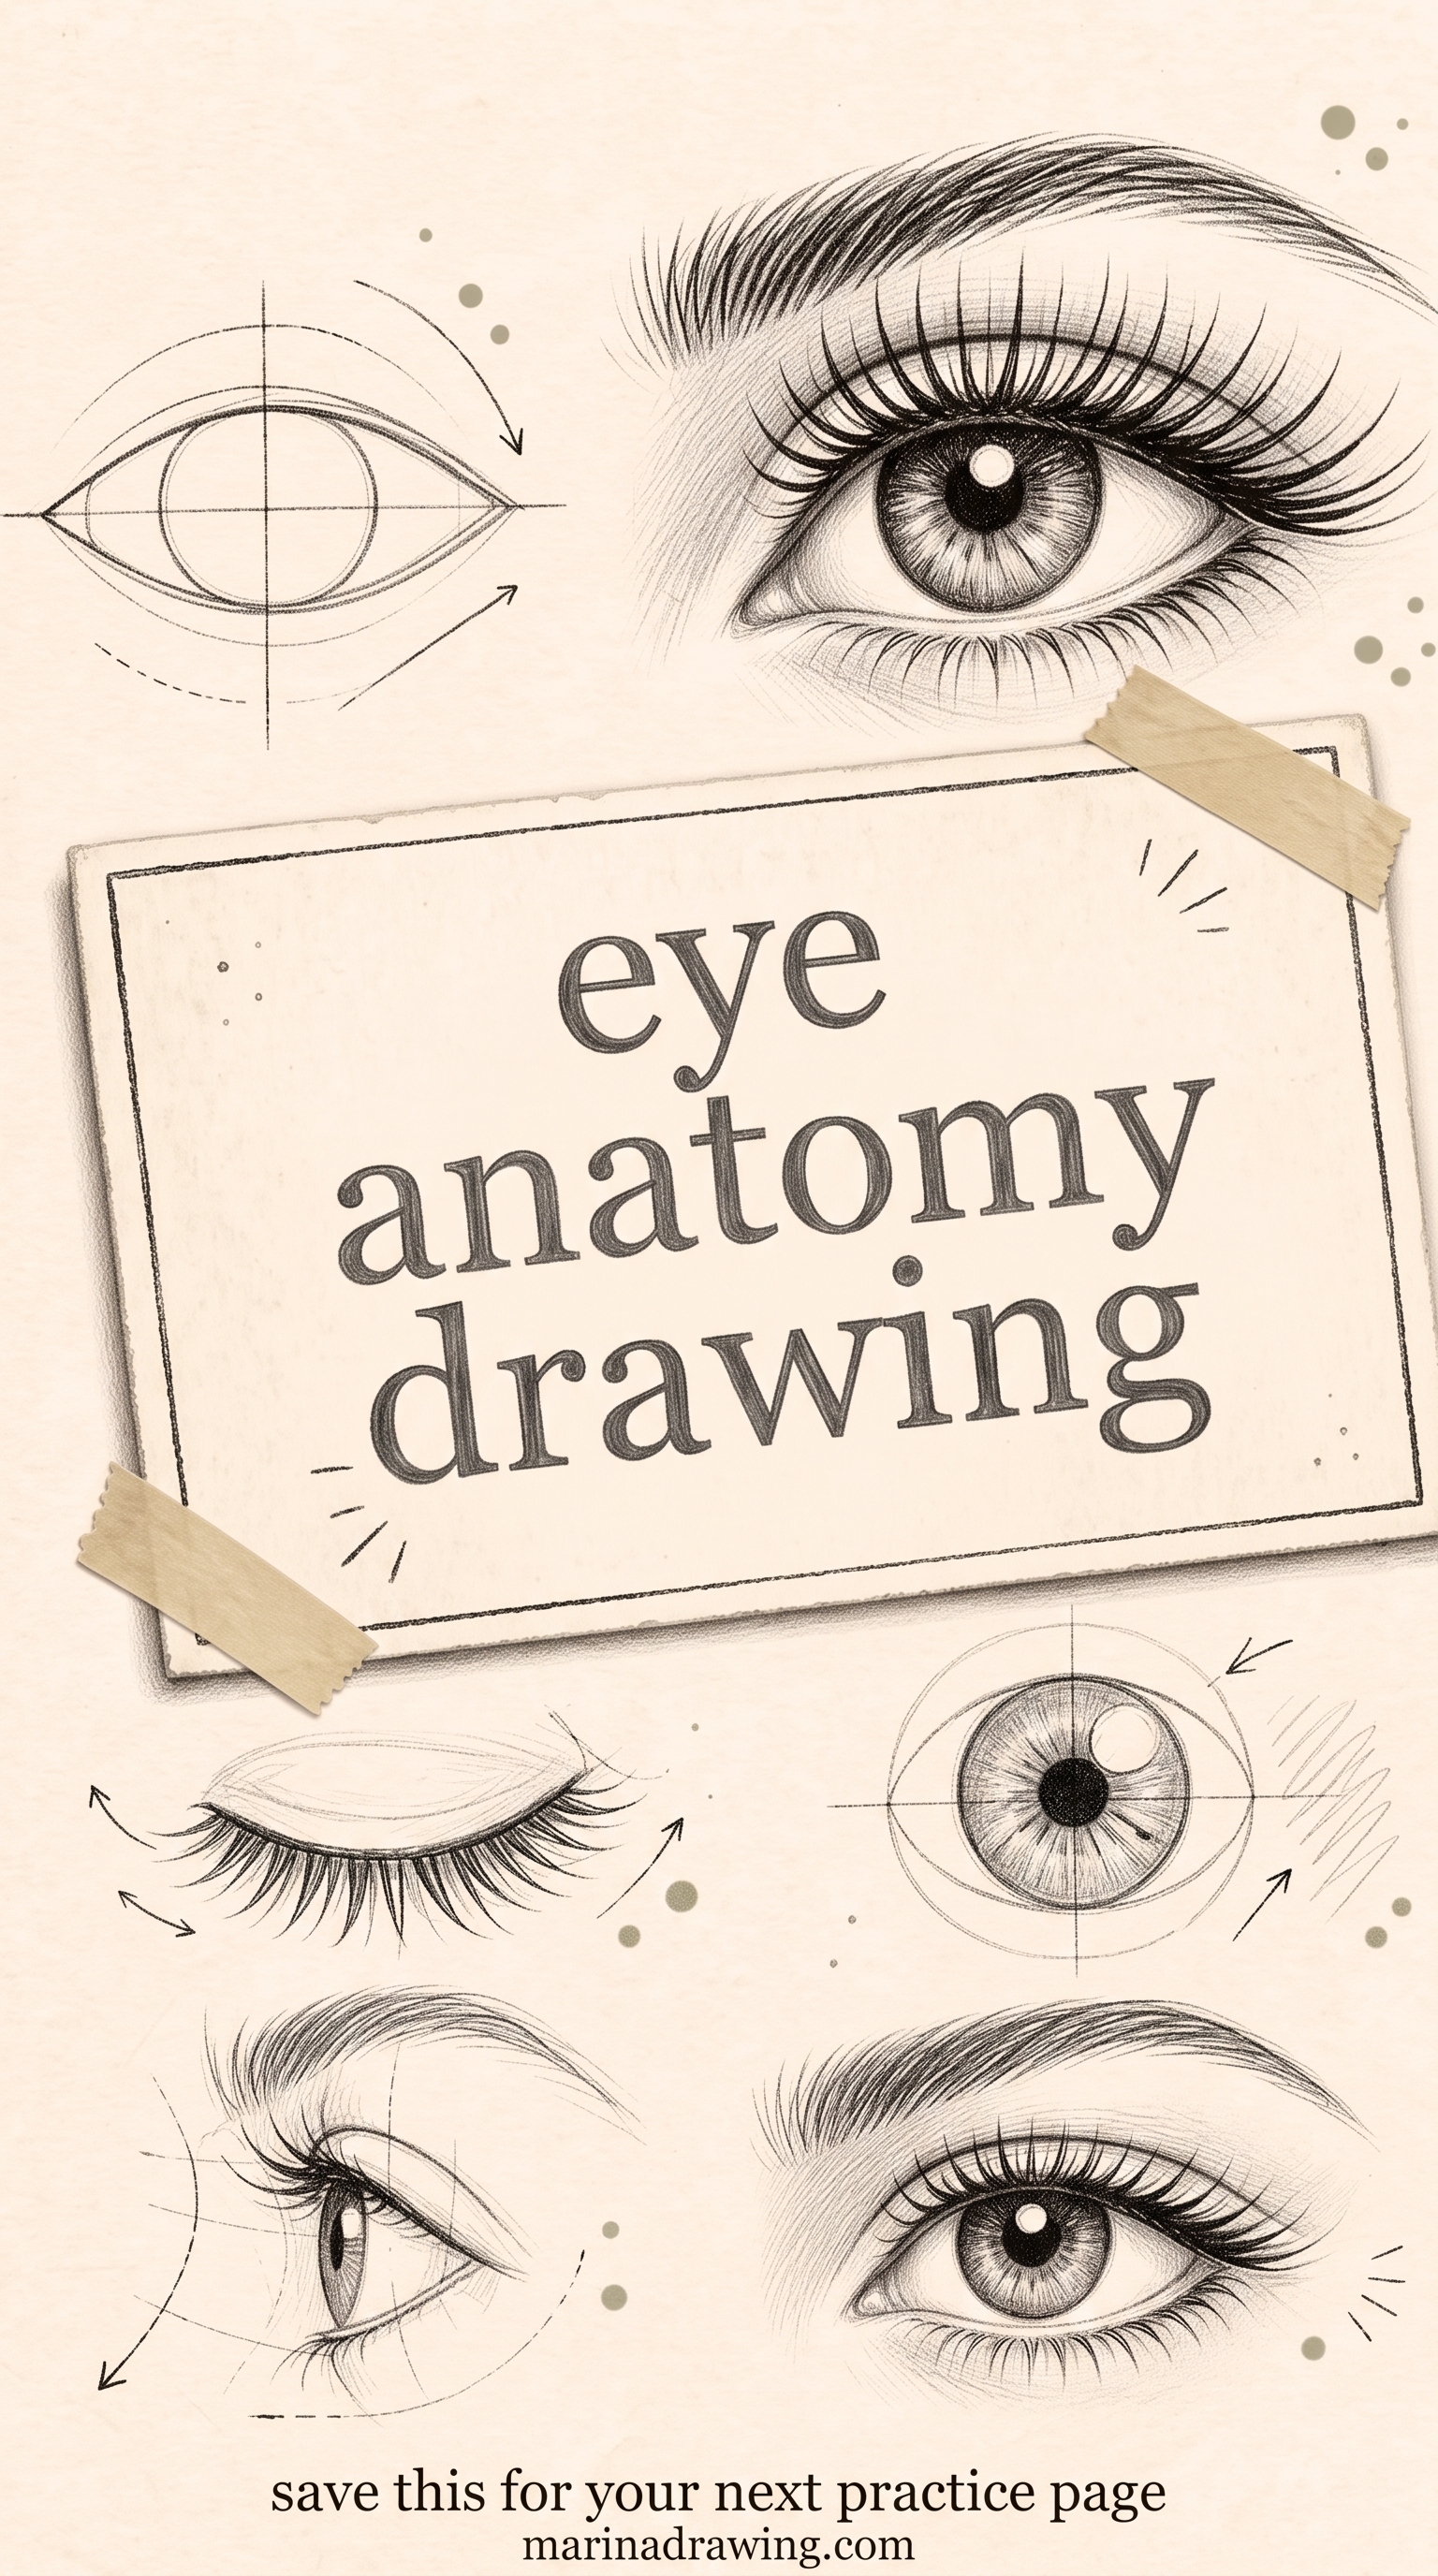
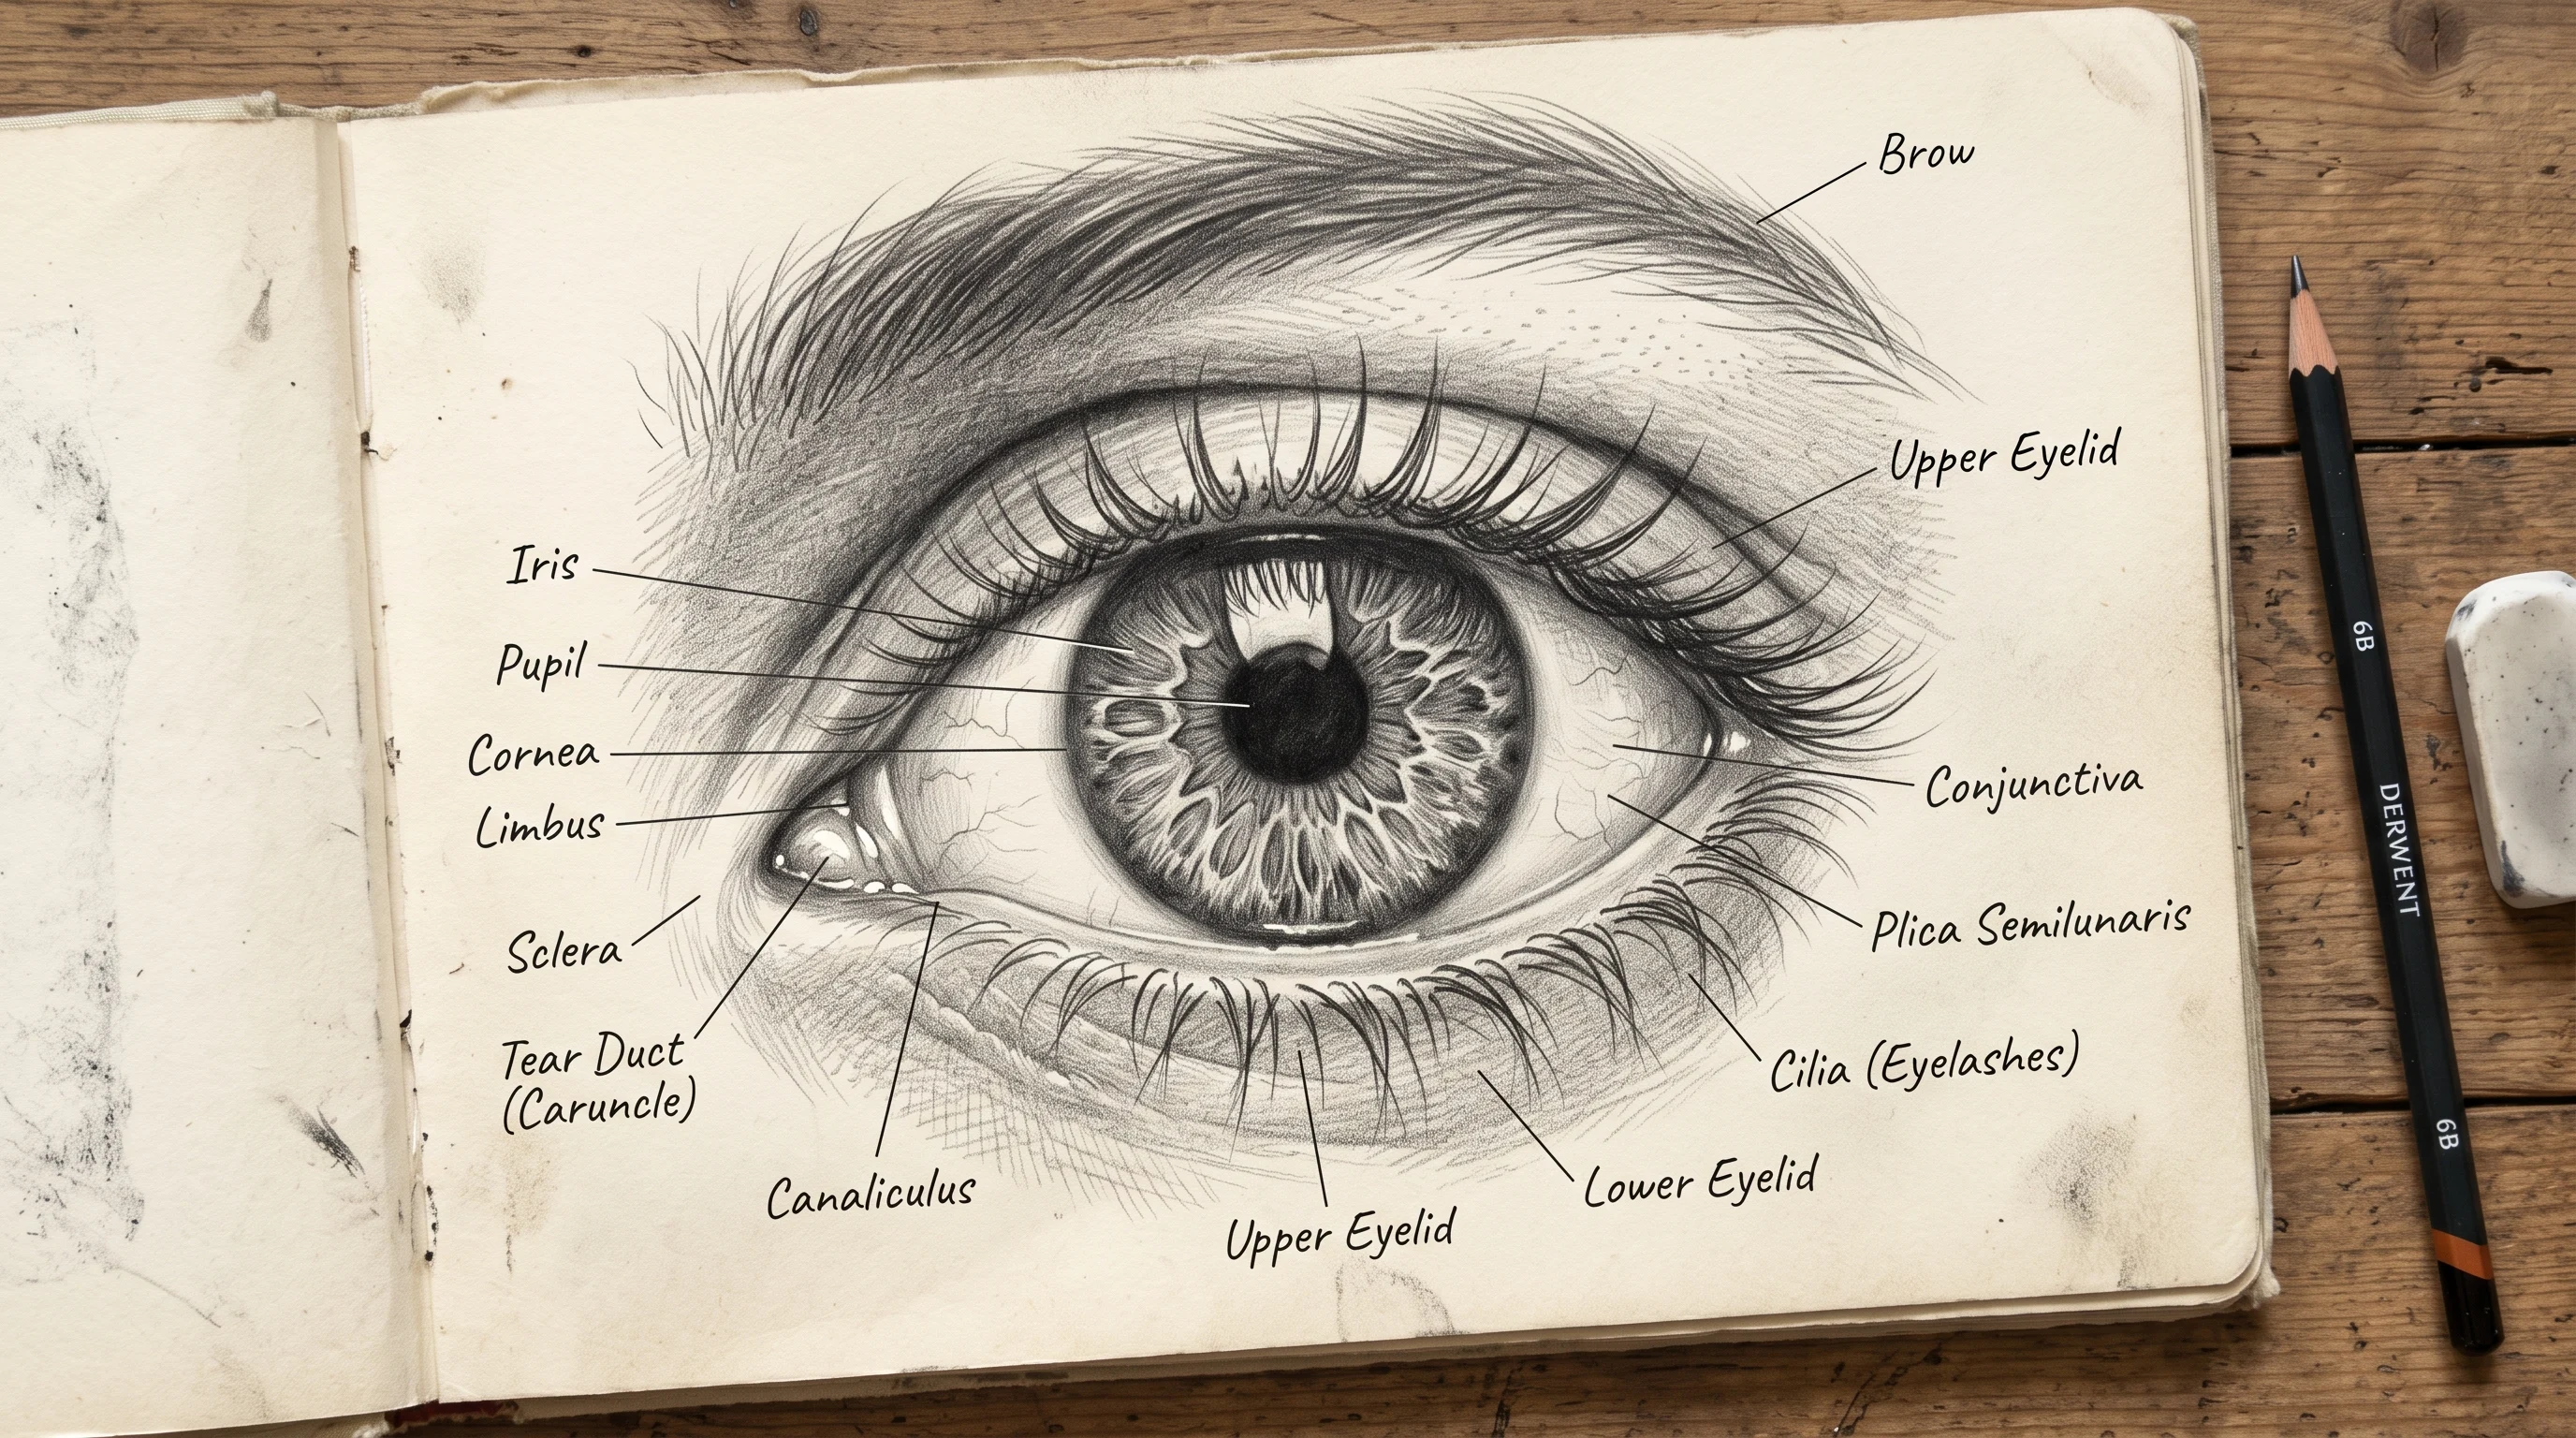
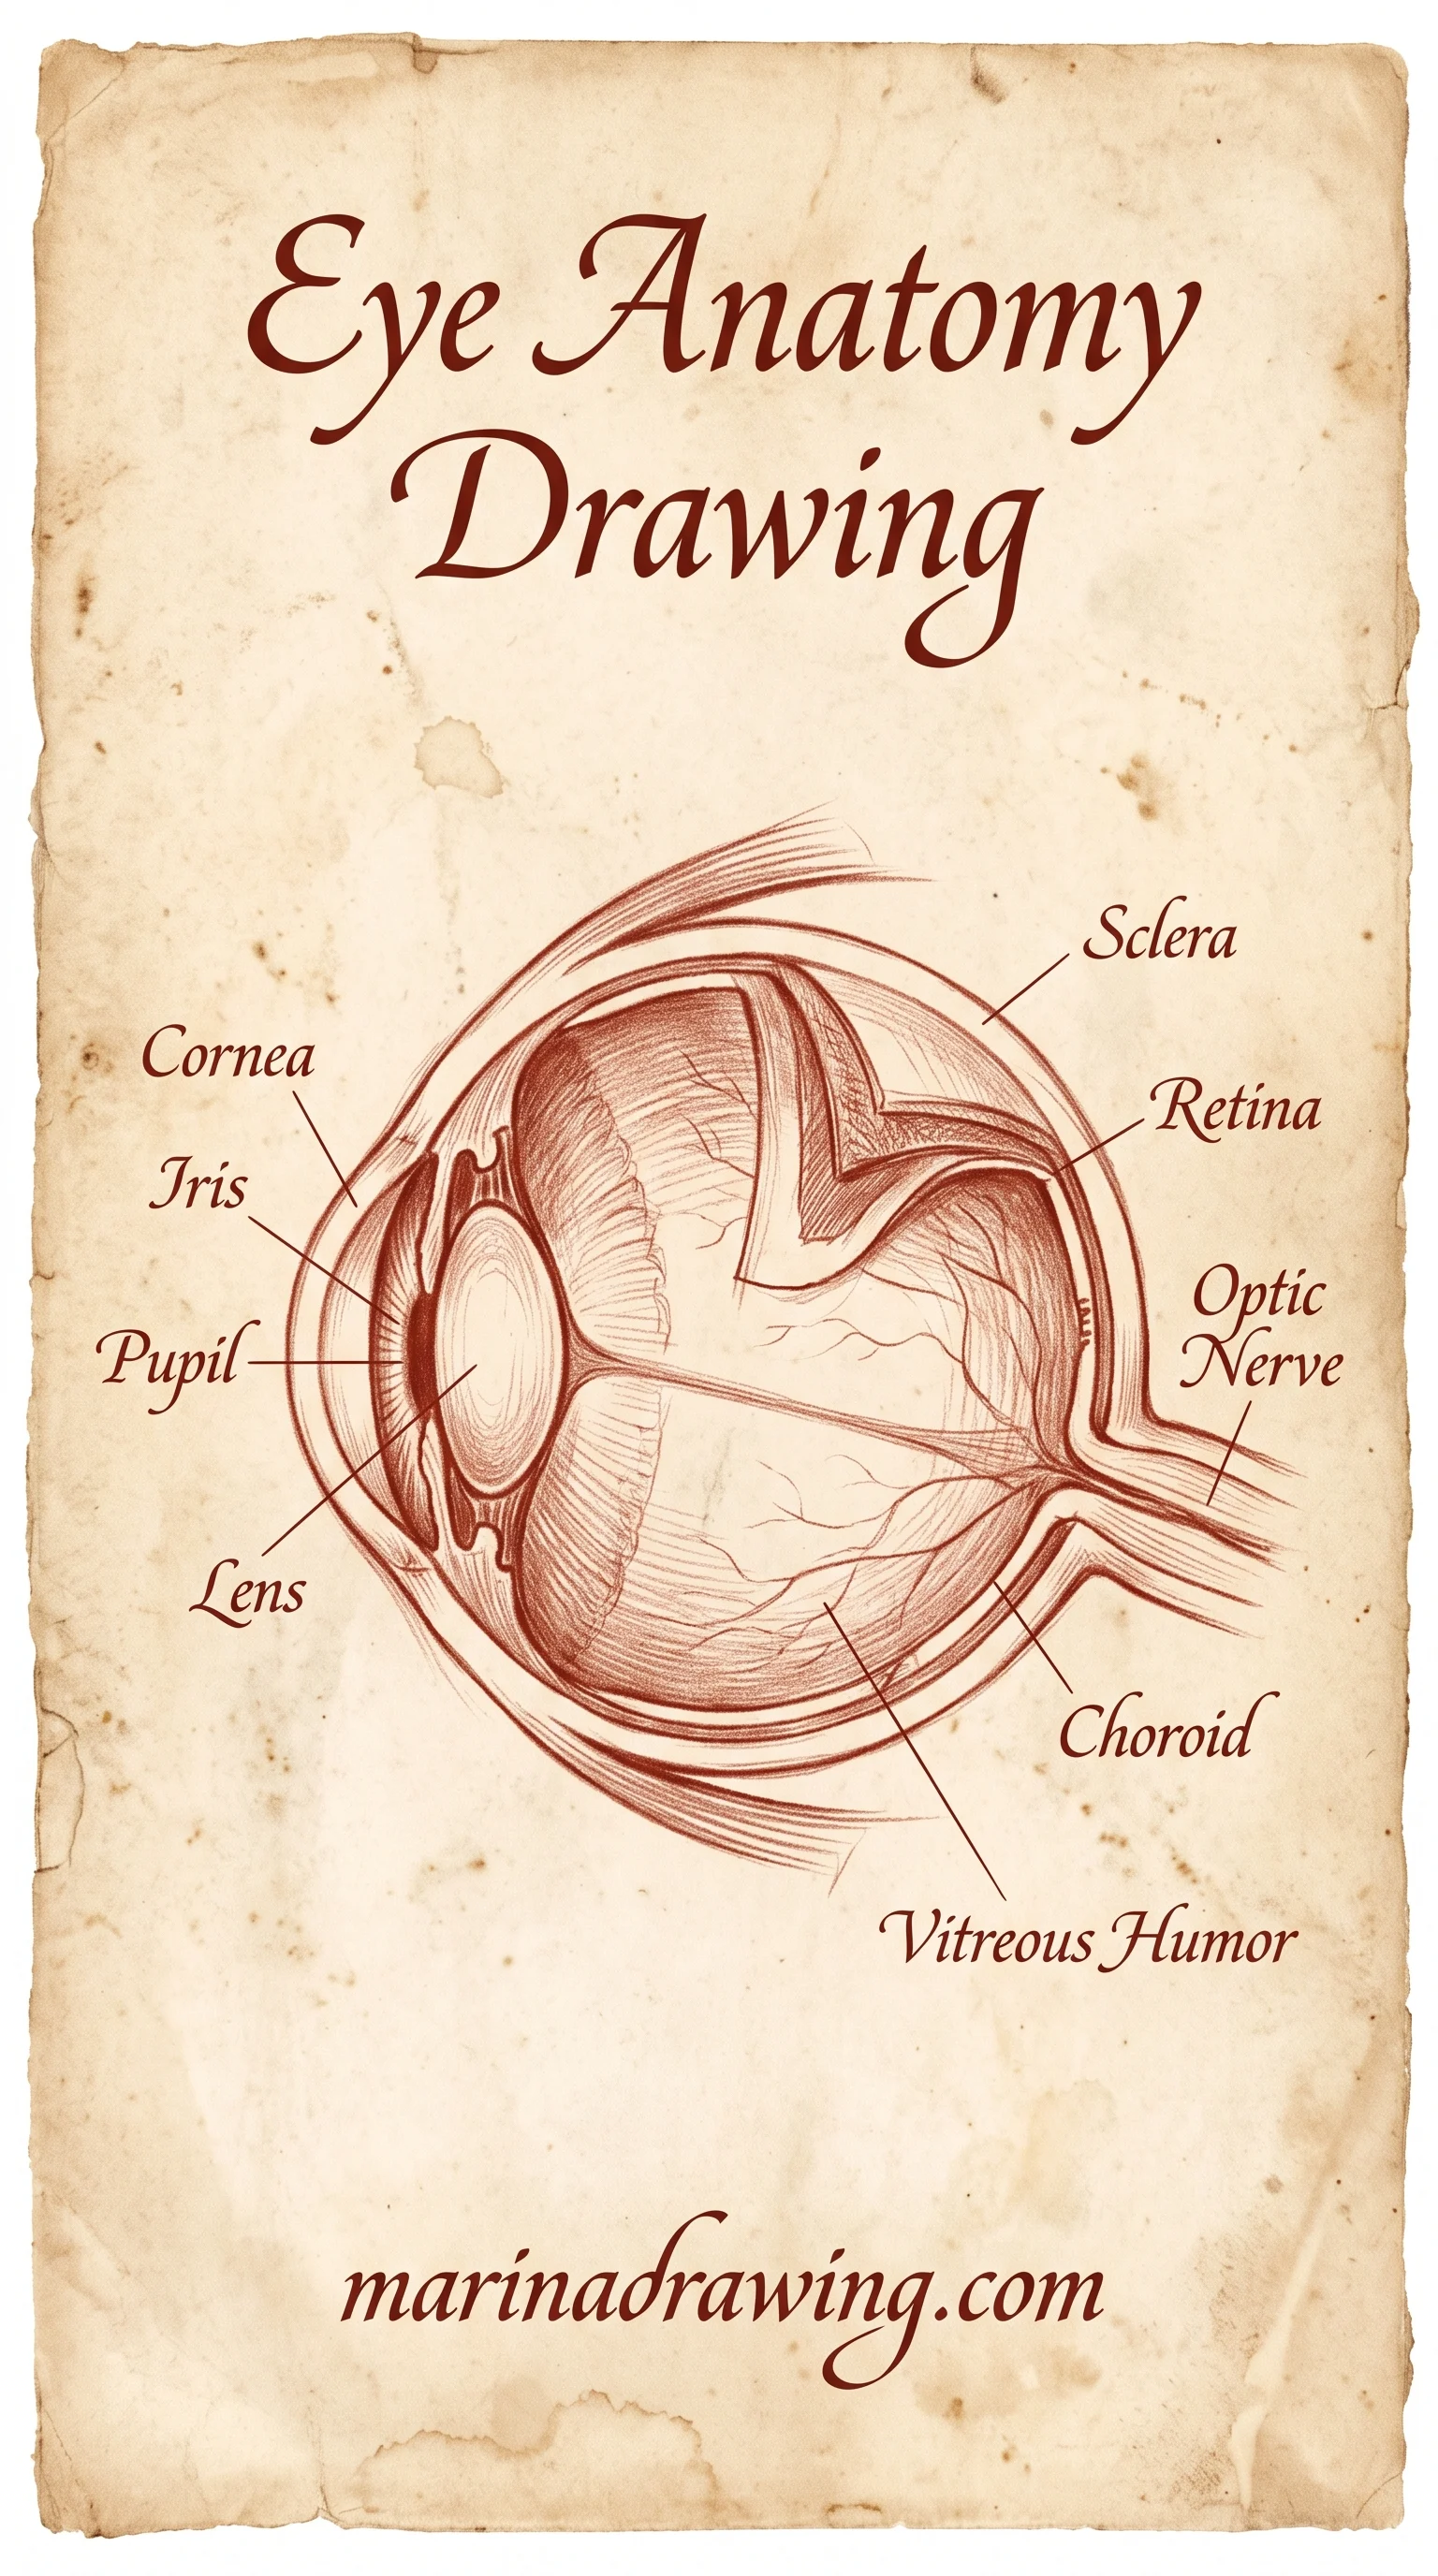
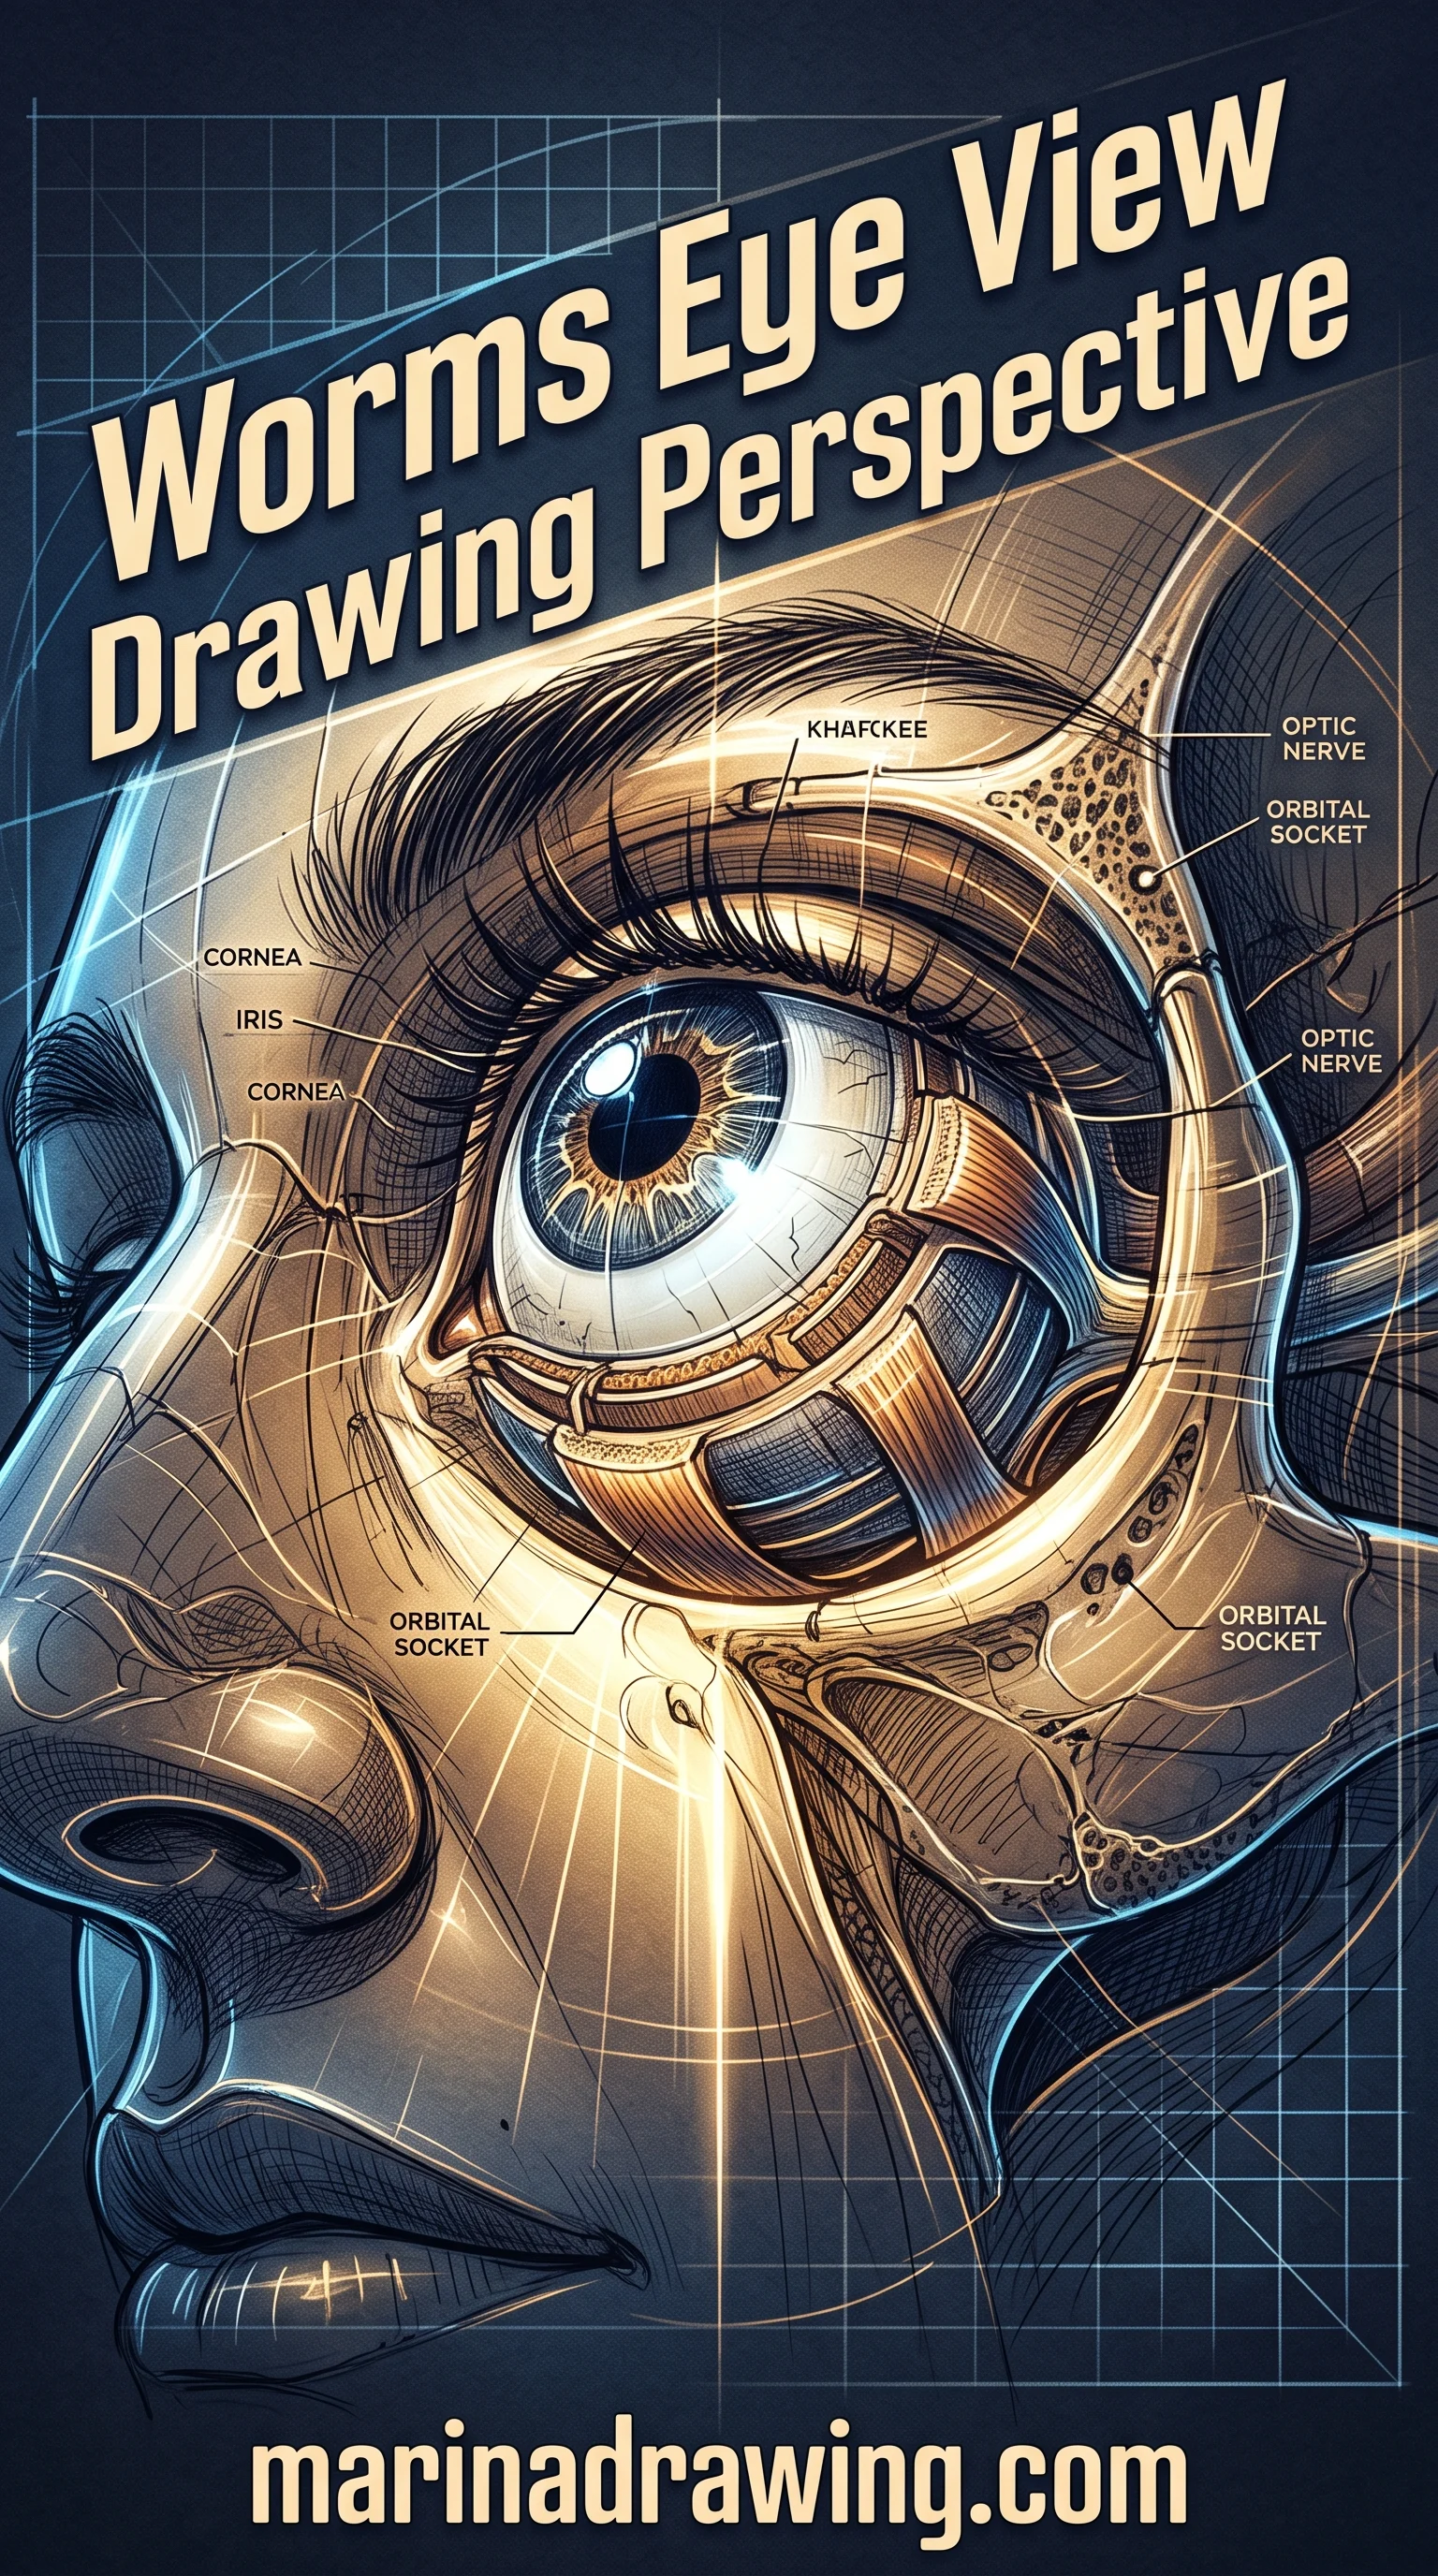
The Eye Diagram Worth Copying Once
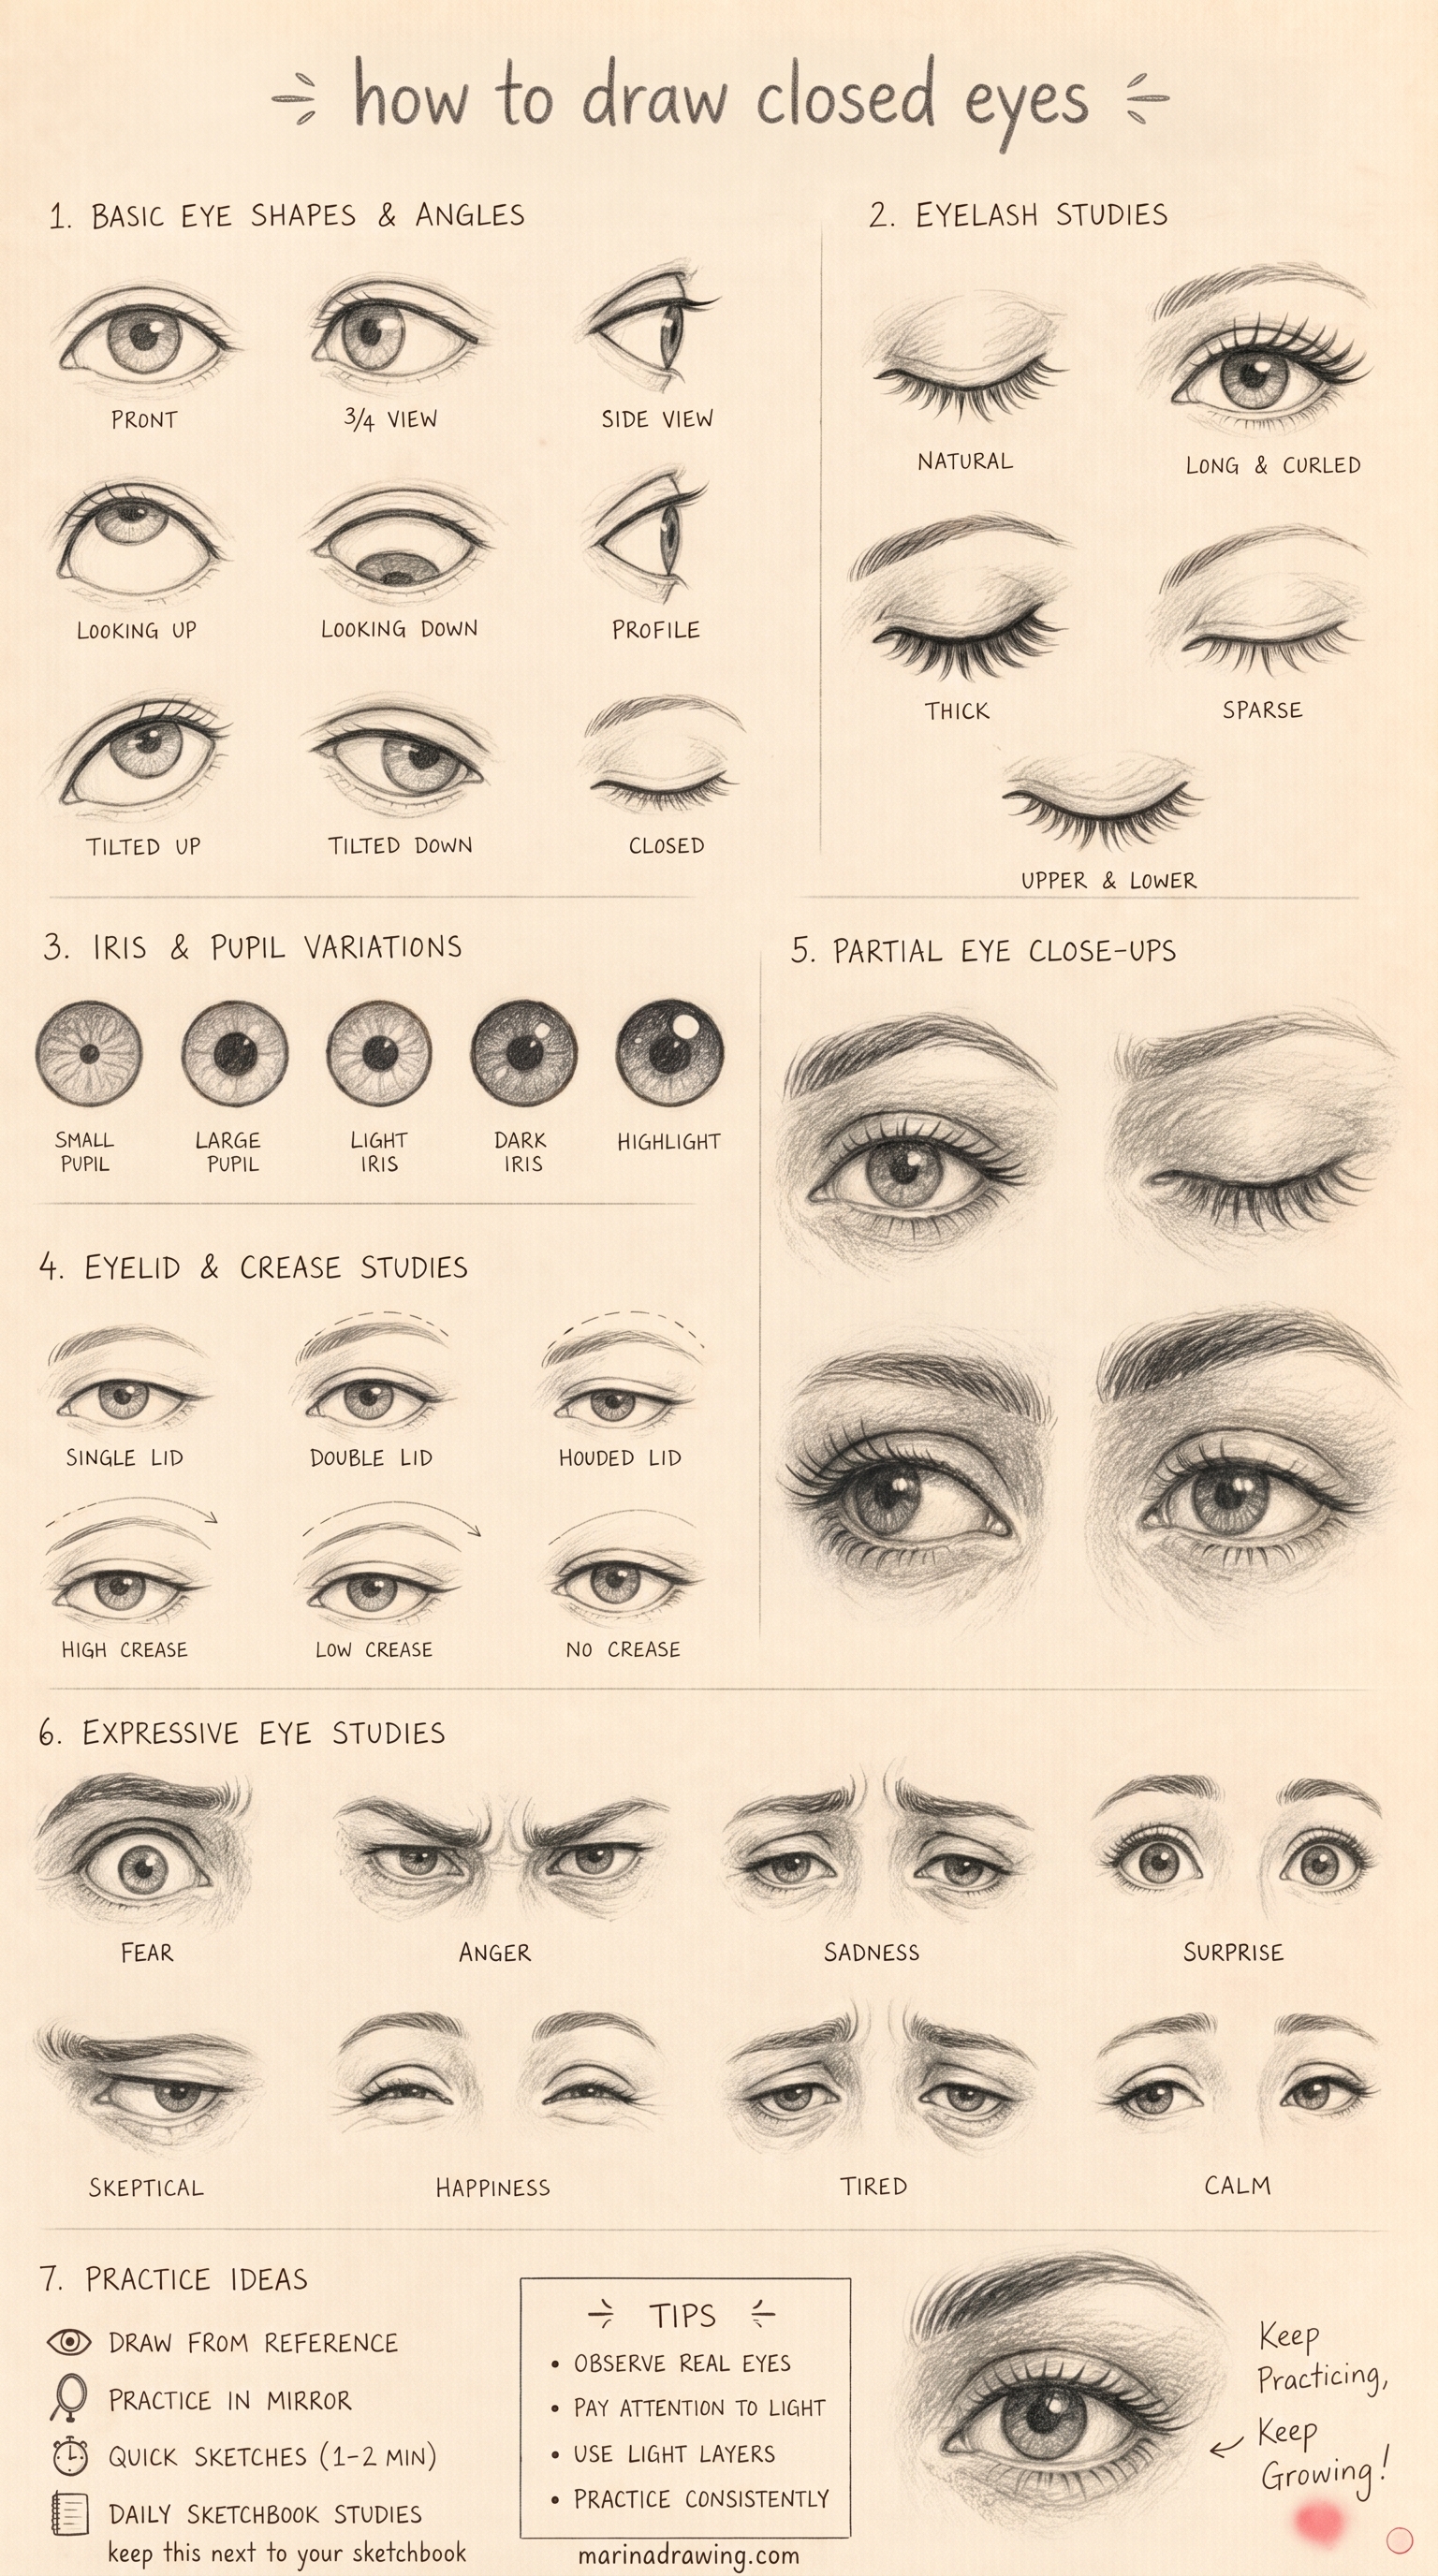
Copy one labelled diagram, by hand, and you stop guessing which part is which.
- Ball. The sphere everything you draw wraps around.
- Upper and lower lid bands. Surfaces with thickness.
- Inner corner. Lower, rounder, wetter.
- Outer corner. Higher, sharper, where the lid folds meet.
- Crease. Follow the ball with it and keep it above your lid, not on it.
Copy it once. Then draw from a face, not from the diagram, because a diagram has no angle and every real head does. The same five parts show up again in anatomy drawing for self-taught artists.
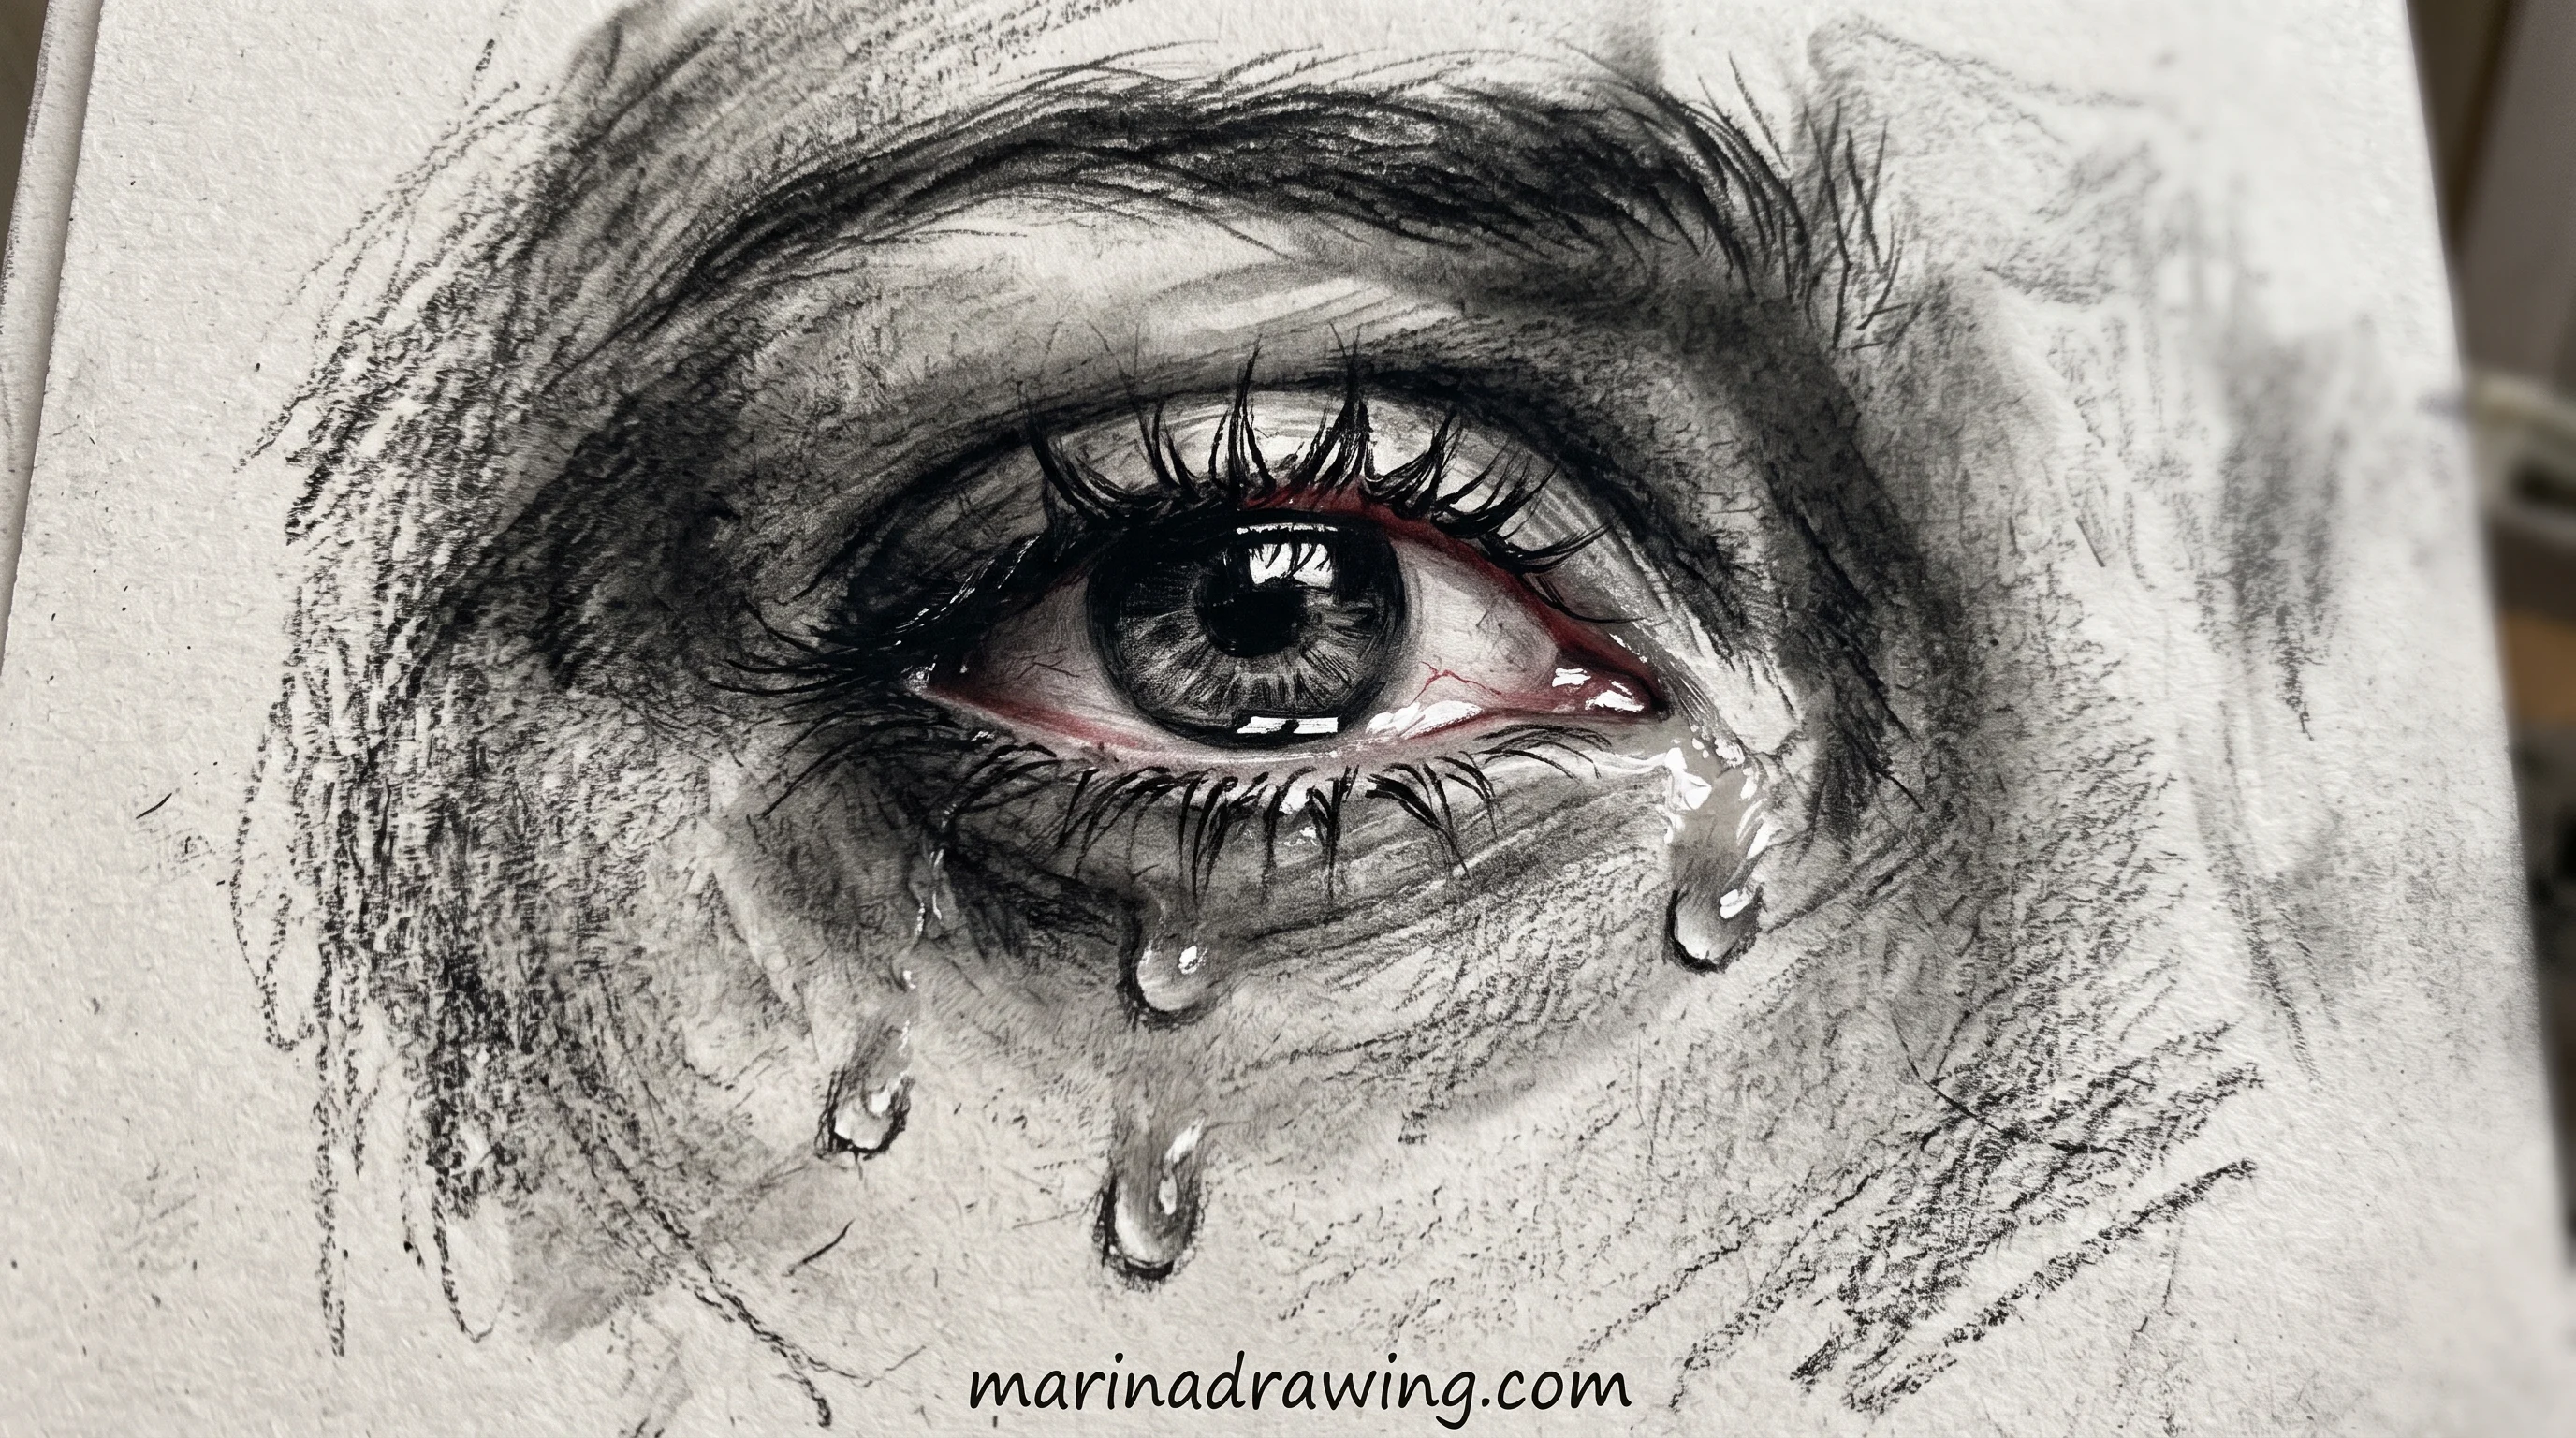
Your Own Eye Is the Best Reference You Have
Hold a mirror at arm’s length and look at the lid line, not the iris.
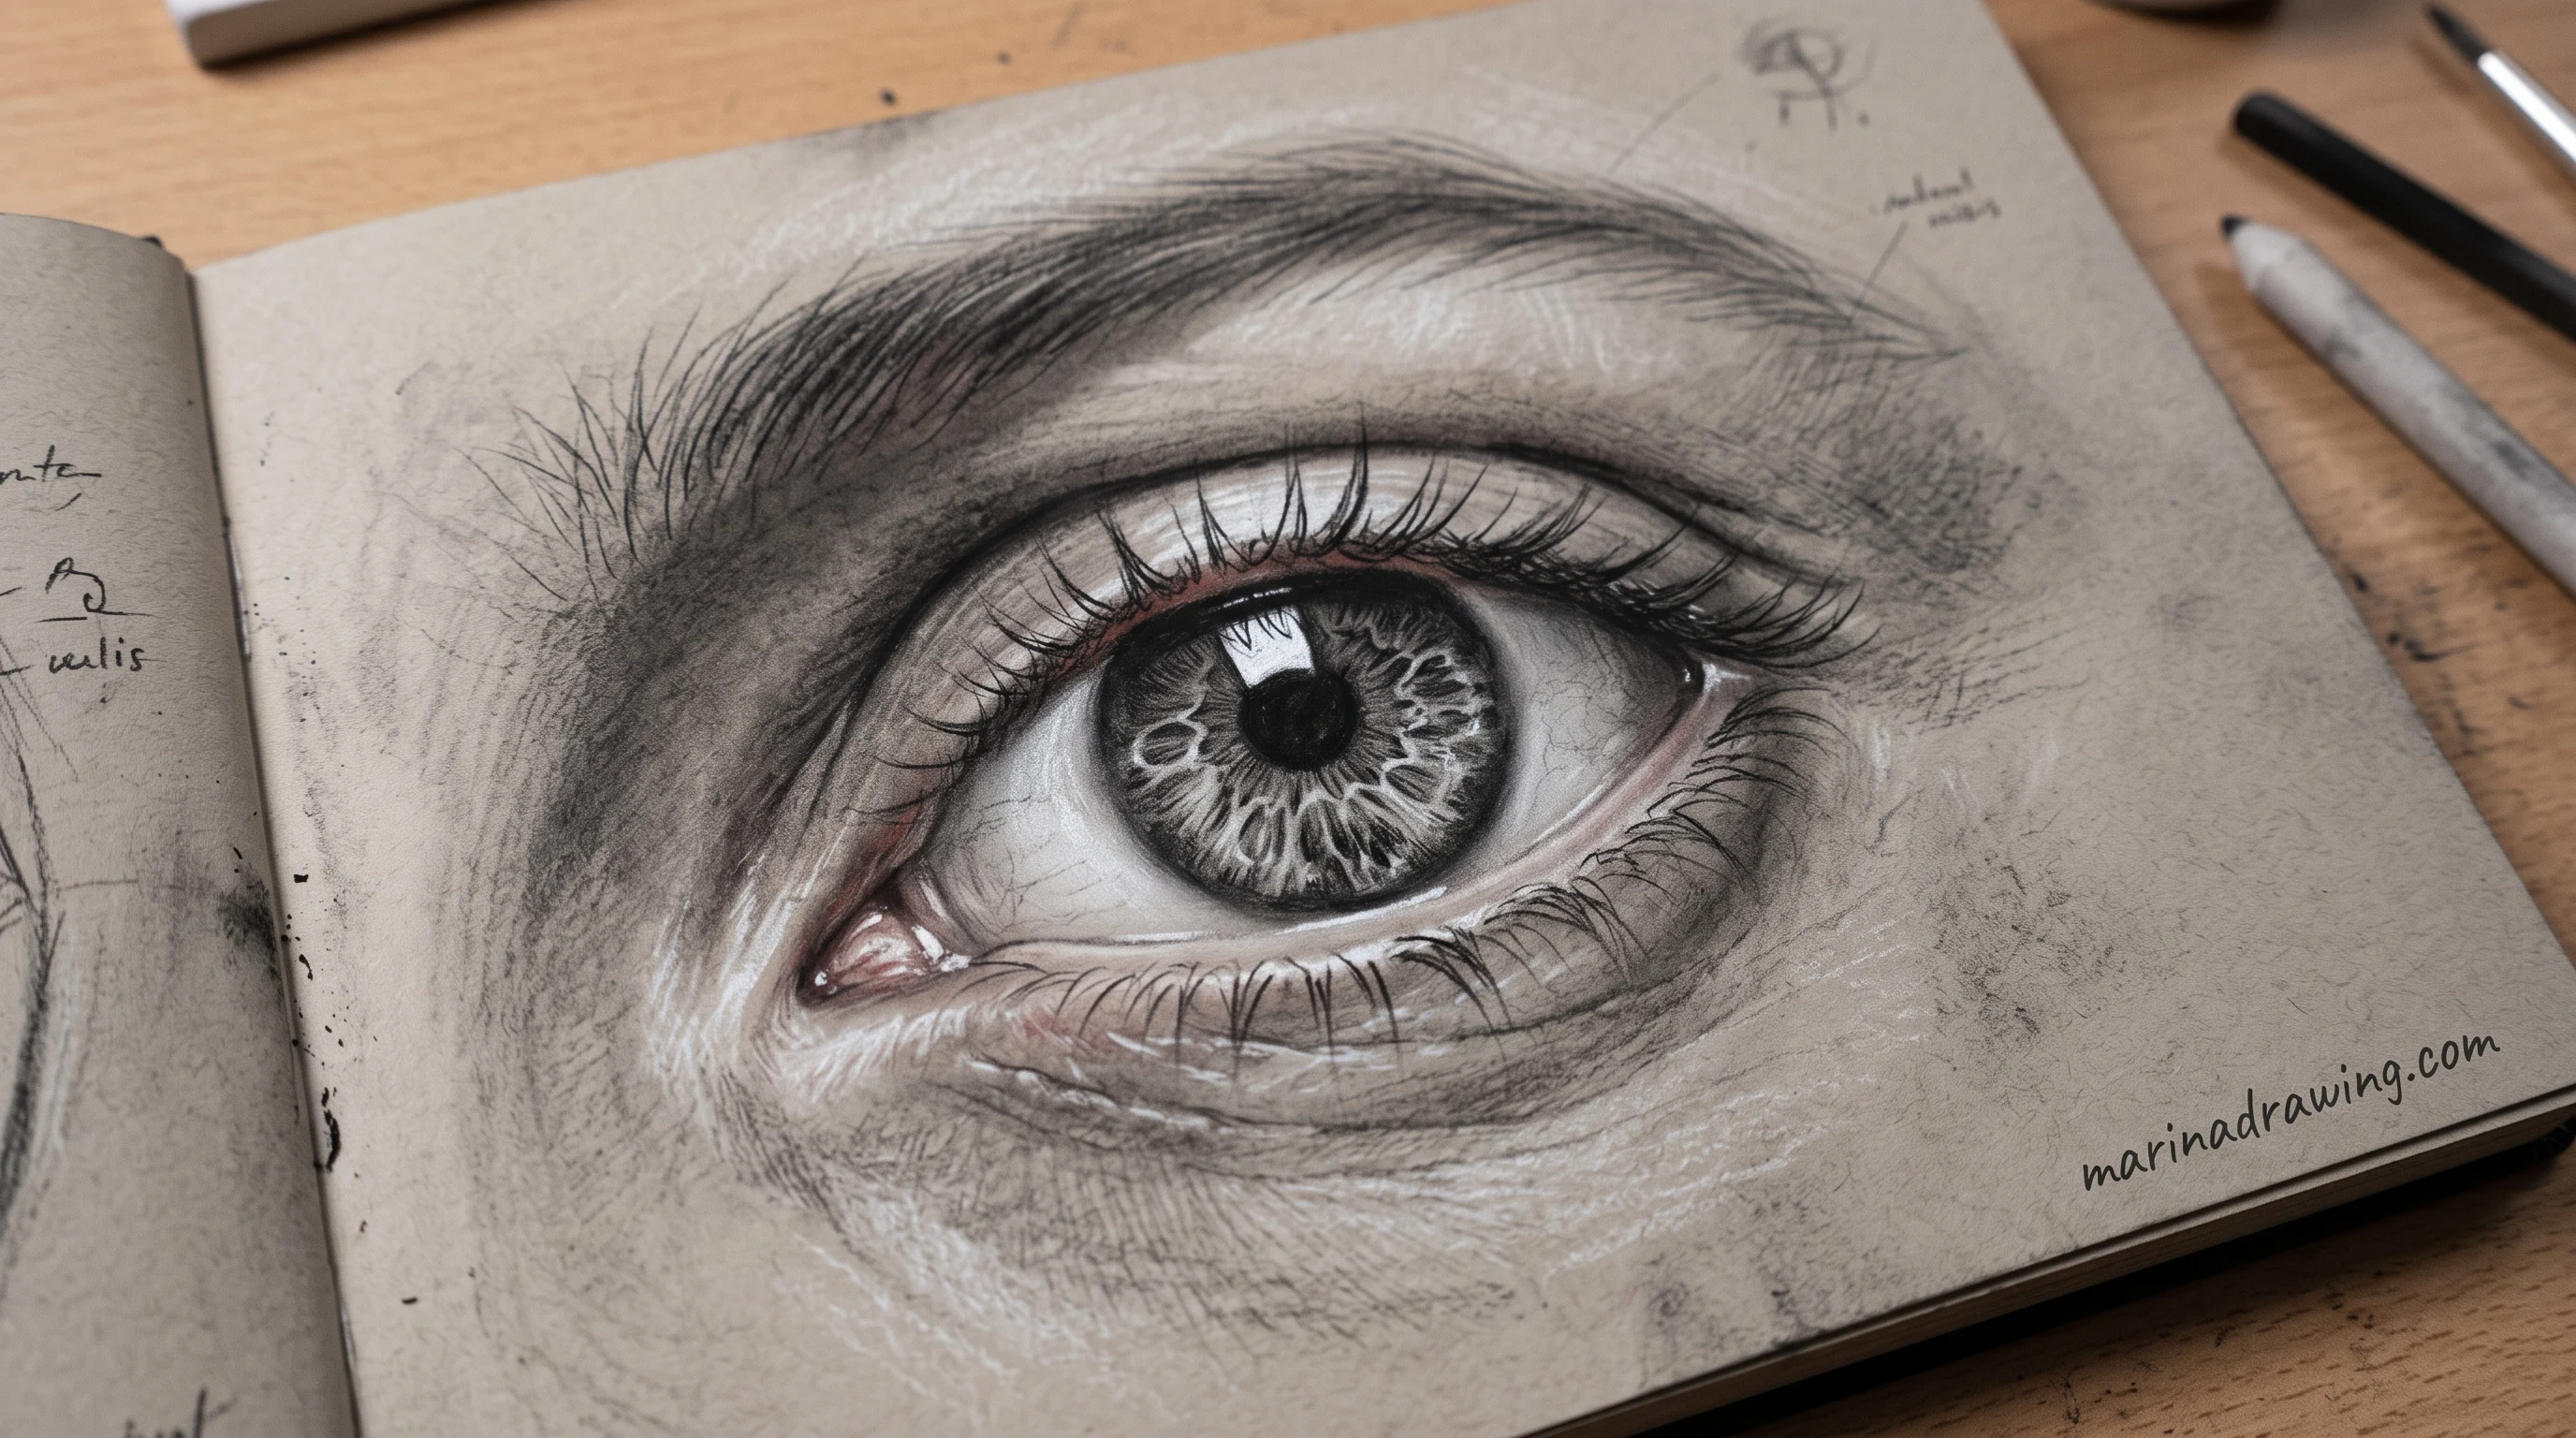
You can see the lid thickness catch the light. You can see the white darken toward the inner corner. You can tilt your head and watch the iris turn into an ellipse. Photographs flatten all three.
You are not cheating. It is the cheapest reference you will ever own, and it is the first thing the graphite lessons tell you to put on the desk.
Do it once a day for a week. Look at your own lid in the mirror, then draw that lid from memory ten seconds later. You are training the thing that actually fails: not your hand, but what your eye notices before the pencil moves. The same drill runs through the first week of the course.
How to Draw Eyes at Different Angles
The build order never changes. What changes is the shape of the ball on the page.
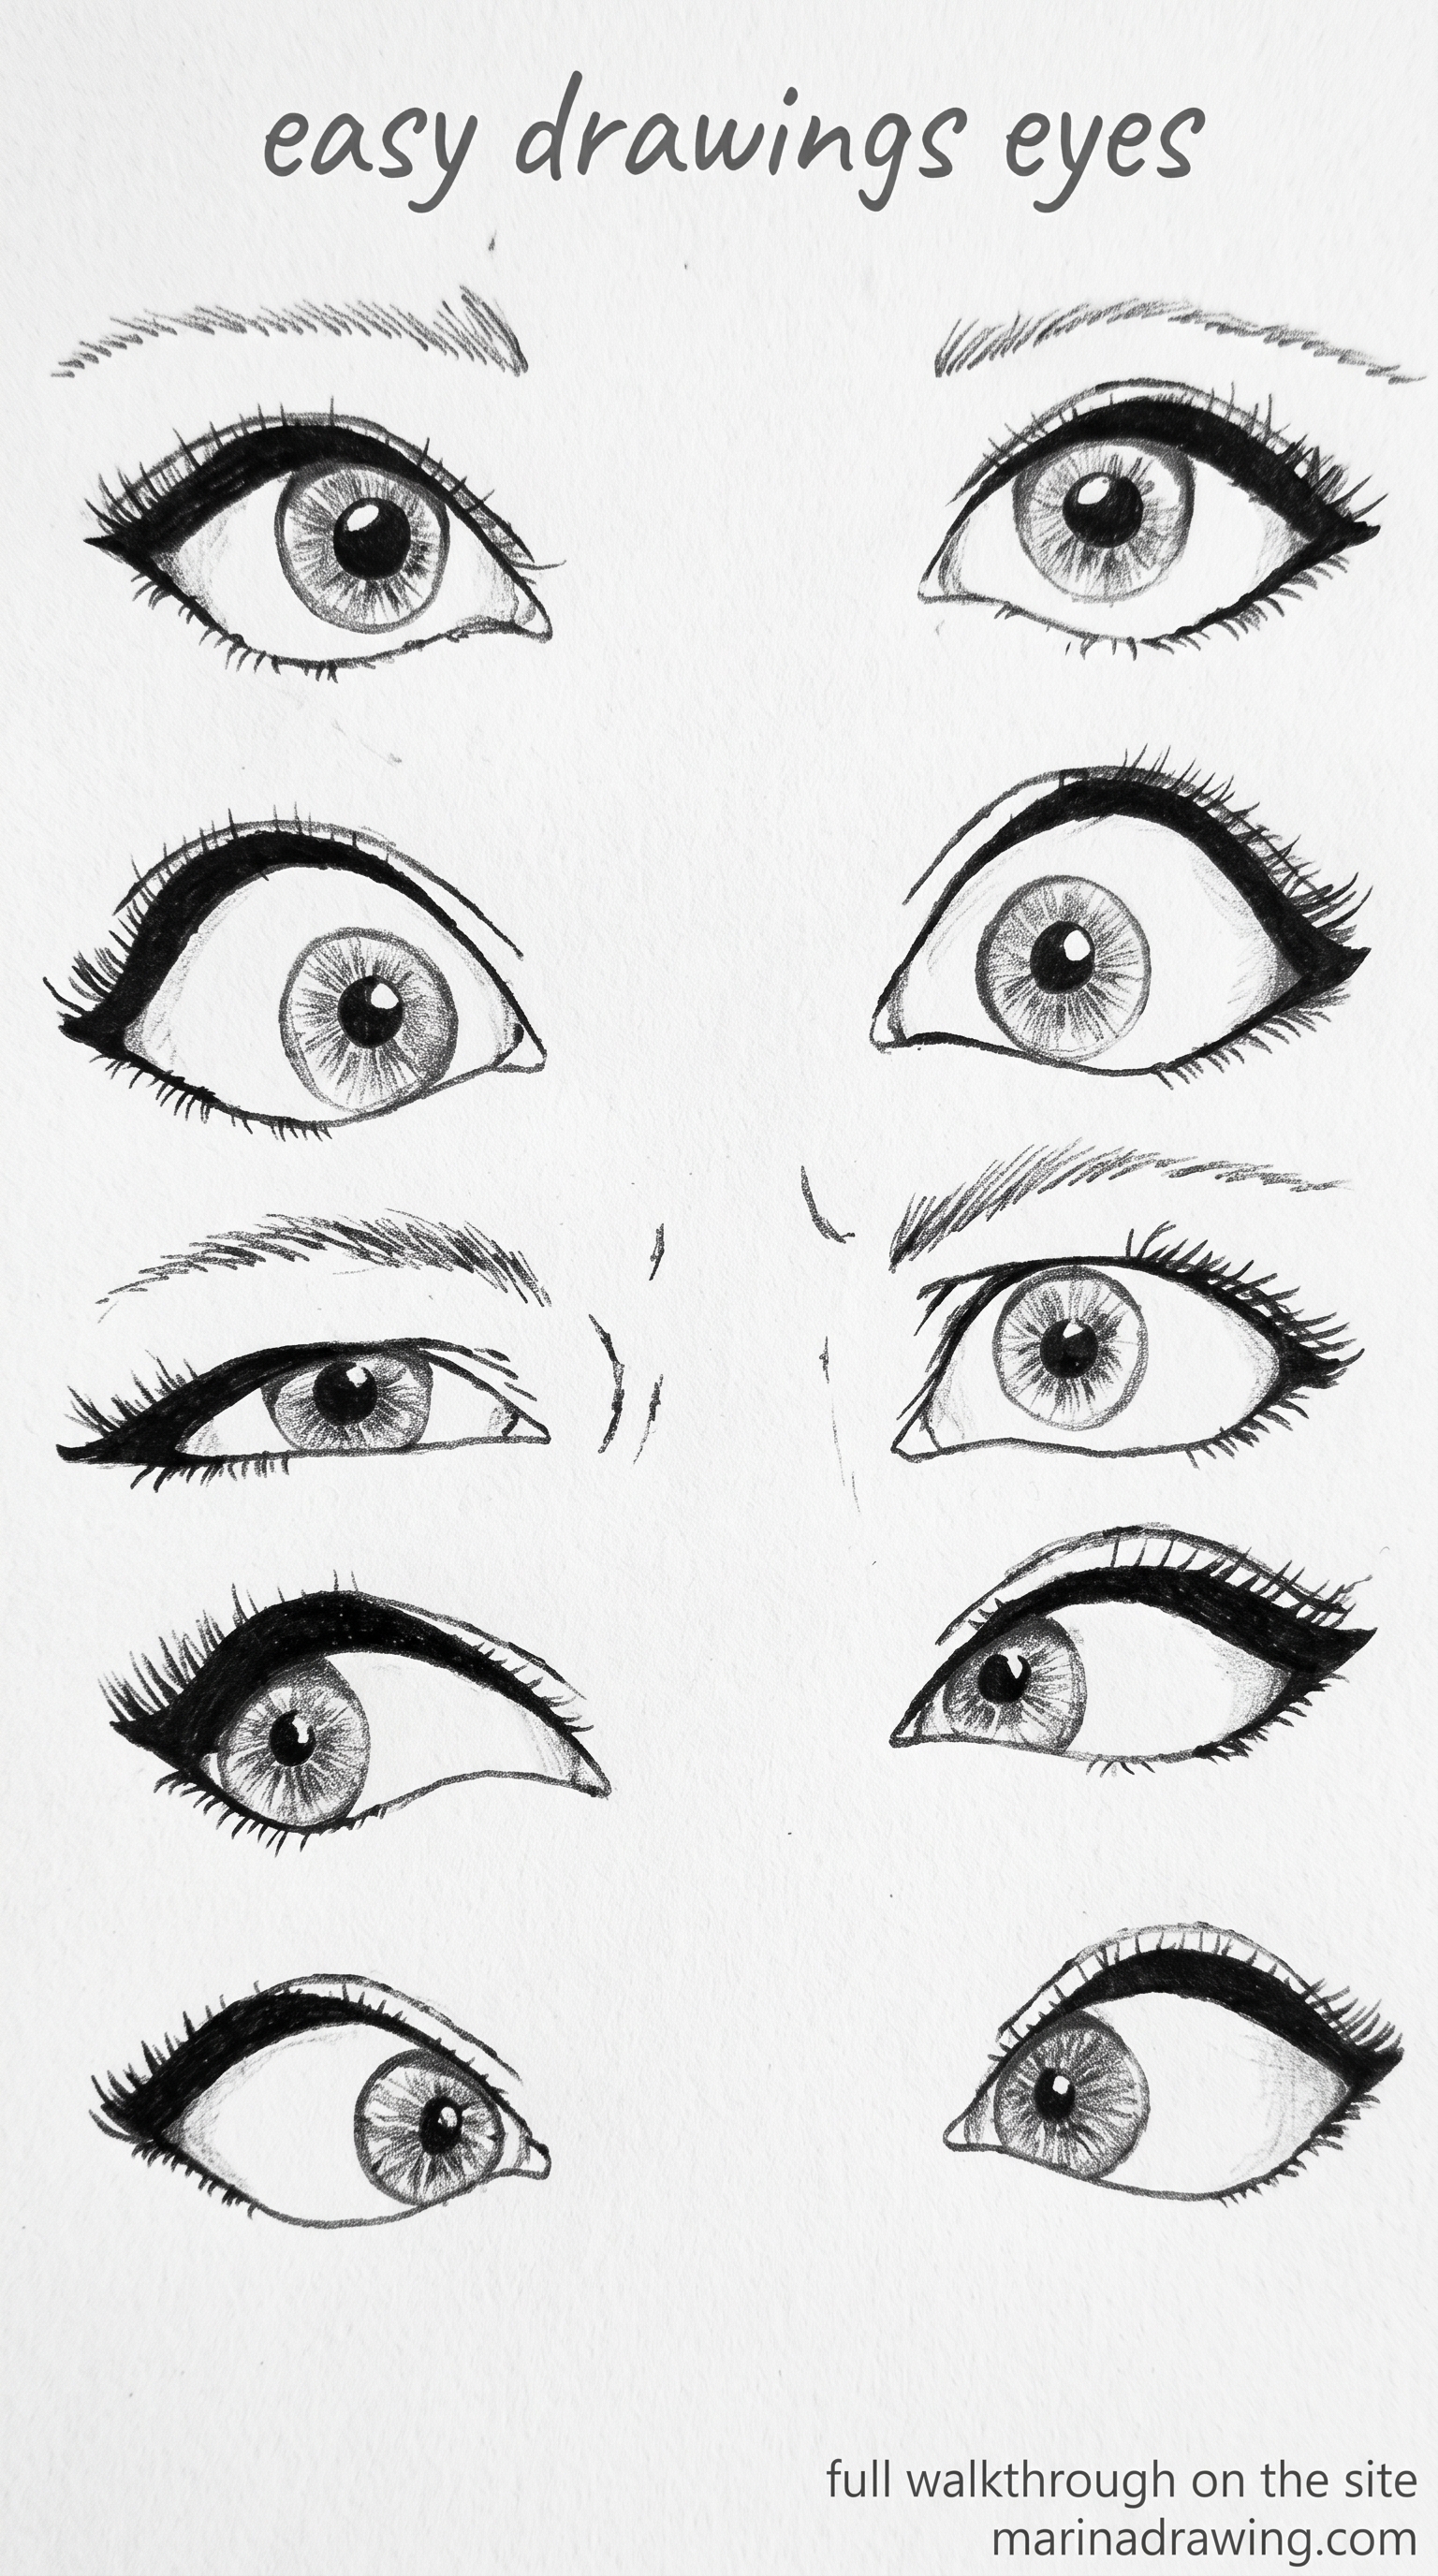
In three-quarter view your far eye narrows, its inner corner sits closer to the nose bridge, and the far iris becomes an ellipse. In profile you get a wedge, a narrow sliver of iris, and lashes reading as one mass.
Draw the ball for both eyes before adding a lid to either. Then your angle is set by the forms, not guessed lid by lid.
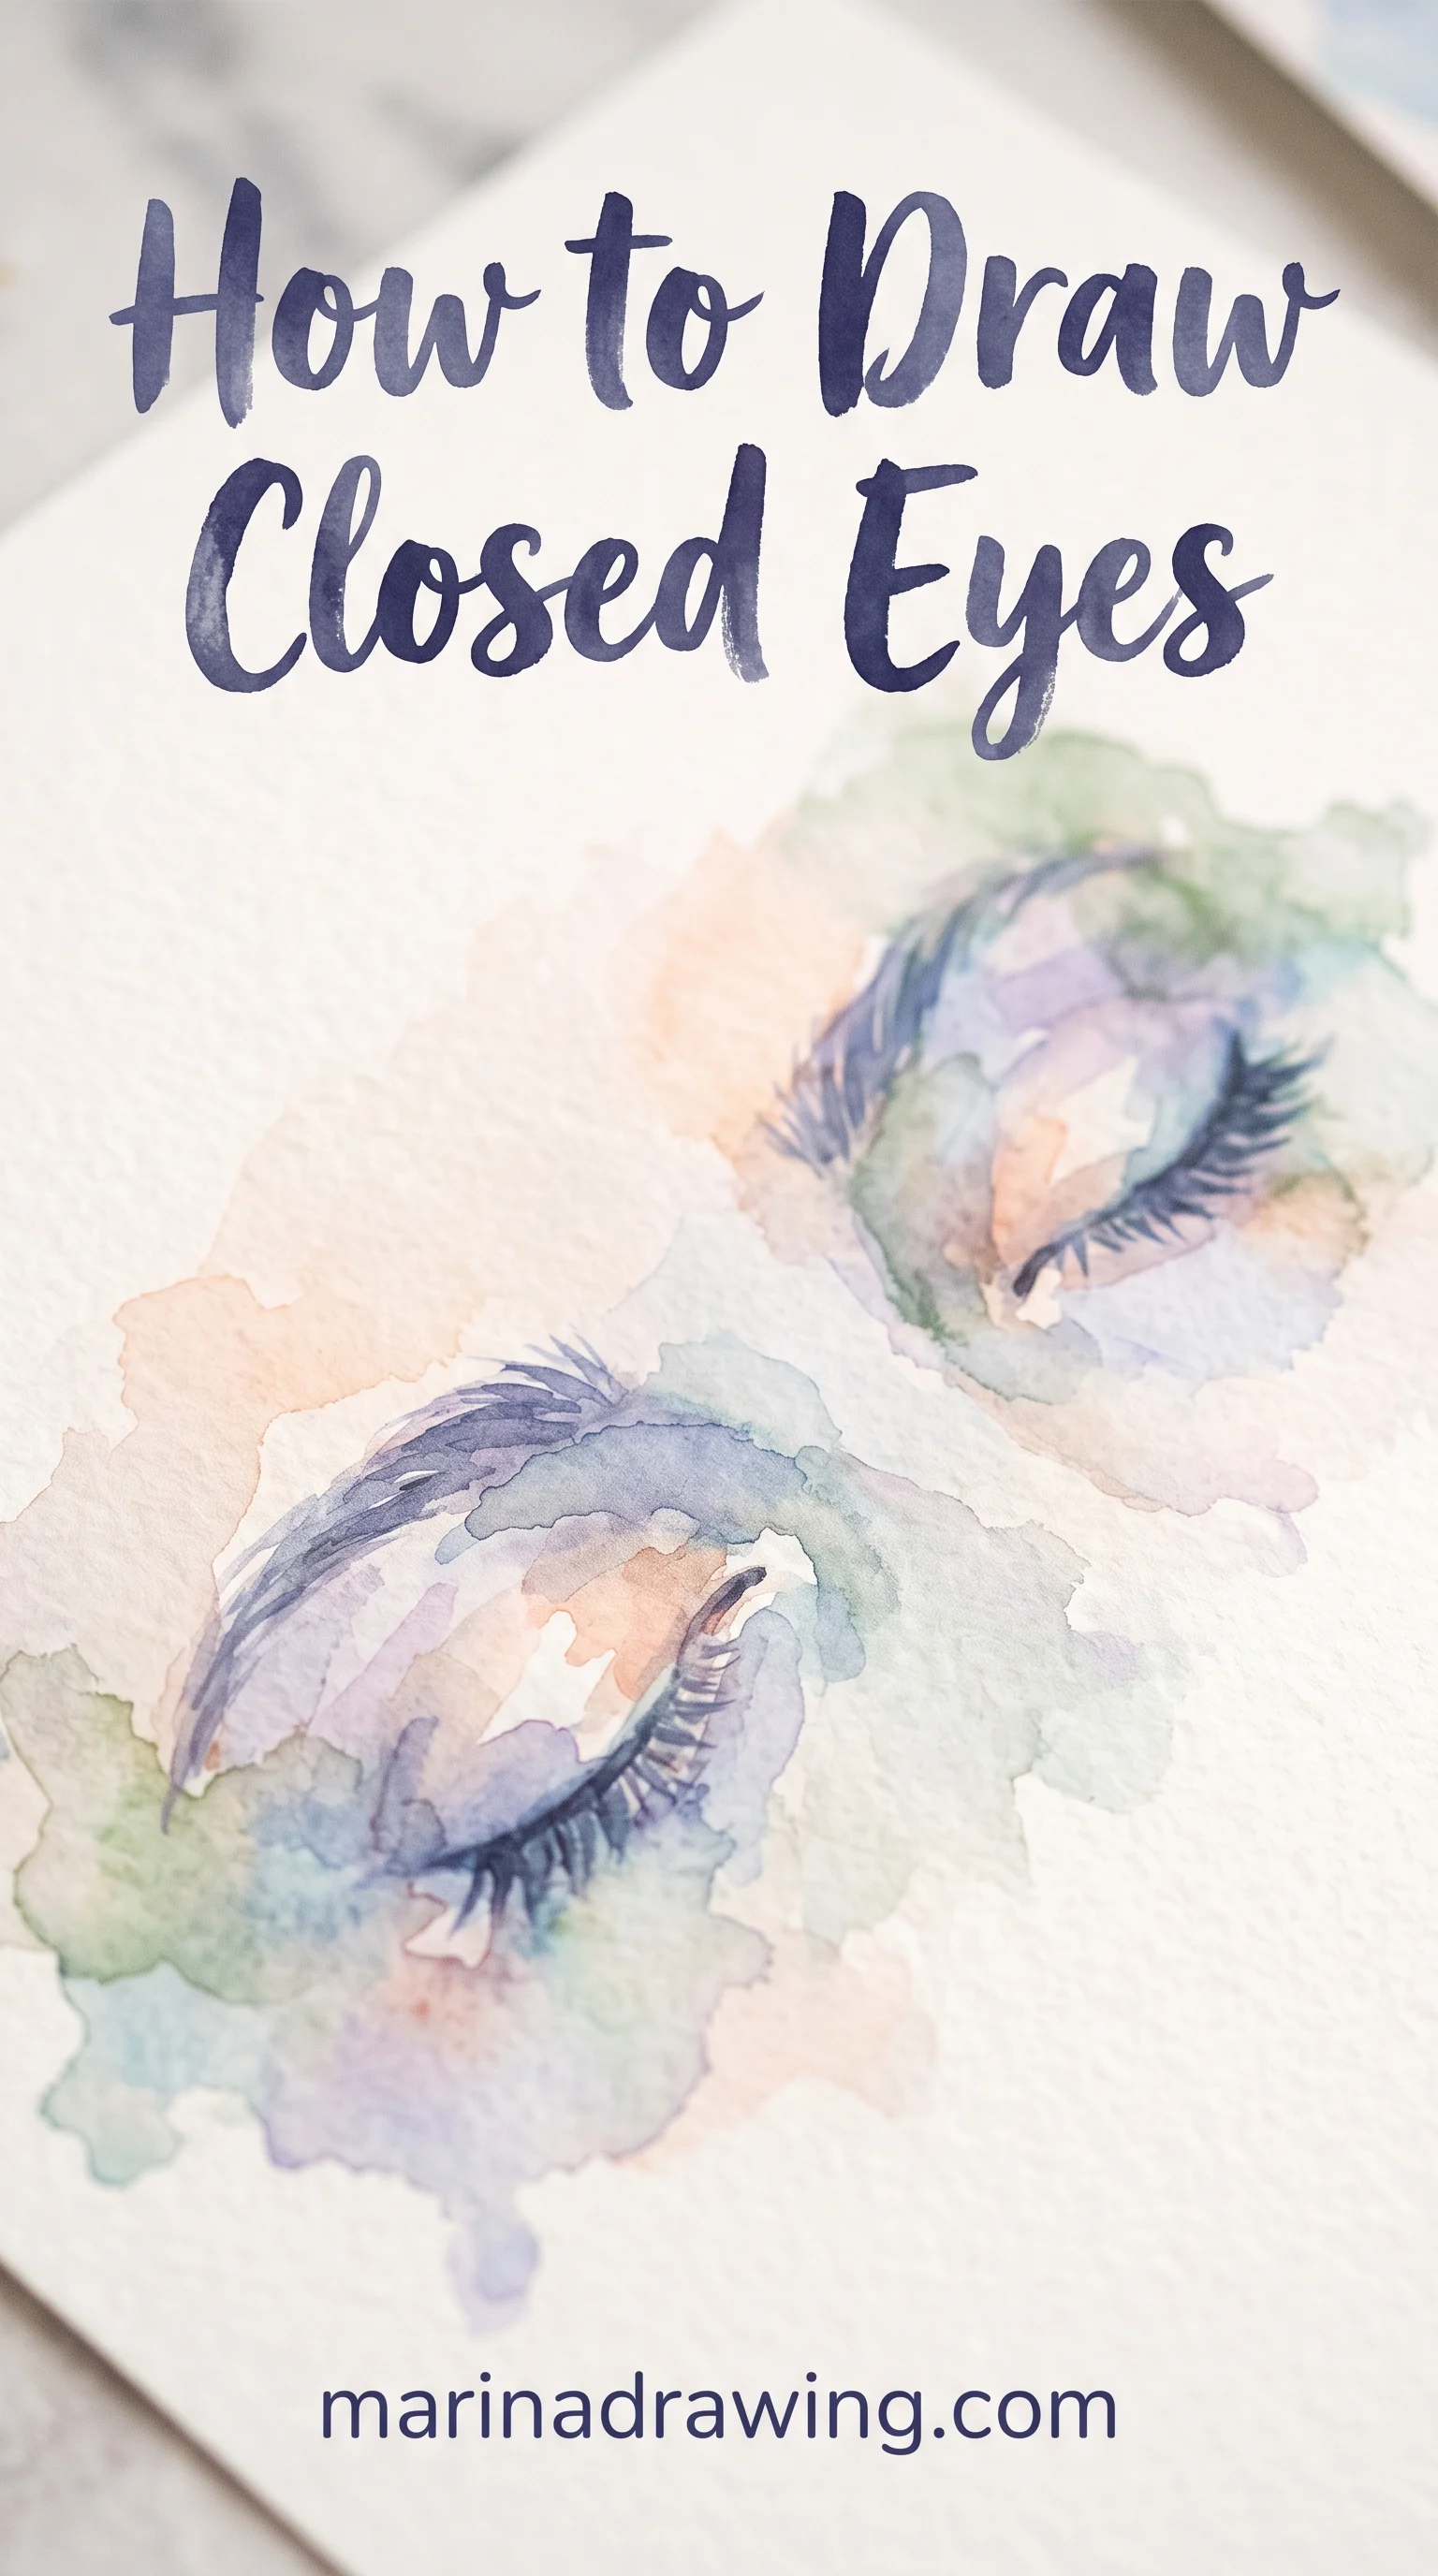
How to Draw Closed Eyes and Crying Eyes
 Pin it
A closed eye is still a ball with a lid over it, and that is the part people drop.
Curve your closed lid outward, because the sphere underneath is pushing it out. Draw a straight line and you get a seam. Rest the lashes on that curve pointing down, and take the crease above it deeper than on an open eye.
For crying, the waterline thickens and catches light, the lower lid swells slightly, and the whole eye reddens at the inner corner. One highlight on the tear, not five.
How to Draw Eyes Behind Glasses
Draw the eye completely first. Then put the lens over it.
Your frame line crosses the face, and where it crosses, the edge behind it shifts slightly. A lens for short sight makes your eye a little smaller and steps the face edge inward. The opposite lens does the reverse.
Add one soft reflection band across the lens, not a full white block, or you lose the eye you just built.

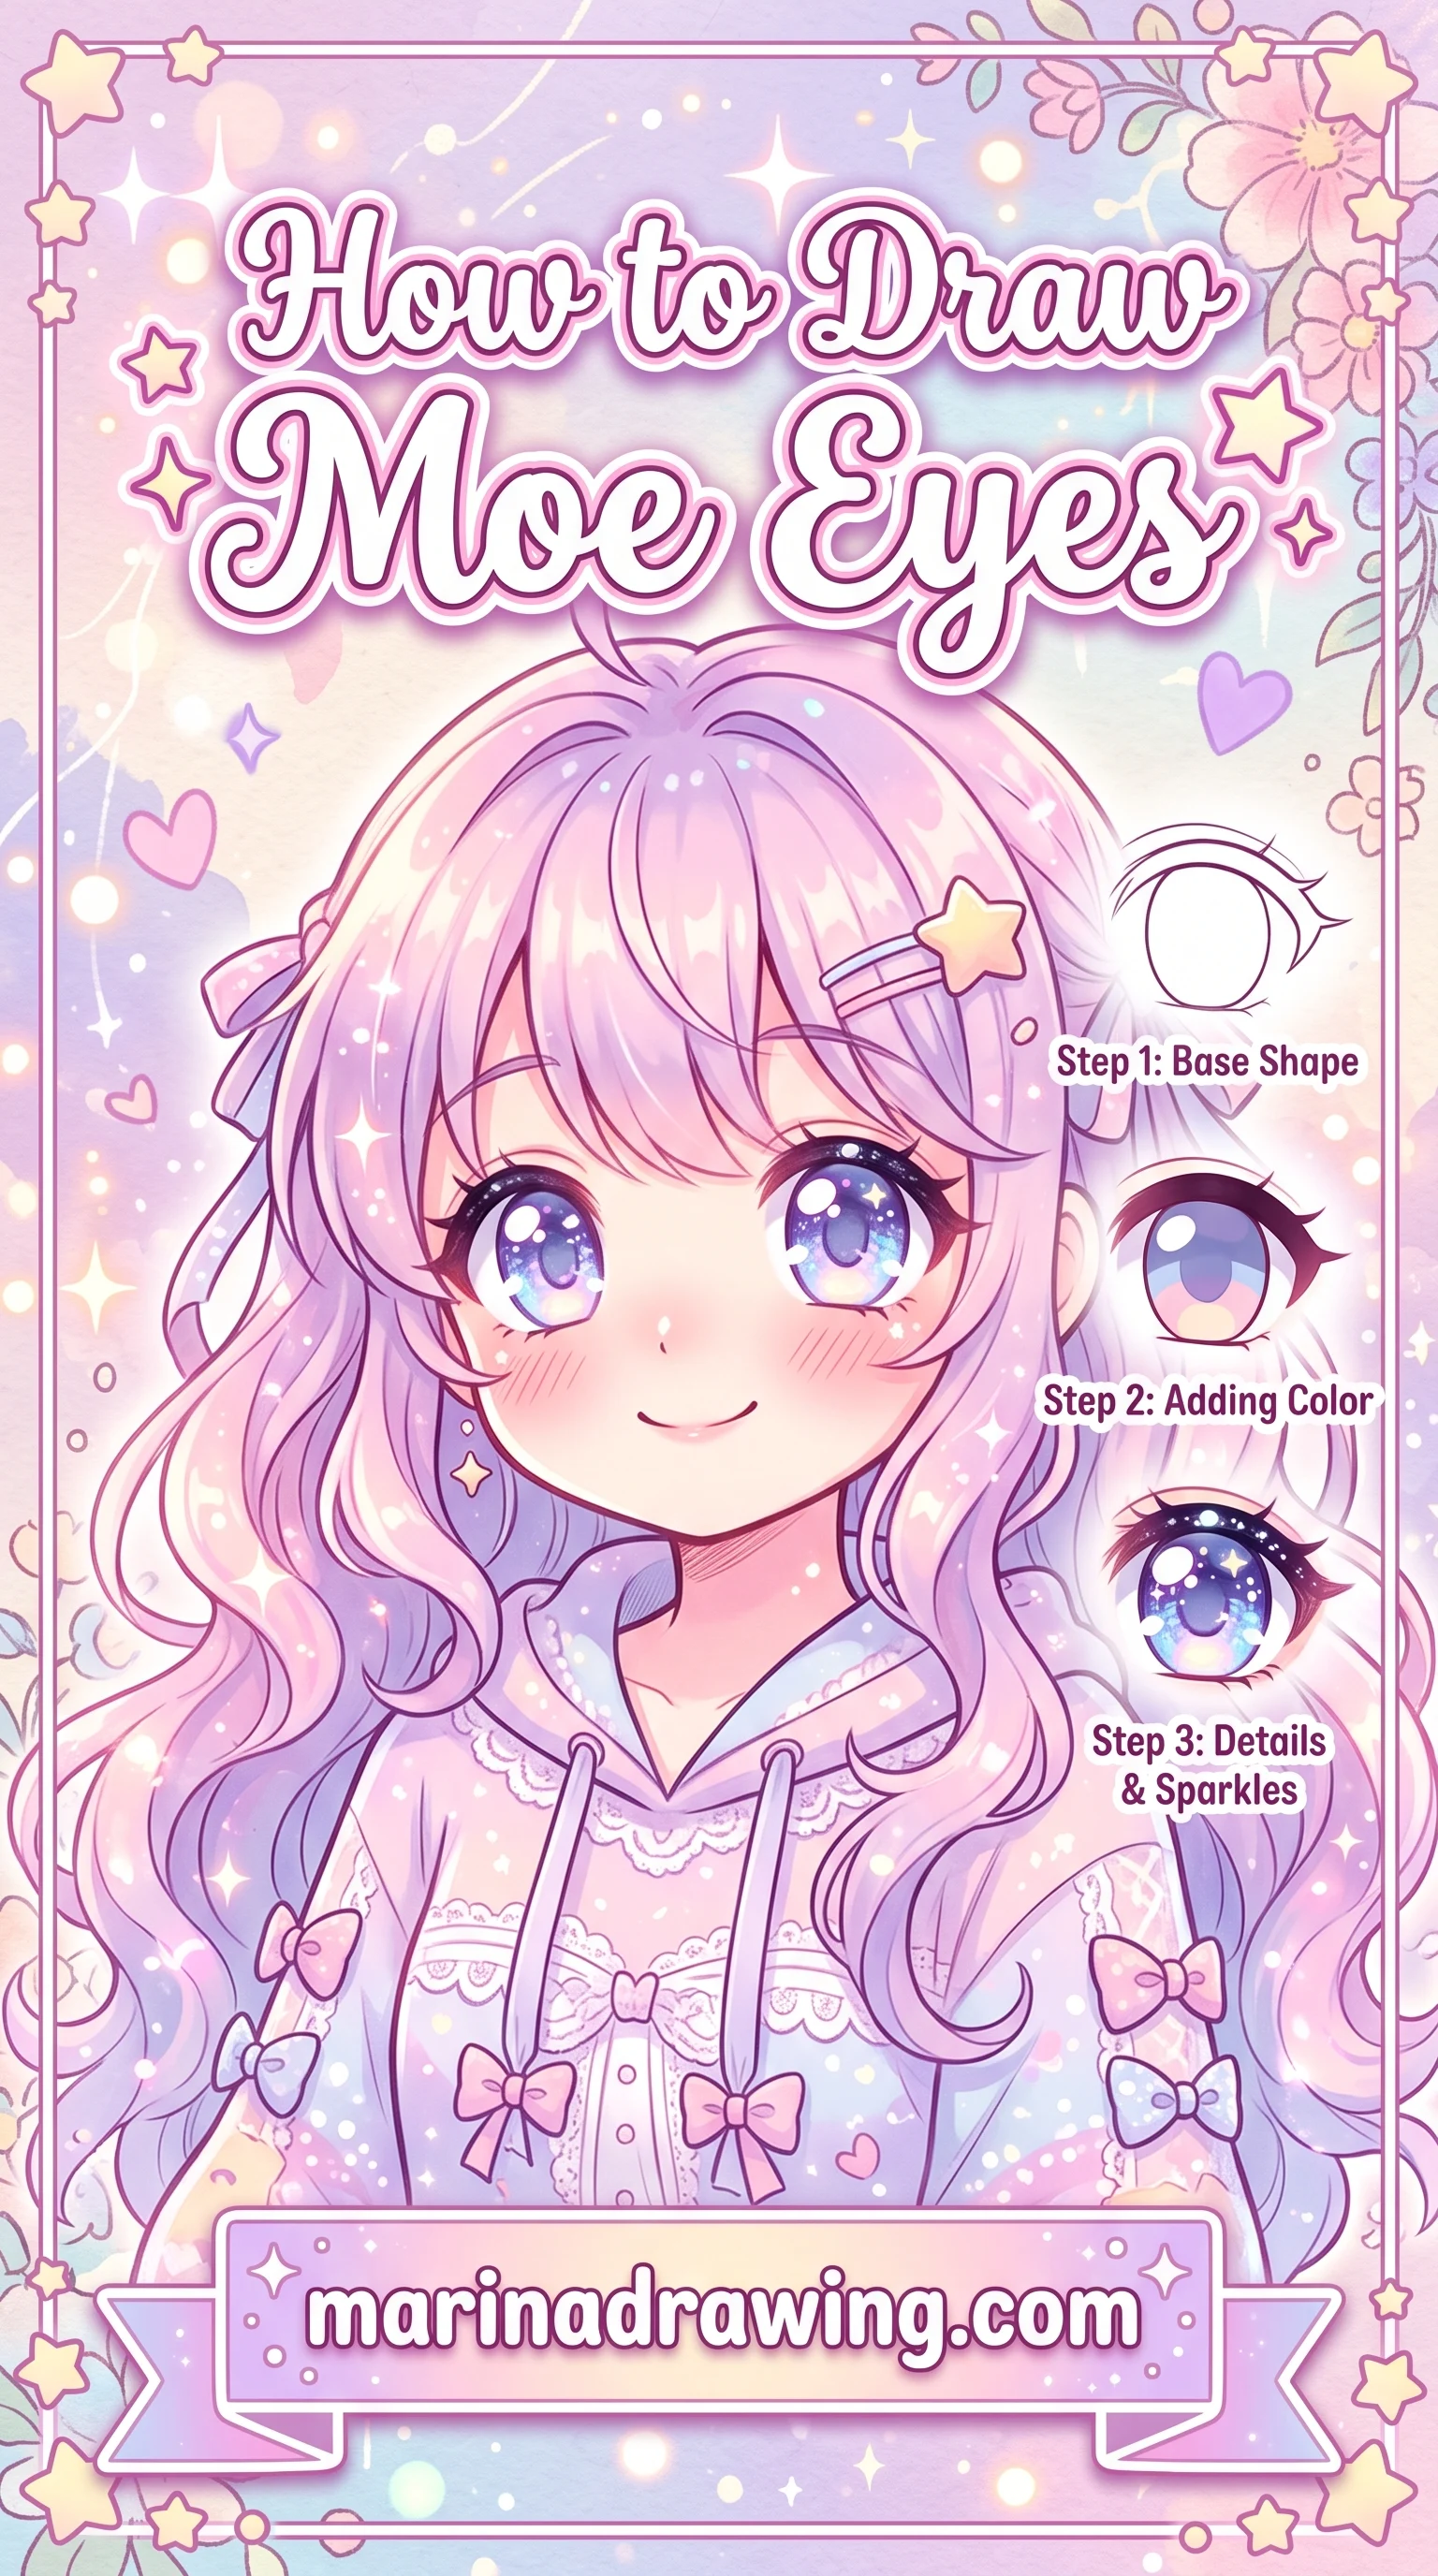
How to Draw Anime Eyes for a Girl or a Boy Character
42 hours of pencil drawing training, lifetime access
The video course I point plateaued students to — full lessons on portraits, hands, and realistic shading, not another short tutorial.
Anime simplifies the eye, but it does not let you drop the ball.
Take the almond taller and the iris huge, cropped top and bottom by your lids. For a girl character you usually want a thicker top lash line, a rounder iris and more highlights. For a boy character, narrow the eye, thin the lash line and flatten the top lid.
What does not change: the lids still wrap a sphere, the inner corner still sits lower, and the iris is still cropped rather than floating. Draw the construction the normal way and simplify on the contour pass. Simplify the construction and your stylised eye turns into an almond with a circle in it. The graphite lessons build the stylised version off the same forms.
Lashes that sit on the lid, not on the paper
Hair brushes that lay lashes in clumps from the lash root, the fix for the mistake this section names.
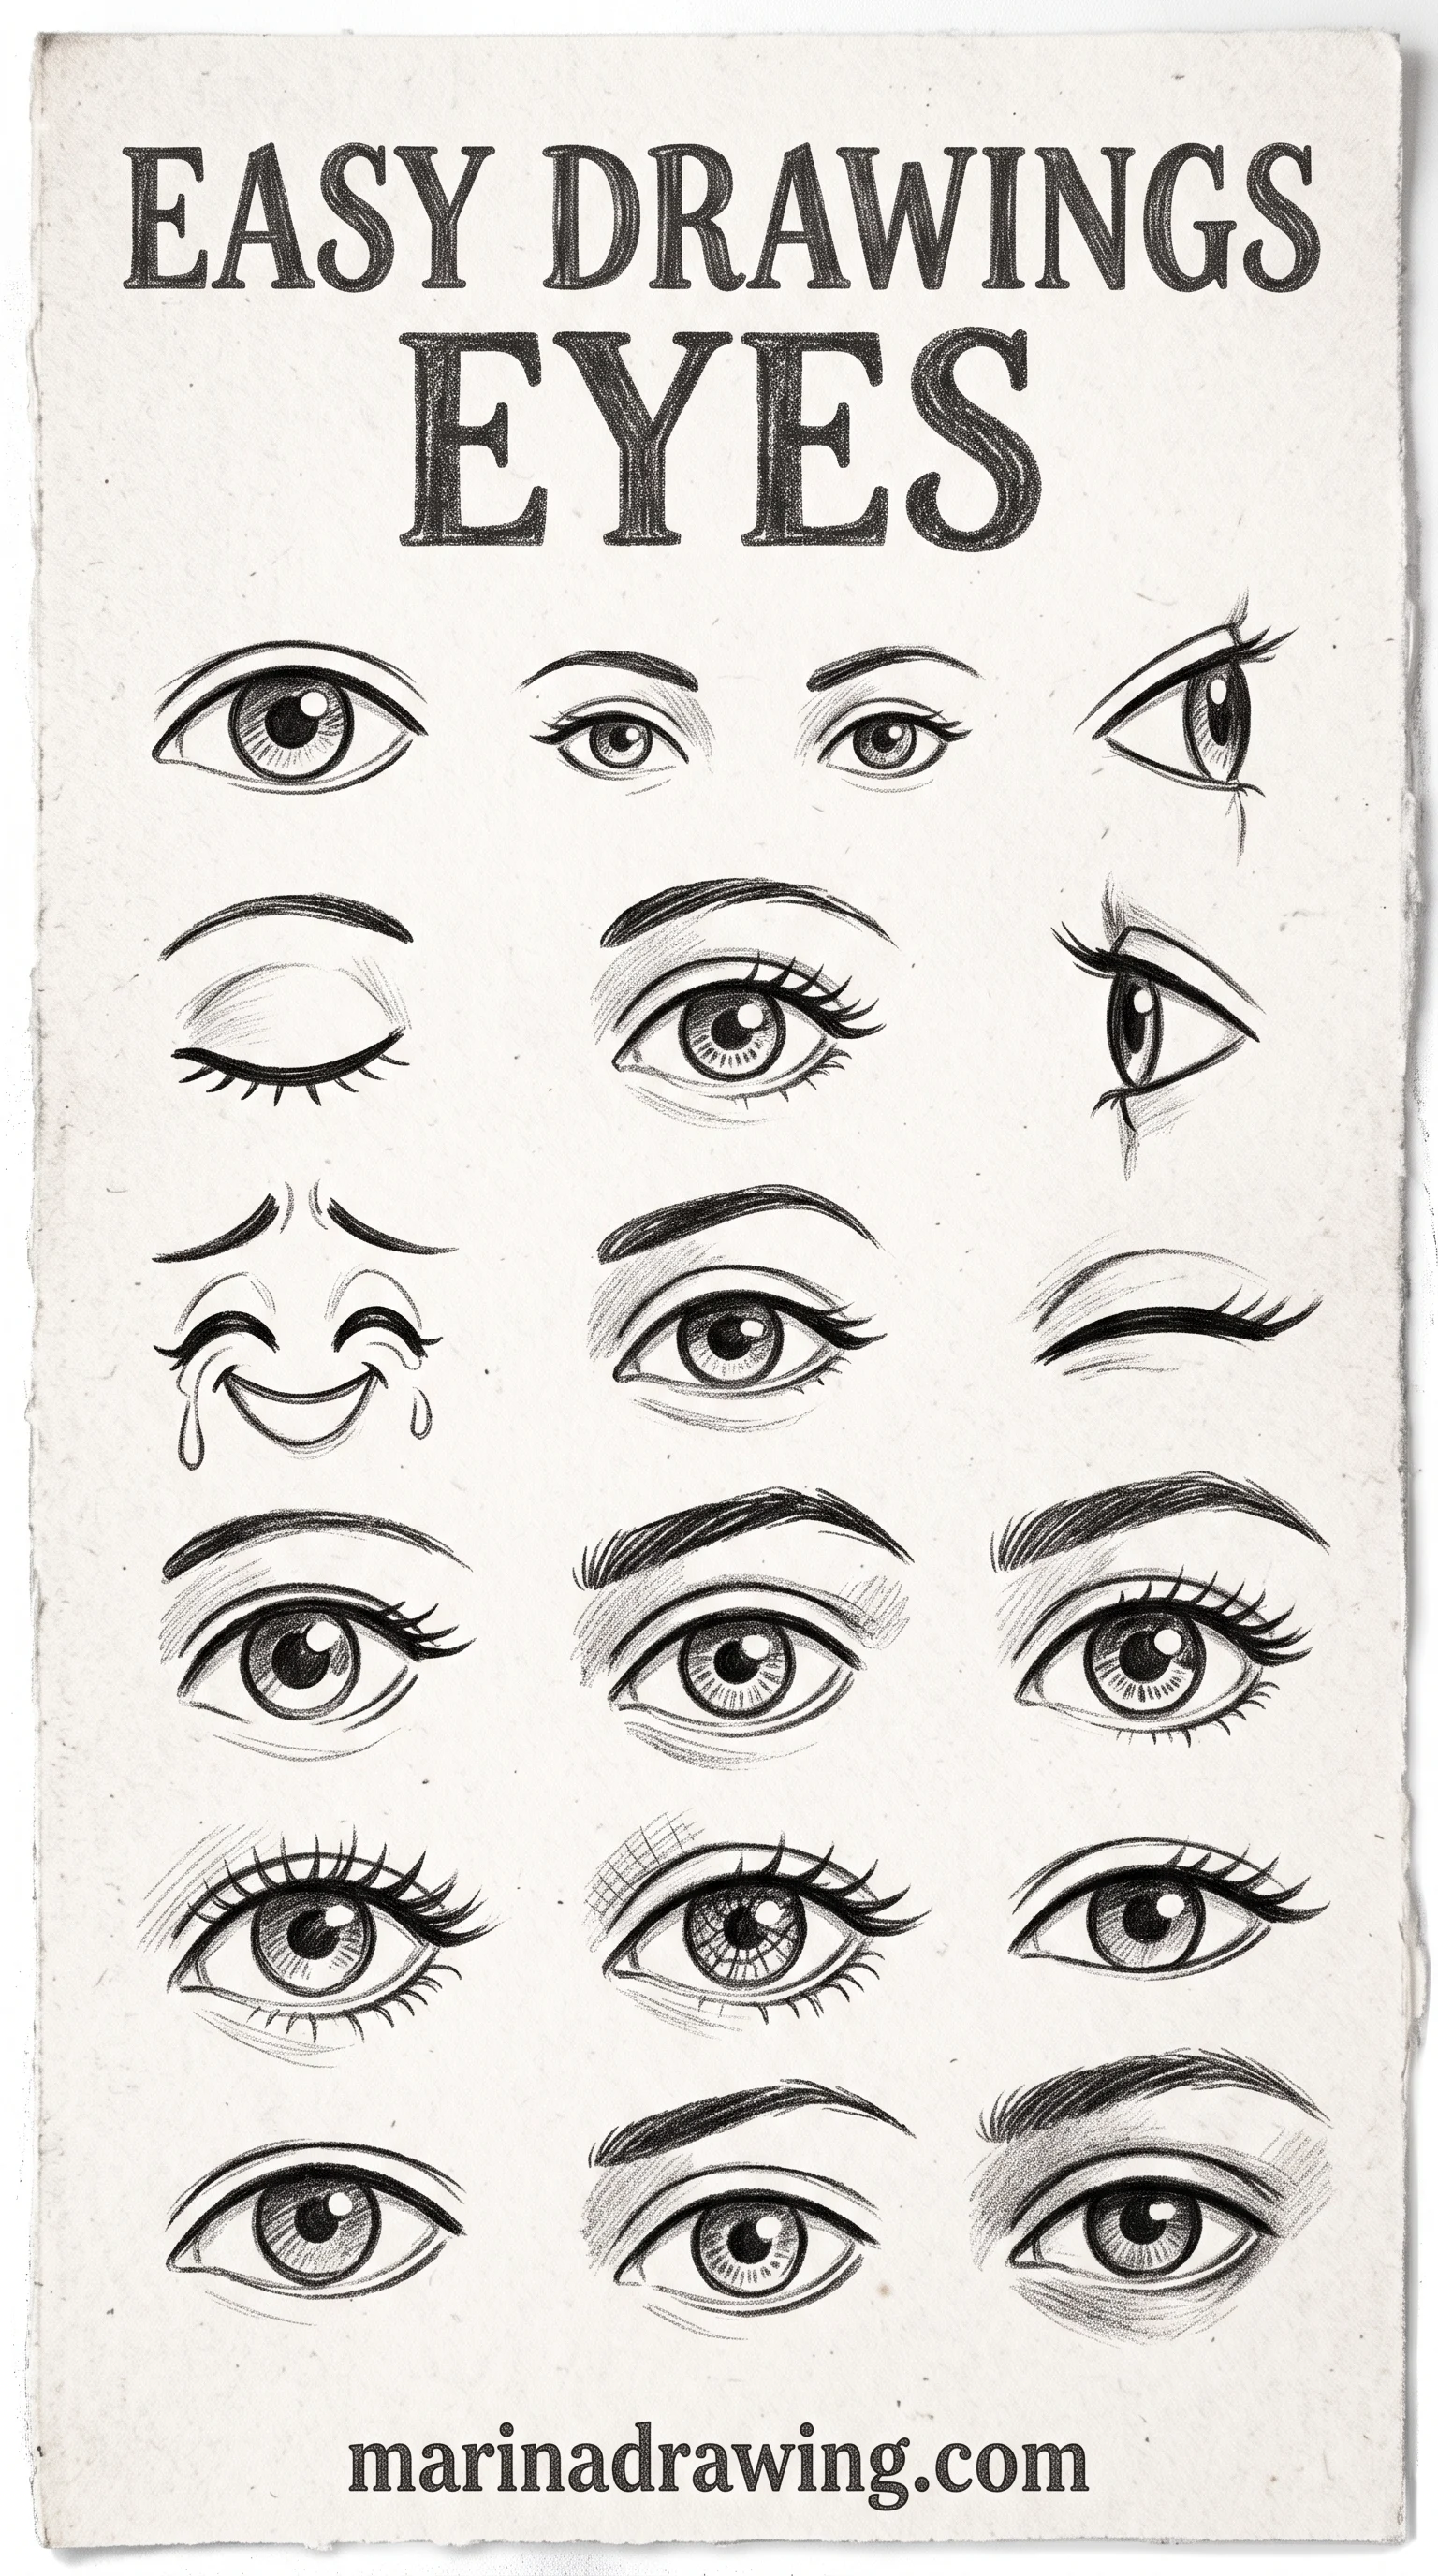
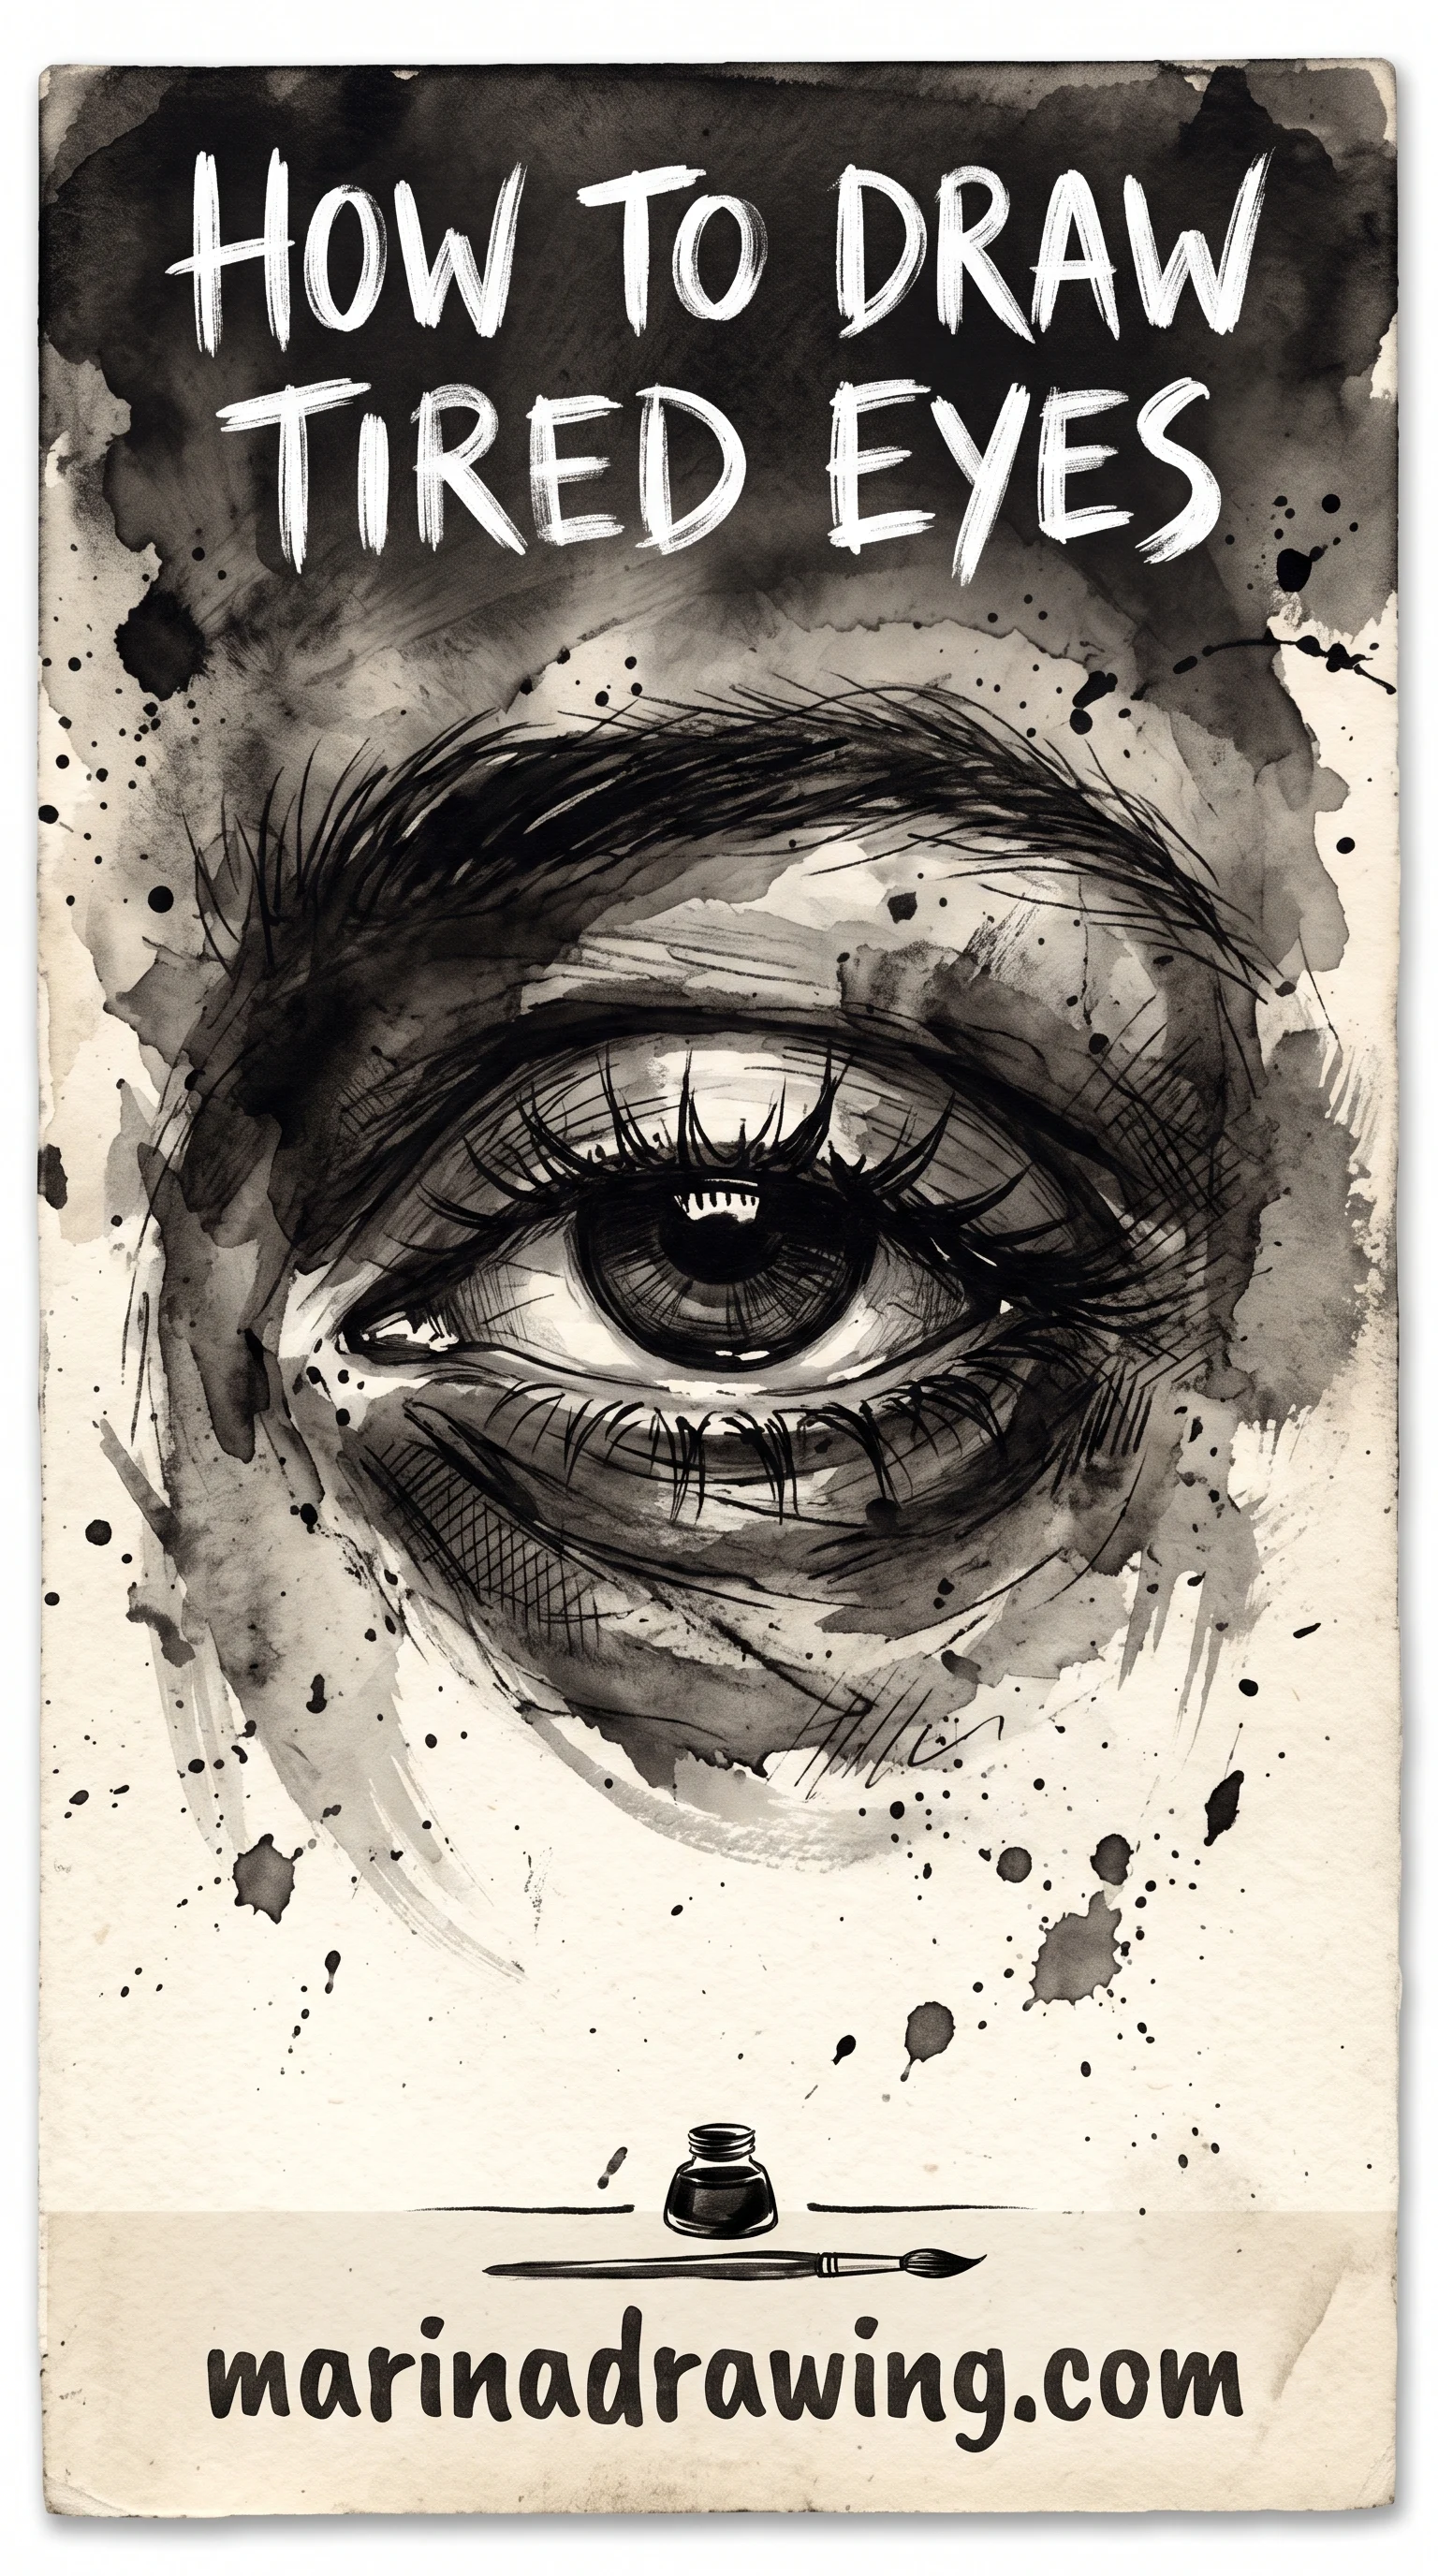
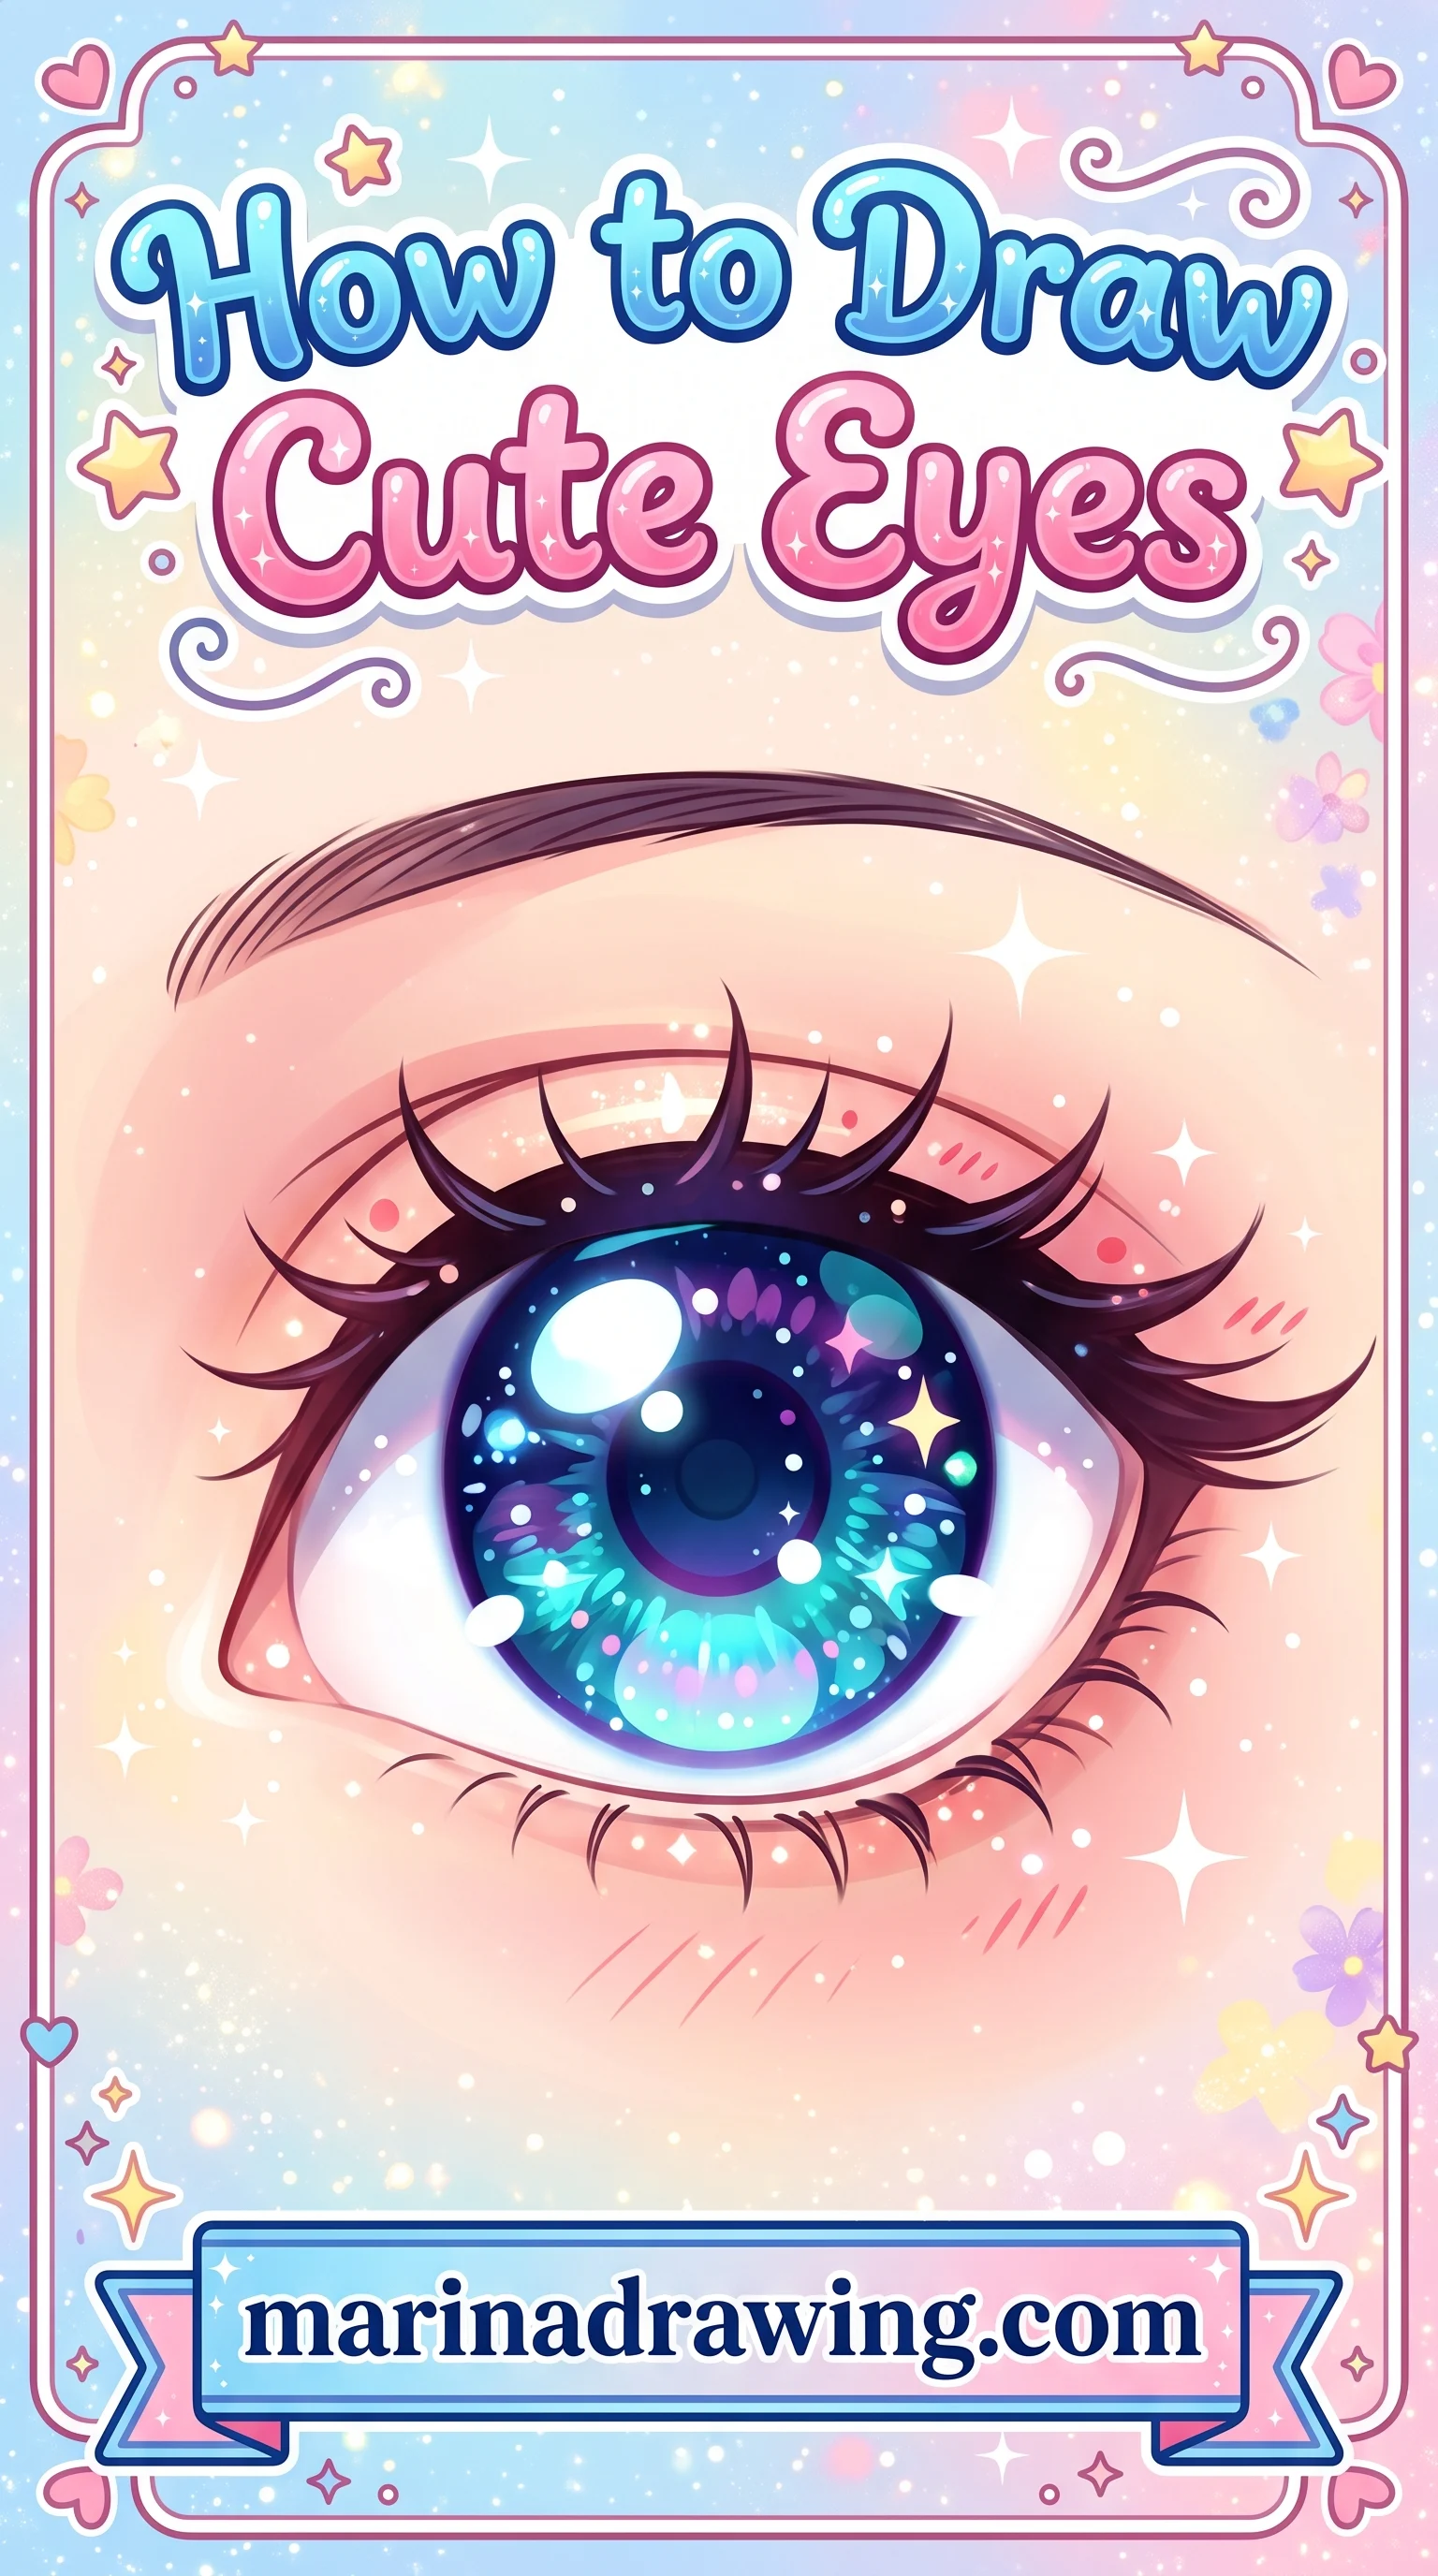
How to Draw Cartoon, Chibi, Cute and Comic Style Eyes
Cartoon and chibi go further, and your shortcut here is an honest one: fewer parts, bigger shapes.
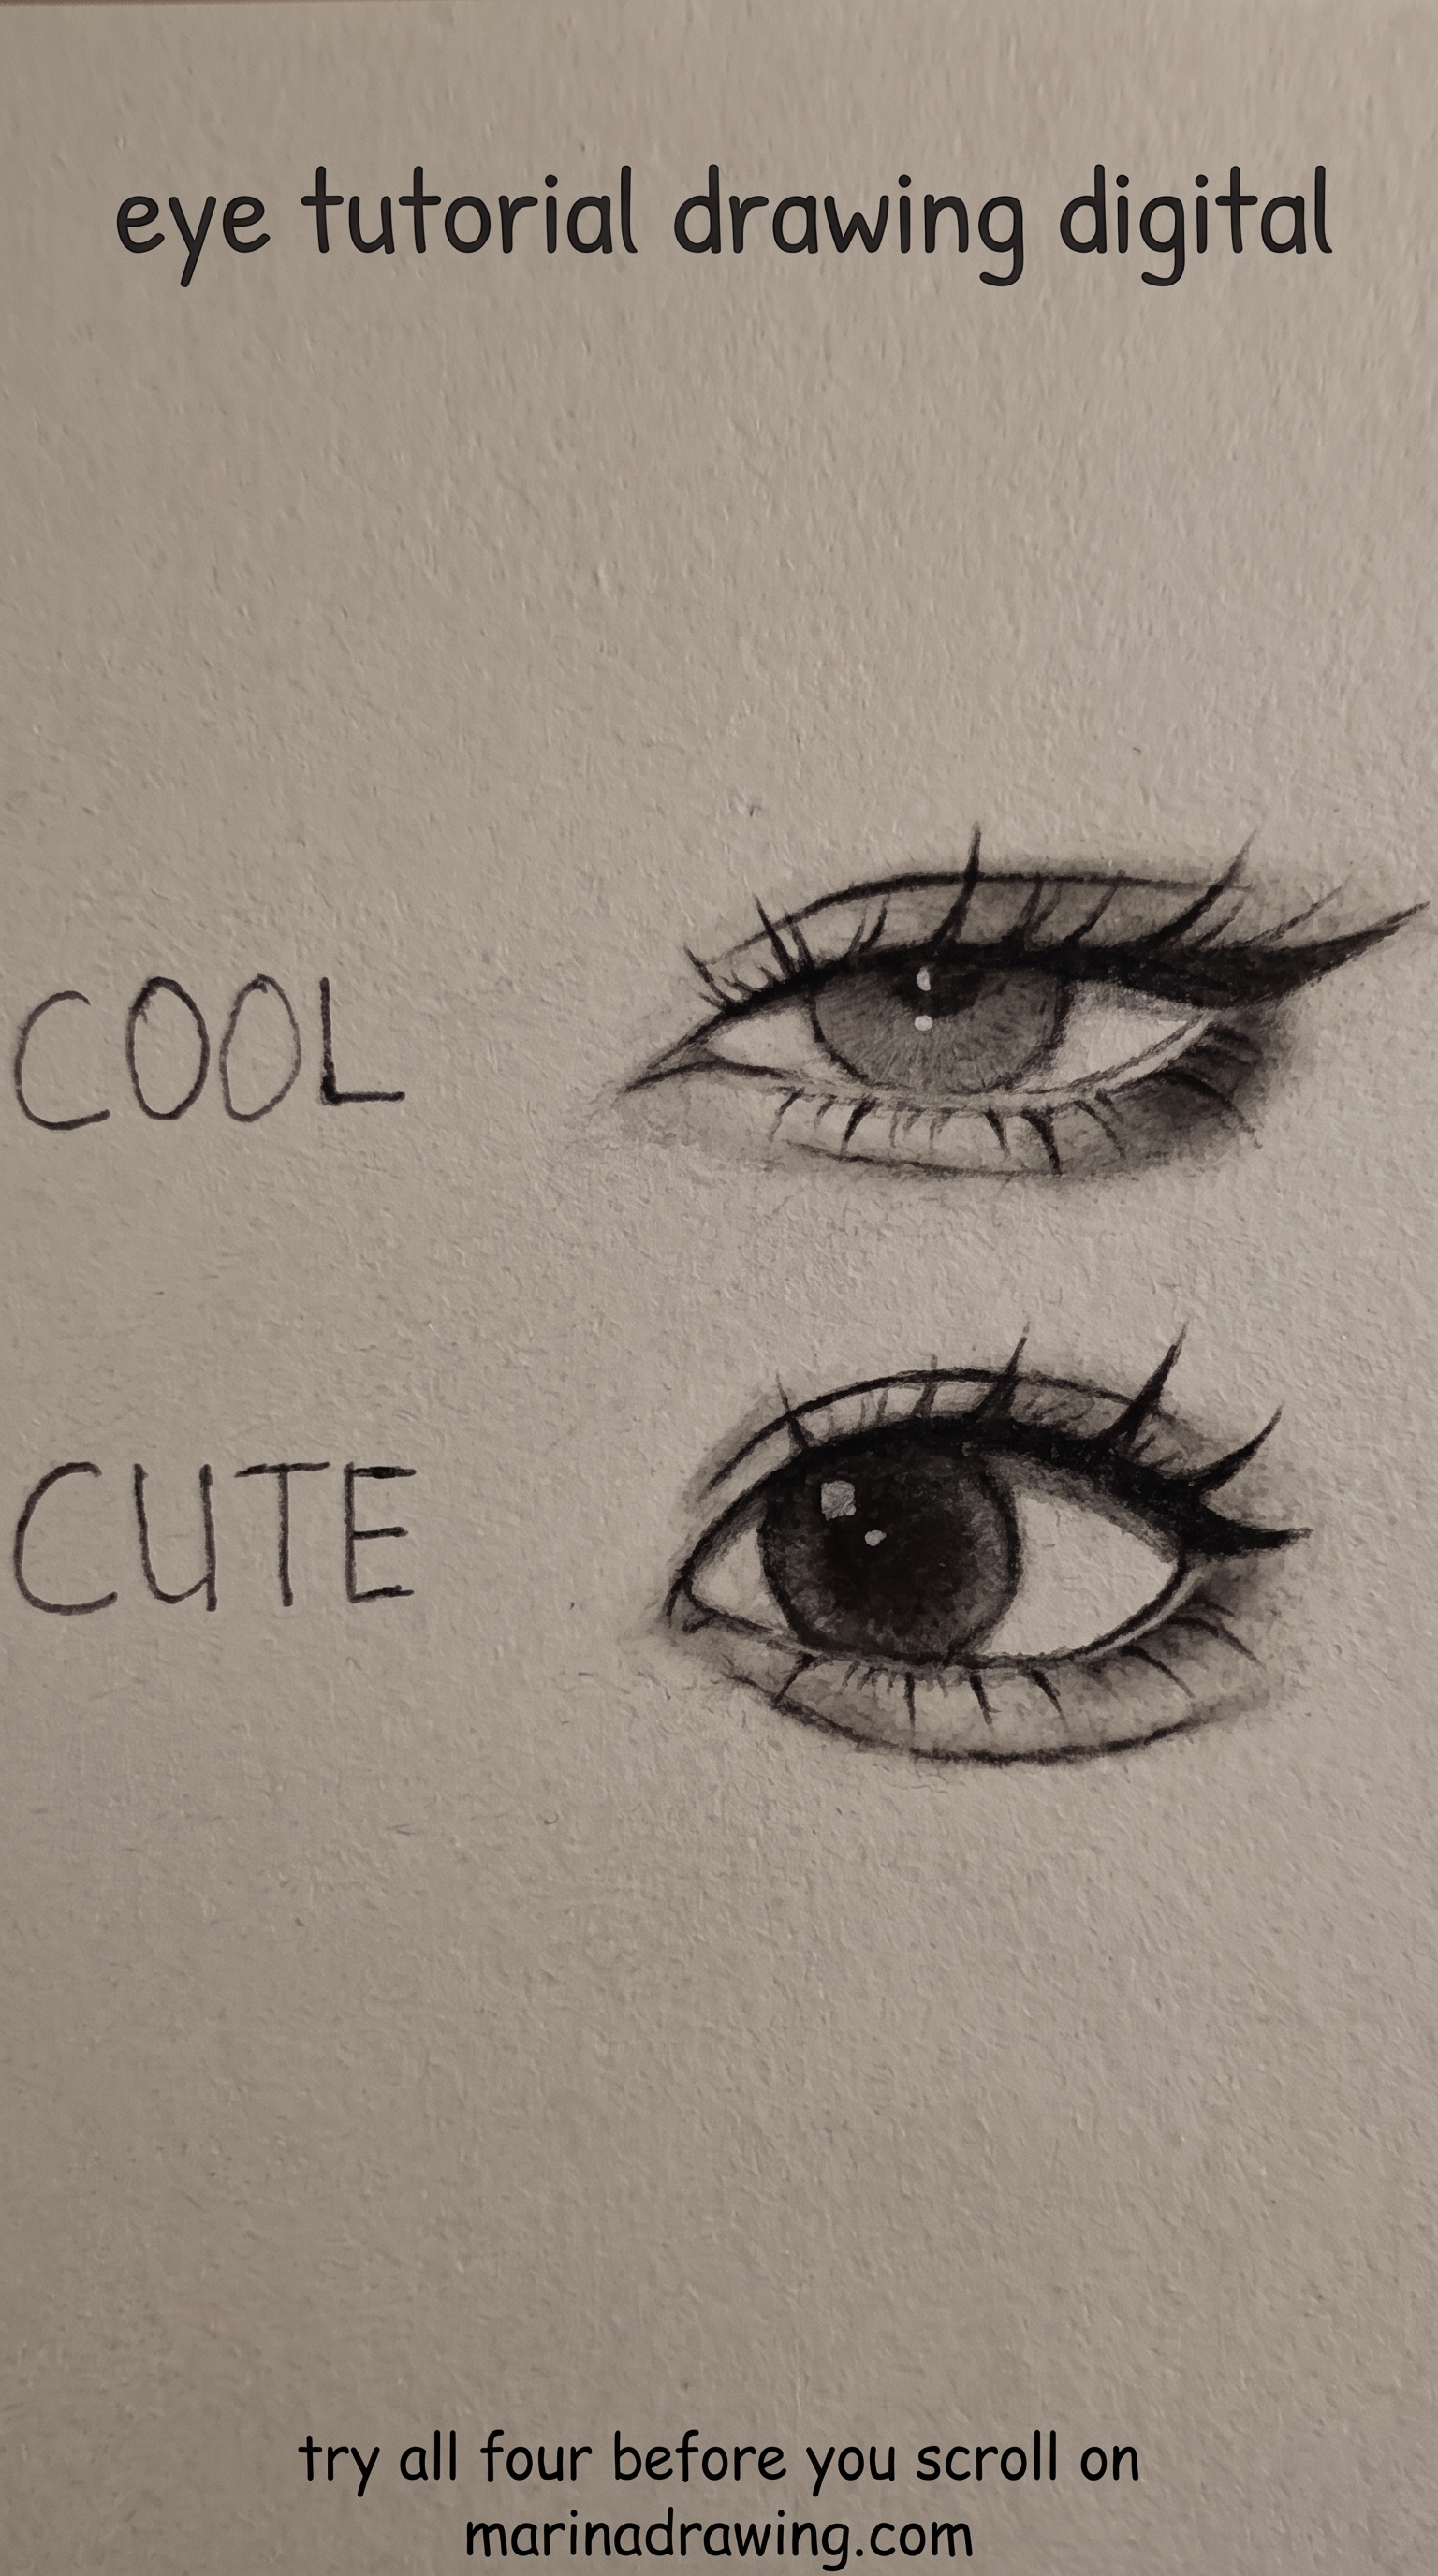
- Chibi. Give it a large oval iris, two highlights, almost no white showing, your lids as single lines.
- Cute. Drop your iris low in the eye, curve softly above it, put one highlight off-centre.
- Comic style. Hard lash line, sharp corners, the white left plain and the shadow under the brow solid.
- Cartoony. A circle and a dot, and the expression carried entirely by the brow above it.
Here is the part that matters. Your simplified eye works because you chose it. A flat eye fails because you did not. Draw one built eye first, then flatten it on purpose.
How to Draw Eyes for Kids
 Pin it
With a child, skip construction entirely.
Have them draw a circle, add a curve over the top, put a dot inside, and call it done. Then a second one beside it, same size, a hand’s width apart. That is your whole lesson, and it teaches spacing without a single measurement. The same approach runs through easy drawings for kids.
After a few, ask for a pair drawn from looking at a face. The earlier pages next to it do your teaching for you.
How to Draw Eyes, Nose and Mouth Together
Almost everything carries over. A nose is a wedge with a ball at the tip, a mouth is two lips wrapped around a curved row of teeth, and both sit on forms the same way the lid sits on the eyeball.
Two differences you will feel. Your nose has no symmetry partner, so its errors show later. Your mouth moves, so the corners matter more than the outline.
Learn the eye first and the other two cost you a fraction of the time. Shading all three together follows the same rules I use in realistic drawing and shading.
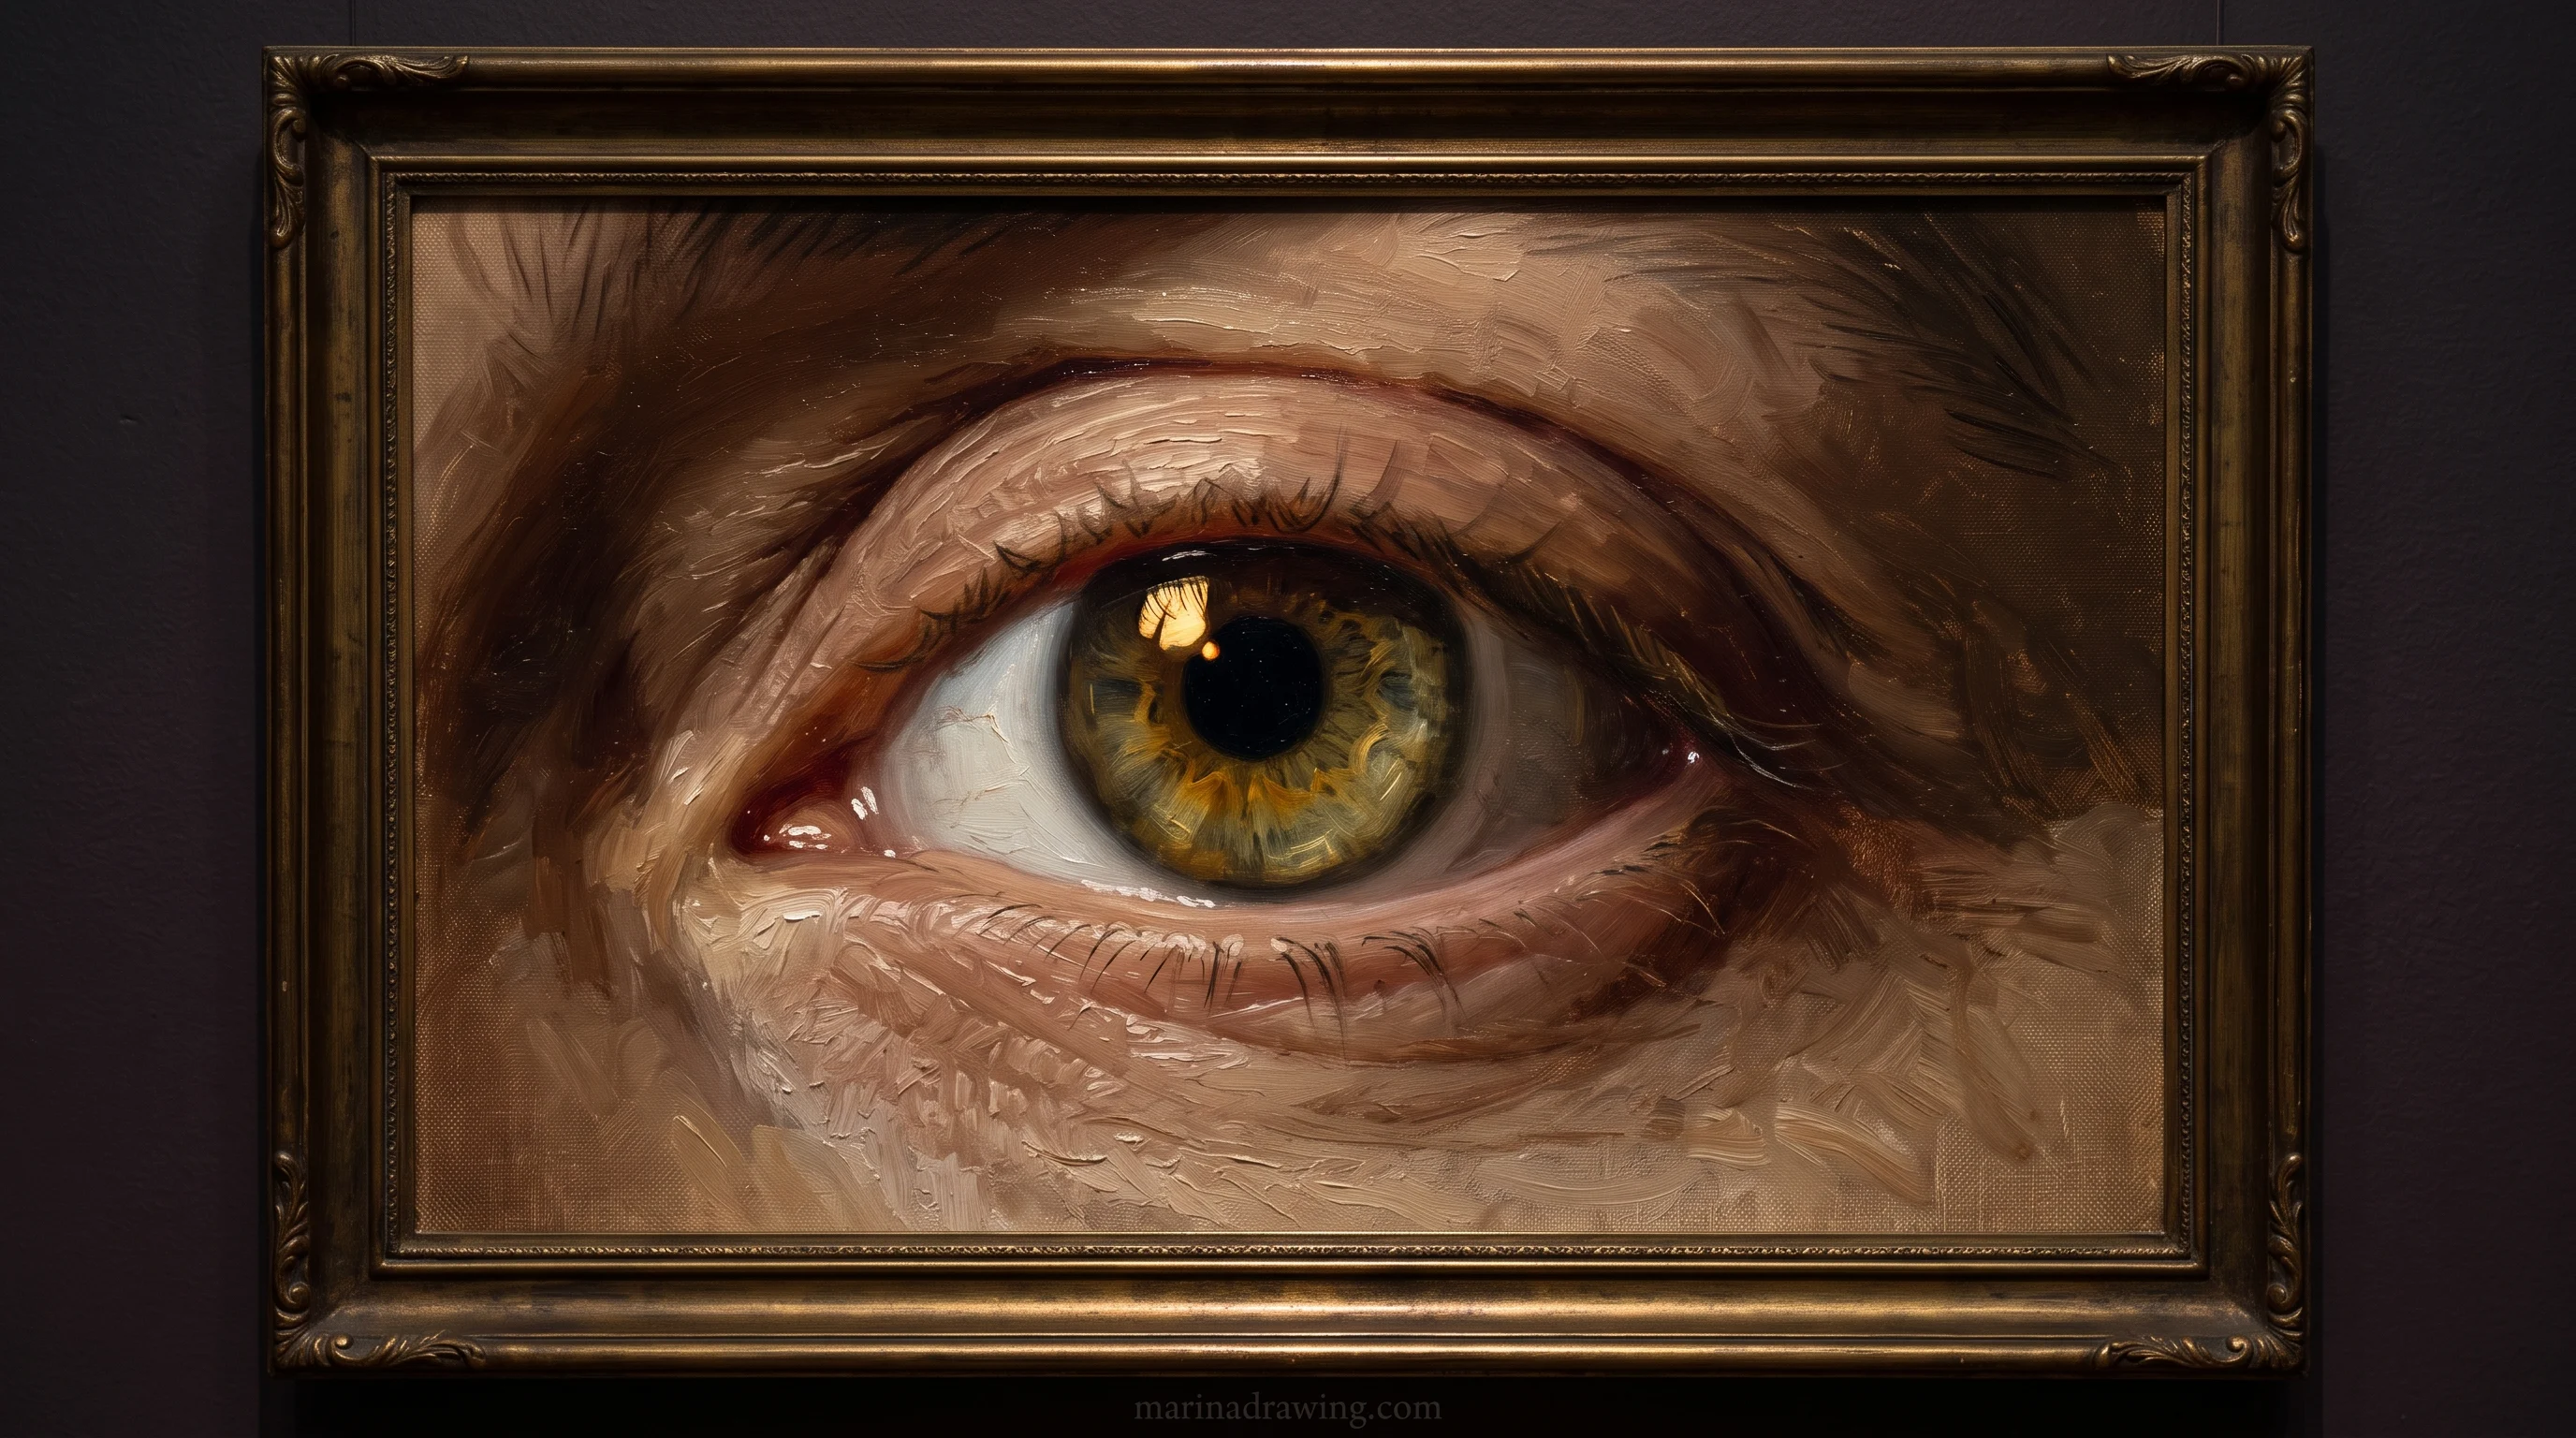
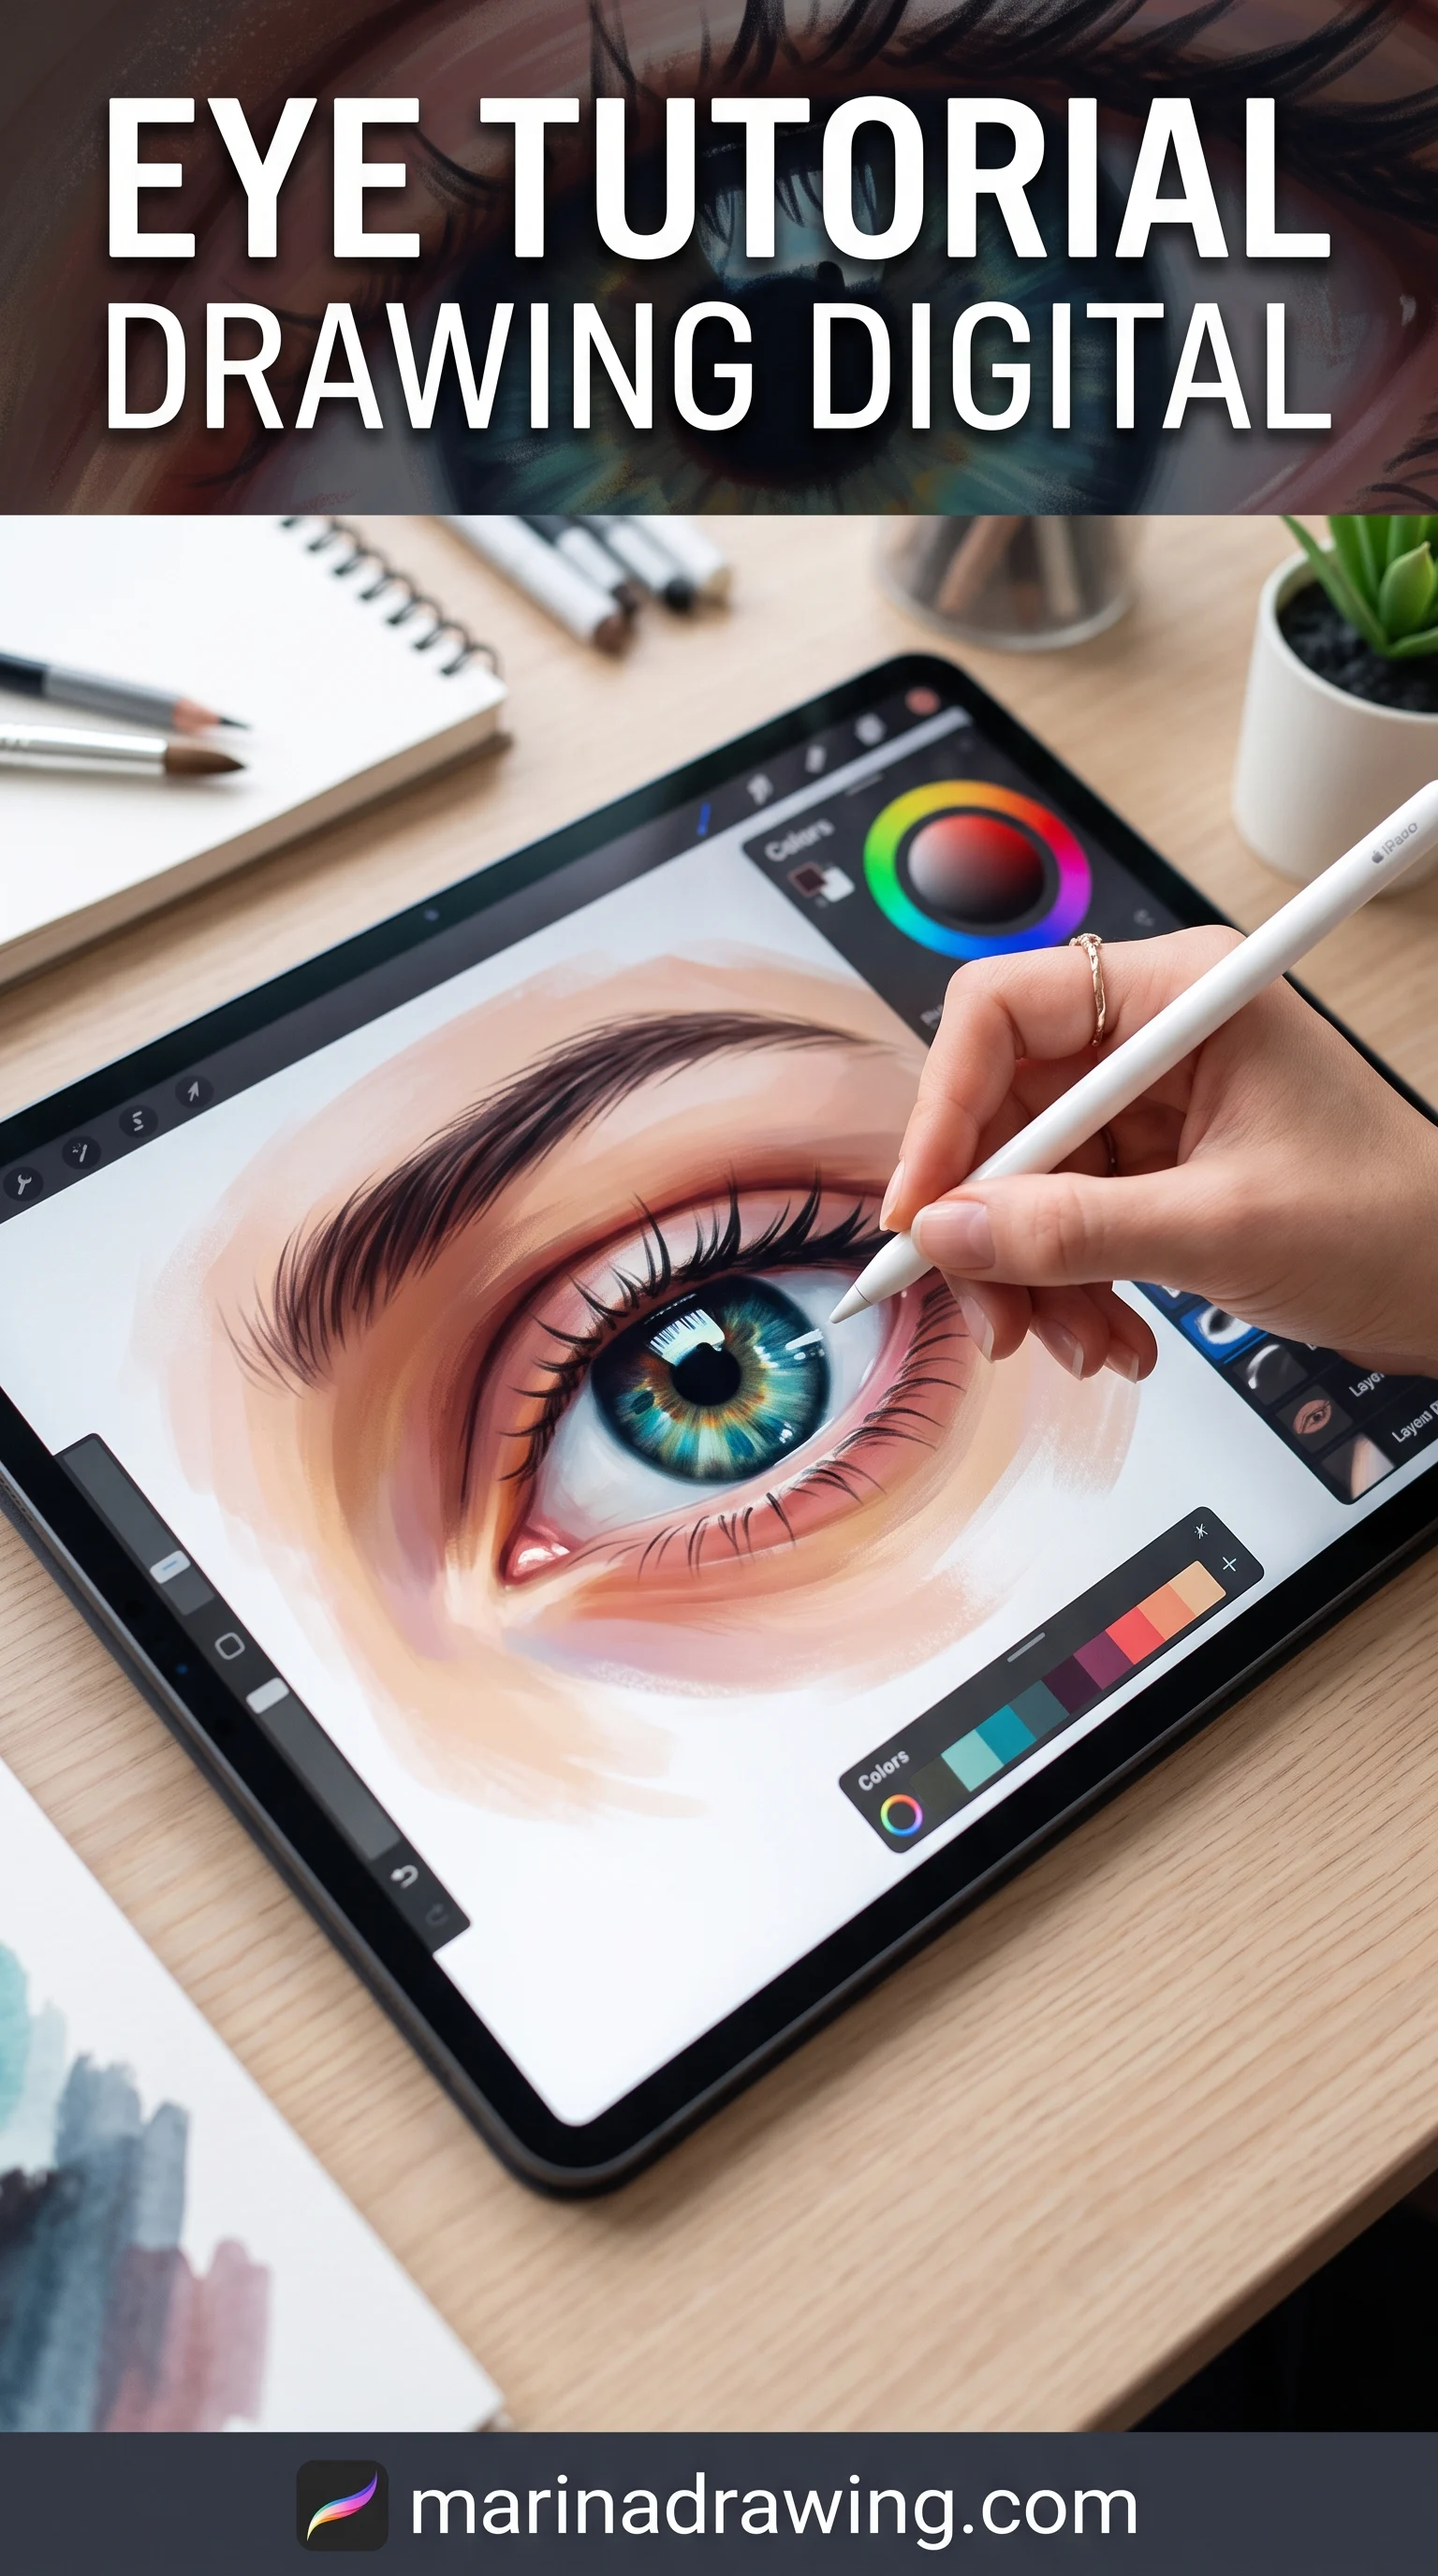
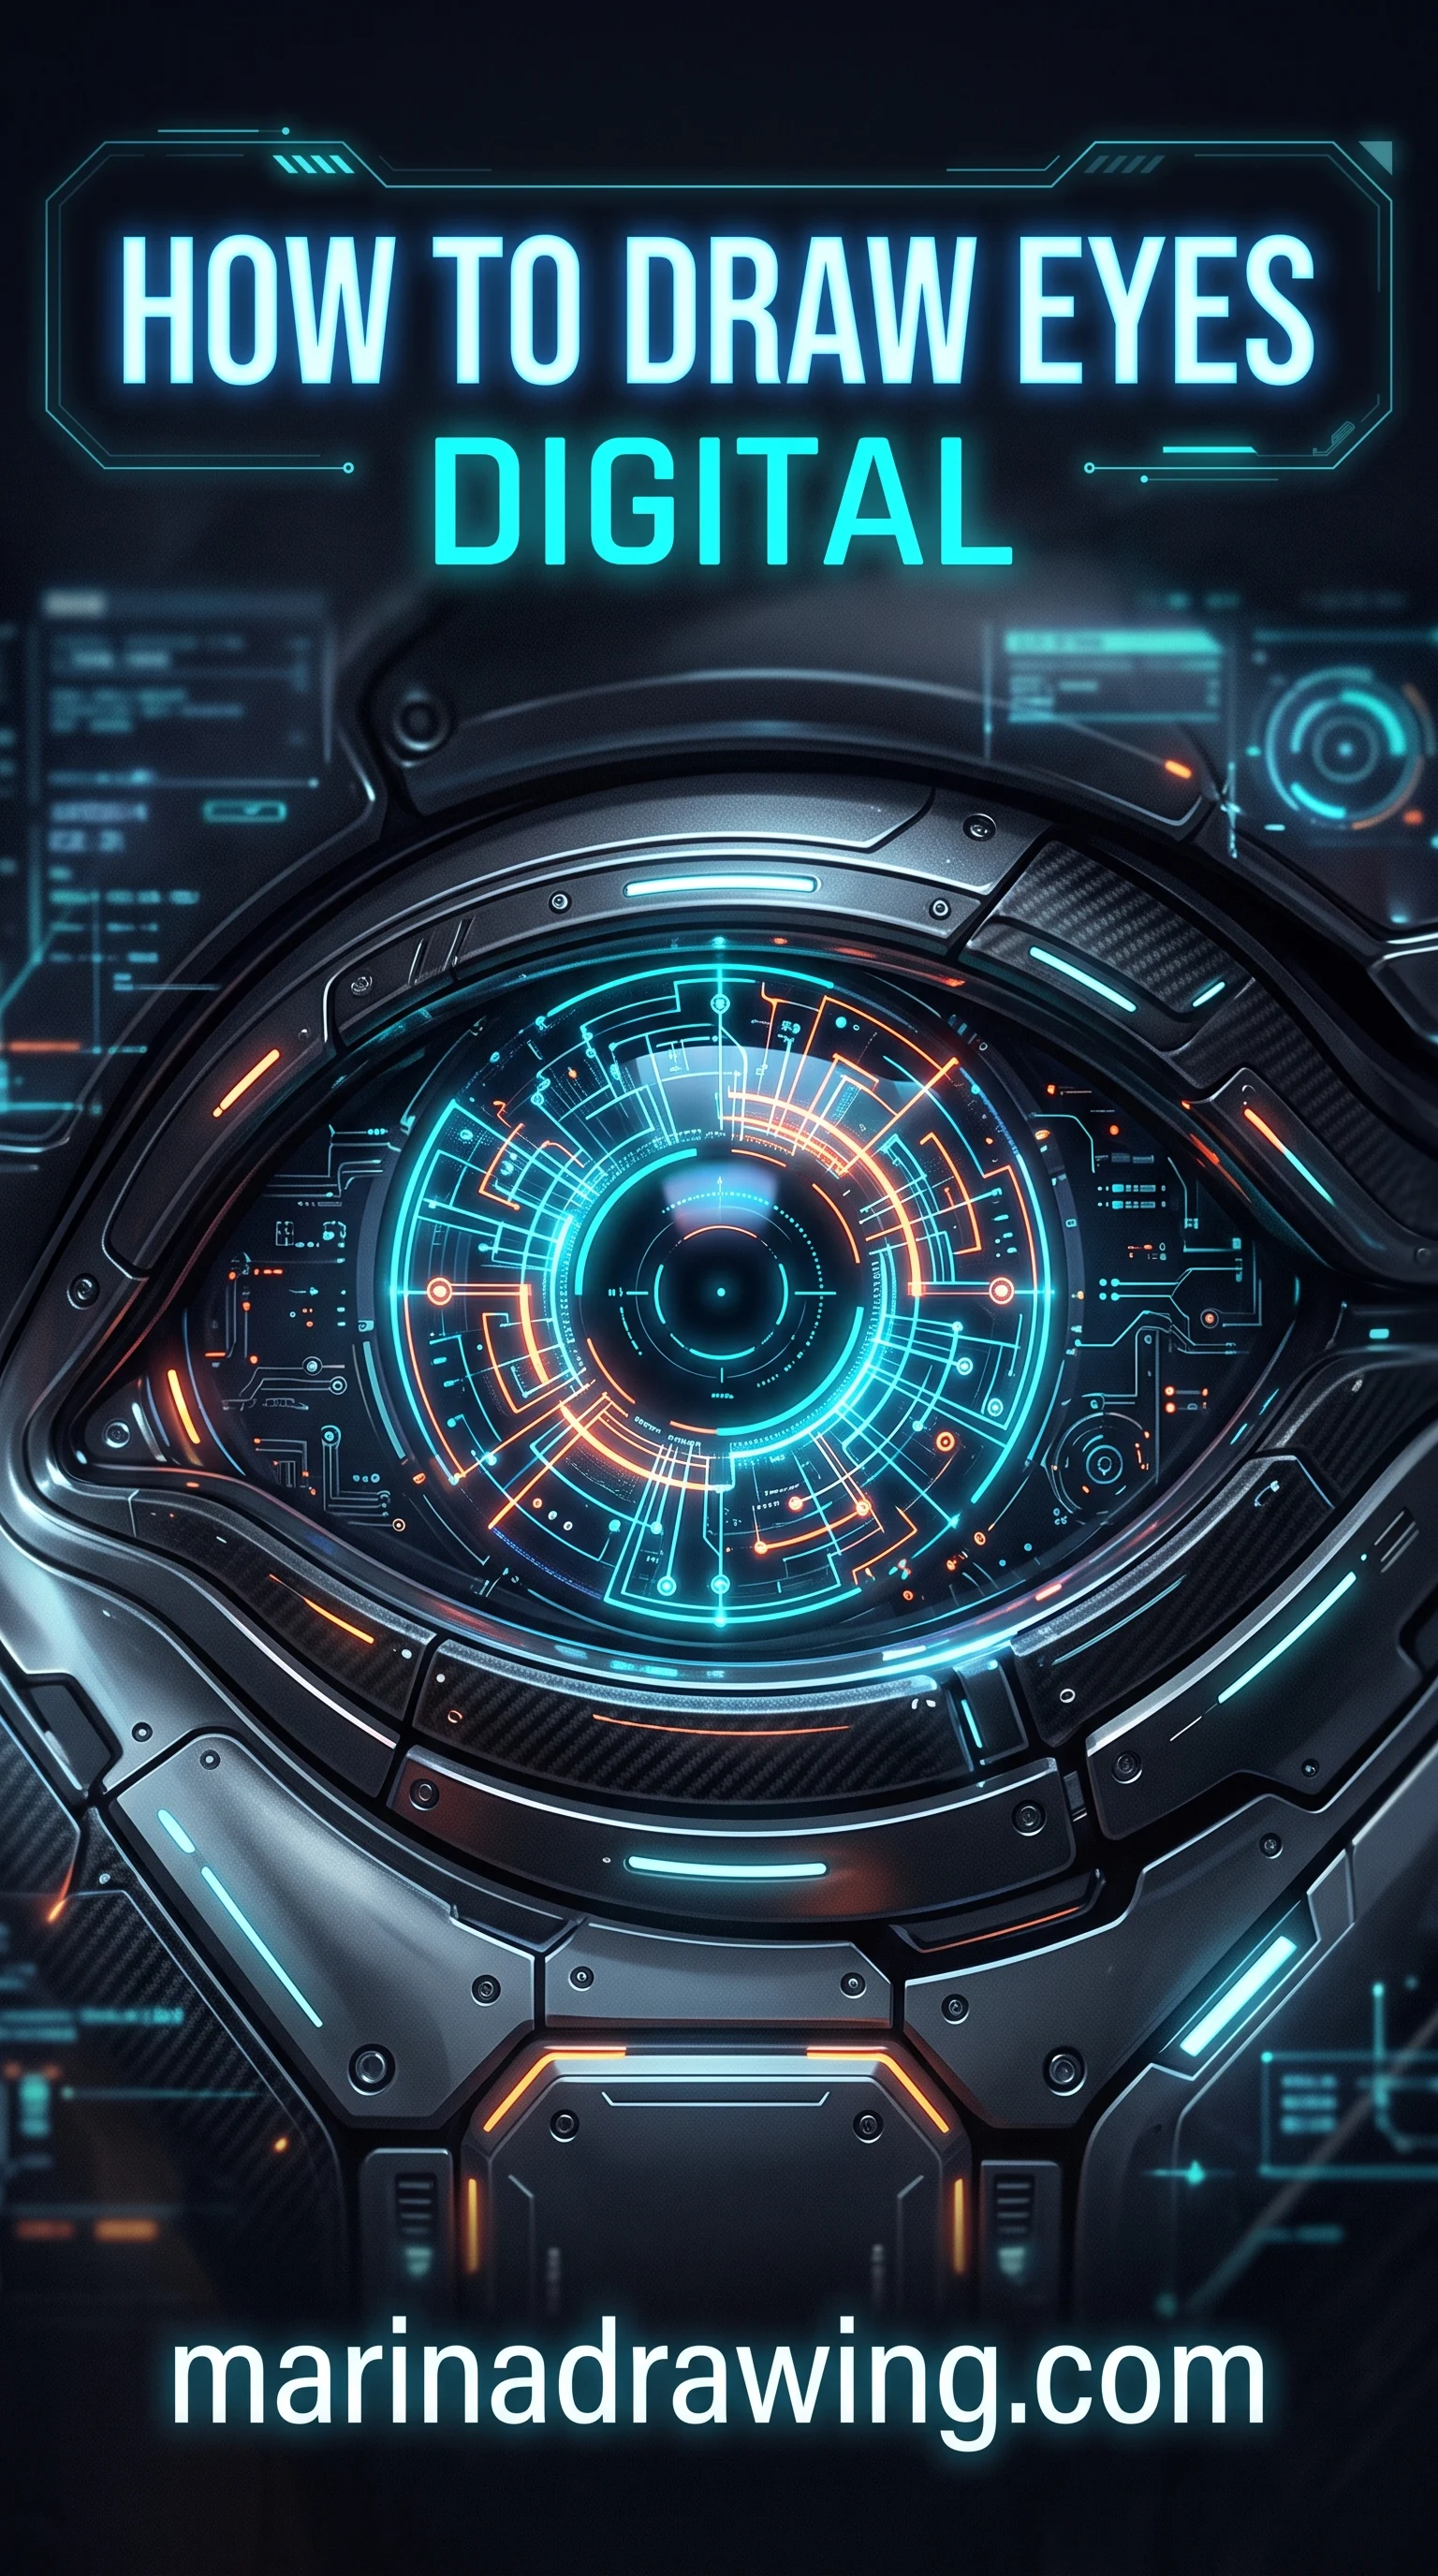
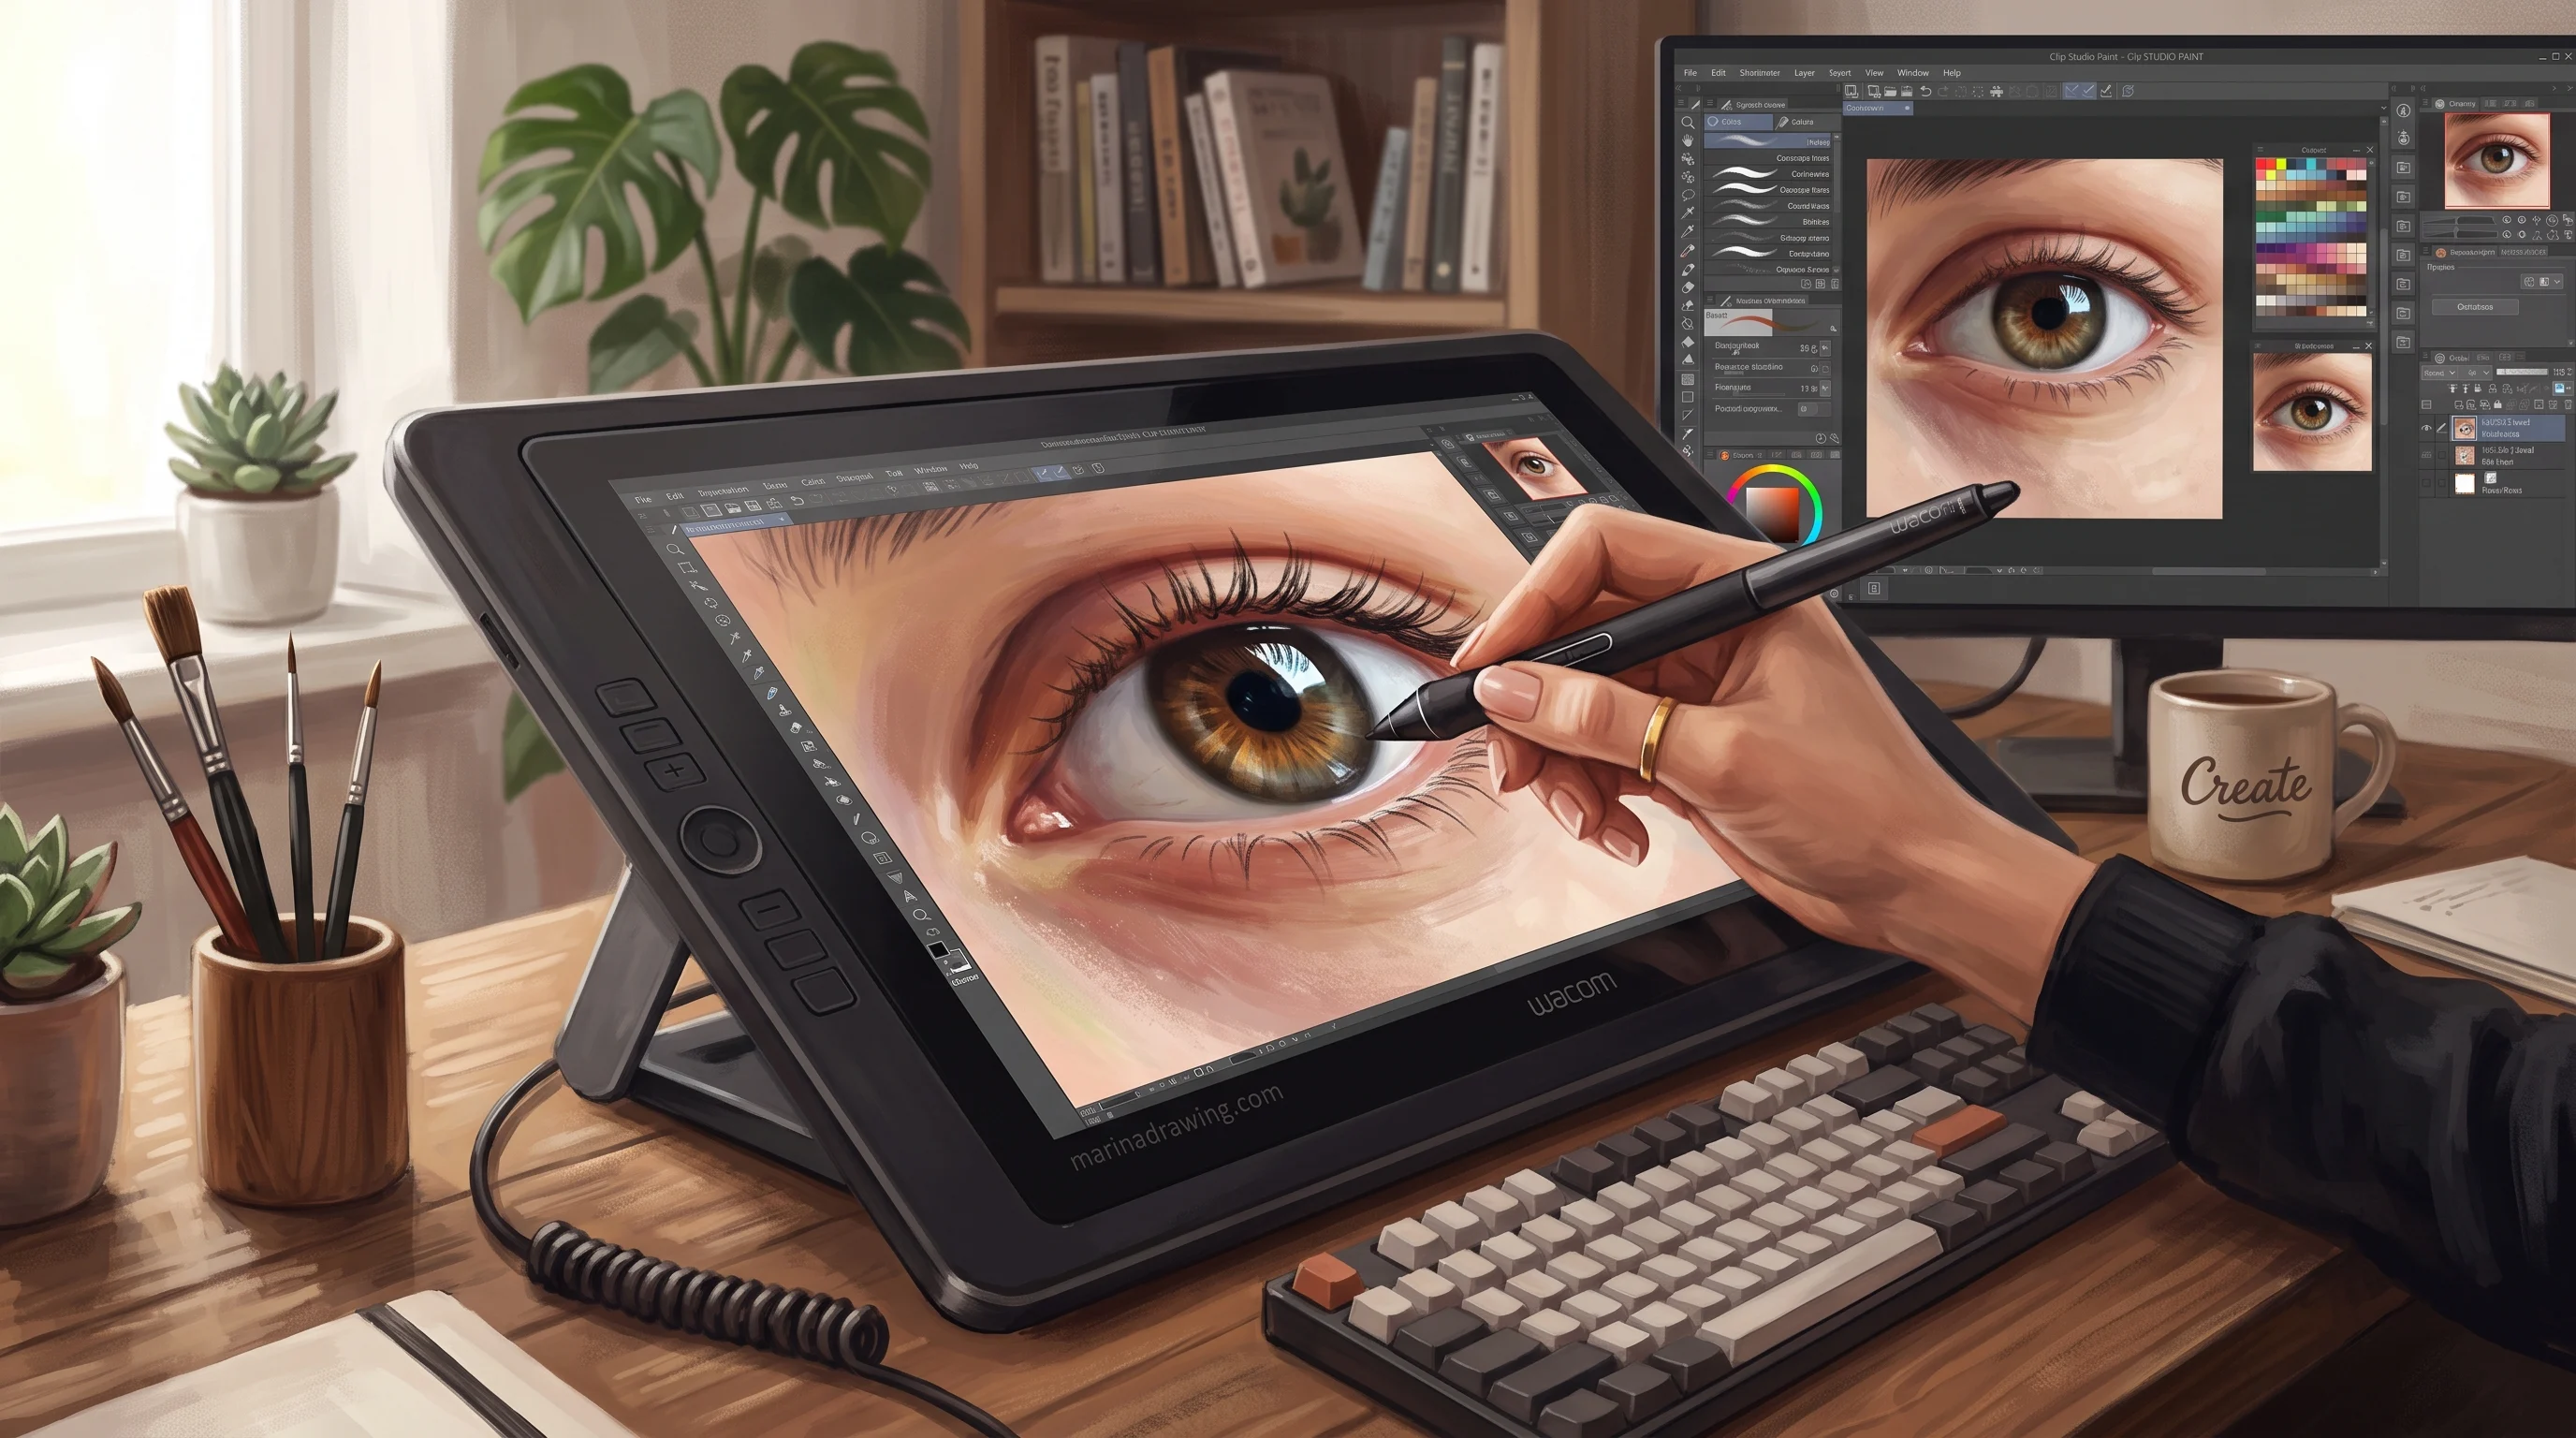
Drawing Eyes in Digital Art and Clip Studio
On a tablet, everything above still applies to you. Three things get easier and one gets harder.
Easier: you put construction on its own layer and it vanishes with one tap. Your flip check is a button. And you nudge a whole iris with the transform tool instead of erasing it.
Harder: the flip check works too well. Flip constantly and you hide the drift you should be learning to see. Flip twice per drawing, not twenty times.
One habit worth keeping from paper. Lock your construction layer at low opacity and leave it under the linework while you ink. When your lid line wanders off the ball, you see it immediately.
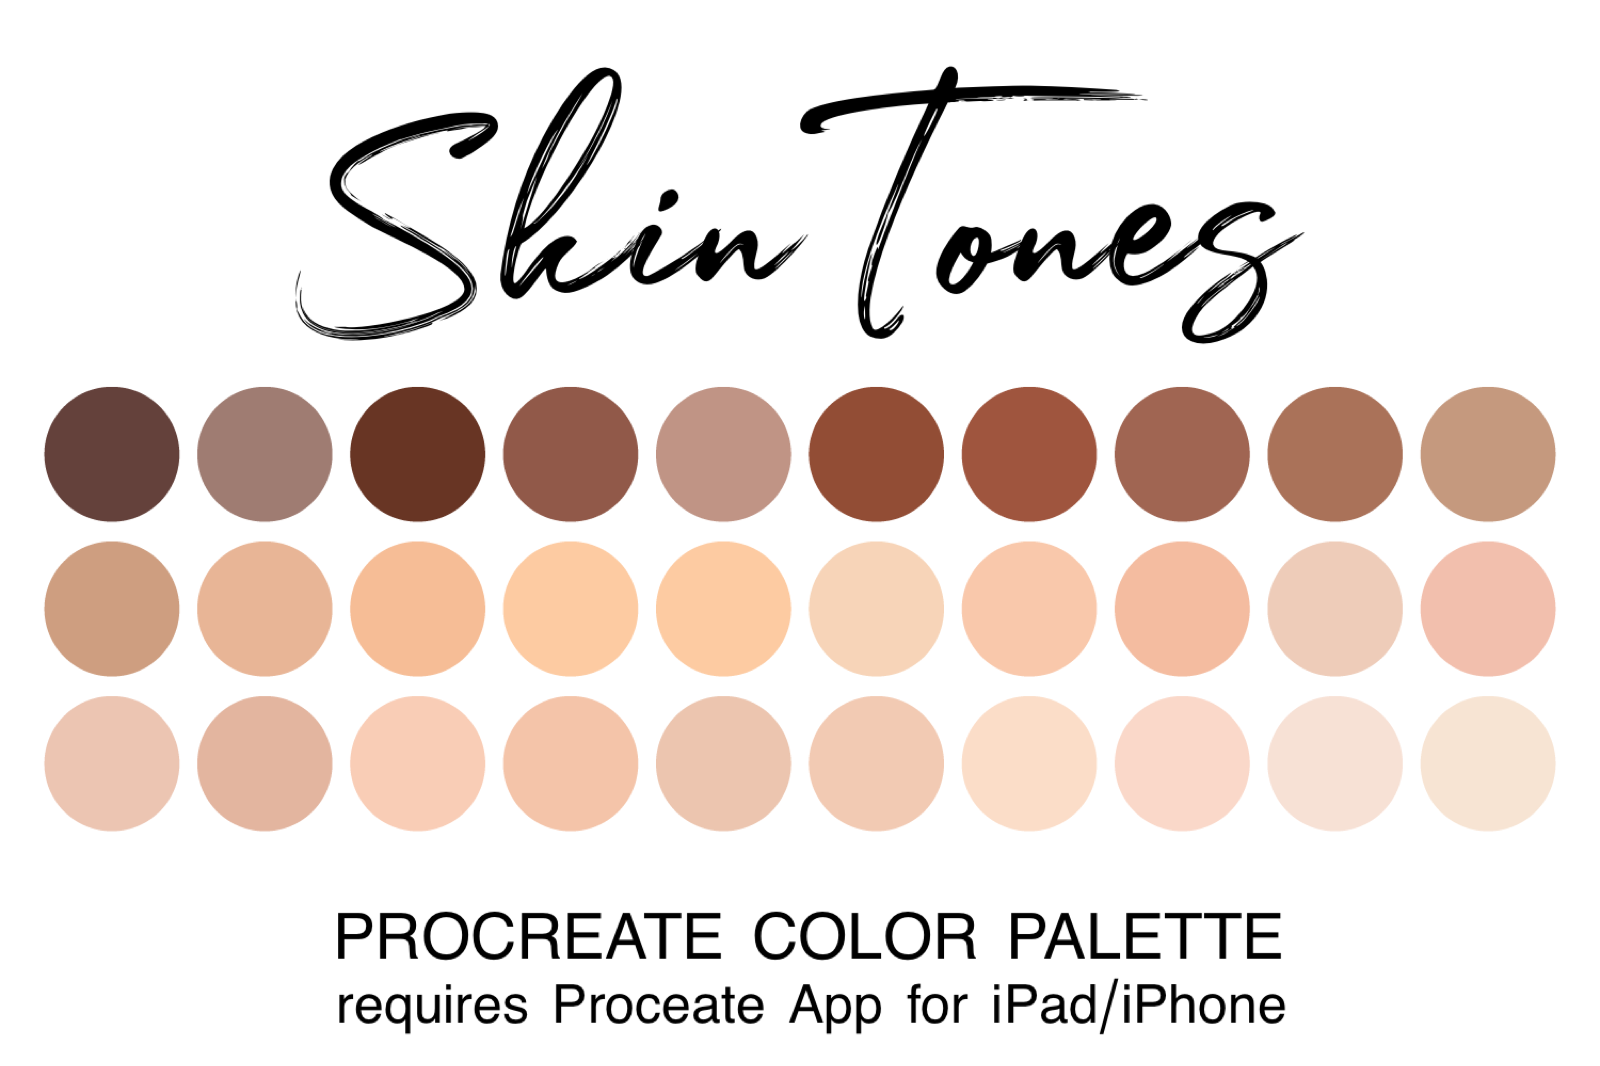
Picking the iris and skin values instead of guessing
A Procreate palette of skin tones, so the halftone under the brow comes off a swatch rather than mixed on the fly.

Four Mistakes That Keep an Eye Looking Wrong
 Pin it
| Mistake | What it looks like on the page | The fix, in one move |
|---|---|---|
| Almond first, ball never | Eye reads flat, pasted on the face | No lid line before the sphere |
| Symmetry by feel | Second eye drifts every time | Measure one eye-width with the pencil |
| Highlight added early | Drawing looks finished, lid still flat | Highlight last, after both checks pass |
| Copying a stylised reference | Flat eye in a different style | Build realistically, simplify after |
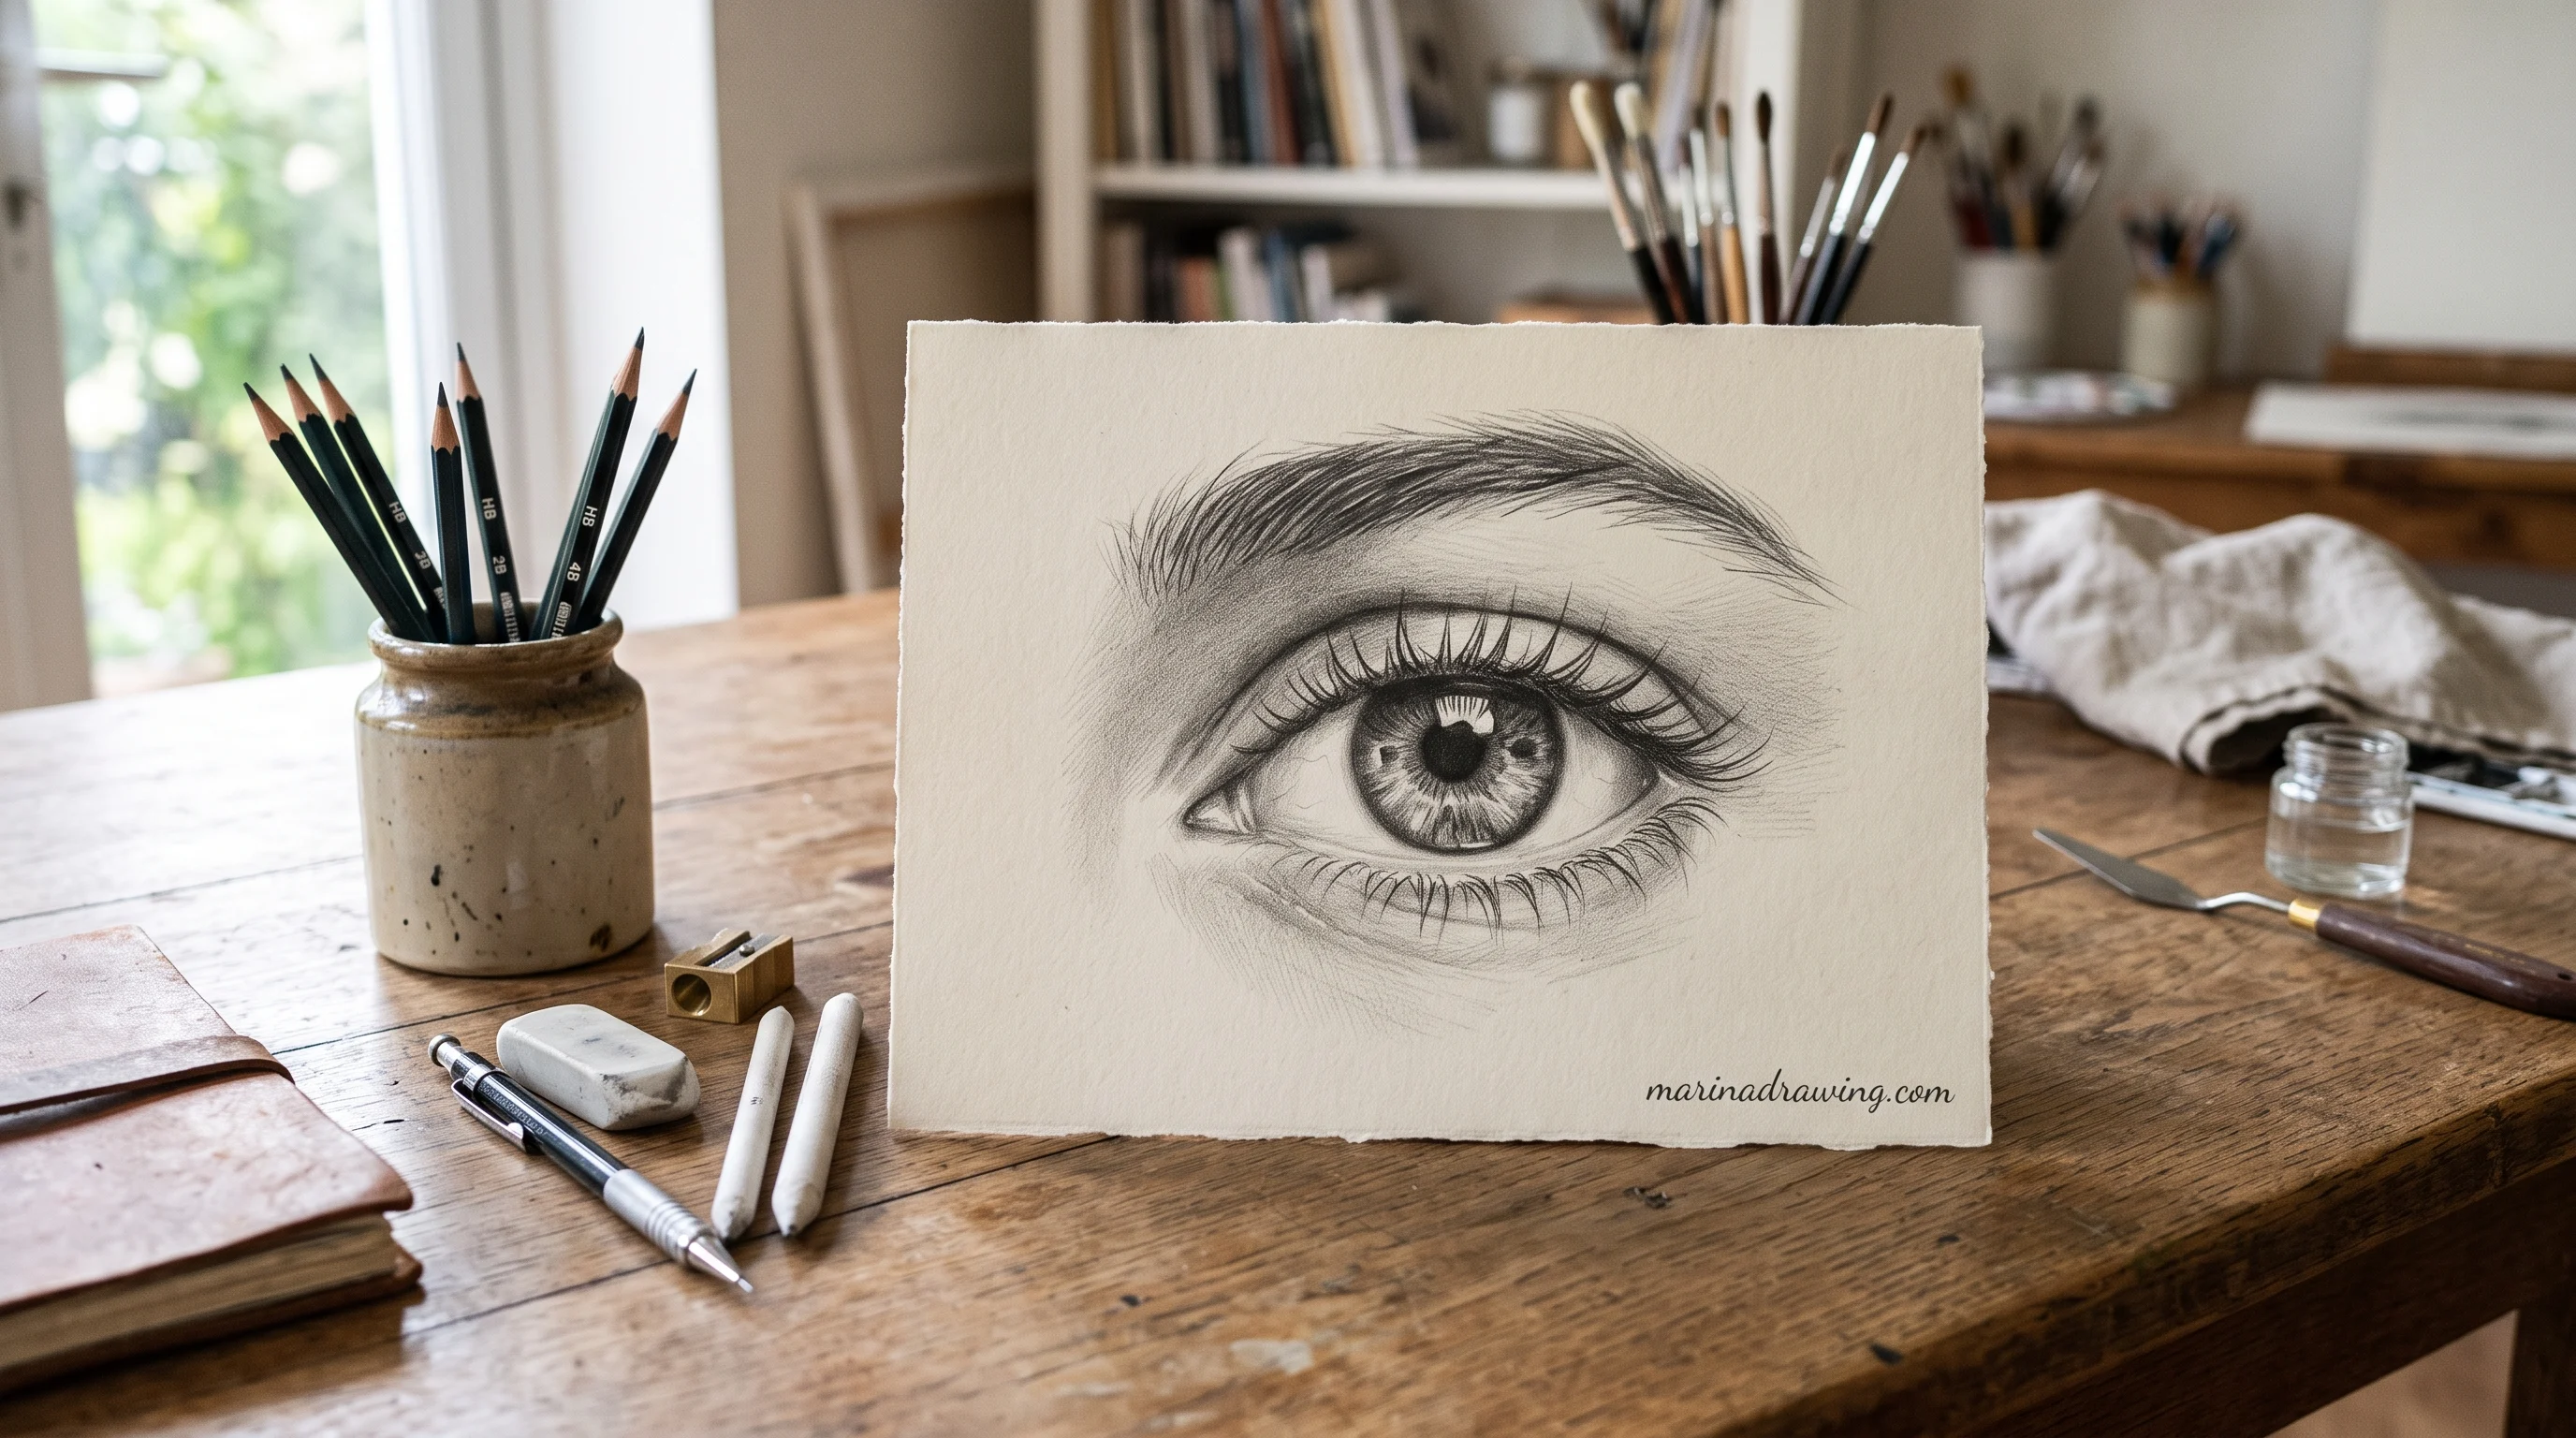
Drawing the almond first and the ball never
 Pin it
This is the root one. The fix is mechanical: no lid line goes down before the sphere does, not even for a quick sketch. Watching it corrected live is worth more than reading it, which is what the graphite lessons are for.
Trusting symmetry by feel
The second eye always drifts, because your hand compares it to a nearby shape instead of a fixed unit. The one-eye-width check takes ten seconds and settles it.
Rendering the highlight too early
A bright dot sells “finished” to your eye and hides the flat lid underneath. It is the last mark on the page, not an early box to tick.
Copying an anime reference for construction
Stylised eyes flatten the sphere on purpose. Copy the surface without knowing what was simplified away and you get the same flat almond in a different costume.
Thirty Minutes Tonight, a Month for the Shape
 Pin it
Tonight: six pairs of eyes, spheres through corners only. No iris, no lashes. Run the one-eye-width check on each pair before the next. Thirty to forty minutes, and the goal is the check passing without correction by the sixth pair.
Over a month, add one stage per week. Week one, spheres and lids. Week two, corners and iris, both checks still run. Week three, lashes last. Week four, full eyes at different angles instead of head-on only.
After a month your change shows up in the lid, not the lashes. Your sphere check starts passing on the first attempt, because your hand has learned to see the ball before it draws the line. It is the same habit I lean on in drawing practice, and the same month of evenings that fixed my own eyes came off the graphite lessons rather than any book.
Questions That Come Up Once the Ball Is Down
Why do my eyes look flat?
Because you drew your lids as a flat almond instead of bands wrapped around a sphere. Cover the iris and look at your lid curve alone.
How do I draw eyes easy, as a beginner?
Circle, curve over it, curve under it, two corner dots, iris, one lash line. You get a basic version in five minutes, and it is enough to practise on.
How far apart should two eyes be?
Leave about one eye-width, inner corner to inner corner, measured against one eye with your pencil.
How do I draw realistic human eyes with a pencil?
Lid thickness, a white that darkens toward the corners, a darker iris rim, and one highlight left as paper. Those four carry realism, not the lashes.
Is there a diagram I should learn?
Copy one labelled eye diagram by hand, once, then draw from a face. Your diagram has no angle and every head you draw does.
Why does the second eye always look different?
Because you drew it after the first was finished, so your hand copied that eye instead of the source. Build both together, stage by stage.
How do I draw eyes at different angles?
Keep your order. Your far ball narrows, the far iris becomes an ellipse, and the inner corner moves toward the nose bridge. Turning the head is the point where watching it drawn beats reading about it.
How do I draw anime eyes for a girl or a boy character?
Taller almond, huge cropped iris. A girl usually gets a thicker lash line and rounder iris, a boy a narrower eye and flatter top lid.
How do I draw cartoon, chibi or cute eyes?
Use fewer parts, bigger shapes, less white showing. It works because you flattened a built eye on purpose.
How do I draw eyes for kids?
Circle, curve, dot, then a second one a hand’s width away. Spacing gets taught without any measuring.
How do I draw closed eyes?
Curve the closed lid outward, because the ball underneath pushes it out. A straight line looks like a seam.
How do I draw crying eyes?
Thicken your waterline, swell the lower lid slightly, redden the inner corner, and keep to one highlight on your tear.
How do I draw eyes behind glasses?
Finish the eye first, then lay the lens over it and step the face edge where the frame crosses.
How do I draw brown, blue or green eyes?
Go darkest at your iris rim, pull strokes inward, keep warmth near the pupil for brown. Your pupil stays the blackest thing on the page.
How do I draw eyes, a nose and a mouth together?
Same idea: each one sits on a form. Learn the eye first and you get the other two cheap.
What about digital art or Clip Studio?
Identical build order. Keep your construction on its own layer, flip twice per drawing, and do not let the button replace your eye.
Should I draw the lashes at all?
Yes, last, and only after both your checks pass. Lashes added early cover a lid line you never confirmed.
Do I need a book to get better at this?
Not for this. The ball and the lid bands are shape decisions, and the graphite course shows them being drawn rather than described.