Drawing practice works, but only the kind you can grade. Repeat a drill for weeks with no way to tell a pass from a near-miss, and you train your hand to move while your eye stays asleep. Every drill you run below ends with a number you can check yourself, on the page, in about ten seconds.
The 8 drills below each carry one measurable pass mark. You know on the page, not next week, whether that rep counted.
Most daily-practice advice hands you a schedule and stops there. Fifteen minutes here, thirty there, a streak counter to keep you honest.
It skips the part that actually moves your skill: knowing, the moment you set the pencil down, whether that attempt passed. Without that check, a drill you do wrong for two weeks just grooves the wrong habit deeper.
I spent my first year drawing that way. Hand busy, eye disengaged, no moment where I stopped and asked why one line worked and the next one didn’t.
That gap is what these 8 drills close for you. Each one ends with a count, a wobble limit, or a match you check against a stated number. Not a feeling.
Key Takeaways
- A drill without a pass mark is just repetition. It grooves a wrong habit as easily as a right one.
- Each of the 8 drills has one measurable threshold you can check by eye in about ten seconds.
- Run the self-check after every session, not only when a drawing looks off.
- Restart at the drill you left, not at Drill 1. The pass marks measure skill, not a streak.
A drill with no pass mark grooves a wrong habit exactly as fast as a right one. Your hand can’t tell the difference. Only the check can.
Rather watch a pass and a miss side by side?
The graphite lessons narrate this exact pass/fail call on real pages, drill by drill, before you run the same check on your own.
What You Actually Need Before You Start
Three things. That’s your whole list.
- A soft pencil. HB or 2B covers every drill you will run here. Grade is not the variable that decides pass or miss.
- Plain printer paper. Cheap paper is better for drills. You will throw most of these pages away, and you should.
- A hard flat surface. A clipboard fixes your sliding-paper problem more than any pencil upgrade will.
You need no tablet. No fancy sketchbook, no specific brand.
Deciding between paper and a tablet? The drills transfer either way. Digital just makes the step counts easier to track in layers.
Pro tip: set a timer before you begin, because “done” is a feeling, and feelings are exactly what a pass mark replaces.
Drawing Warm Ups: Five Minutes Before Drill 1
Your cold hands fail drills they would pass warm. I used to score my first three lines of the day as misses and wonder what had gone wrong overnight.
Nothing had. I just hadn’t warmed up.
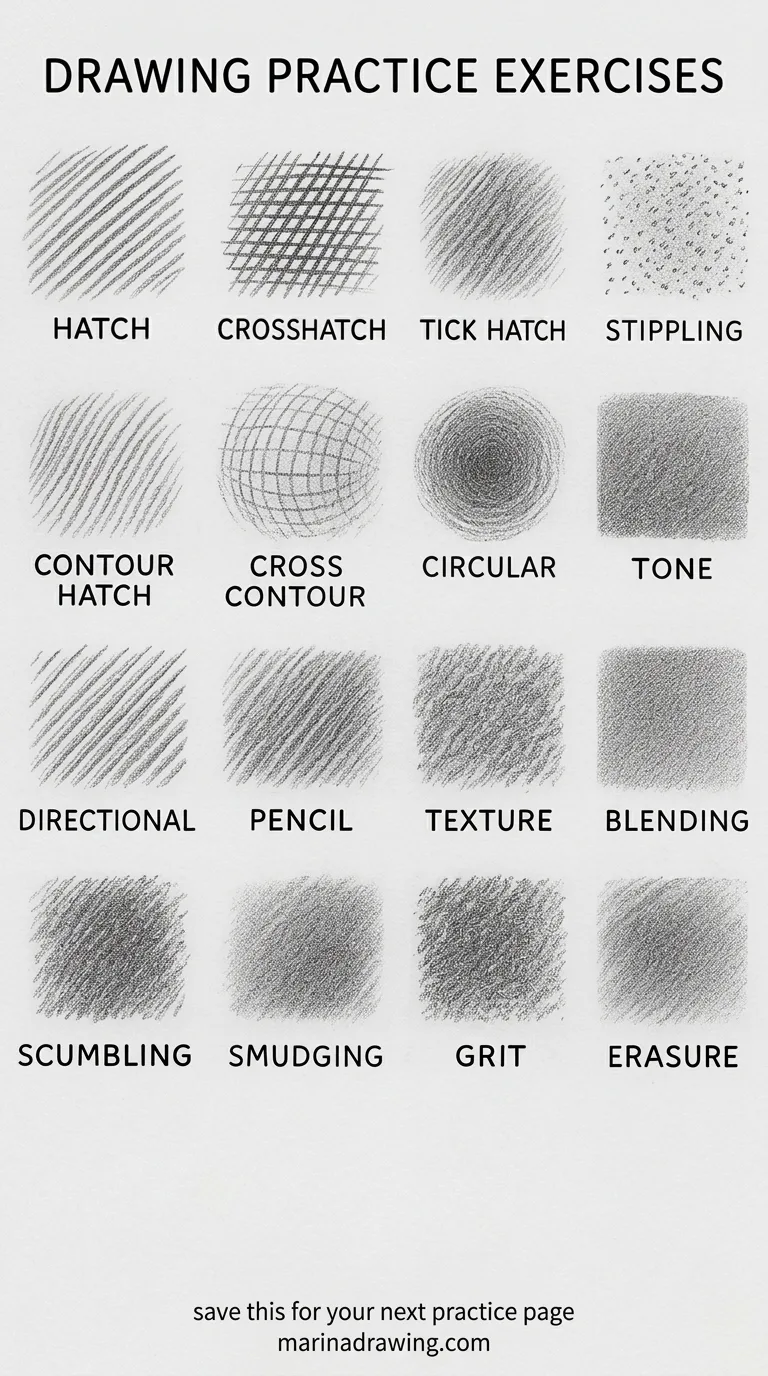
Run these three warm ups first, ungraded, for about five minutes before you grade anything:
- Loose scribble ovals. Fill half a page with overlapping ovals at speed. Don’t aim for neat. You are waking the shoulder joint, not making a drawing.
- Ghosting. Hover the pencil above the paper and trace the stroke you’re about to make, three times, before it touches down. Your hand learns the path first.
- Pressure ladder. Draw one long line and push from feather-light to black and back. This is what stops your shading collapsing into one flat gray later.
None of these three carry a pass mark, and that is deliberate.
A warm up you grade becomes a drill, and a drill you run cold becomes a false miss.
Not sure your warm up is doing anything? The graphite lesson set opens each session with the same three, so you can watch what a loosened arm actually looks like.
The 8 Drills, Each With a Pass Mark
1. Straight Line Control
Place two dots, then connect them with one stroke about the length of your hand. Do that 20 times.
Draw from your shoulder, not your wrist. Don’t lift the pencil mid-line.
Pass mark: at least 15 of the 20 land within a pencil-width of straight, with no double-back “hairy” edge where you corrected on the way.
Fewer than 15 clean lines? The drill repeats tomorrow before you touch Drill 2.
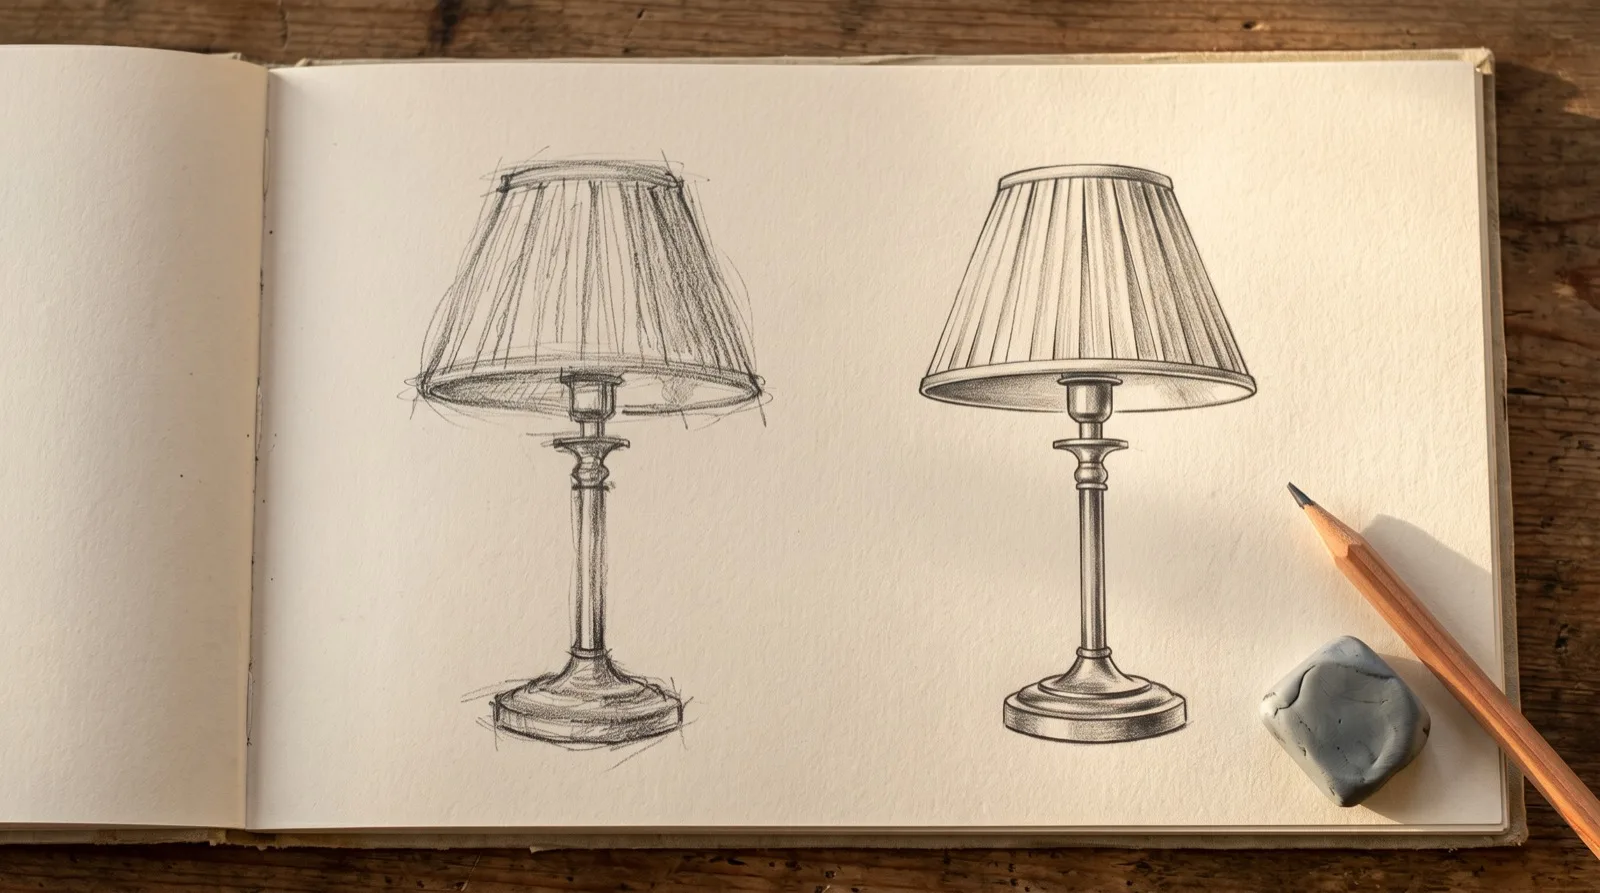
2. Circle Consistency
Draw 15 circles of roughly the same size, freehand. Draw them at speed, one continuous motion each, not as a slow trace.
Pass mark: at least 10 of the 15 close within a pencil-width of their own starting point, with no visible flat side.
A wobbly circle looks fine at a glance and only fails up close. That’s exactly why the number exists.
Still failing after a few sessions? The graphite lesson set shows the shoulder-motion fix on camera.
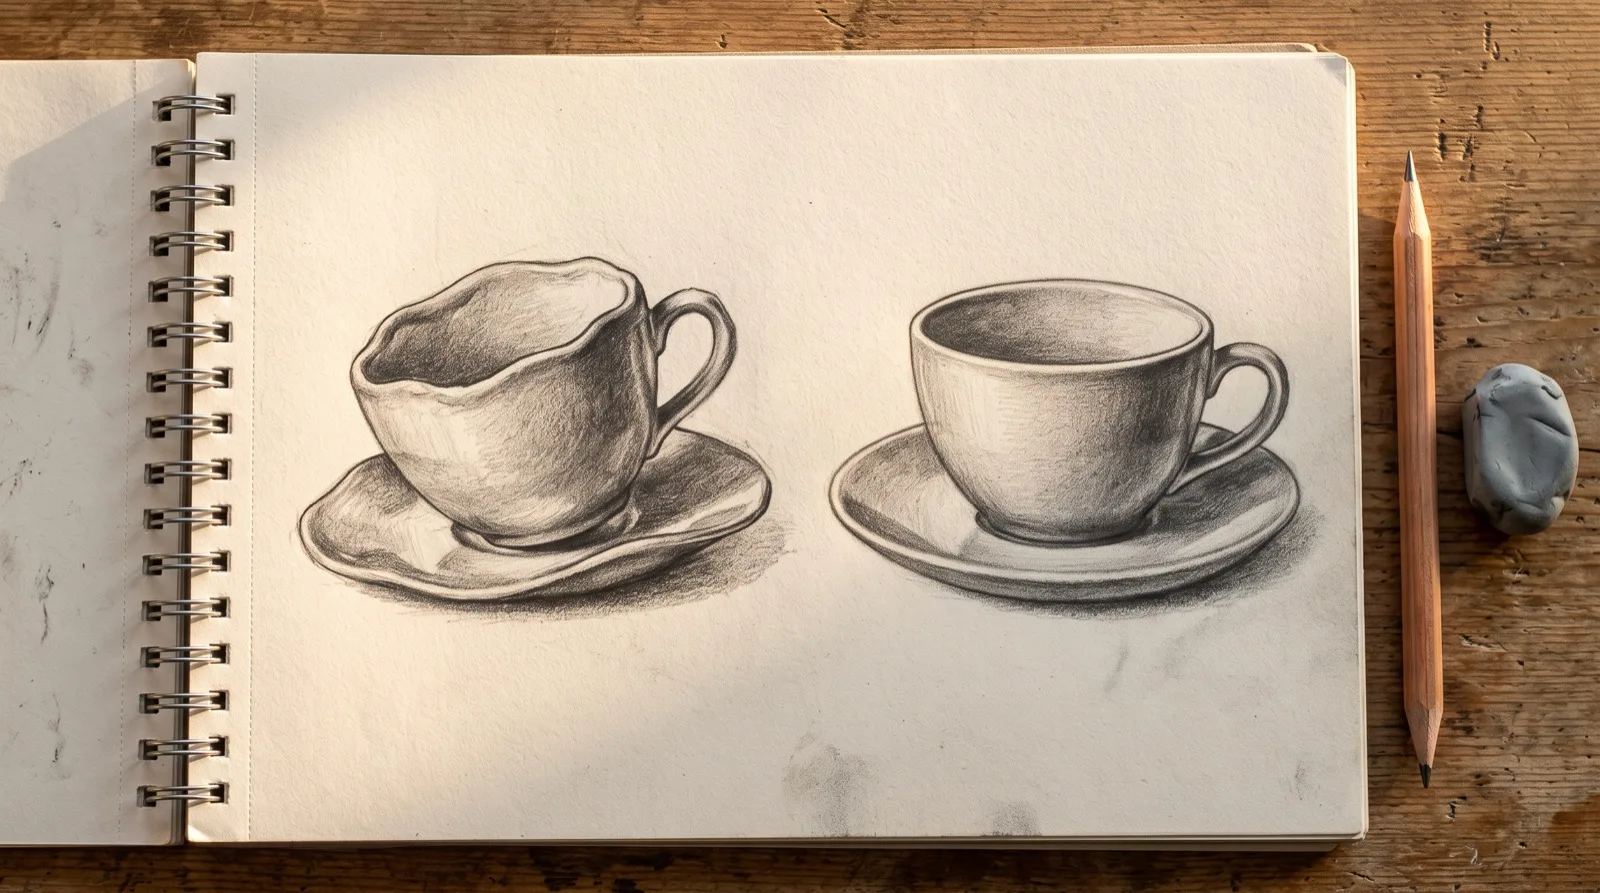
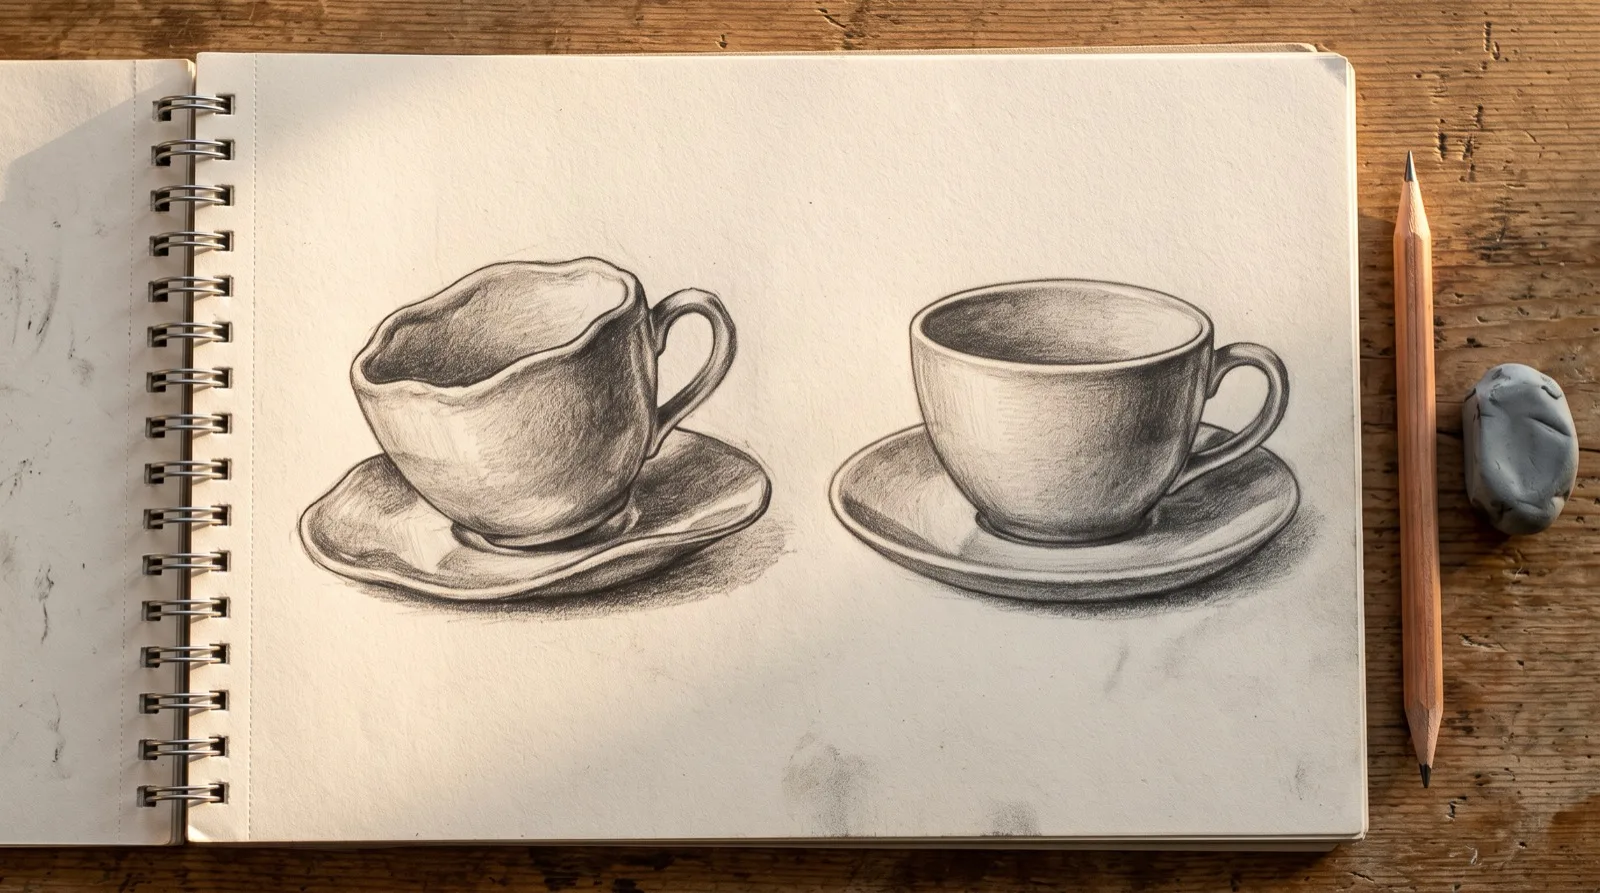
3. Ellipses in a Row
Draw a row of 10 ellipses along one axis line. Keep the same tilt and the same width-to-height ratio across the whole row.
This is the skill under every cup, wheel, and cylinder you will ever draw.
Pass mark: the major axis of at least 8 sits within about 10 degrees of the guide line, and none of the 10 shows a pointed “lemon” tip.
A still life setup tests this immediately. Almost every jar or cup on the table starts as an ellipse.

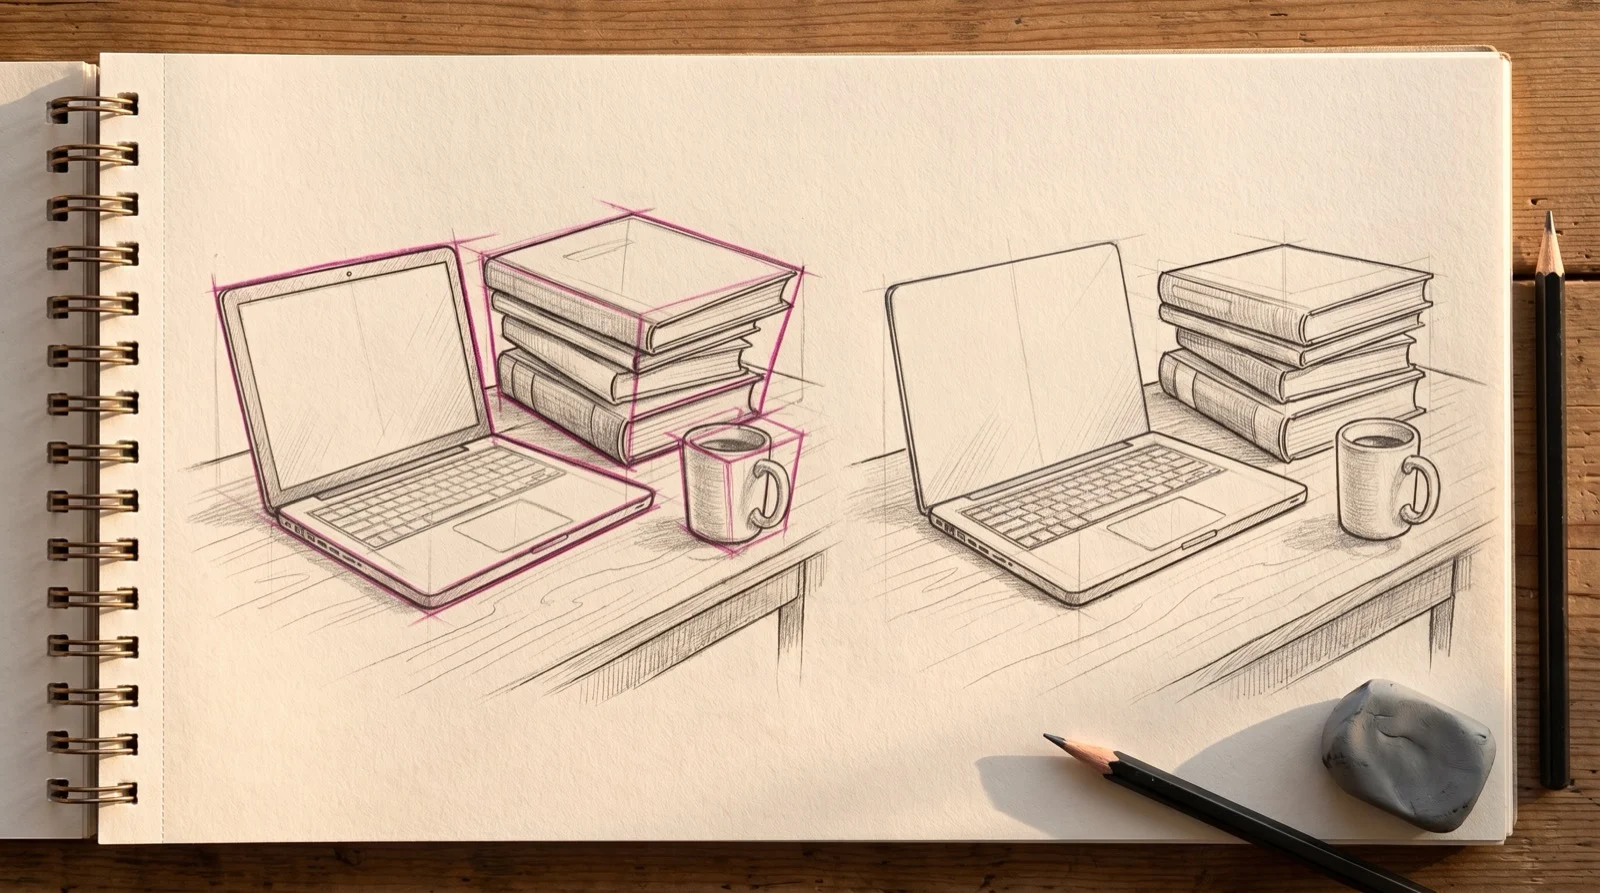
4. Proportional Boxes
Draw 8 boxes freehand at different sizes. Each one is meant to be a perfect cube: same width, height, and depth by your eye alone.
Pass mark: at least 6 of the 8 read as roughly cubic, not stretched into a brick or flattened into a card.
Measure by covering two sides with your thumb and comparing the third. One dimension clearly longer? That box is a miss.
Pass/Fail at a Glance
| Drill | Reps | Pass mark |
|---|---|---|
| 1. Straight lines | 20 | 15+ clean, no hairy edge |
| 2. Circles | 15 | 10+ close within a pencil-width |
| 3. Ellipses | 10 | 8+ within 10° of the guide line |
| 4. Boxes | 8 | 6+ read as cubic |
| 5. Value scale | 1 strip | 5 steps stay separate when squinted |
| 6. Head proportions | 5 | 4+ eye lines within 10% of halfway |
| 7. Perspective boxes | 4 | all edges hit a vanishing point |
| 8. Gesture studies | 10 | 7+ with one clear line of action |
Bookmark that table for your next session. It’s the fast version, for when you already know each drill and just need the number to beat.
Want each of those eight numbers demonstrated rather than described? The graphite lesson set walks the same checks on real pages, one drill at a time.
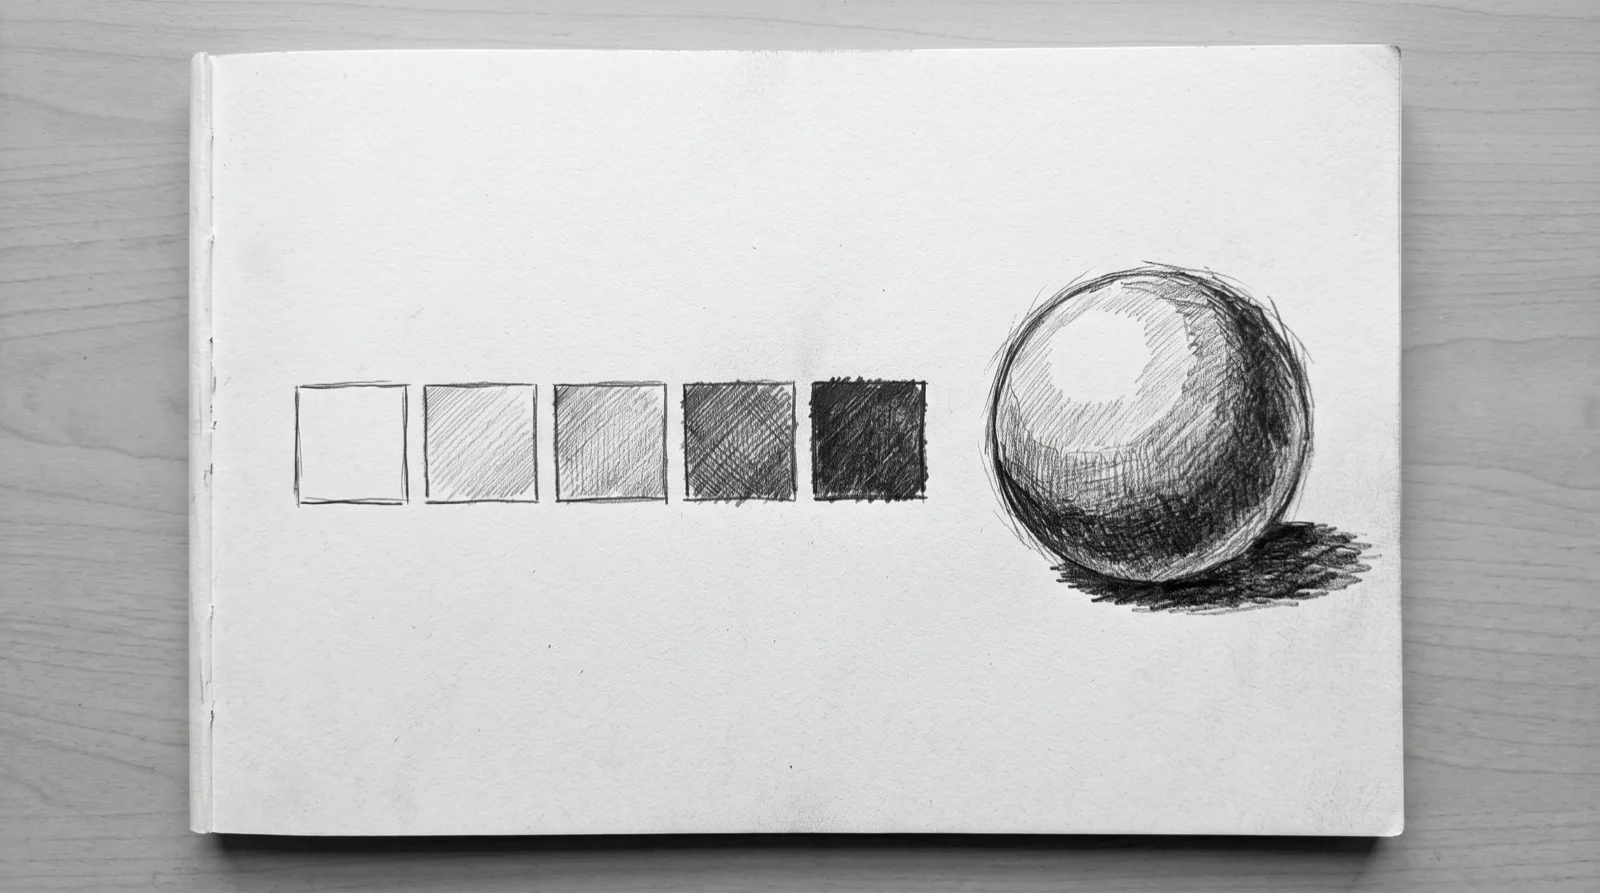
5. Five-Step Value Scale
Draw yourself a strip of 5 boxes. Shade them from near-white to near-black, each box visibly darker than the one before it.
Pass mark: squint at the strip, and all 5 steps still read as separate tones.
Two boxes blur into the same gray? The scale fails. Redo it with the pressure spread wider across the range.
Spreading that pressure over a real subject is your whole job in realistic shading.
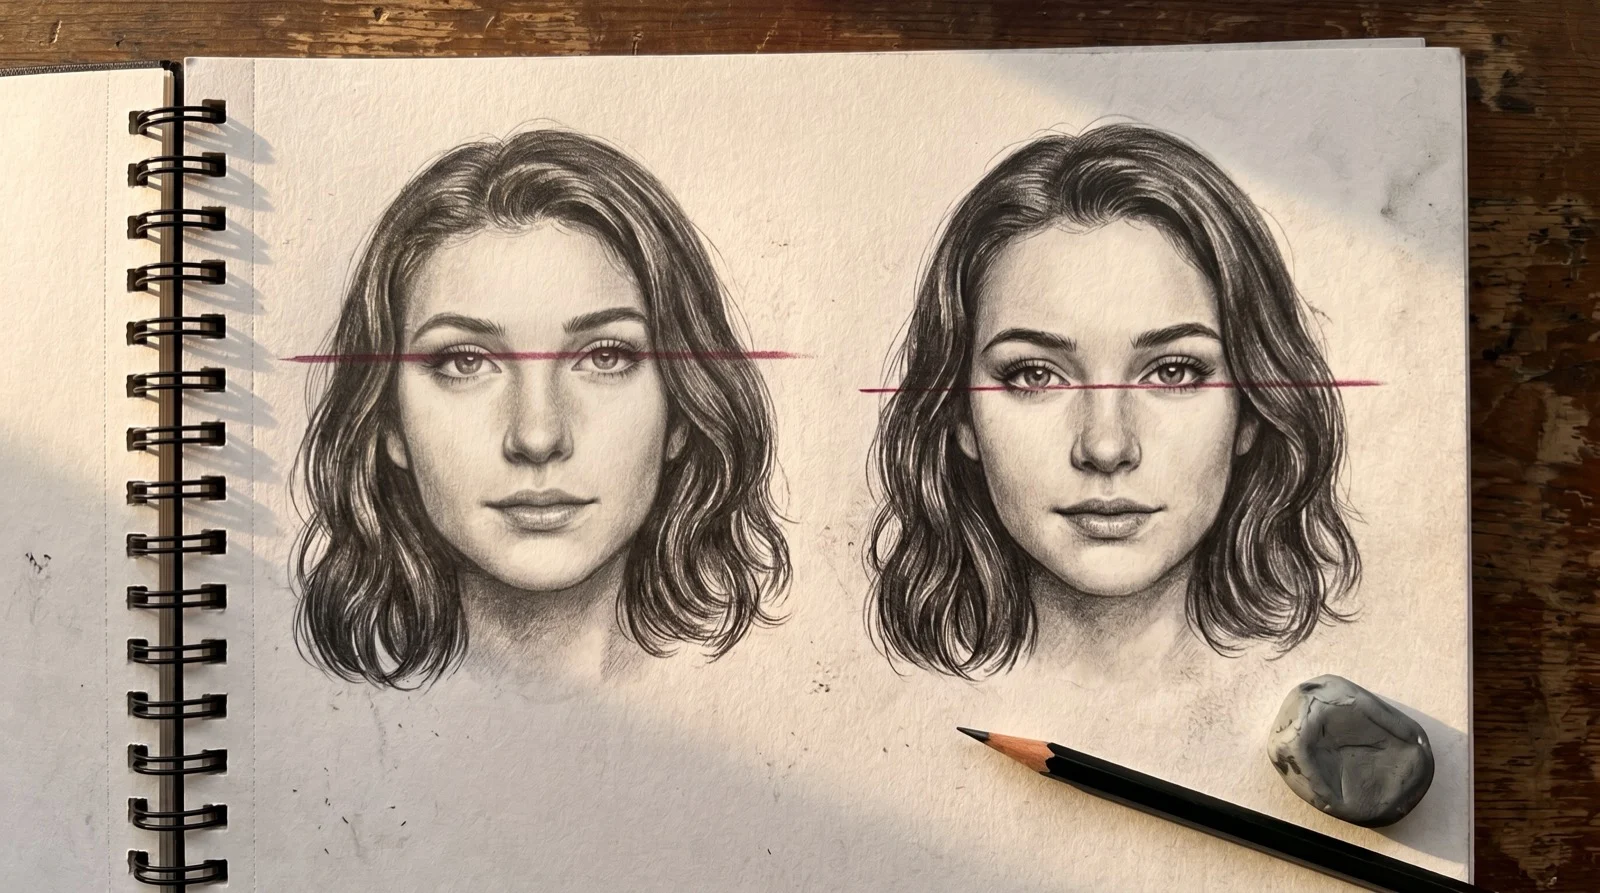
6. Basic Head Proportions
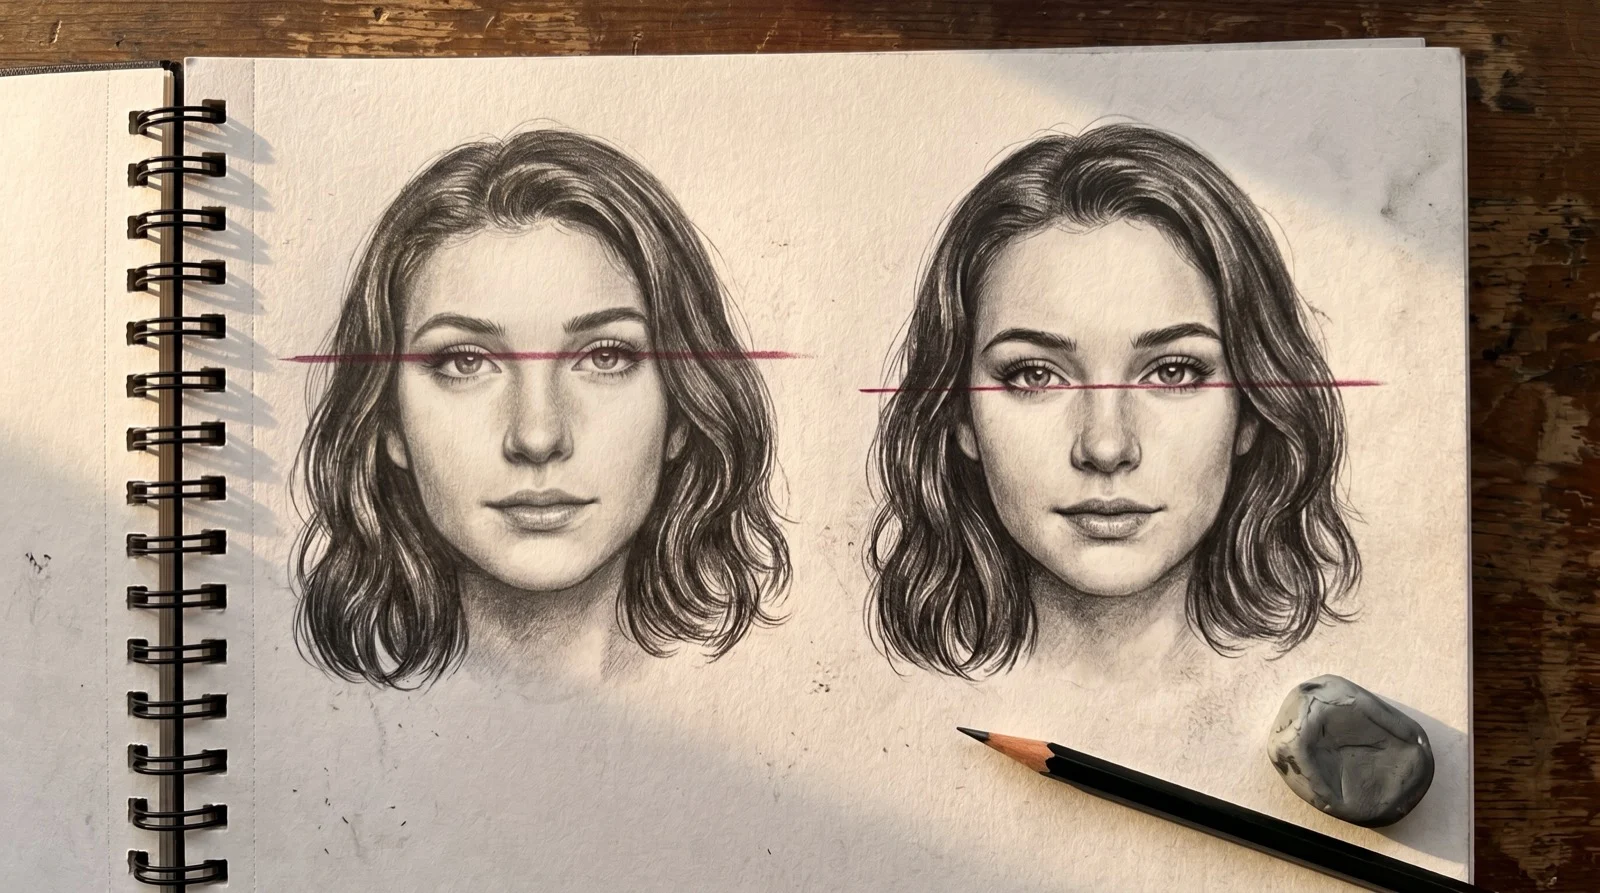
Draw an oval on your page. Put the eye line at the halfway point and set the eyes one eye-width apart, from the front.
Repeat 5 times without a reference photo, from memory of the rule.
Pass mark: in at least 4 of the 5, the eye line sits within 10% of true halfway and the spacing looks even without measuring.
This one landmark rule fixes most of your face errors before you add a single other feature.
Once the spacing holds, my guide to drawing eyes covers the three checks that catch a wonky eye.
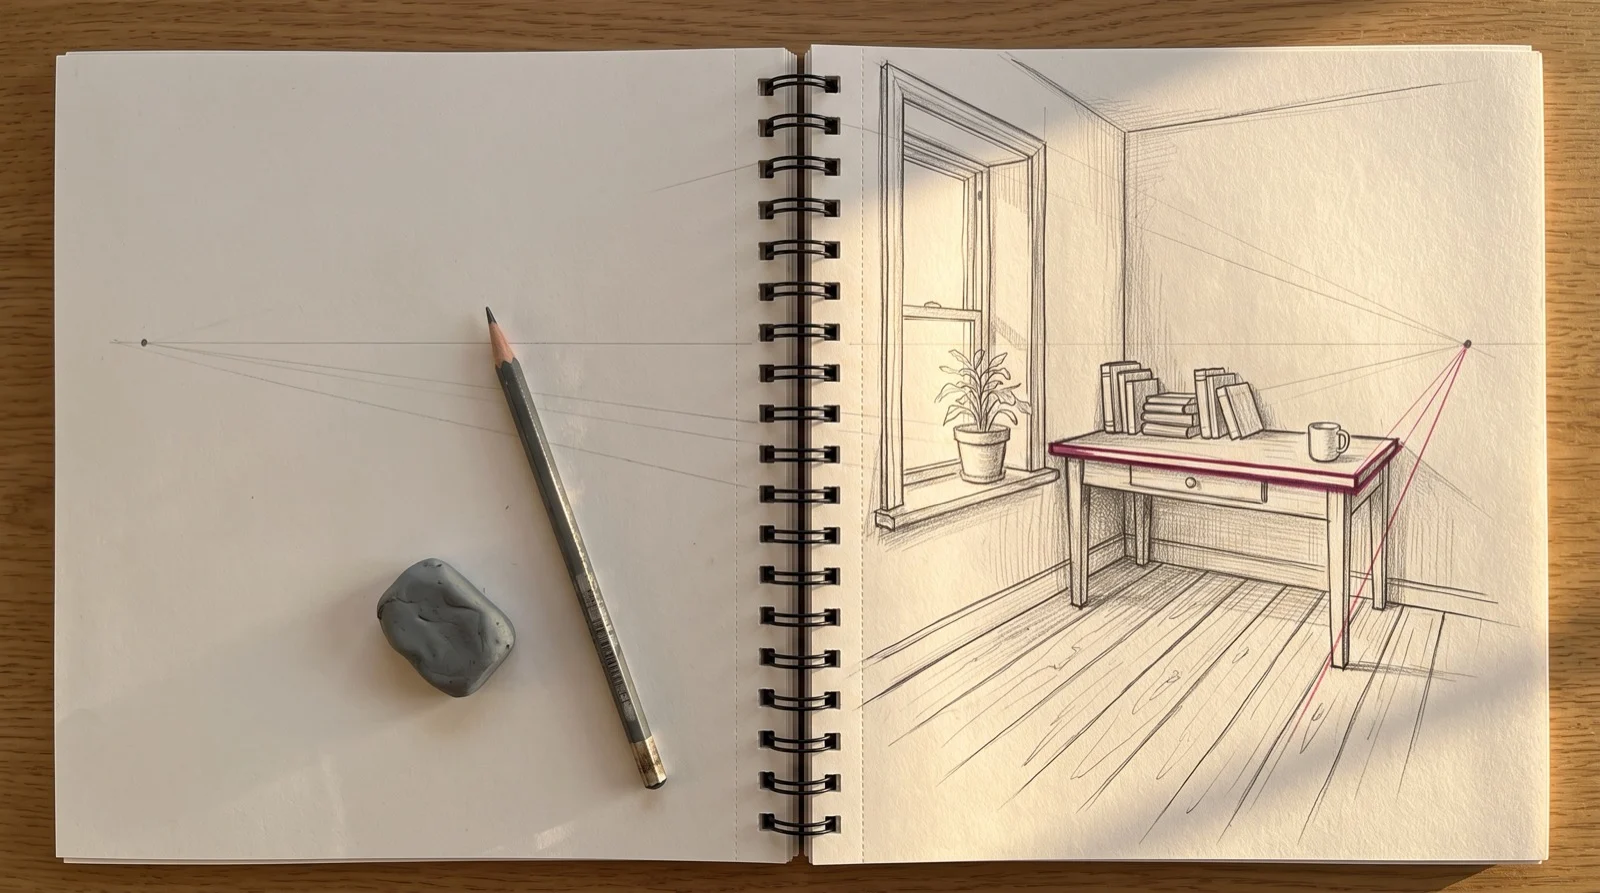
7. Two-Point Perspective Boxes
Set two vanishing points on your horizon line. Draw 4 boxes of different sizes, using guide lines back to both points.
Pass mark: lay a ruler along every visible edge. Each one has to point at one of the two vanishing points, not “close enough by eye.”
One edge drifting off-target makes the whole box a miss. Redraw it.
For placing vanishing points in a full scene, see my perspective setup guide.
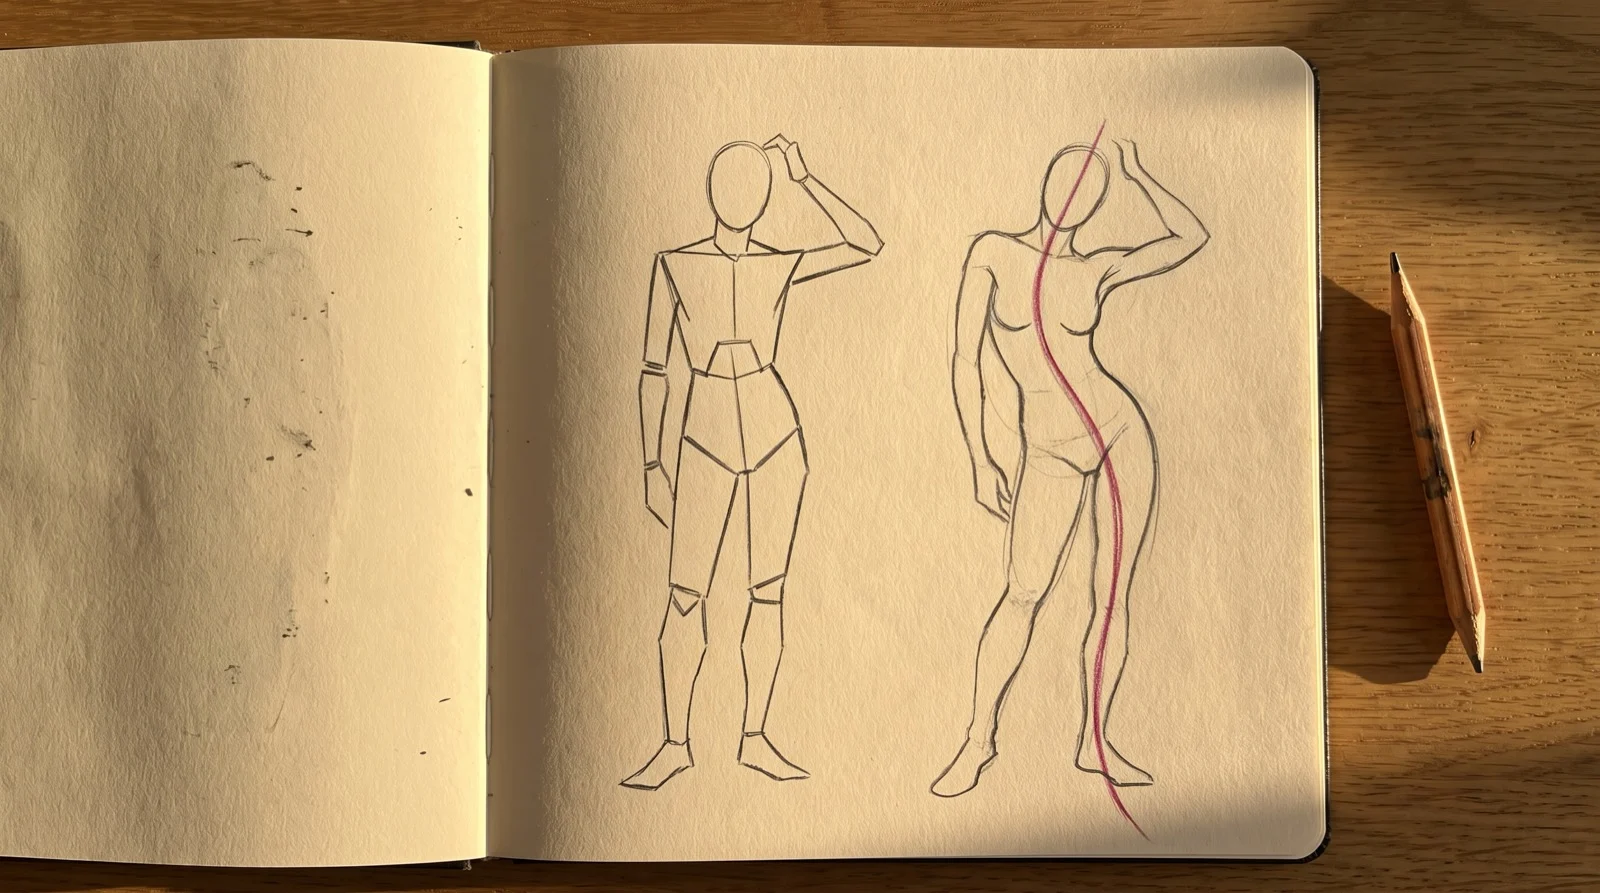
8. 60-Second Gesture Studies
Take any reference photo of a person you like. Draw 10 quick gestures at 60 seconds each.
Capture only the line of action, the single curve the whole pose bends around. Skip the outlines and the details.
Pass mark: at least 7 of the 10 have one clear, continuous line of action a viewer could trace without you explaining it.
Most of your 10 turn into stiff stick figures? The time limit is doing its job. It surfaced a habit worth fixing.
Once the line of action reads, anatomy is what you hang on it.
A stiff line is hard to spot in your own work. The graphite lesson set breaks this exact call down frame by frame.
Practice Drawing Shapes: The Three That Cover Nearly Everything
42 hours of pencil drawing training, lifetime access
The video course I point plateaued students to — full lessons on portraits, hands, and realistic shading, not another short tutorial.

Drills 2, 3, and 4 are not three unrelated exercises. They are the three shapes everything you draw is built from.
- The sphere teaches you an even closed curve and shows you how light wraps around it.
- The cylinder is two ellipses joined by straight sides. Your cups, bottles, arms, and tree trunks all start here.
- The box carries every hard-edged thing you own: books, buildings, phones, furniture.
Look at any object on your desk. It is one of these three, or two of them stuck together.
That’s why shape practice is not a beginner’s warm-up you graduate from. It is your alphabet.
Pro tip: when a finished drawing looks wrong and you can’t say why, name the underlying shape first. The error is almost always there, not in the detail.
How to Know a Drill Actually Passed
The habit that wastes the most practice time isn’t skipping days. It’s finishing a drill, feeling like it went fine, and never comparing it to the stated pass mark.
Worried you’re wasting time doing a drill wrong? A graded rep can’t be wasted. It either passed, or it told you exactly what to repeat.
Run this after every drill, not just the ones that look off:
- Hold the page at arm’s length.
- Check it against that drill’s pass mark, line by line.
- Mark it pass or miss before you let yourself judge whether you like the drawing.
Liking a drawing and passing a drill are separate questions. A passed drill can look ugly. A missed one can look pretty.
Missed twice in a row? Slow down and repeat it at half speed before you add more reps at full speed.
Speed without an accuracy check just repeats the miss faster.
Want someone else checking the pass mark?
A ruler and a squint test get you far. They can’t catch a miss you don’t know to look for.
Five Ways a Drill Fakes a Pass
A miss that looks like a pass is worse than an obvious miss. You move on and keep repeating it.
These five slip through most often.
| The shortcut | The tell |
|---|---|
| Drawing slowly enough to steer | The stroke took more than about two seconds |
| Grading your best few reps | You never counted the whole set |
| Shrinking the drill | Shapes are smaller than your palm |
| Redrawing over a miss | Two lines run along the same edge |
| Judging from a photo | You checked it on a phone, not on paper |
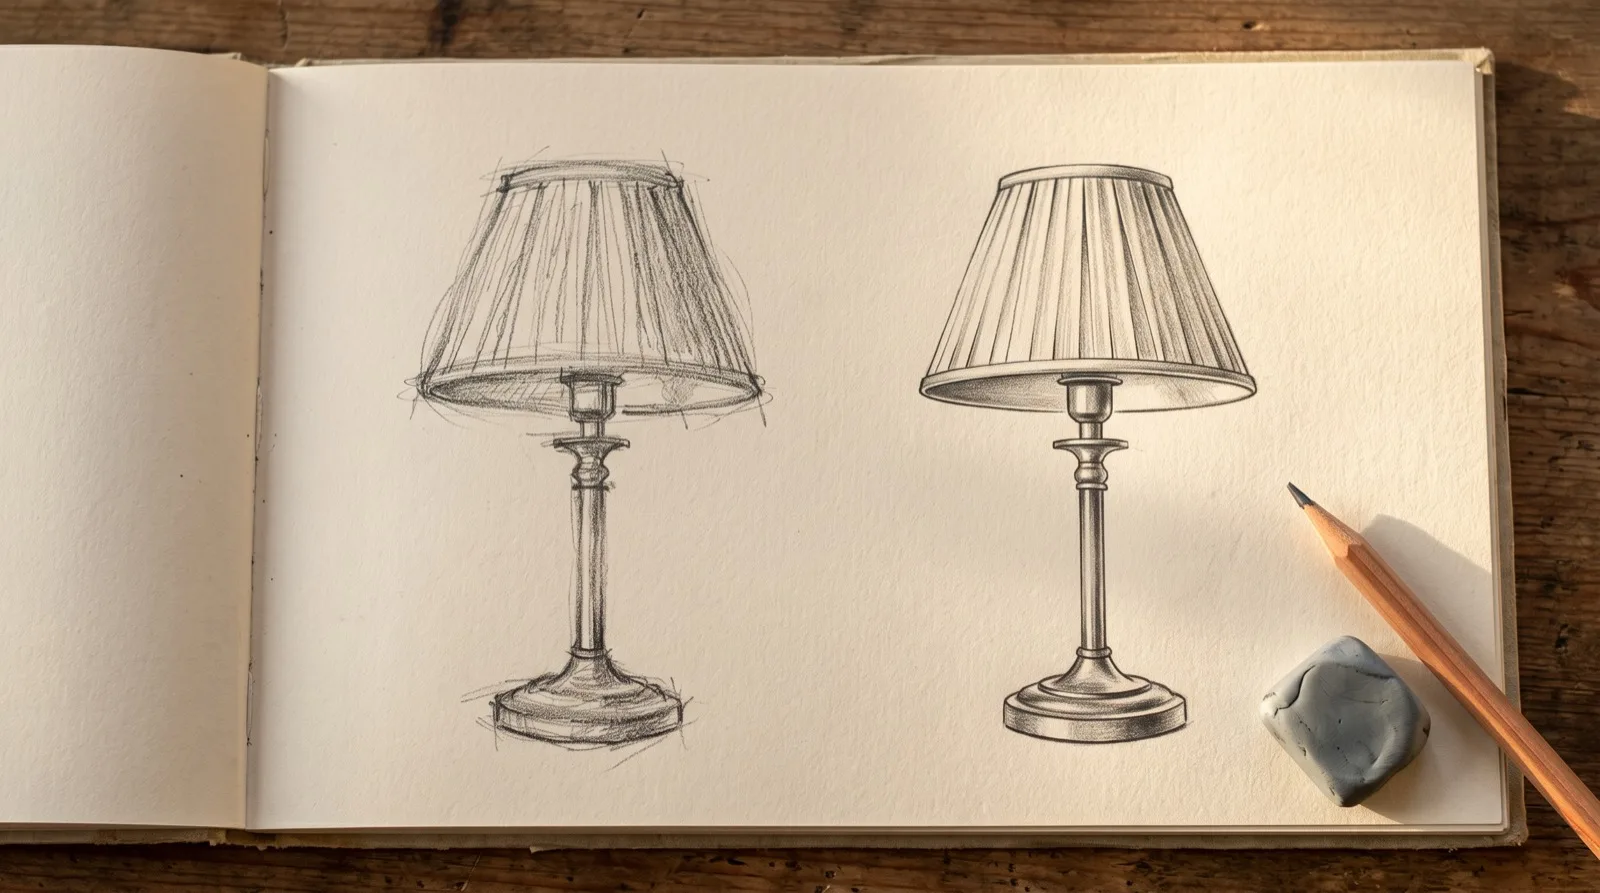
- Drawing slowly enough to steer. A line drawn at a crawl stays straight because you corrected it four times on the way. Drill 1 asks for one stroke at drawing speed.
- Grading the best few. The pass marks are counts out of a set. Picking your three favourite circles off the page skips the measurement.
- Shrinking the drill. Small shapes hide error. Coin-sized circles close neatly while the same motion at hand size wobbles badly.
- Redrawing over a miss. Going back over a wobbly edge turns one honest miss into a false pass. Leave it and start the next one clean.
- Checking on a screen. Phone-sized photos flatten exactly the errors these pass marks are written to catch. Hold the paper instead.
A drill passing all week while your finished drawings keep the same fault? One of these five is usually why.
Spotting a false pass in your own work is the hardest version of this problem. The graphite lesson set puts a passed page and a falsely passed page side by side for each drill, so you learn the tell before you need it.
Draw From the Shoulder Before Drill 1
Drills 1, 2, and 3 all measure the same underlying thing. Did the stroke come from your shoulder or your wrist?
A wrist stroke pivots on a short radius. It arcs when you wanted straight and flattens on one side when you wanted round.
No amount of repetition fixes that. The joint doing the work cannot produce the shape being asked for.
Set yourself up this way:
- Sit back far enough that your forearm floats instead of resting on the desk.
- Keep the paper flat and square in front of you, not tilted into your lap.
- Hold the pencil further up the barrel than you would for writing.
- Move the whole arm. Let the fingers do nothing at all.
It feels clumsy for two or three sessions, then stops feeling like anything.
Quick test: draw a line and watch your elbow. It stayed still? The wrist did the stroke, and Drill 1 will keep coming back a miss.
Arm motion is genuinely easier to copy from video than from text. If the first three drills stay stuck, the graphite lesson set demonstrates the movement at full speed.
Practice Drawing Faces Without a Reference Photo
Drill 6 is deliberately done from memory. Here is why that matters.
With a photo in front of you, you copy. Without one, you either know the landmark rule or you don’t, and the page tells you immediately.
Three landmarks carry most of a front-facing head:
- Eye line at halfway. Not the upper third. Almost every beginner puts it too high, including me for about two years.
- One eye-width between the eyes. Measure it with the pencil, then check by eye next time.
- Bottom of the nose halfway between eye line and chin. Mouth sits about a third of the way down from there.
Run the drill from memory first. Then pull up a photo and check your ovals against it.
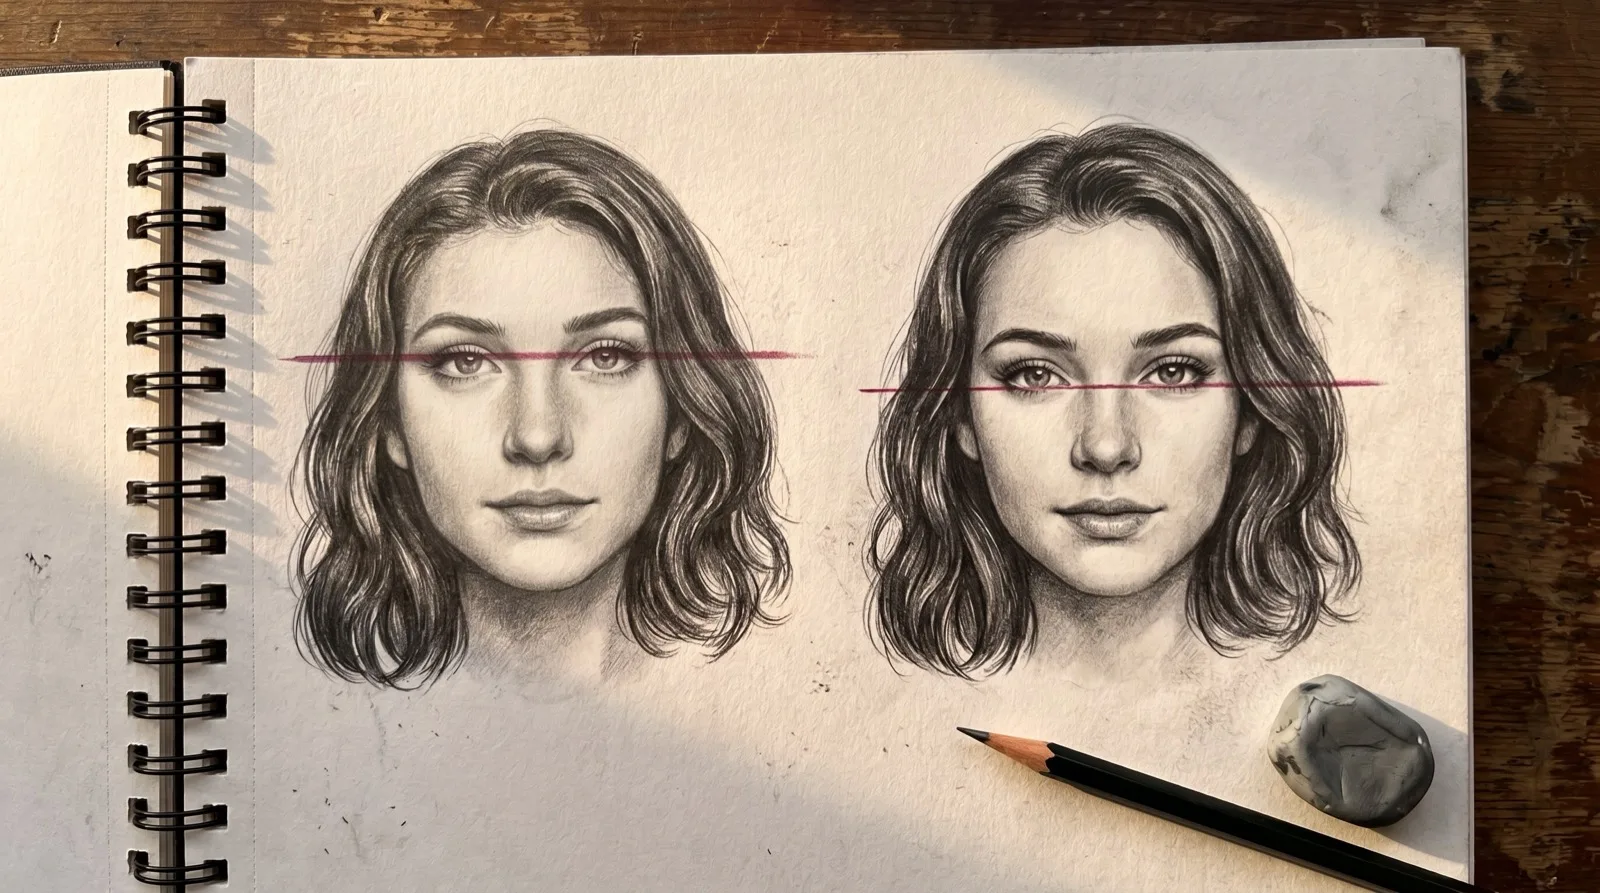
The gap between what you drew and what the photo shows is the specific thing to fix tomorrow.
Pro tip: draw the oval bigger than feels comfortable. Small heads hide proportion errors the same way small circles do.
Ready for a full face rather than landmarks? My step-by-step portrait guide builds it out feature by feature.
If your eye line keeps landing high even when you measure it, that is a seeing problem, not a hand problem. The graphite lesson set drills the landmark check until you stop needing the ruler.
How Often to Run These Drills
42 hours of pencil drawing training, lifetime access
The video course I point plateaued students to — full lessons on portraits, hands, and realistic shading, not another short tutorial.
Fifteen to thirty minutes a day beats one two-hour session a week.
The reason is the check, not the hours. It only works if you remember what yesterday’s miss looked like, and a week-old memory of a wobbly circle isn’t specific enough to correct against.
Rotate 2–3 drills per session rather than all 8 every time. A full pass on 3 drills beats a rushed attempt at 8.
Already drawing several hours a week? The drills still earn their place. Casual drawing time rarely touches a fixed pass mark, so it skates past the weak points a drill catches.
Want a set order instead of a rotation? The graphite lesson set sequences these same skills week by week.
Keep a Practice Log, Not a Streak
A streak counter tells you that you showed up. It tells you nothing about whether you improved.
I keep one line per session at the top of the page, in pencil, before I start:
- Date and drills run. Two or three numbers from your session, nothing else.
- Pass or miss for each. Written the moment you check, not from memory that evening.
- One word on the miss. “Arcing.” “Flat side.” “Eye line high.” That one word is your next session’s target.
Four weeks of that and your pattern is obvious on the page. Mine showed circles passing all month while ellipses missed nine sessions out of twelve.
I had been rotating away from ellipses without noticing. The log caught it for me, and a streak counter never would have caught it for you either.
Rather have the pattern flagged for you than dig it out of your own notes? The graphite lesson set tracks which of the eight skills you keep avoiding and puts it back in front of you.
What If You Miss a Day (or Three)
Restart at the drill you left off, not at Drill 1.
The pass marks measure a specific skill, not a streak, and your skill doesn’t reset over a long weekend.
One exception: a gap longer than about three weeks. Run one session of each of the 8 as a re-check before continuing, because fine motor accuracy does fade faster than the knowledge behind it.
A missed day is a missed rep, not a missed pass mark. Don’t grade yourself easier for having skipped days.
Keep Practicing
Drill 8’s gesture work feels shaky on human figures? My beginner animal drawing guide practises the same line-of-action skill on simpler four-legged forms first.
And if you’d rather start from complete pictures than isolated drills, the easy sketches page gives you twelve subjects that use these shapes directly.
Frequently Asked Questions
Q: How quickly will I see progress from these drawing exercises?
Expect the first clear jump in 2–3 weeks of daily 15–30 minute sessions. That’s roughly how long it takes to fail a drill, correct it, and start passing it consistently.
Progress on the pass marks shows up well before your drawings “look better”. The skill improves first. Your eye for judging it catches up after.
Q: Can I run these drills on a tablet instead of paper?
Yes, every pass mark transfers directly. A tablet actually makes Drill 5 and Drill 7 easier, since you can zoom in to verify.
Paper wins only on Drill 1, where the friction of pencil on paper lets you feel a wobble as it happens.
Q: Which pencil should I warm up with?
An HB or 2B on your plain paper. Nothing you run here needs a soft dark grade or a specific brand. Save the grade experiments for shading work later.
Q: I already draw a few hours a week, so are these drills still useful?
Usually yes, because your casual drawing rarely applies a fixed pass mark to any one skill.
These drills isolate line control, circle consistency, and six other skills one at a time. General sketching blends them together and grades none of them for you.
Q: What if I miss a day or three?
Pick up at the same drill, not Drill 1. Only a gap past about three weeks calls for a quick re-check across all 8.
Q: How often should I practice drawing to improve quickly?
Daily 15–30 minute sessions, rotating 2–3 of the 8 drills. One long weekly session loses the comparison the self-check depends on.
Want that comparison made for you instead of self-graded? The graphite lesson set reviews pages against the same pass marks.
Q: What is drawing practice, exactly?
It’s repeating one narrow skill — a line, a circle, a proportion rule — enough times to build accuracy. That’s different from drawing whatever comes to mind.
The 8 drills above are drawing practice in that narrow sense. Each isolates one skill and one pass mark, not one finished picture.
Q: How do you practice drawing hands, people, and bodies specifically?
Break the part into a repeatable shape drill with a pass mark you can check. Don’t make one freehand attempt at the whole limb.
Drill 8 is your entry point for bodies. Hands build on the box and proportion skills from Drills 4 and 6 before any finger detail.
Q: How do you practice drawing perspective and boxes?
Drill 7 is exactly this. Two vanishing points, four boxes, checked with a ruler against both points rather than judged by eye.
That ruler check separates a box that only looks right from one that is right.
Q: What should beginners practice drawing first?
Start at Drill 1, not Drill 8. Line control and circle consistency sit underneath every other drill you will run here.
Skip to gesture or perspective without them and you just repeat the same shaky lines inside a harder shape.
Q: Do drawing exercises actually work, or is it better to just draw?
Exercises work because they isolate one skill with one pass mark you can grade. Open-ended drawing rarely does.
Free drawing still matters for your mileage and your ideas. It won’t reliably fix a wobbly circle the way a graded drill does.
Q: Is tracing or drawing from reference good practice?
Both build your visual memory. Neither tells you whether your own hand can reproduce the shape unaided, which is what these 8 drills test.
Use them alongside the drills, not instead of them.
Q: Still unsure whether a page passed or missed?
That’s the gap between self-checking and being checked. The graphite lesson set scores real student pages against these same 8 checks.