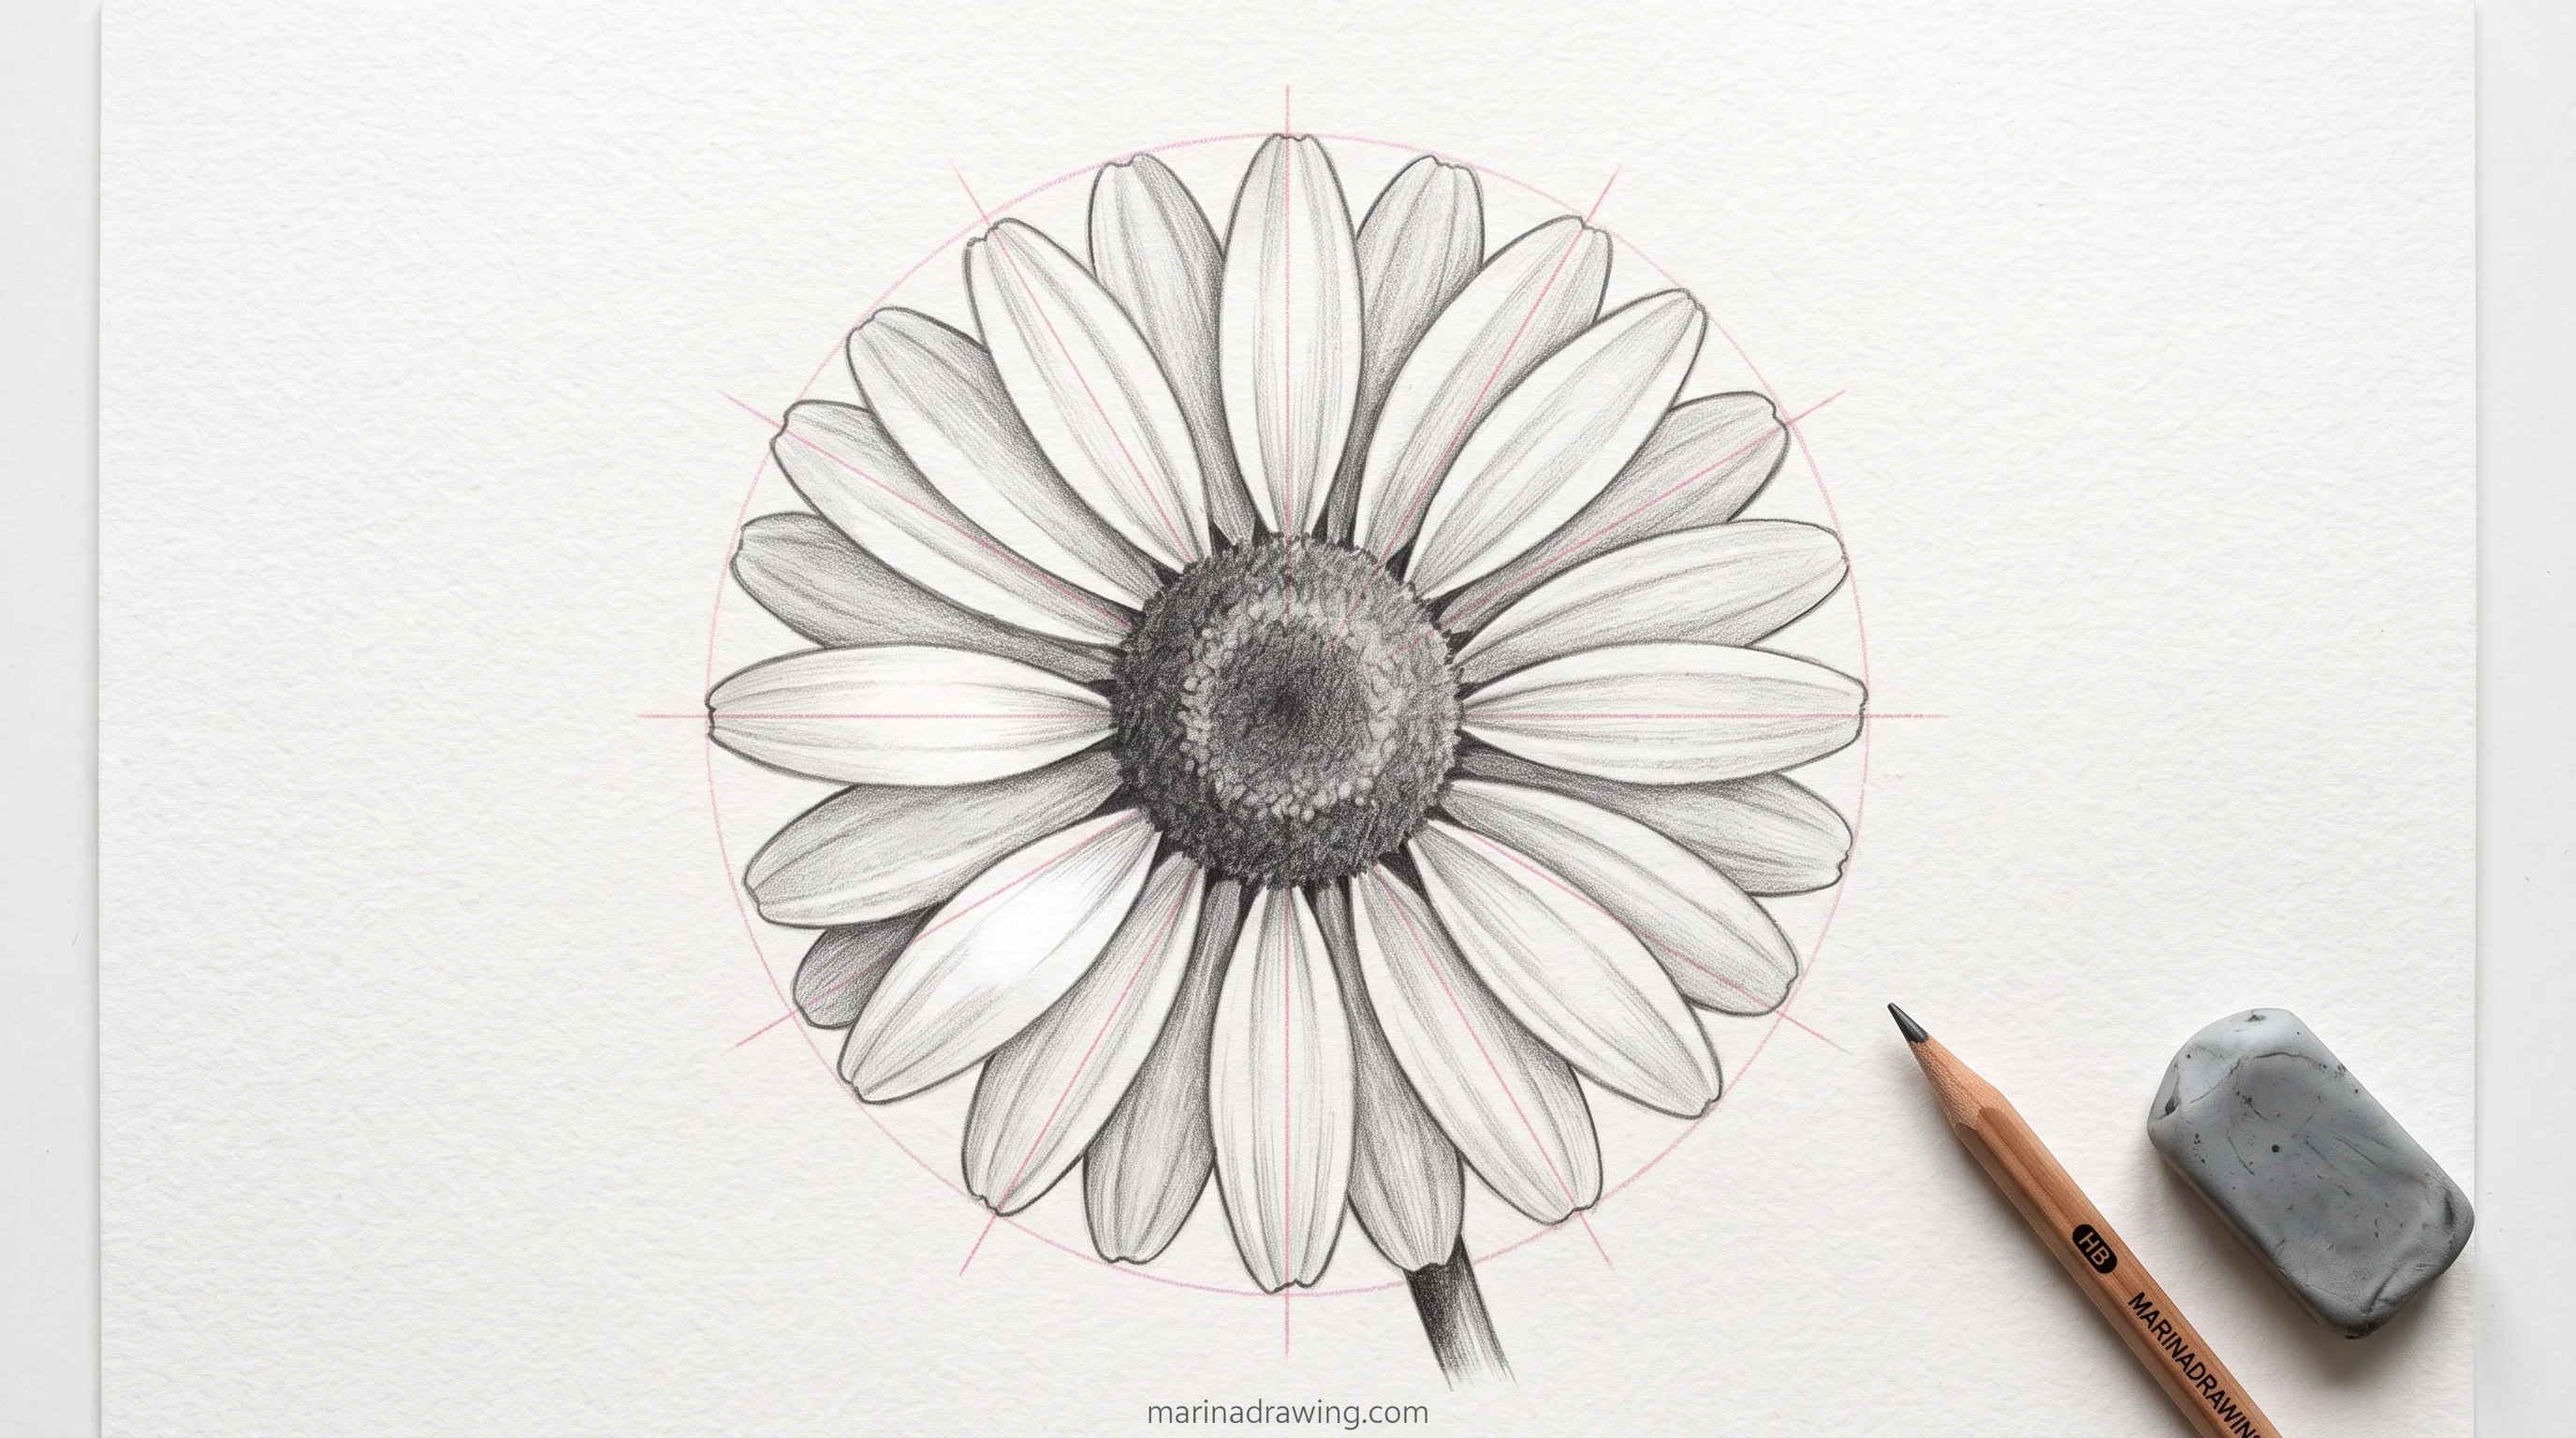
Easy flower drawings go wrong in one predictable place. You draw a daisy petal by petal, each one looks fine next to the last, and by the final petal the flower leans to one side. The petals were never the problem. The order was.
Draw the family shape first — a disc, a cup or a spiral. Place the centre. Then build every petal against that centre, and the lean disappears.
Below you get five basic flower shapes sorted into three families, a pencil hibiscus built from the centre out, four more sketchbook flowers step by step, page layouts, supplies and a digital version in Procreate, where line brushes that taper like a fineliner do half the neatening for you.
A flower stops leaning the moment every petal is measured against the centre instead of against the petal next to it.
Why Flowers Are the Easiest Start, and Why Yours Still Lean
 Pin it
Flowers forgive more than any other beginner subject. Nobody can tell you your daisy has one petal too many. A wobbly stem reads as natural.
That is why a full sheet of small doodled blooms is such a common first project. Every flower on it is a circle and a few loops, and your page still looks deliberate.
But the same forgiveness hides the mistake that stops most self-taught people from moving on. Proportions and tone come up again and again when self-taught artists ask for help.
In drawing forums, proportions and anatomy and tone and shading each account for about one question in nine.
A leaning flower is a proportion problem wearing a friendly face. I lost a whole sketchbook to it before I worked out what I was doing wrong.
Here is what happens. You check each petal against its neighbour, not against the centre.
A tiny error in petal two gets copied into petal three, then stacked again in petal four. The errors all push the same way.
By the end, your last petals have to squeeze or stretch to fill the gap that is left. So the fix isn’t more careful petals, and it isn’t a thicker pen either, although a steady inking brush hides wobble better than a cheap one.
The fix is a different order: shape, centre, then petals that all point back to that centre.
Five Basic Flower Shapes, Sorted Into Three Families
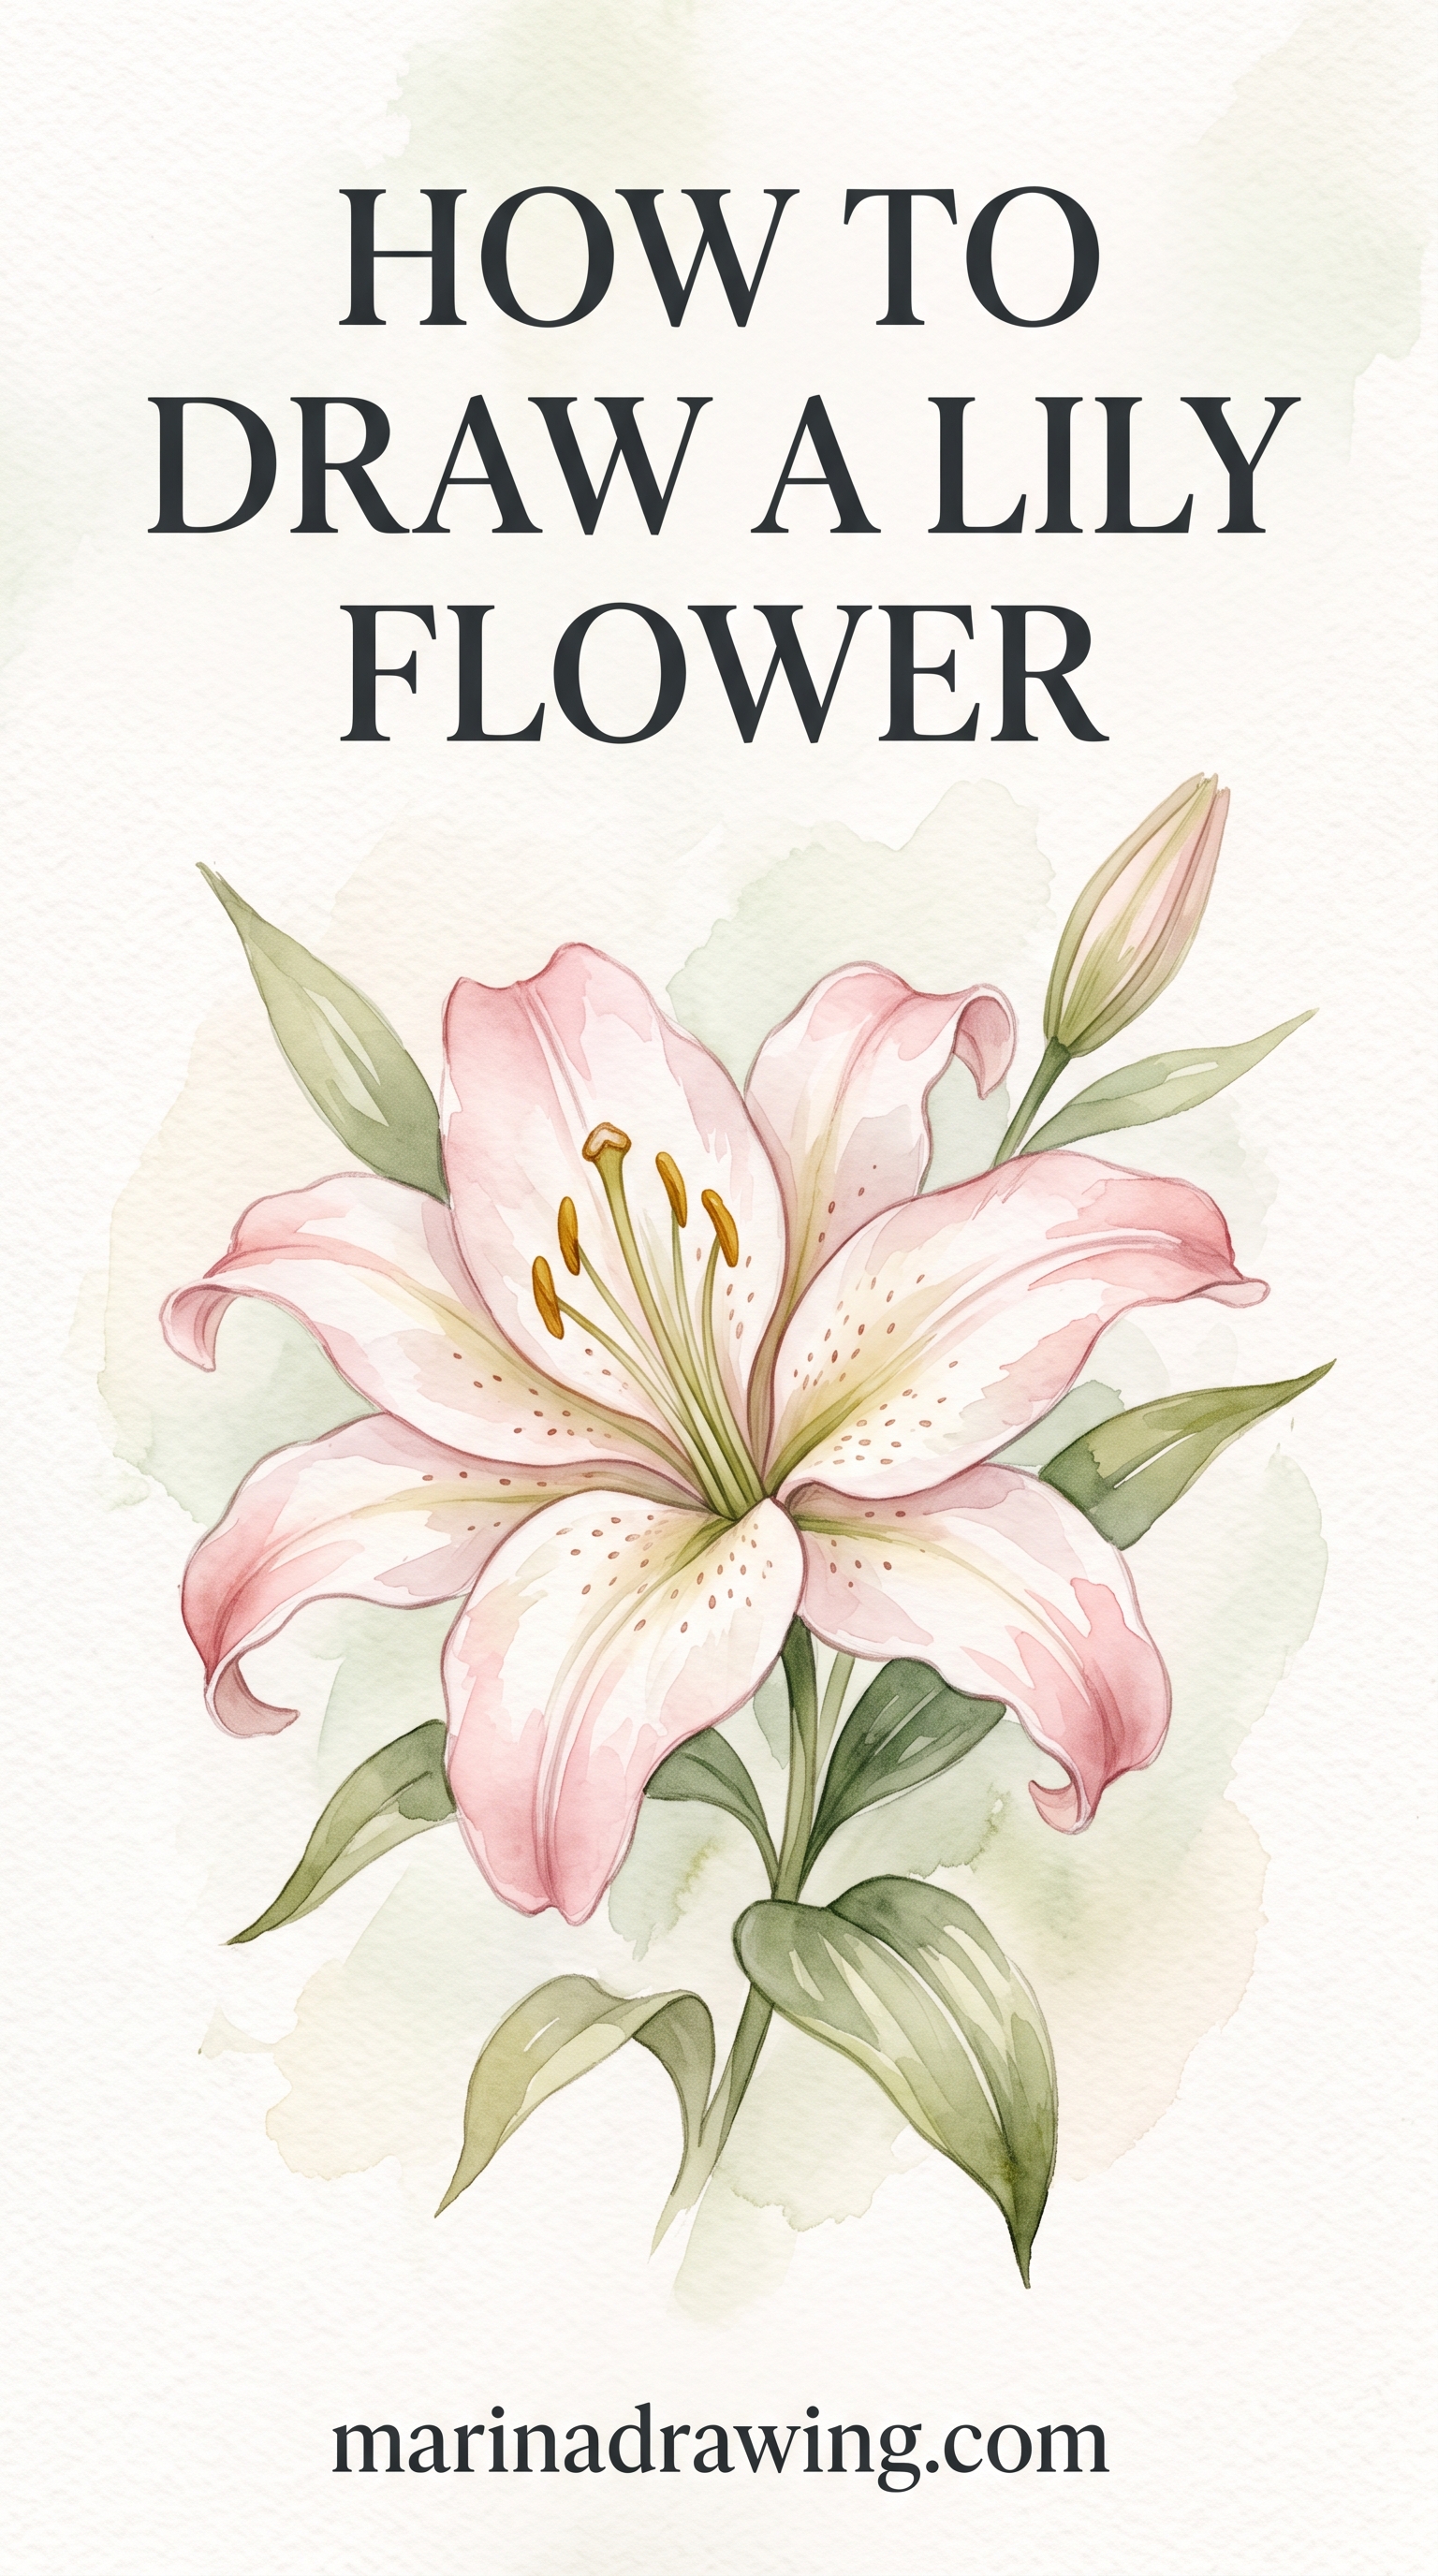
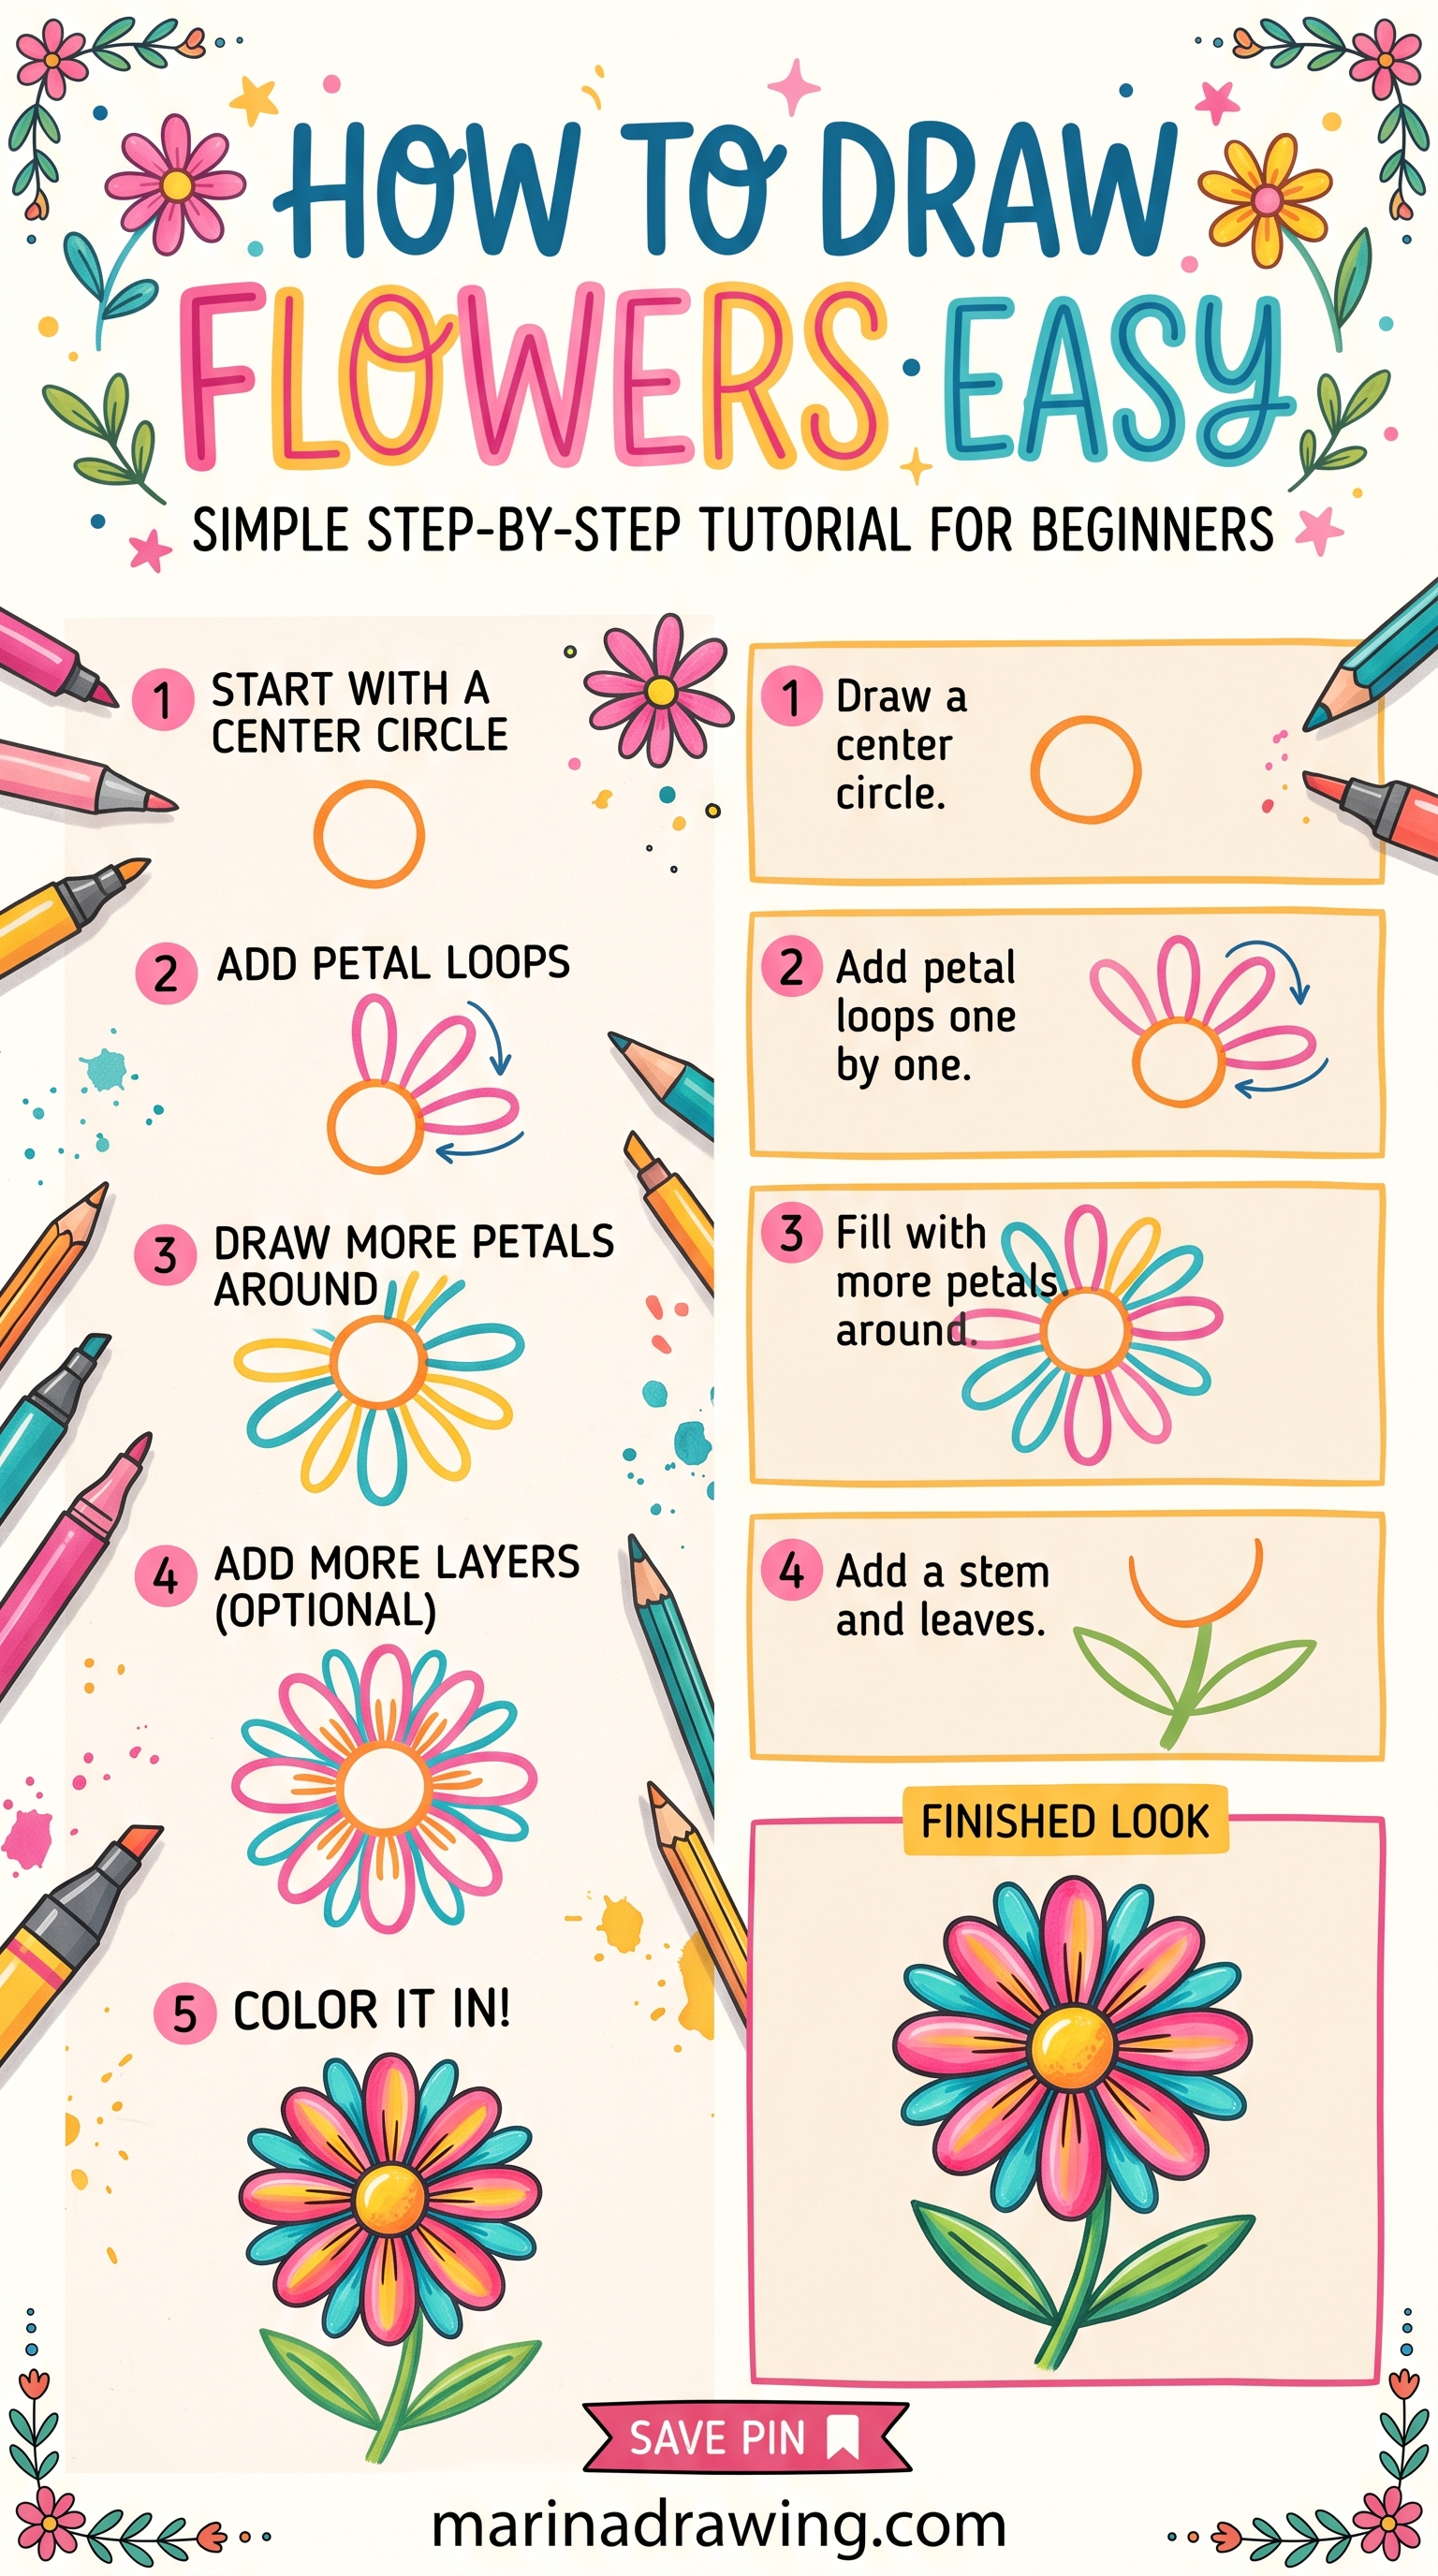
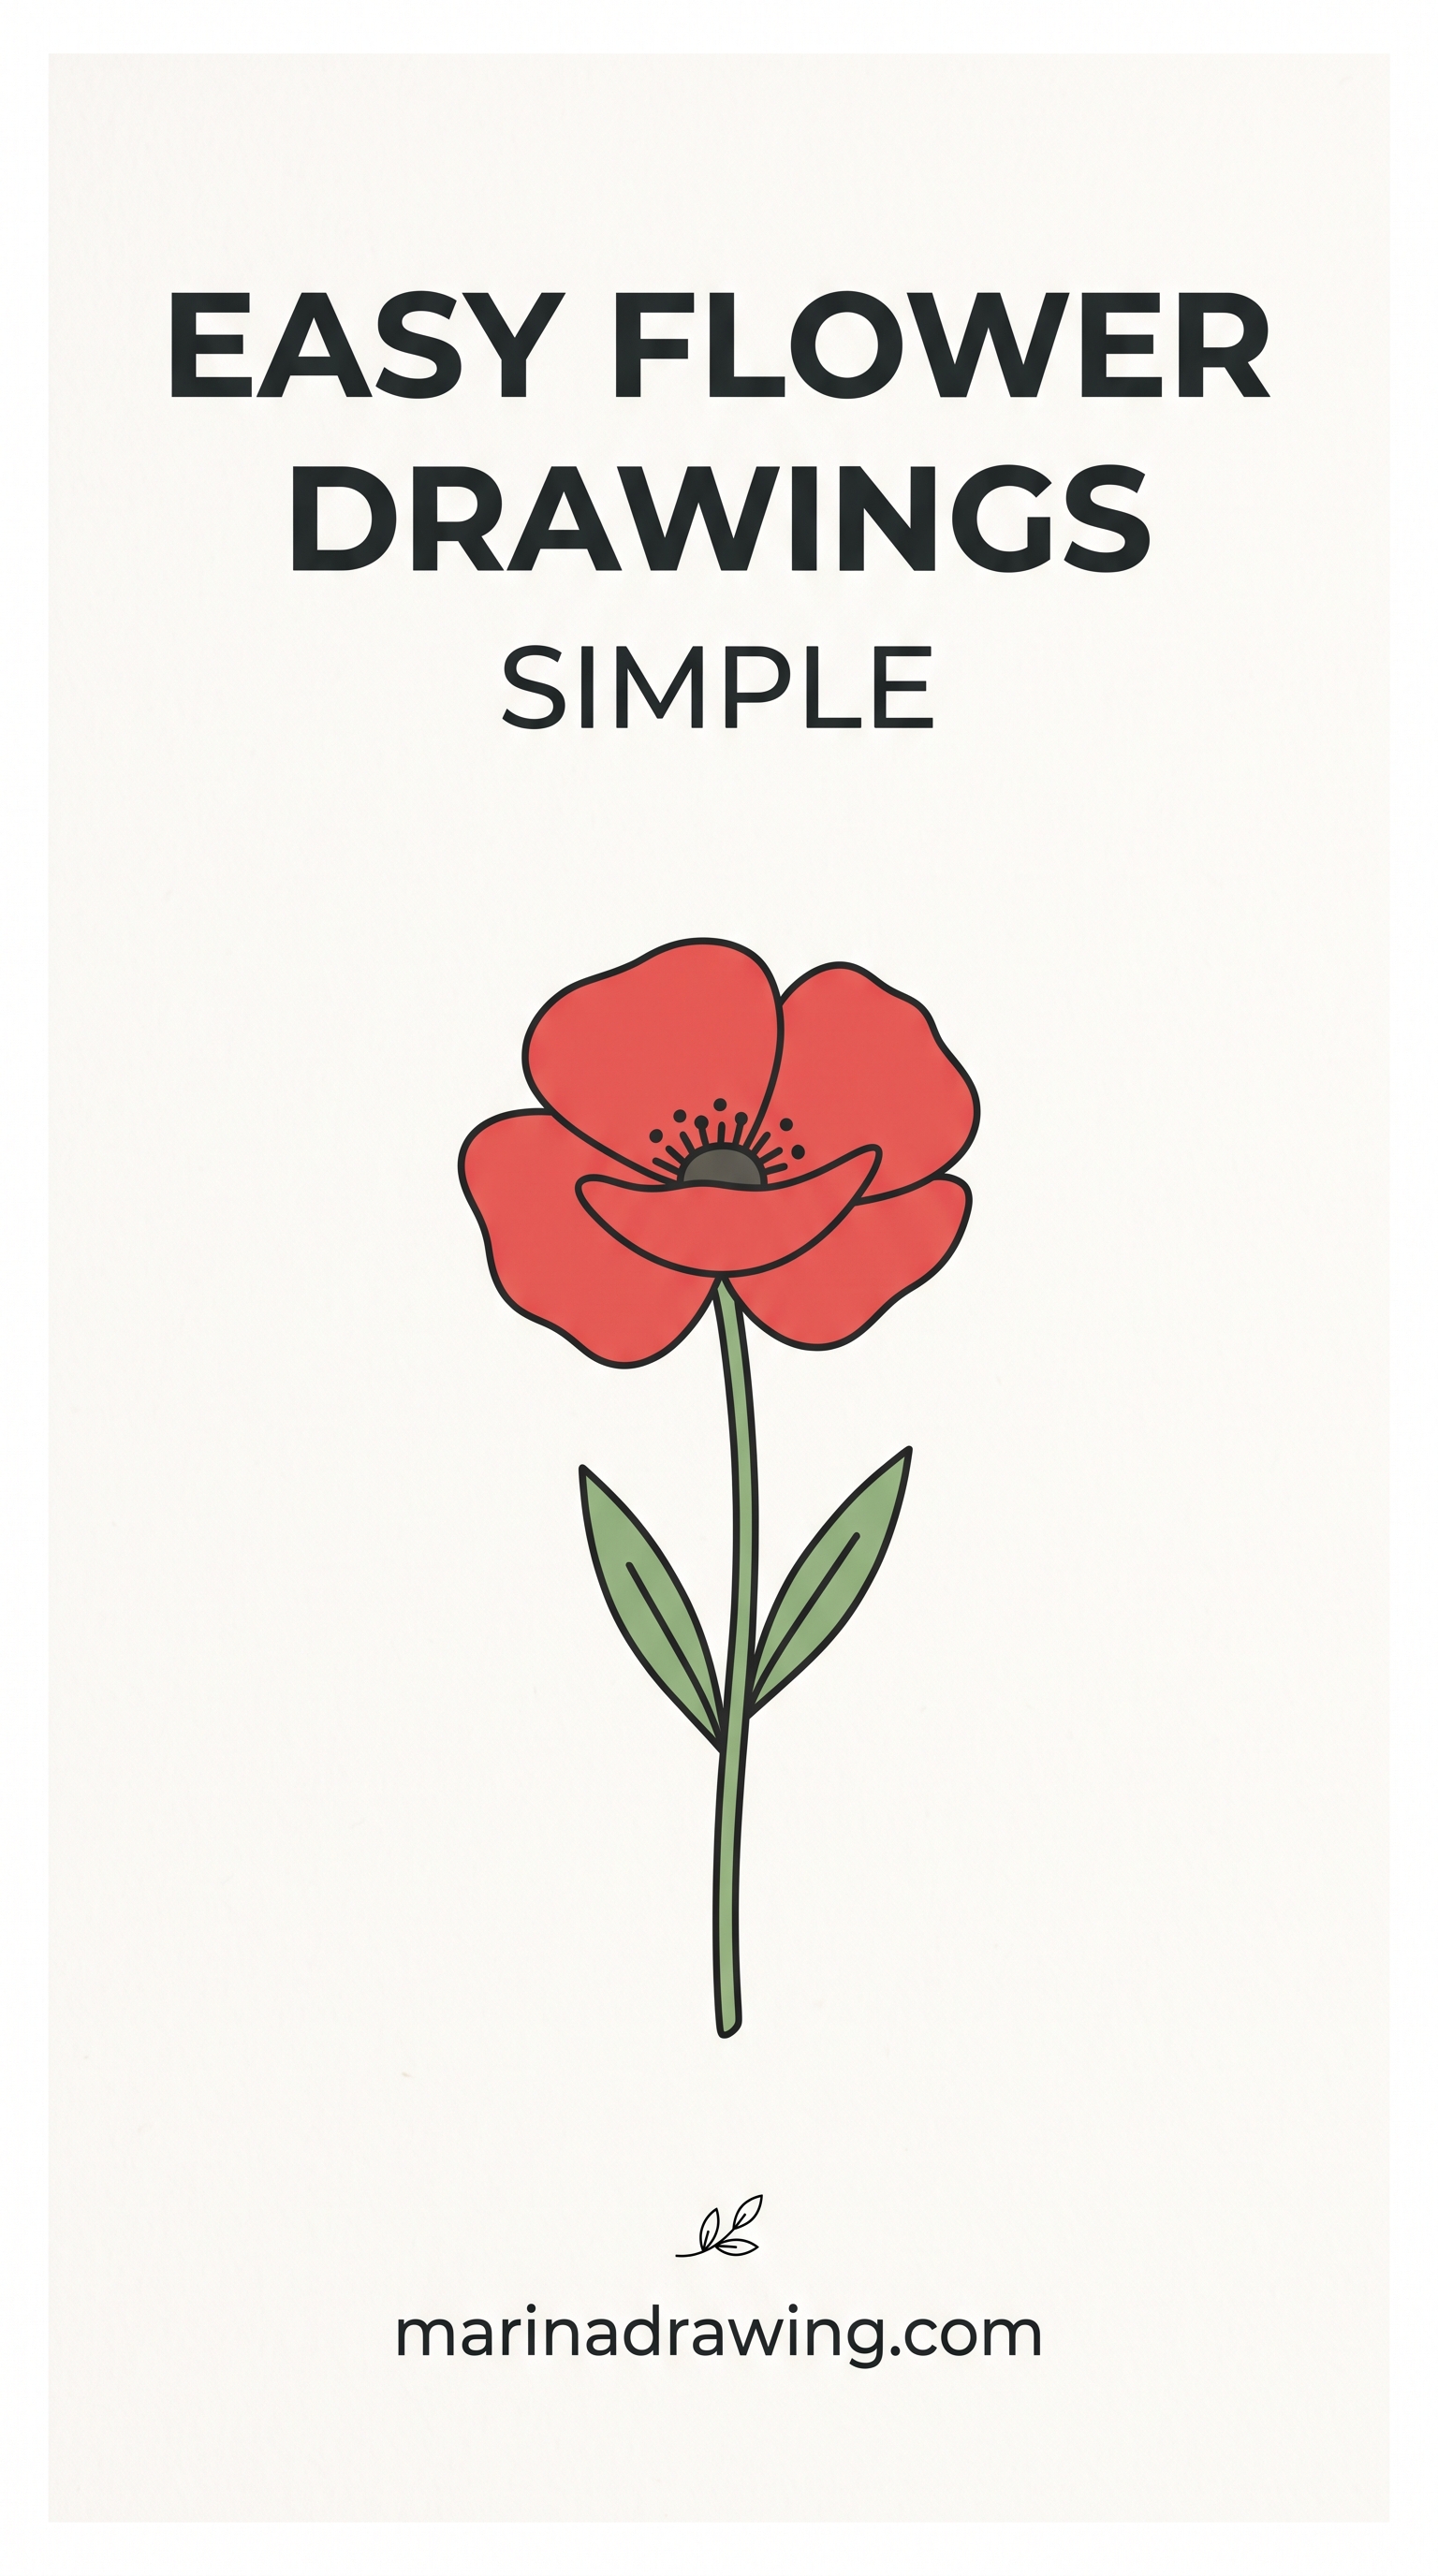

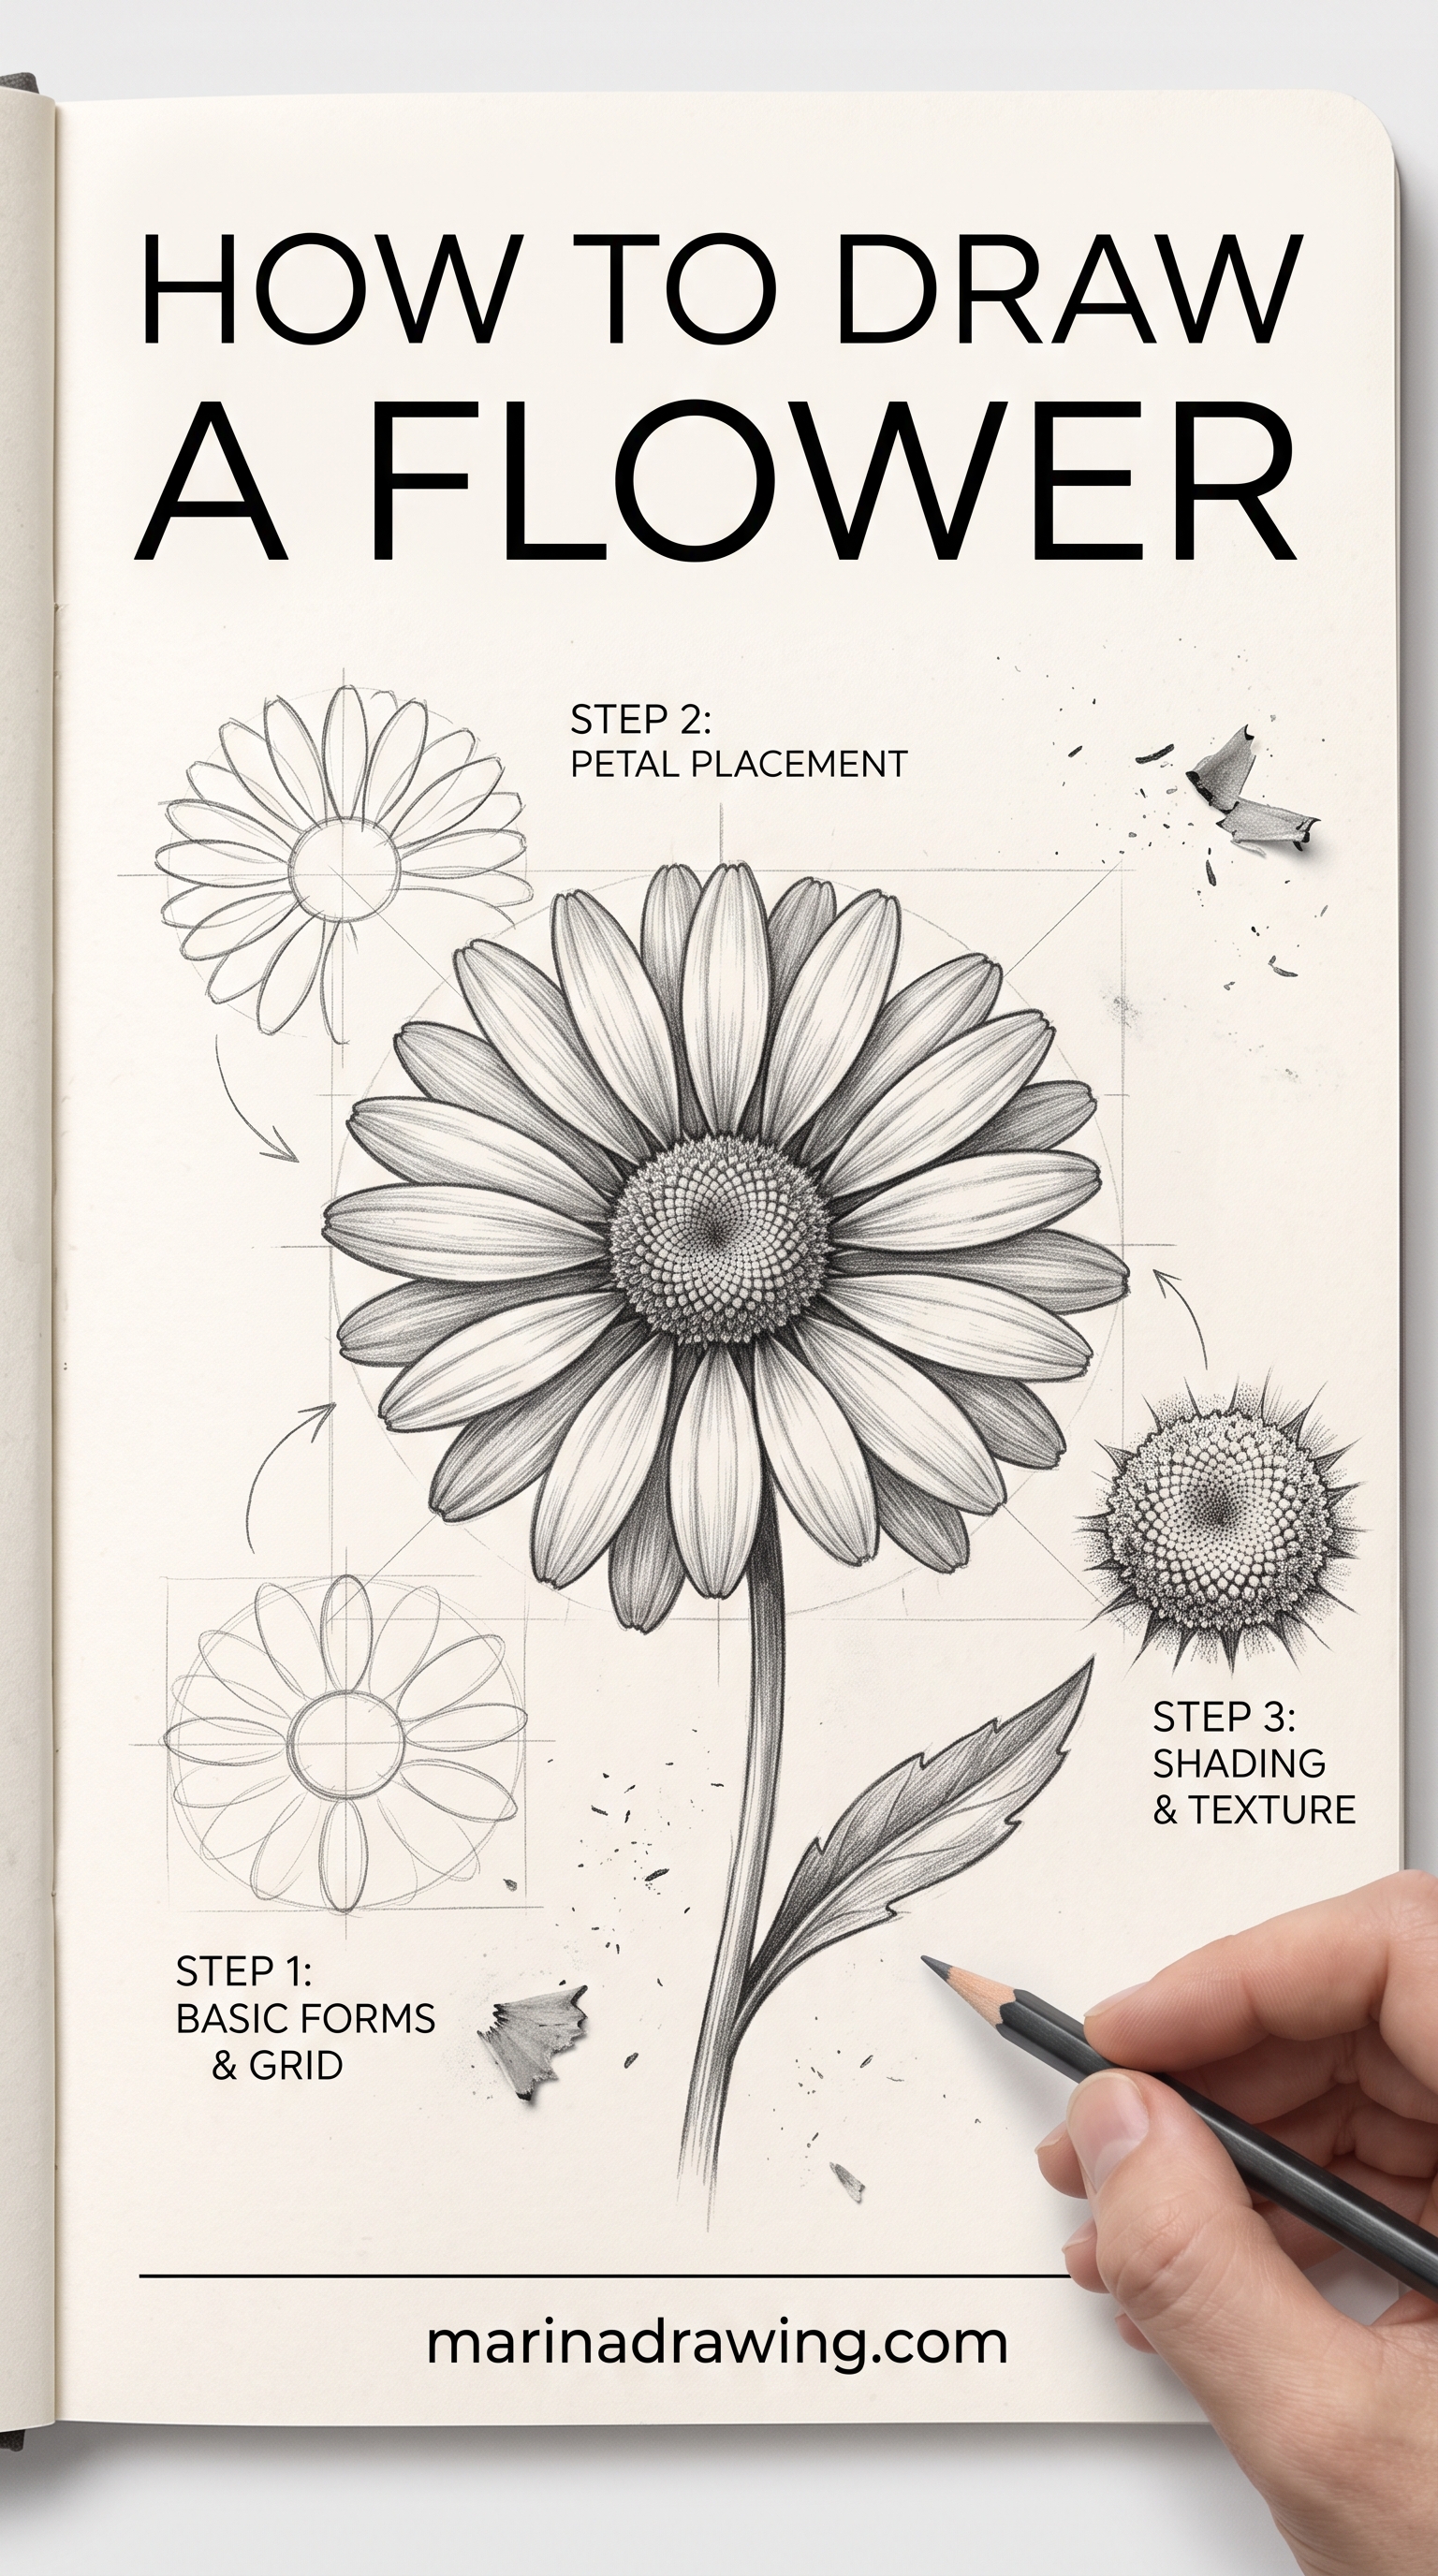
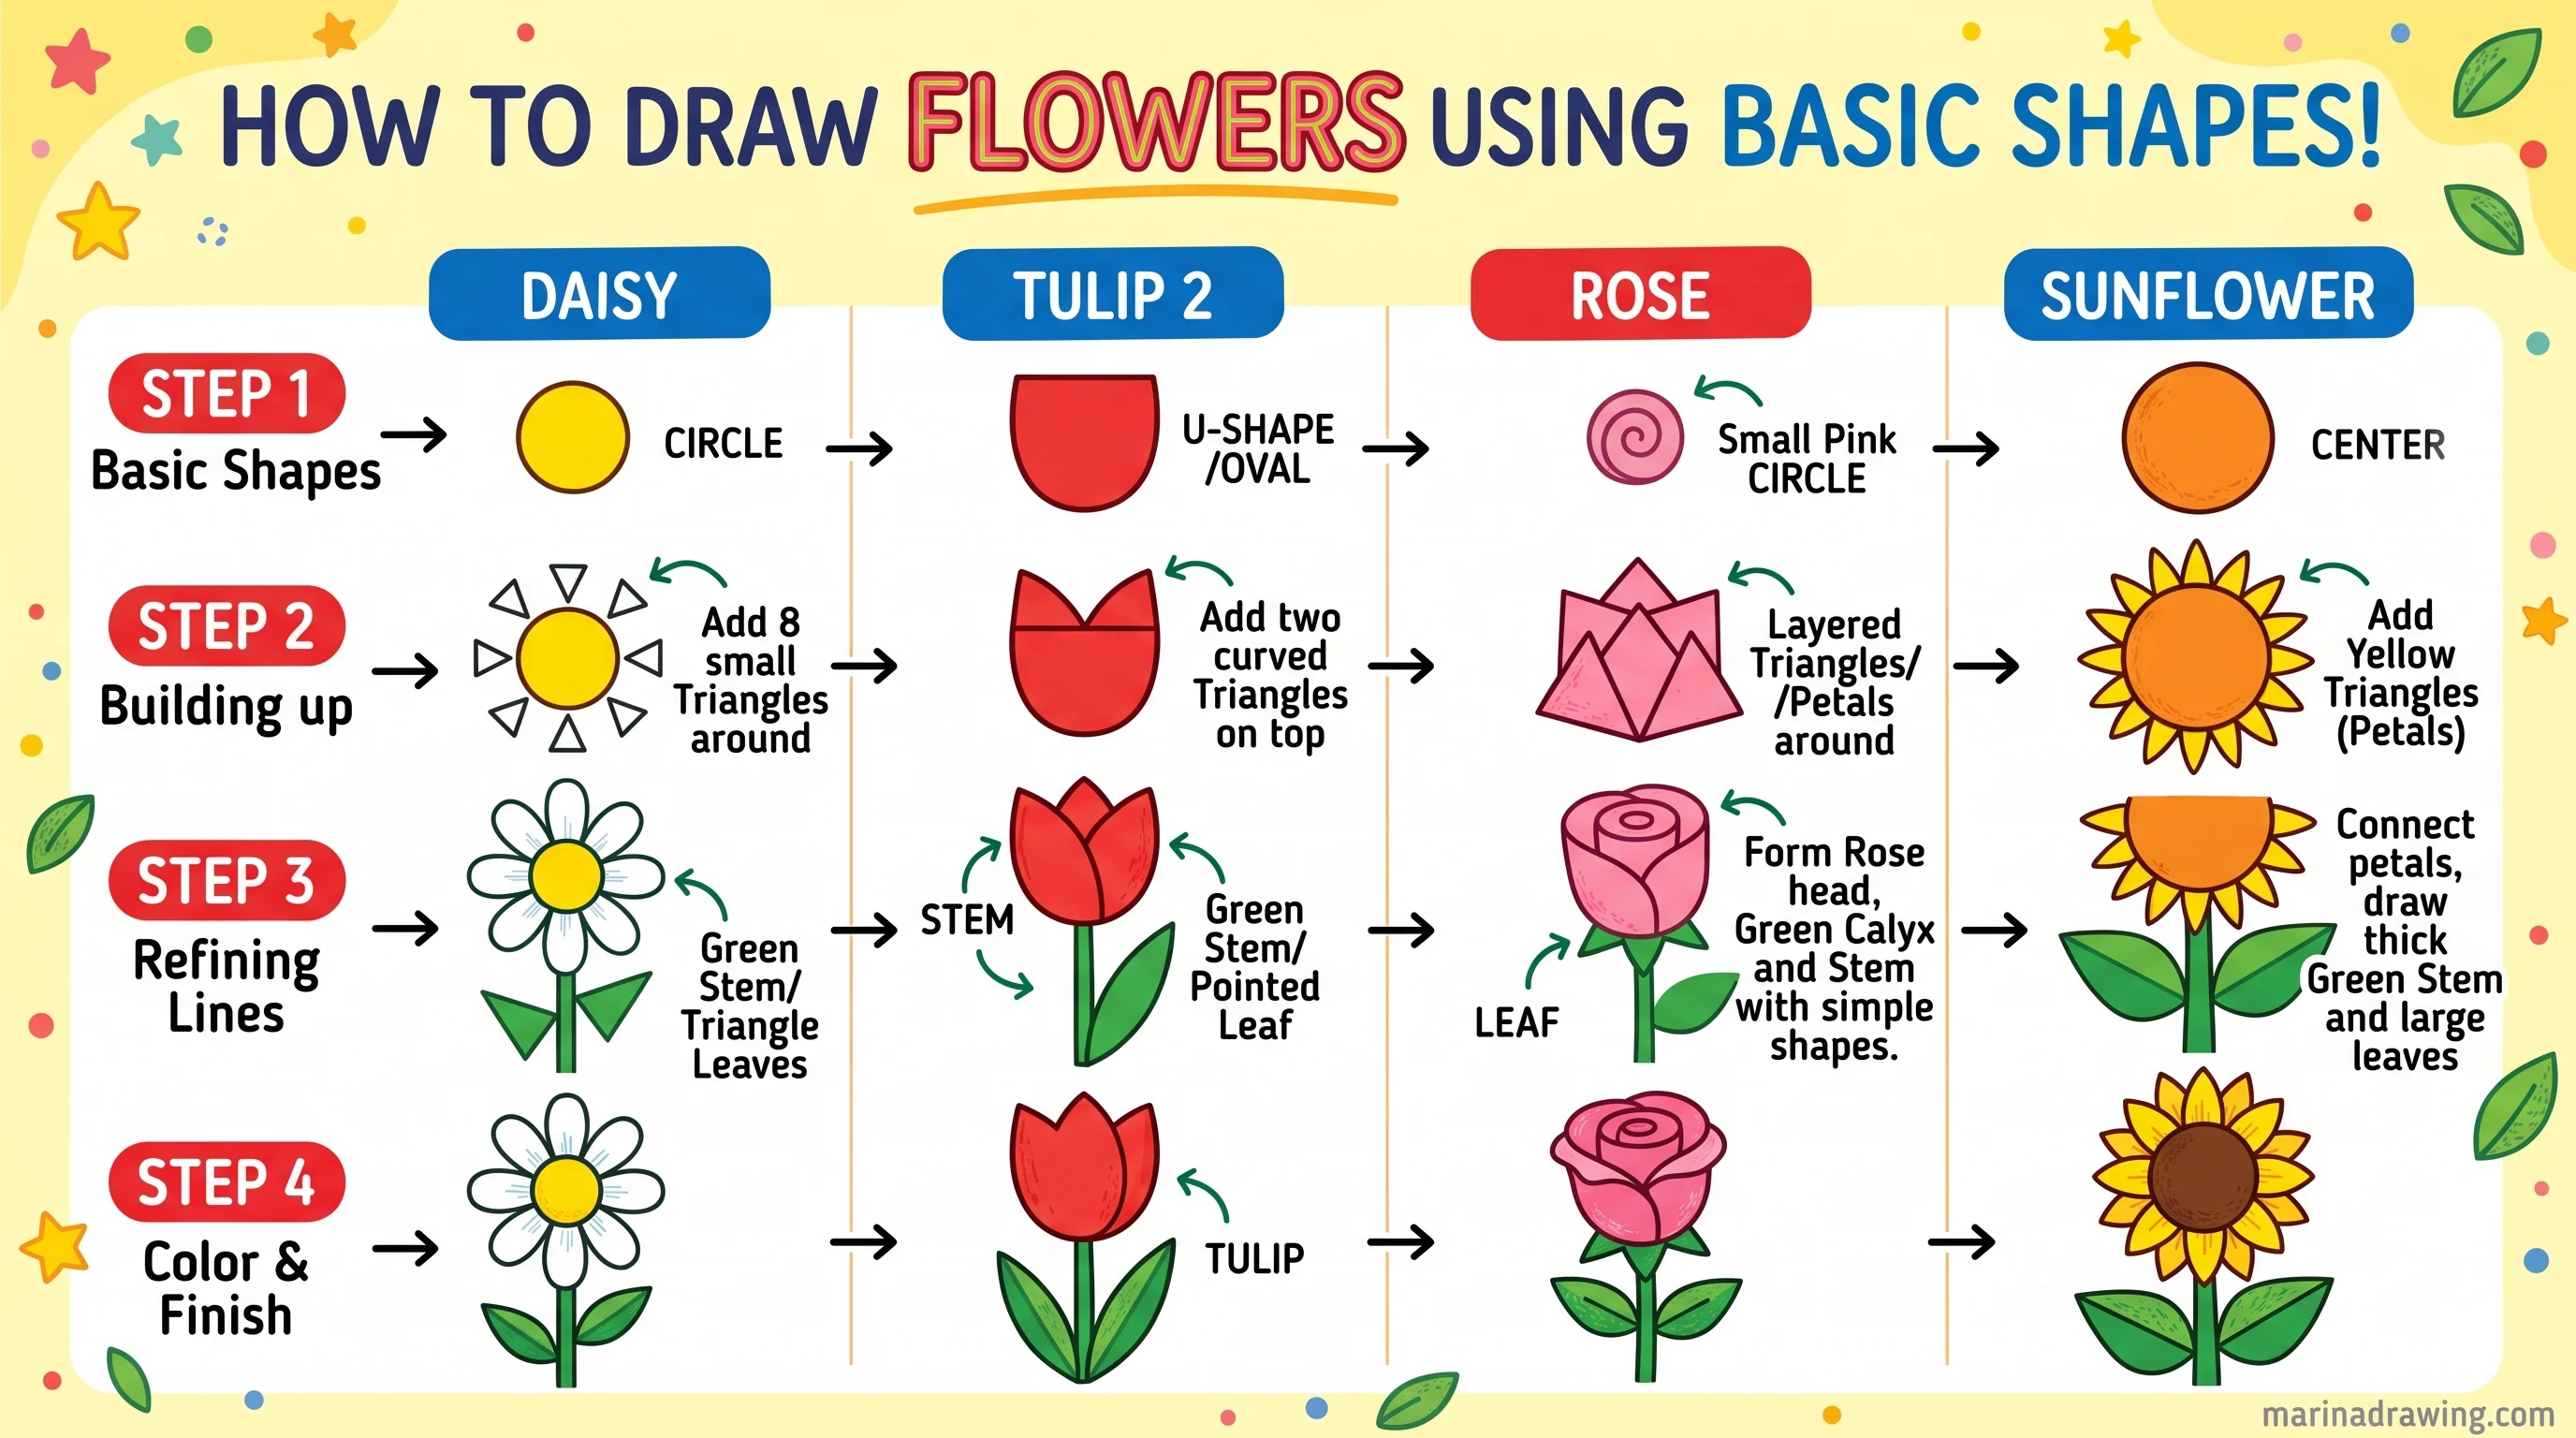
Most beginner guides list five shapes to learn first: the five-petal flower, the daisy, the tulip, a simplified rose and the bell flower. That list is useful, but it hides how much the shapes share.
Sort them by the solid form underneath and you only have three constructions to learn. Species mostly changes petal count and edge detail, not the build.
The disc family: five-petal flower and daisy
 Pin it
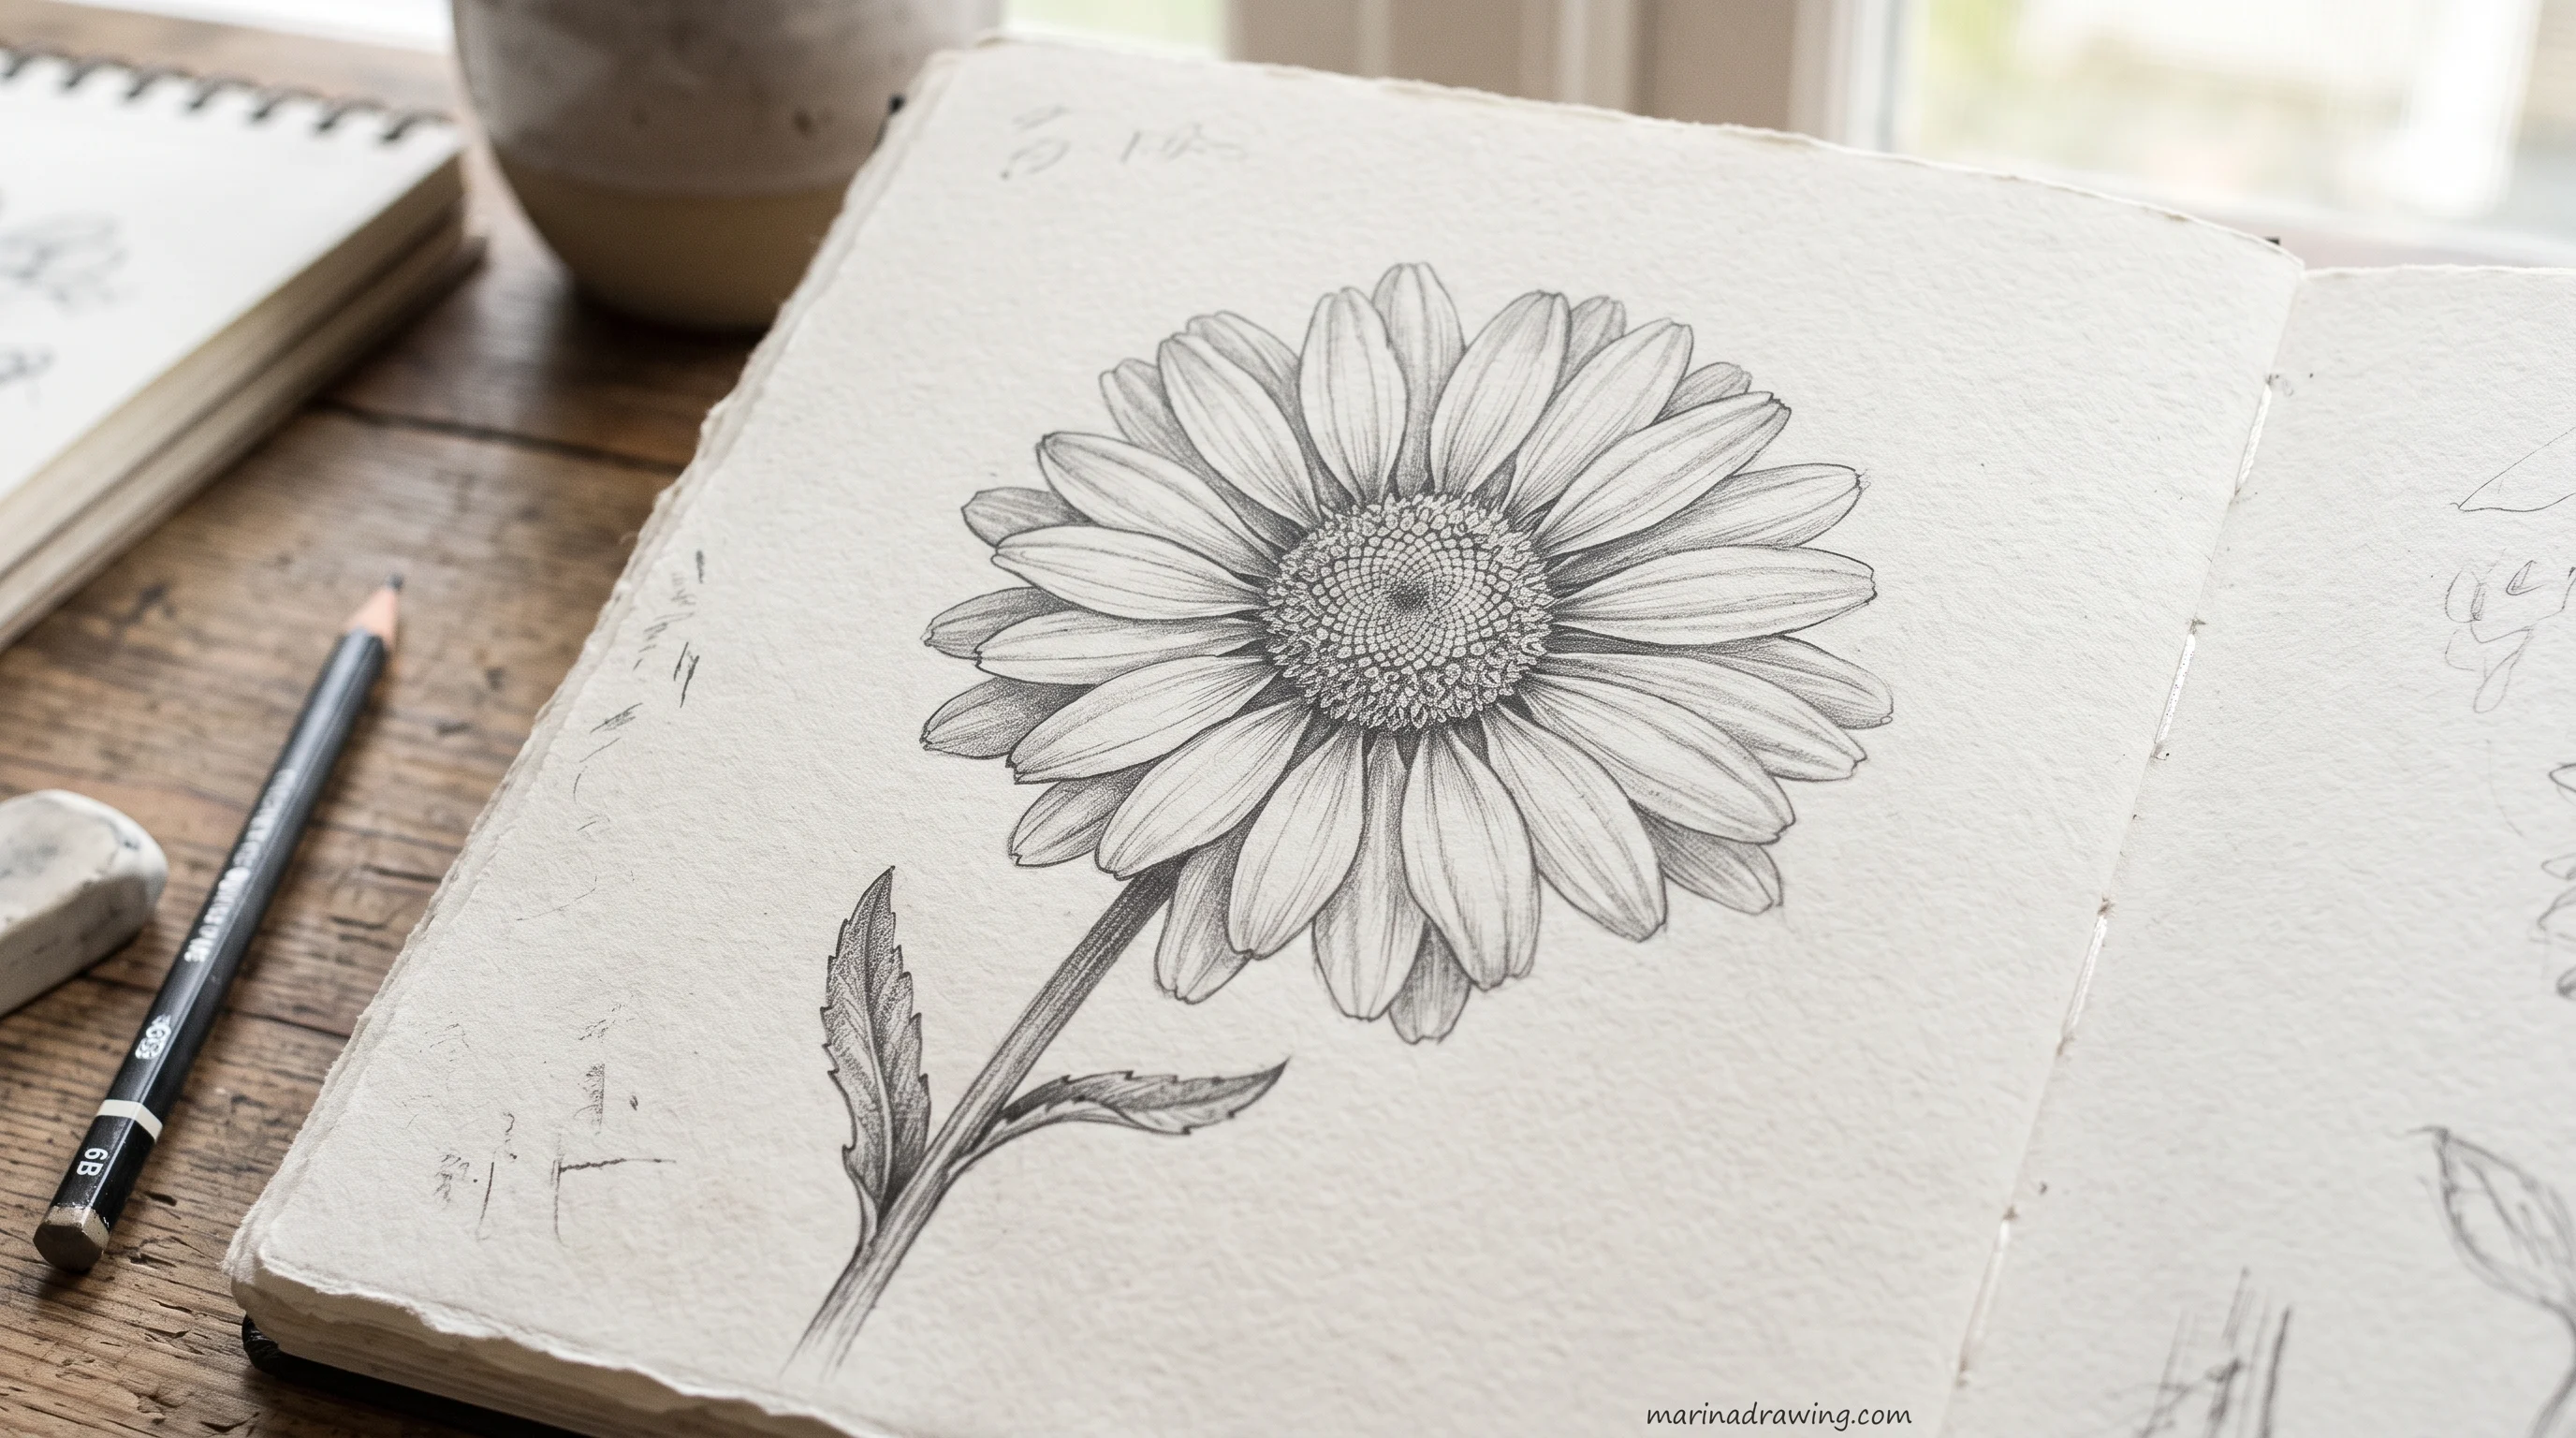
A disc is a flat coin of petals around a centre. Seen from the front it’s a circle. Tilt it away from you and it becomes an ellipse, and that ellipse is what makes your flower look like it’s facing somewhere.
- Five-petal flower: draw a small circle for the centre, mark five spokes evenly around it, then draw one rounded teardrop petal on each spoke.
- Daisy: start the same small circle, add four long U-shaped petals as a cross, then fill each quarter with more U-shapes until the centre is surrounded. Dot the centre last.
I draw the daisy version as a warm-up most mornings. Cosmos, coneflower, sunflower and hibiscus all belong here too. Only the petal count and the petal edge change.
Want to test all five on a tablet first? A ready flower palette saves you mixing petal colours for every one.
The cup family: tulip and bell flower
 Pin it
A cup is a bowl of petals seen from the side. You never see its centre, so your anchor is the rim and the base instead.
- Tulip: draw a wide U. Close the top with a wavy line that peaks in the middle, add one curve down the centre of the head, then drop a straight stem with long leaves that hug it.
- Bell flower: draw the same cup upside down, hanging from a curved stem, and flick the rim outward into three or five small points.
A bell on an arching stem, with a butterfly nearby for scale, is one of the most saved flower sketches around. It’s four lines.
Lilies are cups that opened wide. The build is the same, the petals just bend back. For soft cup shapes on a tablet, wet watercolour brushes shade the inside of the cup in a single pass.
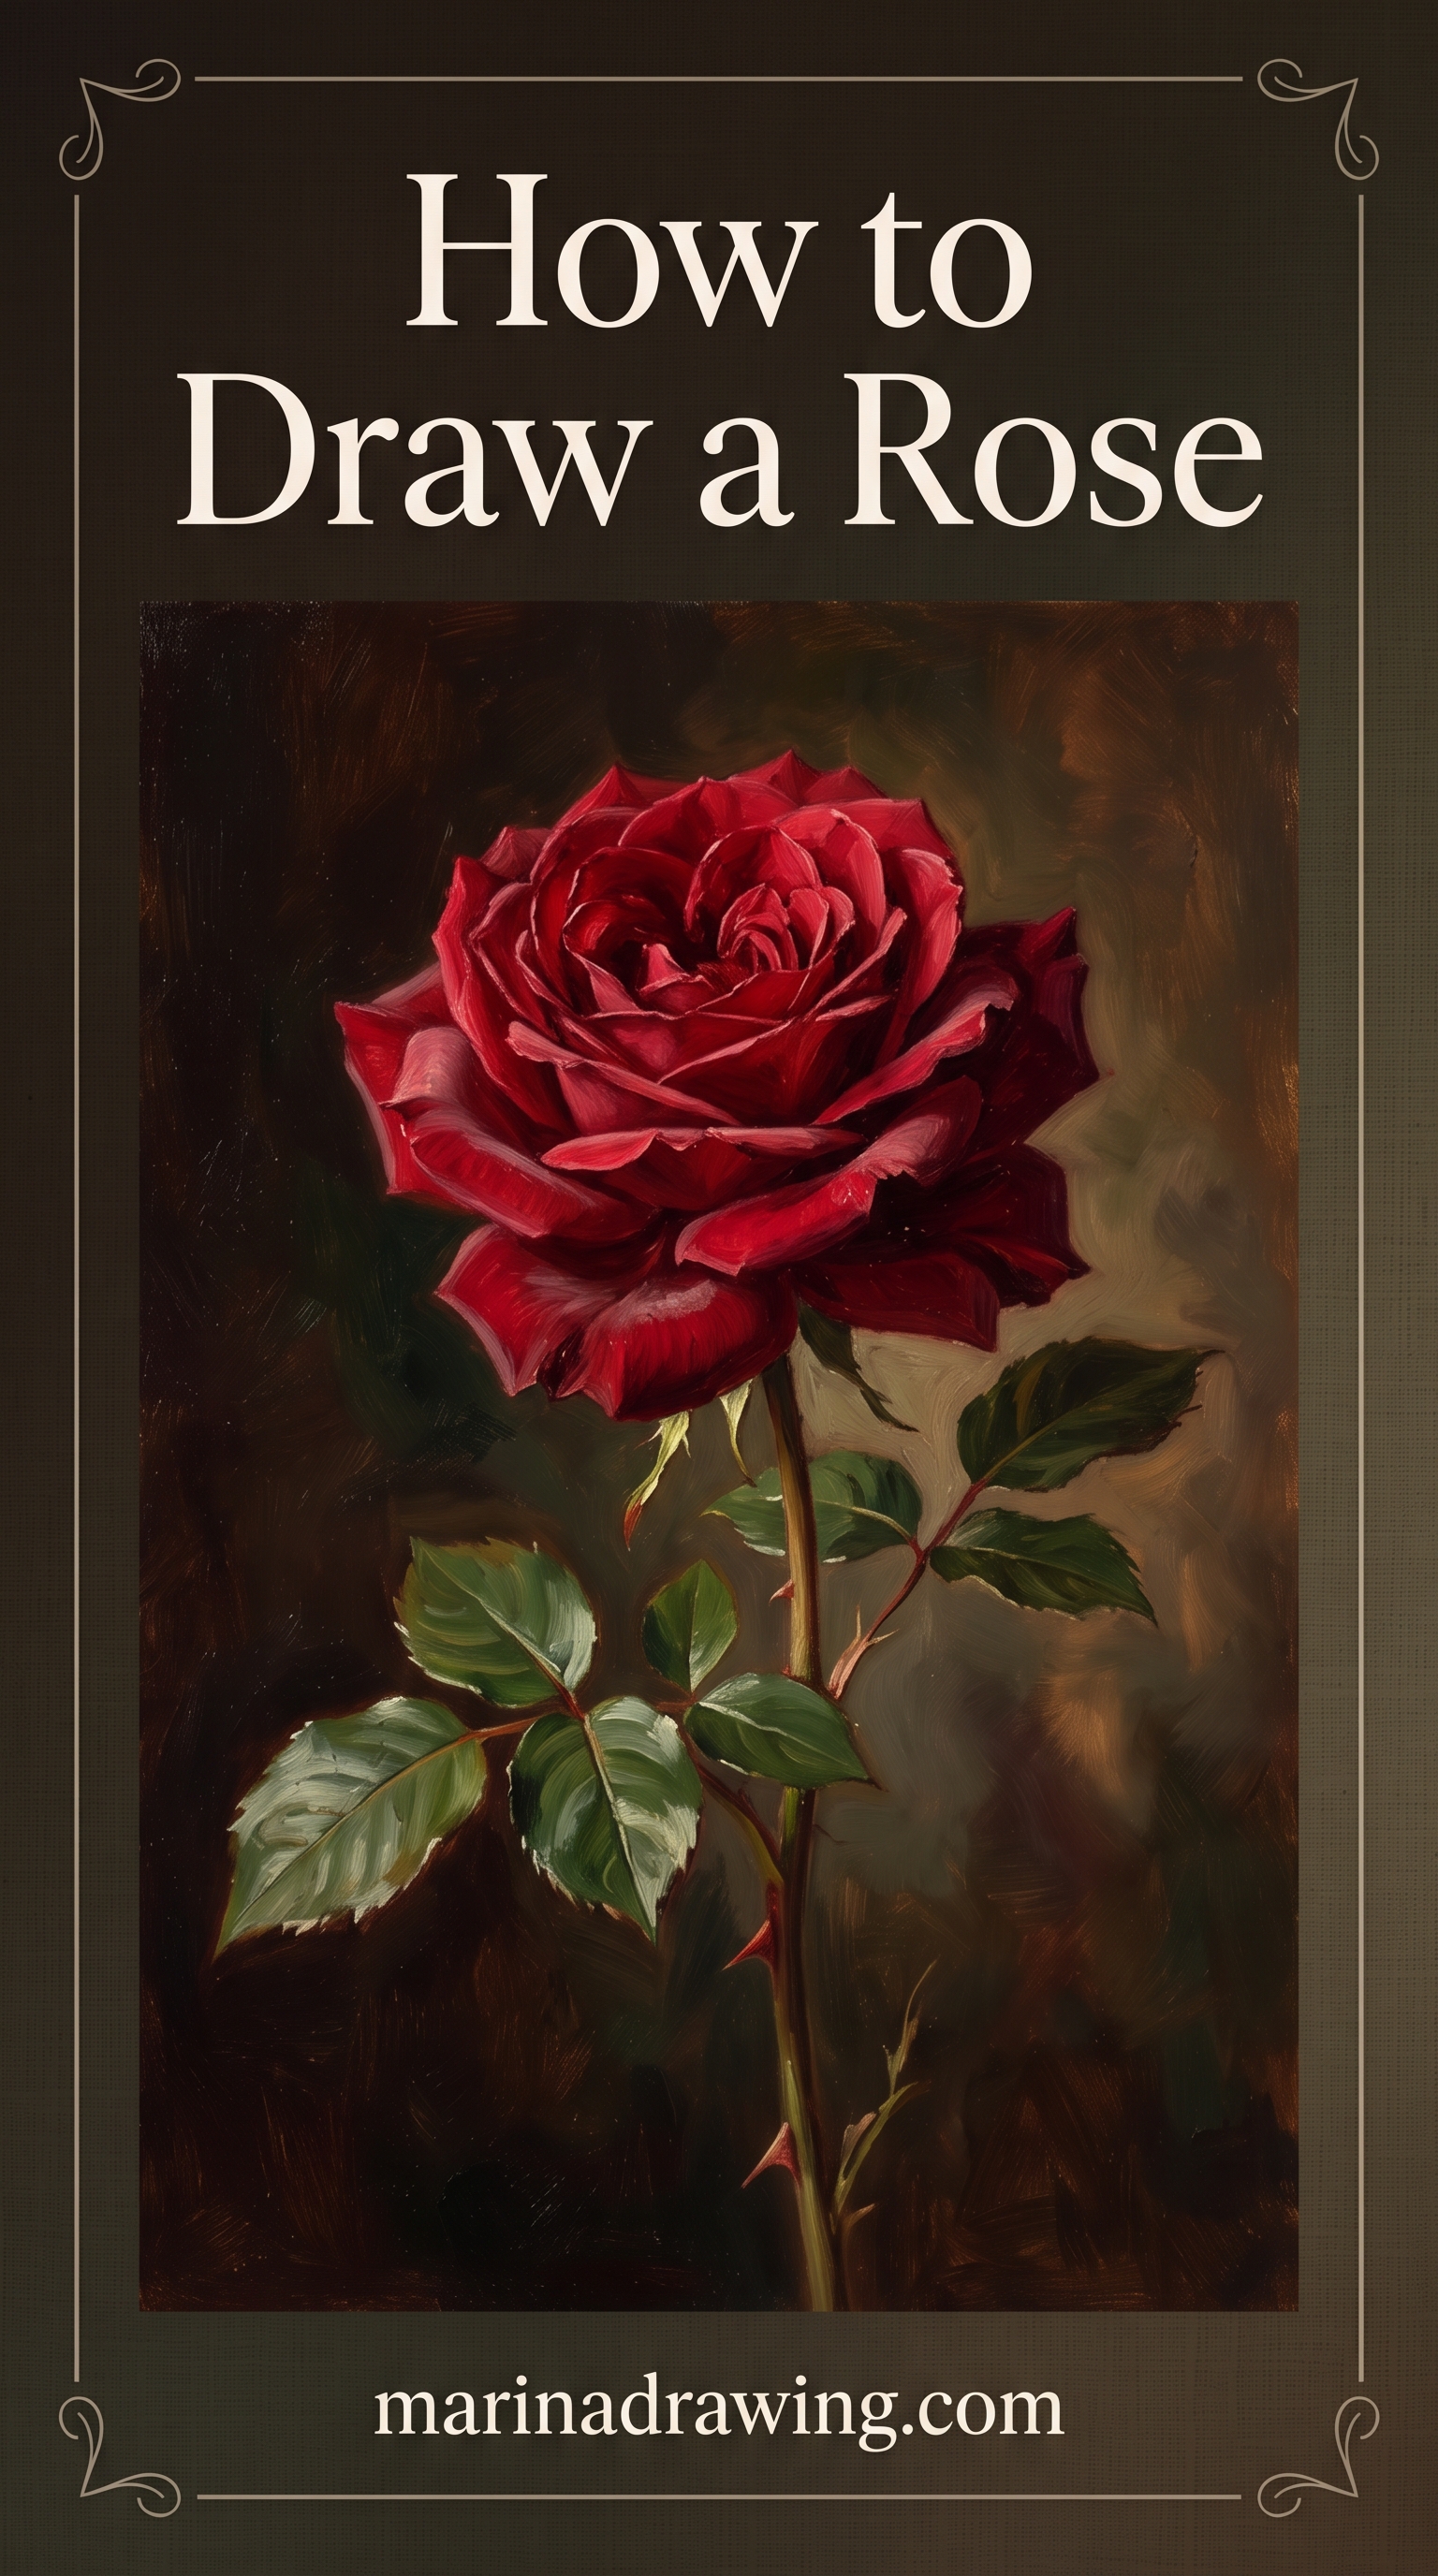
The spiral family: the simplified rose
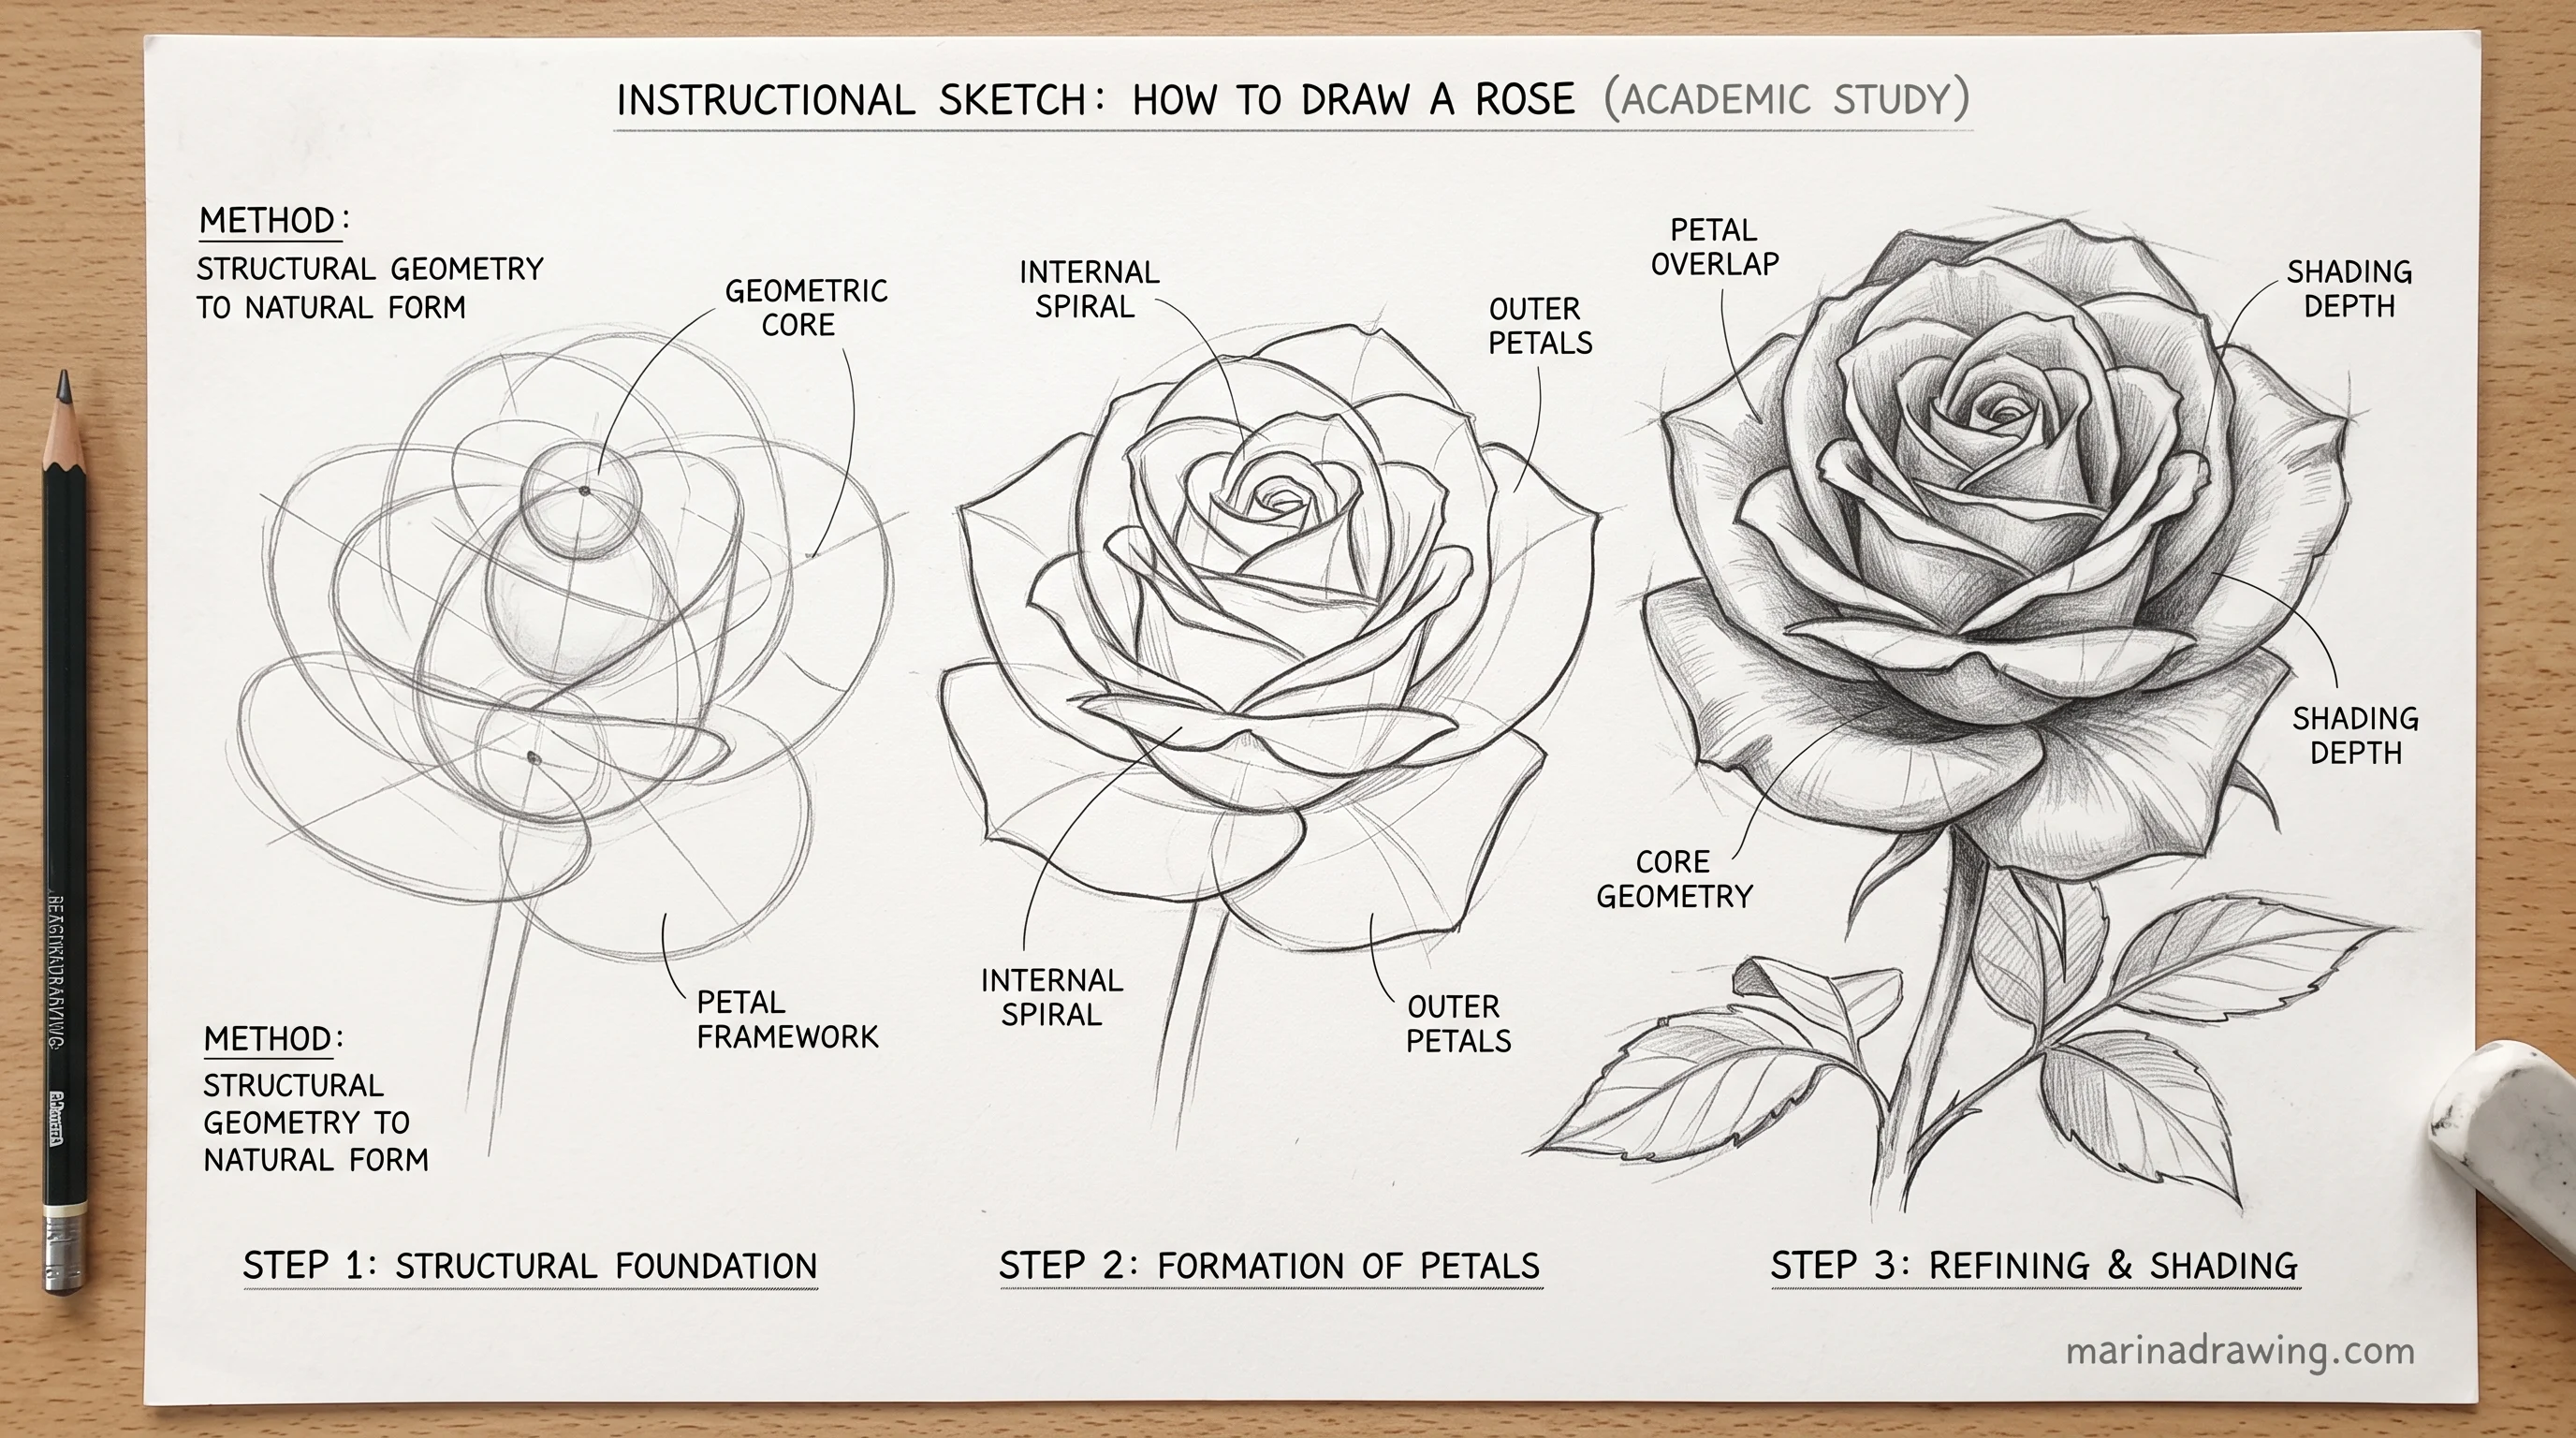
Draw a small tight spiral for the centre. Wrap two or three crescent-shaped petals around it, each one larger and a little looser than the last, then add a cup-shaped outer ring underneath.
My roses only stopped looking like cabbages when I gave up on realistic petals. A rose gets easier the moment you stop drawing separate realistic petals and start drawing layers of curved lines around one spiral.
Once a shape is in its family, you already know where its anchor is. A disc is anchored at its centre, a cup at its rim and base, a spiral at the middle of its coil.
That anchor is the thing every later step measures against. It is the same idea as a build order for hands: big shape, anchor, then detail.
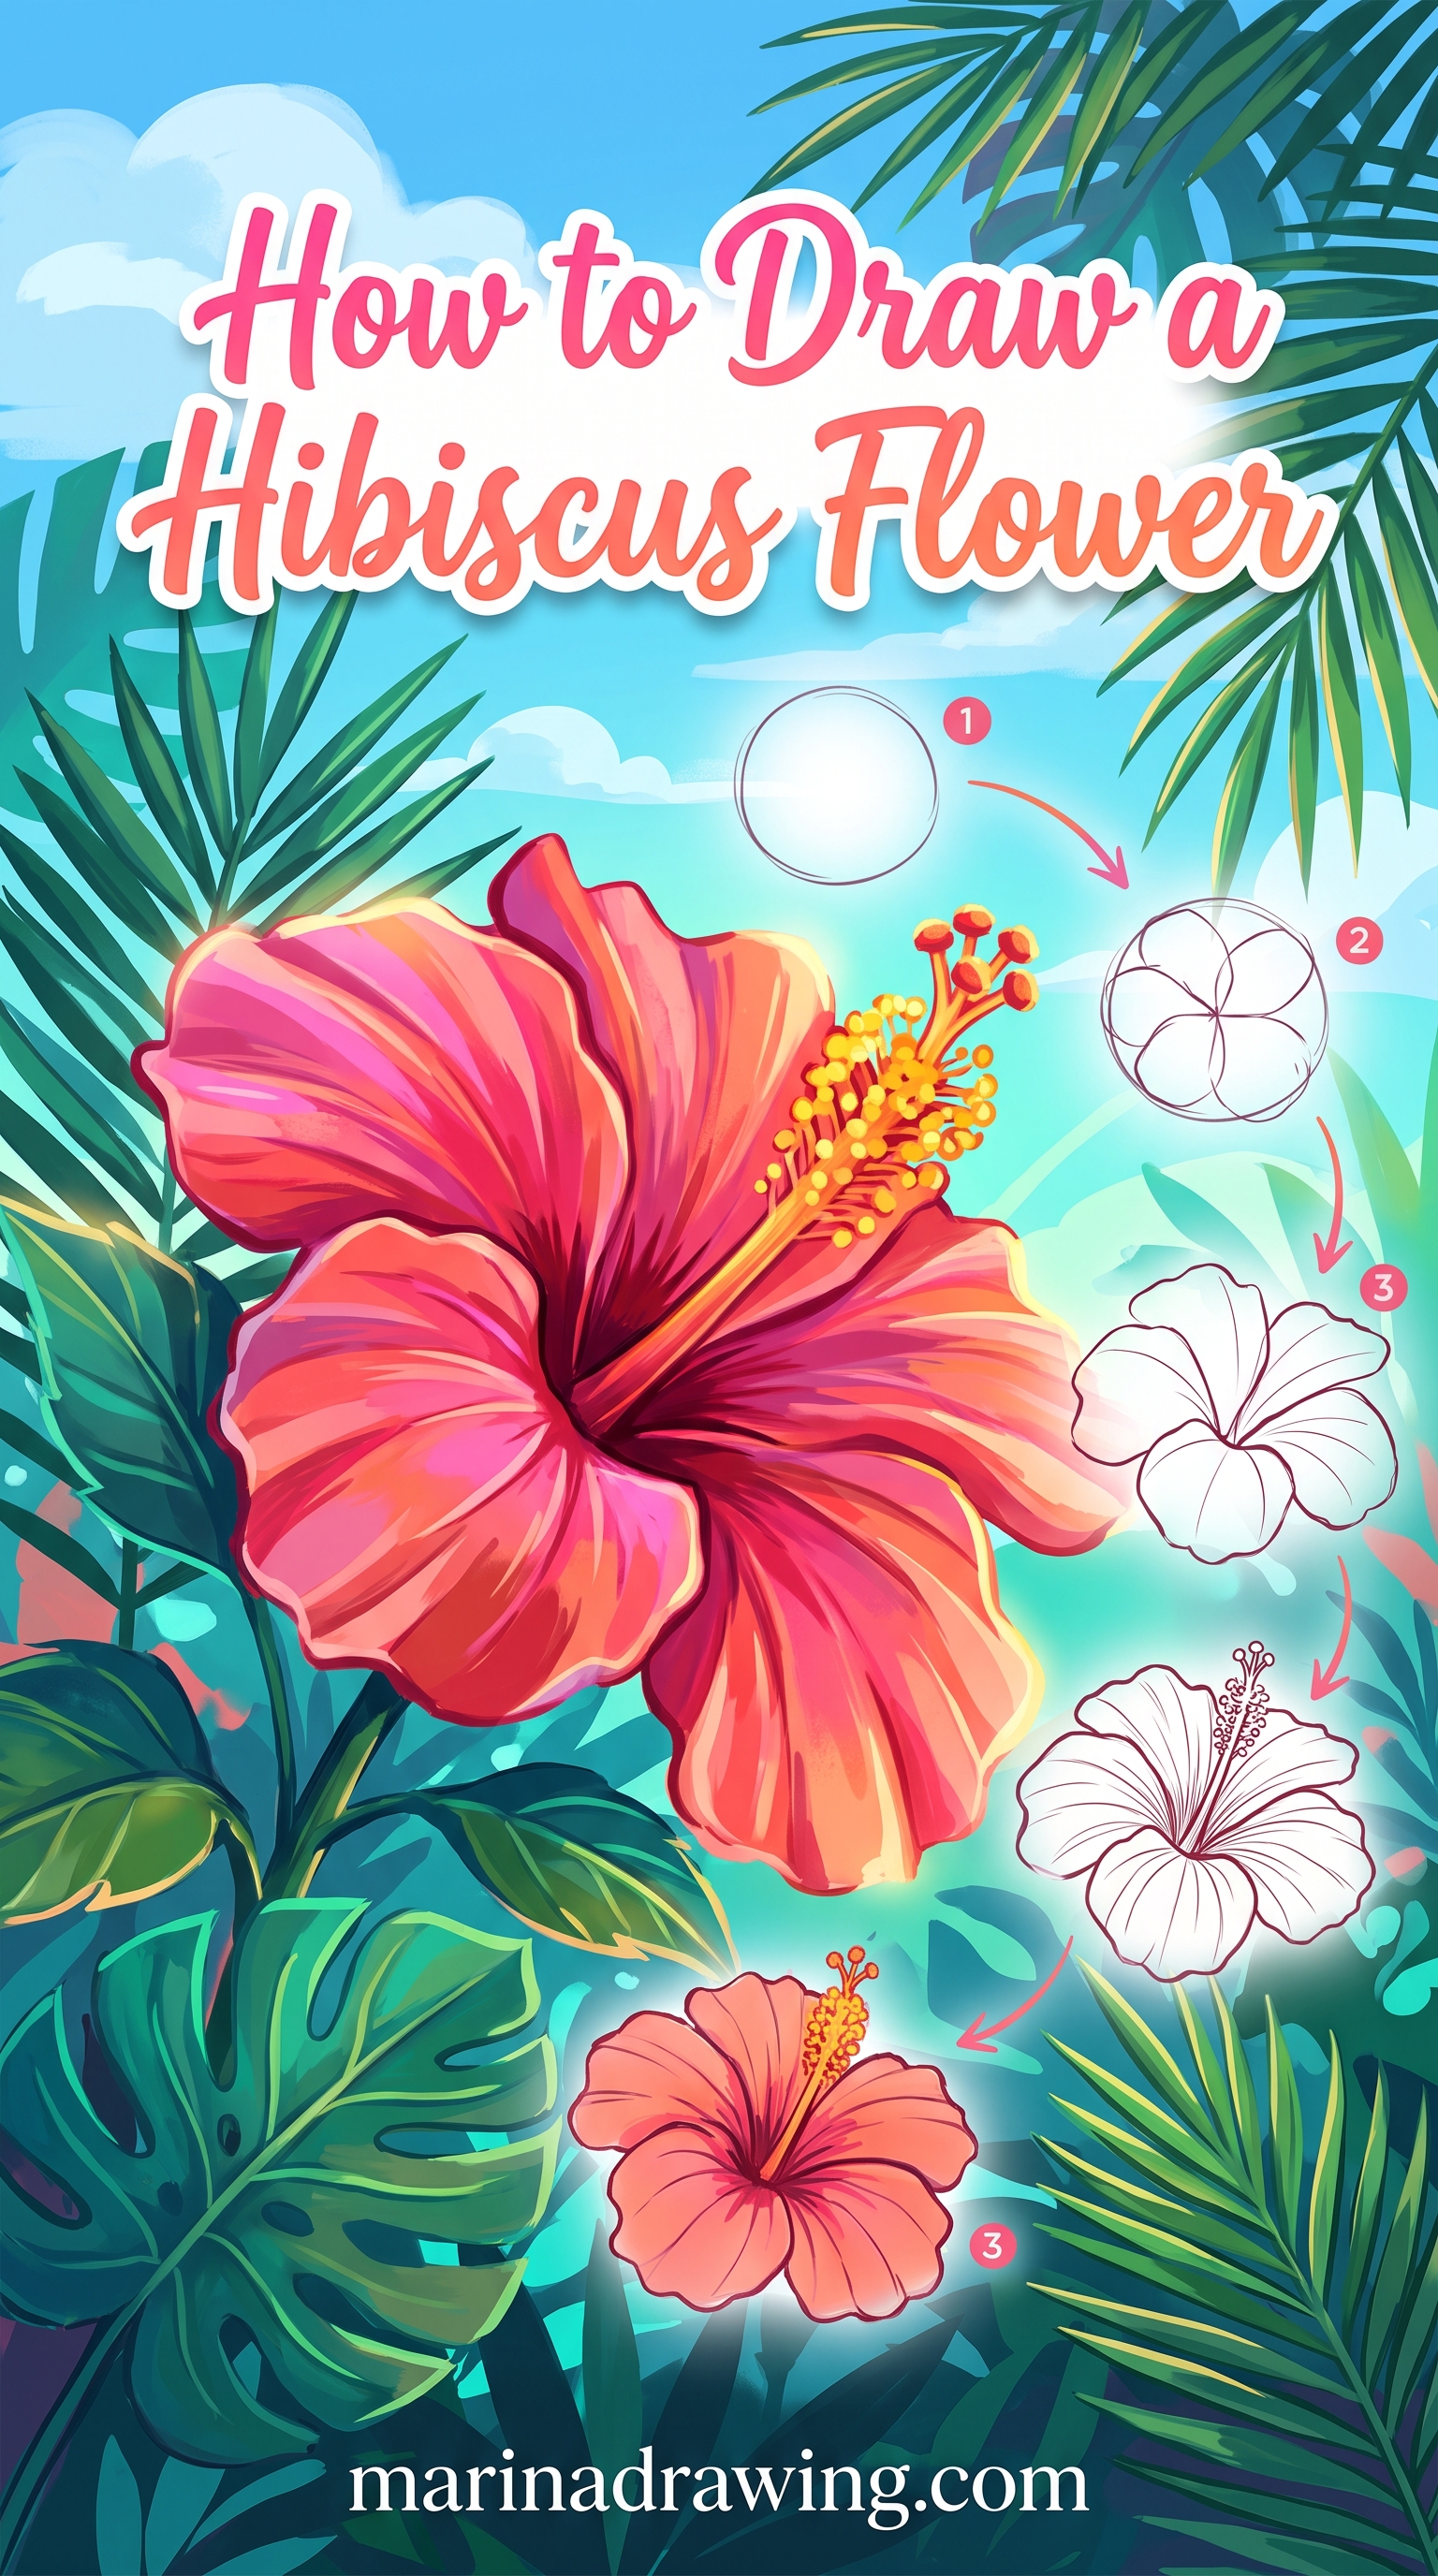
Step by Step: A Pencil Hibiscus From the Centre Out
 Pin it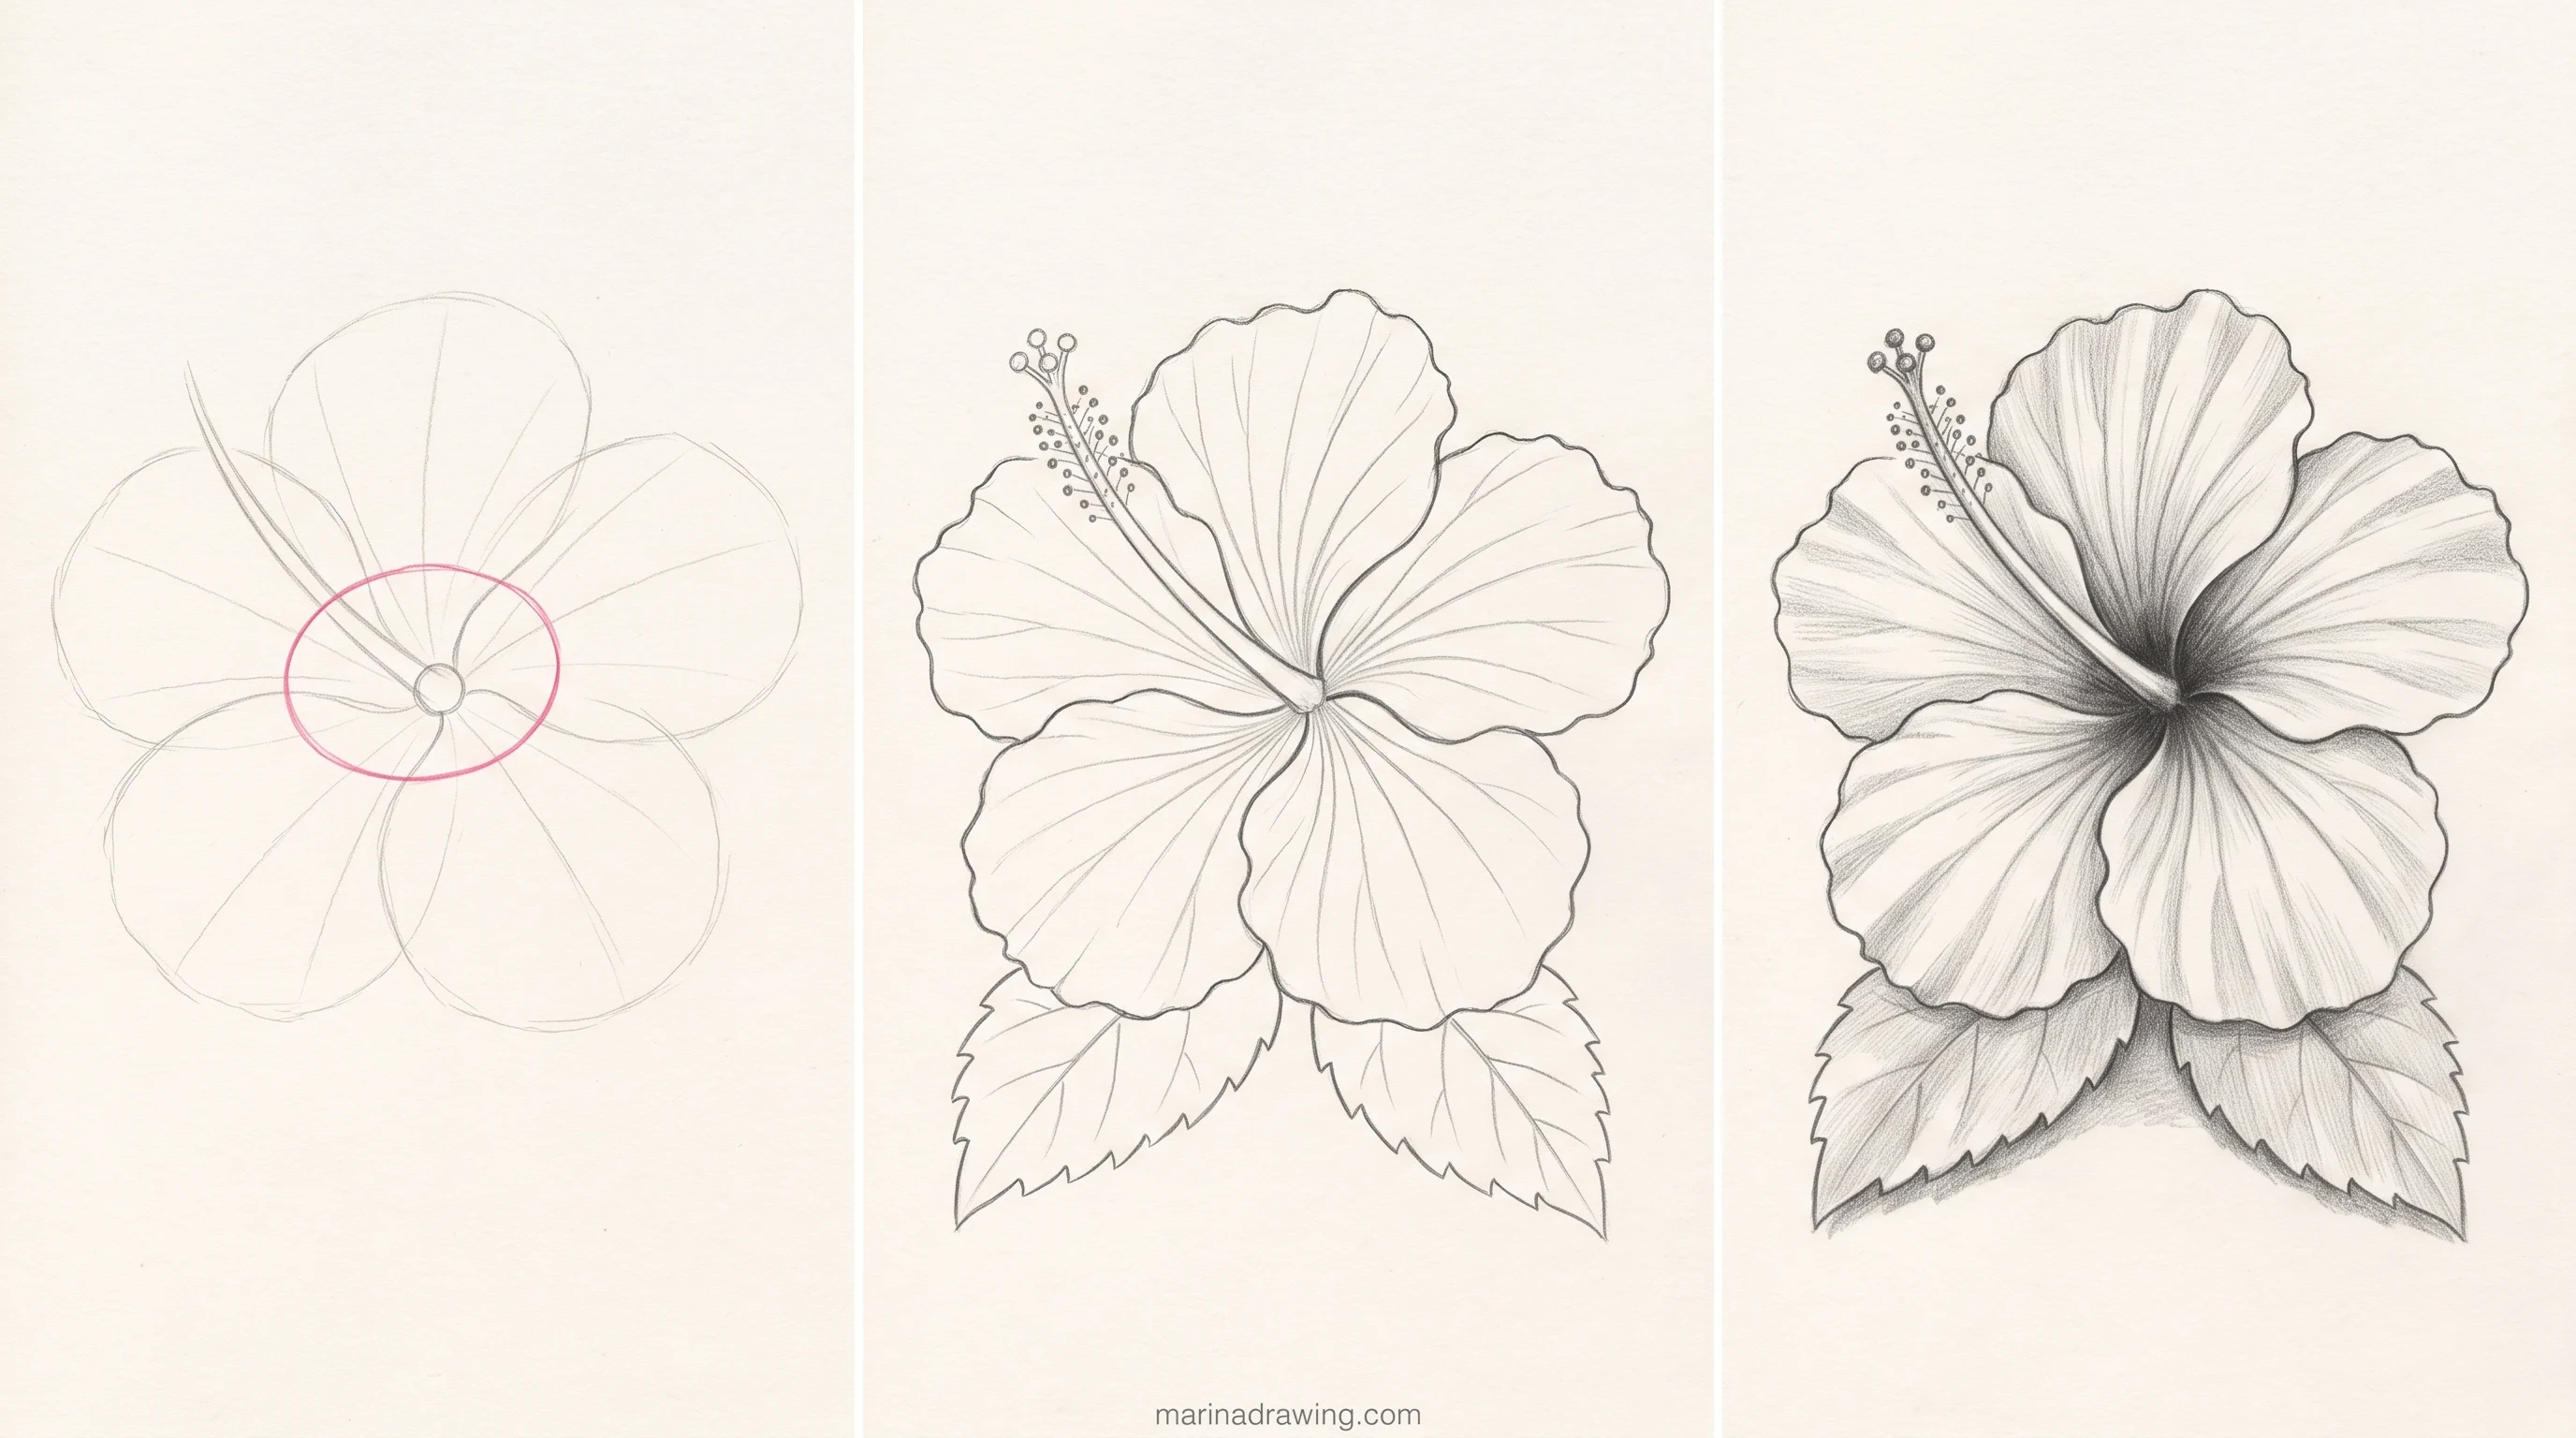
The hibiscus is the best first full flower because it is a disc with a very obvious centre: a long stamen sticking straight out. You can’t forget the centre on a hibiscus, which makes it perfect for learning the order.
Use a light HB pencil for everything until the last step. I keep mine barely touching the paper until step six.
1. Place the centre and the tilt
Draw a small circle where the petals meet, then a light ellipse around it for the whole flower. A narrow ellipse tilts the flower away from you; a round one faces you.
2. Draw the stamen
Pull one long curved tube out of the centre and finish it with a small cluster of dots. It sets the direction your flower is looking.
3. Draw the first petal
Draw one broad fan-shaped petal from the centre to the ellipse. Its base must touch the centre circle, not float beside it.
4. Add the other four against the centre
Mark four more spokes from the centre, evenly spaced, and build one petal on each. Check each base against the centre, never against the petal you just drew.
5. Add veins and the ruffled edge
Draw a few veins fanning from the centre toward the edge, then wobble the outer edge of each petal. Veins that don’t point to the centre give your lean away instantly.
6. Add leaves, then darken
Add two or three oval leaves with a serrated edge behind the flower. Only now switch to 2B and darken the lines you want to keep.
If step four goes wrong, you’ll see it here first: one petal is wider because its spoke drifted. Move that petal. The centre stays where it is.
A graded drill works the same way. You check against one fixed point, not against your last attempt.
For inking the finished hibiscus digitally, a line brush with pressure taper keeps your veins thin at the tips.
Easy Flower Pattern Ideas for a Full Page
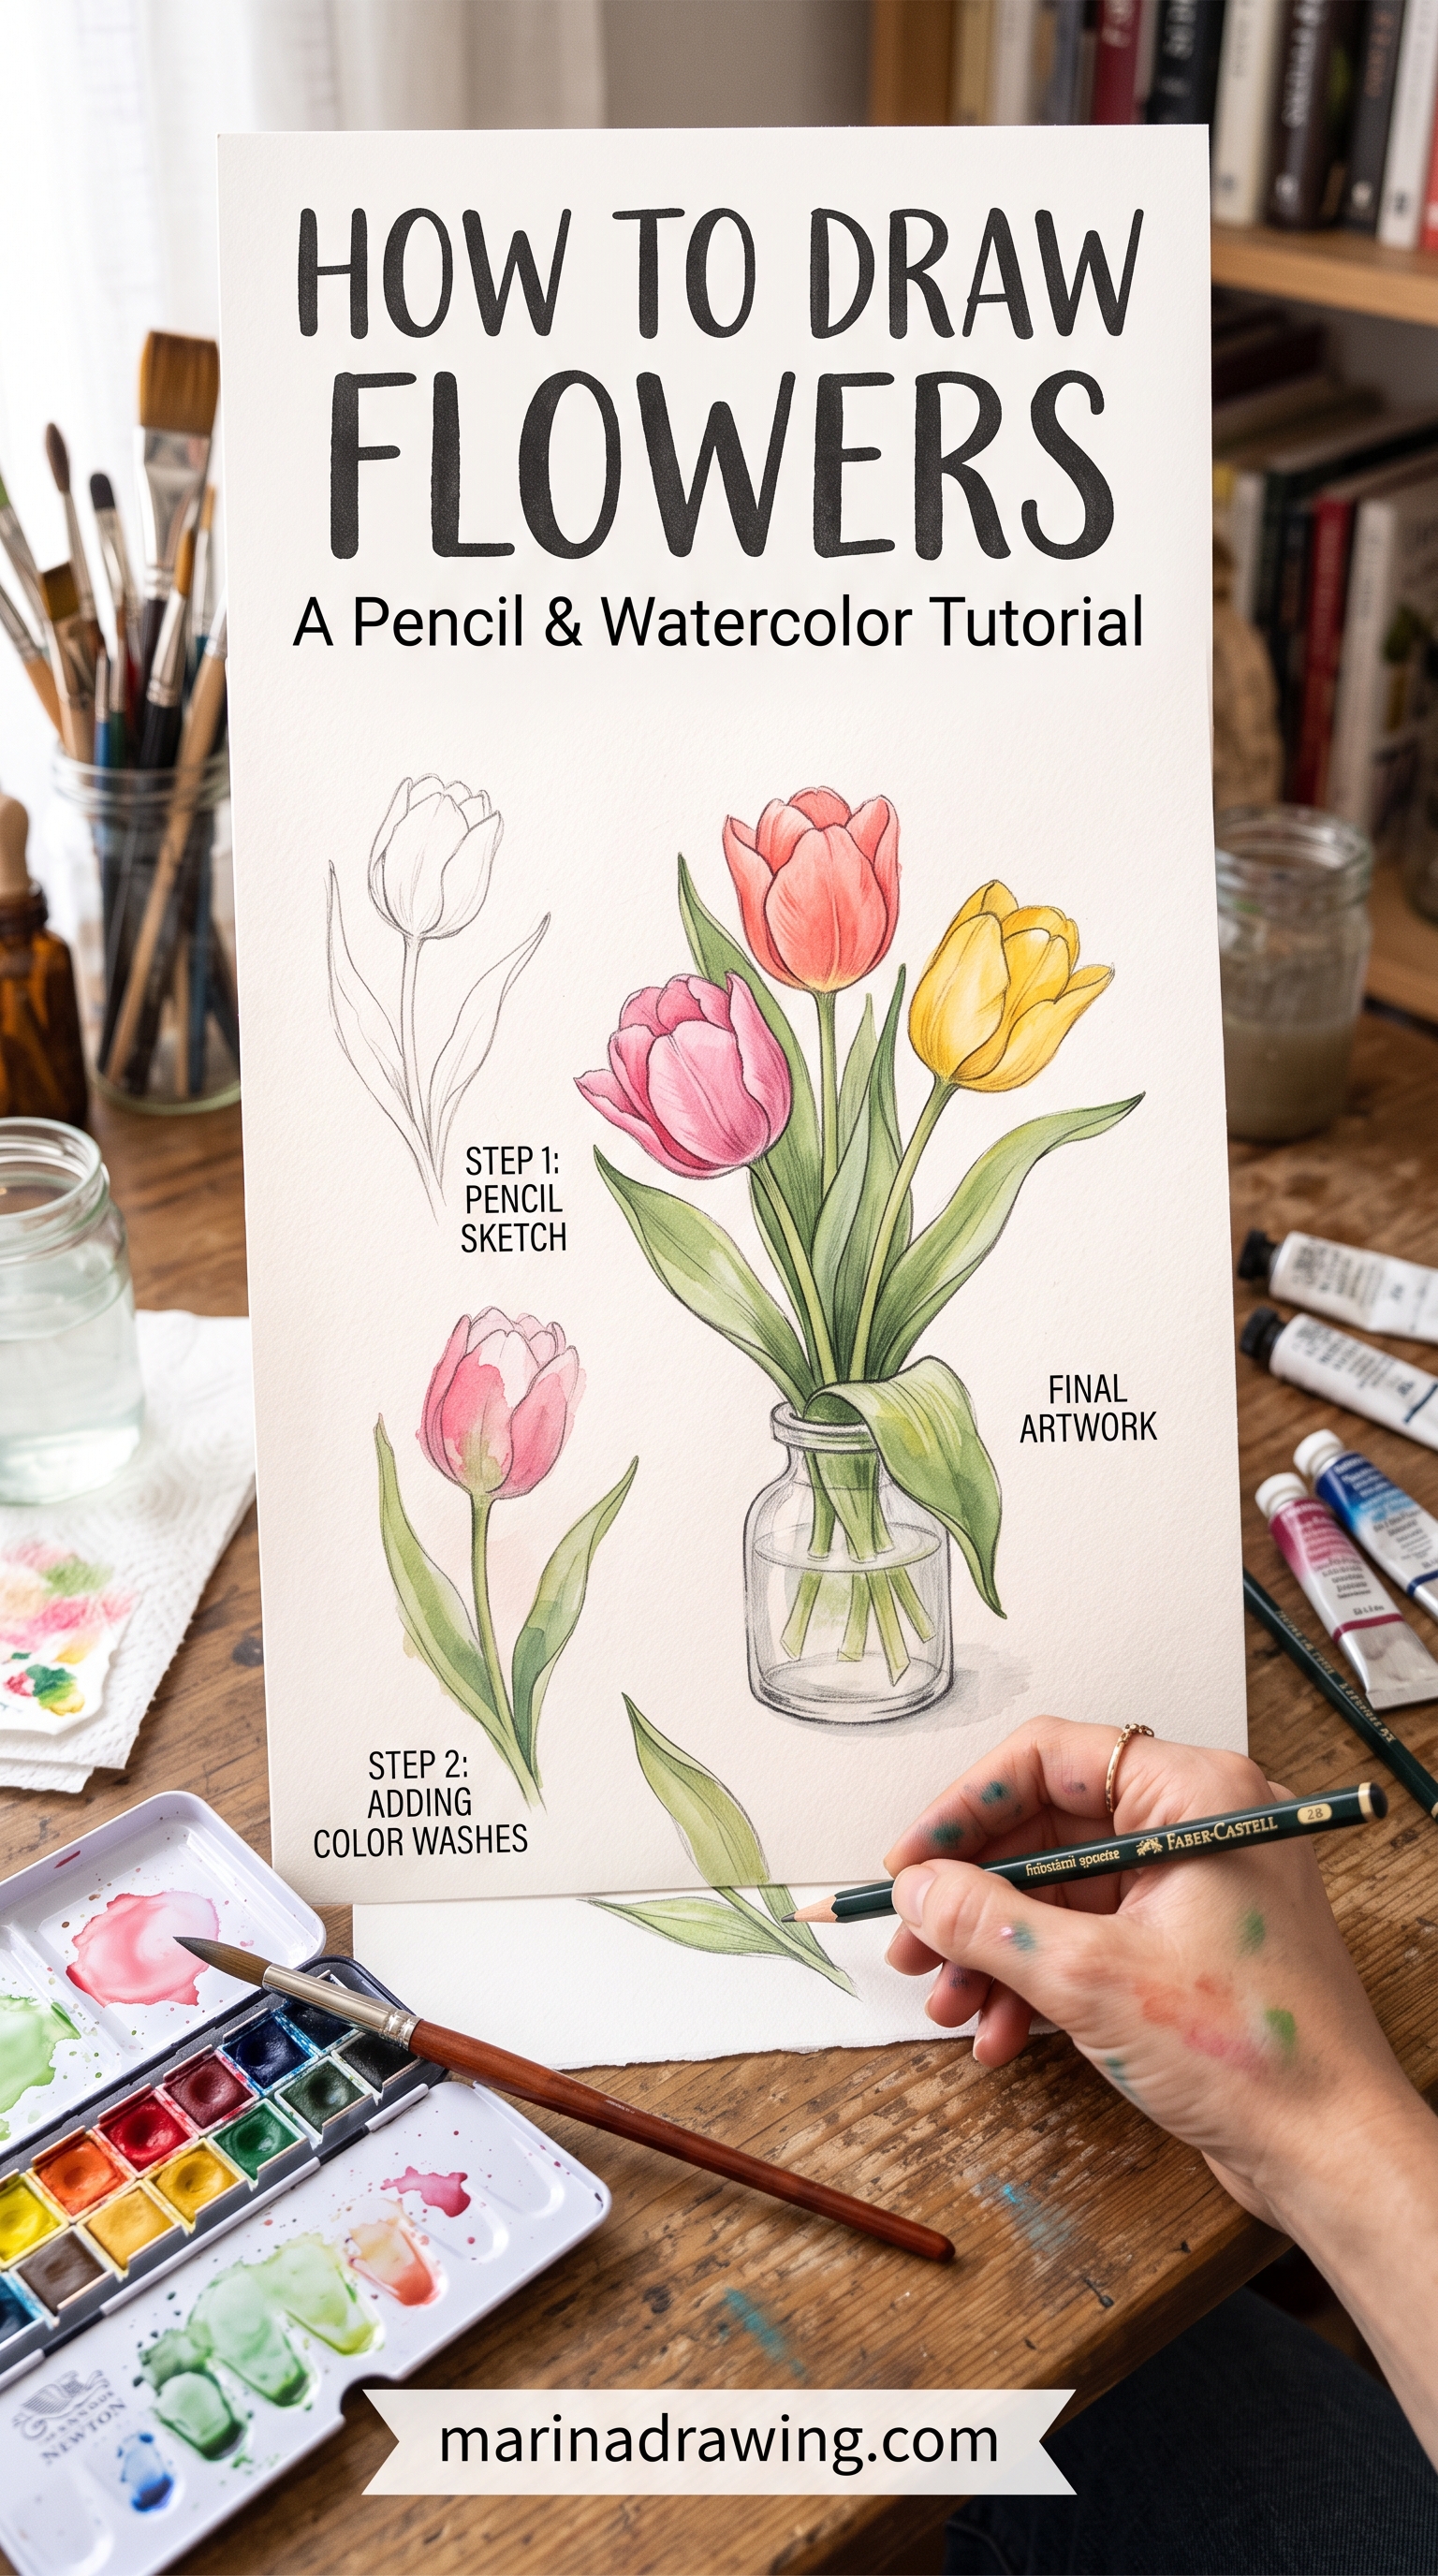
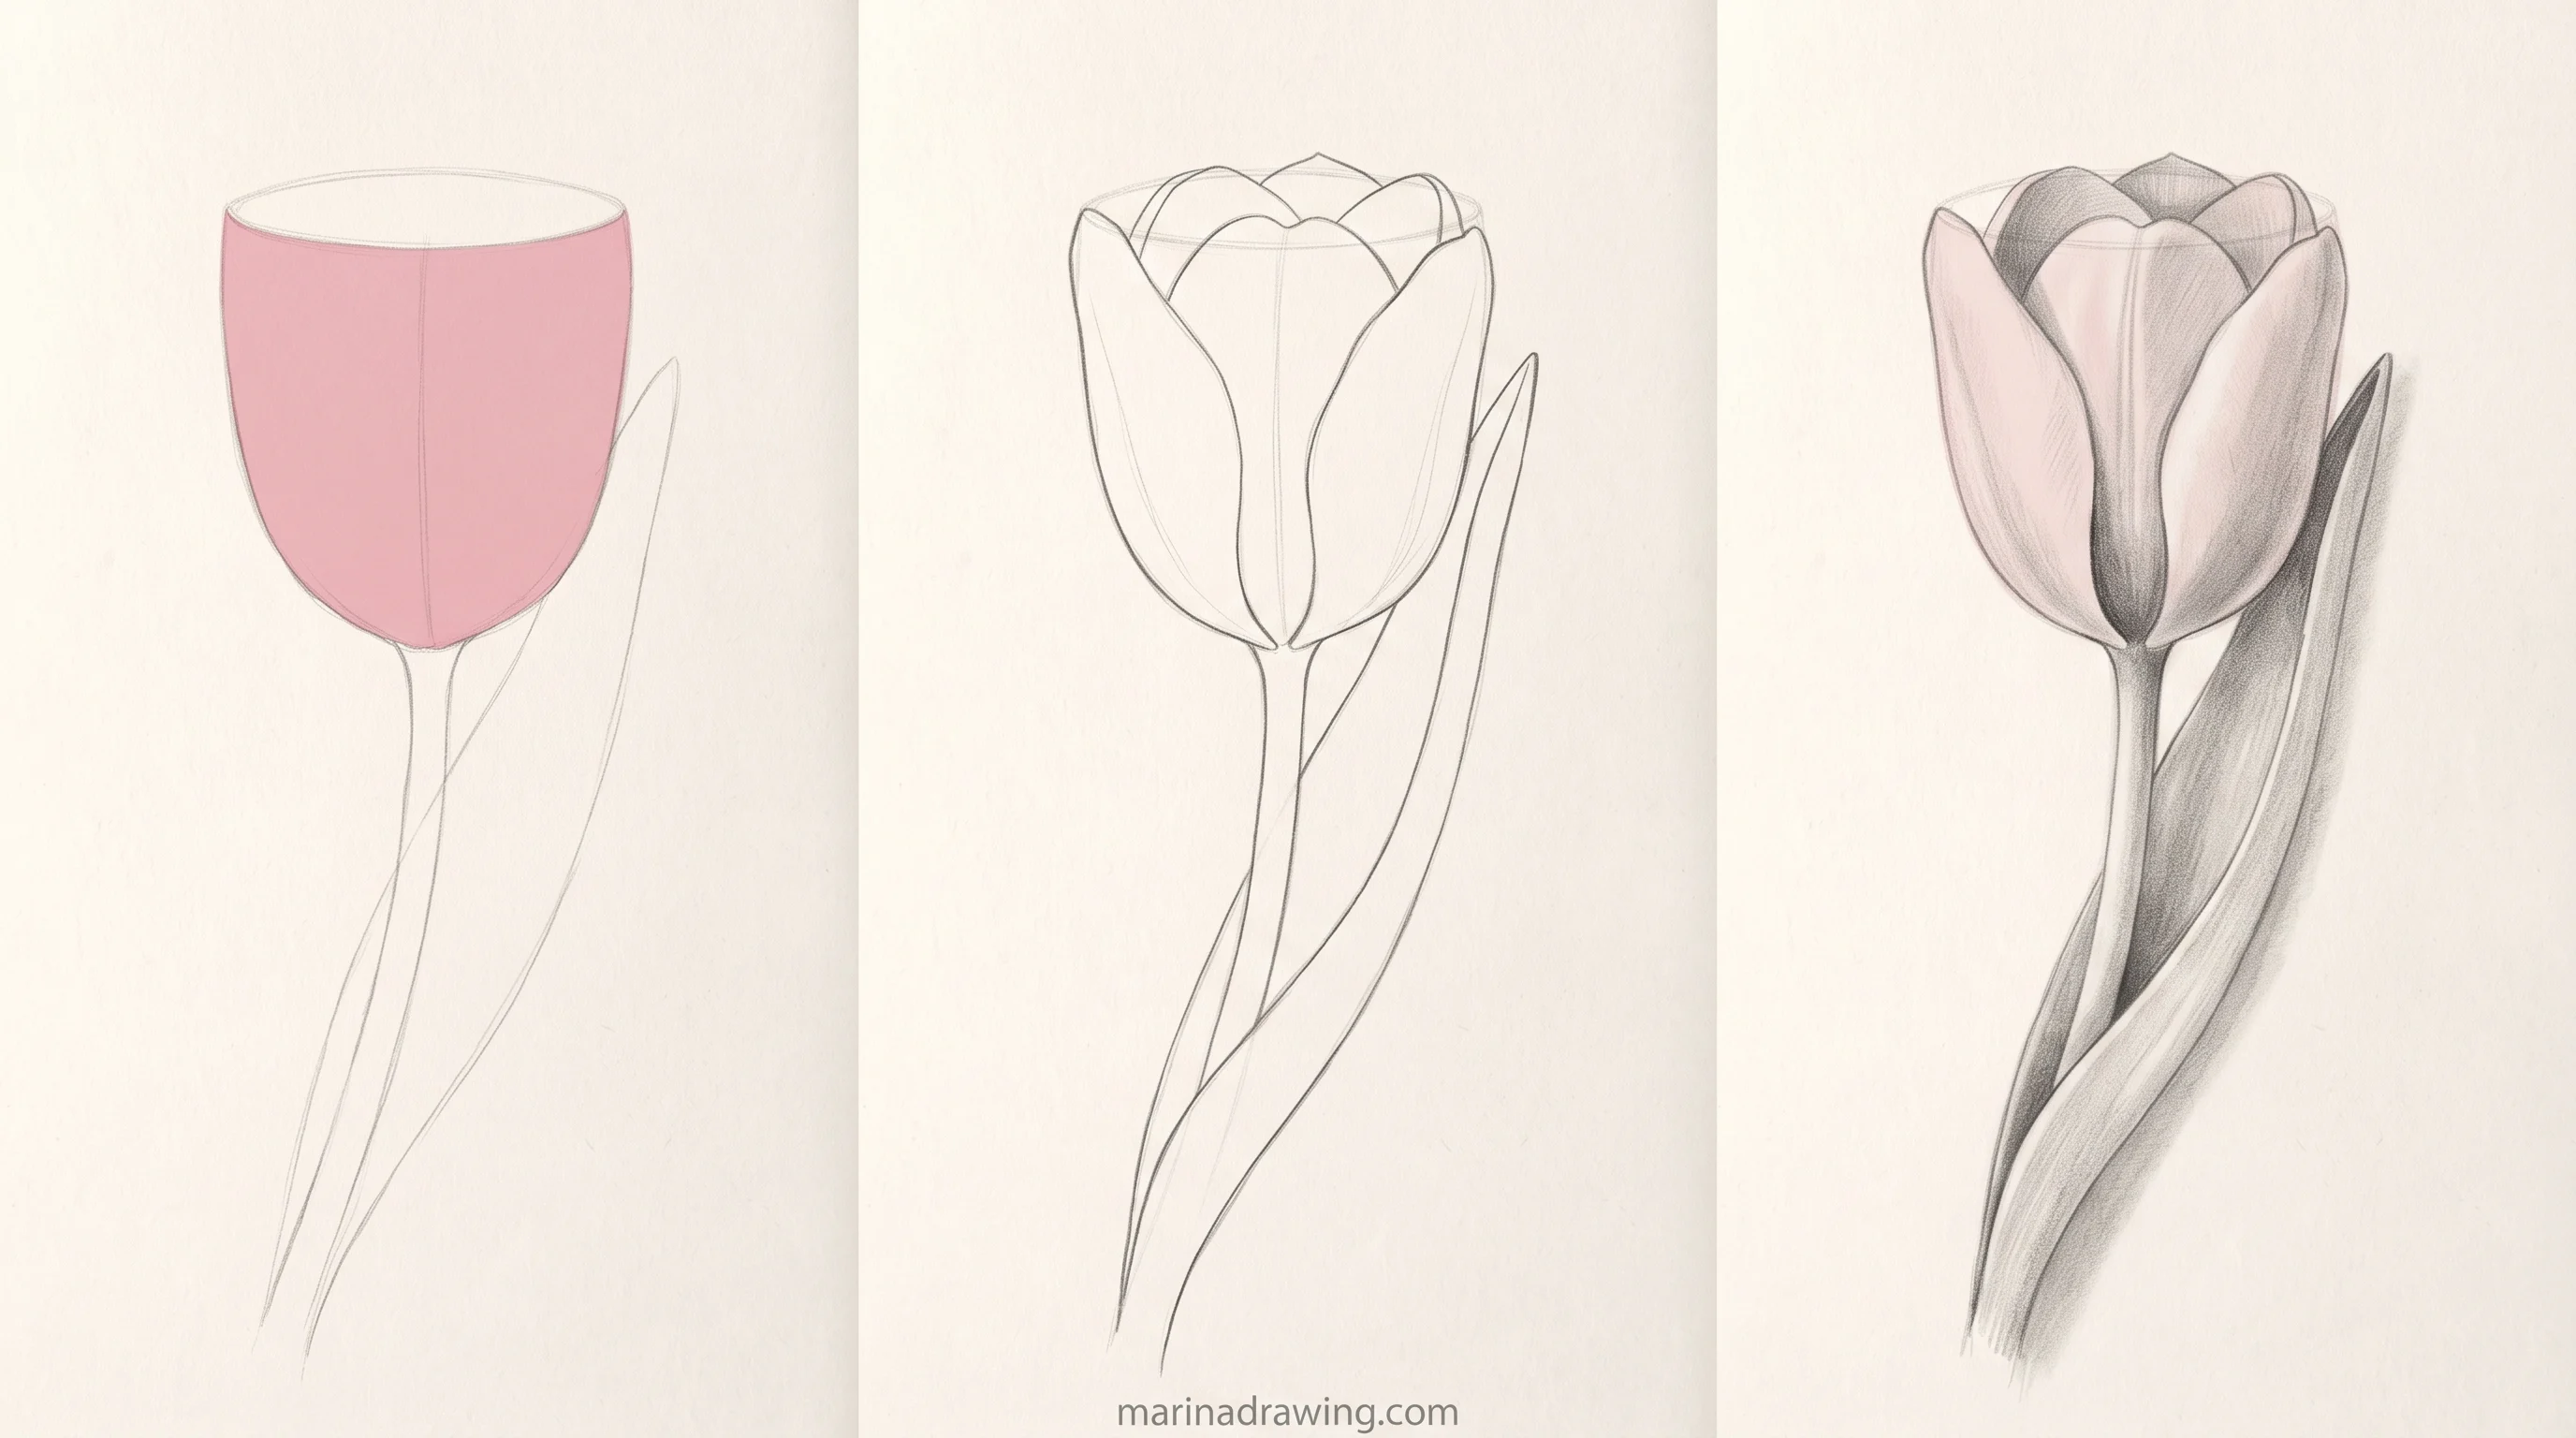
A single flower teaches you the build. A full page teaches you rhythm, and it’s the quickest way to get a sketchbook spread that looks finished. Four layouts cover almost everything you’ll see:
- Repeat: one flower drawn again and again in rows. Keep the size identical and change only the angle, and your page reads as a pattern rather than a practice sheet.
- Scattered: dozens of tiny flowers in marker, mixed sizes, no rows. Start with the three largest, spread them apart, then fill the gaps.
- Wreath or border: draw a light circle or rectangle guide, then place flowers along it with leaves bridging the gaps. Put your biggest bloom slightly off the top-centre, never exactly on it.
- Tile: divide the page into squares and put one flower family in each. It’s the easiest way to practise all three families side by side.
I leave about a third of my page bare, and that is the part people say looks designed. The trick to every layout is empty space. A scattered page where you fill every gap turns into noise, so leave some paper showing between flowers.
Mix three sizes rather than two. Large ones set the rhythm, small ones fill without crowding.
For a scattered page in colour, the alcohol marker blending guide covers how to keep tiny petals from streaking.
Supplies for Simple Flower Sketches
42 hours of pencil drawing training, lifetime access
The video course I point plateaued students to — full lessons on portraits, hands, and realistic shading, not another short tutorial.

 Pin it
You need less than a shop would like you to think. The pencil does your construction; everything else is finishing.
- Pencils: an HB for light construction lines and a 2B for the final lines you keep. Harder leads scratch your paper; softer ones smudge the guides.
- Kneaded eraser: it lifts construction lines without shredding the paper, so you can draw spokes and ellipses freely.
- Fineliner: a 0.3 for petal edges and veins, a 0.5 for stems and outer outlines. Two widths make your drawing look finished before colour.
- Alcohol markers: smooth flat colour for petals, good for the scattered-page style.
- Watercolour: the softest look for petals, but you need heavier paper.
- Tracing paper: for testing a layout before you commit it to your sketchbook.
Start with the two pencils and the eraser. I go through one kneaded eraser for every two pencils, and that tells you how much of this work is lifting lines rather than drawing them.
Buy colour only once your line drawings stop leaning. Colour exaggerates a wrong shape rather than hiding it.
When you do move to colour, the marker guide for flat, even petals is a quicker start than trial and error.
Drawing Flowers Digitally in Procreate
Everything above works on a tablet, and the order matters even more there. Procreate makes it very tempting to redraw one petal forty times.
I have done exactly that. Set up your layers before the first line and you won’t:
- Sketch layer: draw the family shape, centre and spokes, then drop the layer opacity to about a quarter so it sits faint under everything else.
- Line layer: a new layer above for clean petal lines, built against the faint centre exactly as on paper.
- Colour layer: placed below the line layer, so your fills never cover your lines.
- Shadow: turn on Alpha Lock on the colour layer and paint a darker tone only where petals overlap.
For disc flowers, the radial symmetry guide does the spokes for you. Draw one petal and it repeats around the centre.
It’s excellent for pattern pages. For a single sketchbook flower, switch it off after the first pass, because perfectly identical petals look stamped rather than drawn.
The one thing the method can’t give you is the kit: brushes that behave like a fineliner or a wet wash, and palettes that already hold petal colours that work together. That part is material, not technique.
Brushes and palettes that fit this method

1. Procreate Colour Palette Bundle
Ready petal and leaf palettes you import in one tap, so your flower page holds together without mixing colours by eye.
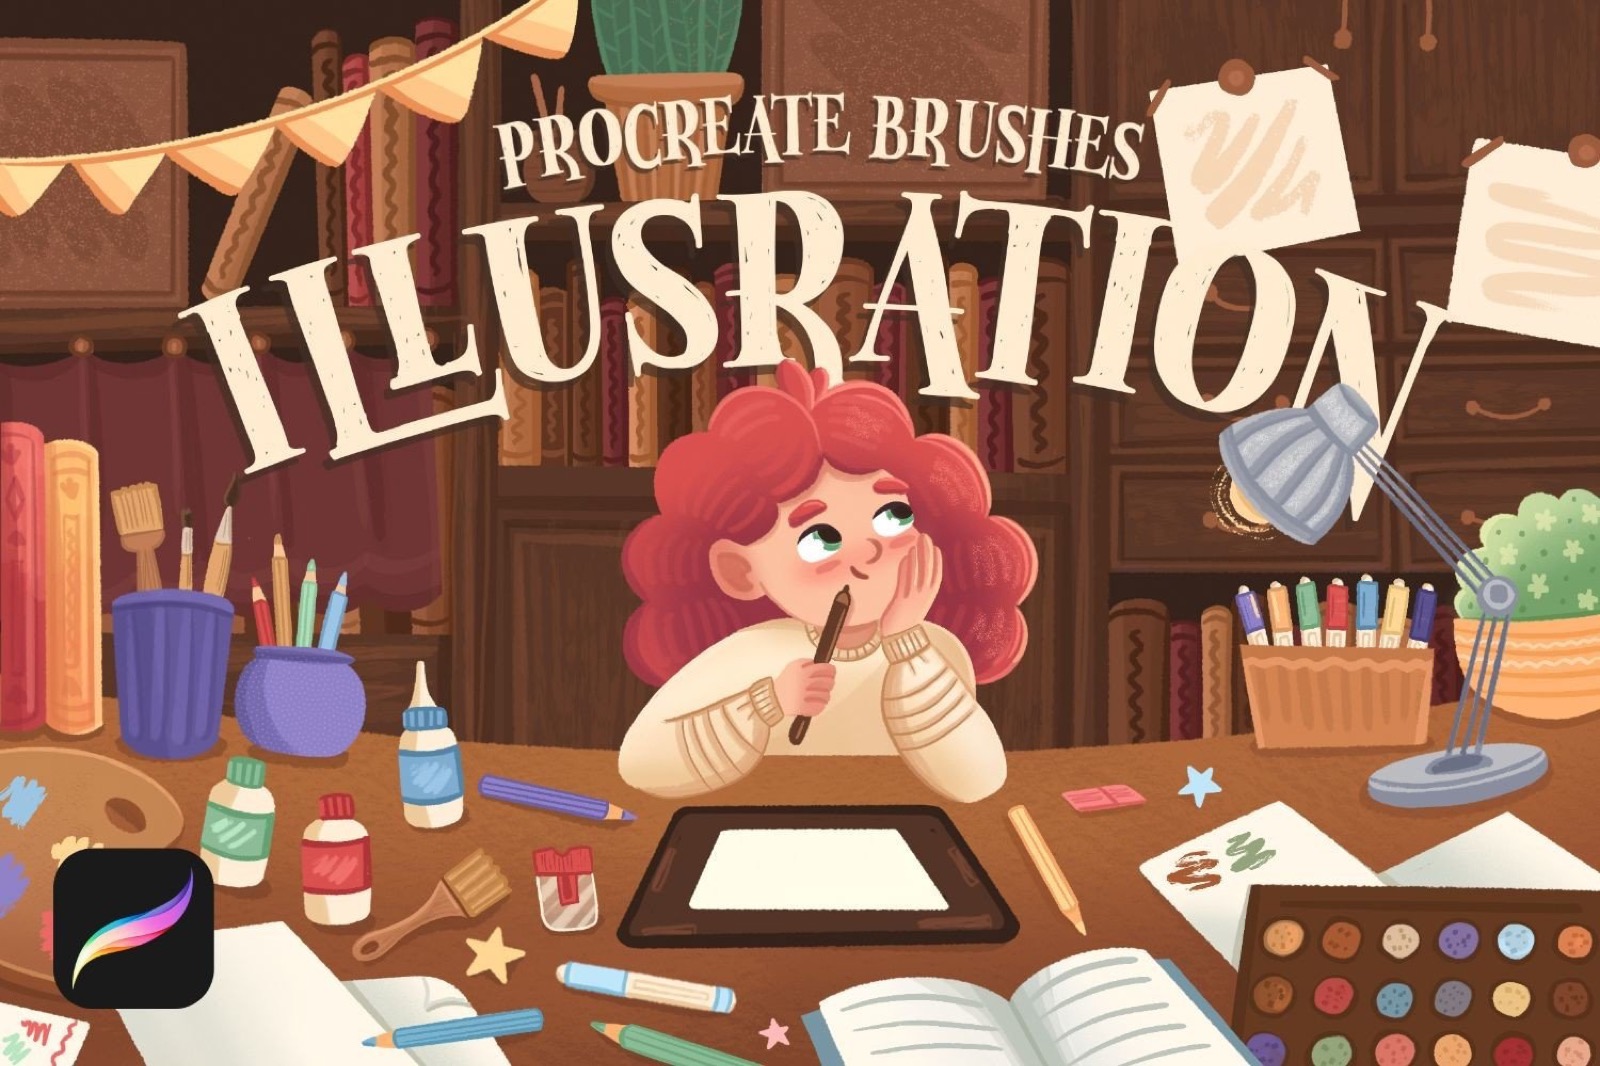
2. Illustration Brushes for Procreate
Pencil, ink and texture brushes for your sketch and line layers, with tapers that suit petal tips.
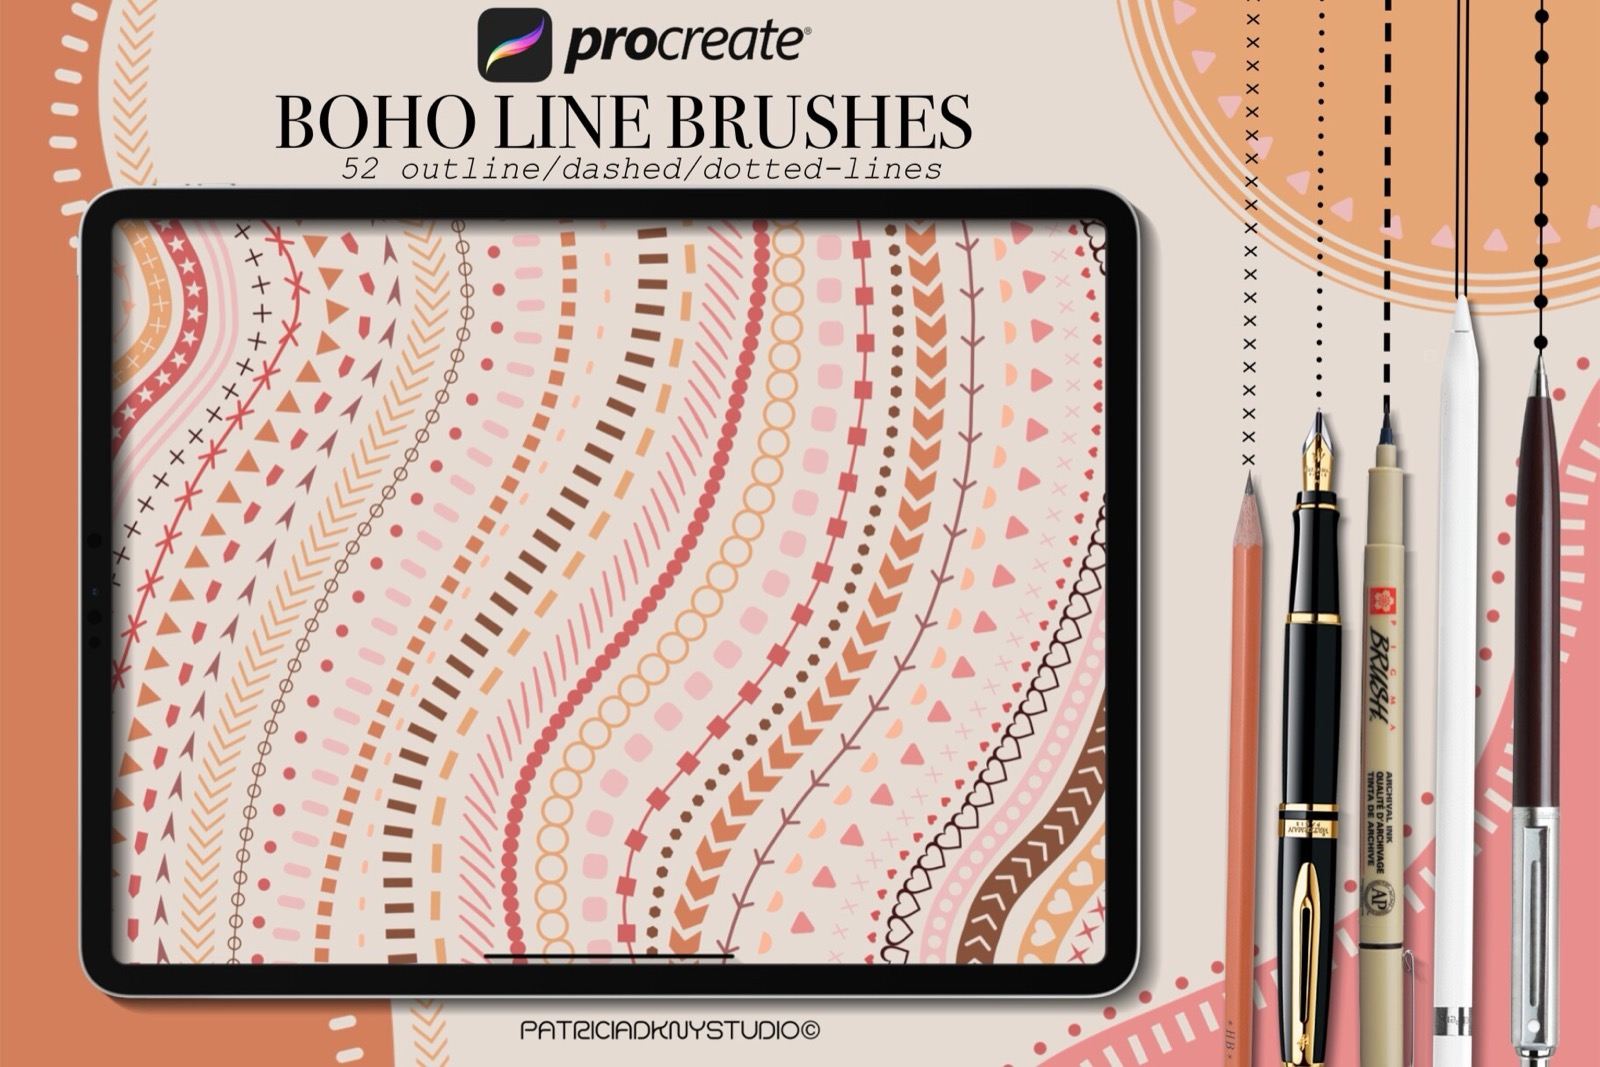
3. Procreate Line Brushes
Clean line brushes that behave like a 0.3 and 0.5 fineliner, for your petal edges, veins and stems.
Flower Outlines to Print, Trace and Colour
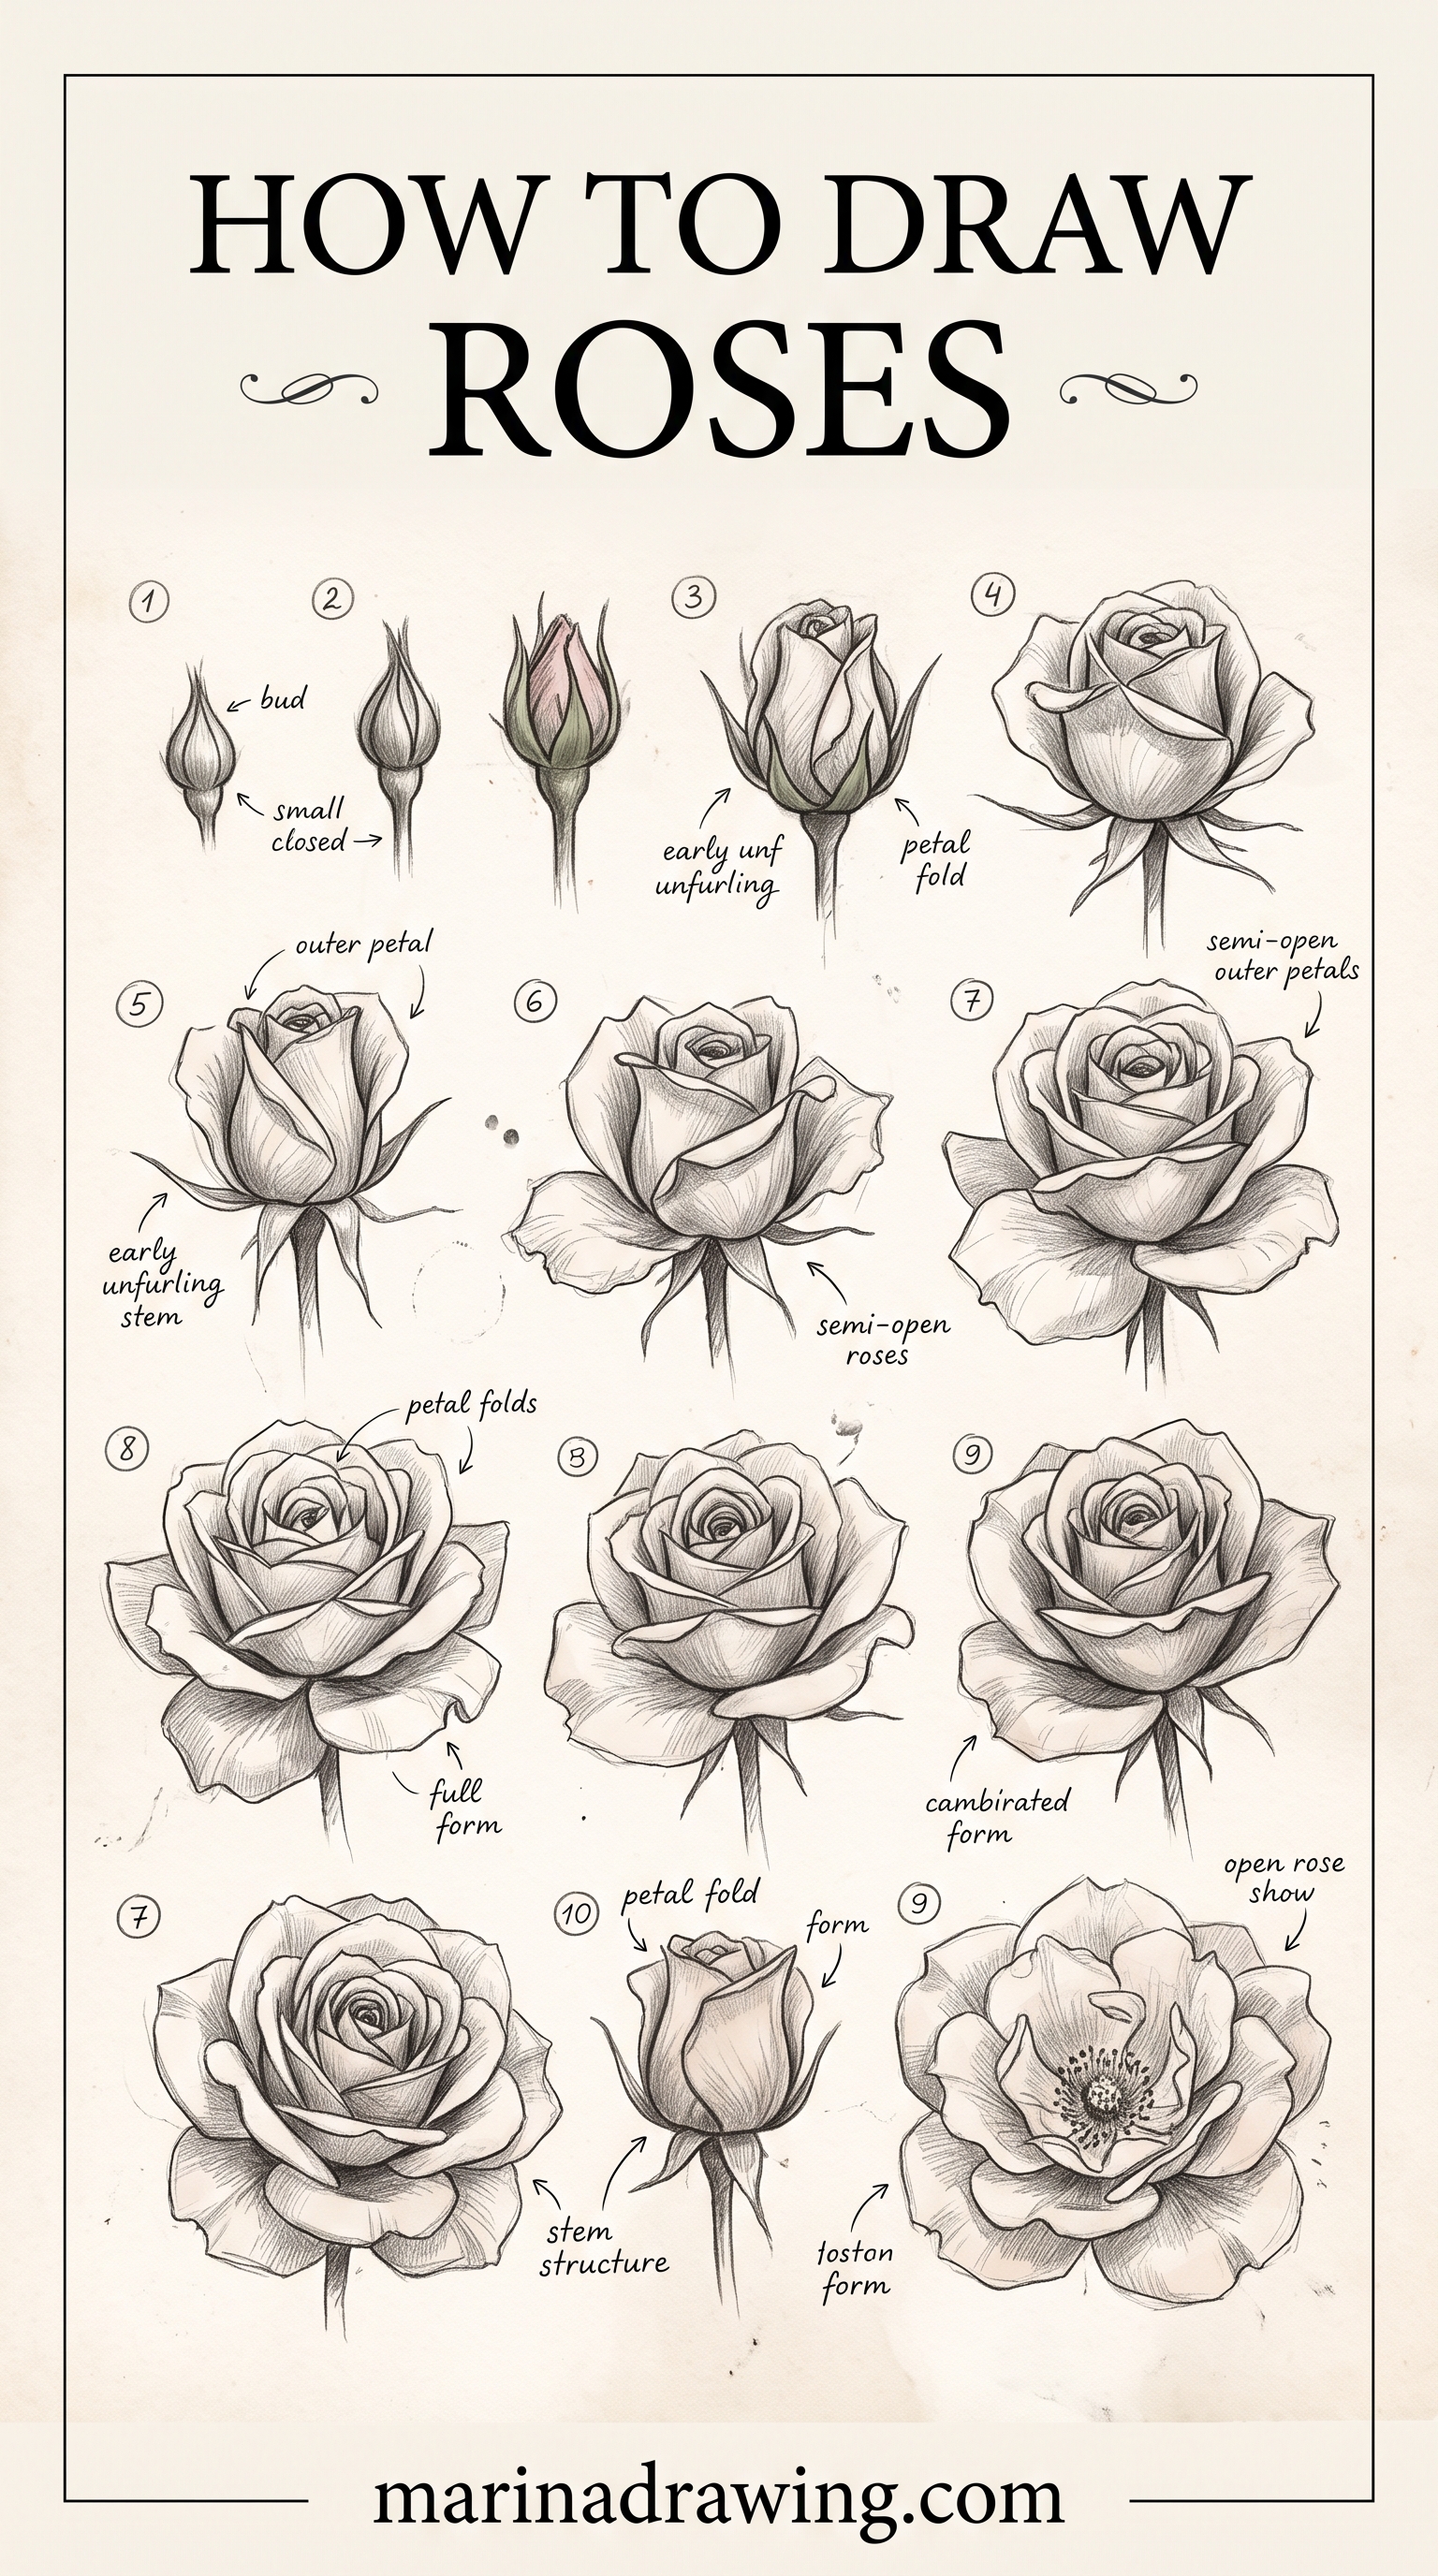
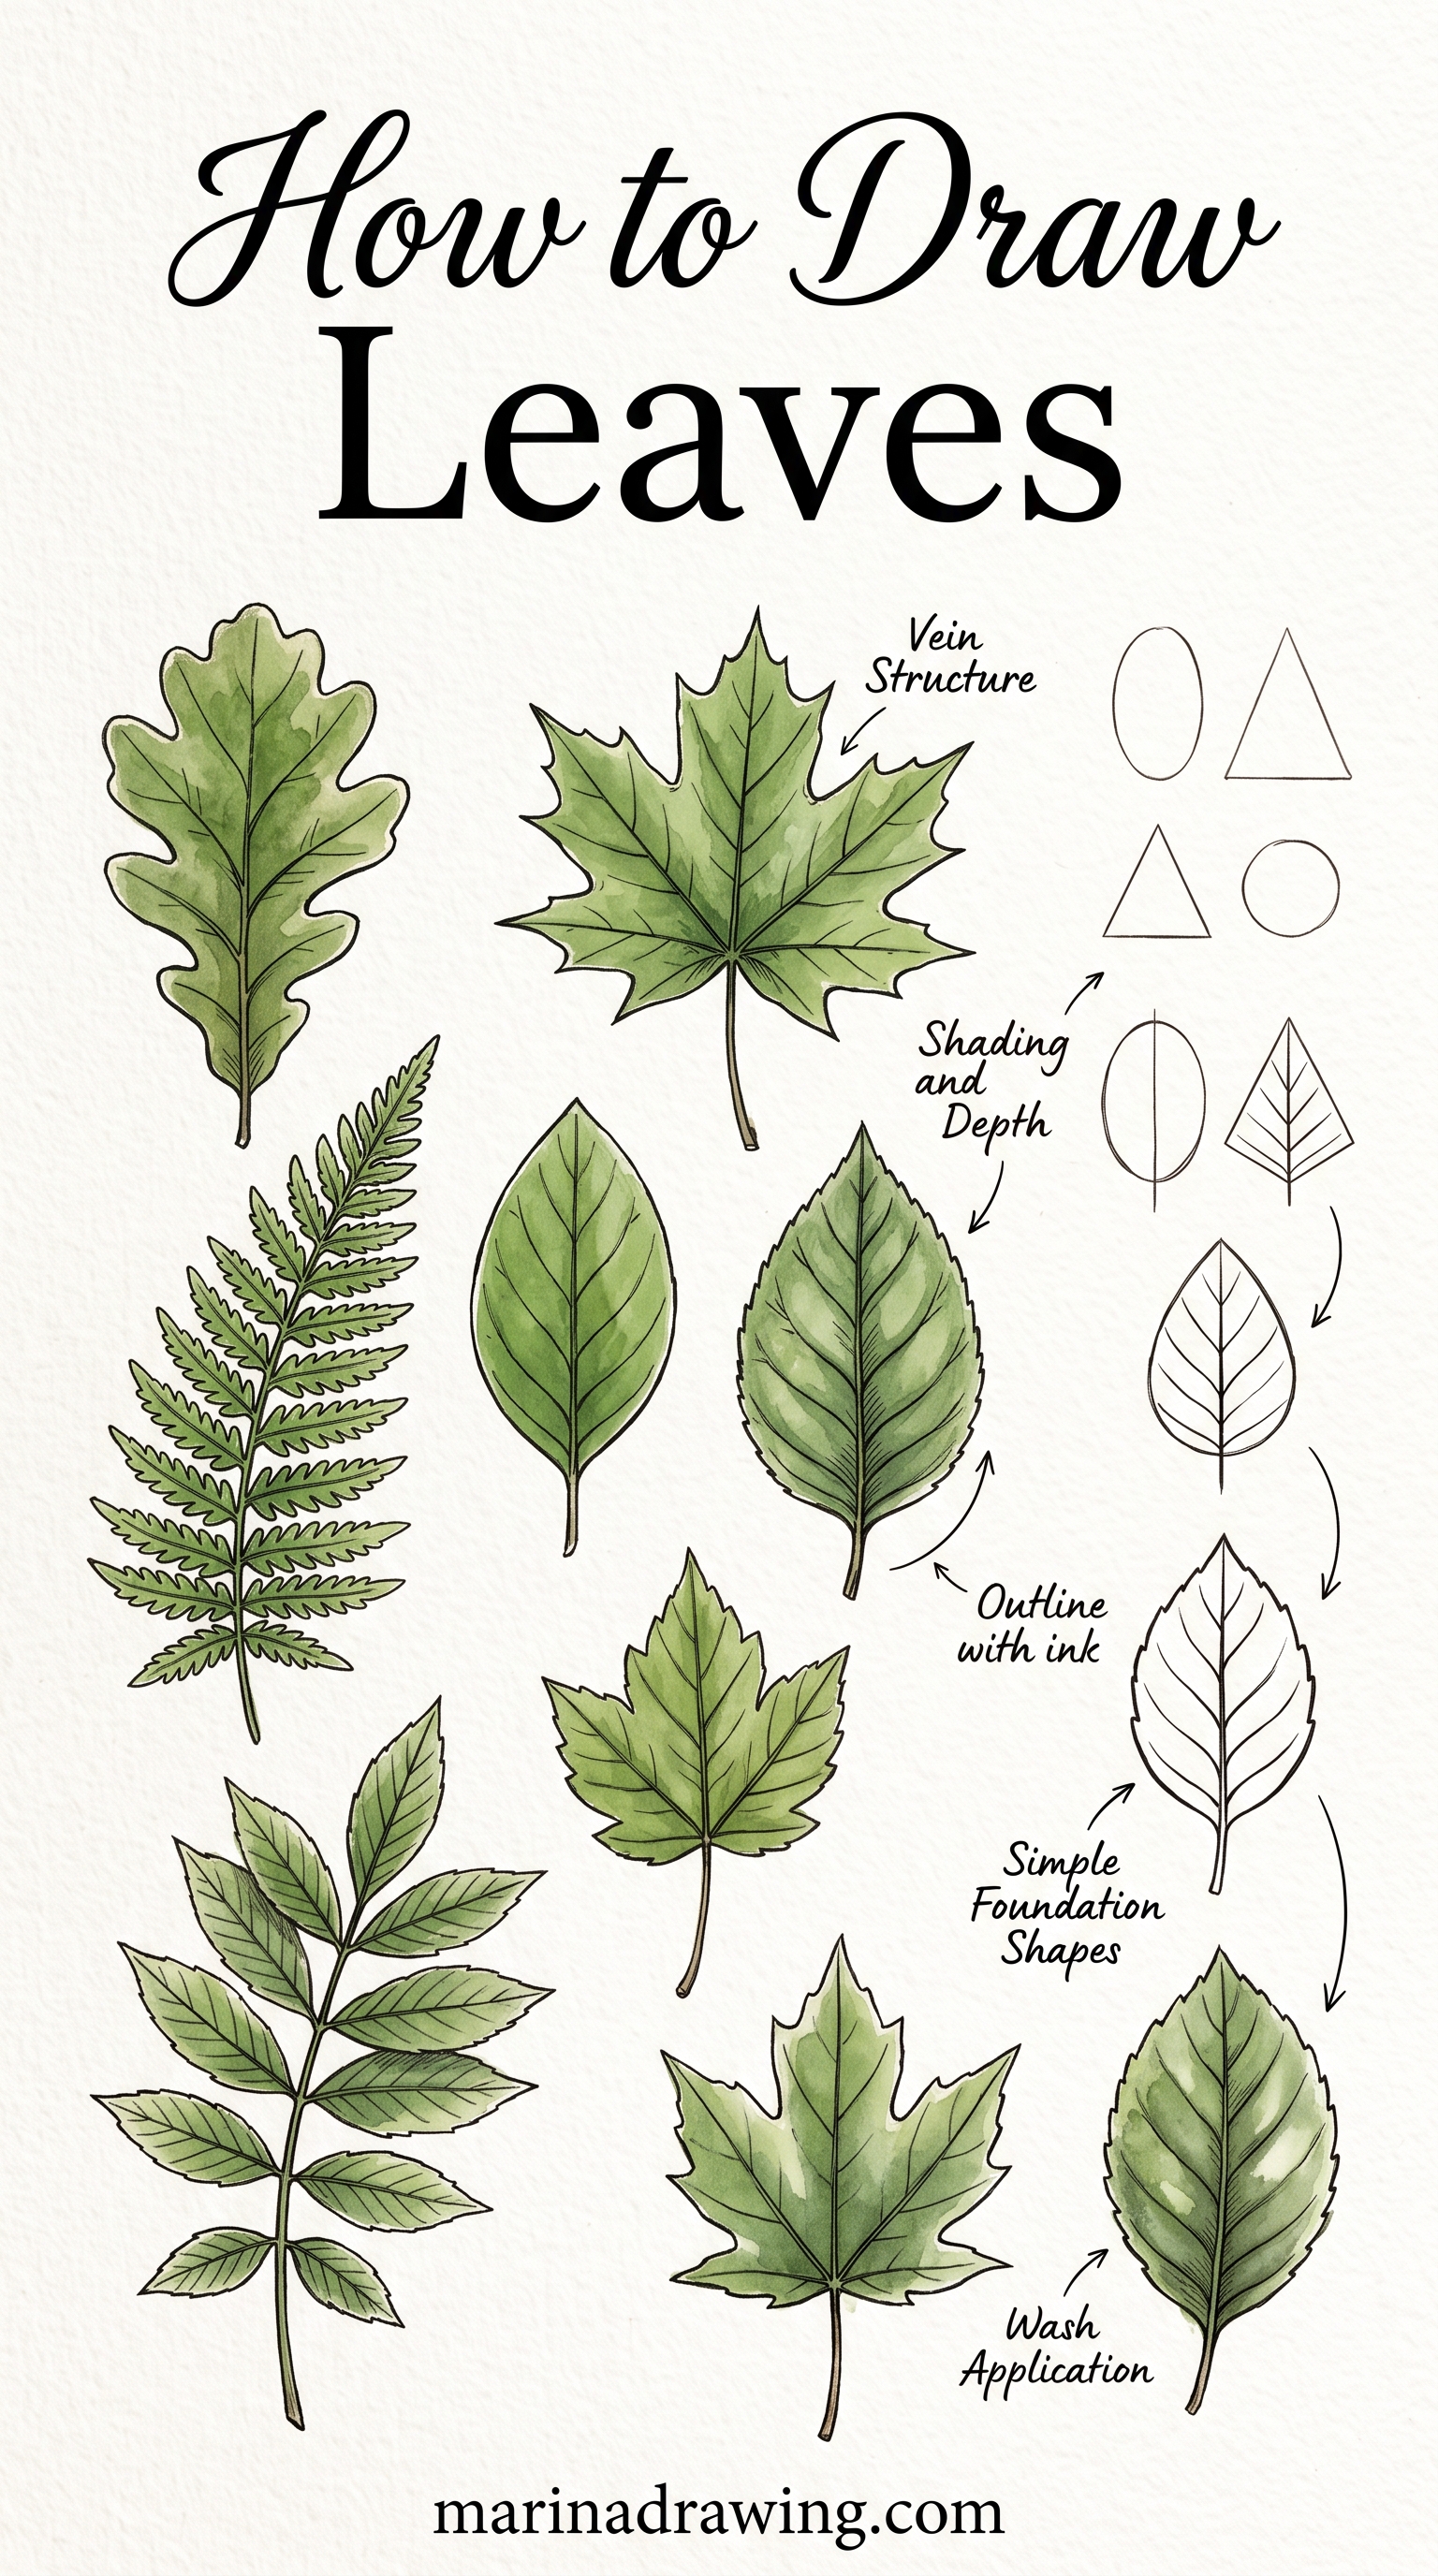
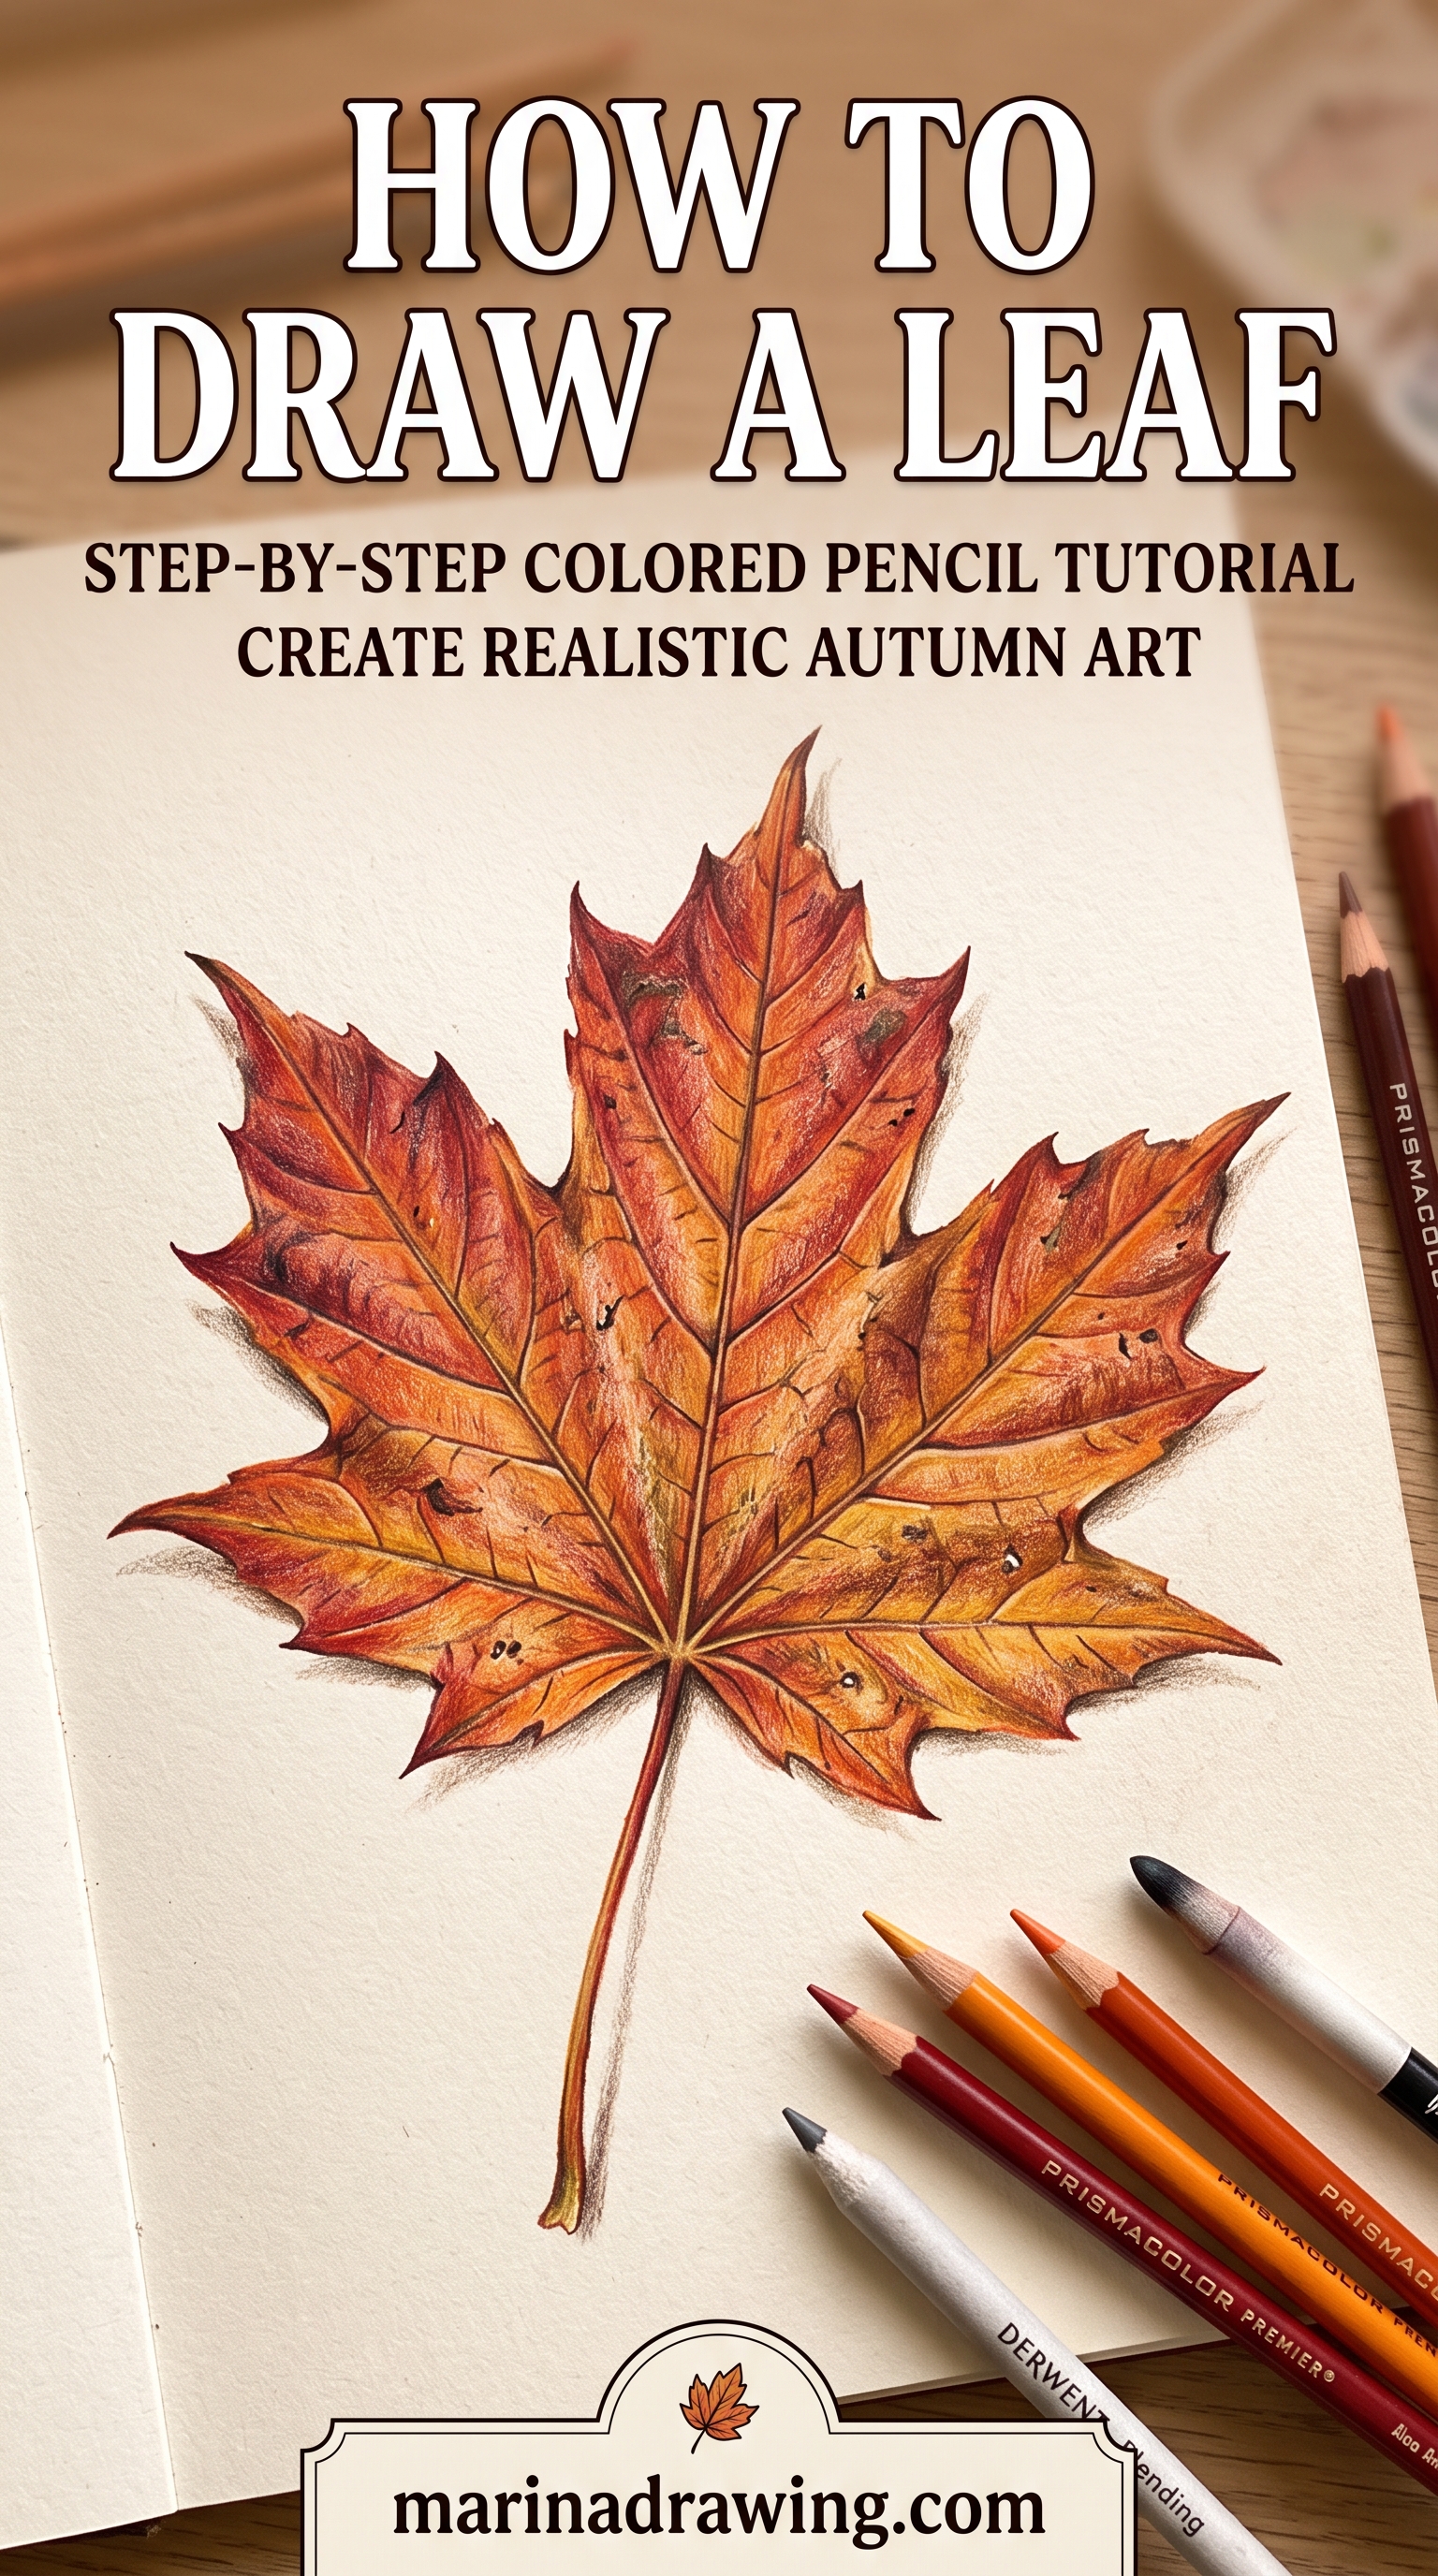
Printable flower outlines are everywhere, and colouring pages of lilies and butterflies are among the most saved flower pins. They’re relaxing, and they’re fine for learning colour.
But tracing an outline teaches your hand the final line without the construction under it. That’s exactly the part you need.
So use outlines as a second step, not a first one. Lay tracing paper over a printed outline and, instead of tracing the petals, find the centre and draw the spokes you think the artist used.
My guessed spokes were off by a mile the first few times I tried this. Then trace the petals and see whether they line up with your spokes. A light pad or a bright window makes this easier.
After two or three outlines, draw the same flower freehand next to the traced one. The difference between them shows you which step you still skip.
If you work on a tablet, a grid and paper texture set gives you the same light-pad effect under a digital sketch layer.
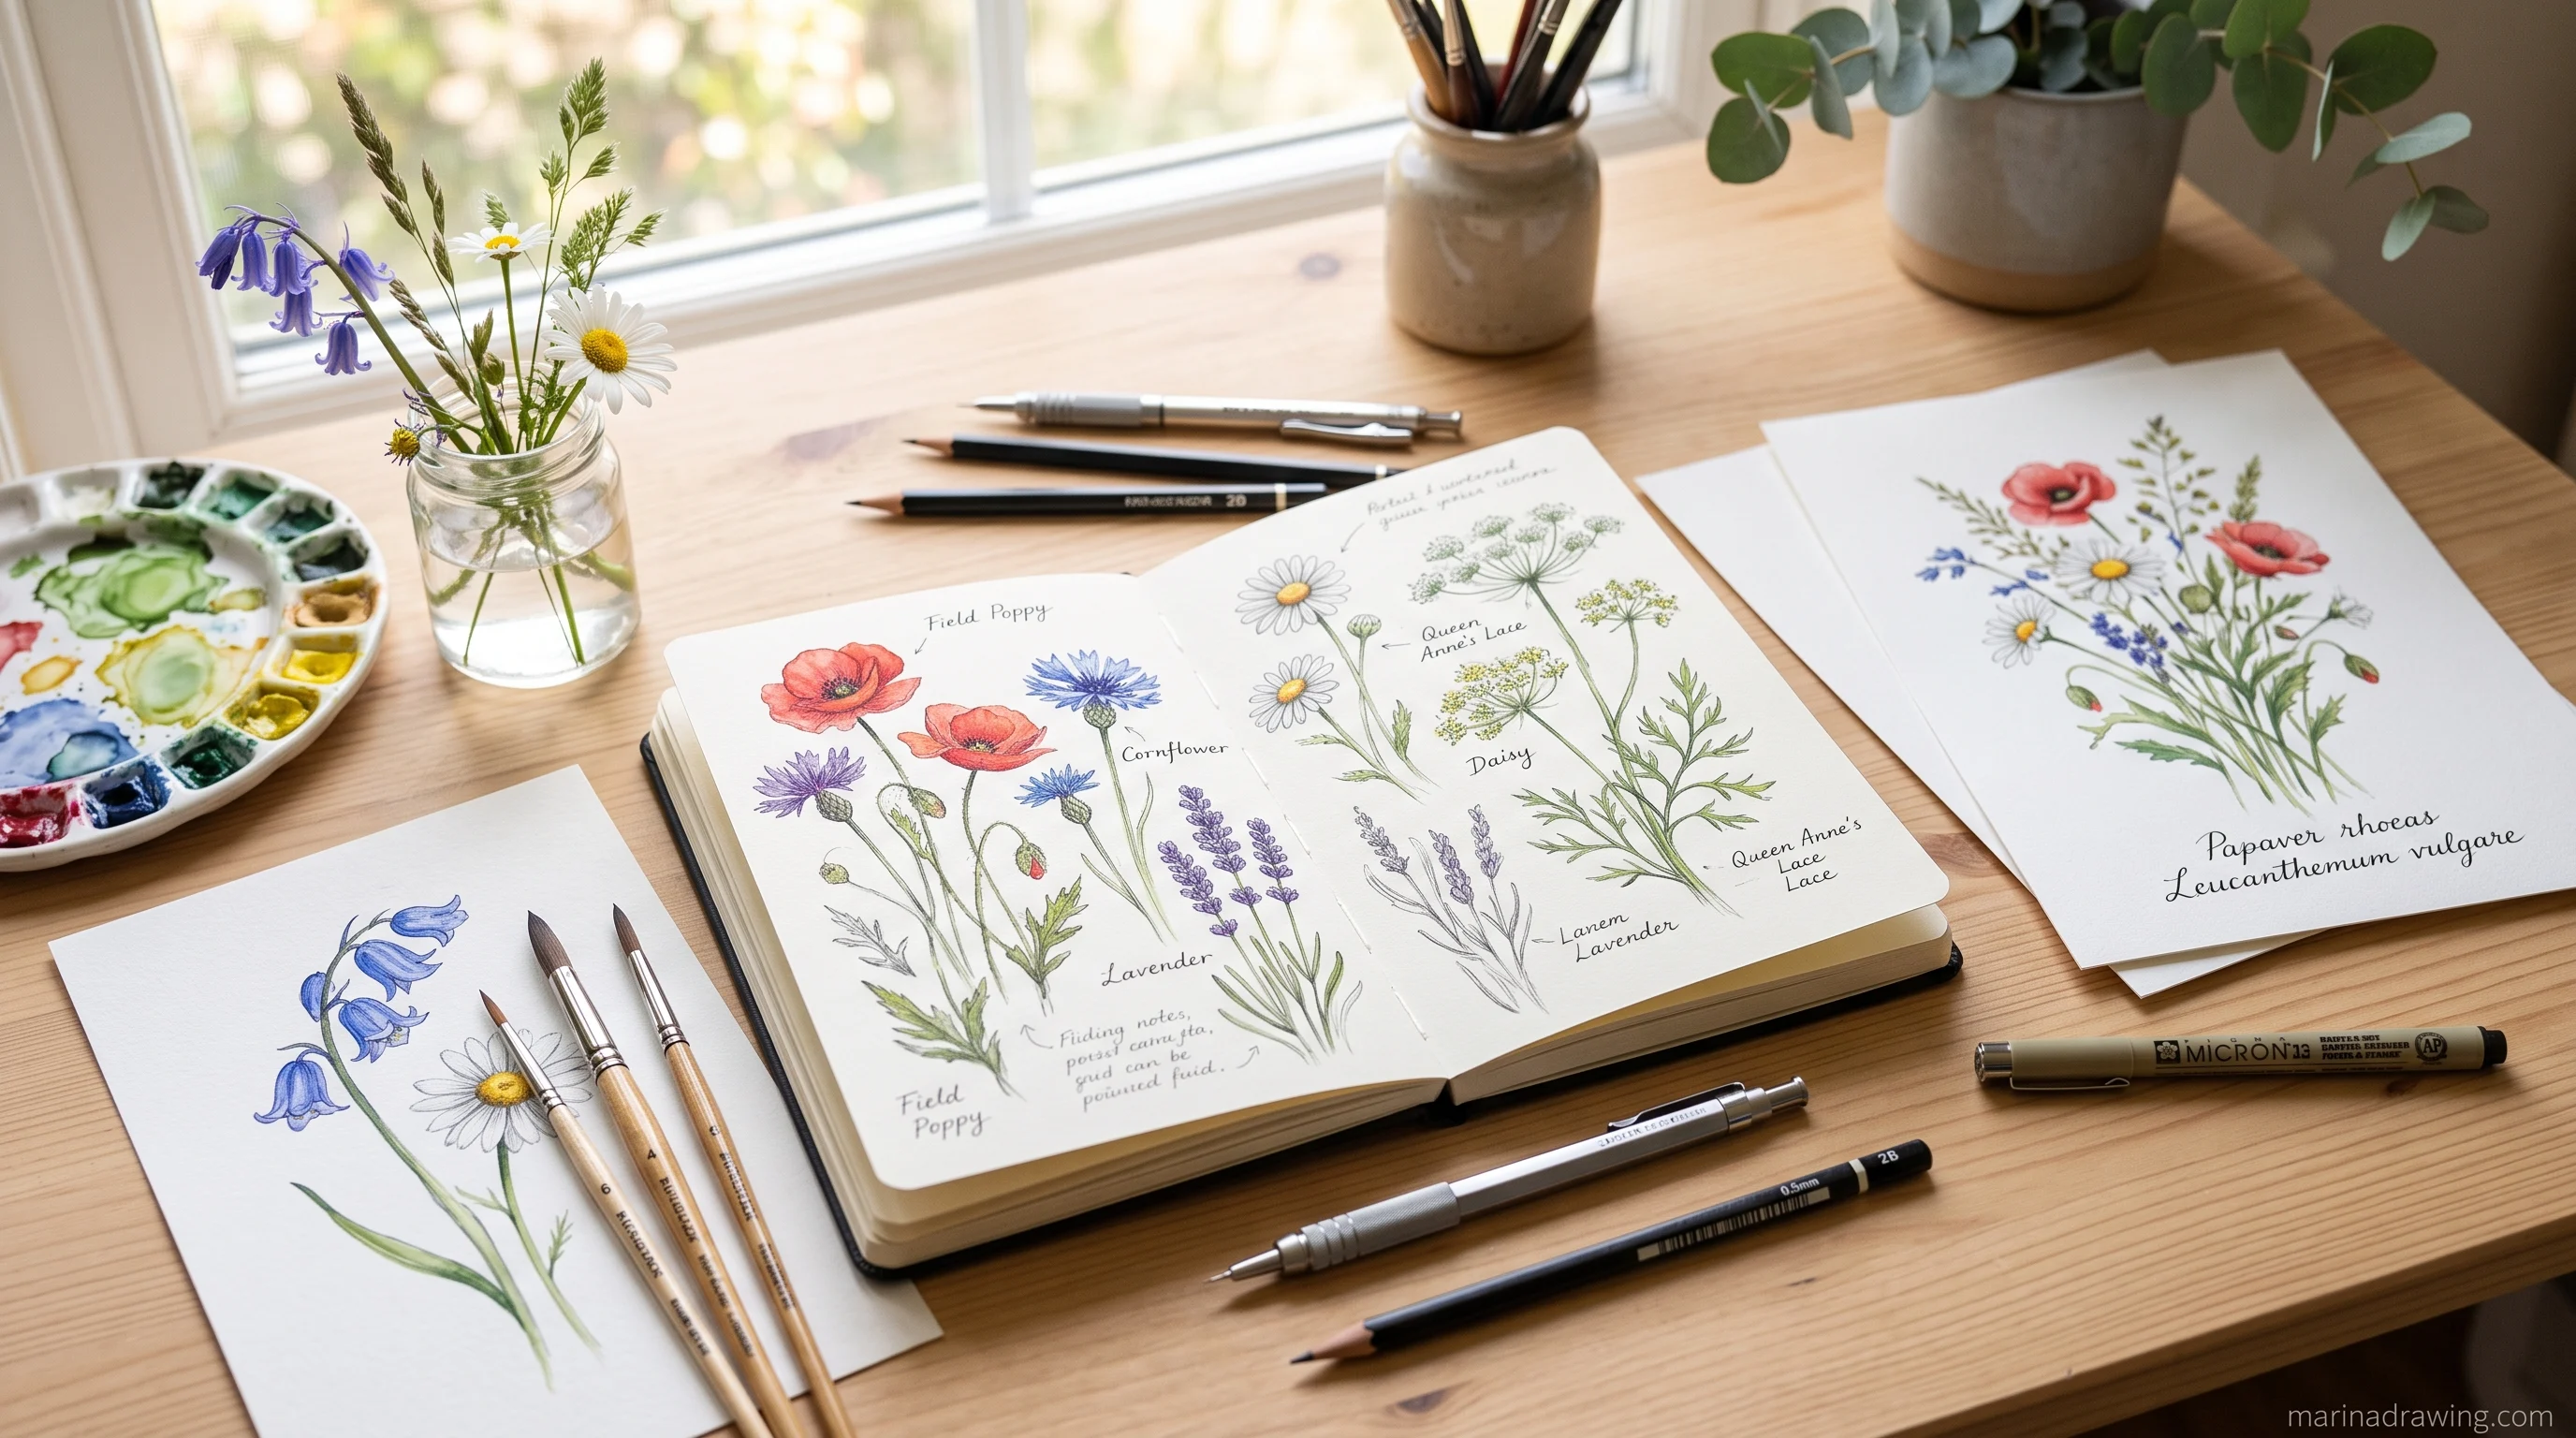
Three Step-by-Step Sketchbook Flowers: Lily, Cosmos, Queen Anne’s Lace
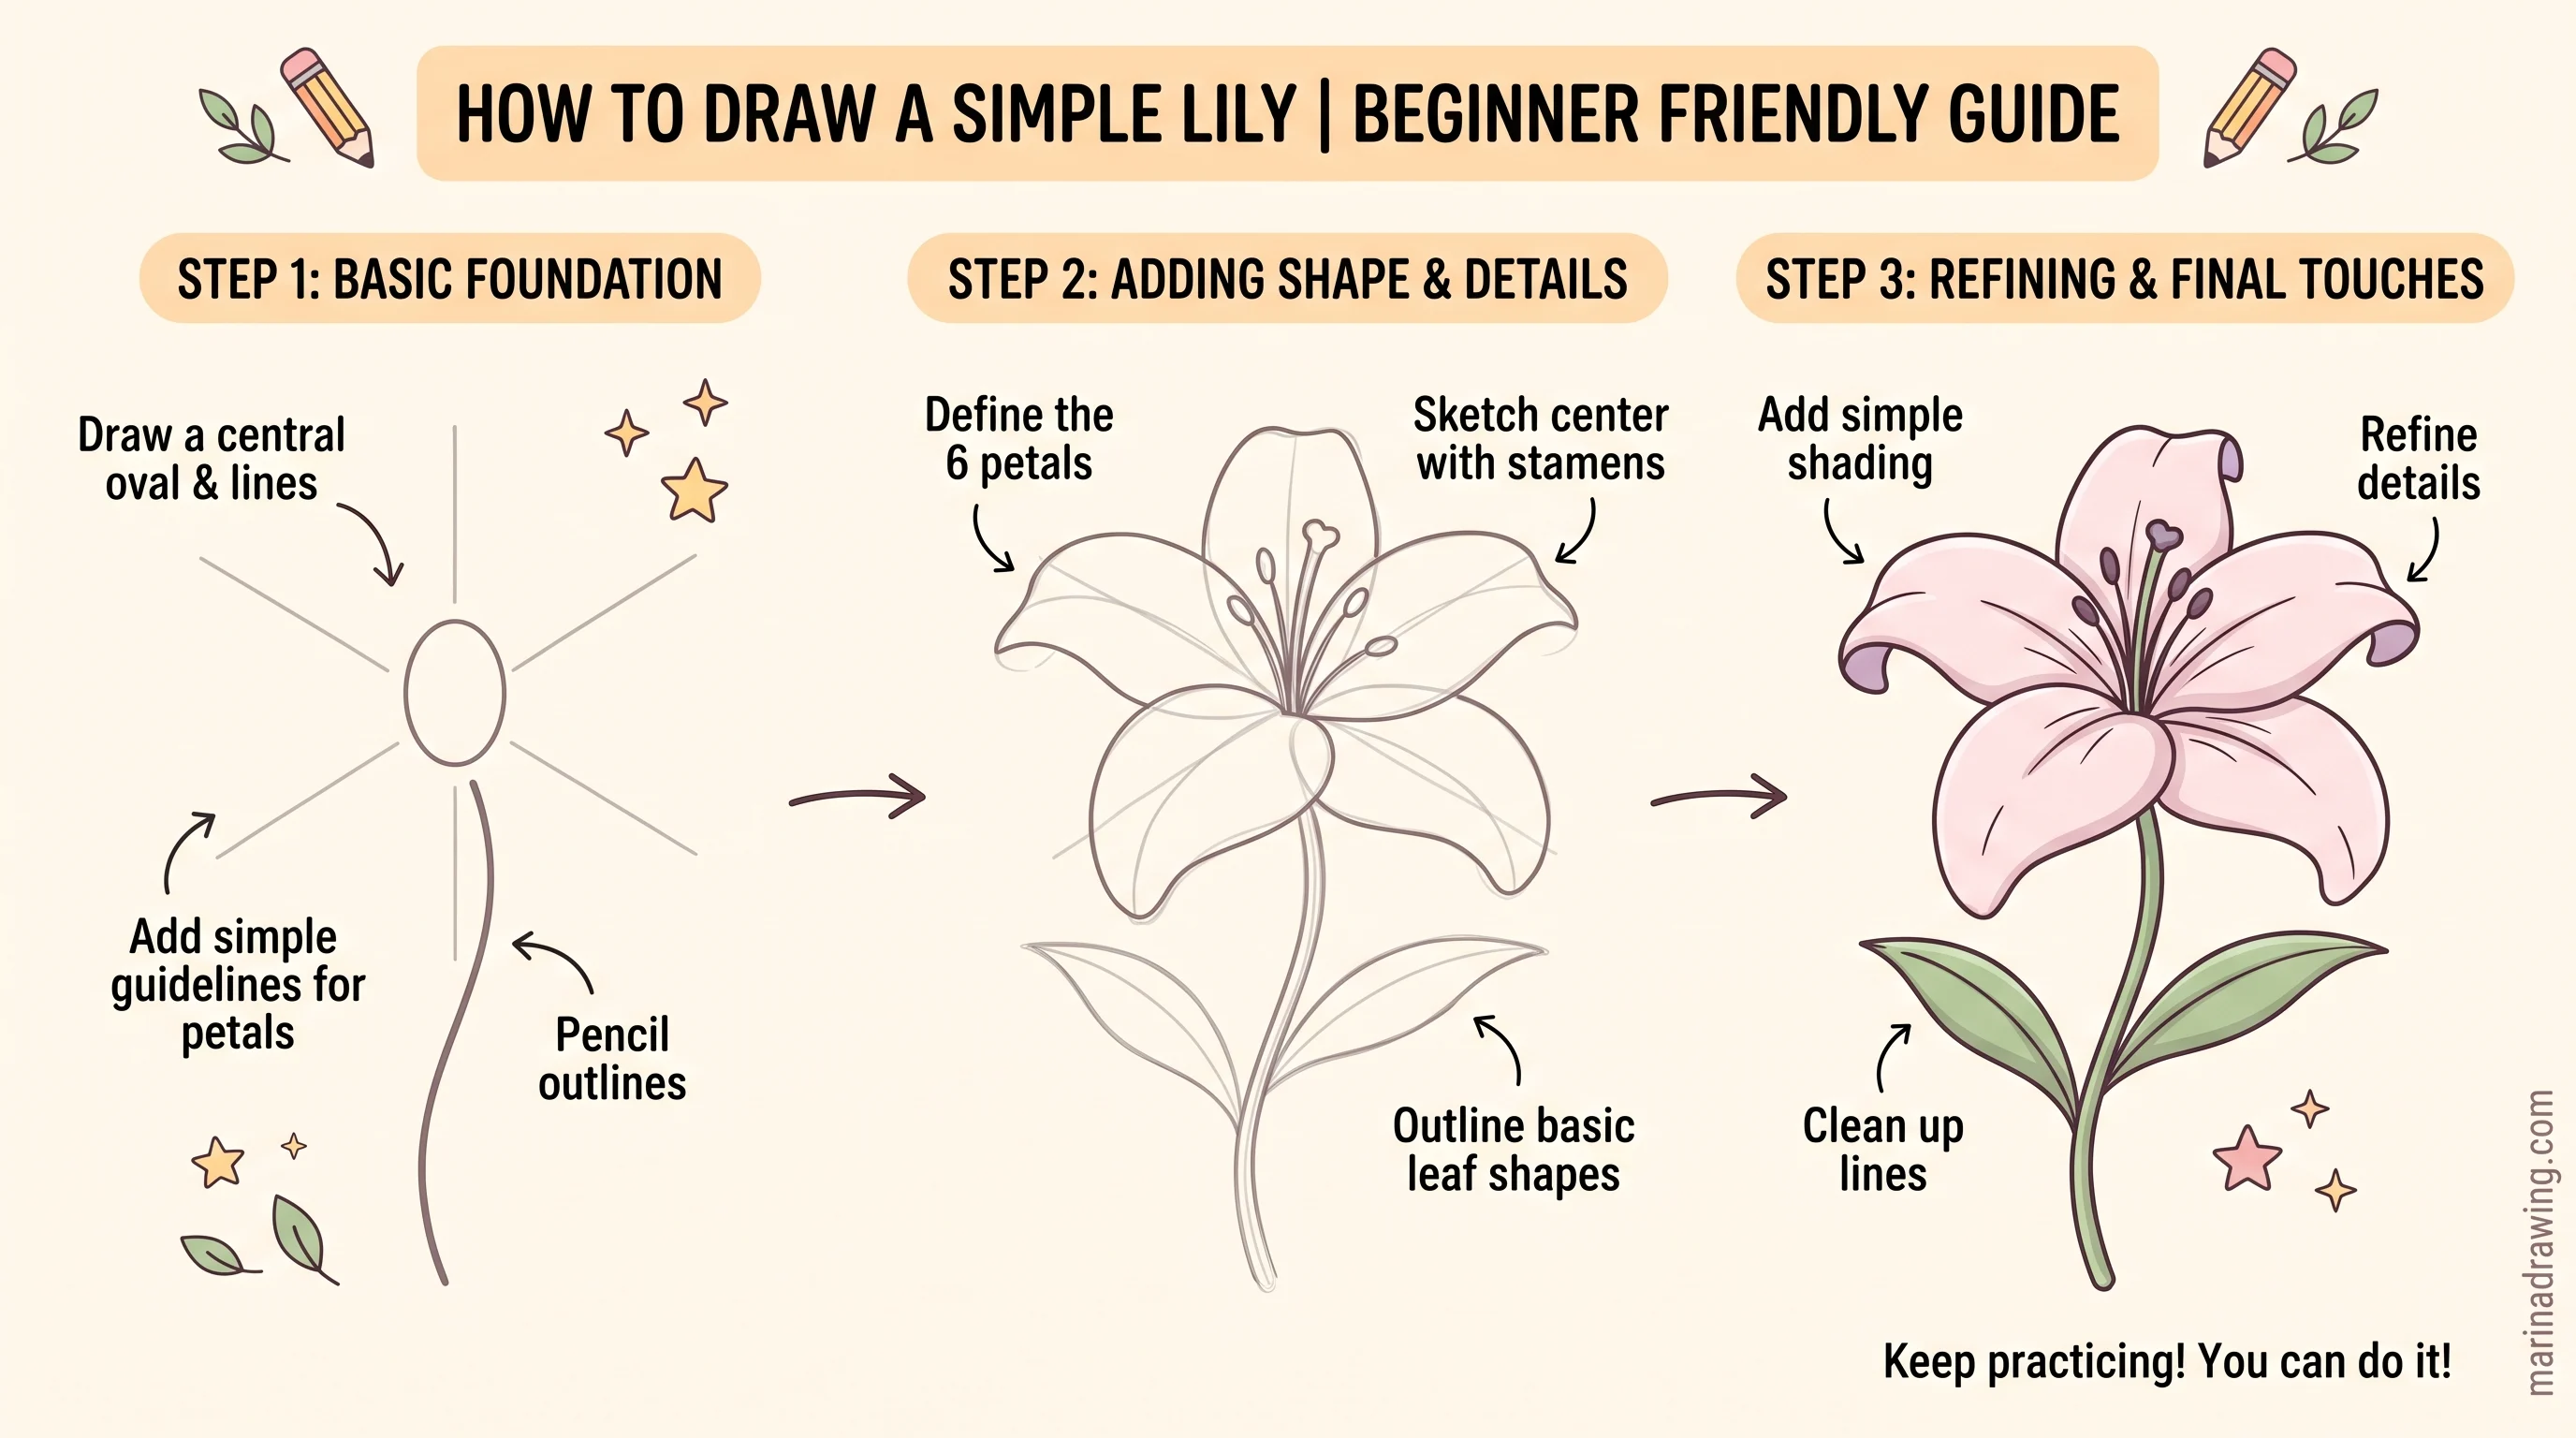 Pin it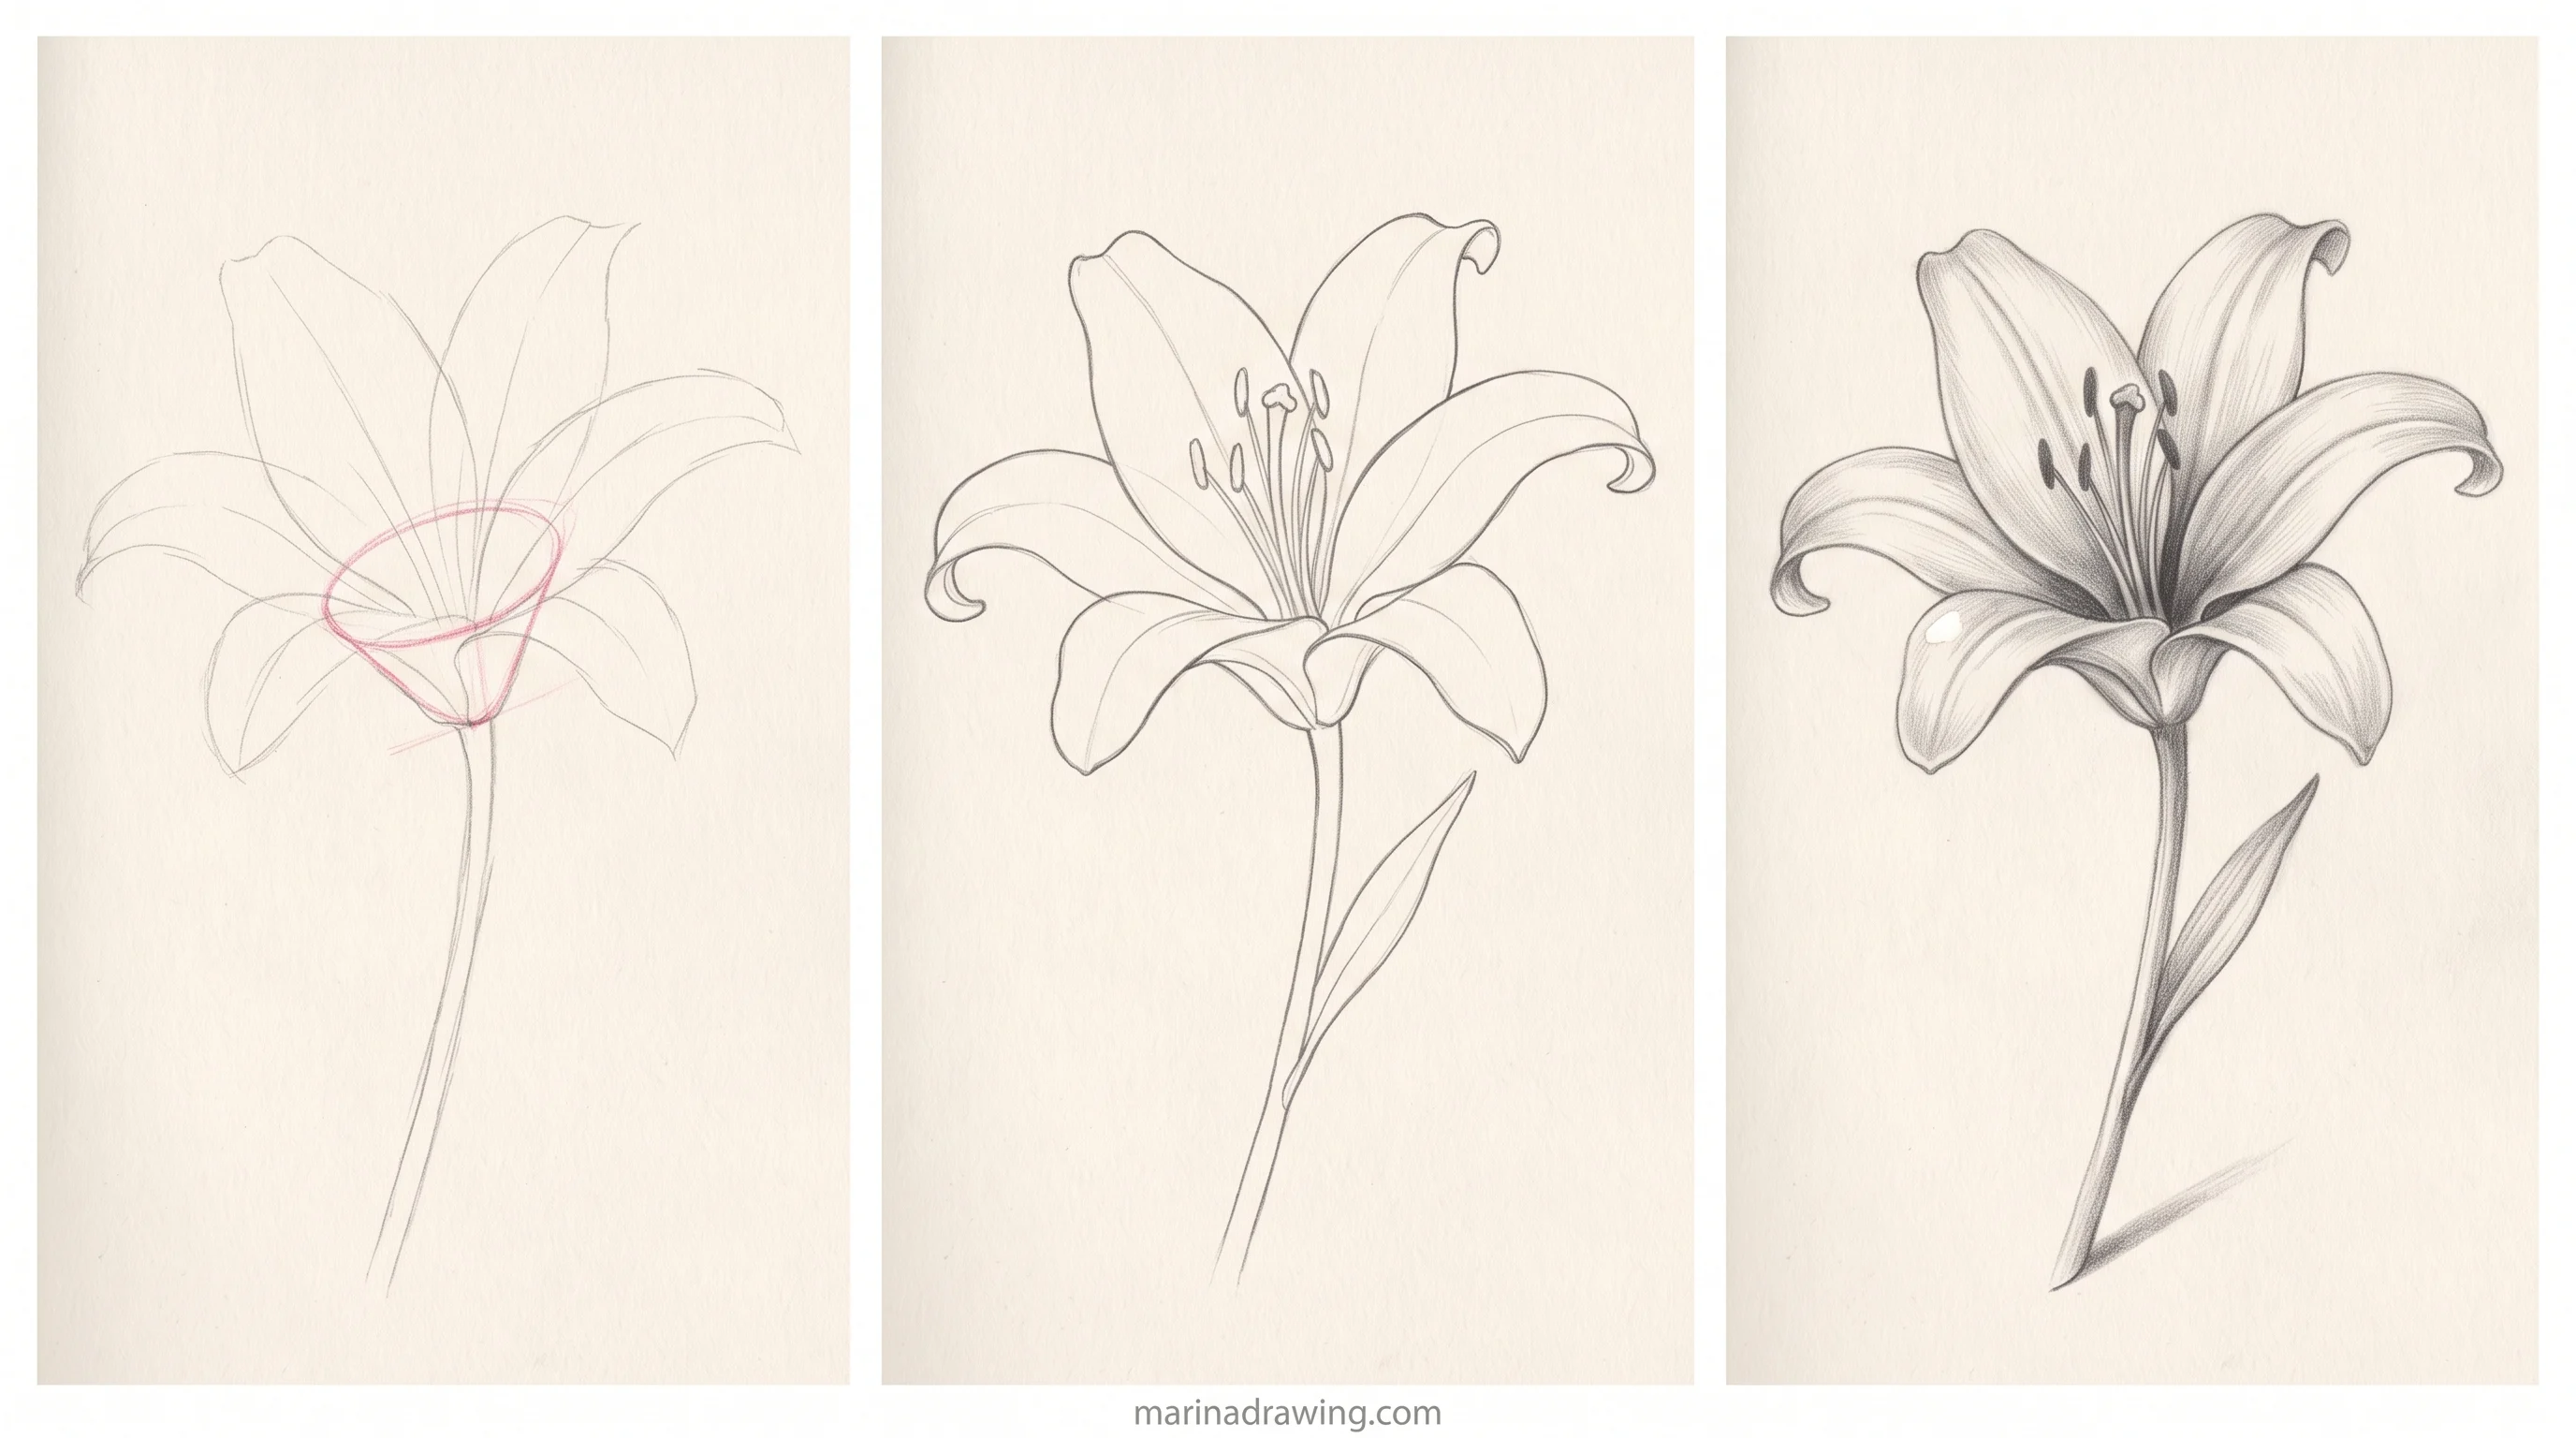
These three cover the other two families and one oddball. Each one is short enough to draw three times in one sitting, which is how the order sticks.
Drawing them on a tablet? A pencil-style sketch brush keeps your construction lines as faint as a real HB.
Lily in five steps (cup family)
- Draw a small cup shape tilted slightly toward you, and mark where its base meets the stem.
- Draw three long pointed petals from that base: one up, two out to the sides, all bending back at the tips.
- Tuck three more petals behind them, in the gaps.
- Pull five or six thin stamens out of the centre of the cup, each ending in a small oval.
- Add a stem and long narrow leaves, then a centre line down each petal.
Cosmos in five steps (disc family, from the stem)
- Draw the stem first, a long gentle curve, and put a small circle at the top for the centre.
- Mark eight spokes around the centre, evenly spaced.
- Draw a broad petal on each spoke, wider at the tip than at the base.
- Notch the tip of every petal with two or three small teeth.
- Add feathery thread-like leaves along the stem and dot the centre.
Starting from the stem works here because cosmos has a thin, wandering stem that sets the whole gesture of your flower.
Queen Anne’s Lace in six steps (the umbrella)
- Draw a straight stem and a shallow dome above it, like an open umbrella seen from the side.
- Draw thin spokes from the top of the stem to the edge of the dome.
- At the end of each spoke, draw a small cluster of dots.
- Fill the dome with more small clusters, smaller toward the edges.
- Add a few curling bracts under the dome where the spokes meet.
- Add finely divided leaves at the base of the stem.
I count the clusters instead of the dots, or I never finish. The umbrella proves the rule from the other side. It has no petals at all, but it still has a centre every spoke must return to.
A Coneflower in Seven Steps, Then Colour
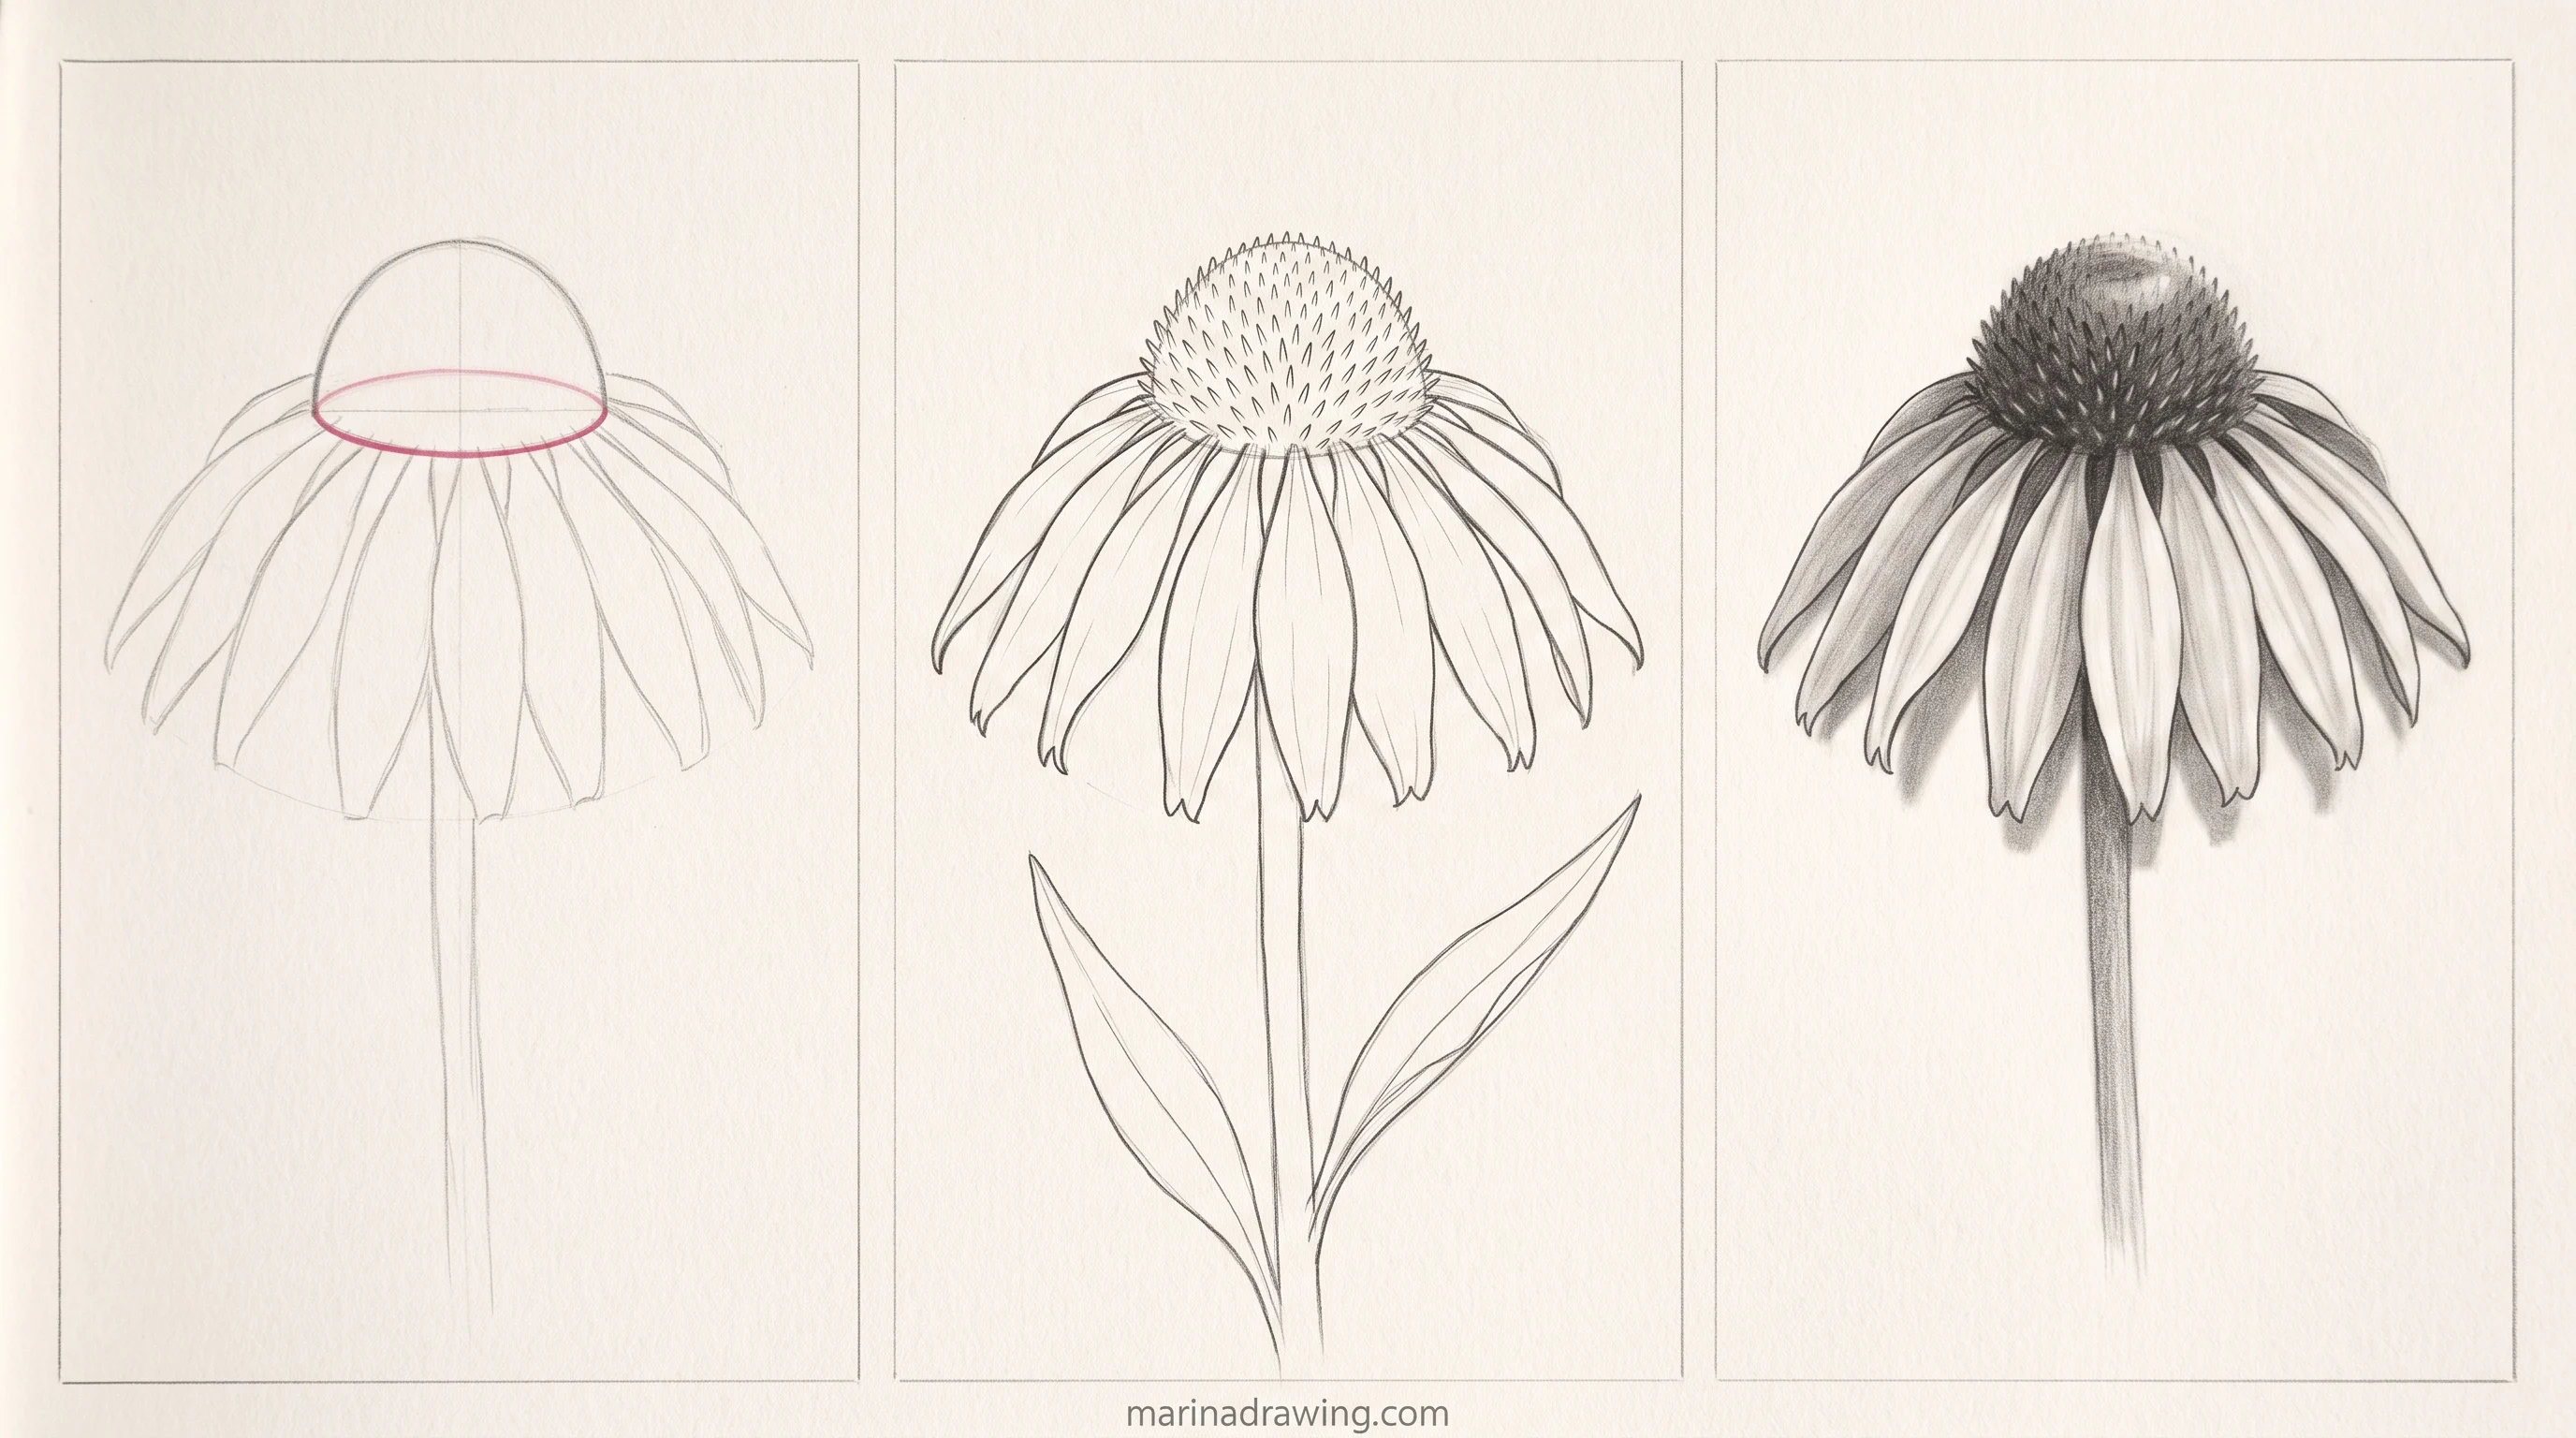
The coneflower is a disc flower with a twist: its centre is a raised dome, and its petals droop down from it instead of sitting flat. Draw it and you’ve learned how a disc changes when the centre has height.
The spiky cone is where a grainy texture brush earns its place on a tablet.
1. Draw the dome
Draw a half circle sitting on a flat line. This is the cone, and it’s your anchor for everything.
2. Mark the petal line
Draw a light ellipse around the base of the dome. Every petal starts on this line.
3. Hang the front petals
Draw long narrow petals dropping down and outward from the front of the ellipse, like a skirt.
4. Add the back petals
Draw shorter petals behind the dome. They look shorter because they point away from you.
5. Add the stem and leaves
Drop a straight stem from the centre of the dome and add two long leaves.
6. Texture the cone
Cover the dome with small spiky marks, denser at the top and sides.
7. Colour in two tones
Give each petal a light tone and a darker one near the base, where it meets the cone. Colour the cone a warm orange-brown, darker on the shadow side.
Two tones per petal is enough. I keep reaching for a third one, and it muddies the petal every time instead of shaping it.
The same logic runs through even pencil shading: fewer tones, placed well.
For a painted finish, soft watercolour brushes give your two-tone petal a wash look in one stroke.
Turning Flower Sketches Into Cards, Journals and Wall Art
42 hours of pencil drawing training, lifetime access
The video course I point plateaued students to — full lessons on portraits, hands, and realistic shading, not another short tutorial.
 Pin it
A flower sketch is already most of a finished piece. The step people skip is choosing where it ends up before adding colour, because the destination decides your size and your amount of detail.
- Cards: one flower, off-centre, lots of empty space. Fold the card first and draw on the front, so your flower sits where the eye lands.
- Journal spreads: use the scattered or border layout around your writing, and keep the flowers in two or three colours so the page stays readable.
- Wall art: a single large flower or a wreath on good paper, with a wide mat. This is where watercolour earns its place.
- Lettering: a short word under a flower, drawn with the same pen as the petals, ties your piece together.
Want something even faster for a card? The bottom of a plastic bottle dipped in paint prints a five-petal flower in one press, and a few stamped blooms with drawn stems look planned.
Finishing kits for cards, journals and wall art

1. Alcohol-Based Markers 101
A full guide to blending alcohol markers, useful when your scattered flower page needs smooth, even petals.
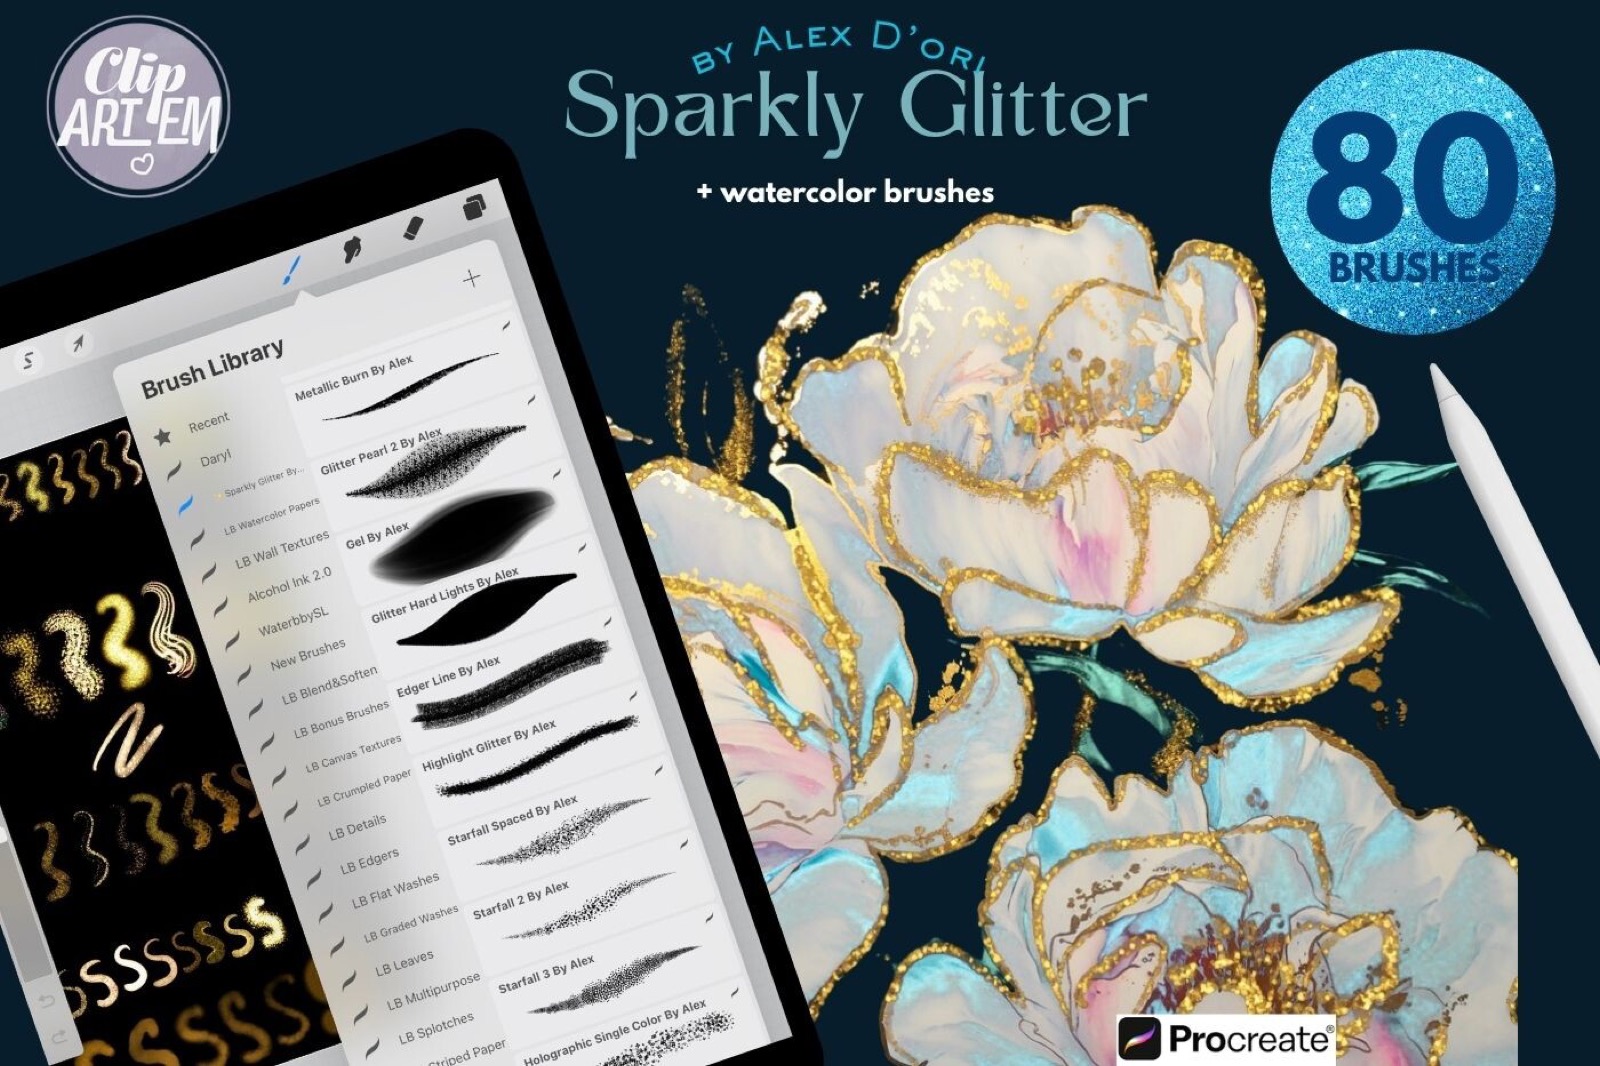
2. Glitter Watercolour Brushes
Soft wet-wash and shimmer brushes for cards and wall art, where your flower needs a painted finish.
3. Lettering Grid and Texture Set
Grids and paper textures for pairing a short word with a flower on your card or journal page.
Five Common Mistakes and How to Avoid Them
 Pin it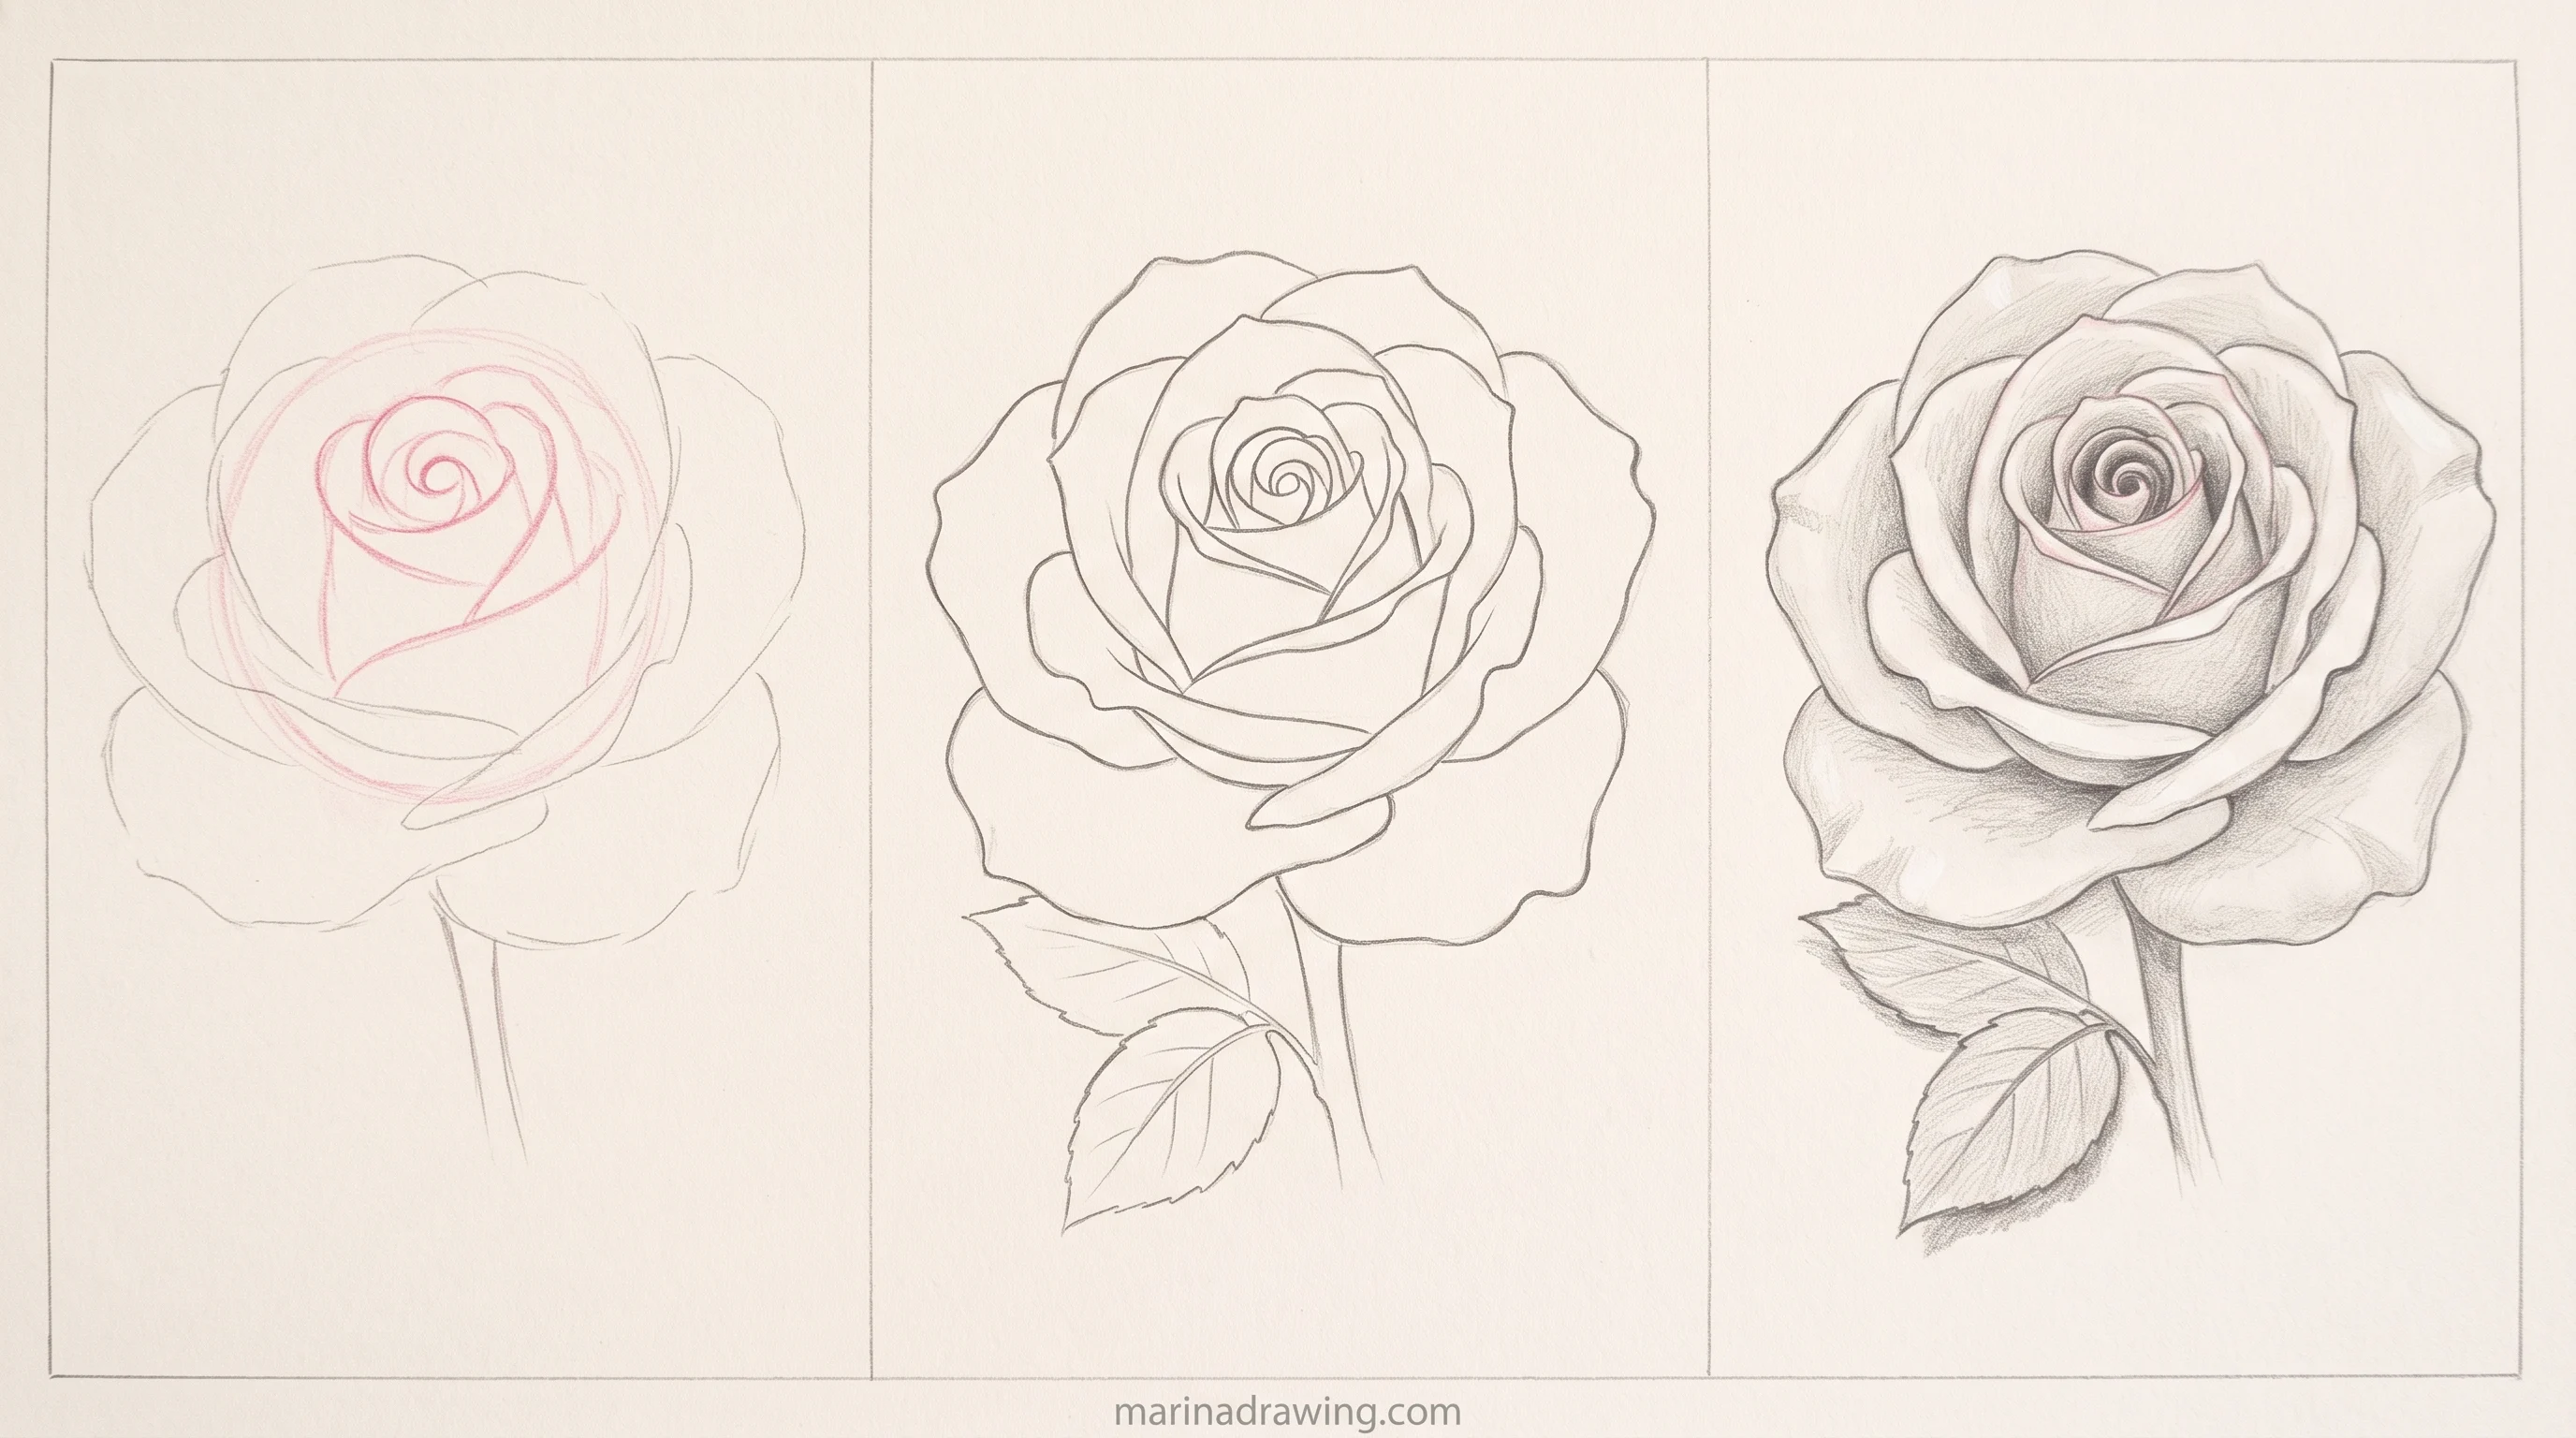
Each of these has the same root: something was drawn before its anchor. I still make the second one when I’m in a hurry.
- Identical petals. Five perfect copies look stamped. Keep your spokes even but let petal widths and edges vary a little.
- Forgetting the centre. Petals drawn around an empty space drift, because they have nothing to point at. Draw the centre first, even on a tulip, as a light dot you’ll erase.
- No empty space. Filling every gap flattens your page into texture. Decide where the paper stays blank before you start.
- Overworking. Going over a wobbly line again and again makes it thicker, not straighter. Erase and redraw it once, lightly, then darken.
- Being too precious. Treating one page as a finished piece makes you stop after one flower. Draw the same flower three times and keep the best.
Mistakes one and two work against each other. People who fix identical petals by varying everything end up varying the spacing too, and the flower leans again.
Vary shape, keep spacing. On a tablet, a line brush with slight jitter varies the edge for you while your spokes stay even.
One Check Before You Ink: Petals Against the Centre
 Pin it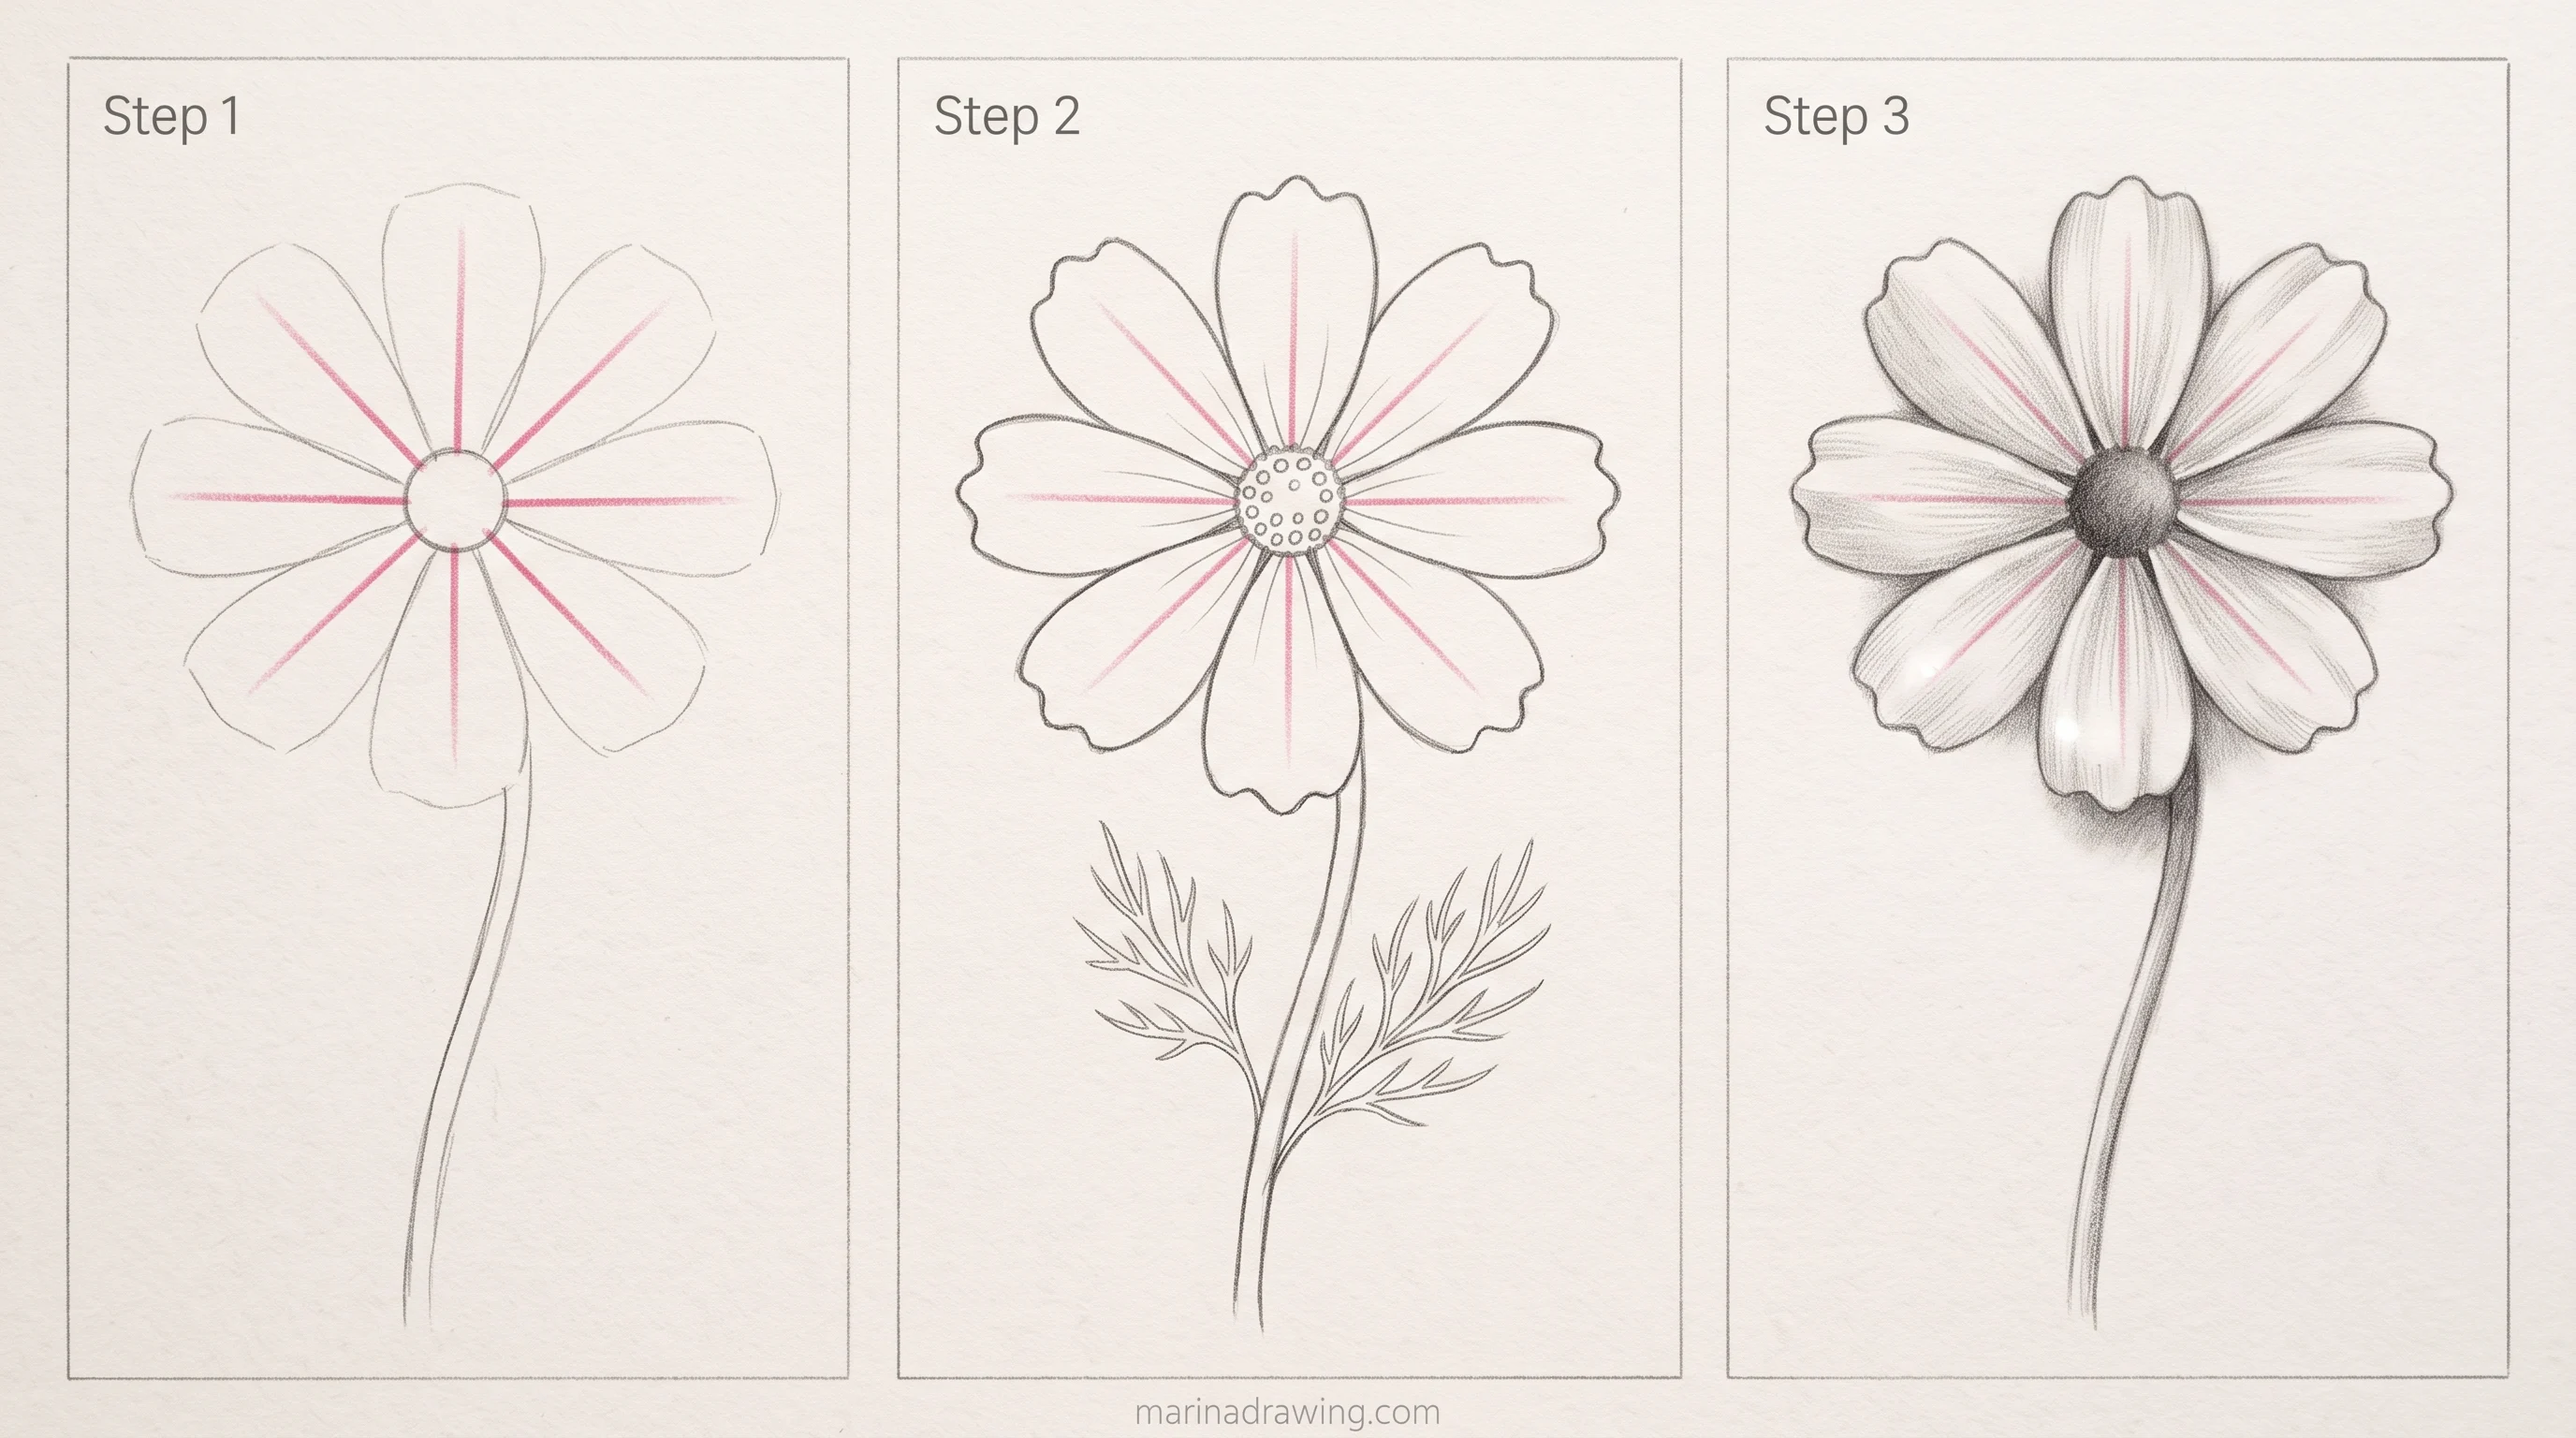
The check: before you darken or ink anything, draw a faint line from the centre through the base of each petal. On a disc flower, every one of those lines should pass through the centre and out through the middle of its petal. Where a line misses the middle of its petal, that petal has drifted.
This works because your lean is invisible while you draw one petal at a time, and obvious once you look at all of them from the centre. It takes seconds, and it catches the error while your pencil is still erasable.
I run it on every flower before I colour, and it still catches me about one time in four.
When a line misses, move the petal, not the centre. Moving the centre to fit the petals is the natural reflex, and it is exactly how a flower ends up off-centre on its own stem.
For cup flowers, run the same check from the base. Every petal should grow out of one point at the bottom of the cup.
My own drift almost always lands on the side away from my drawing hand. Flip the page or hold it up to a mirror as a second test. A lean you have stopped seeing shows up instantly in reverse.
In Procreate the flip is one tap, and a grid overlay turns the centre check into a glance.
Quick Tips and Your Next Thirty Minutes
 Pin it
- Sketch light, darken late. Your construction lines should almost disappear.
- Draw the centre first, always, even when it will be hidden.
- Keep spacing even and let your petal shapes vary.
- Draw one flower three times before trying a new one.
- Leave empty paper on every page.
- Run the centre check before any ink or colour.
Here’s a plan for your next thirty minutes, in three blocks of ten:
- First ten minutes: draw the three family shapes five times each, small, no petals.
- Second ten minutes: draw one five-petal flower three times from the centre out, and run the check on each.
- Last ten minutes: fill half a page with a scattered layout using only the flowers you just drew.
I still run that thirty minutes when my flowers start leaning again. That’s enough to feel the difference the order makes. Once your flowers stop leaning, move on to the hibiscus and the coneflower above.
When you want a subject with more structure, simple animals use the same shape-first habit. For the colour pass later, a set of ready petal palettes keeps your whole page in harmony.
 Pin it
Easy Flower Drawing Questions
What are the easiest flowers to draw?
The five-petal flower and the daisy are the easiest flowers to draw, because both are a small circle with simple petals around it. After those, the tulip and the bell flower are easy too. What flowers are easy to draw comes down to the family: disc flowers are simplest, then cups, then the spiral rose.
How do you draw a flower for beginners?
Start with the centre, not the petals. Draw a small circle, mark evenly spaced spokes around it, draw one petal on each spoke, then add a stem and leaves. Sketch light with an HB pencil and darken only the lines you want to keep.
How to start drawing flowers?
Learn the three shape families first: disc, cup and spiral. Draw each one small and repeatedly before you add petals. Then pick one easy flower drawing from each family and draw it three times on one page.
How to draw a simple flower?
Draw a circle for the centre, add five rounded petals spaced evenly around it, then draw a curved stem and one or two leaves. To make a simple flower drawing look finished, vary your petal shapes slightly and dot the centre.
How to make easy flower drawing step by step?
Follow the same order every time: family shape, centre, spokes, petals, details, stem and leaves, then darken. The hibiscus and coneflower above show you how to make easy flower drawings step by step, with a check before inking.
How to make a simple flower drawing for kids?
For kids, use the daisy: a circle, four petals as a cross, then more petals to fill the gaps. Thick markers and big shapes work better than pencil. A page of small, cute flowers in different colours is an easy flower drawing for kids that always looks good. More ideas that fit one sitting are in easy drawings for kids.
How to make an easy flower sketch in a pot or vase?
Draw the pot or vase first as a simple box or oval, then draw the stems growing out of one point at its opening, and only then the flowers at the stem tips. A flower pot drawing leans when your stems don’t meet at one point.
How to make an easy rose flower drawing?
Draw a small tight spiral, then wrap two or three crescent petals around it, each a little larger than the last. Add a cup-shaped outer ring underneath. An easy rose flower drawing is layers of curves around one spiral, not separate petals.
What is the best easy and beautiful flower drawing to start with?
The best simple flower drawing to start with is the five-petal flower, because it teaches you the centre-first order in five lines. The best easy flower drawing to make look beautiful is the hibiscus: one clear centre, big petals and a long stamen. Coloured with a coordinated petal palette, it is the one most people frame.
Can I use these shapes for easy flower nail designs?
Yes. The five-petal disc is the standard shape for simple flower nail art: five dots of polish around a centre dot. Easy flower nail designs follow the same rule as paper: place the centre first, then the petals around it.
Do I need special brushes to draw flowers in Procreate?
No. The default pencil and ink brushes are enough to learn the method. Special brushes help once your construction is right: tapered line brushes for petal edges and watercolour brushes for soft petal fills.