I have drawn the same lion wrong in four different ways, and so has every student who sends me one. The mane goes on like a motorcycle helmet. The muzzle goes flat. The eyes creep too high up the skull, or the back bows like a cat stretching.
Every tutorial online walks you through eight steps to one lion. Not one of them tells you which of those four things went wrong on yours. That is what you get here instead.
A lion drawing is built from three shapes before any fur is drawn: a ball for the skull, a wedge for the muzzle and a soft triangle for the mane. Get the wedge wrong and no amount of mane will save the drawing.
Quick answer: start with three shapes, a ball for the skull, a short wedge for the muzzle and a triangle for the mane, and only then pick your lion. Below you get twelve lions, easy to hard.
At the end you get a diagnosis table: it names which of the four common mistakes you made and what to change. A cute lion drawing and a realistic pencil portrait use the same three shapes, and only the ratios differ. If you want the build order drilled properly rather than read once, a structured pencil drawing course is where that happens.
Quick answer: three shapes before the mane
Every lion on this page begins the same way, whichever style you pick. Three shapes, in this order, lightly, so you can still move them.
- The ball. The skull, drawn as a circle. Nothing clever, and nothing furry yet.
- The wedge. The muzzle, a short blunt wedge pushed onto the lower front of the ball. Short. A lion’s muzzle is far shorter than a dog’s, and that single ratio is what makes a drawing read as a lion rather than a big dog.
- The triangle. The mane, a soft triangle or diamond around the ball, wider than you think and lower than you think. It sits on the chest as much as on the head.
Check the three before you draw a single hair. If the wedge is too long, stop and shorten it now, because the mane will not hide it later.
I draw these three in about thirty seconds and throw away maybe one in four. If you want that habit built in properly, the construction module of this pencil course drills nothing else for its first few hours.
The mane is the last thing you draw and the first thing you are tempted to draw. That inversion is the whole problem.
Where a lion drawing goes wrong: four mistakes nobody names
Nine real tutorials rank for this subject once thin pages are thrown out, and my tally of their sections came to zero on what goes wrong. All nine show you their lion going right. None puts a failed lion beside it.
These are the four, in the order I see them most, and what to change first:
| Mistake | What it looks like on the page | What to change first |
|---|---|---|
| Mane like a helmet | A solid ring sitting on the skull | Draw the head finished, then grow the mane out of it in clumps |
| Flat muzzle | Nose and mouth read as a sticker | Build the wedge first, put the nose on its front face |
| Eyes too high | Looks like a cat, not a lion | Drop the eye line to a third up from the bottom of the ball |
| Bowed back | The lion sags in the middle | Make the shoulder the highest point and the spine nearly straight |
All four are build problems, not drawing problems: your lines can be lovely and the lion still wrong.
If your lines are fine but the thing looks off, the beginner guide to drawings that look off covers the same trap on simpler subjects. A structured course such as this pencil drawing programme drills the build order rather than the stroke.
What you need: one pencil, not a set
You can draw every lion on this page with one pencil. I use a 2B for everything and press harder where I want dark.
- One 2B pencil, sharp.
- Printer paper. Cheap paper is better while you are throwing drawings away.
- A kneaded eraser, or a corner of a normal one, for lifting light hairs out of the mane.
- Optional: a blending stump, or a twist of paper, for the shadow under the jaw.
That is it. Buying a graded set of twelve pencils before you can place a muzzle is how people spend an evening organising instead of drawing.
Cute lion drawing: the big-head ratio that makes it read as cute
A cute lion drawing is not a simplified realistic lion. It is a different set of ratios, and once you know them you can make any animal read as cute on purpose.

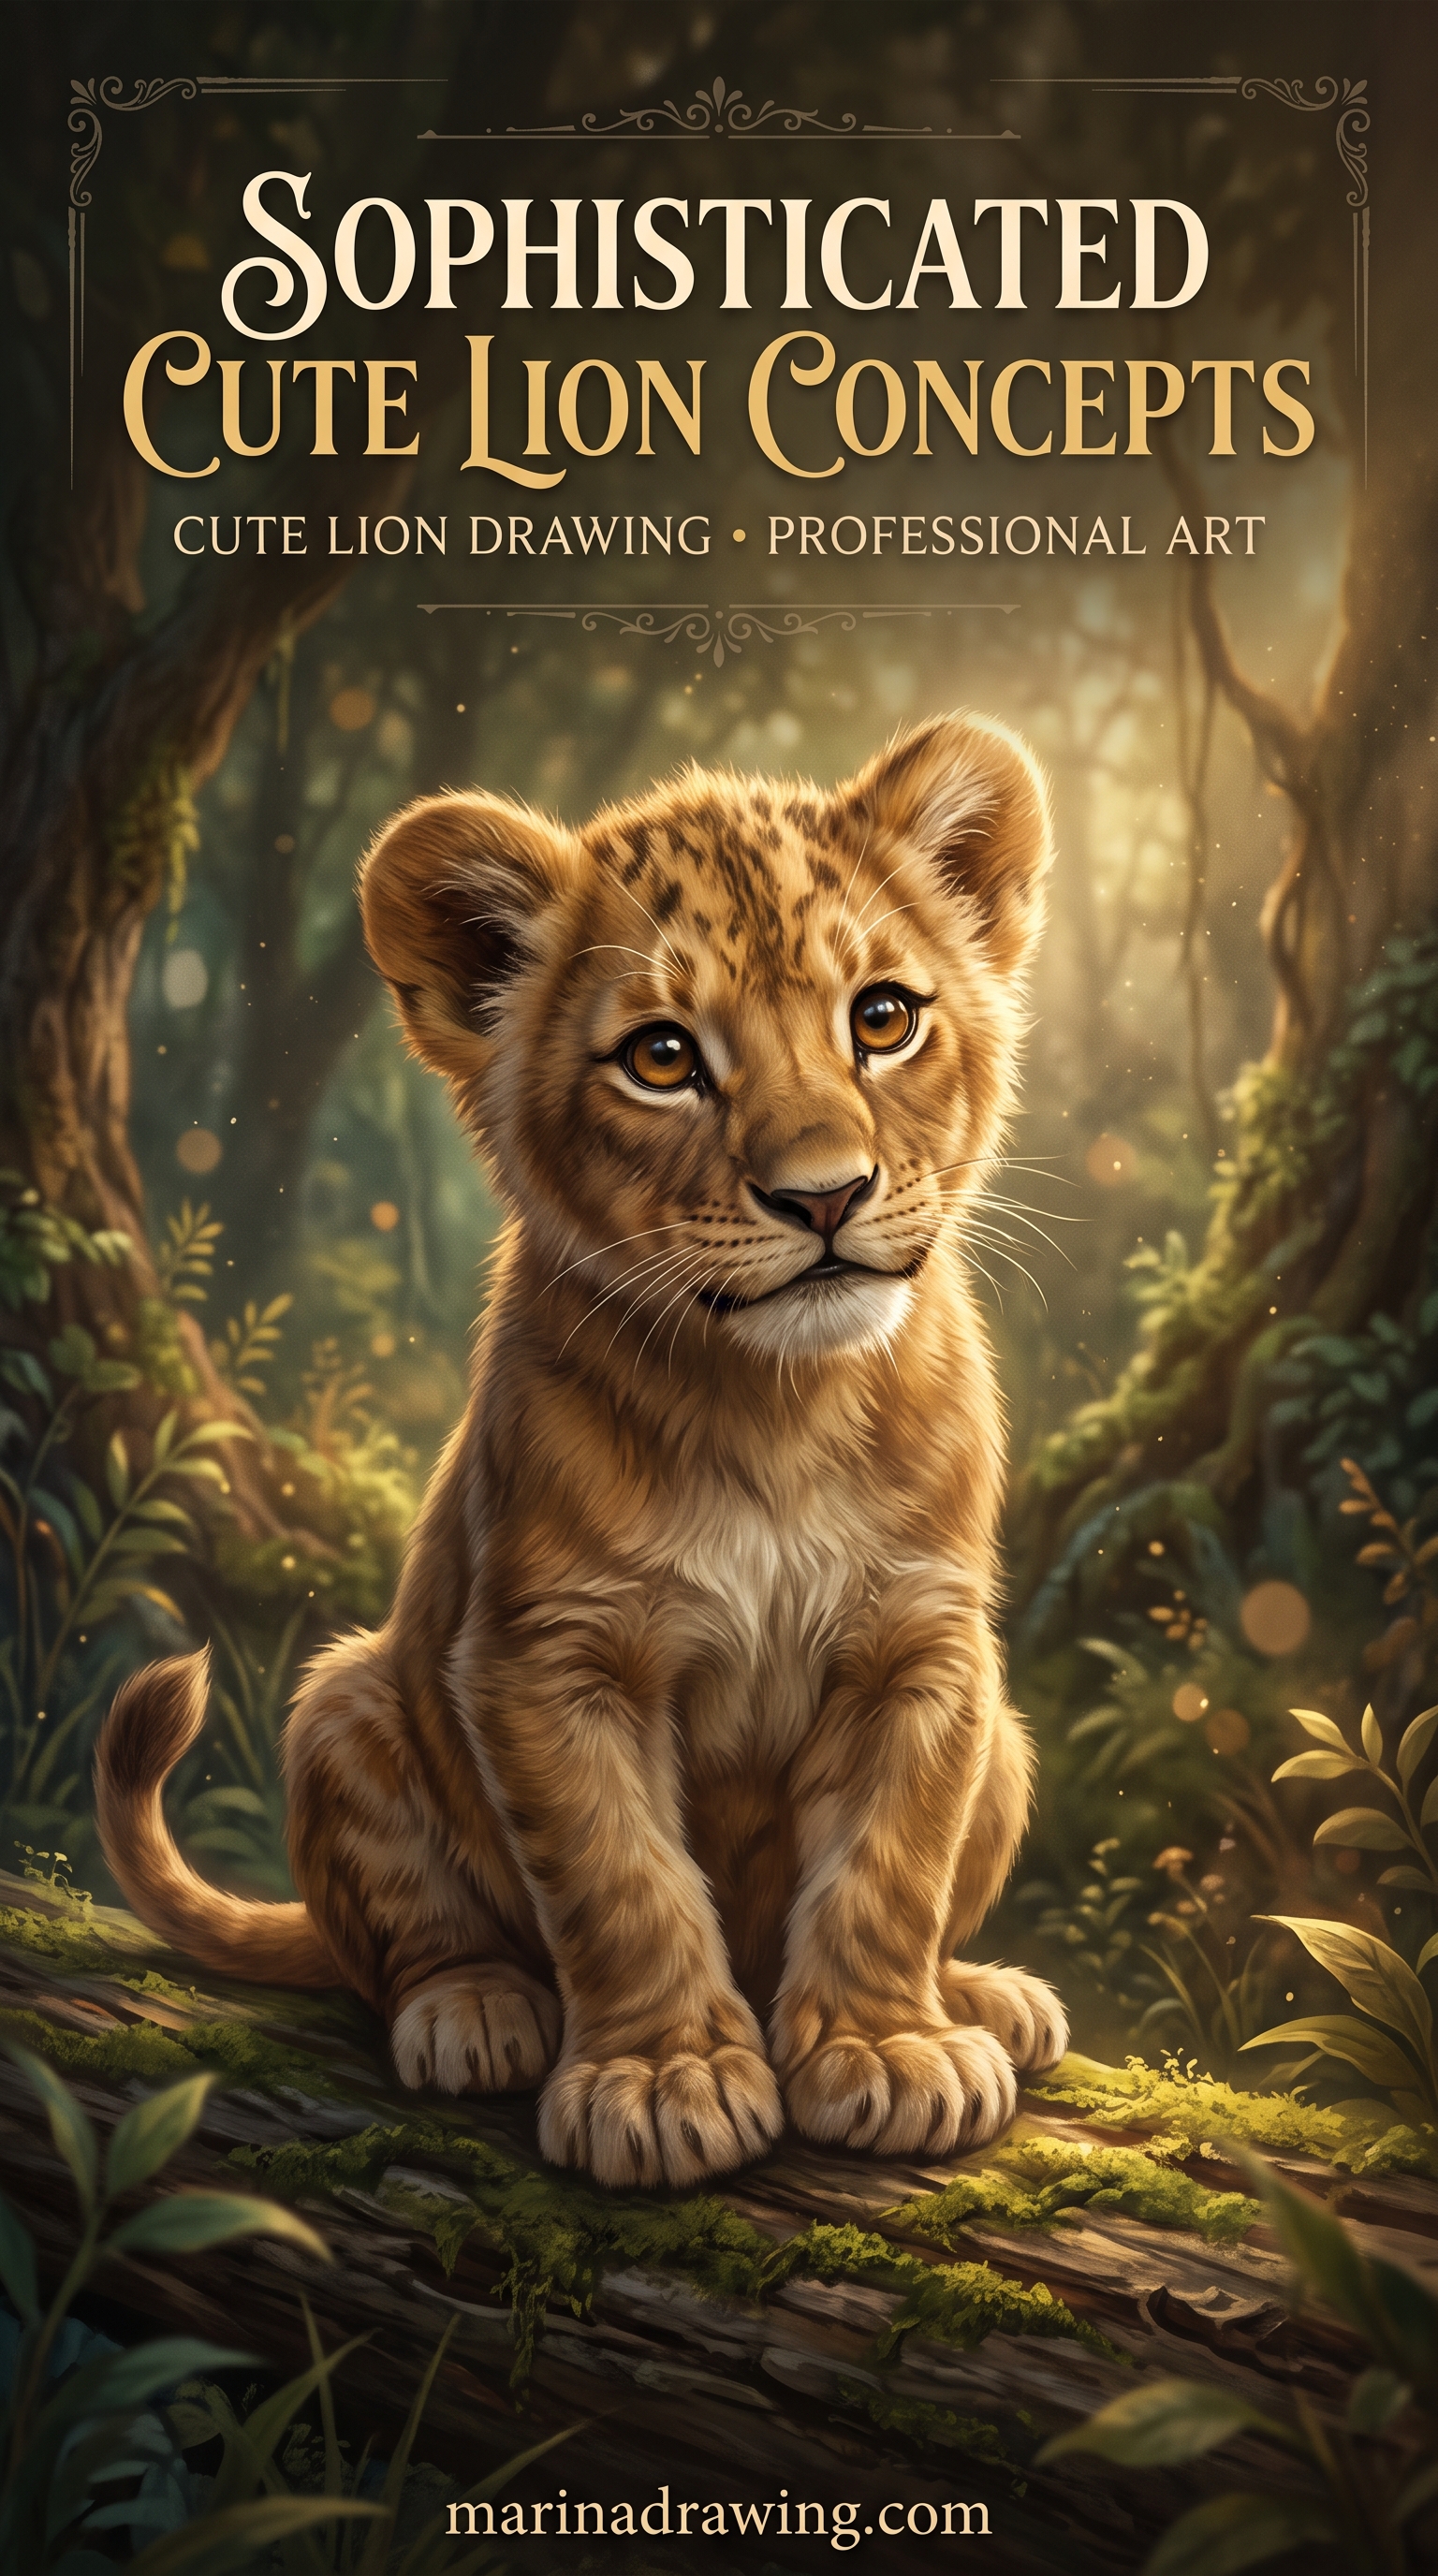
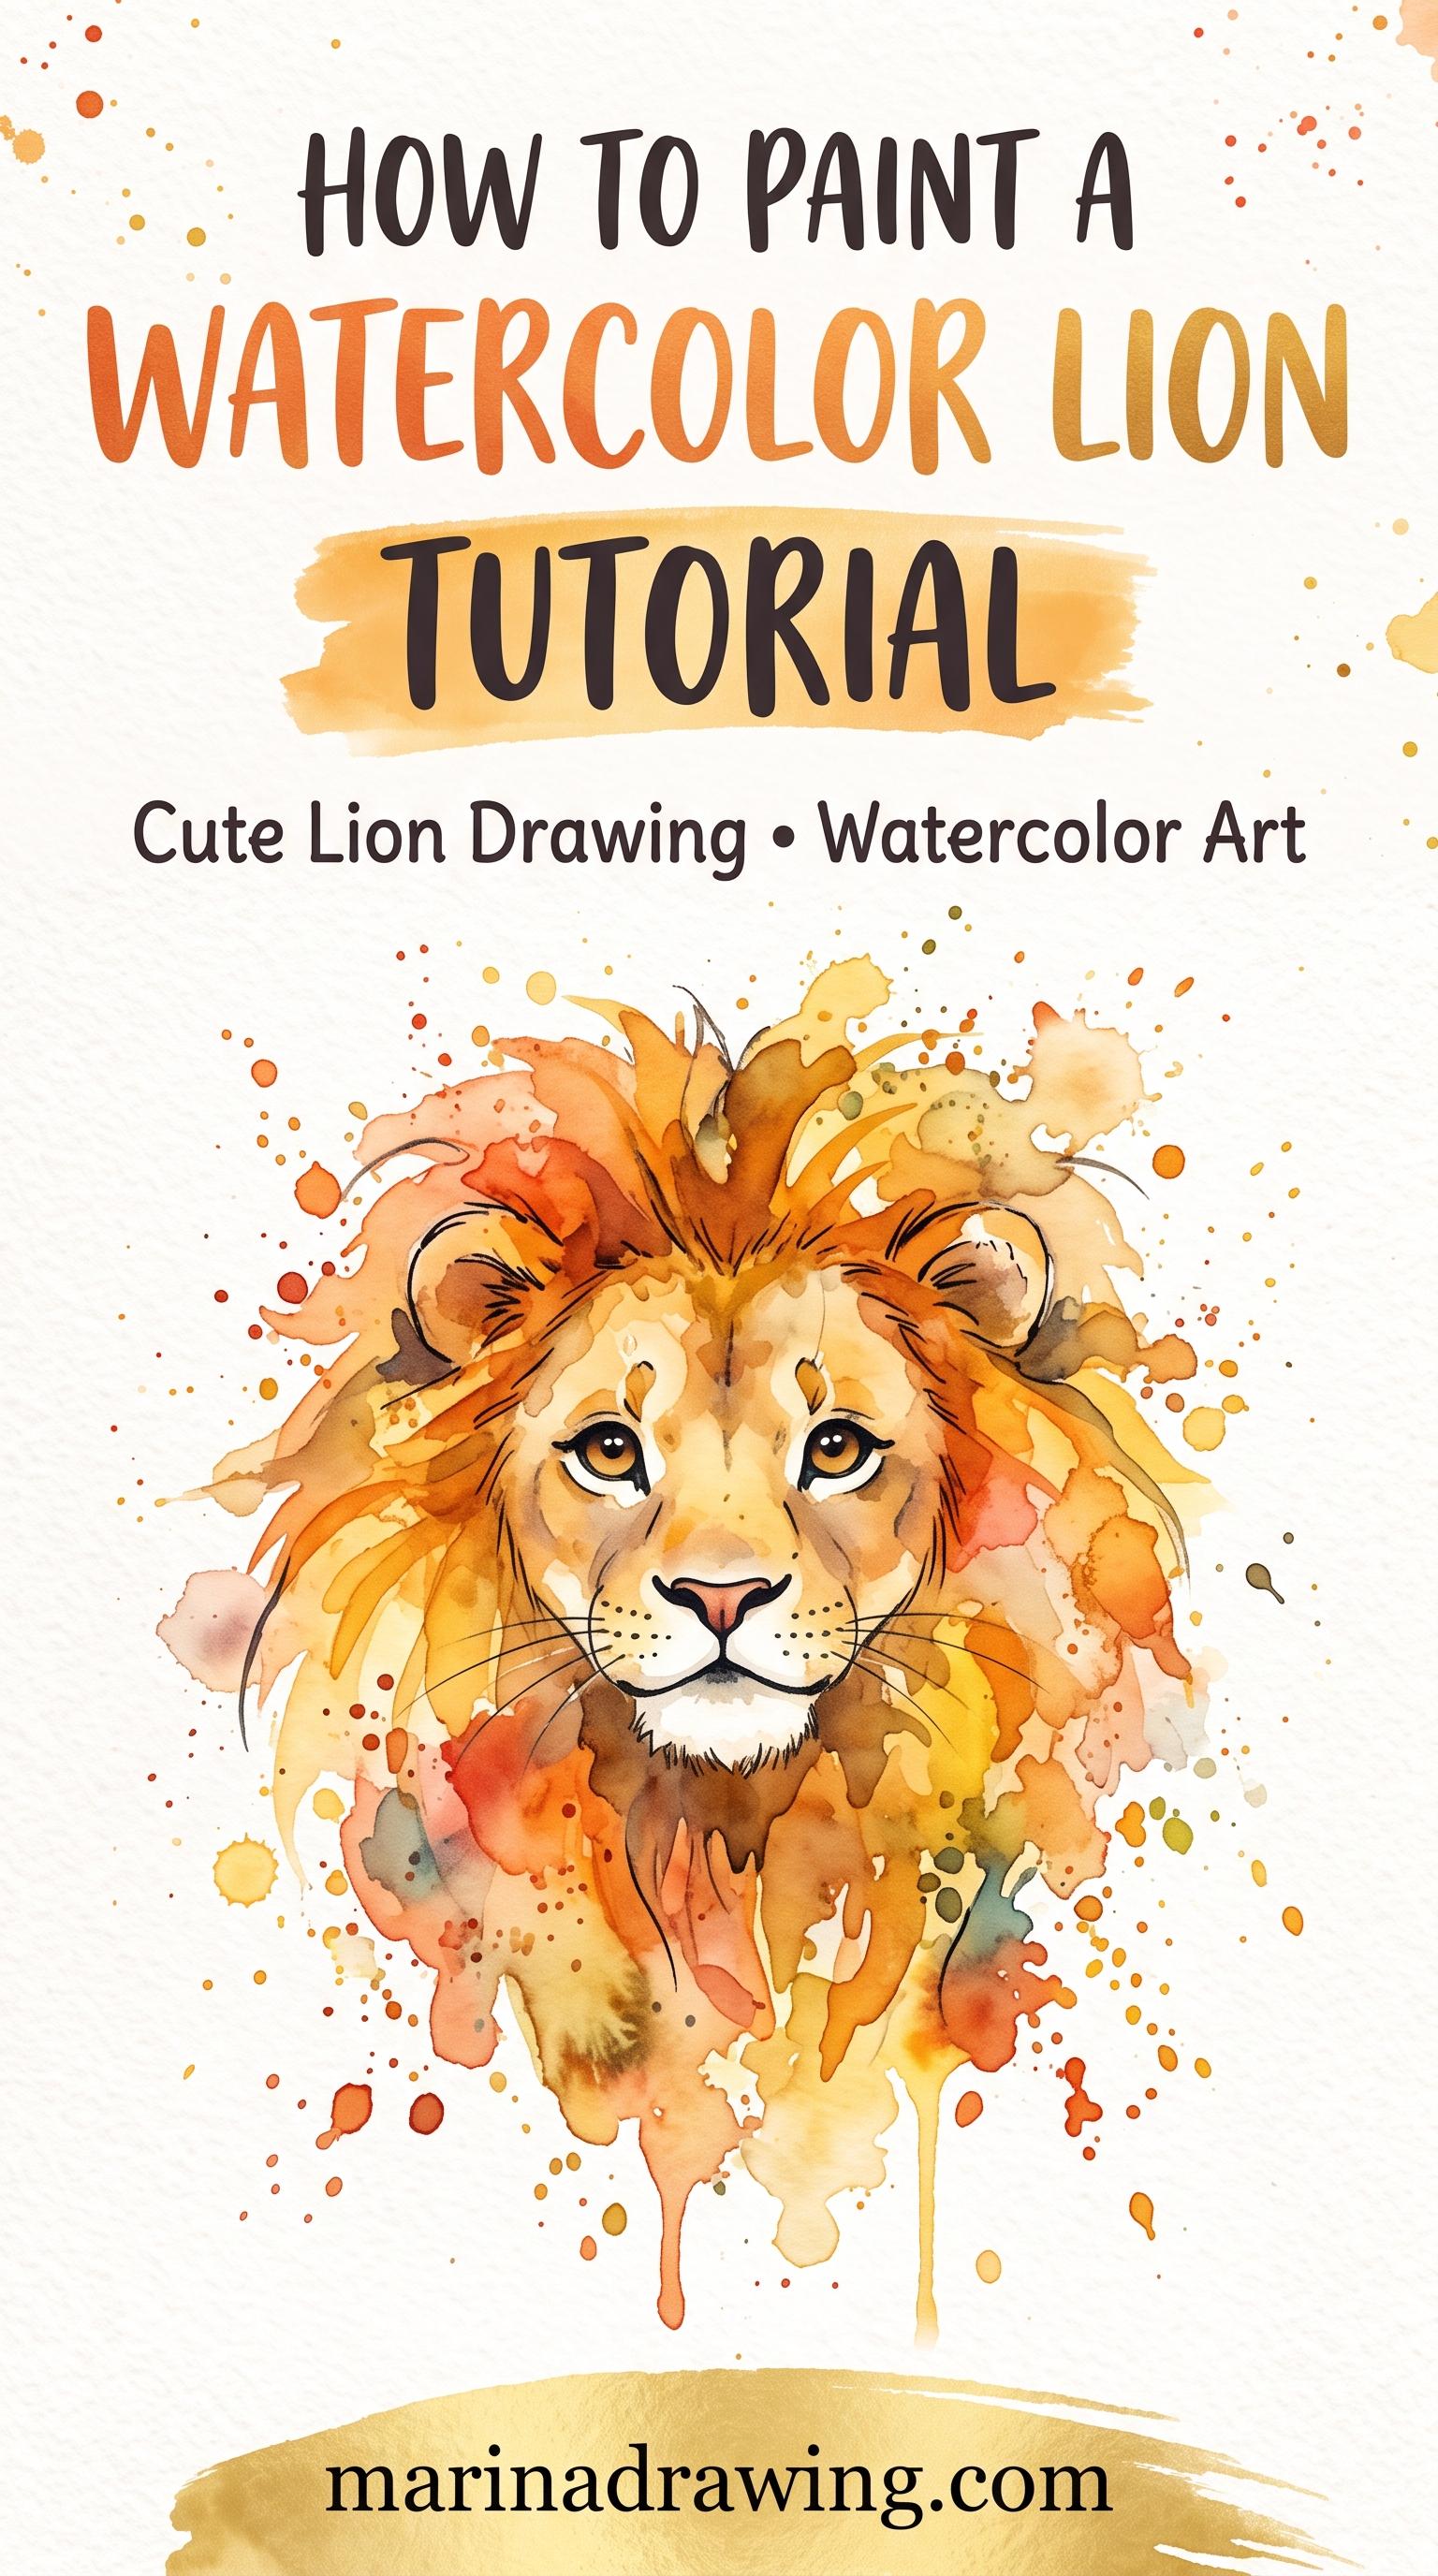
- Head about two thirds the size of the body, not one quarter.
- Eyes low and wide apart, large, round, with the pupils big.
- Muzzle tiny, and the mouth a simple wide curve.
- Mane as a soft scalloped ring, not spikes.
- Legs short and thick, paws rounded.
Draw the ball large, the wedge almost flush with it, and the mane ring close. Everything that would show skill in a realistic lion, the planes of the skull and the muscle over the shoulder, gets left out here deliberately.
This is the version to draw with a child, and the version that gets pinned most. If you are drawing with a six-year-old, the shapes in easy drawings for kids are sized for a single sitting.
Cute is a set of ratios you can apply to any animal once you can see them. That skill is taught deliberately in the course and almost never in a single tutorial.
Easy lion face, front on
An easy lion drawing almost always starts here, with the face straight on. It is the easiest lion to finish and the easiest to get subtly wrong, because the mane invites you to start with it. Treat a lion face drawing as two circles and a line before it is a face at all. If the ball keeps coming out lopsided, that is a hand problem rather than a lion problem, and a structured pencil drawing course drills it in a week.
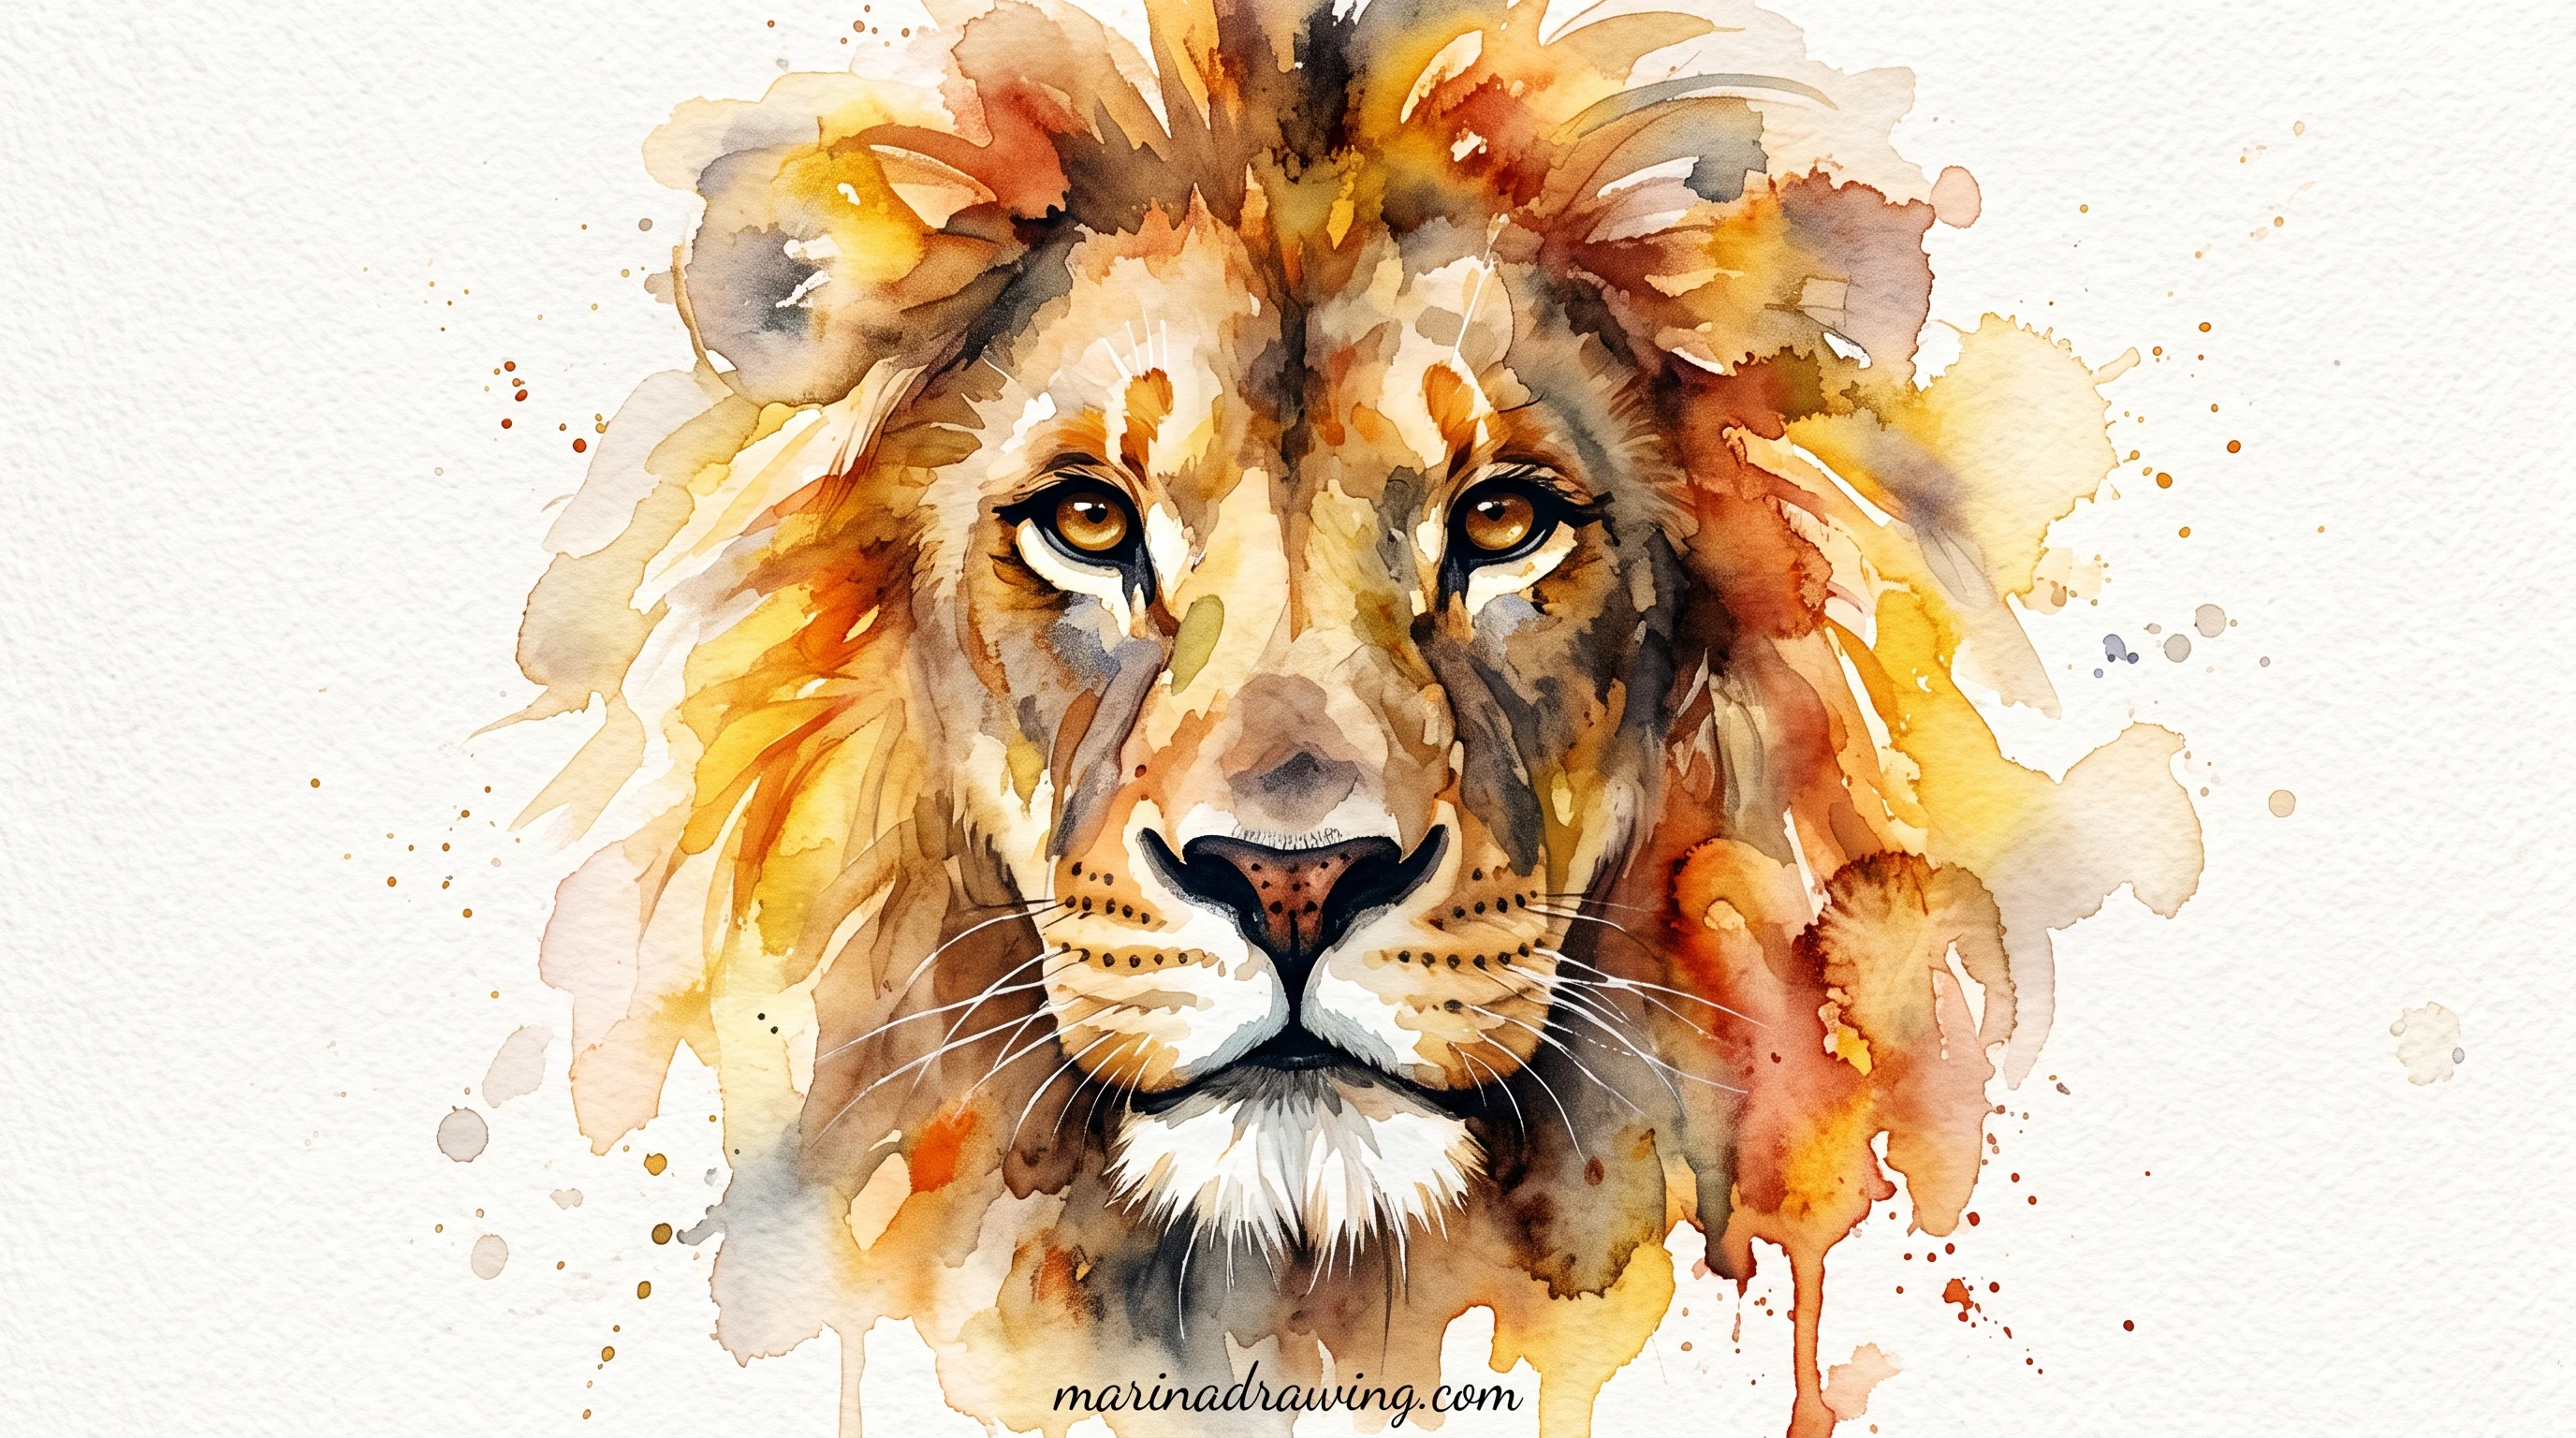
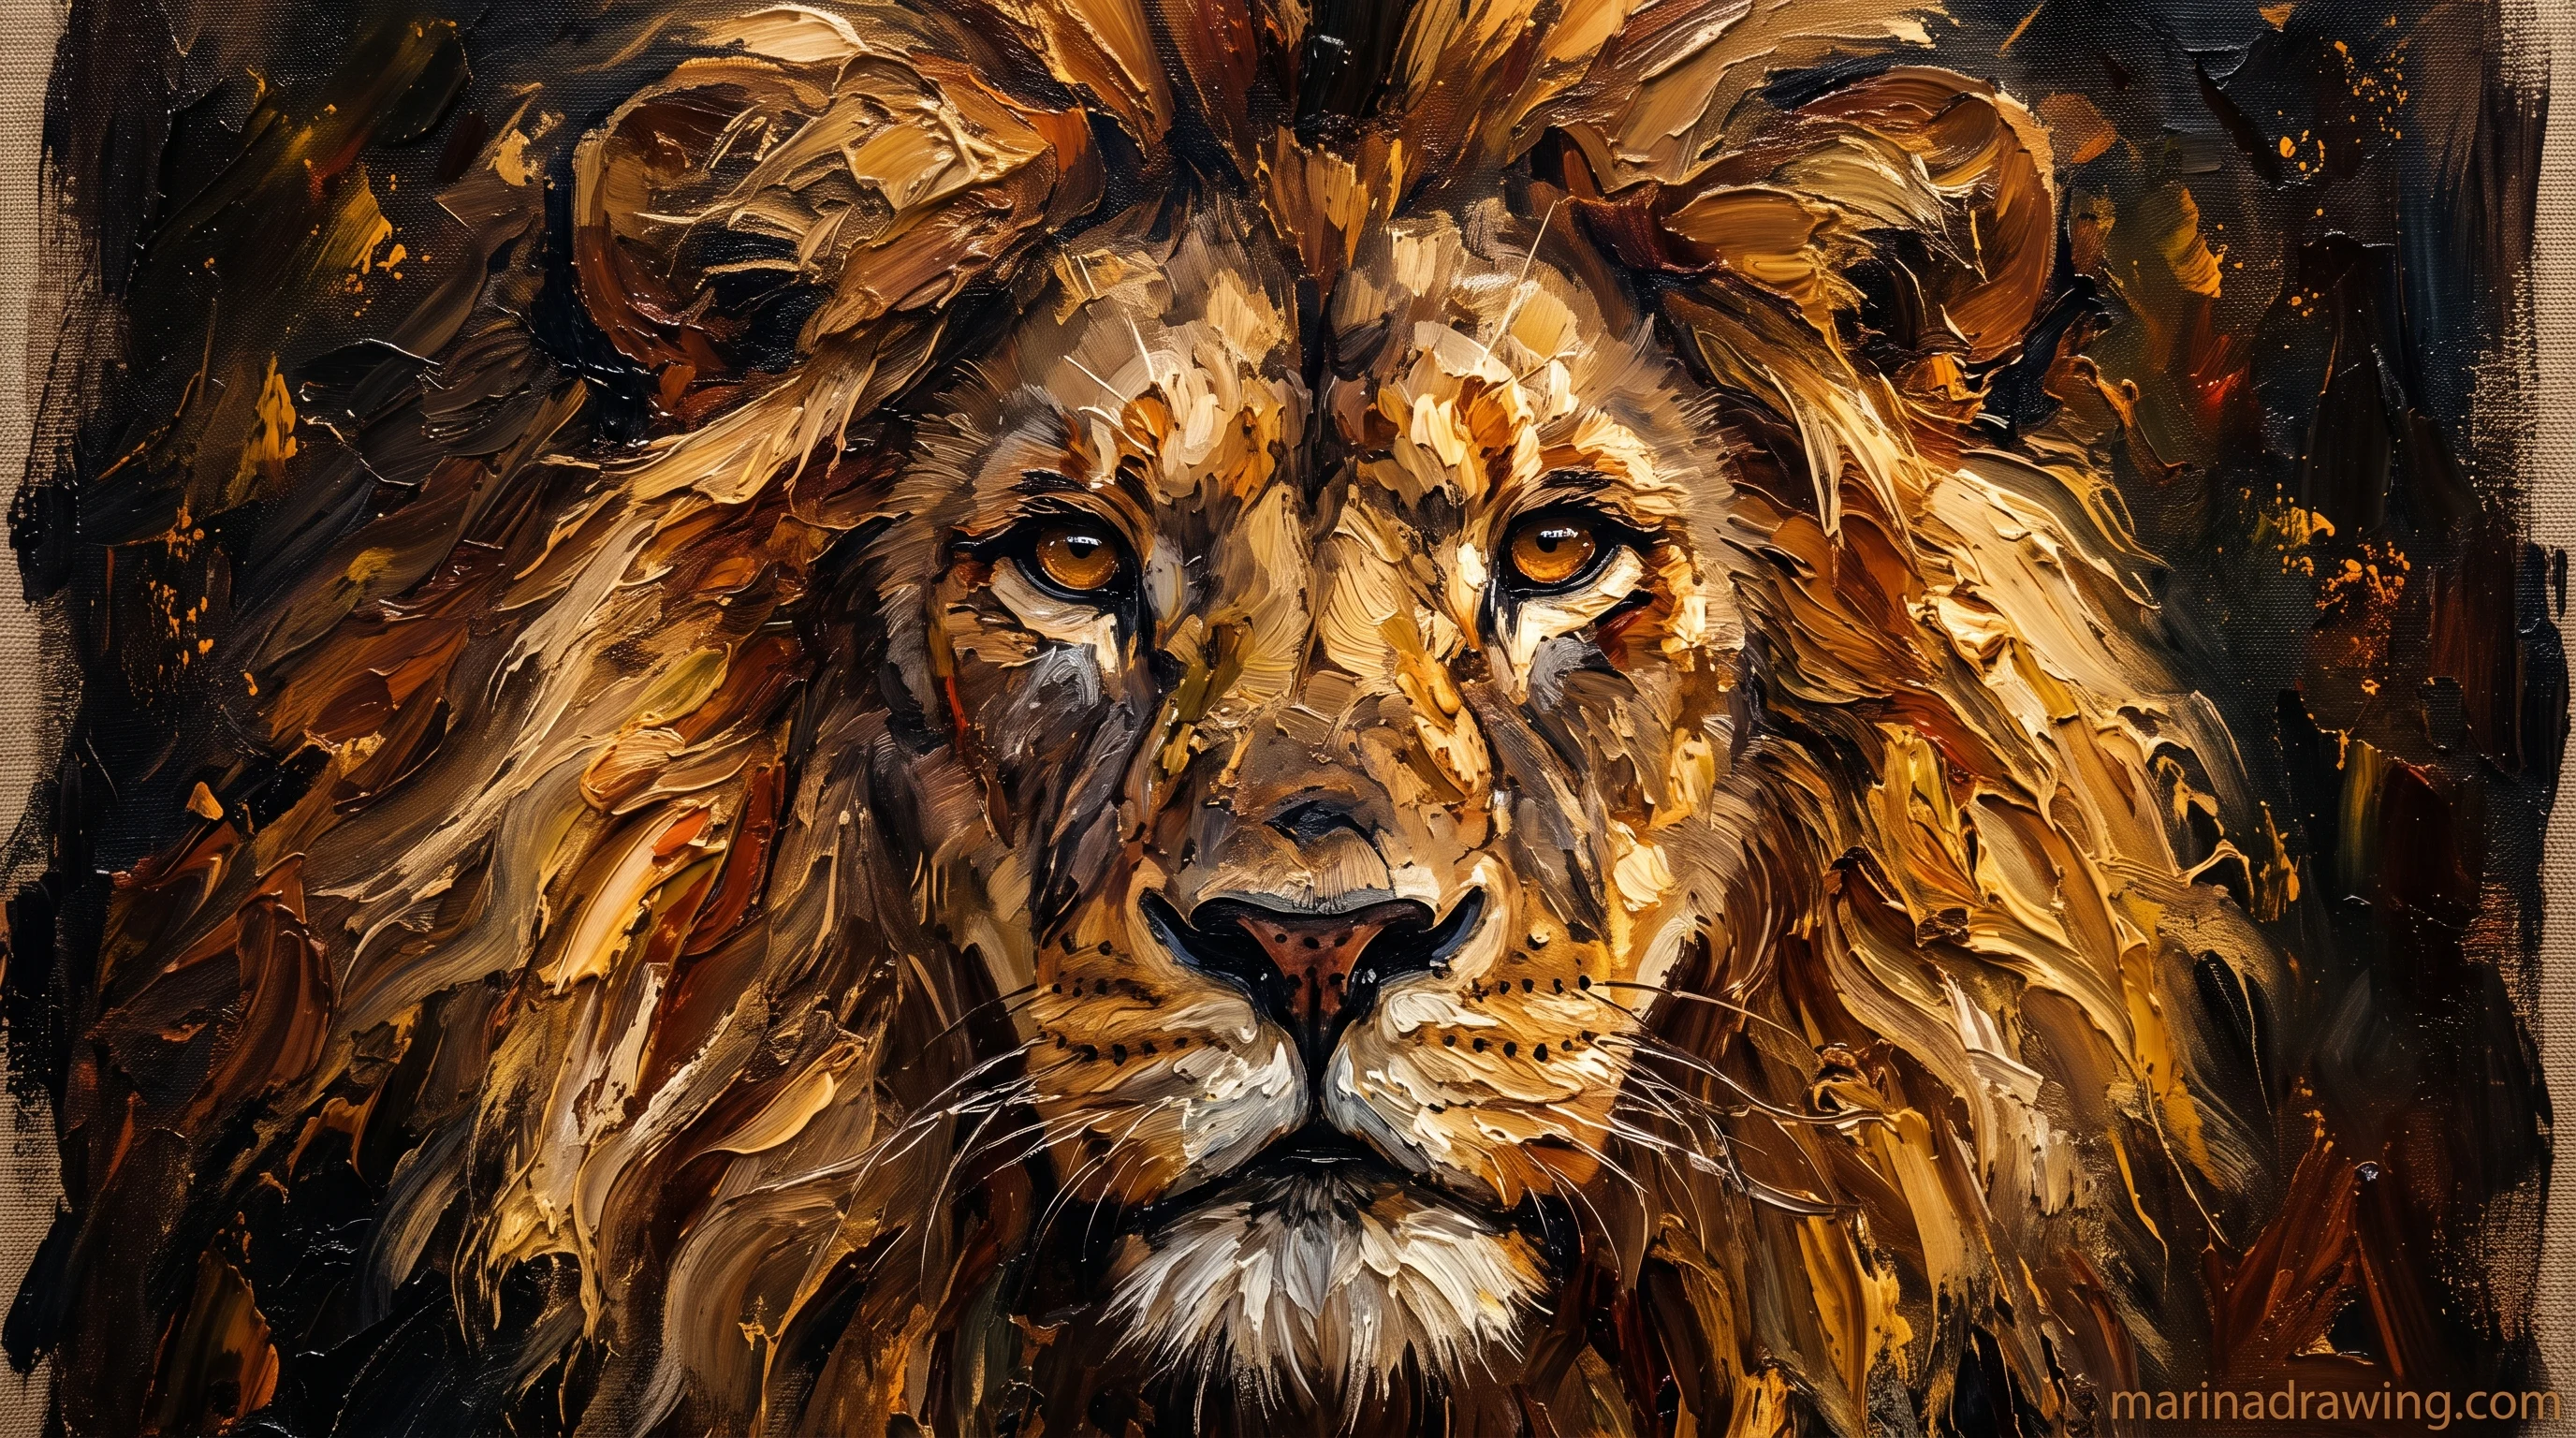
- Ball, centred. Draw a light vertical through it and a horizontal low down, about a third up from the bottom.
- Eyes on the low horizontal, one eye-width apart.
- Wedge on the vertical, below the eyes, short and wide.
- Nose a rounded triangle at the front of the wedge, mouth a shallow Y beneath it.
- Ears small, round, set wide on the ball, not on top of it. Lion ears are nothing like cat ears in position.
- Mane last, as a triangle whose widest point is level with the mouth, not the eyes.
Fifteen minutes, and you will know immediately if the eyes went too high, because the forehead will look like a human one.
The calm profile
42 hours of pencil drawing training, lifetime access
The video course I point plateaued students to — full lessons on portraits, hands, and realistic shading, not another short tutorial.

In profile the three shapes become readable, which is why I give this one to anyone who says the front view keeps failing.
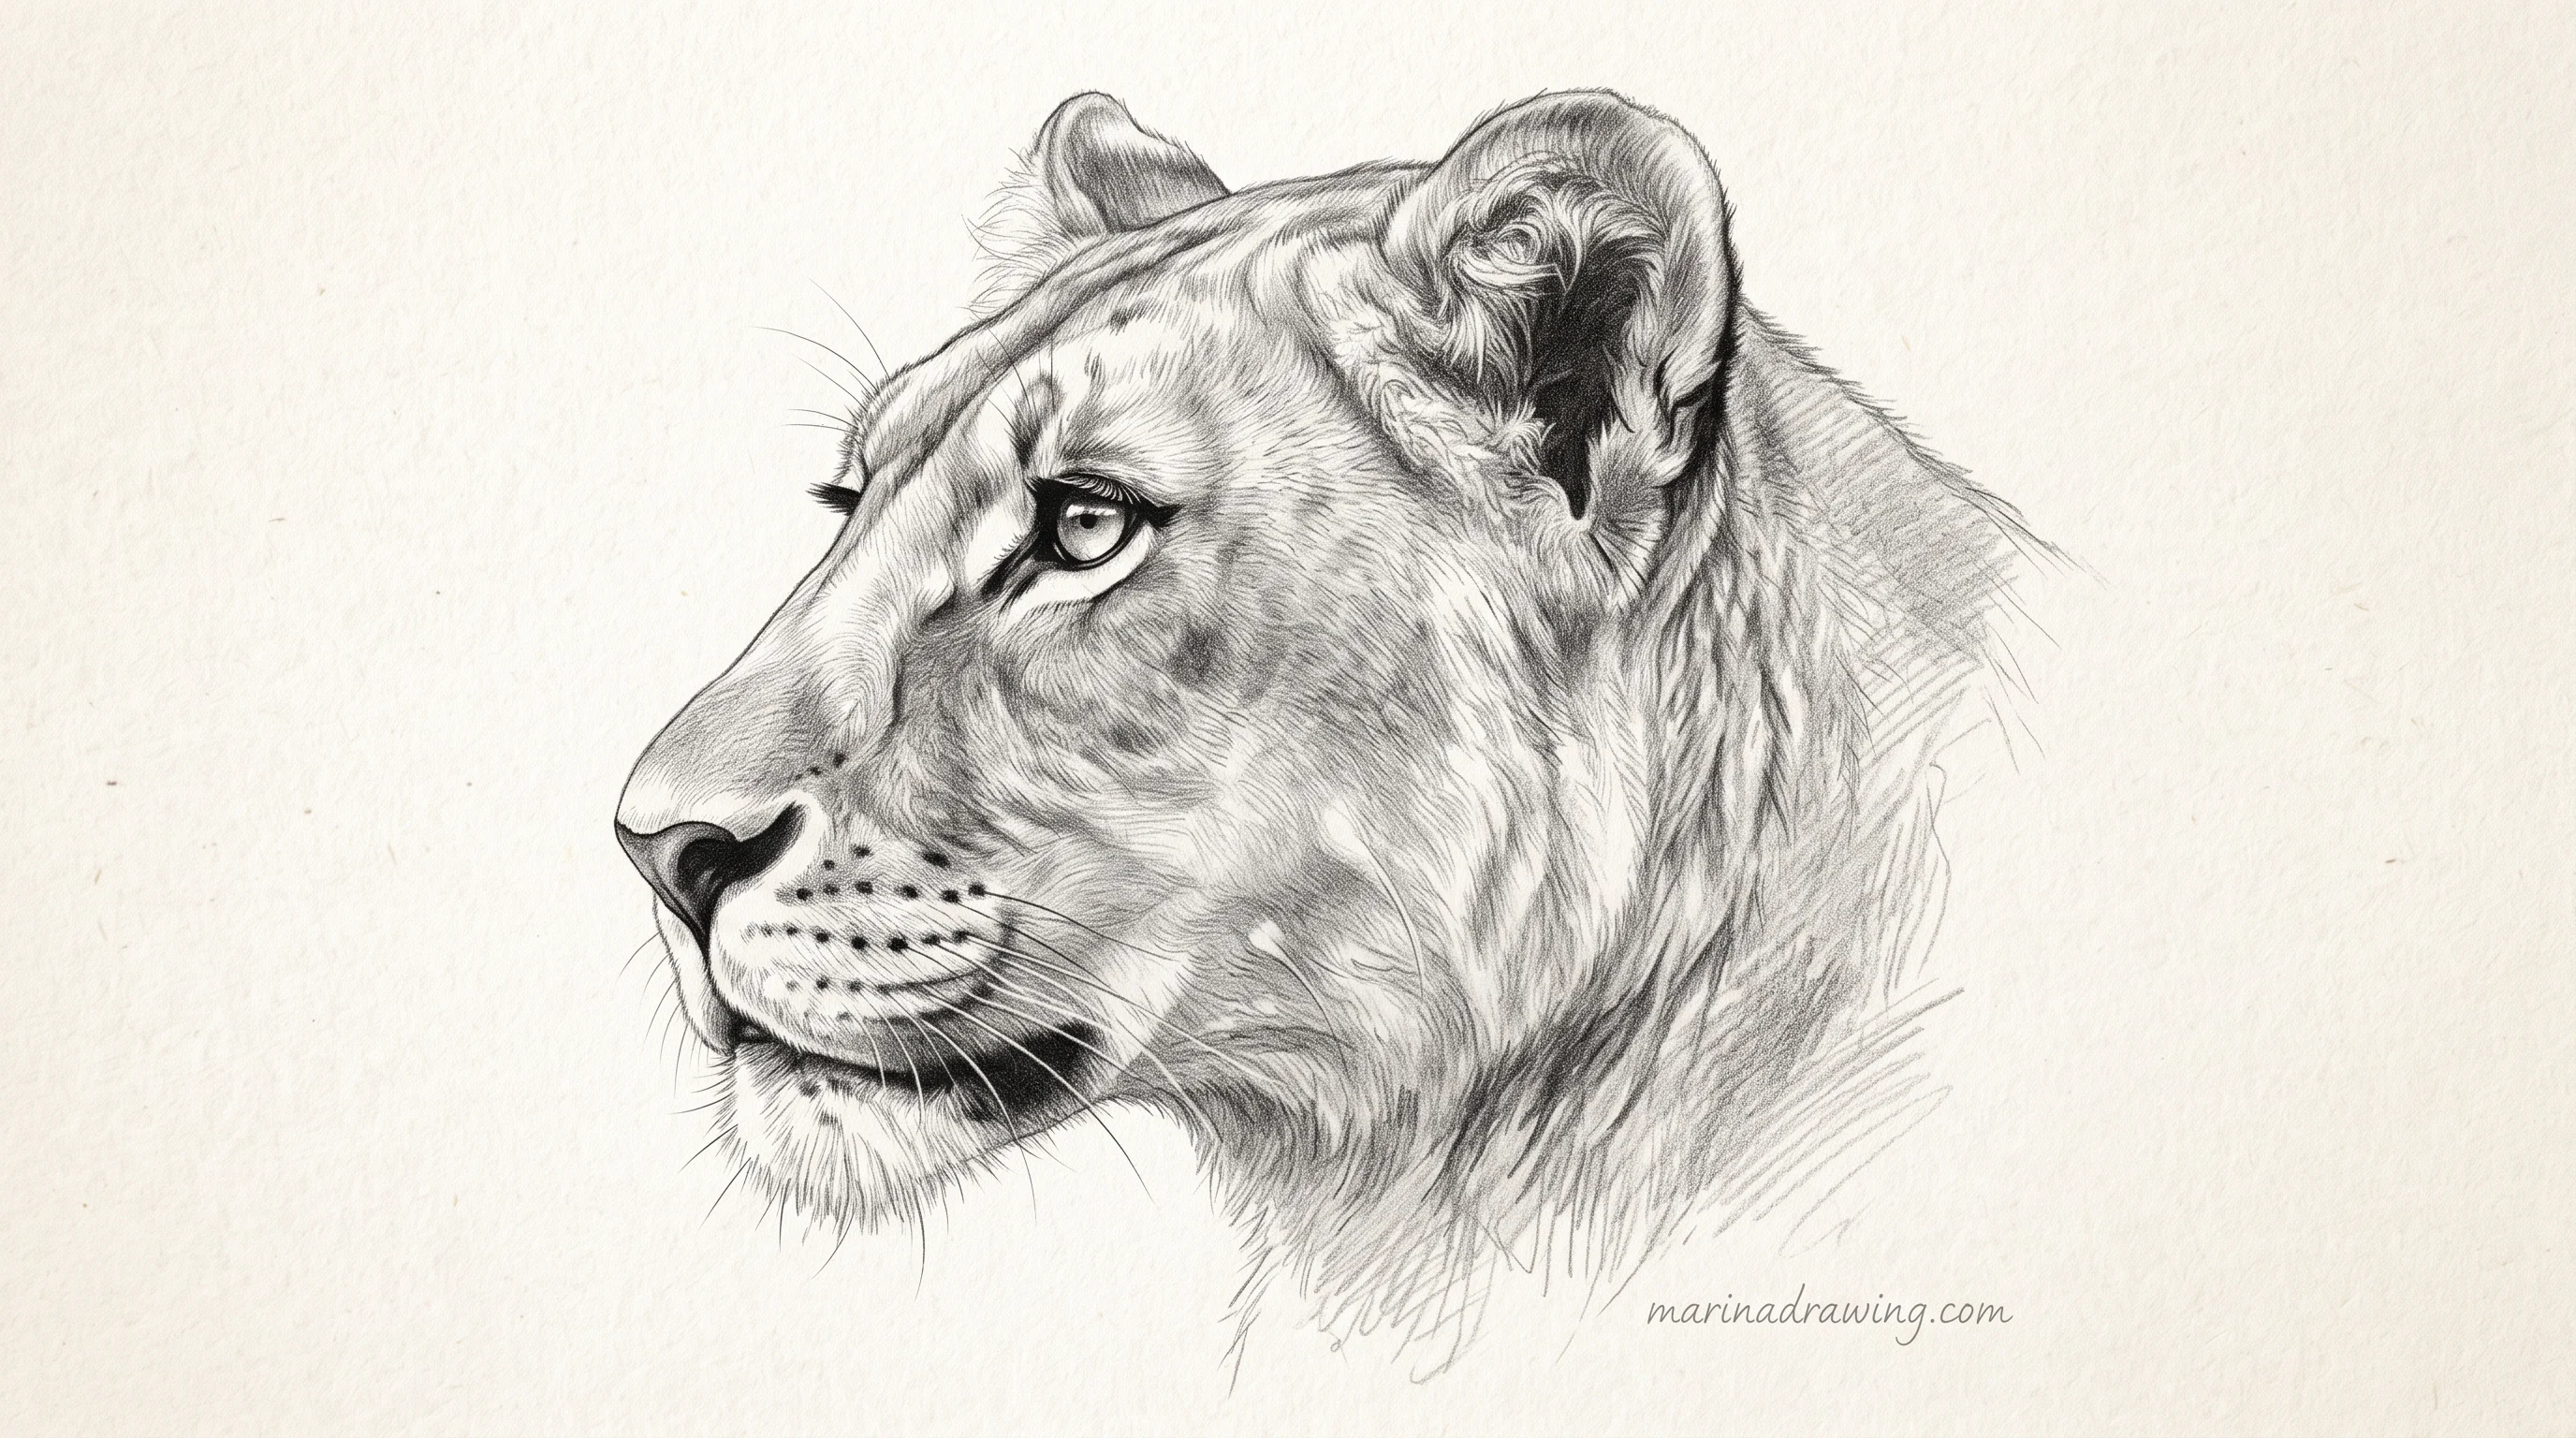
From the side, the ball sits at the back and the wedge points forward and slightly down. The line from the brow to the nose is almost straight with a small dip, not the curve you would give a dog.
Let the mane fill the whole space behind the jaw and down the chest. The head then appears to float in it, which is the effect you want.
Draw the jaw line first after the shapes. It runs from under the ear to the front of the wedge in one long shallow curve, and it is the line that tells a viewer the head has a back half.
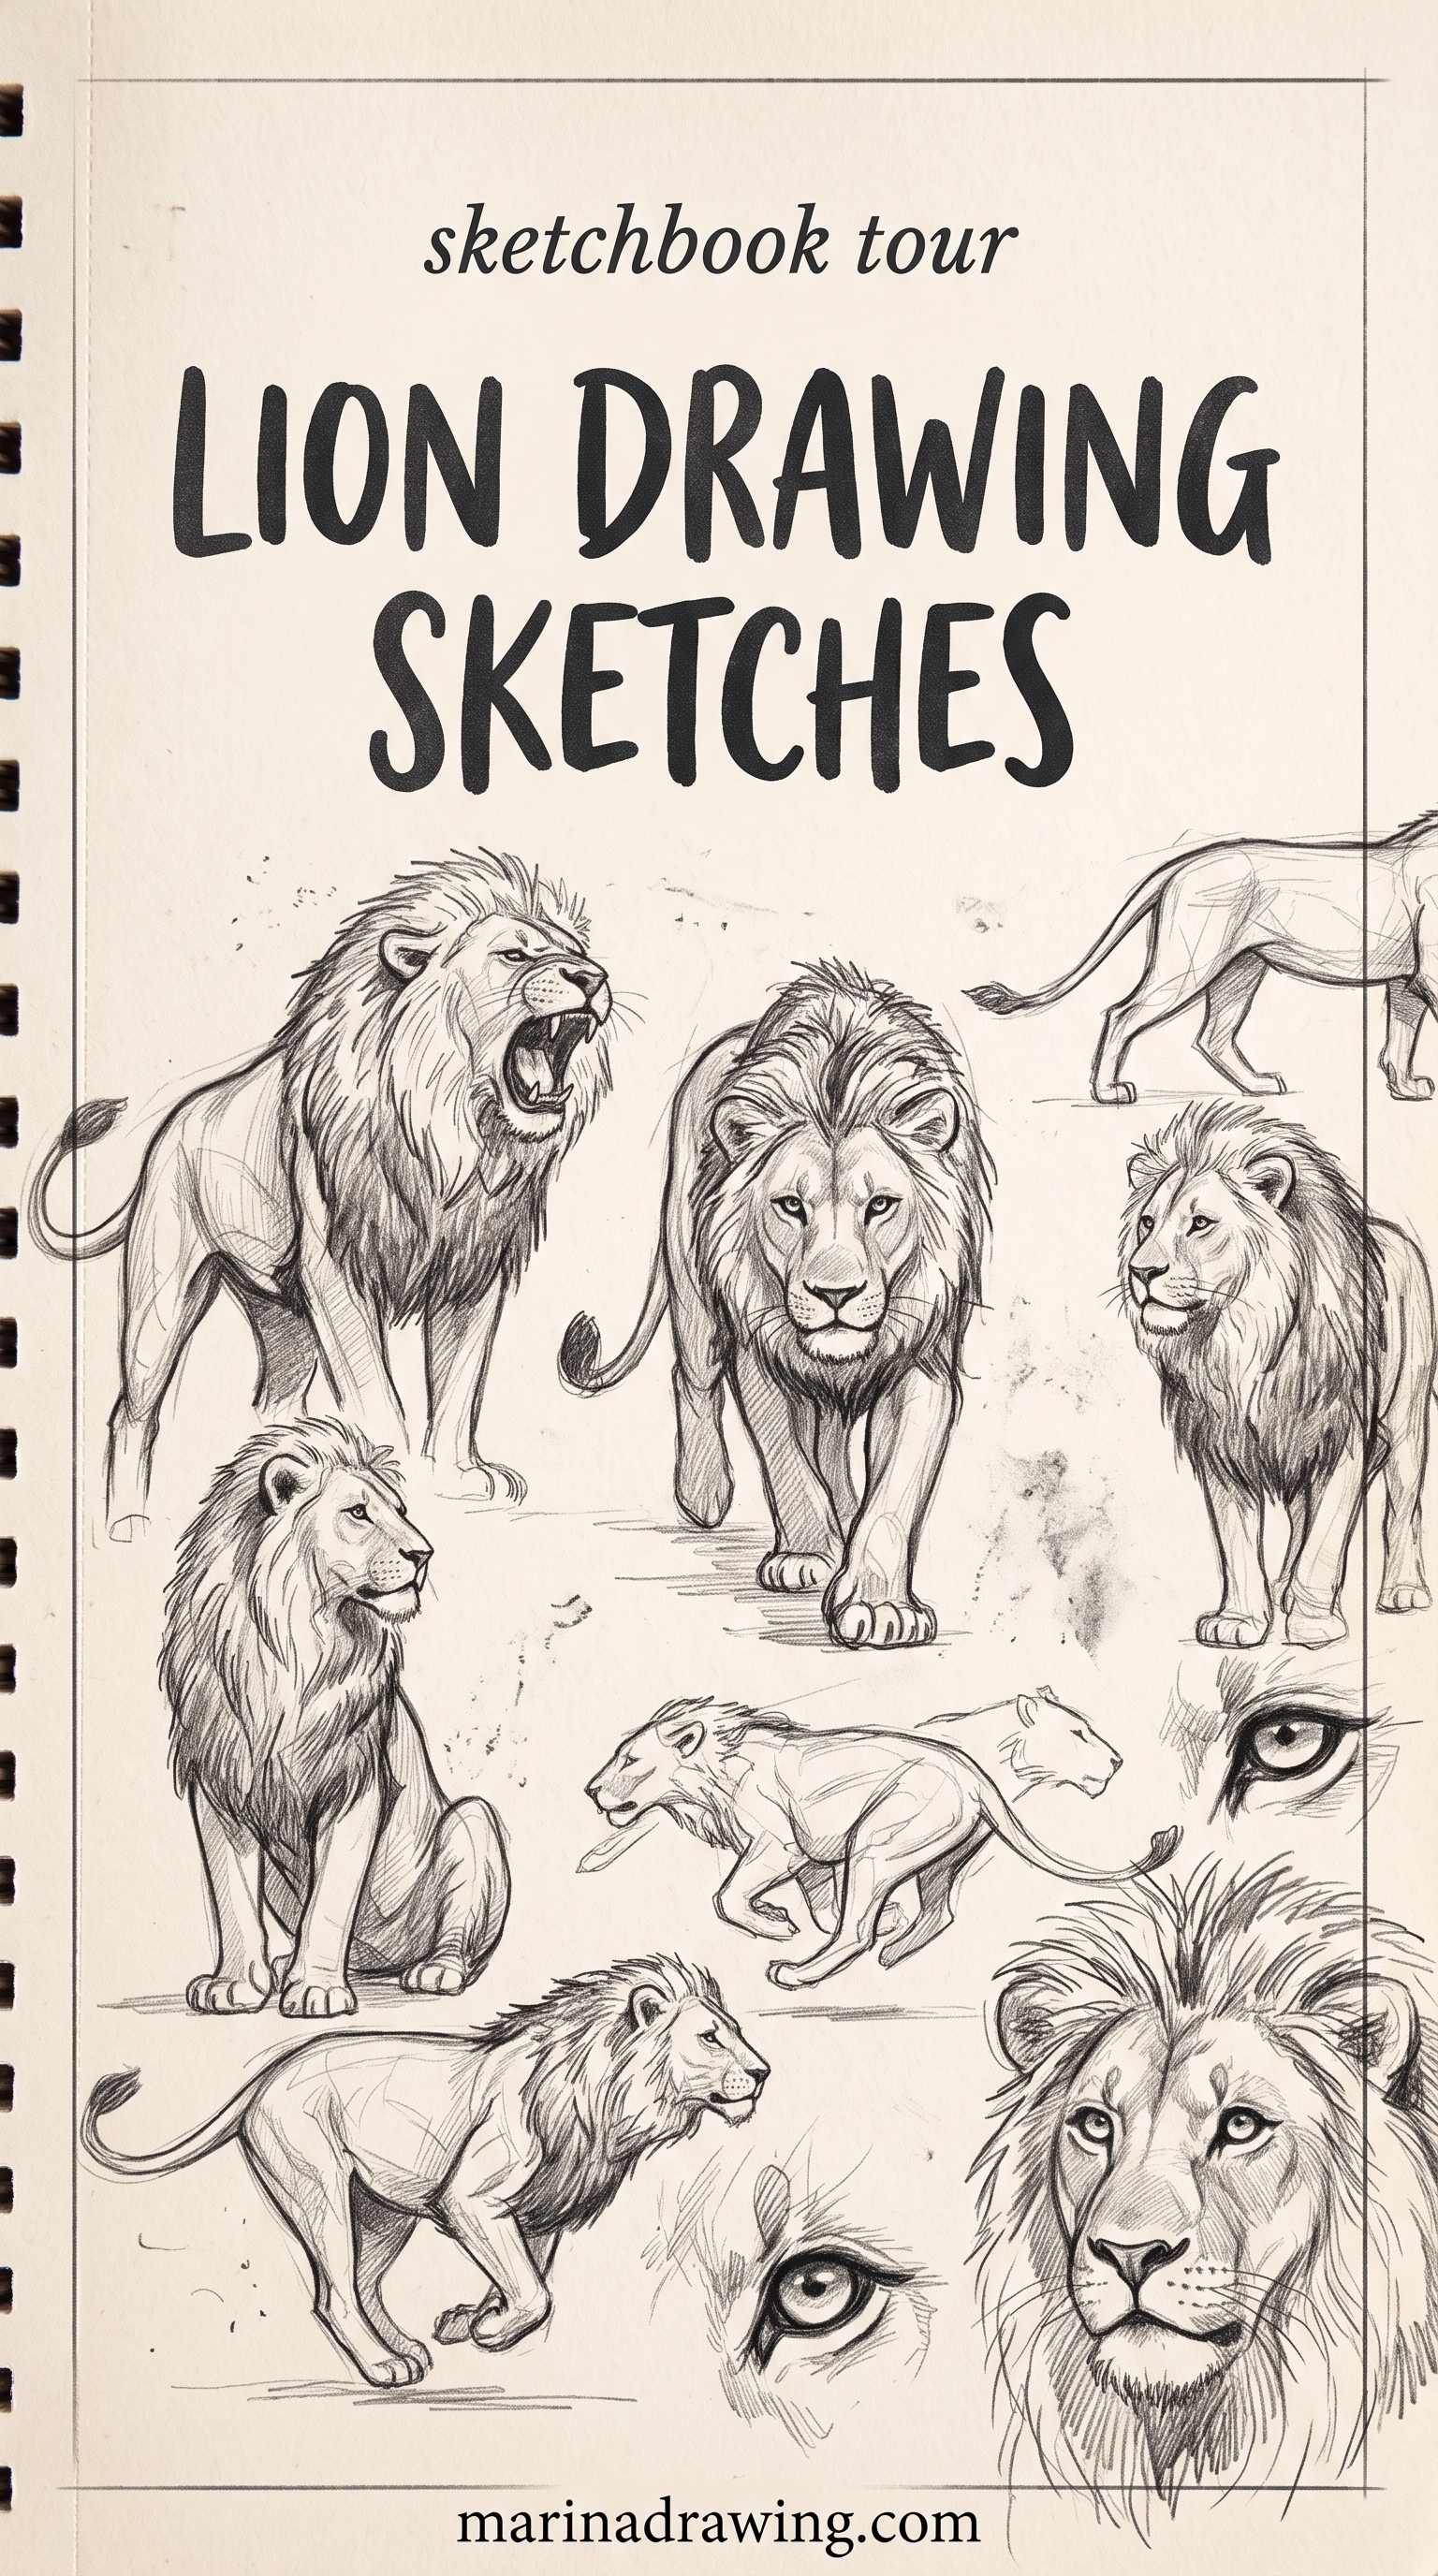
The roaring lion
The roar is the one most people ask for and the one most people draw as a smile with teeth. The mouth opens downwards.

- The upper jaw stays where it was. The lower jaw drops and back.
- The muzzle shortens visually as the mouth opens, because you are now seeing it from underneath.
- The nose pulls up and the skin above it wrinkles into two or three short folds.
- Teeth: two long canines top and bottom, the rest suggested. Drawing every tooth makes it comic.
- The eyes narrow. A roaring lion with wide round eyes looks surprised, not fierce.
Put a dark wedge of shadow inside the mouth, darkest at the back. That shadow does more than the teeth.
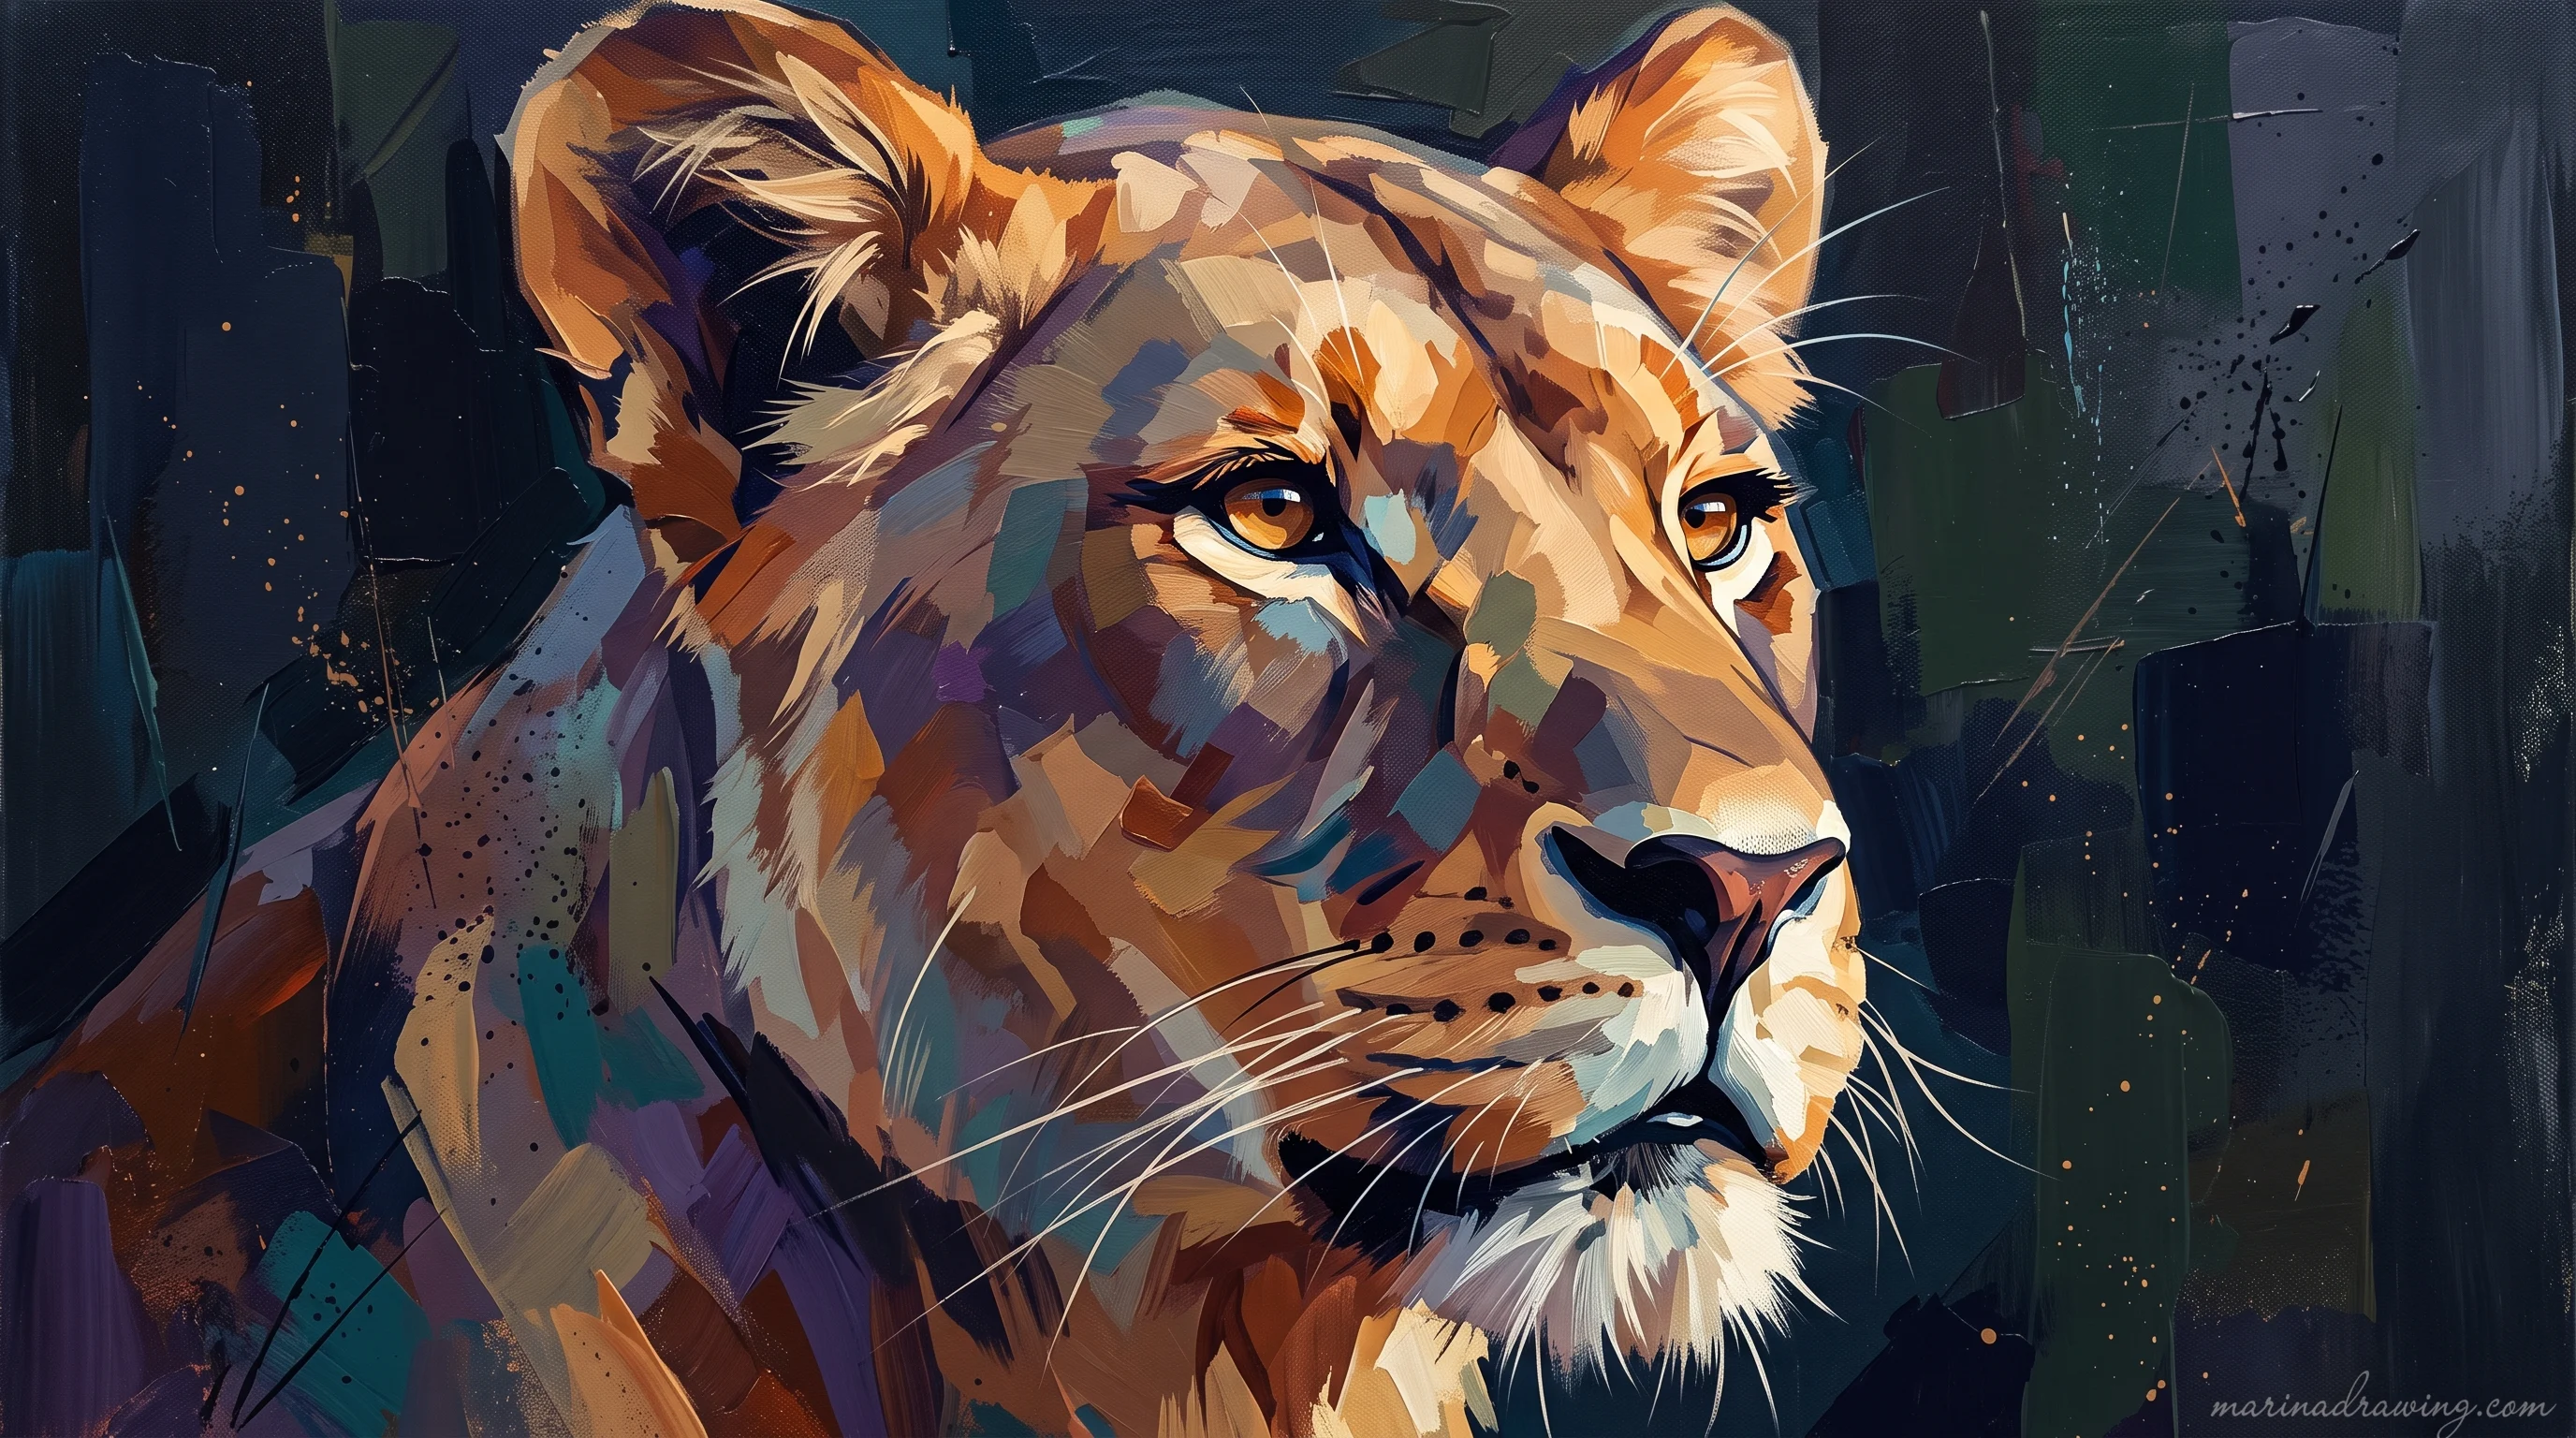
A lioness, with no mane to hide behind
Draw a lioness and you find out whether you built the skull or drew a mane around a guess. There is nothing to hide behind, and everything you avoided learning is now on the page.
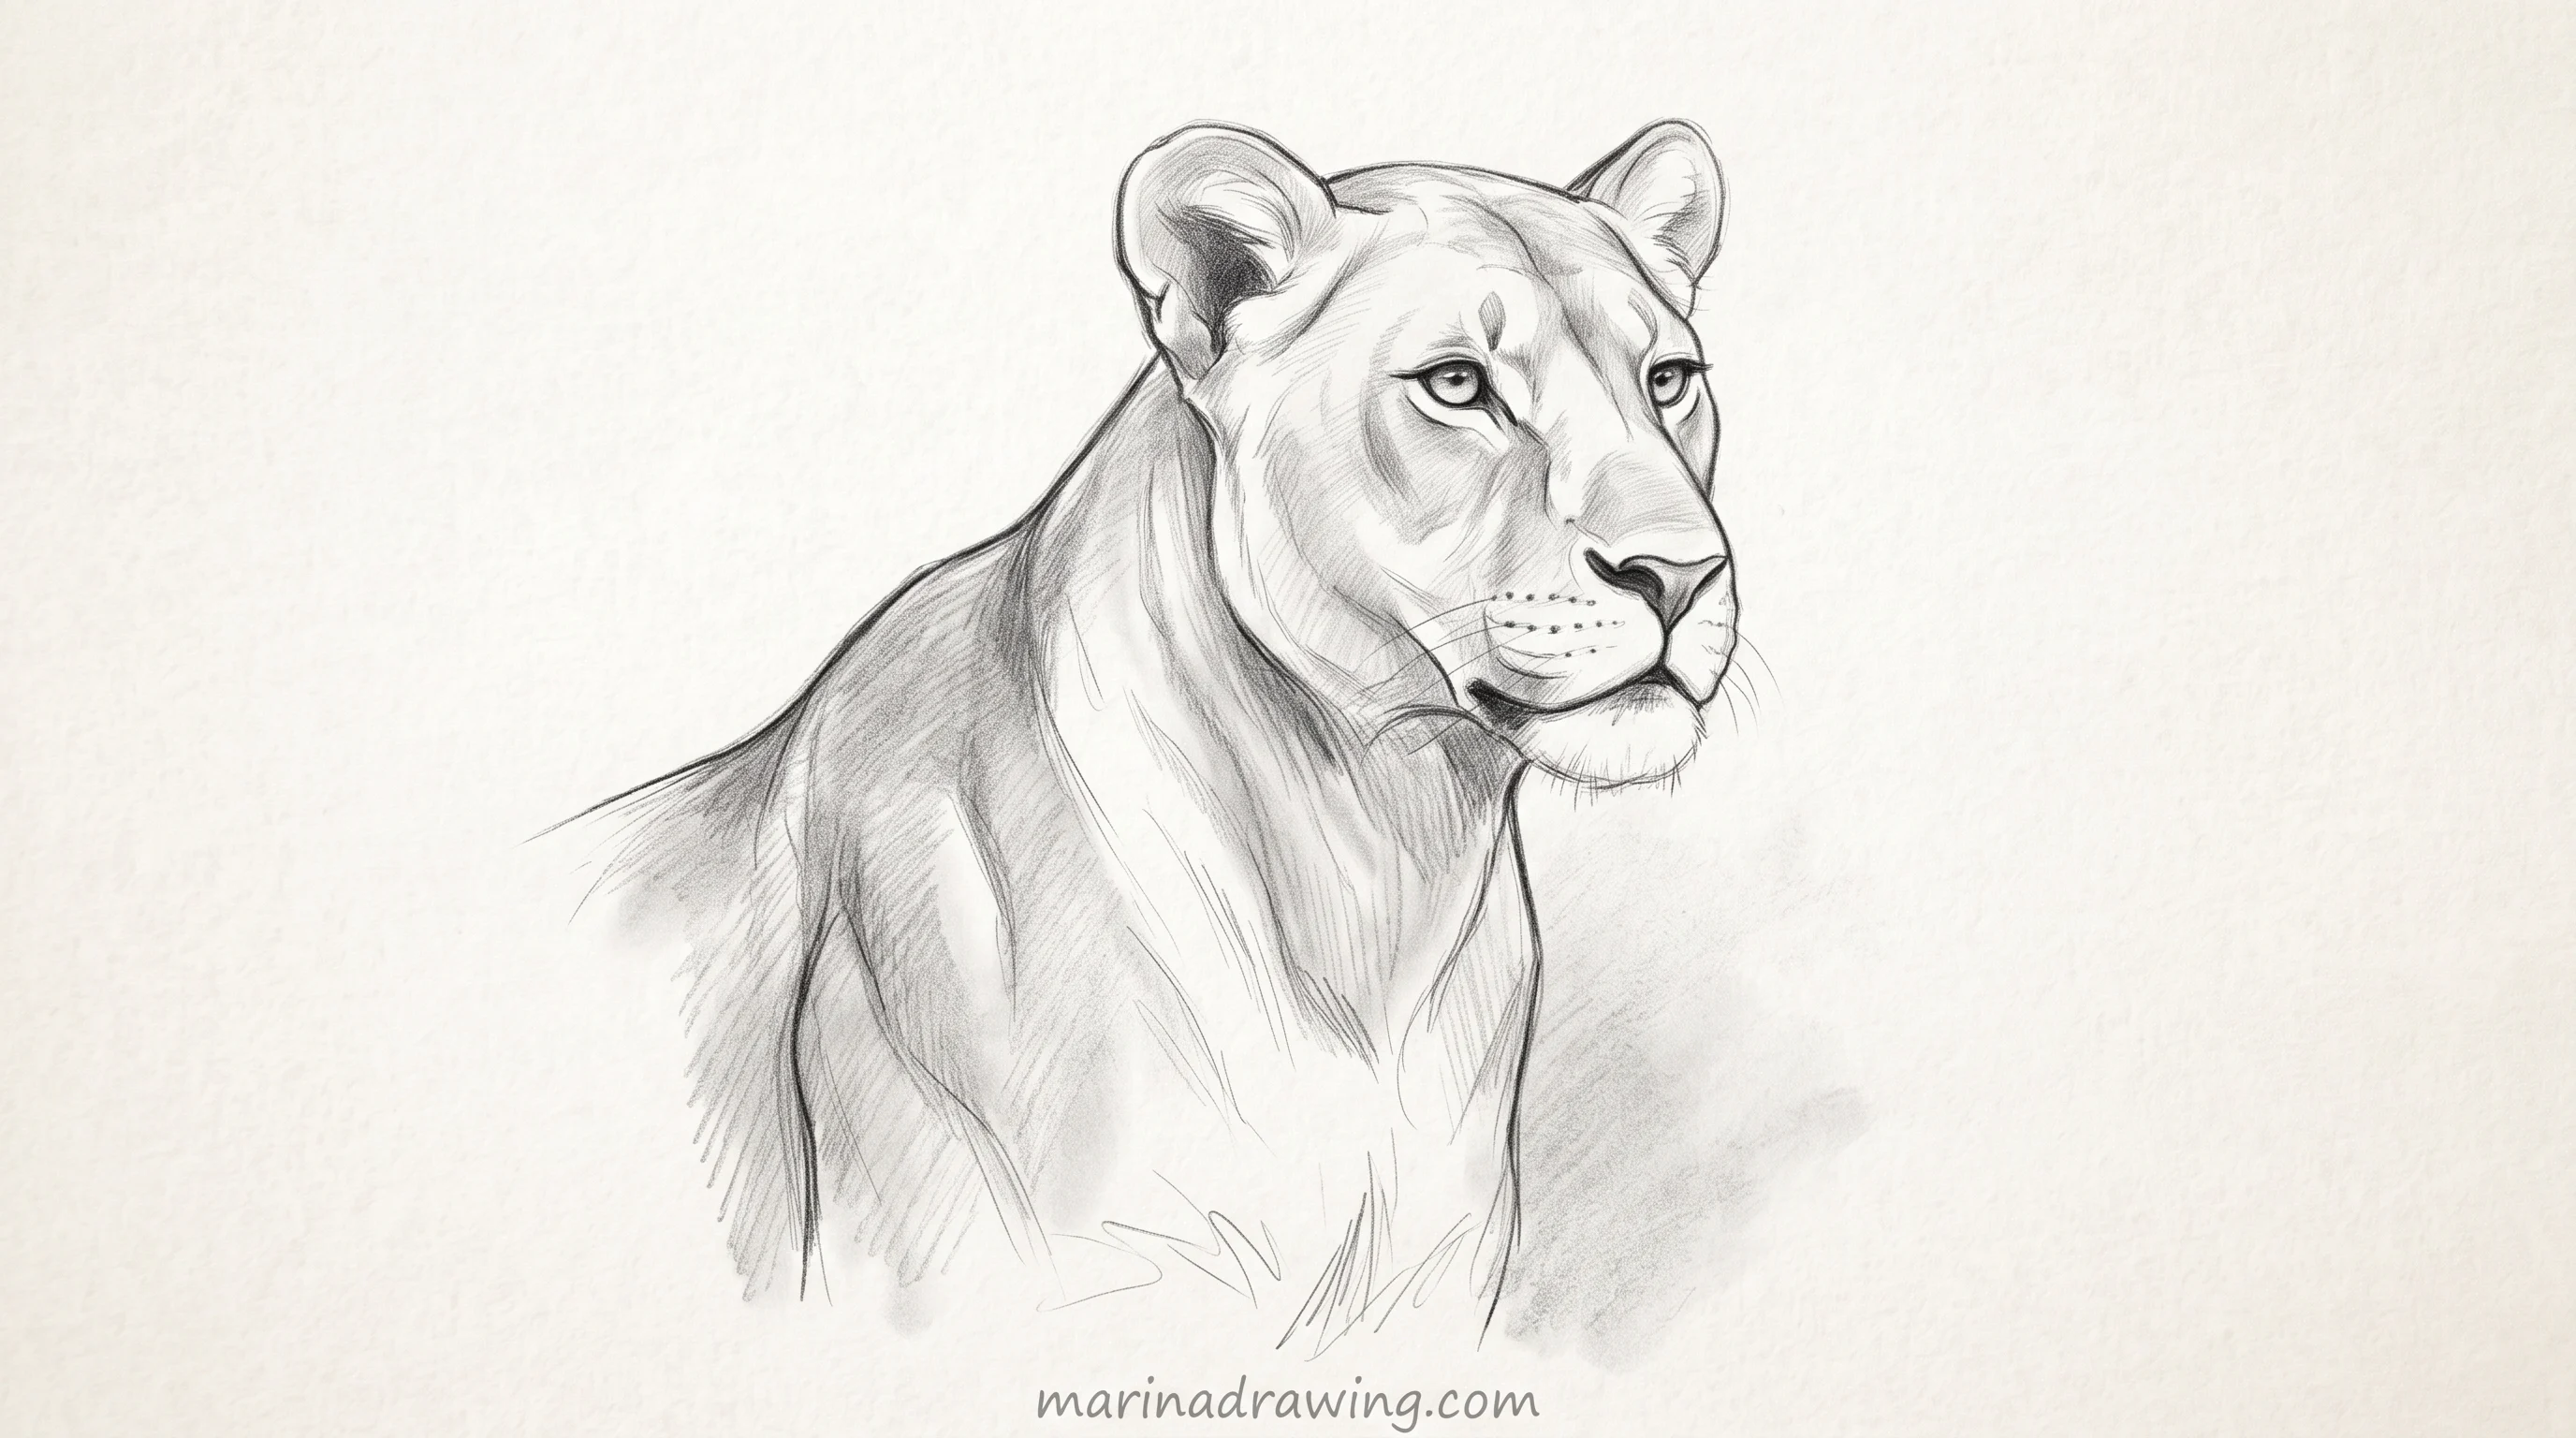
The shapes are the same minus the triangle. The head is smaller in proportion to the body, the muzzle a little longer, the neck visible and powerful. The ears look bigger because nothing surrounds them.
Draw the lioness second, straight after your first lion. Most of my students find the muzzle problem right there.
If that happens to you, it is a build issue and not a talent issue. A course like this one works through skull construction in a way a single article cannot.
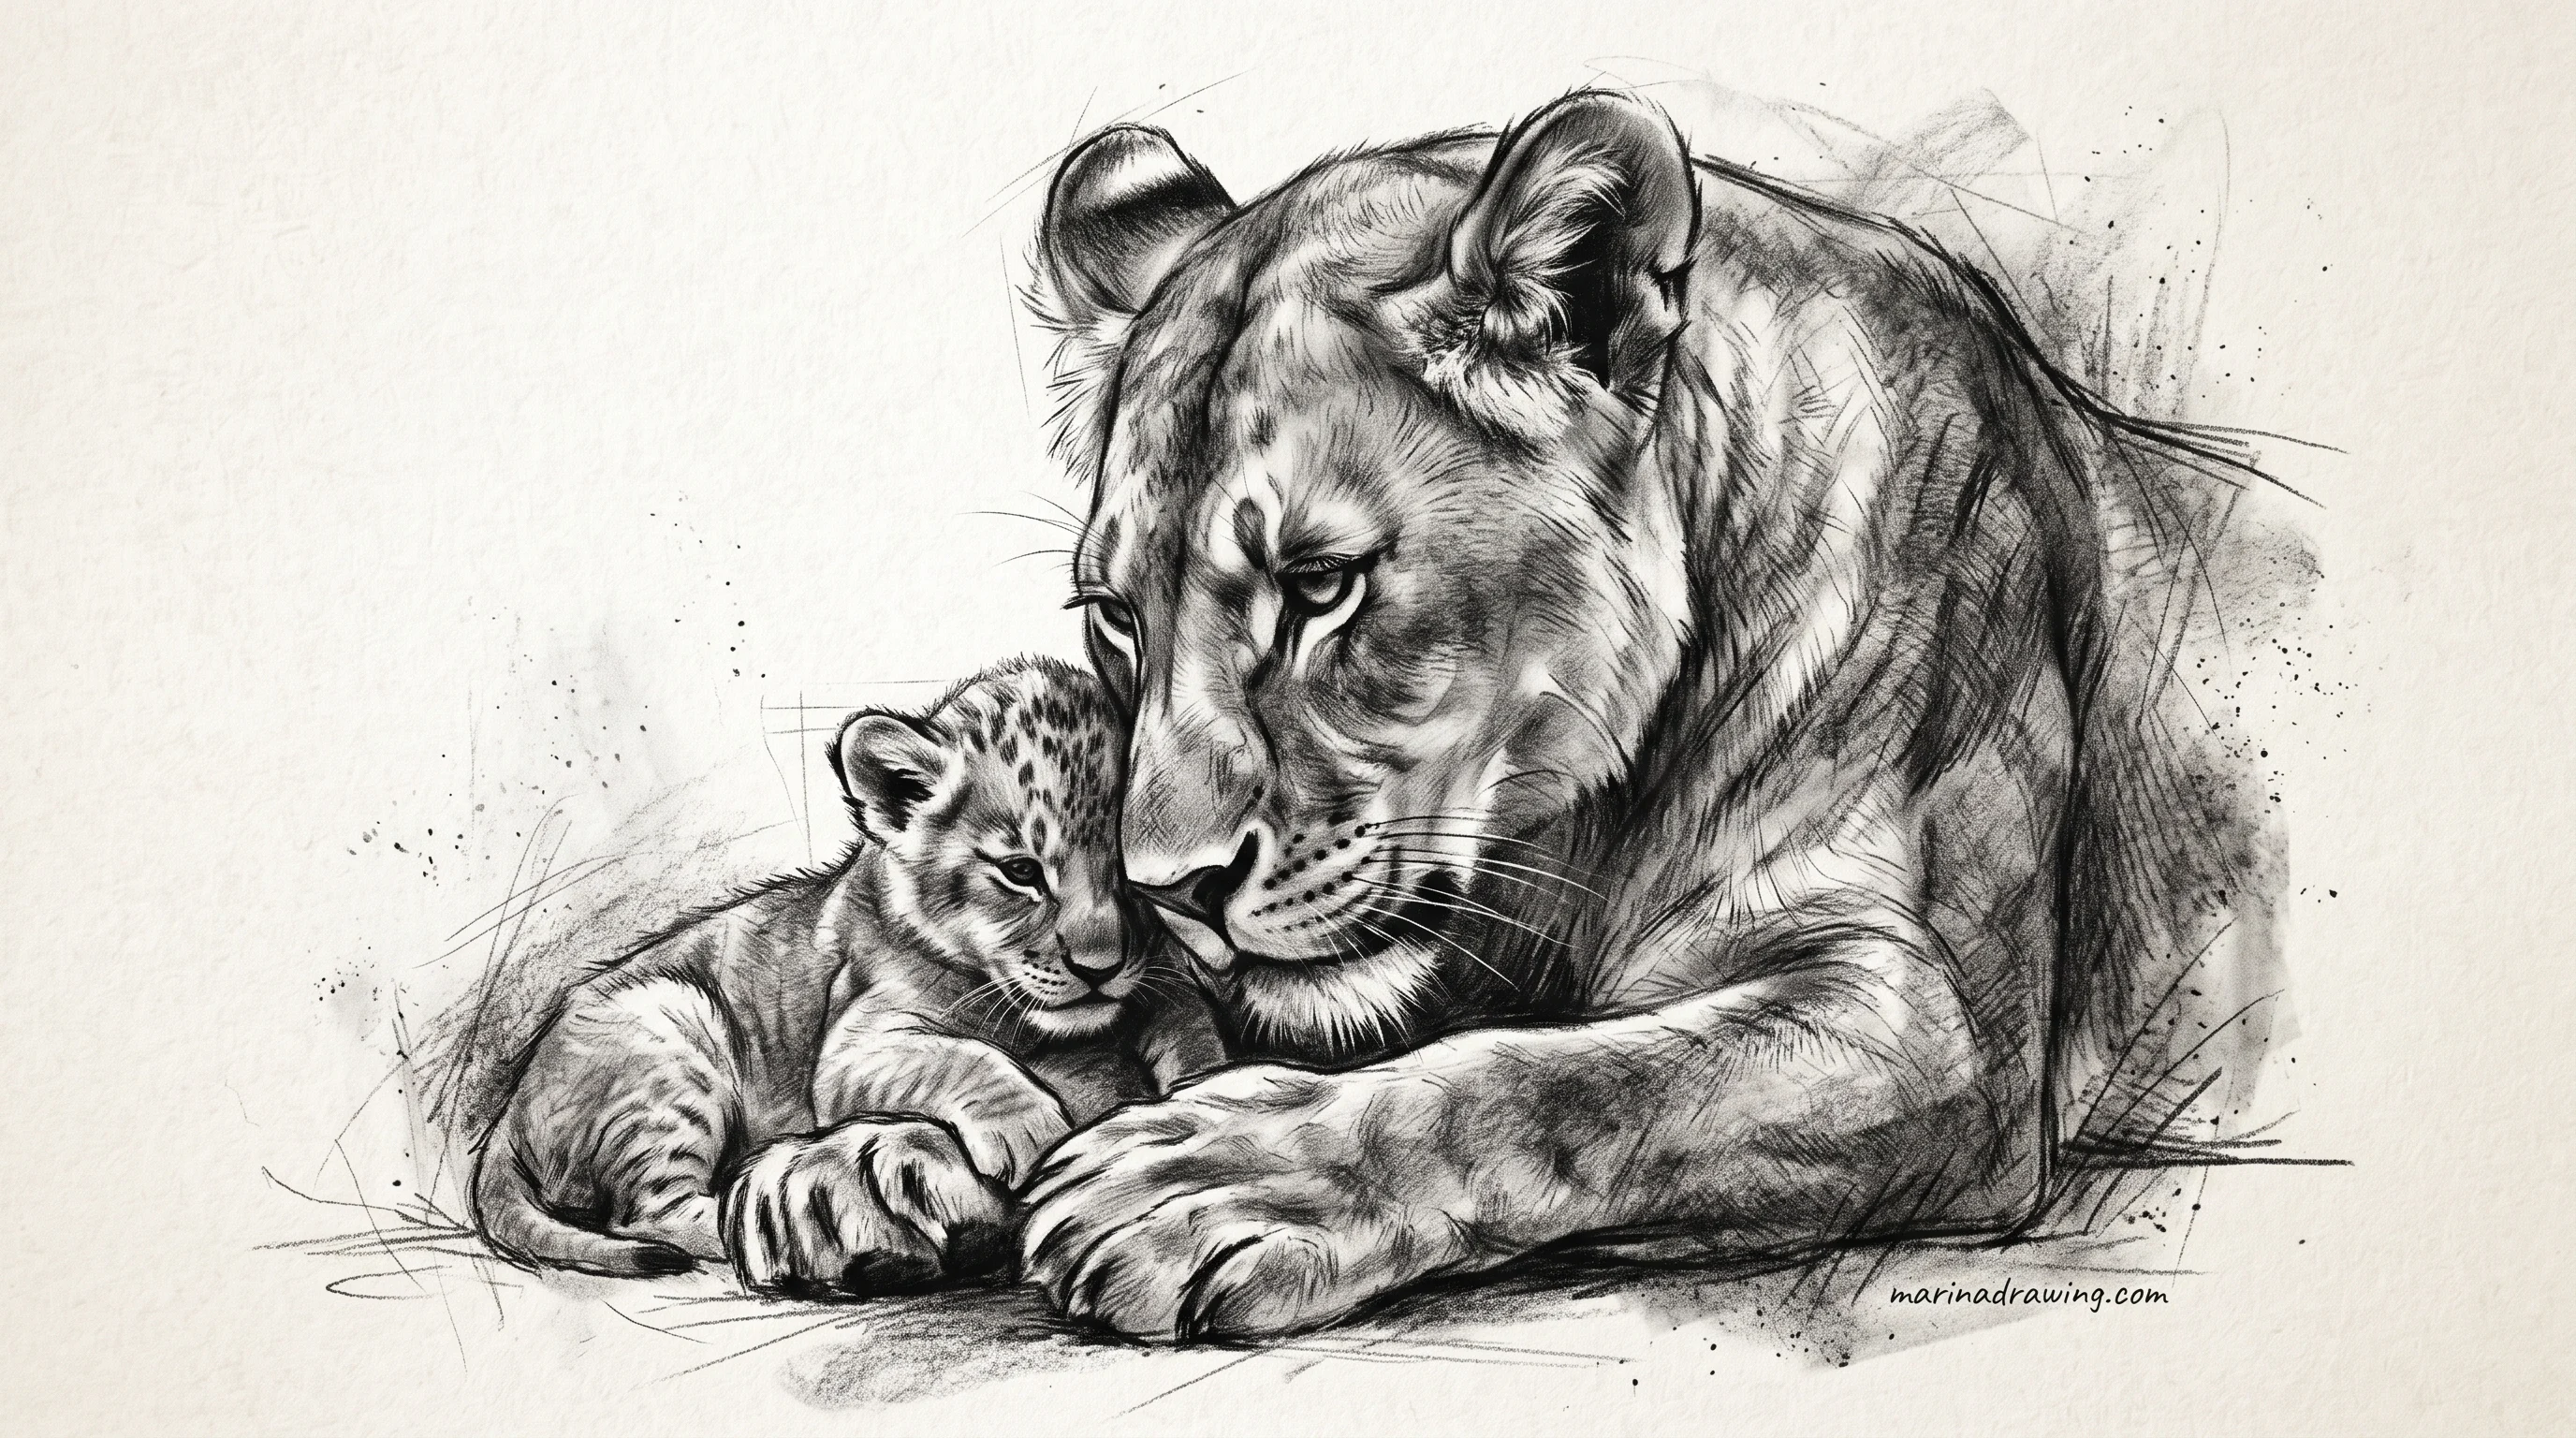
| Idea | Hardest part | Pencil that suits it |
|---|---|---|
| Front-on face | Keeping both eyes on one line | HB, light first pass |
| Calm profile | The muzzle wedge, not the outline | HB plus 2B for the nose |
| Roaring lion | The open jaw stays inside the skull | 2B, the darks carry it |
| Lioness | No mane to hide a weak head shape | HB only, shape is everything |
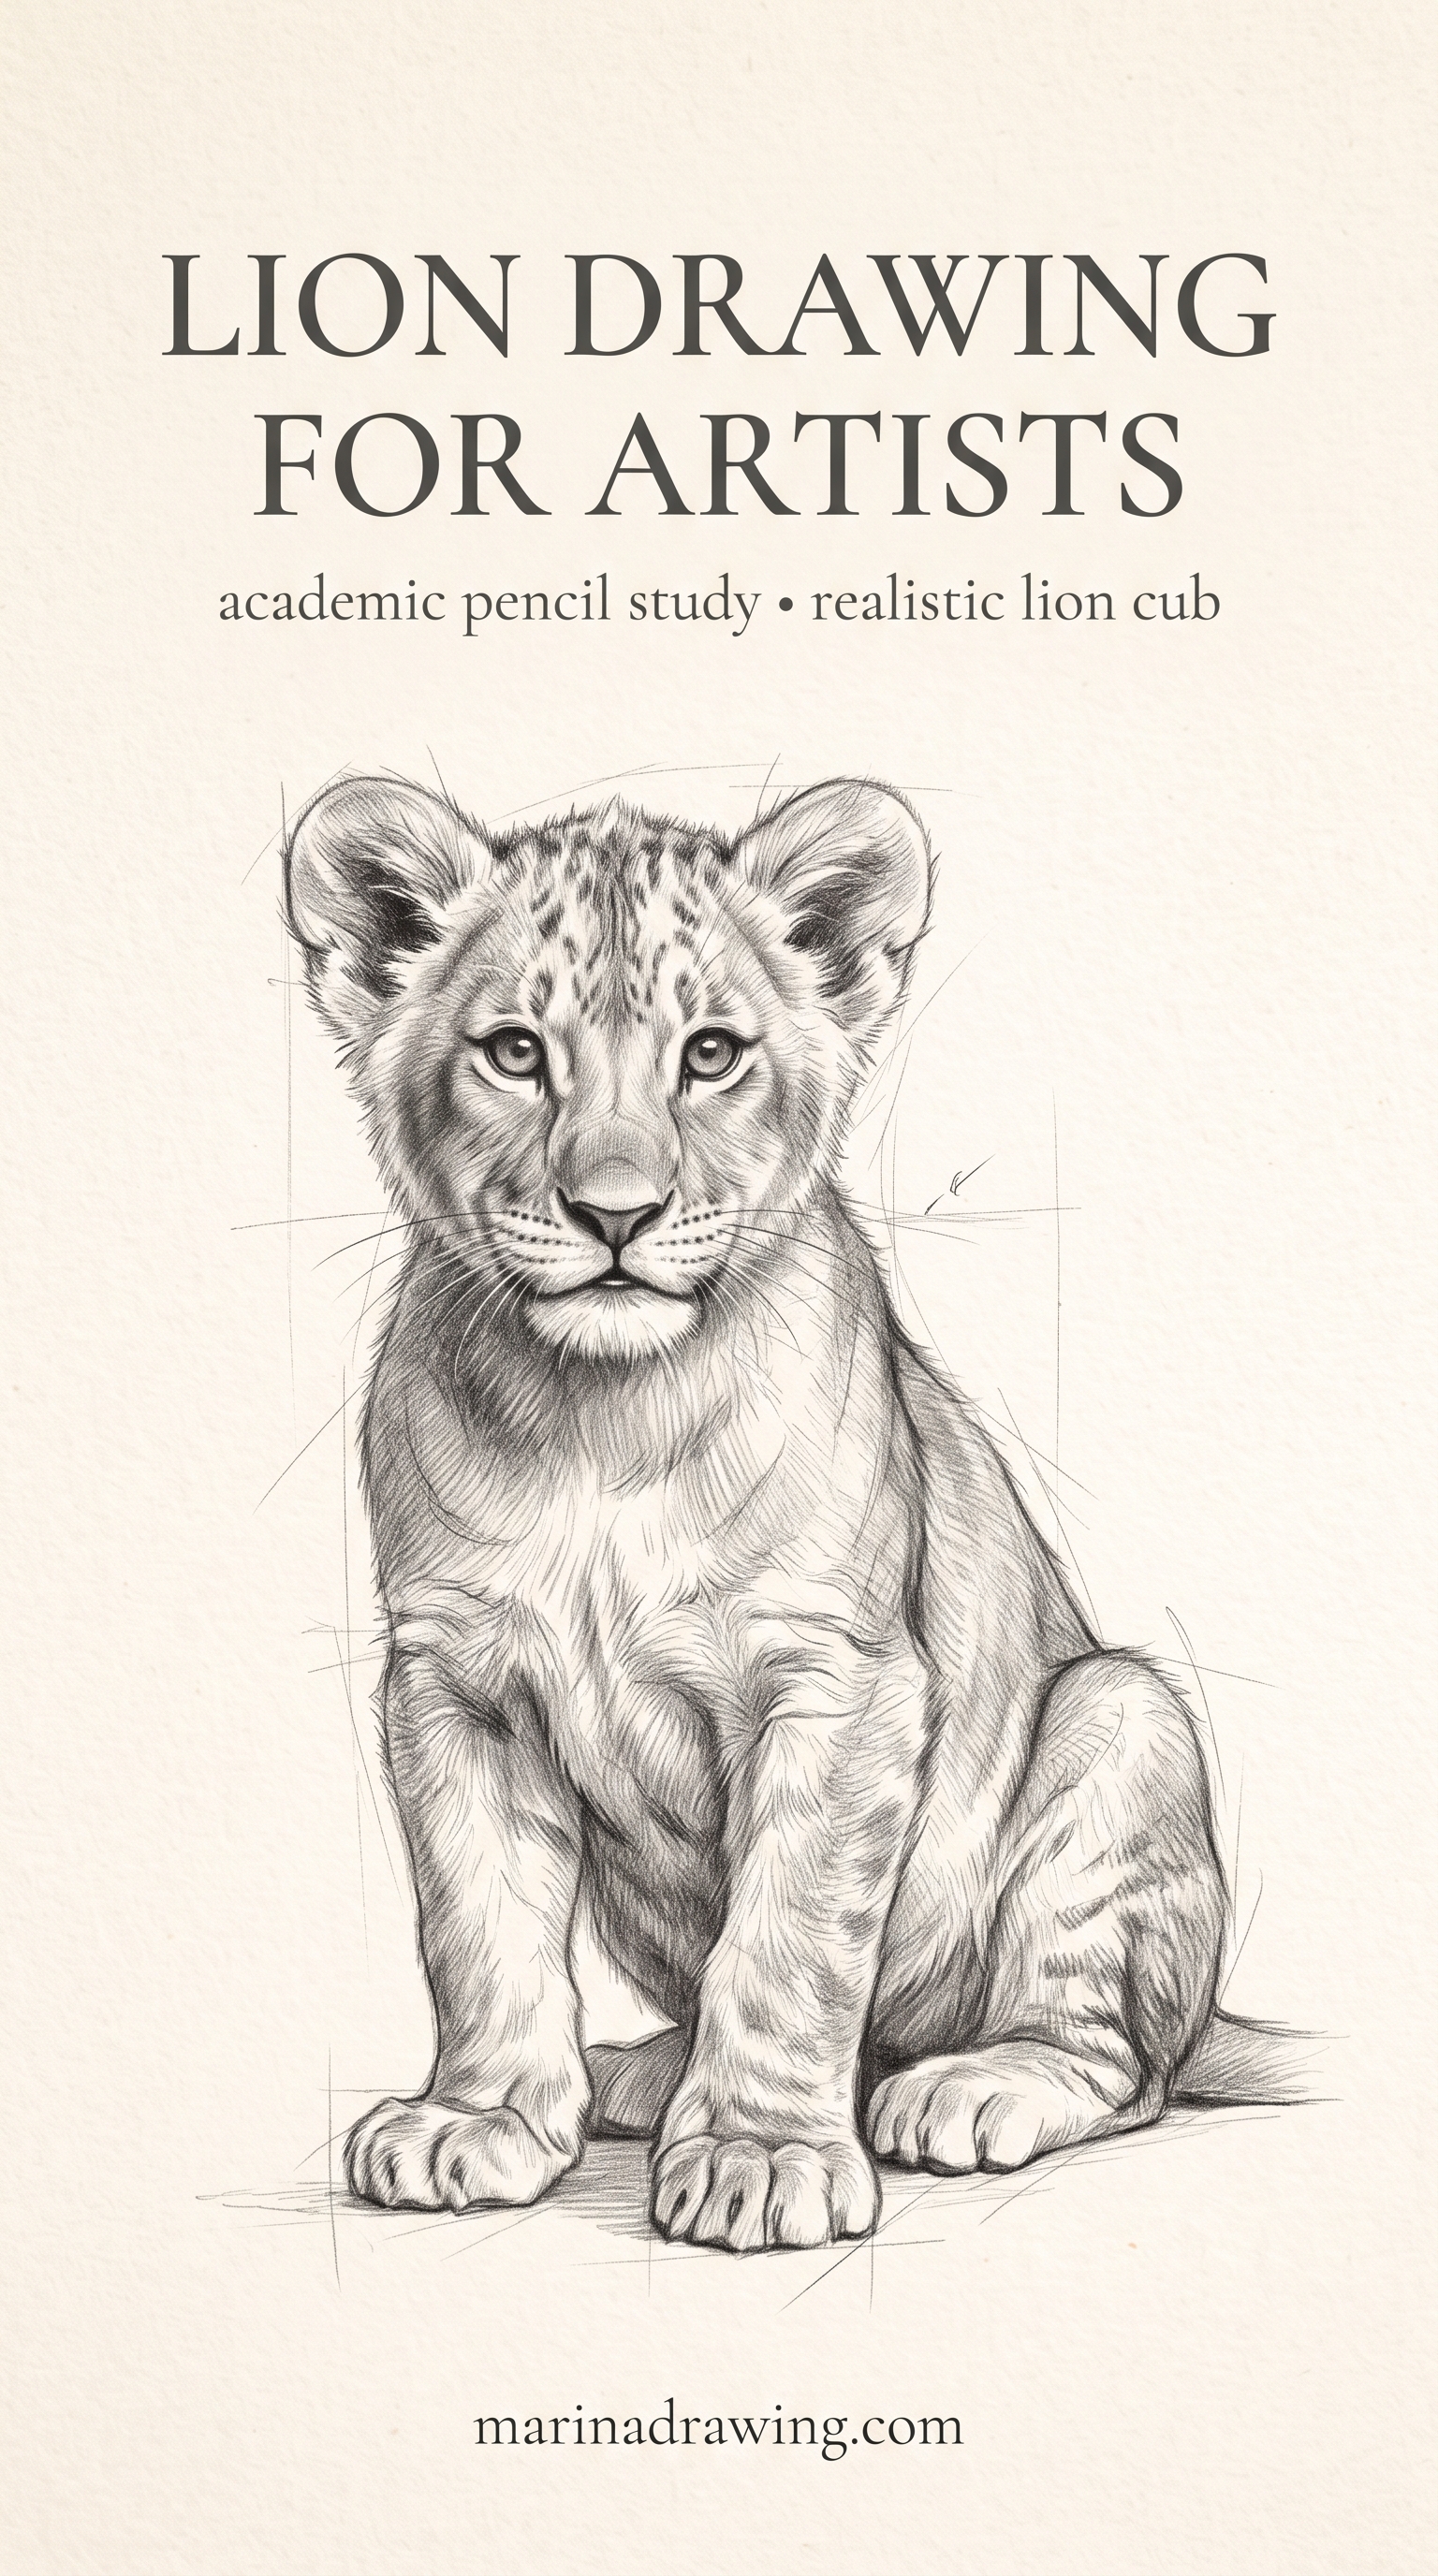
A baby lion
A baby lion drawing is the cute ratios applied honestly rather than cartooned. Big head, big eyes, short legs, oversized paws, and a mane that is only a soft fuzz along the top of the head.
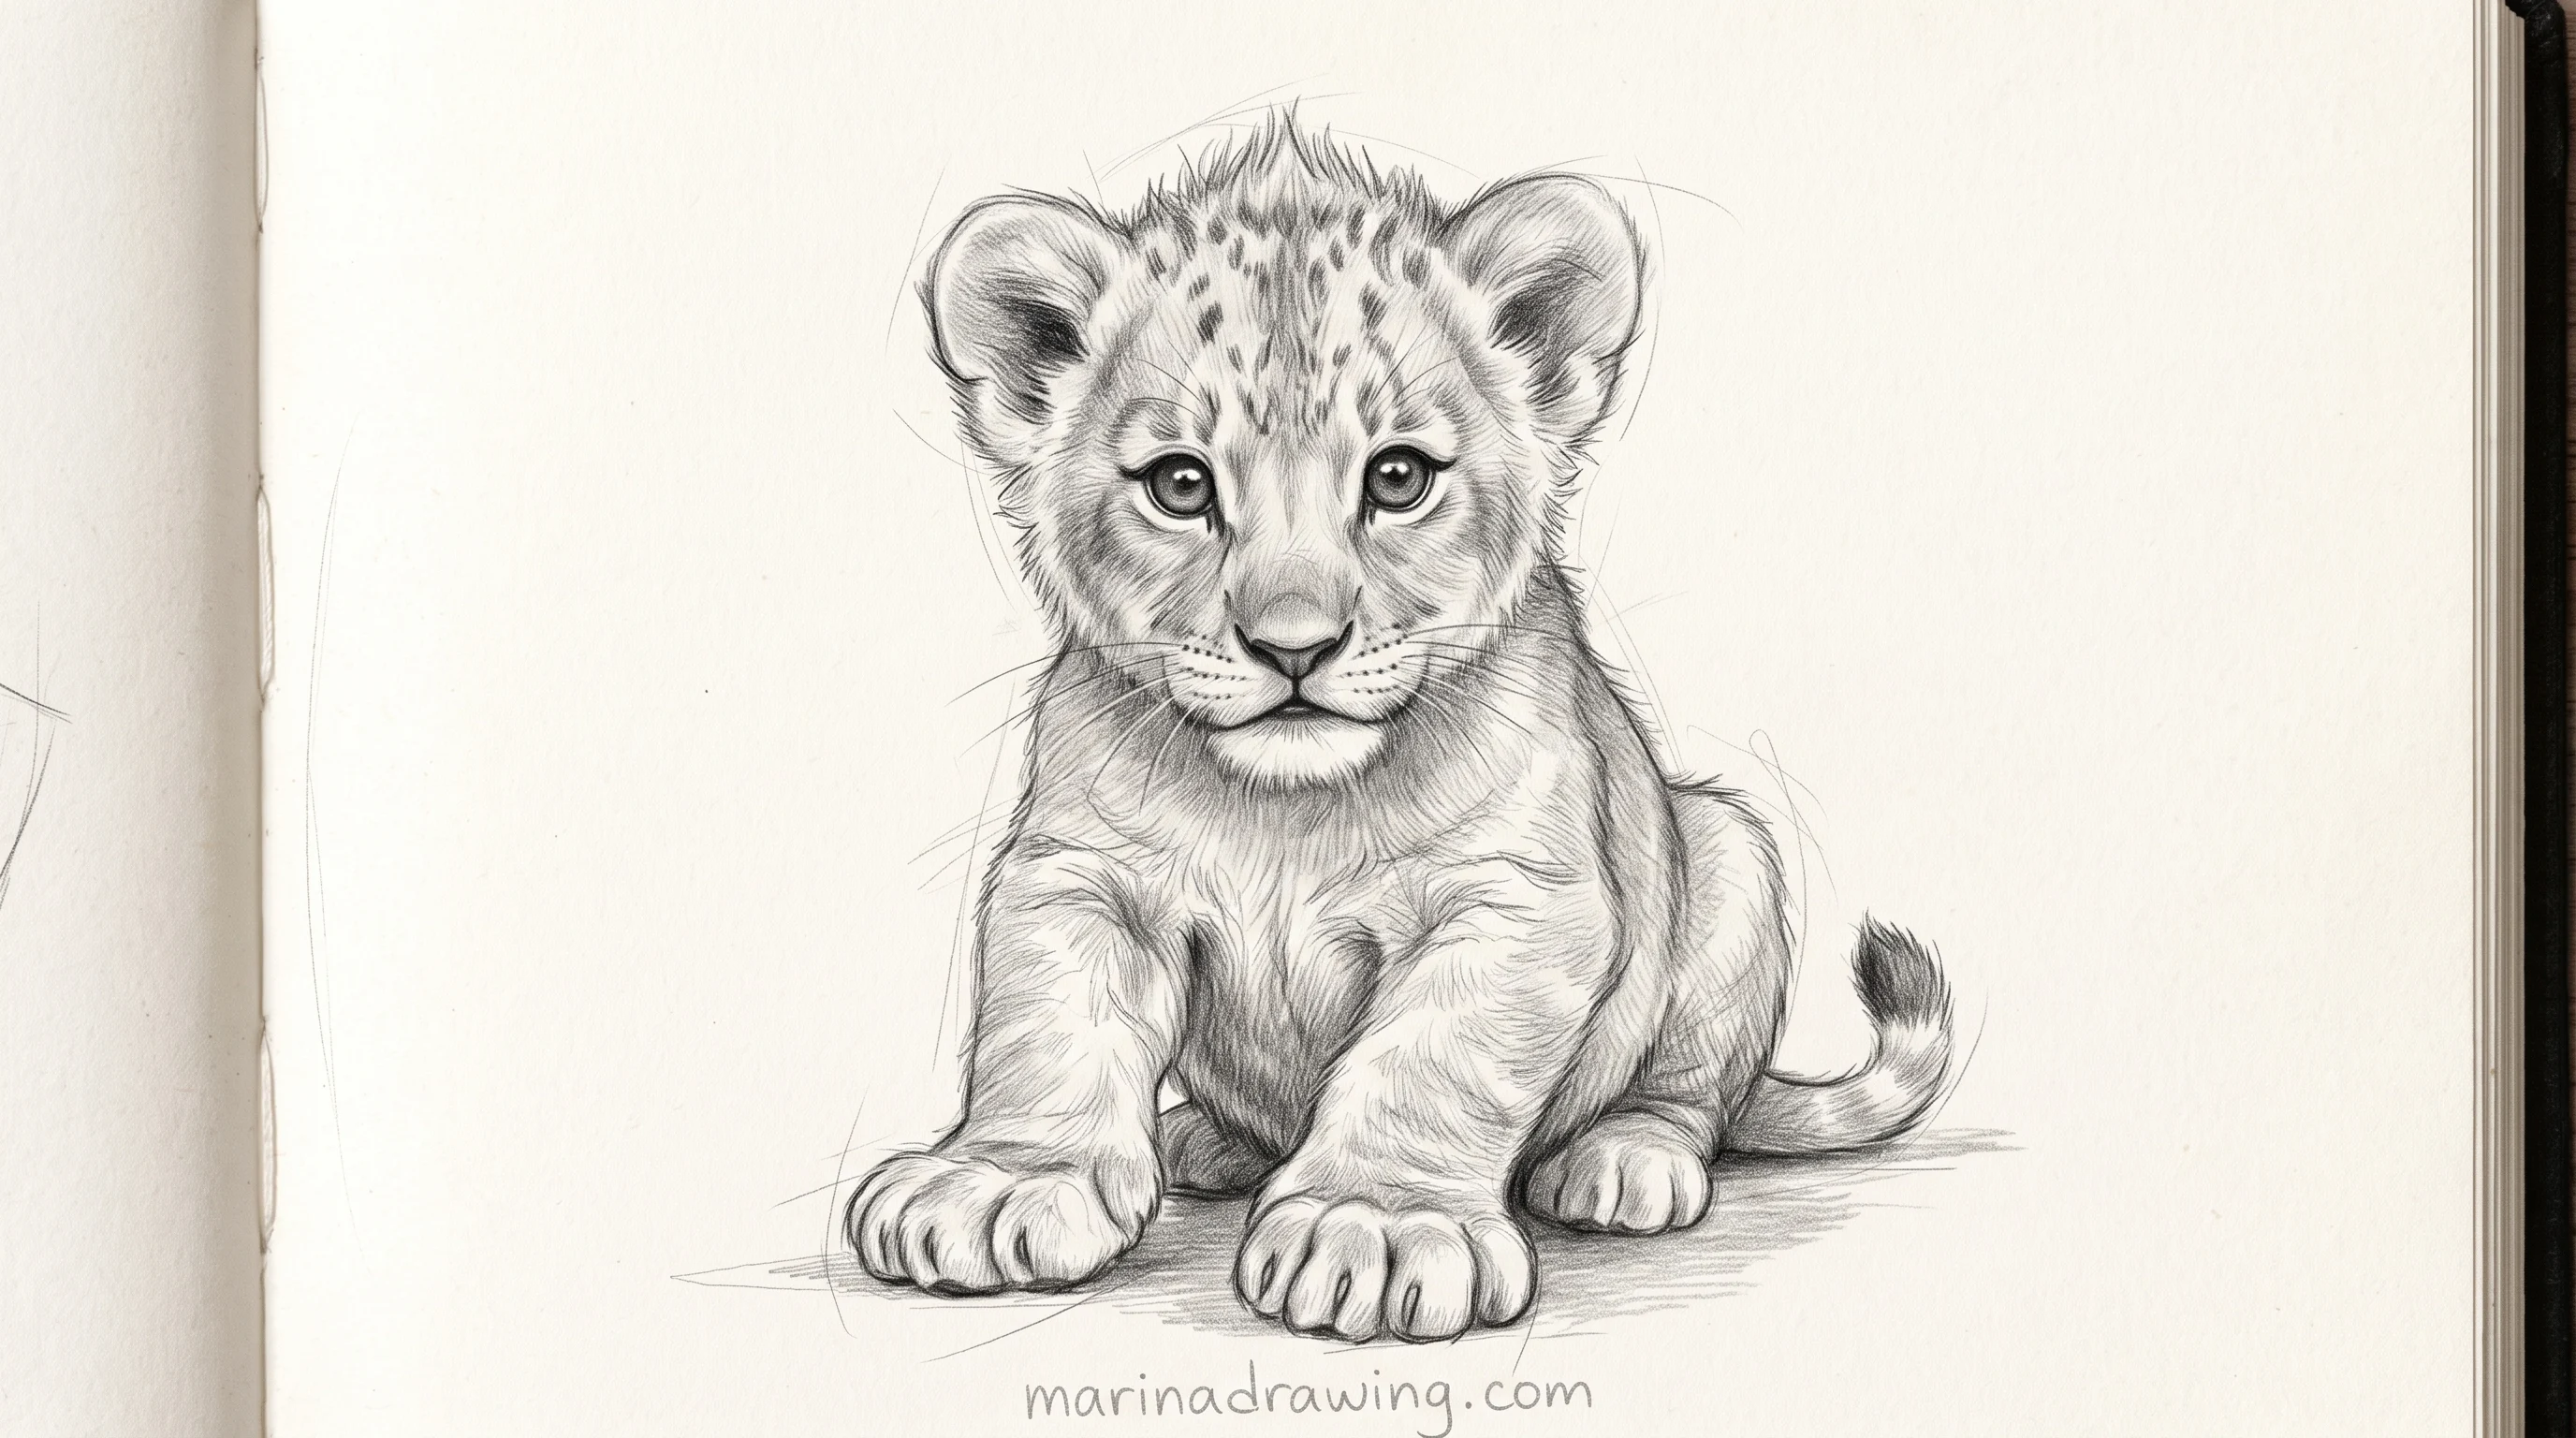
Keep the body soft and rounded, with no muscle definition at all. Give the tail a tiny tuft. The most common error here is drawing a small adult: if the legs are long and the shoulder shows, you have drawn a lion standing far away.

A silhouette with the scene inside
This one needs no fur and no shading, so it suits an evening when you want something finished.
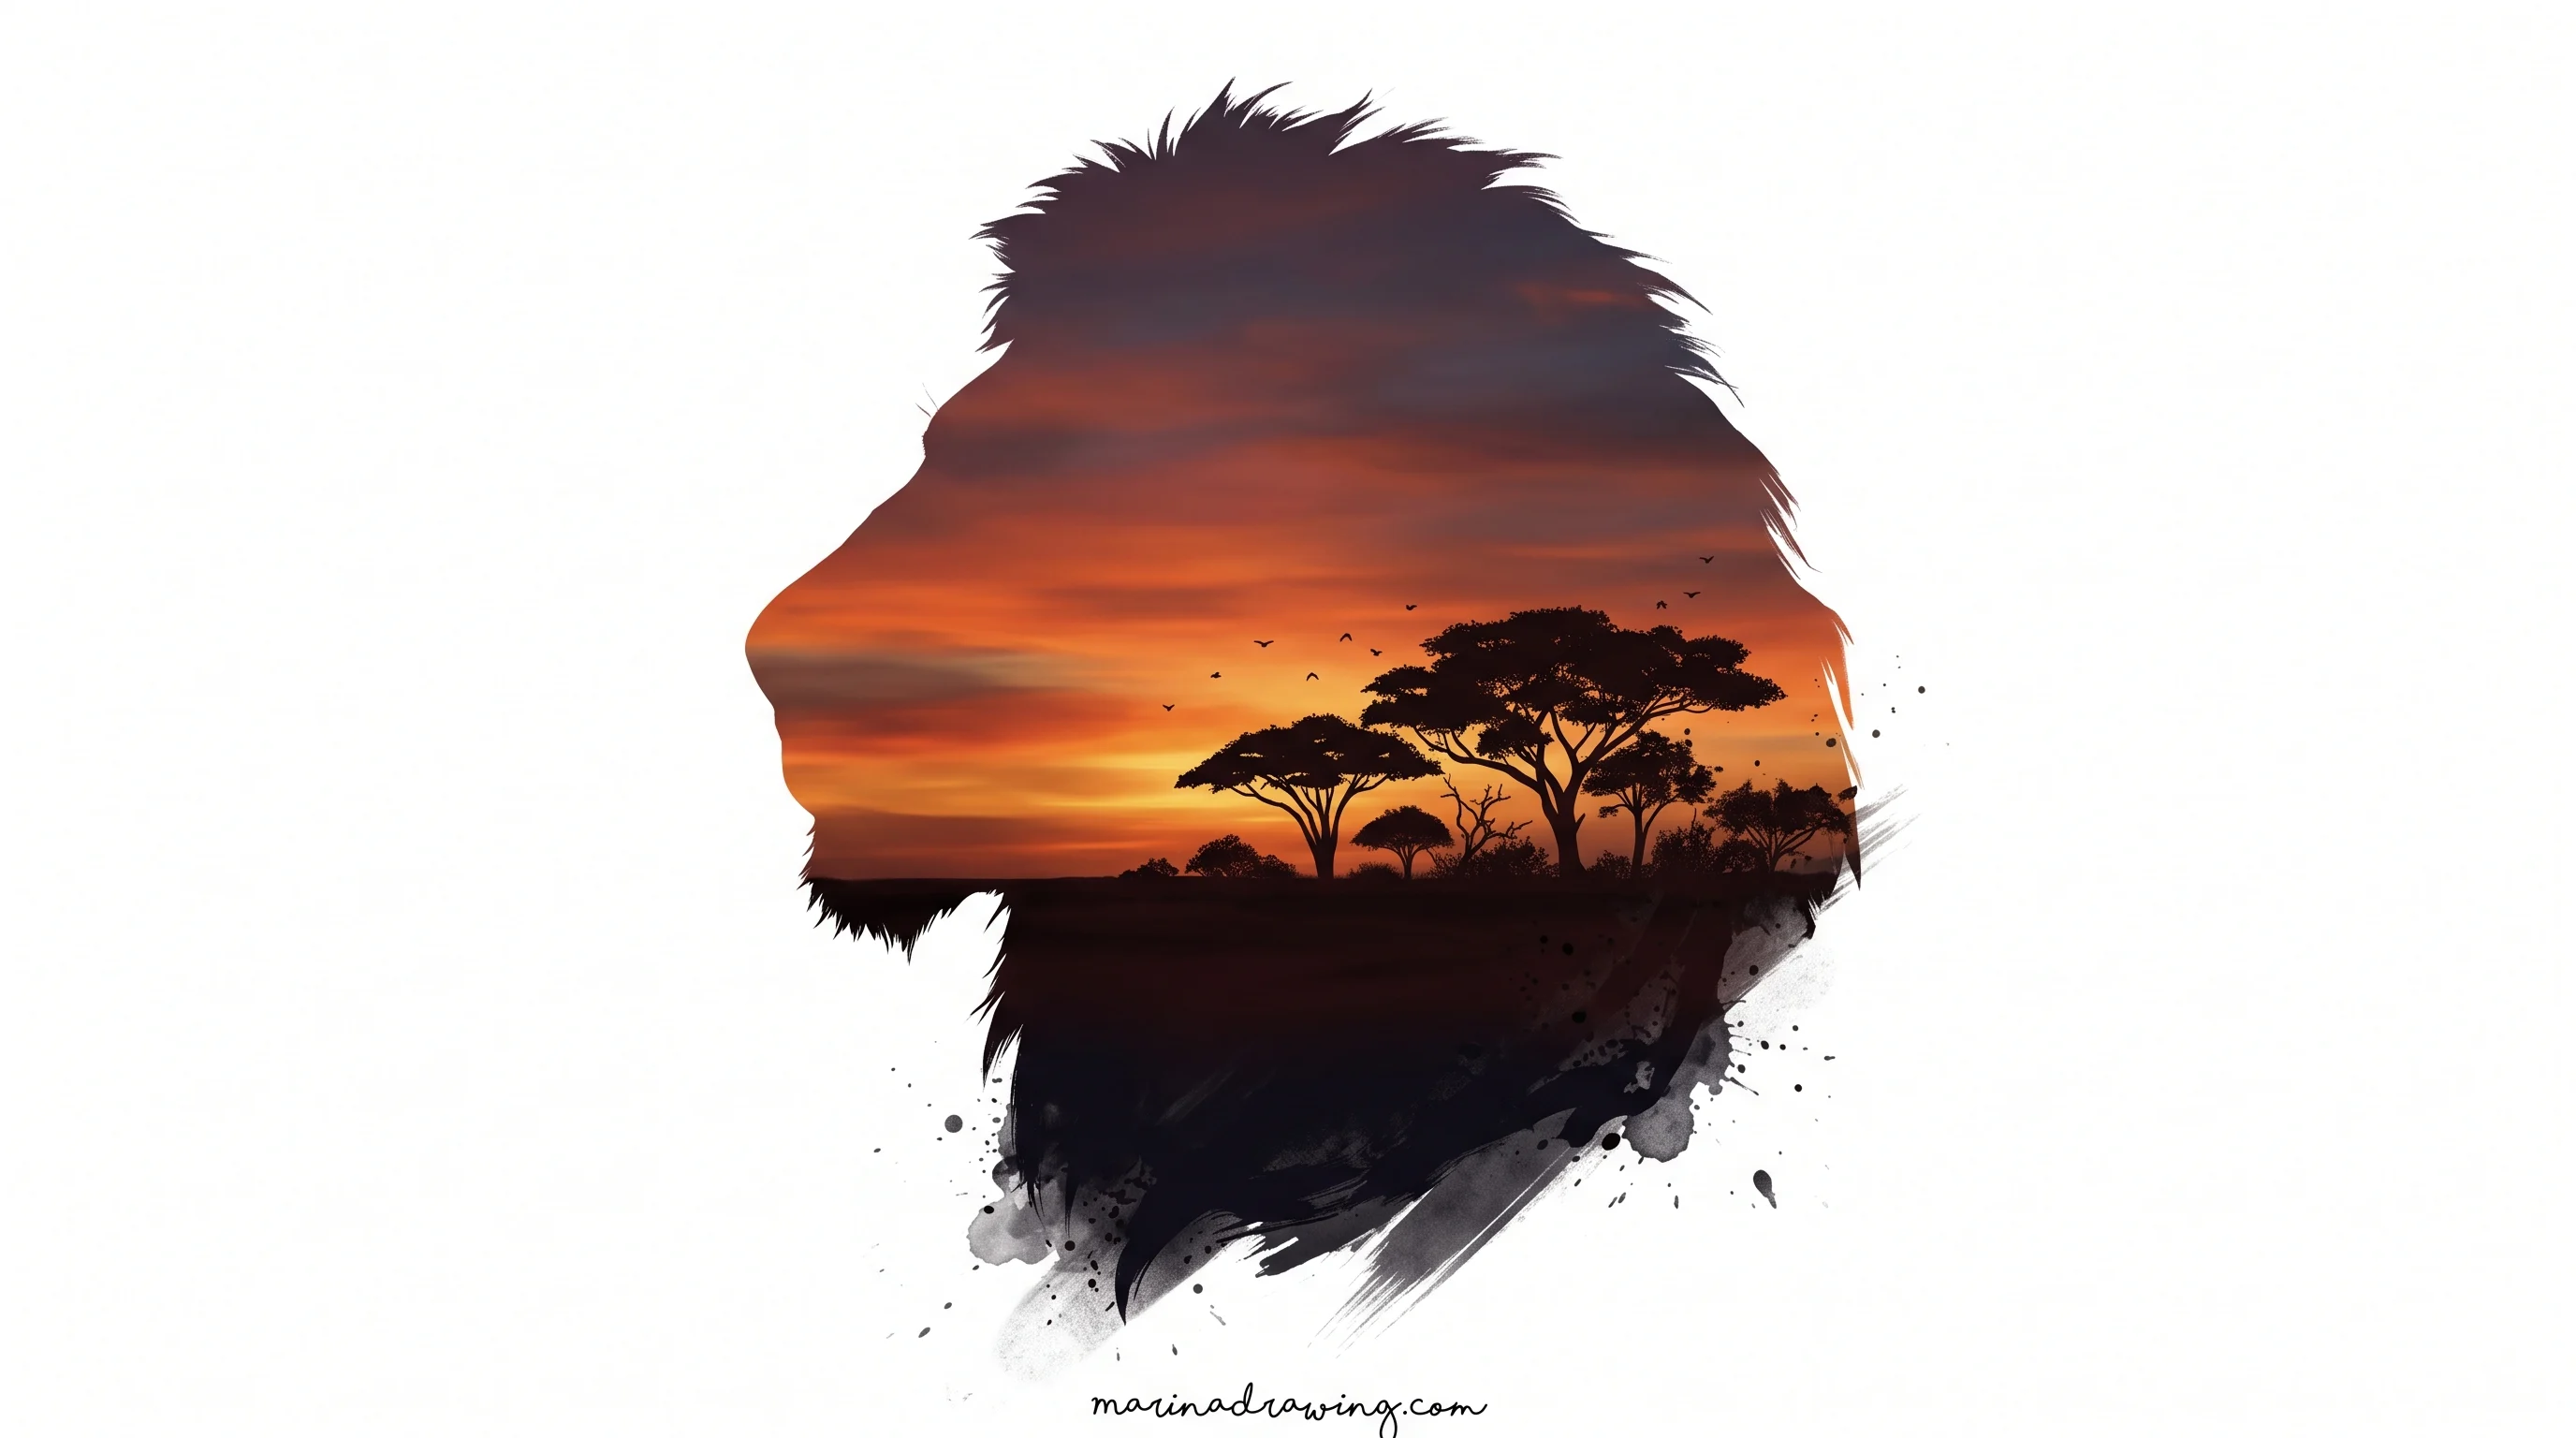
Draw the lion’s head in profile as a single outline, filled solid. Then, instead of filling, put a scene inside the shape: a low sun, a flat horizon, two or three acacia shapes, a bird or two. Everything outside the outline stays white.
The whole drawing depends on the outline, so trace your own earlier profile rather than inventing a new one. A clean silhouette from a wobbly outline is impossible.
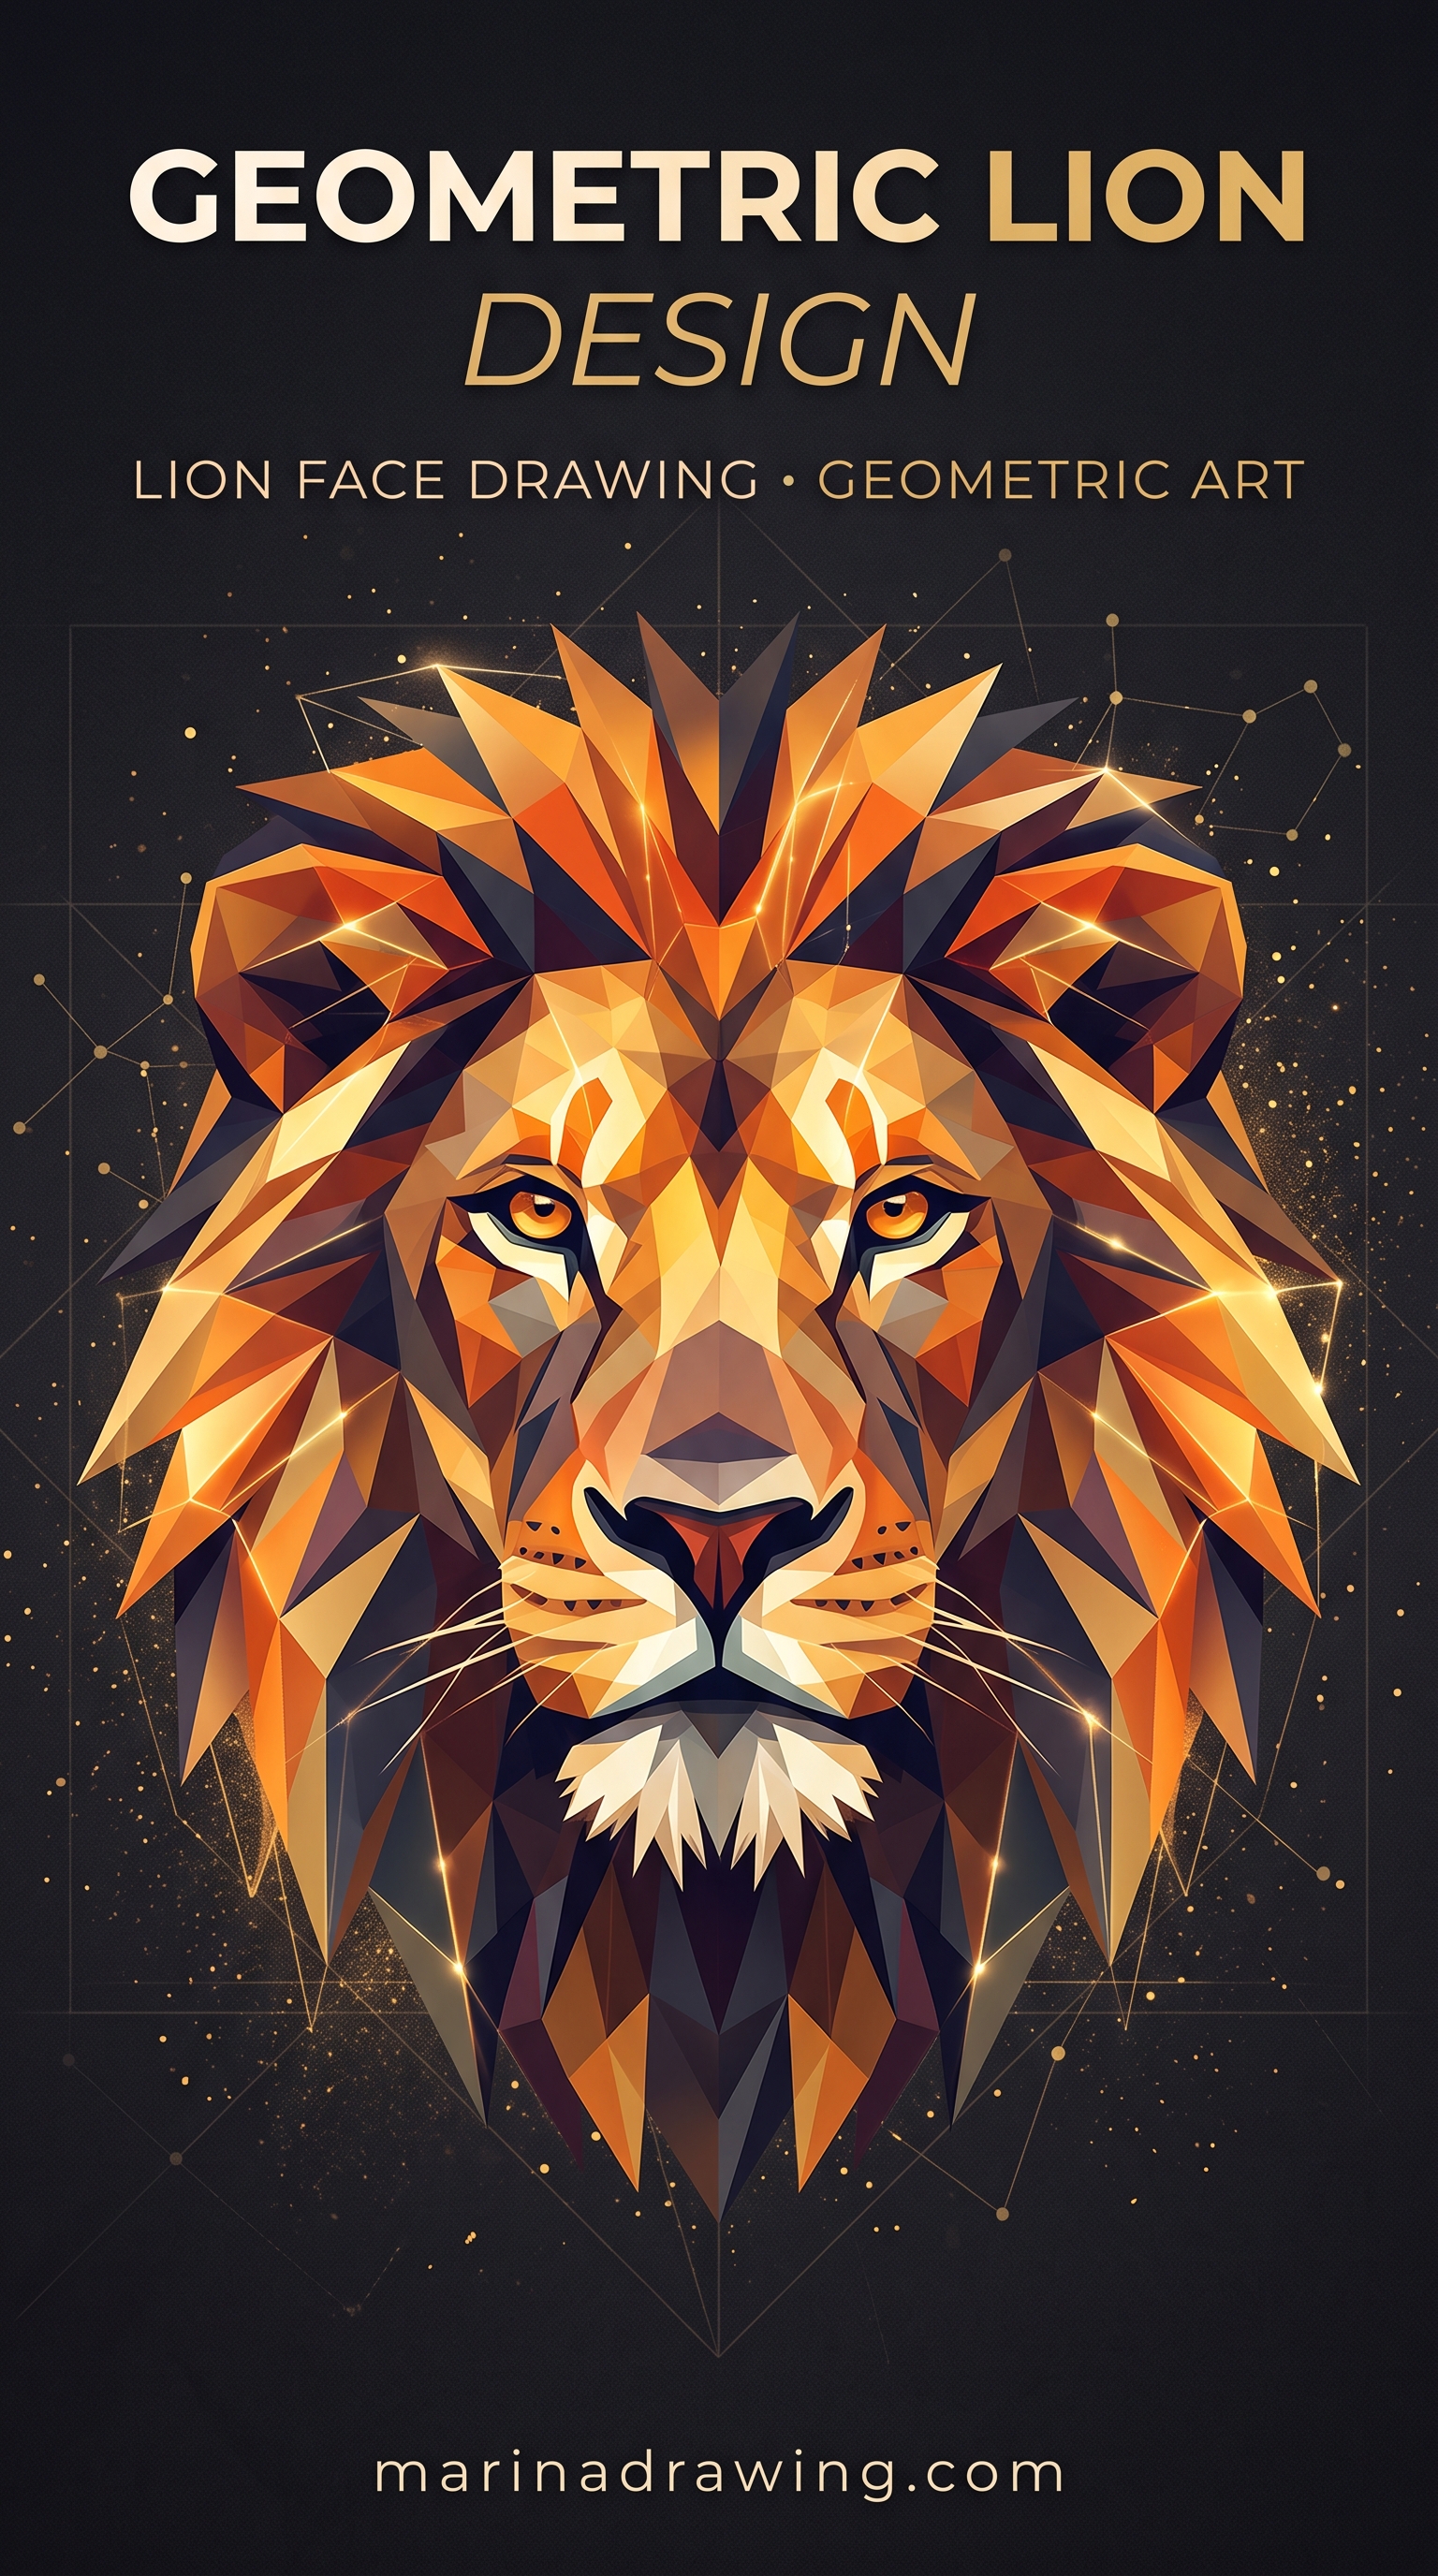
The geometric, faceted head
Here you draw the lion with no curved lines at all. It teaches the planes of the head better than any amount of careful shading, which is why I keep coming back to it.

- Build the ball and wedge as usual, lightly.
- Replace every curve with two or three straight segments.
- Break the mane into flat triangles radiating outward, each one a single tone.
- Shade each facet with one flat value, no blending. Three values total: light, mid, dark.
Because each facet has one value, you cannot smudge your way out of a wrong decision. Mistakes stay visible, which is the point. If flat even tone is what gives you trouble, where shading goes clumpy deals with that directly.
Full figure, standing
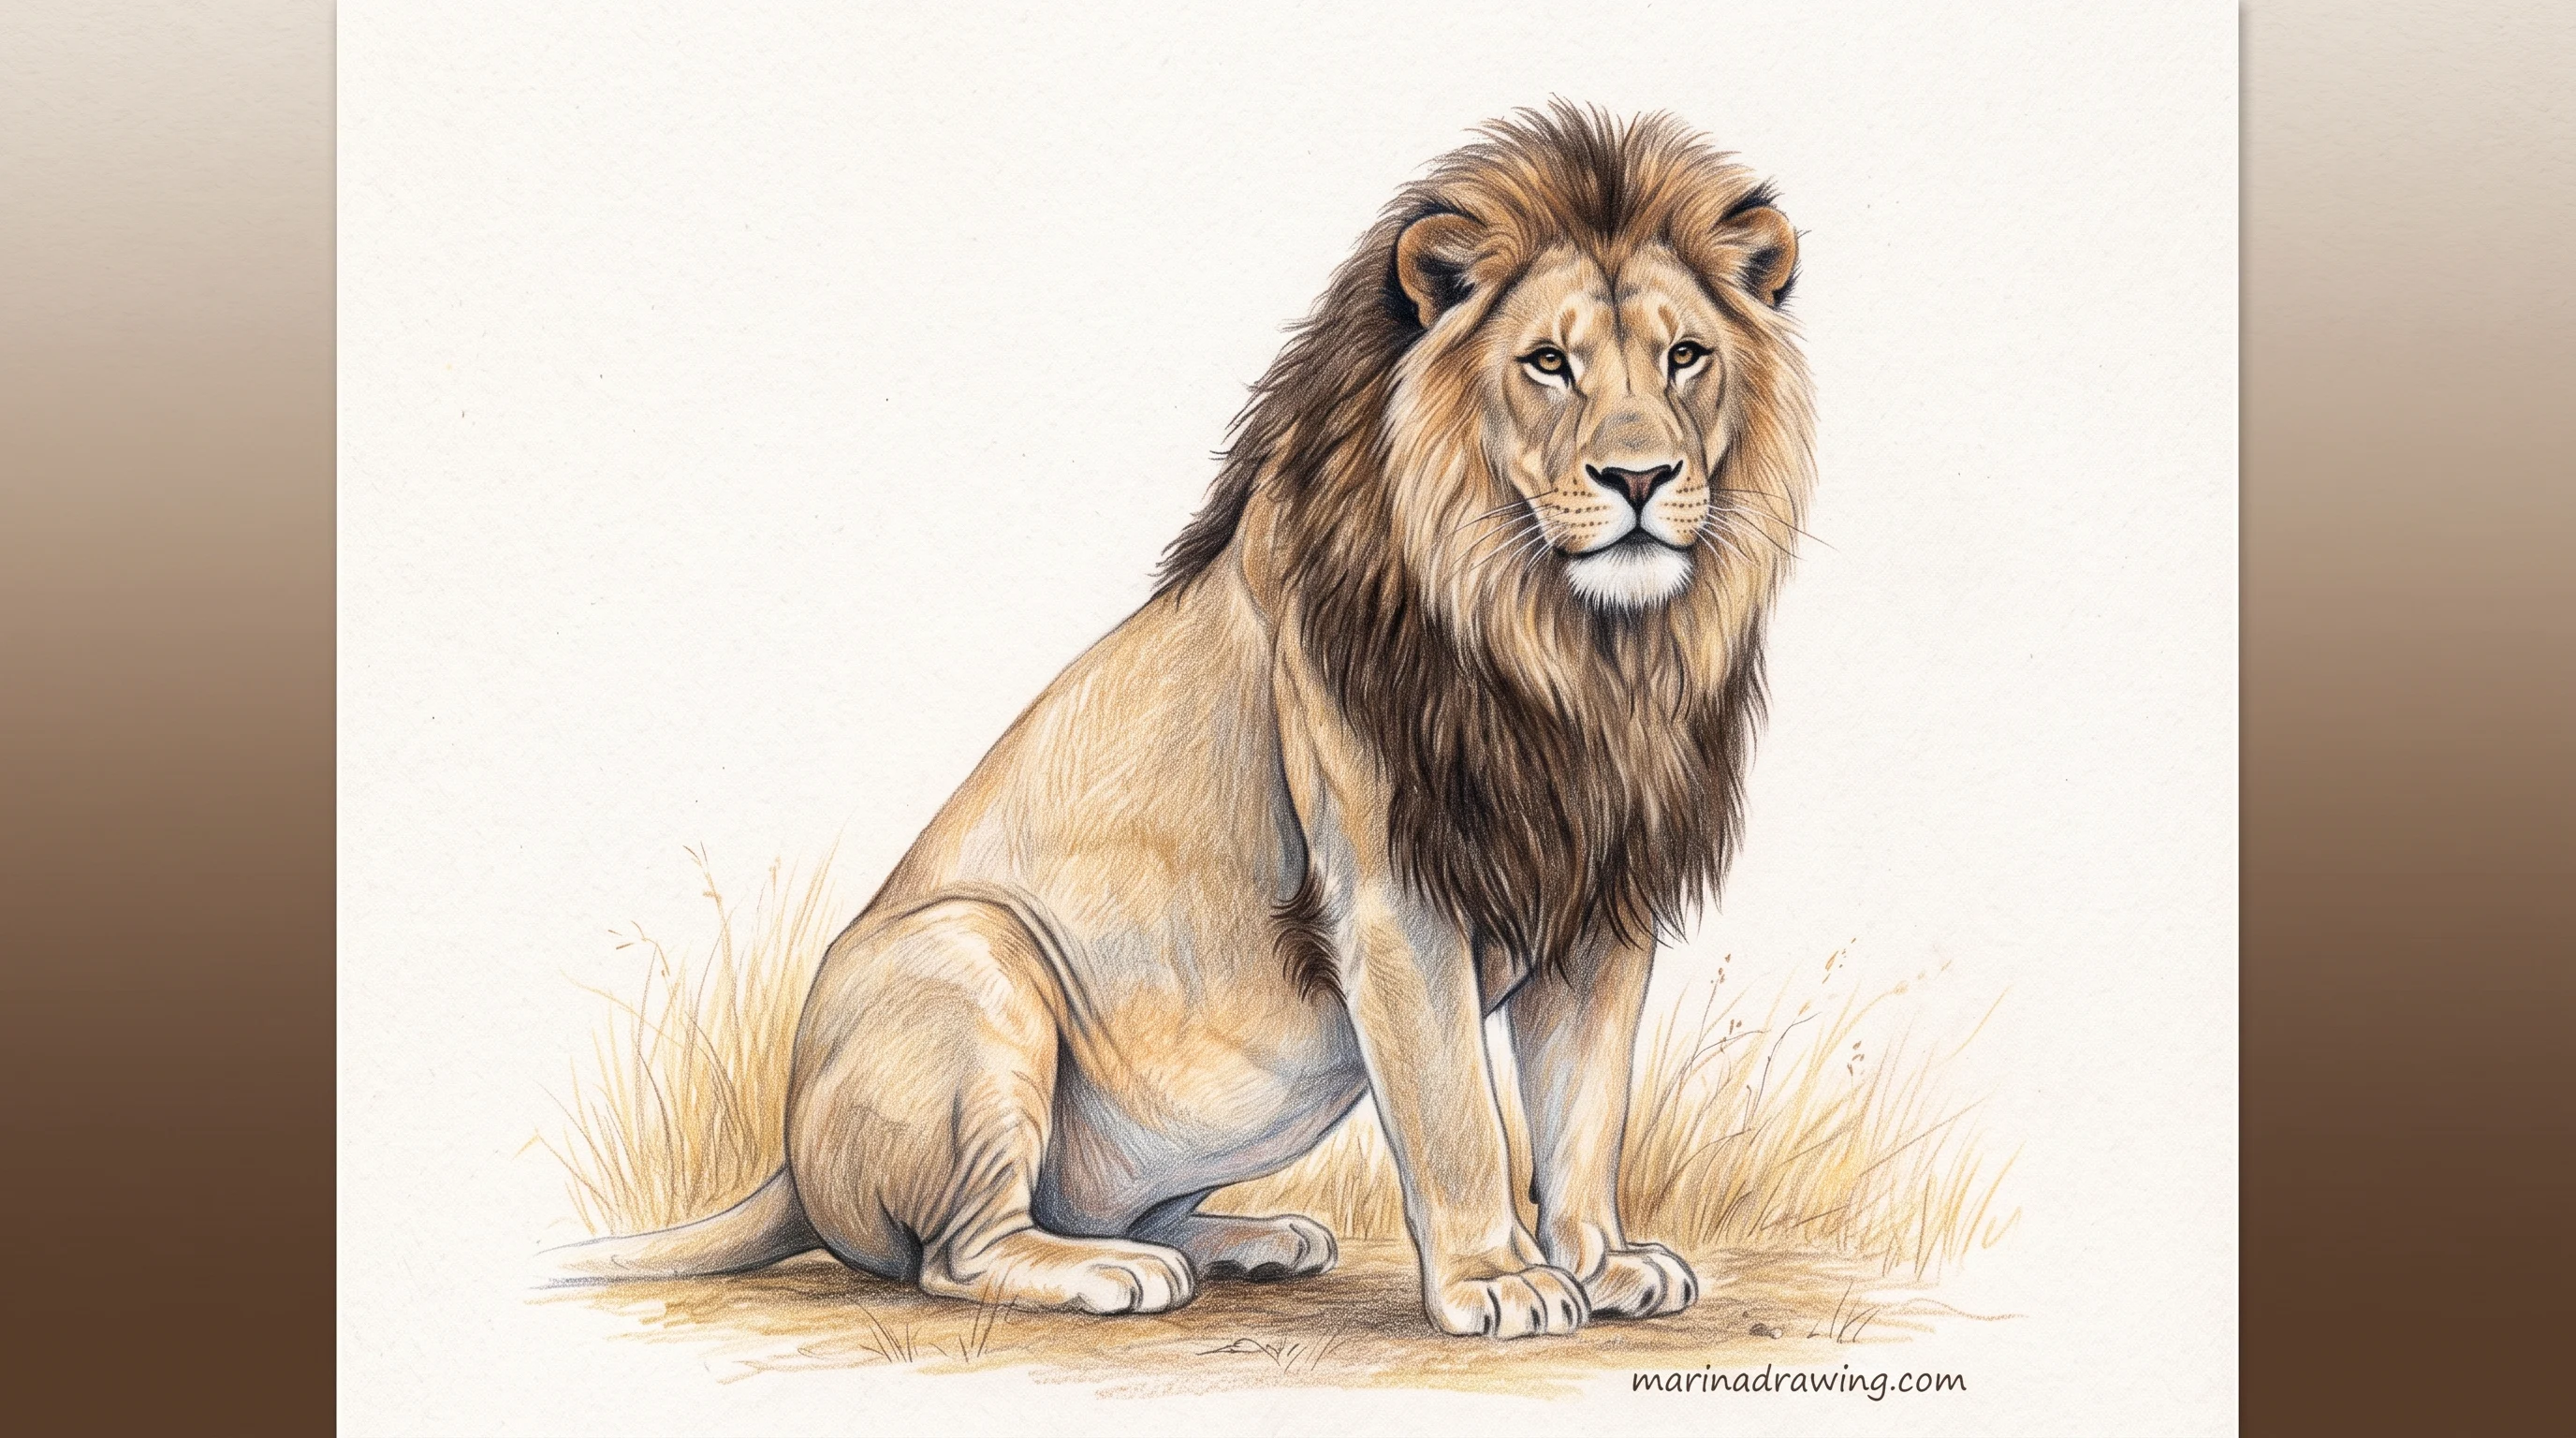
The full body is where the fourth mistake lives. Draw the spine before anything else, and draw it nearly straight.
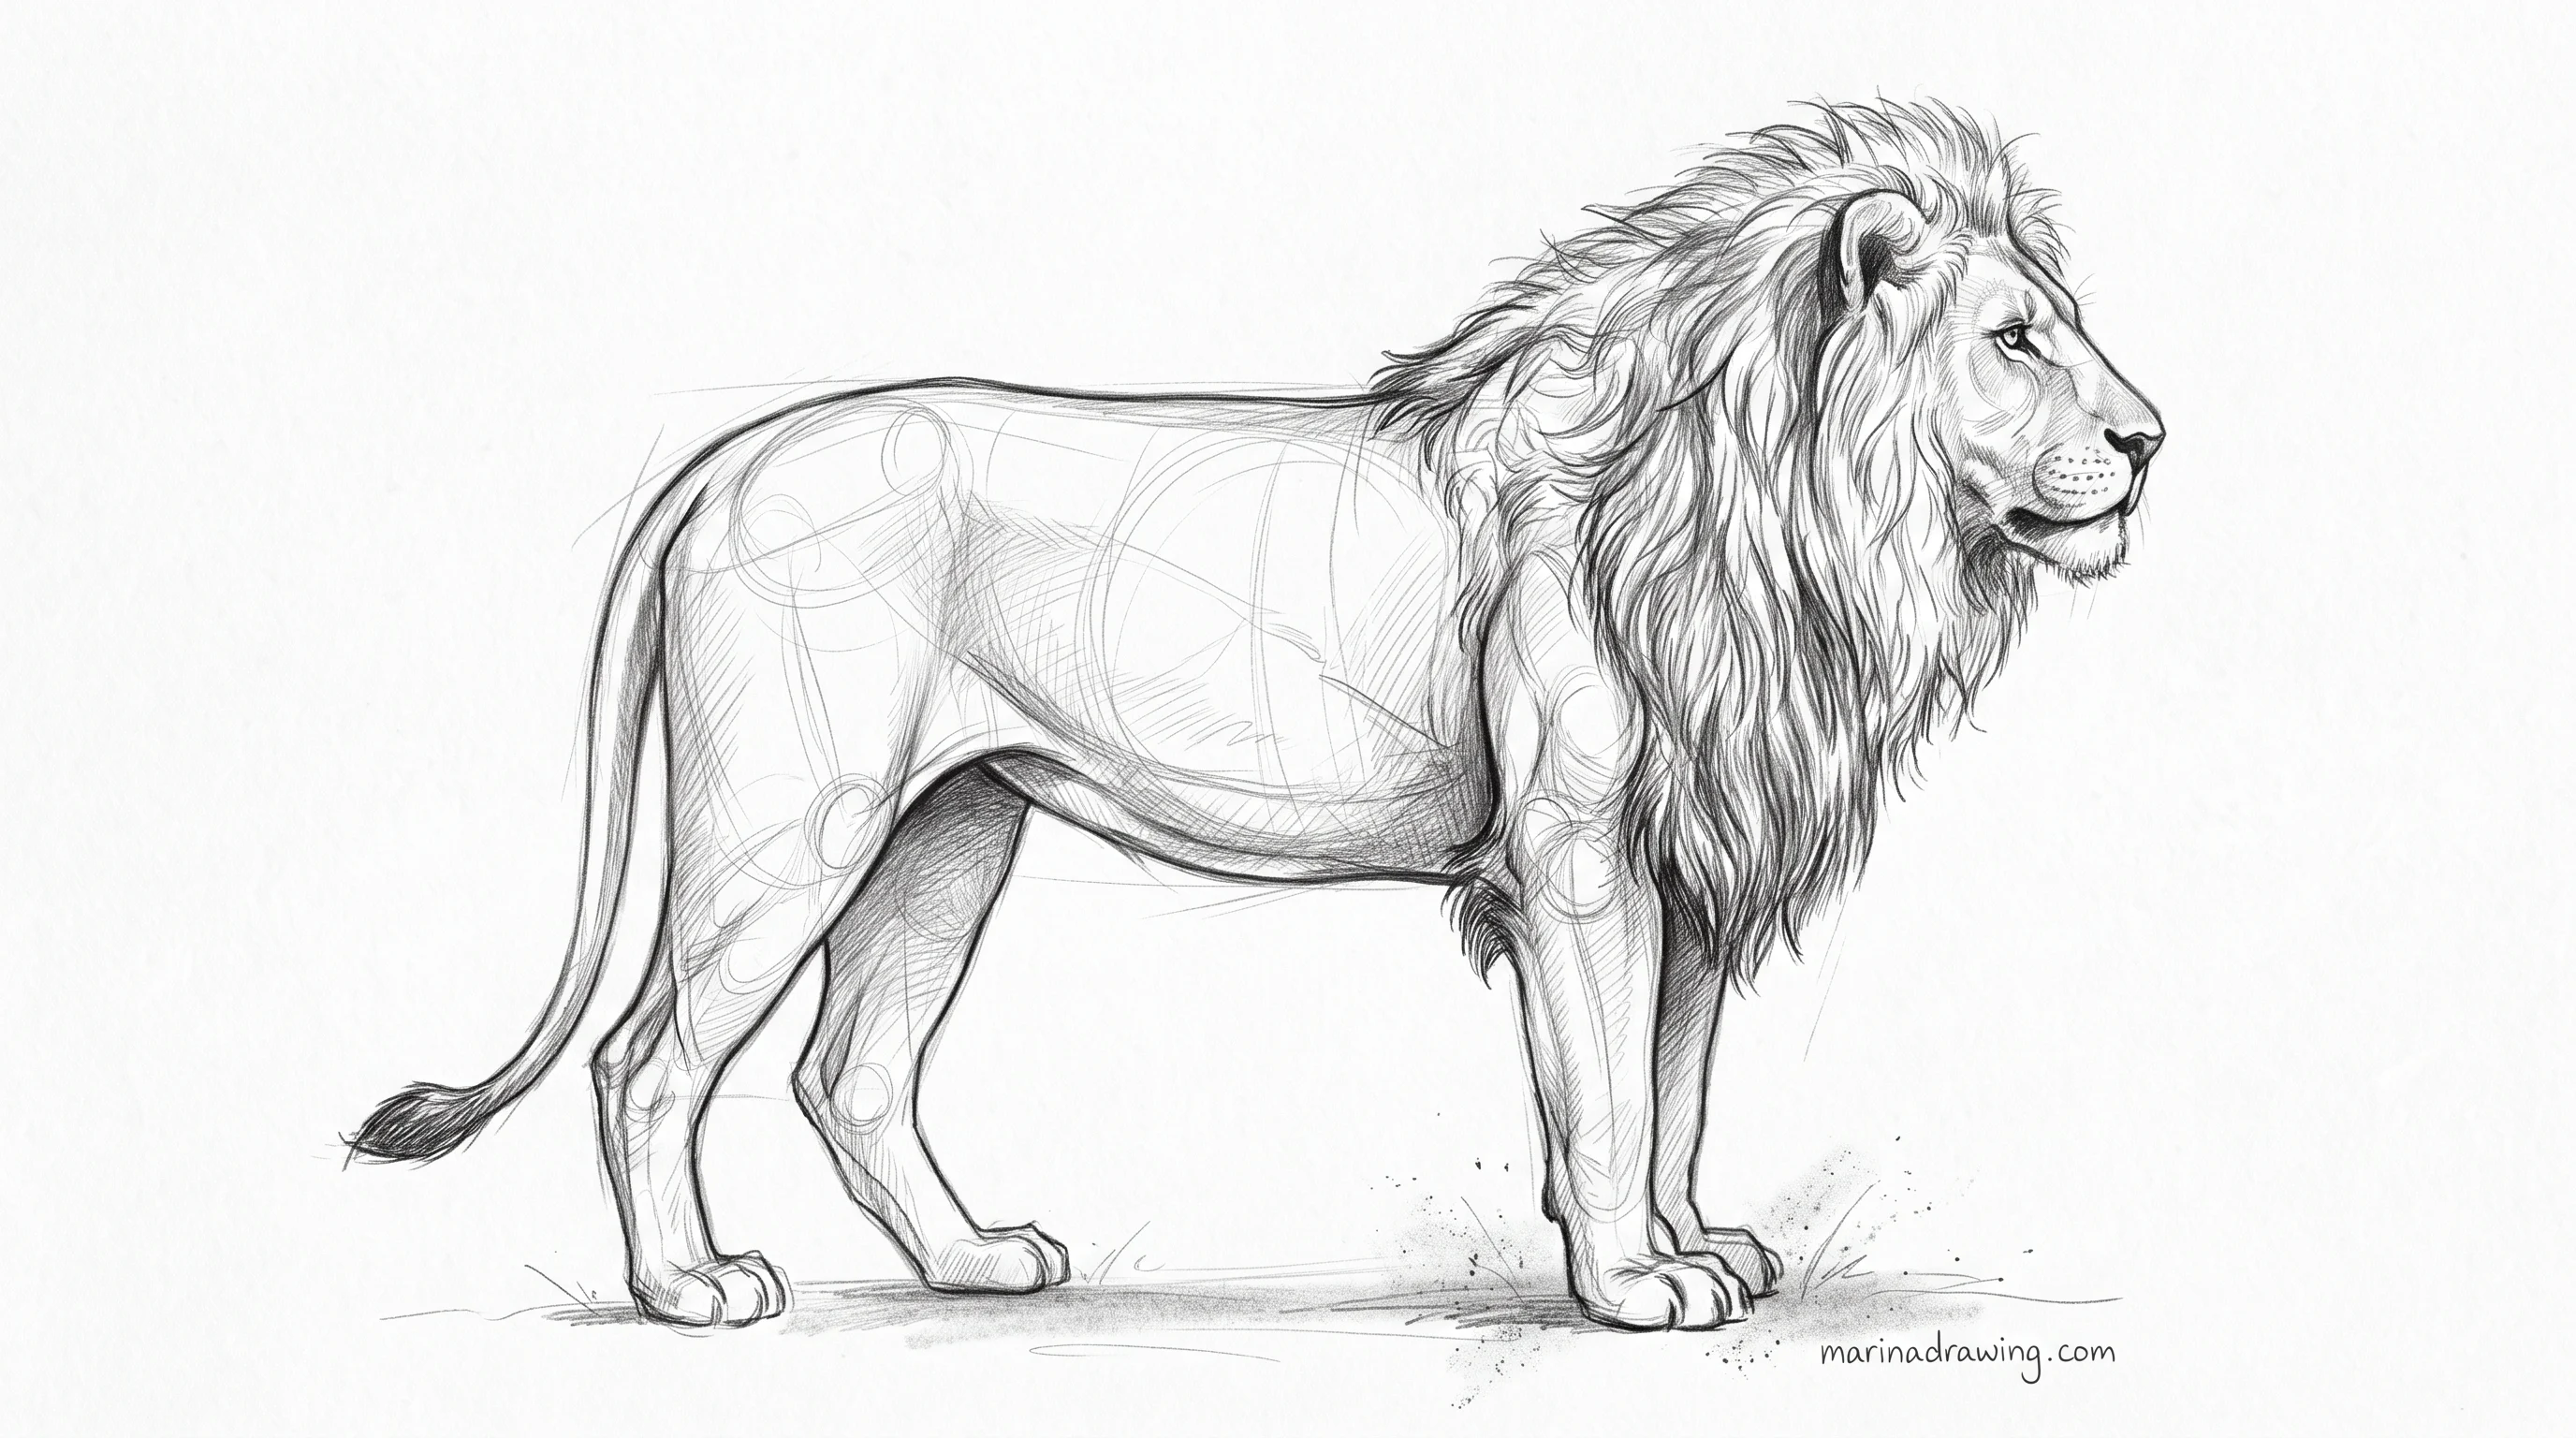
- Shoulder highest, hips slightly lower, back flat between them.
- Chest deep, belly tucked up behind the ribs.
- Front legs straight and columnar, back legs bent in a Z.
- Tail long, hanging in a loose curve, tuft at the end.
- The mane spills onto the chest and over the shoulders, so the neck disappears.
Blocking legs is its own skill, and bent back legs are where most animal drawings fall over. The build order in how to draw a horse easy transfers almost directly to a lion’s hind leg. If four-legged construction keeps collapsing on you, a structured pencil drawing course builds the skeleton first and the fur last.
A pencil portrait with real contrast
42 hours of pencil drawing training, lifetime access
The video course I point plateaued students to — full lessons on portraits, hands, and realistic shading, not another short tutorial.
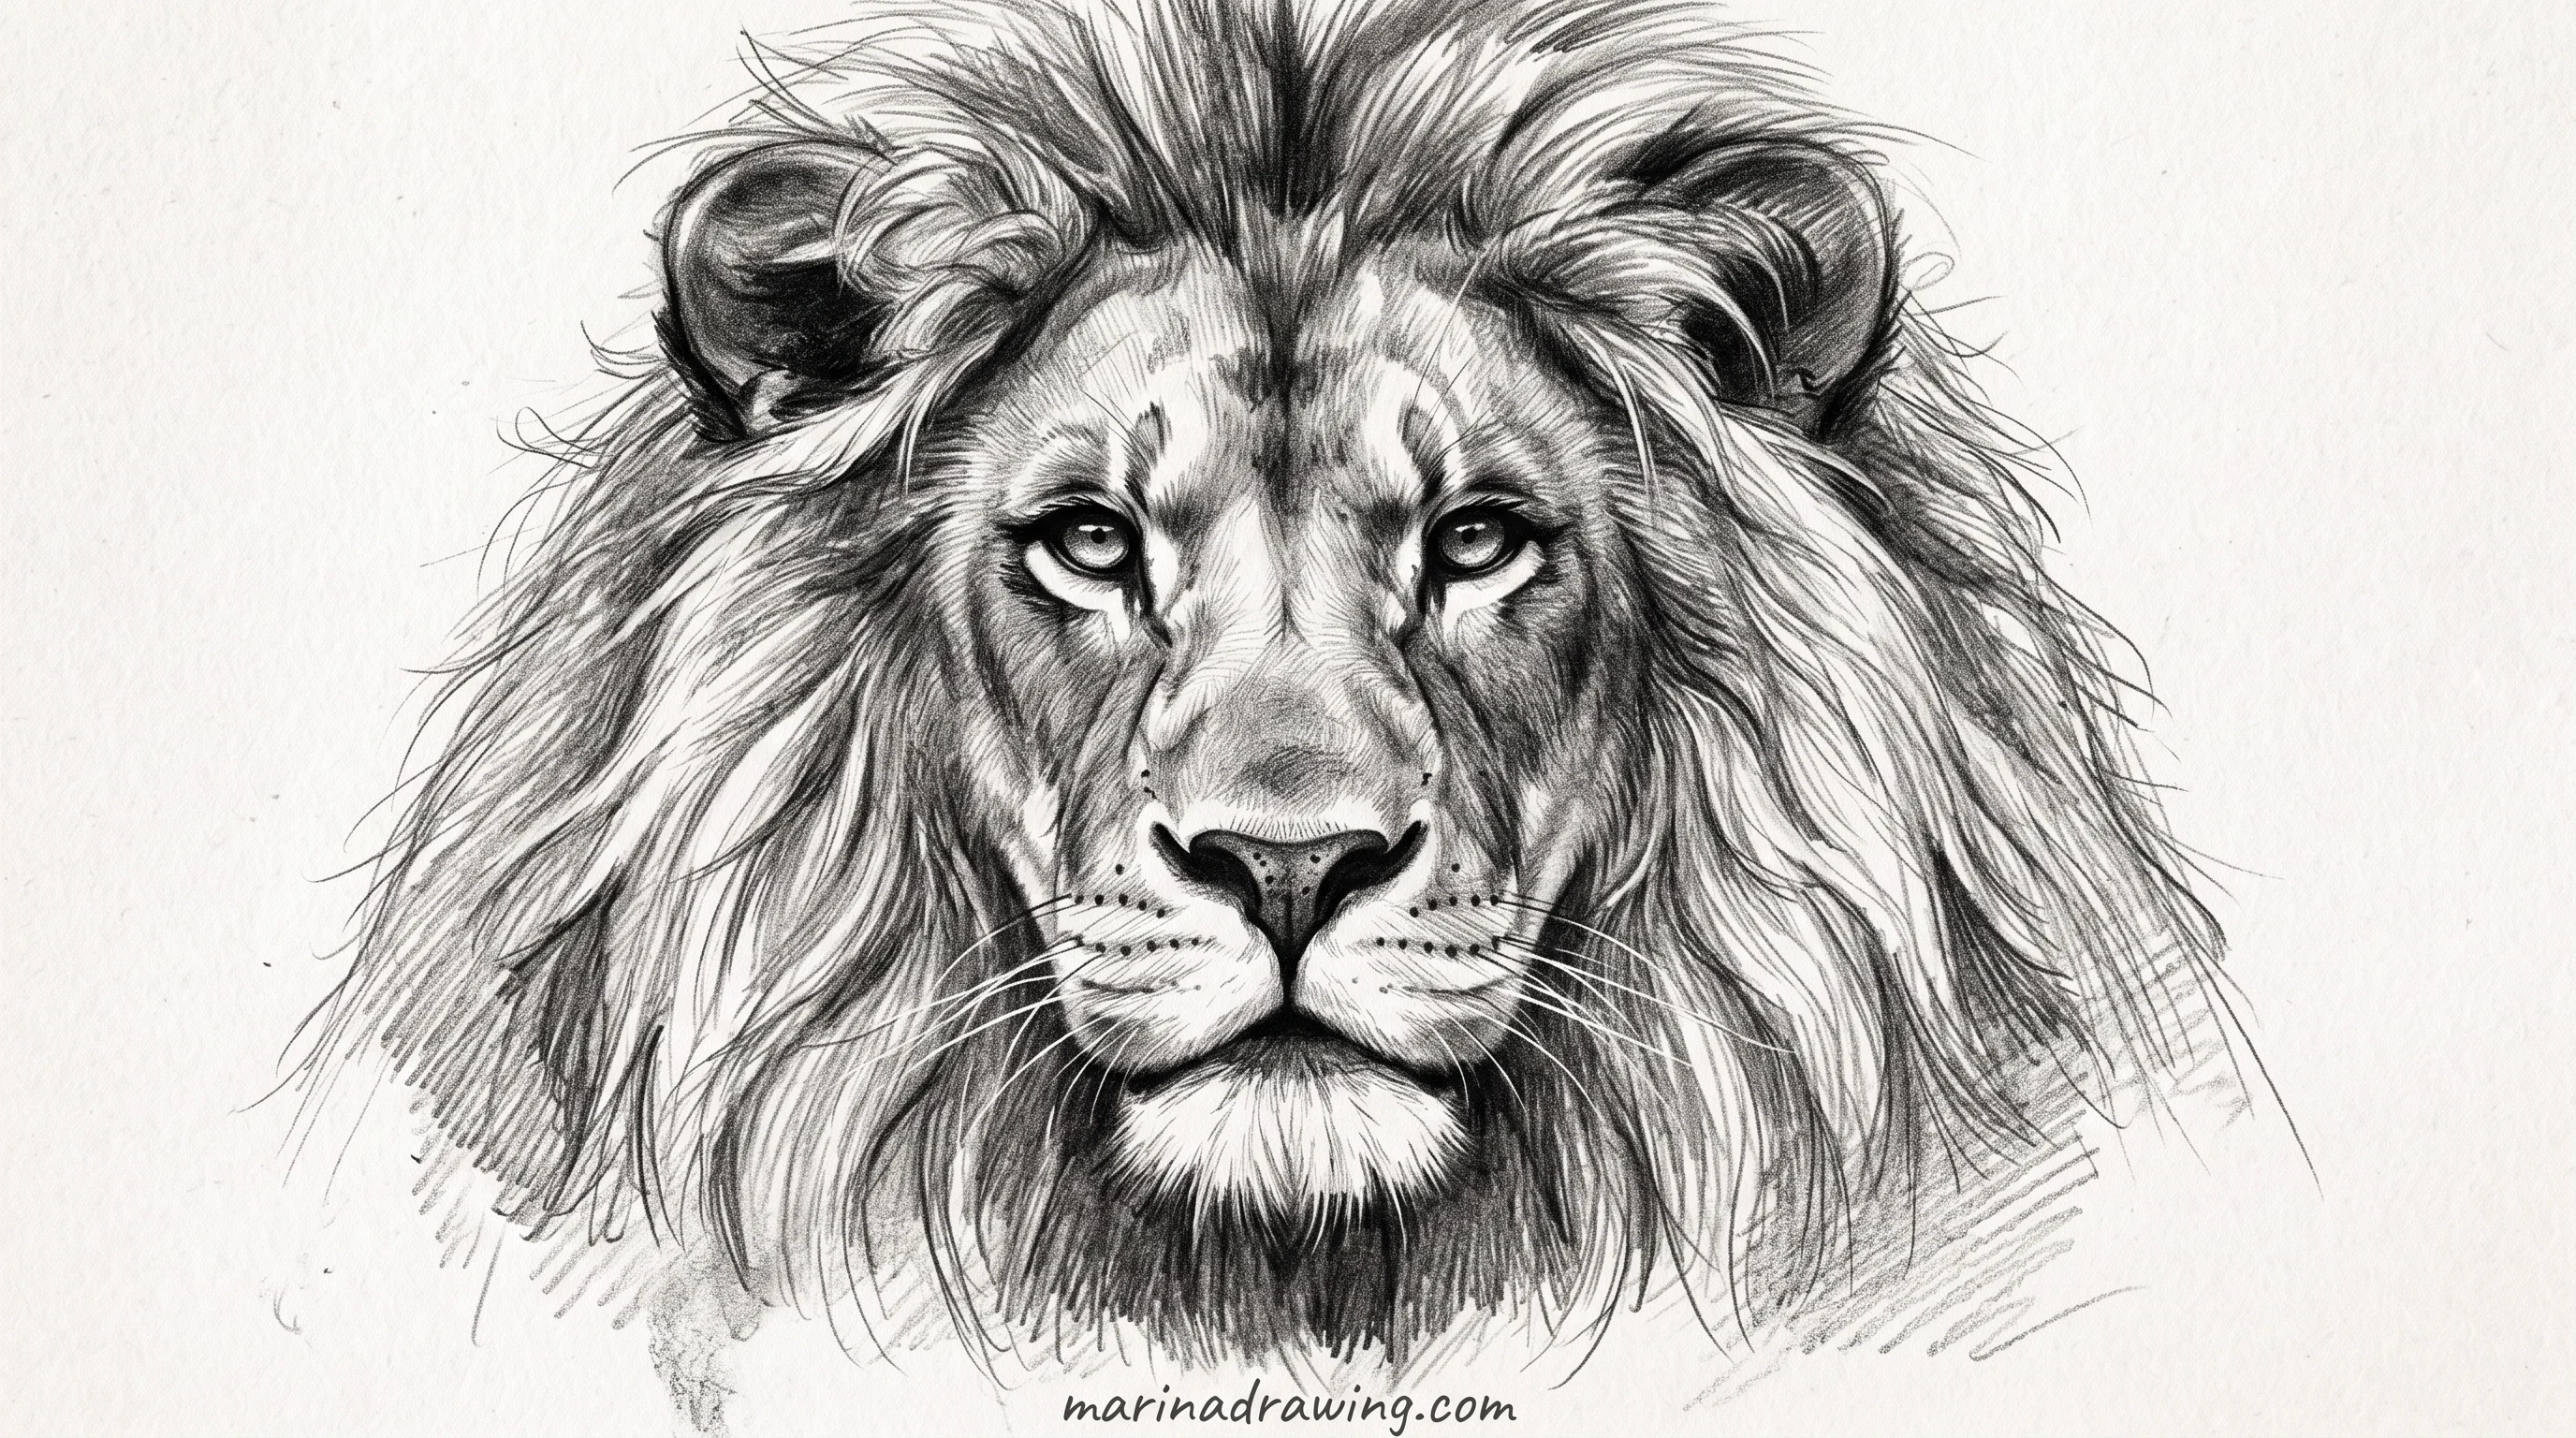
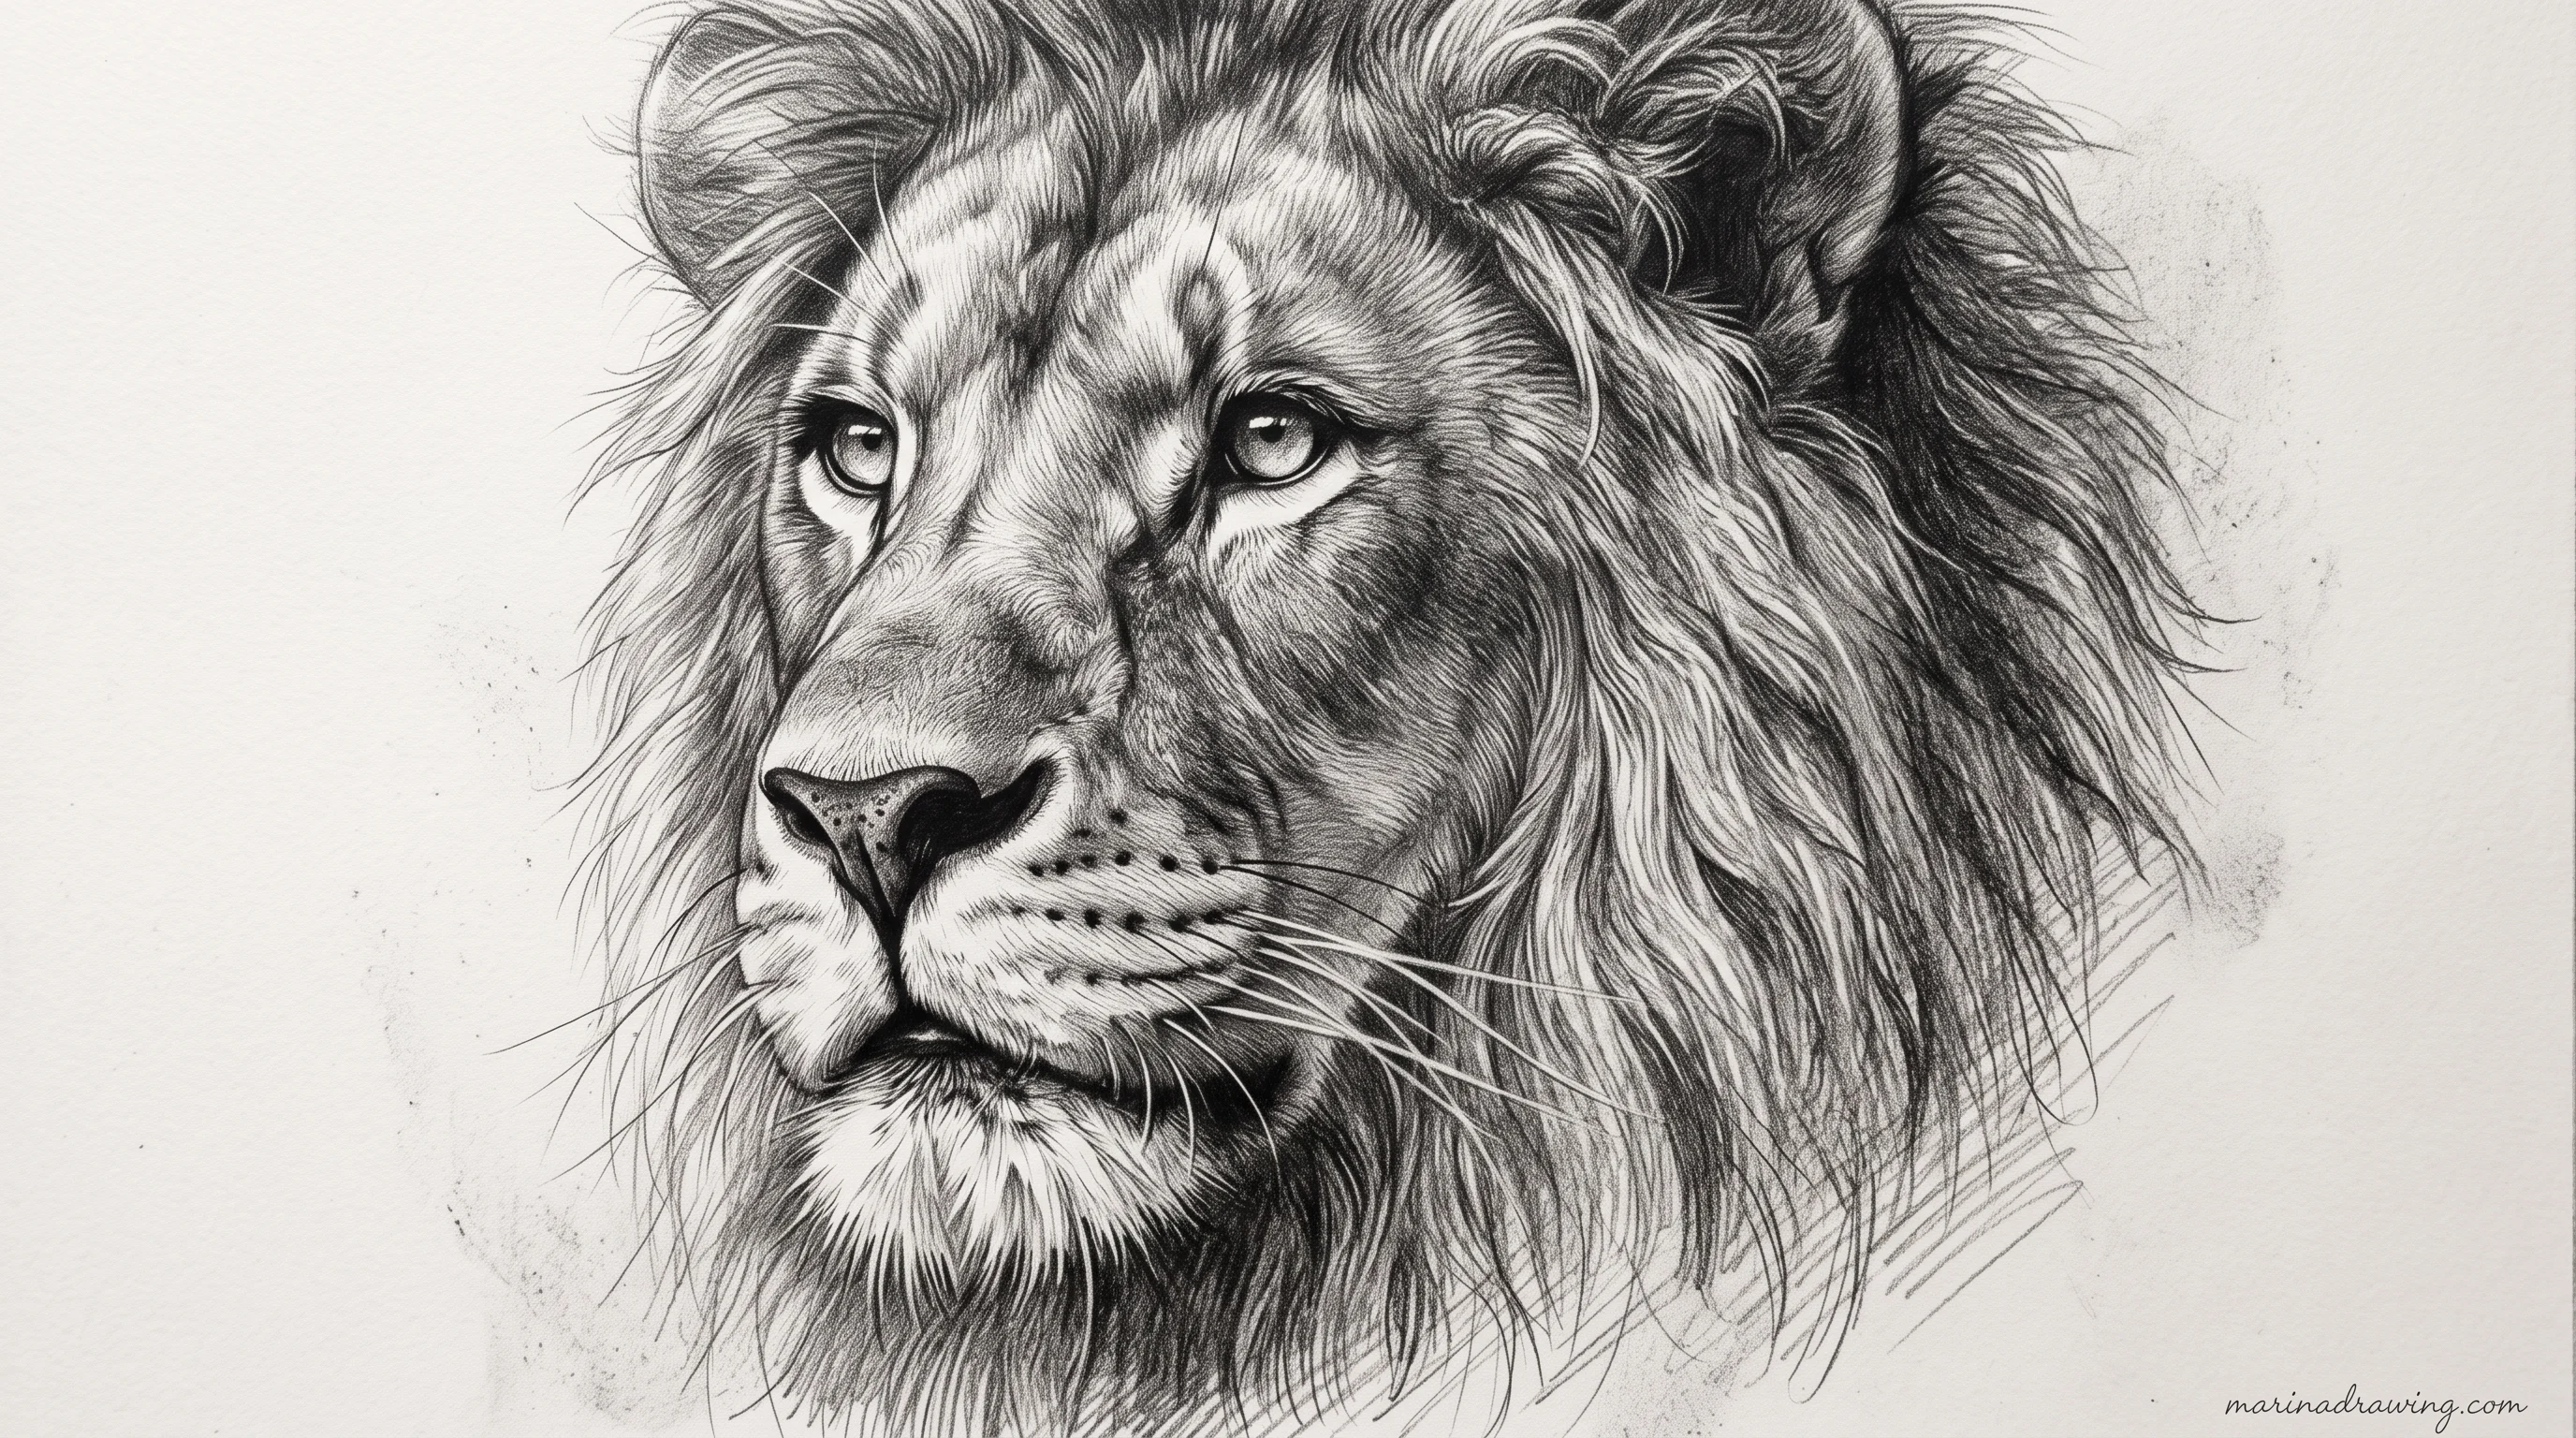
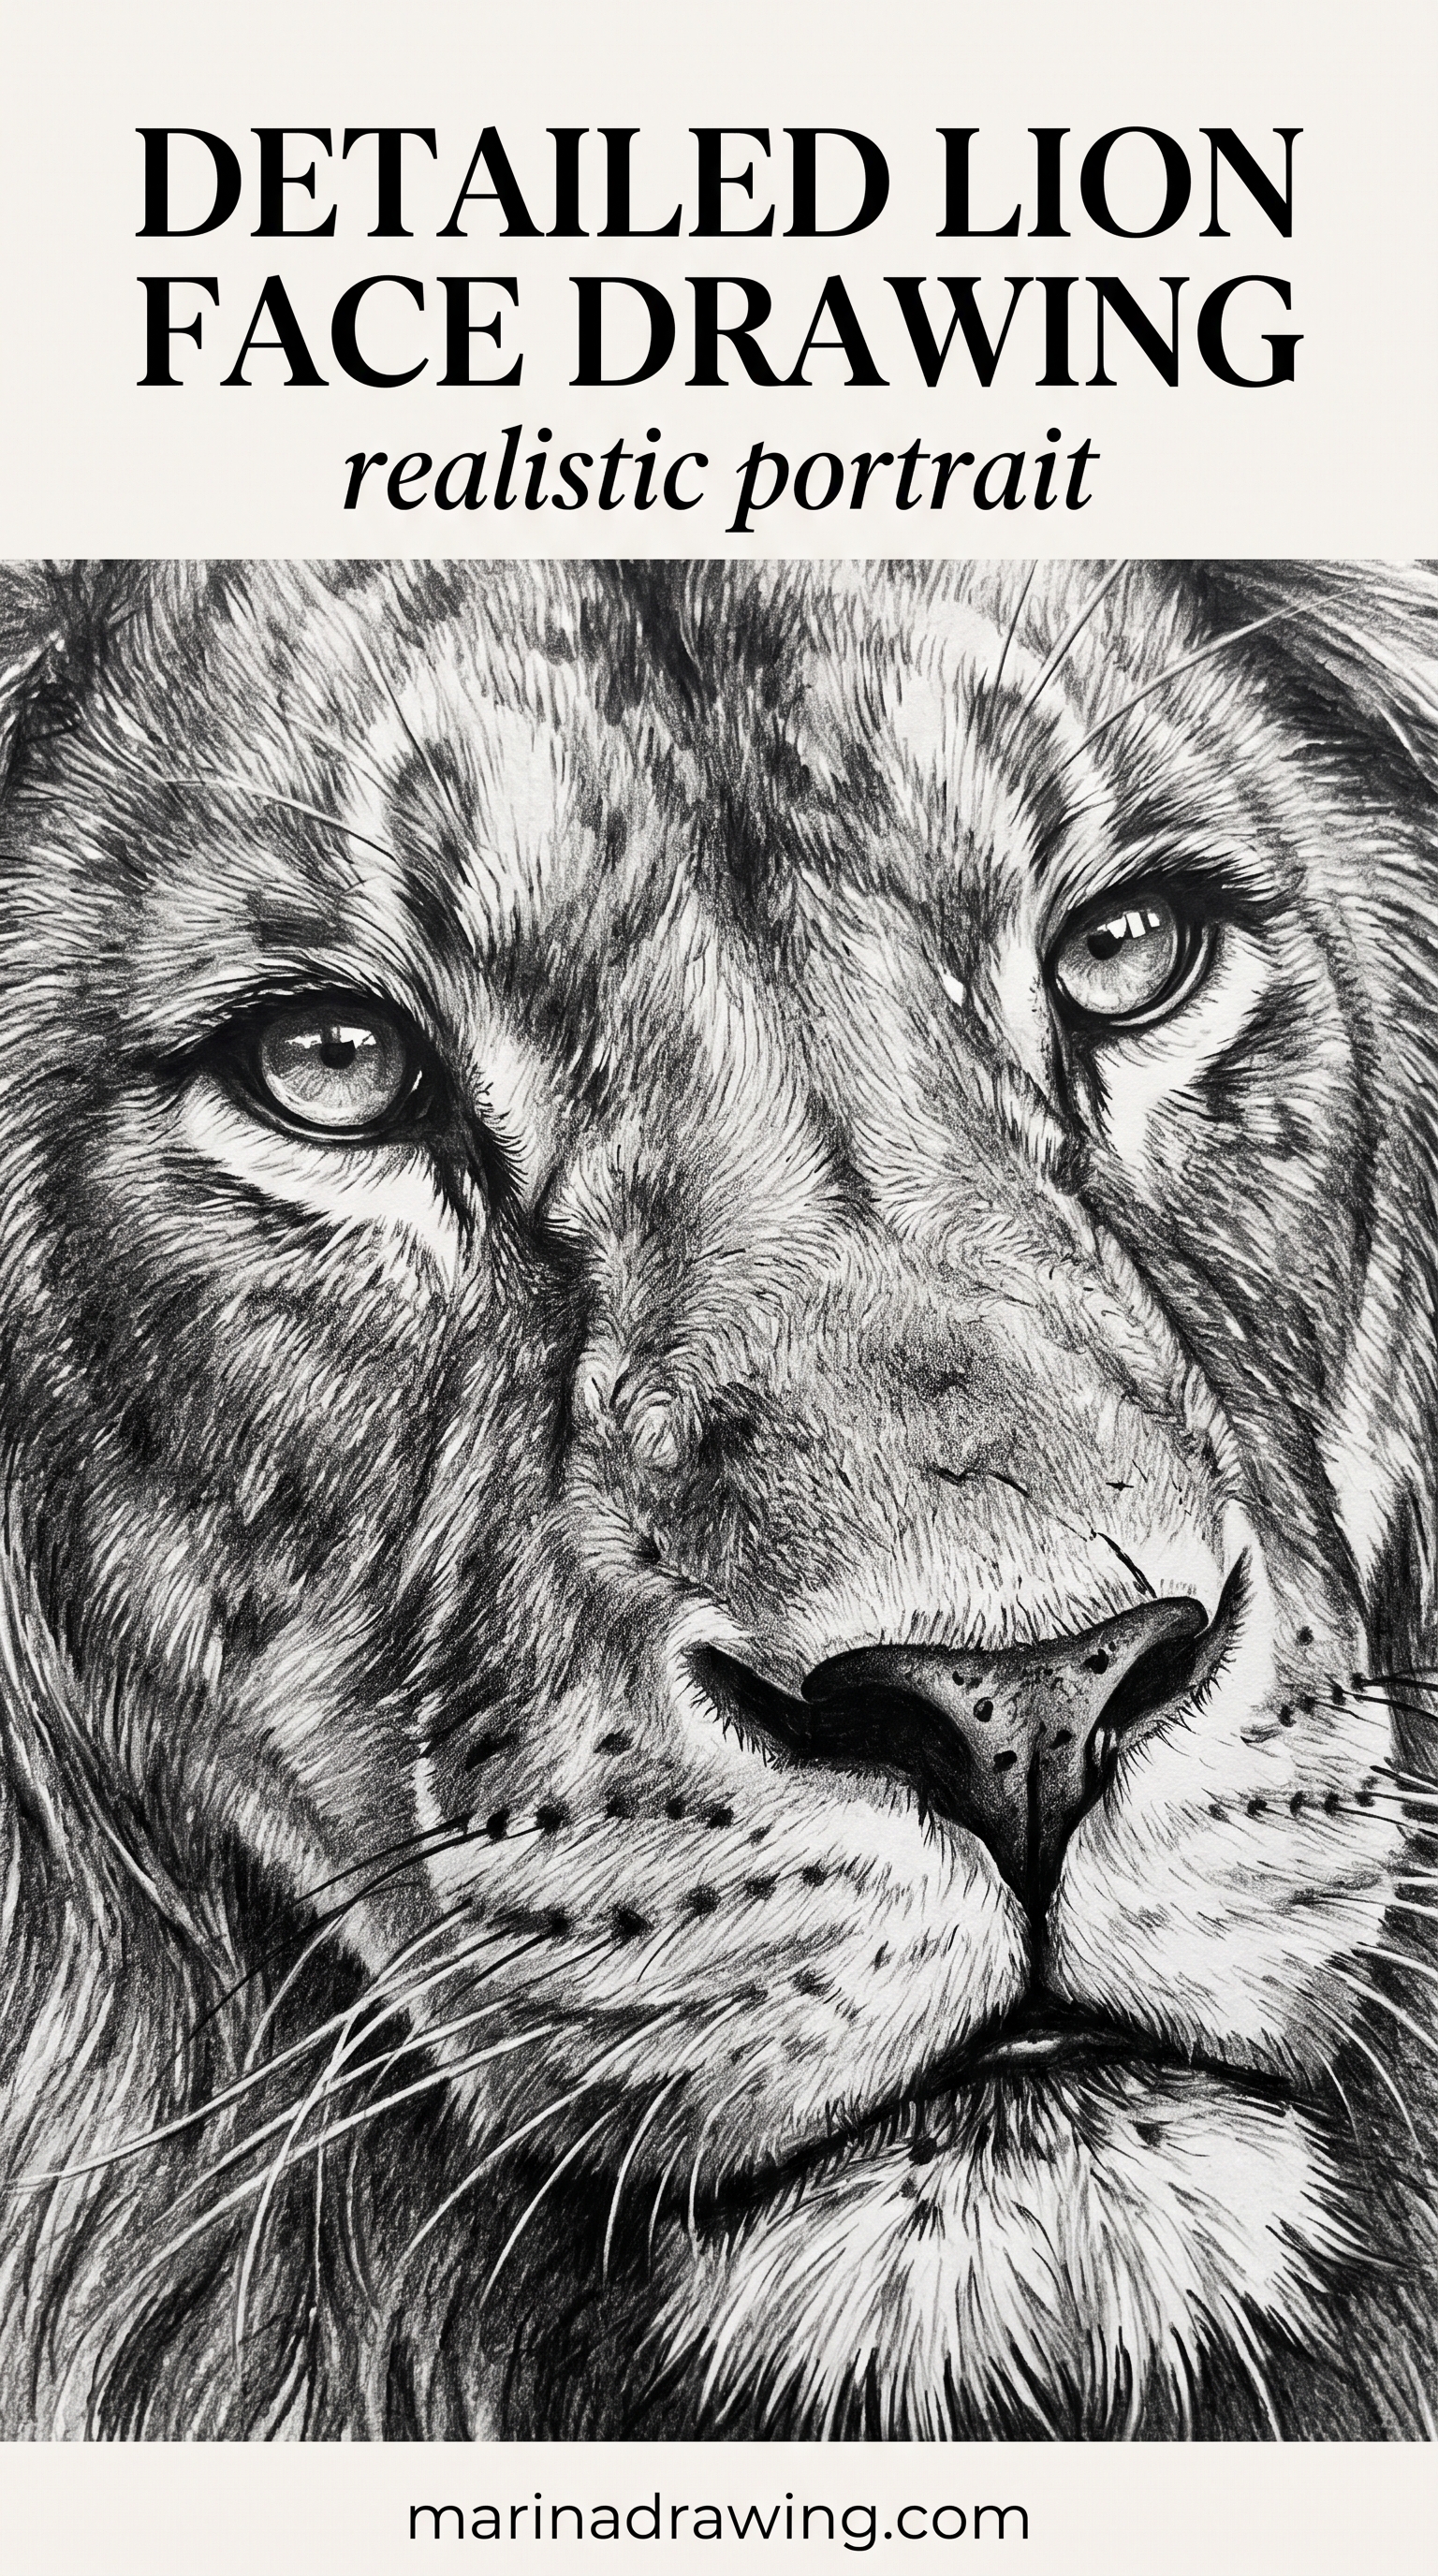
A realistic pencil portrait of a lion fails for one reason nine times out of ten: everything ends up mid-grey. Three values, firmly separated, beat twenty careful ones.
- Light: the top of the muzzle, the brow ridge, the top edge of the mane where the sun hits.
- Mid: most of the mane, the side of the face.
- Dark: under the jaw, inside the ears, the eye sockets, the nostrils, the deepest part of the mane behind the jaw.
Put your darkest dark in early, right under the jaw. It sets the range for everything else. Skip it and you will keep working lighter and lighter, never knowing why the drawing looks weak.
The eyes carry the portrait. The three checks in how to draw eyes apply to an animal eye as well as a human one.
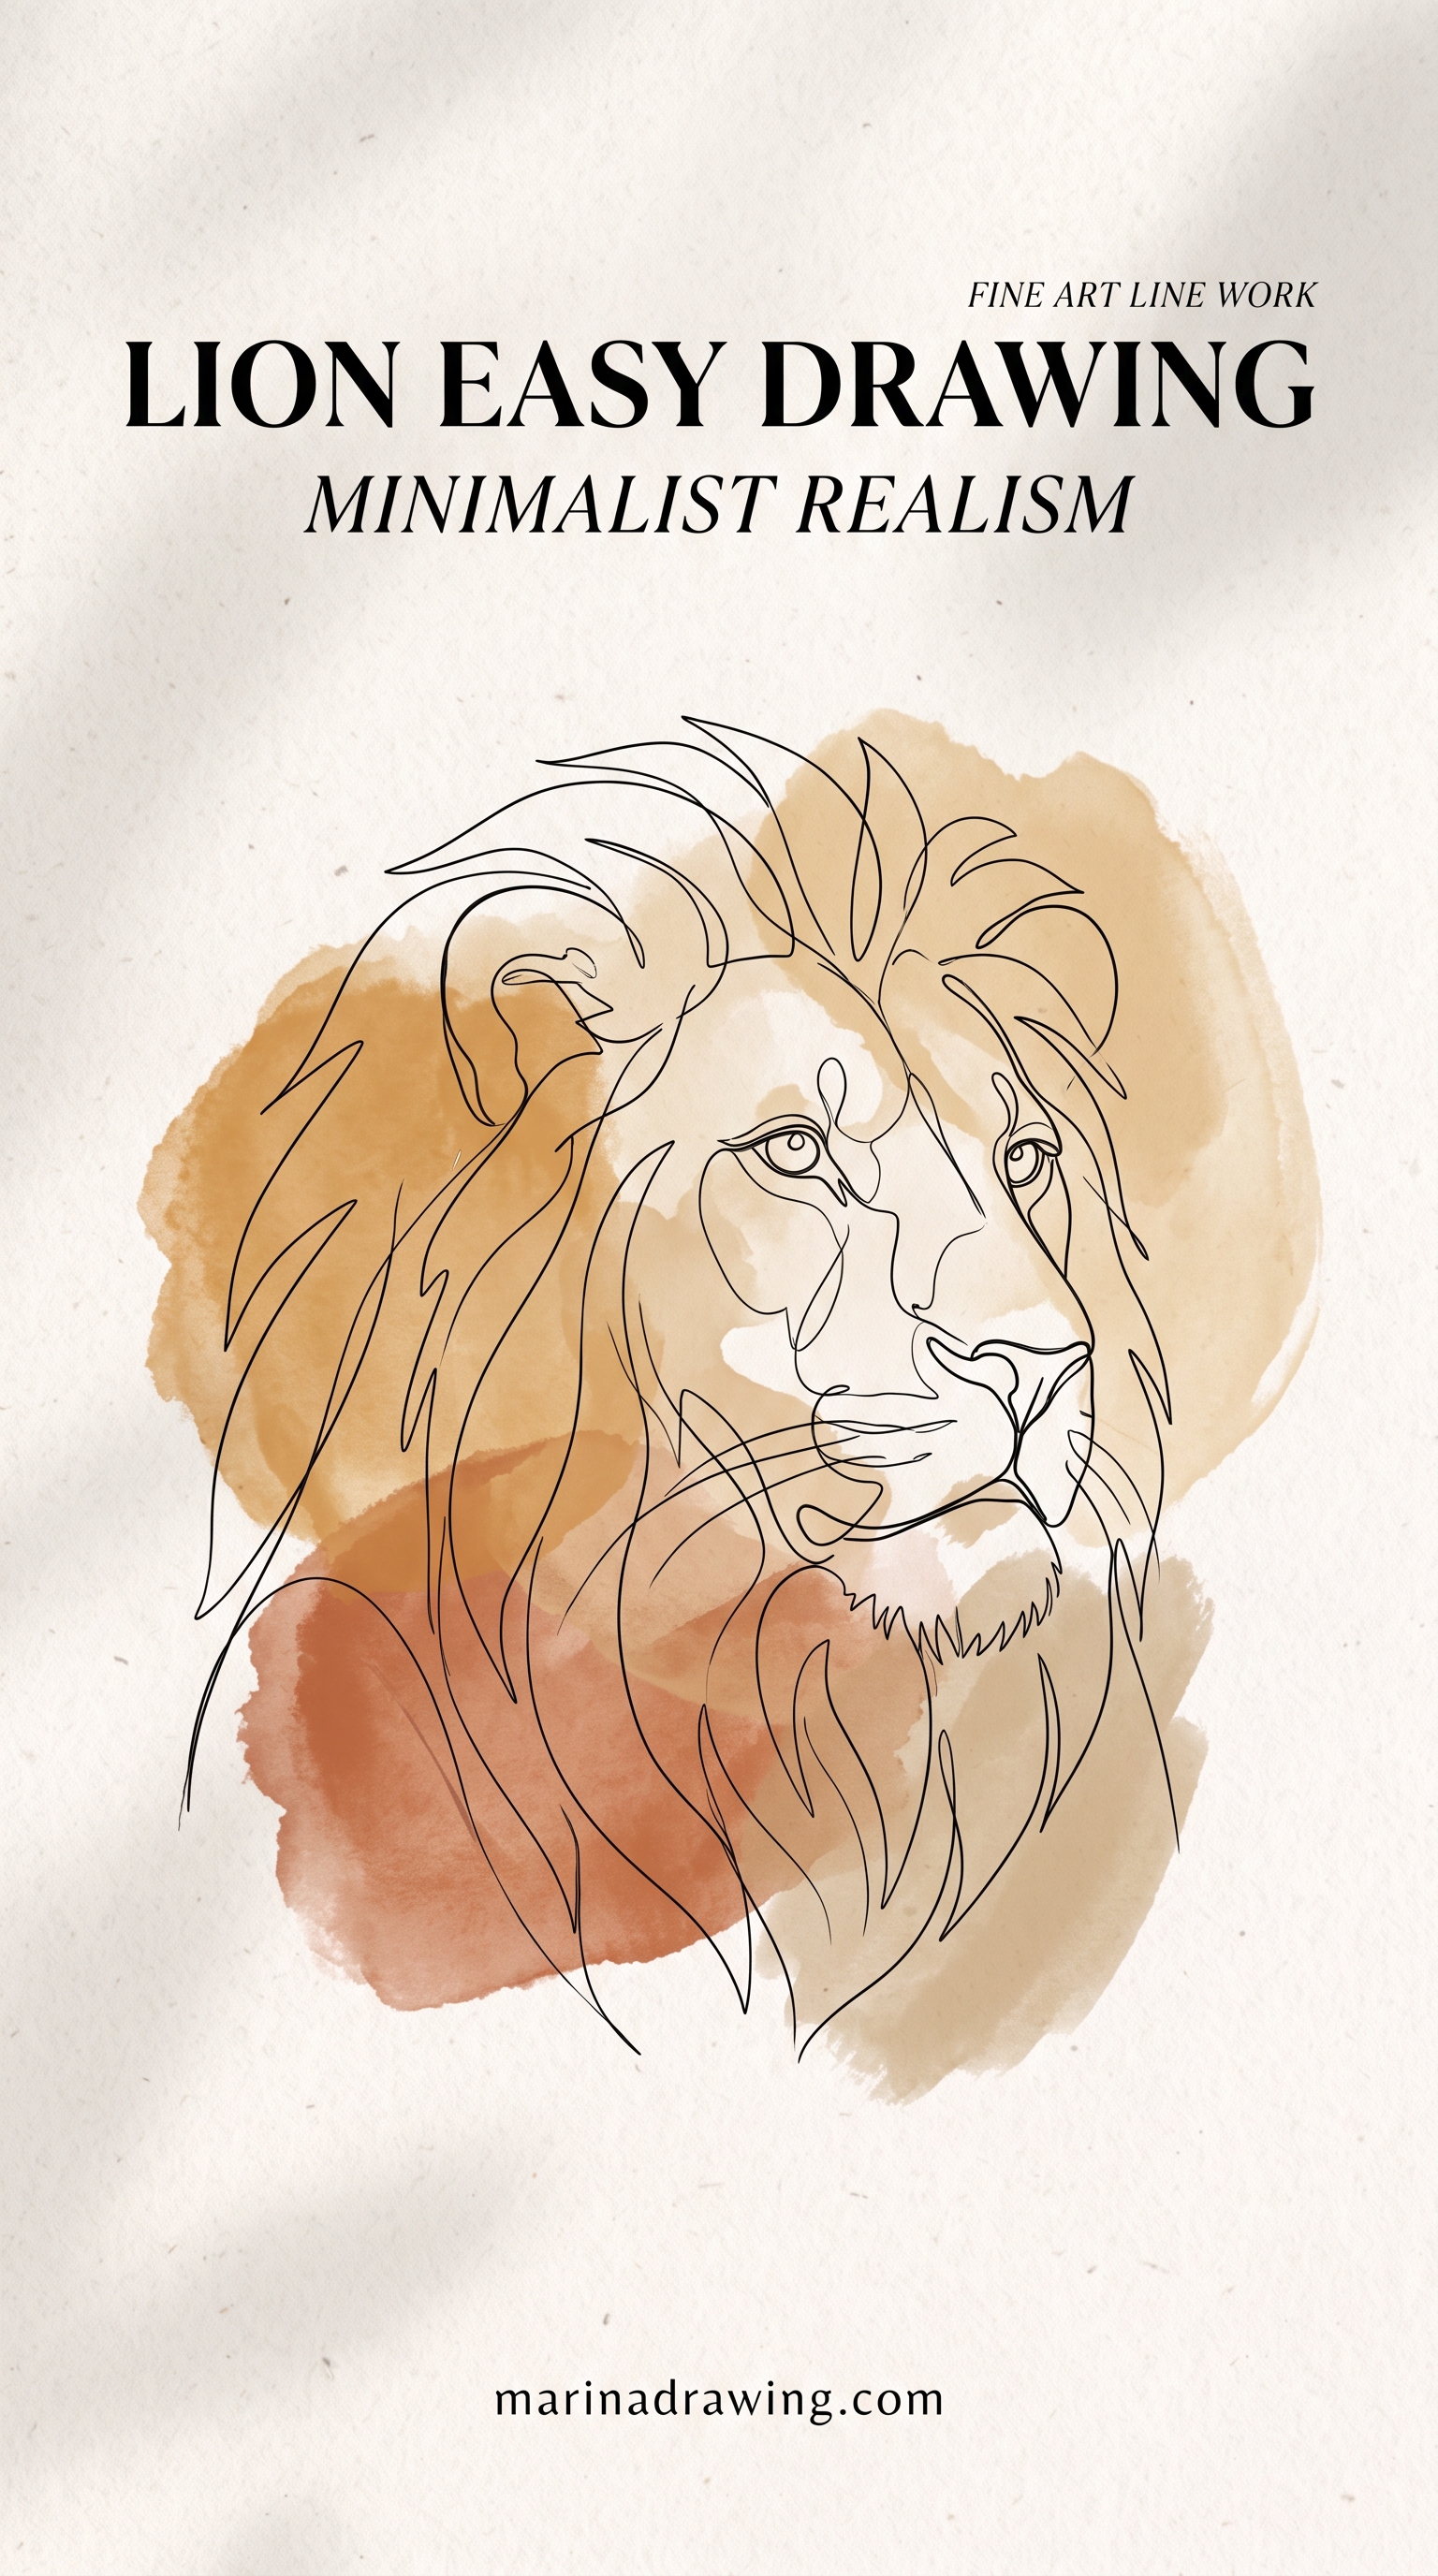
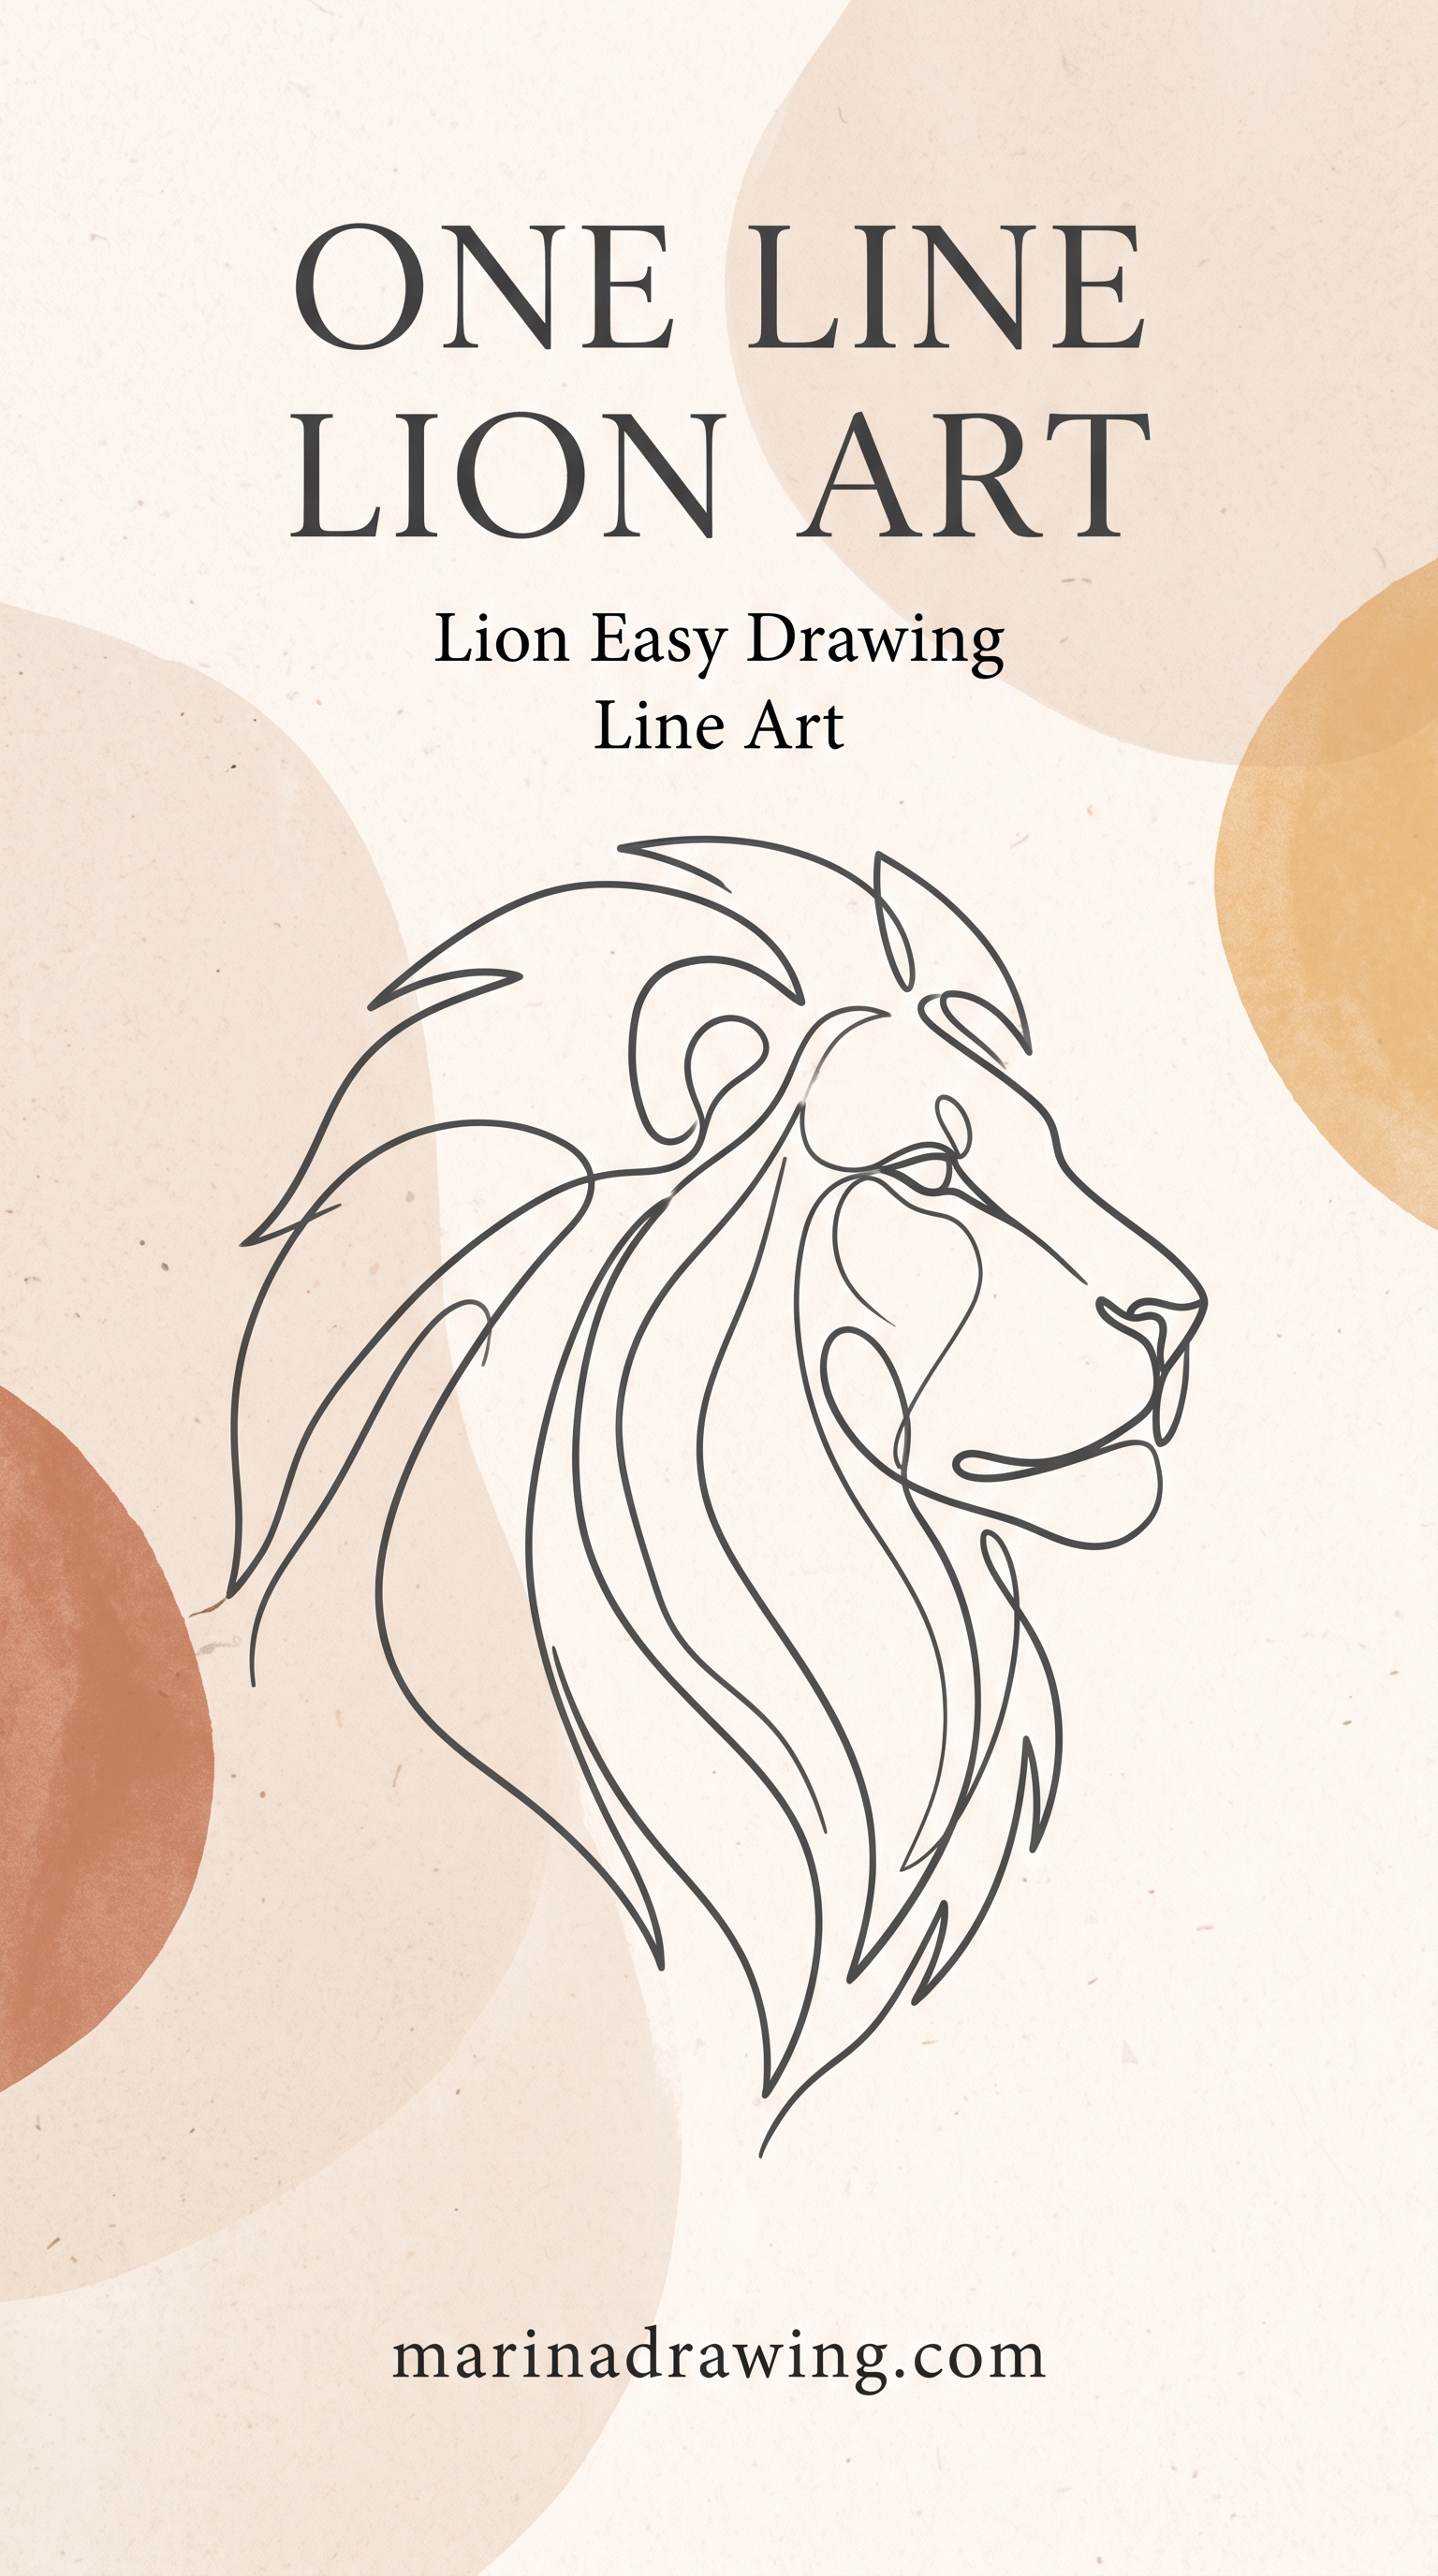
The minimal line lion
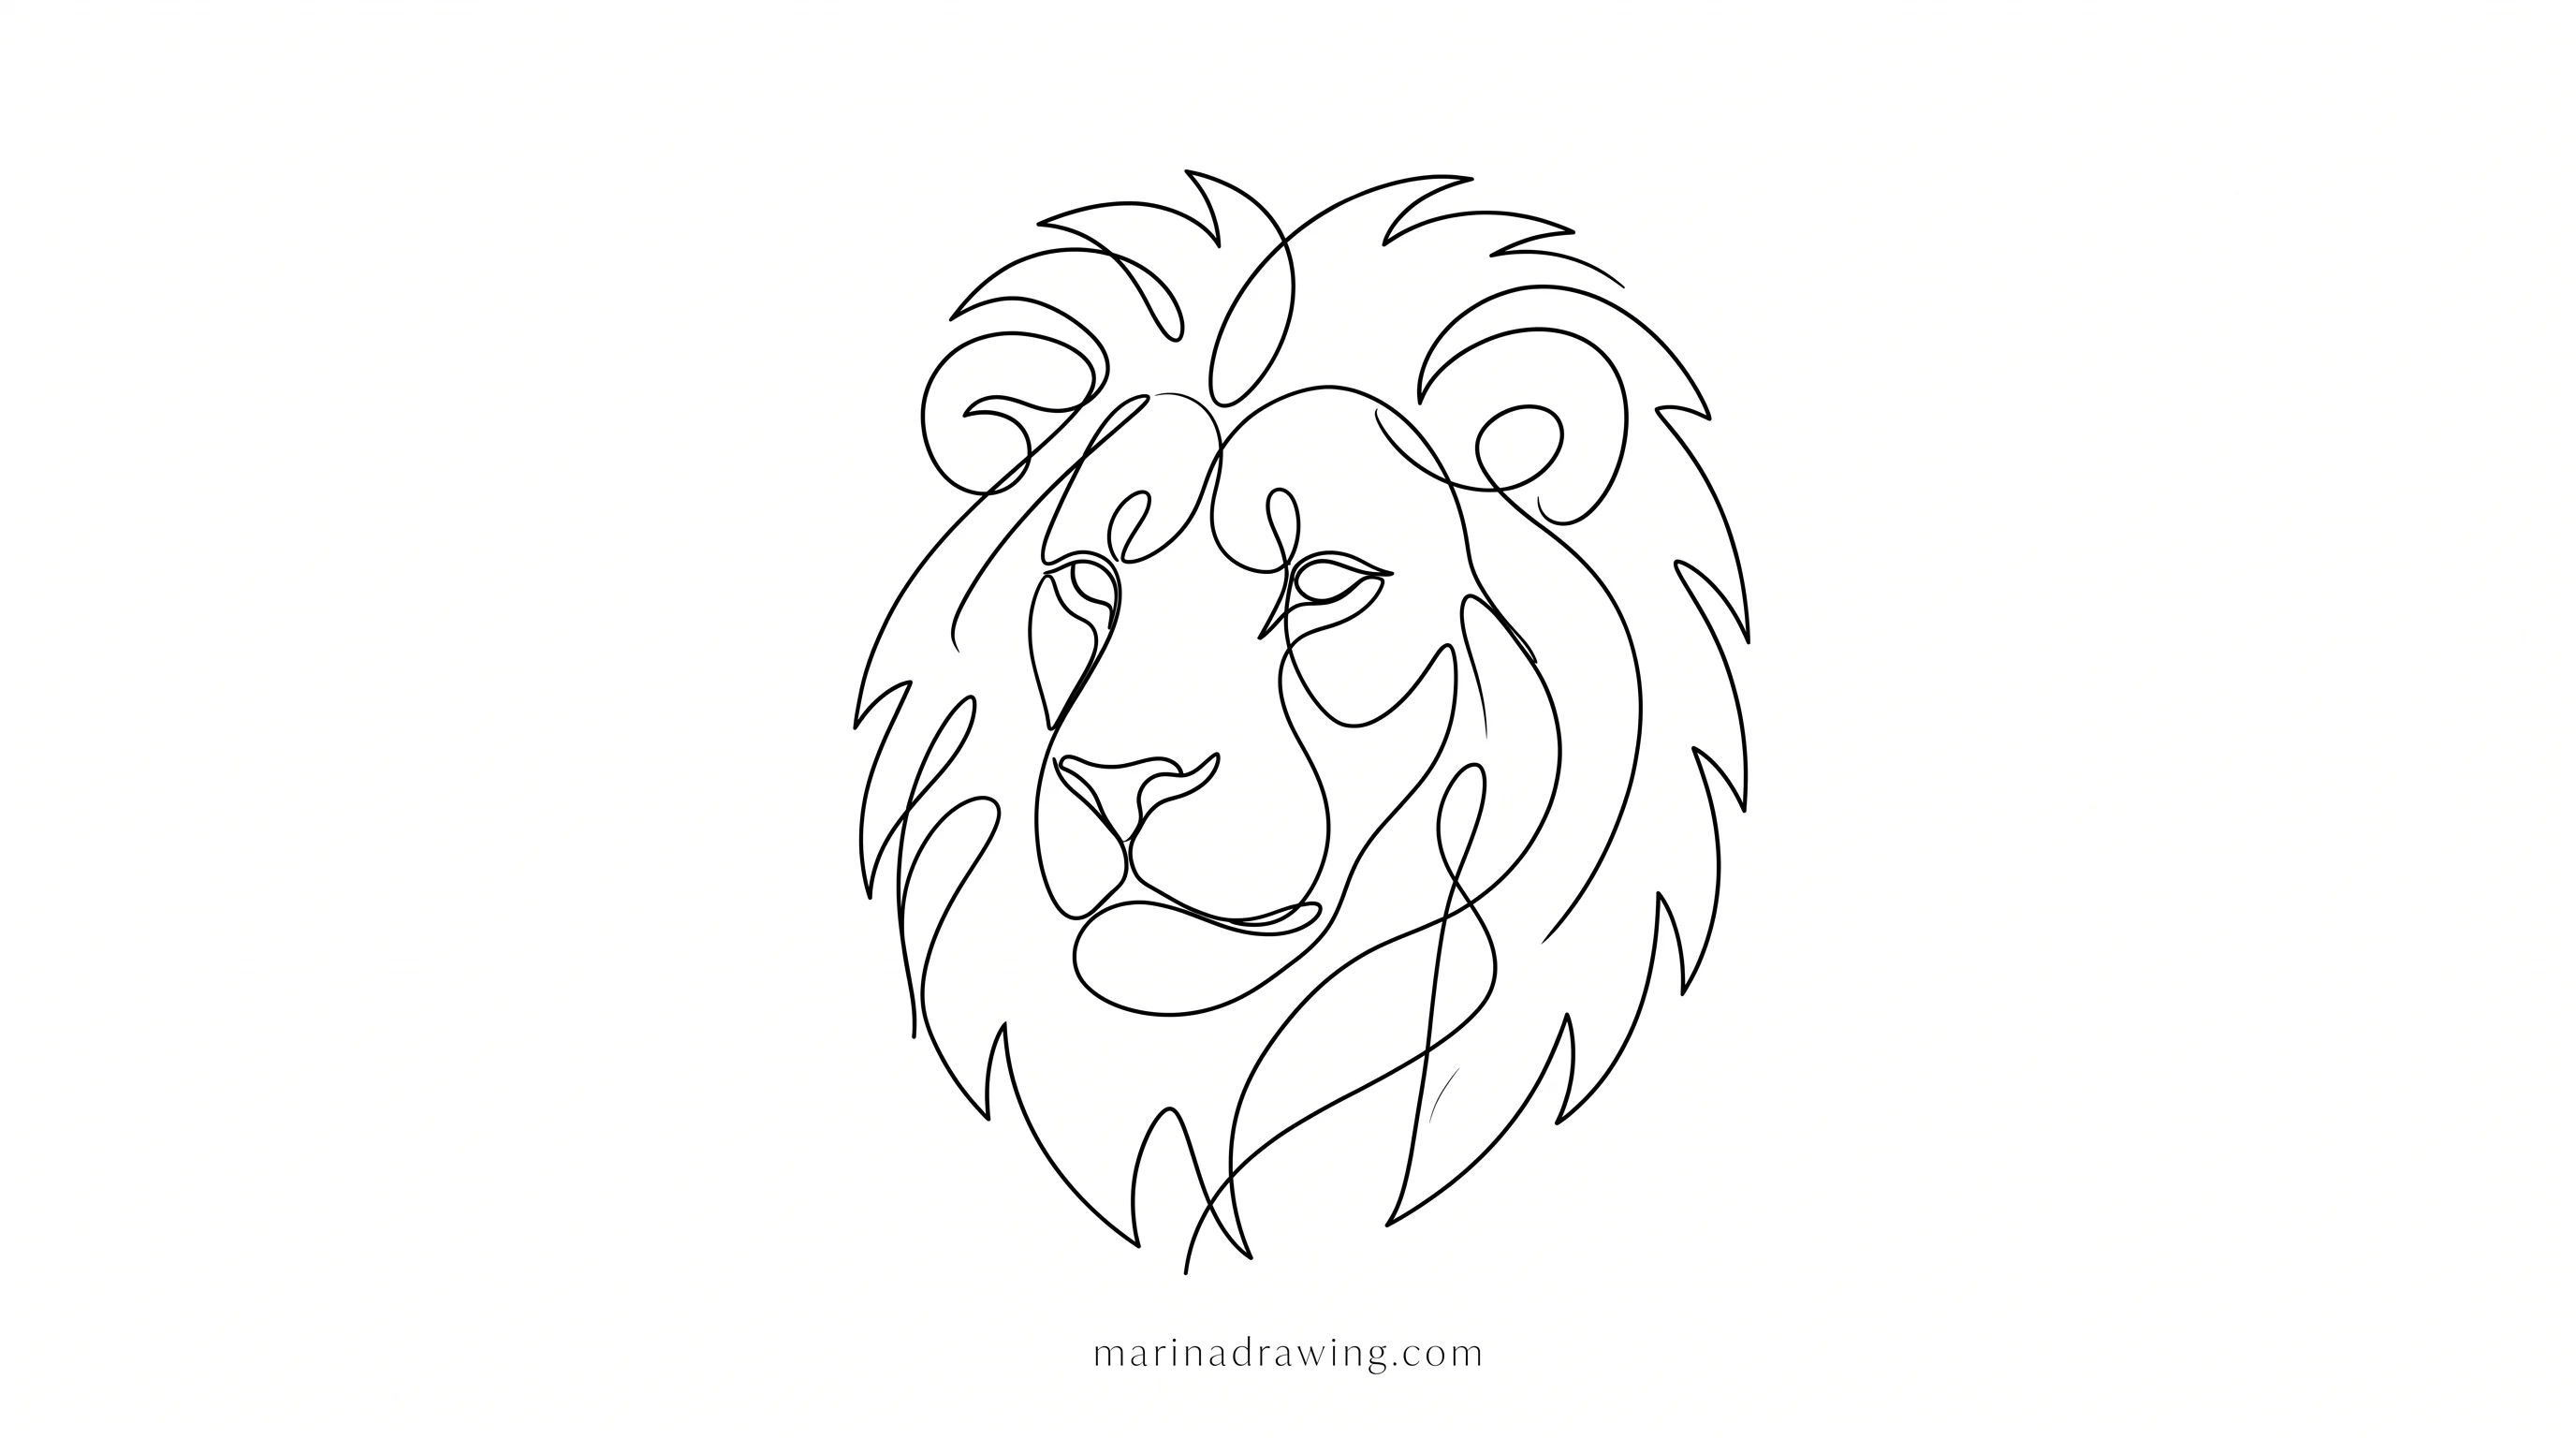
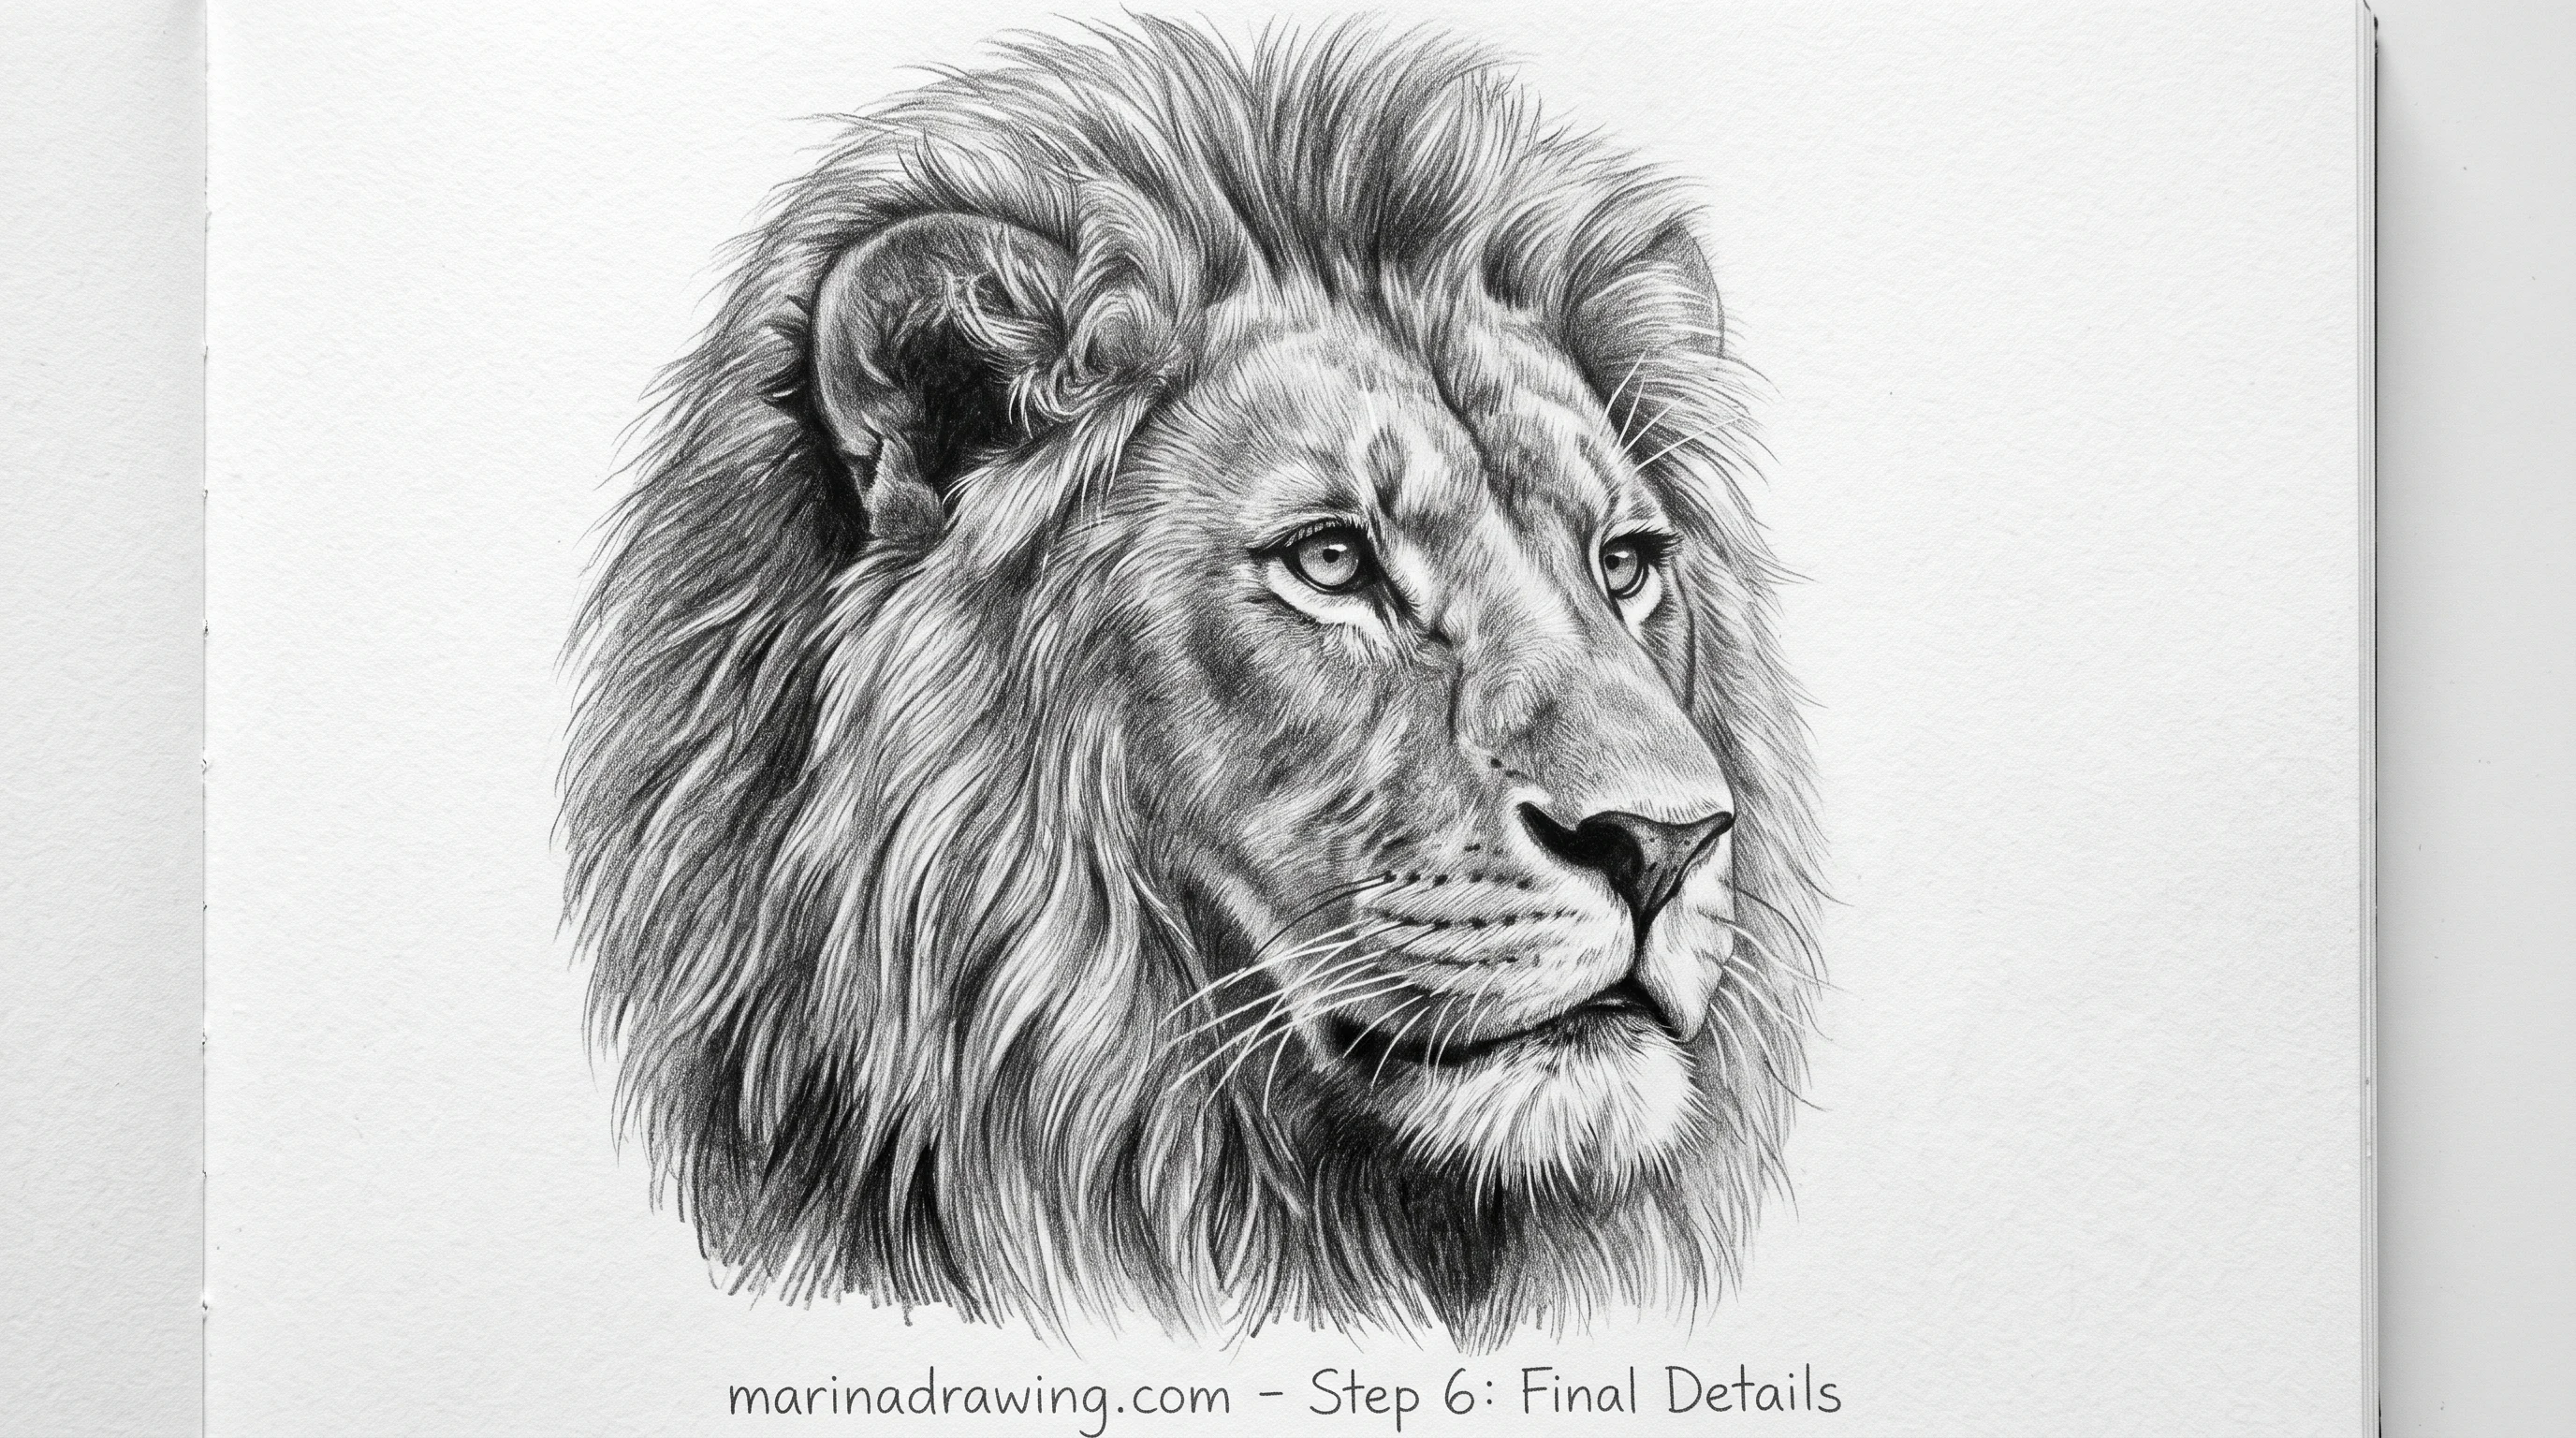
One continuous line, no lifting, no shading. Start at the top of the mane, travel round the whole head and finish where you began.

It sounds like a party trick and it is a real test. You cannot draw the lion in one line unless you already know its silhouette.
Do five of them in ten minutes and keep the least bad one. A lion sketch at this speed is the thing to draw when you have five minutes and no appetite for a project, in the same spirit as sketch ideas for today or a short daily practice session.
| Finish | How long it takes | What it forgives |
|---|---|---|
| Minimal line | Ten minutes | Nothing, every line shows |
| Flat colour | Twenty minutes | Uneven edges |
| Full graphite portrait | Two hours or more | Shaky outlines, the values cover them |
Lion in colour
Coloured pencil tempts everyone into orange. A lion is not orange, and the fastest way to make one look alive is two warms and one cool.
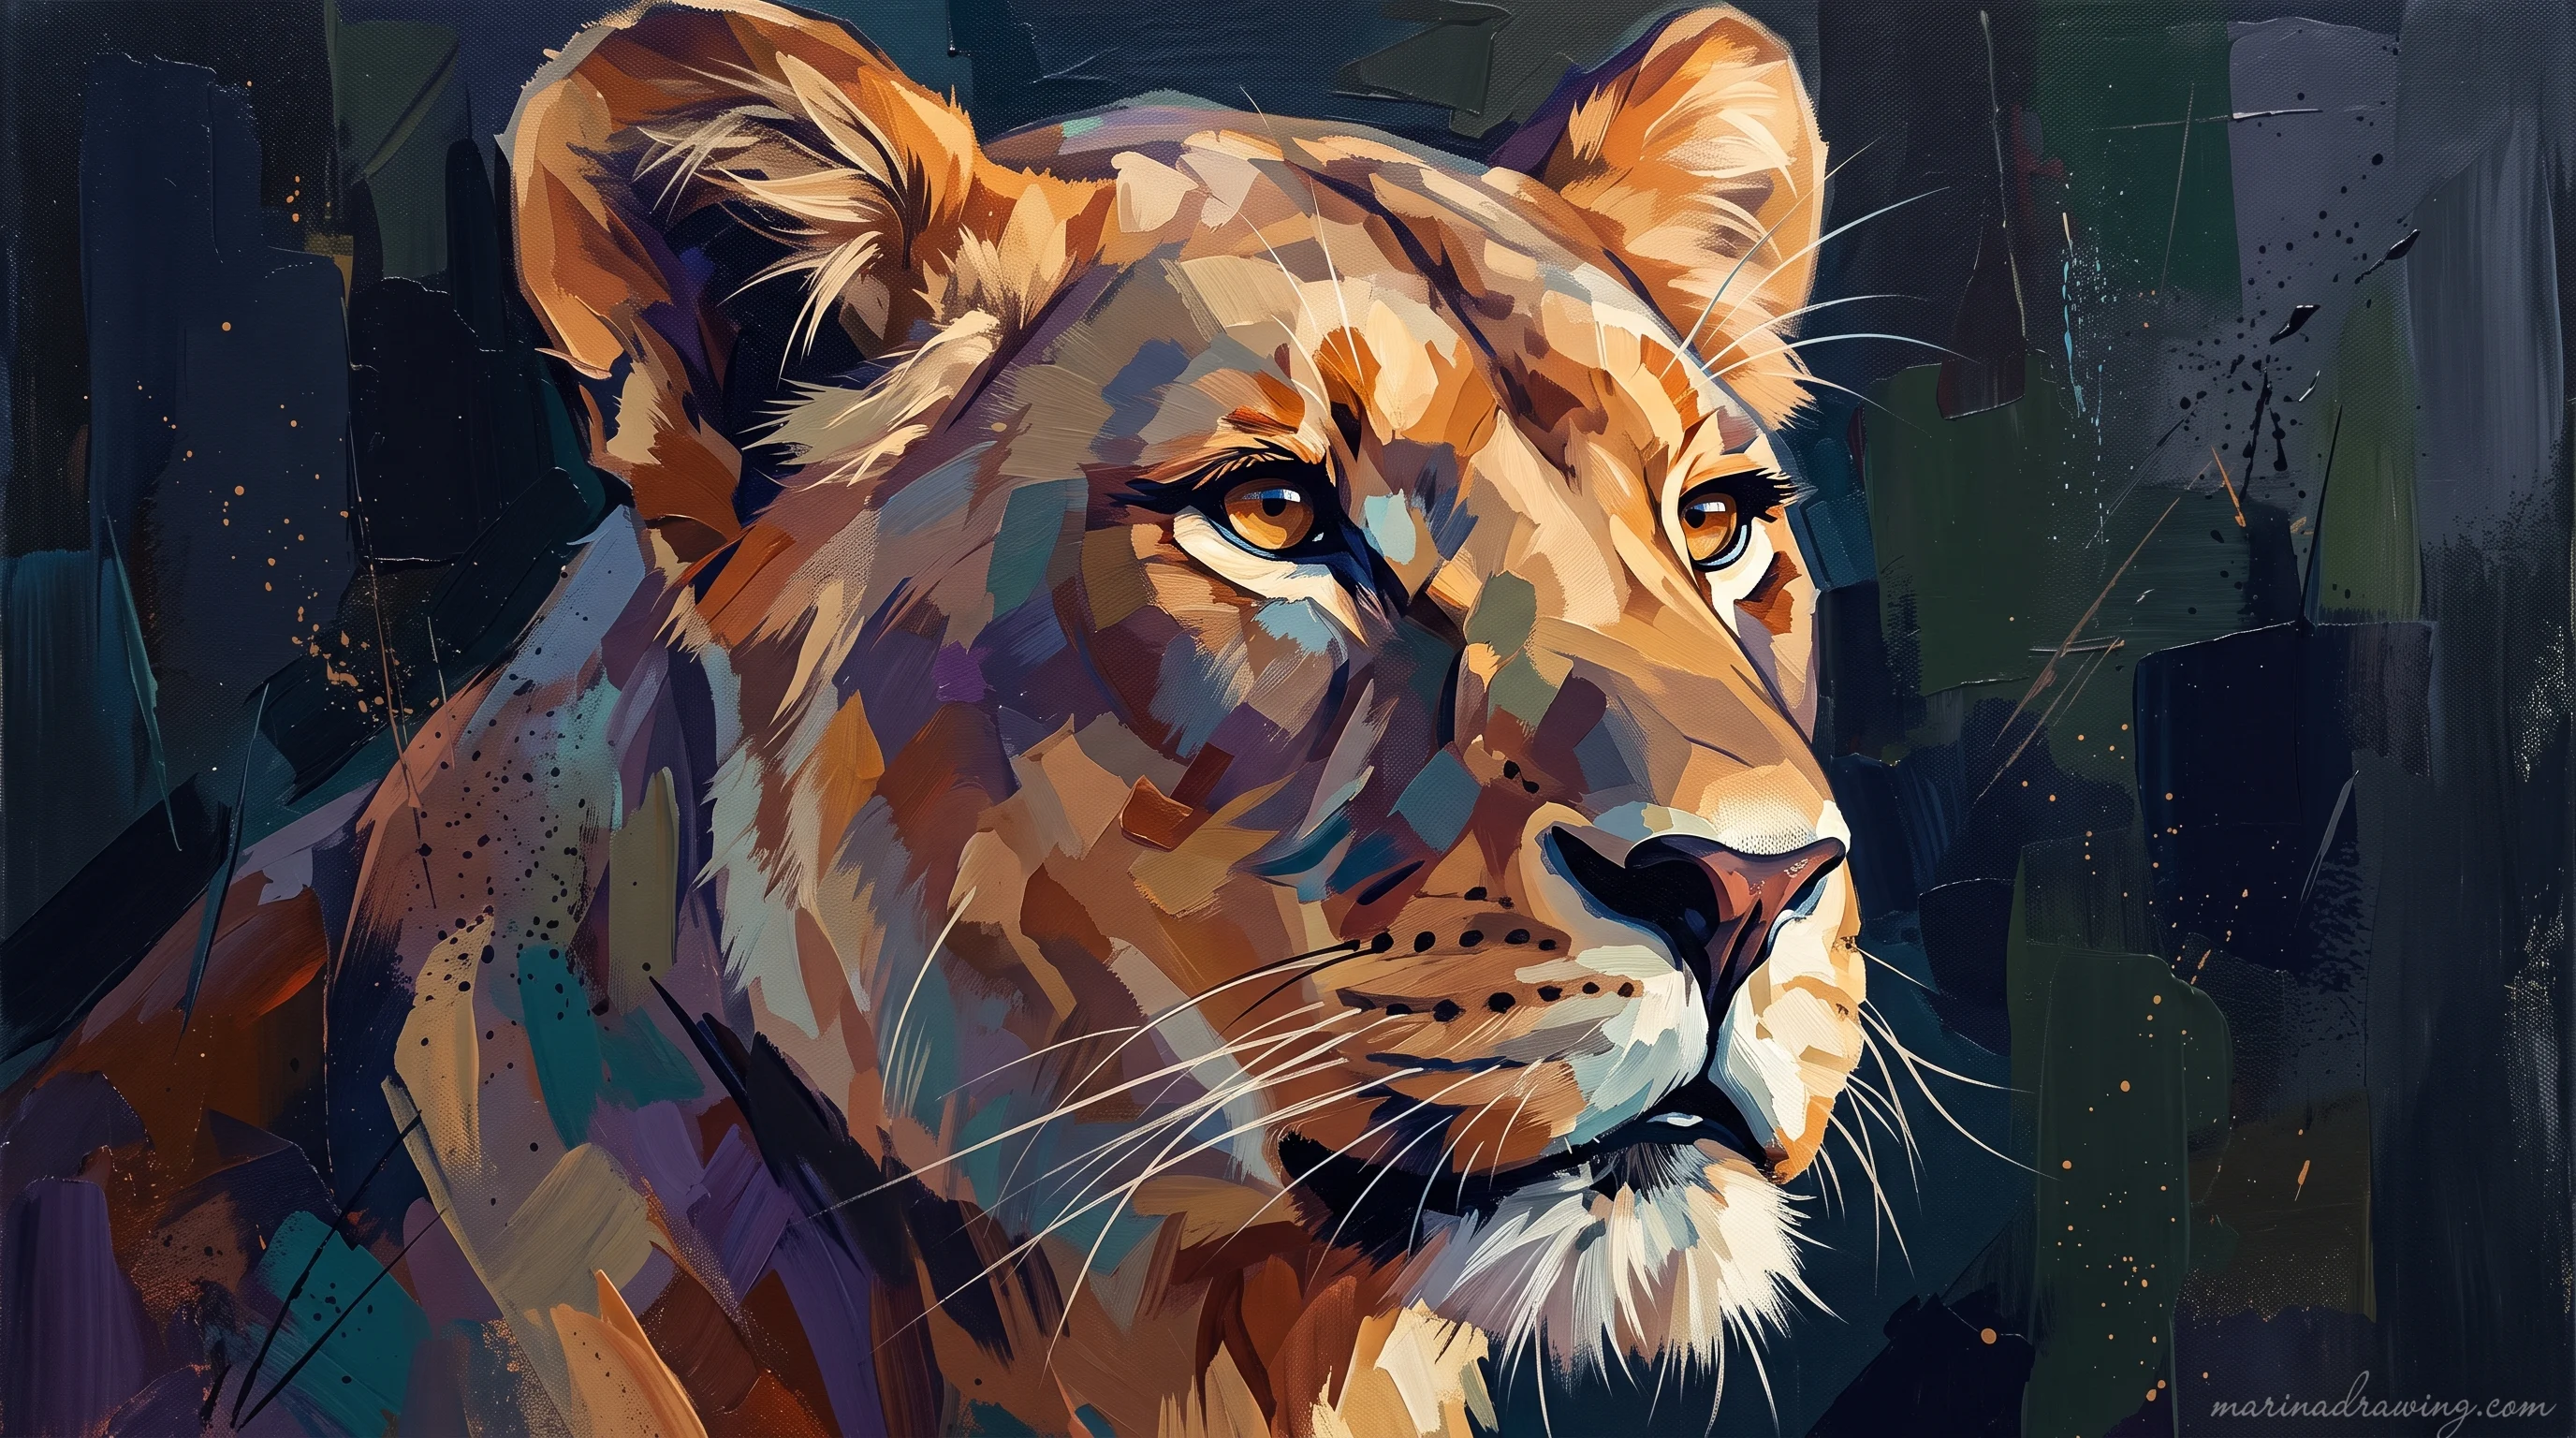
- A pale warm sand as the base over the whole coat.
- A deeper warm brown in the mane, around the eyes and along the back.
- A cool grey or blue-grey in the shadows: under the jaw, inside the ears, beneath the belly.
The cool shadow is what stops the drawing looking like a toy. Layer lightly and build up; a single hard pass of brown cannot be undone. Digital or coloured work on top of a solid pencil build is where colour and digital courses earn their place, once the shapes are reliable.
Mane direction: the one stroke rule
Here is the single technique that separates a drawn mane from a helmet. Across all nine tutorials in my tally, not one shows it as a frame.
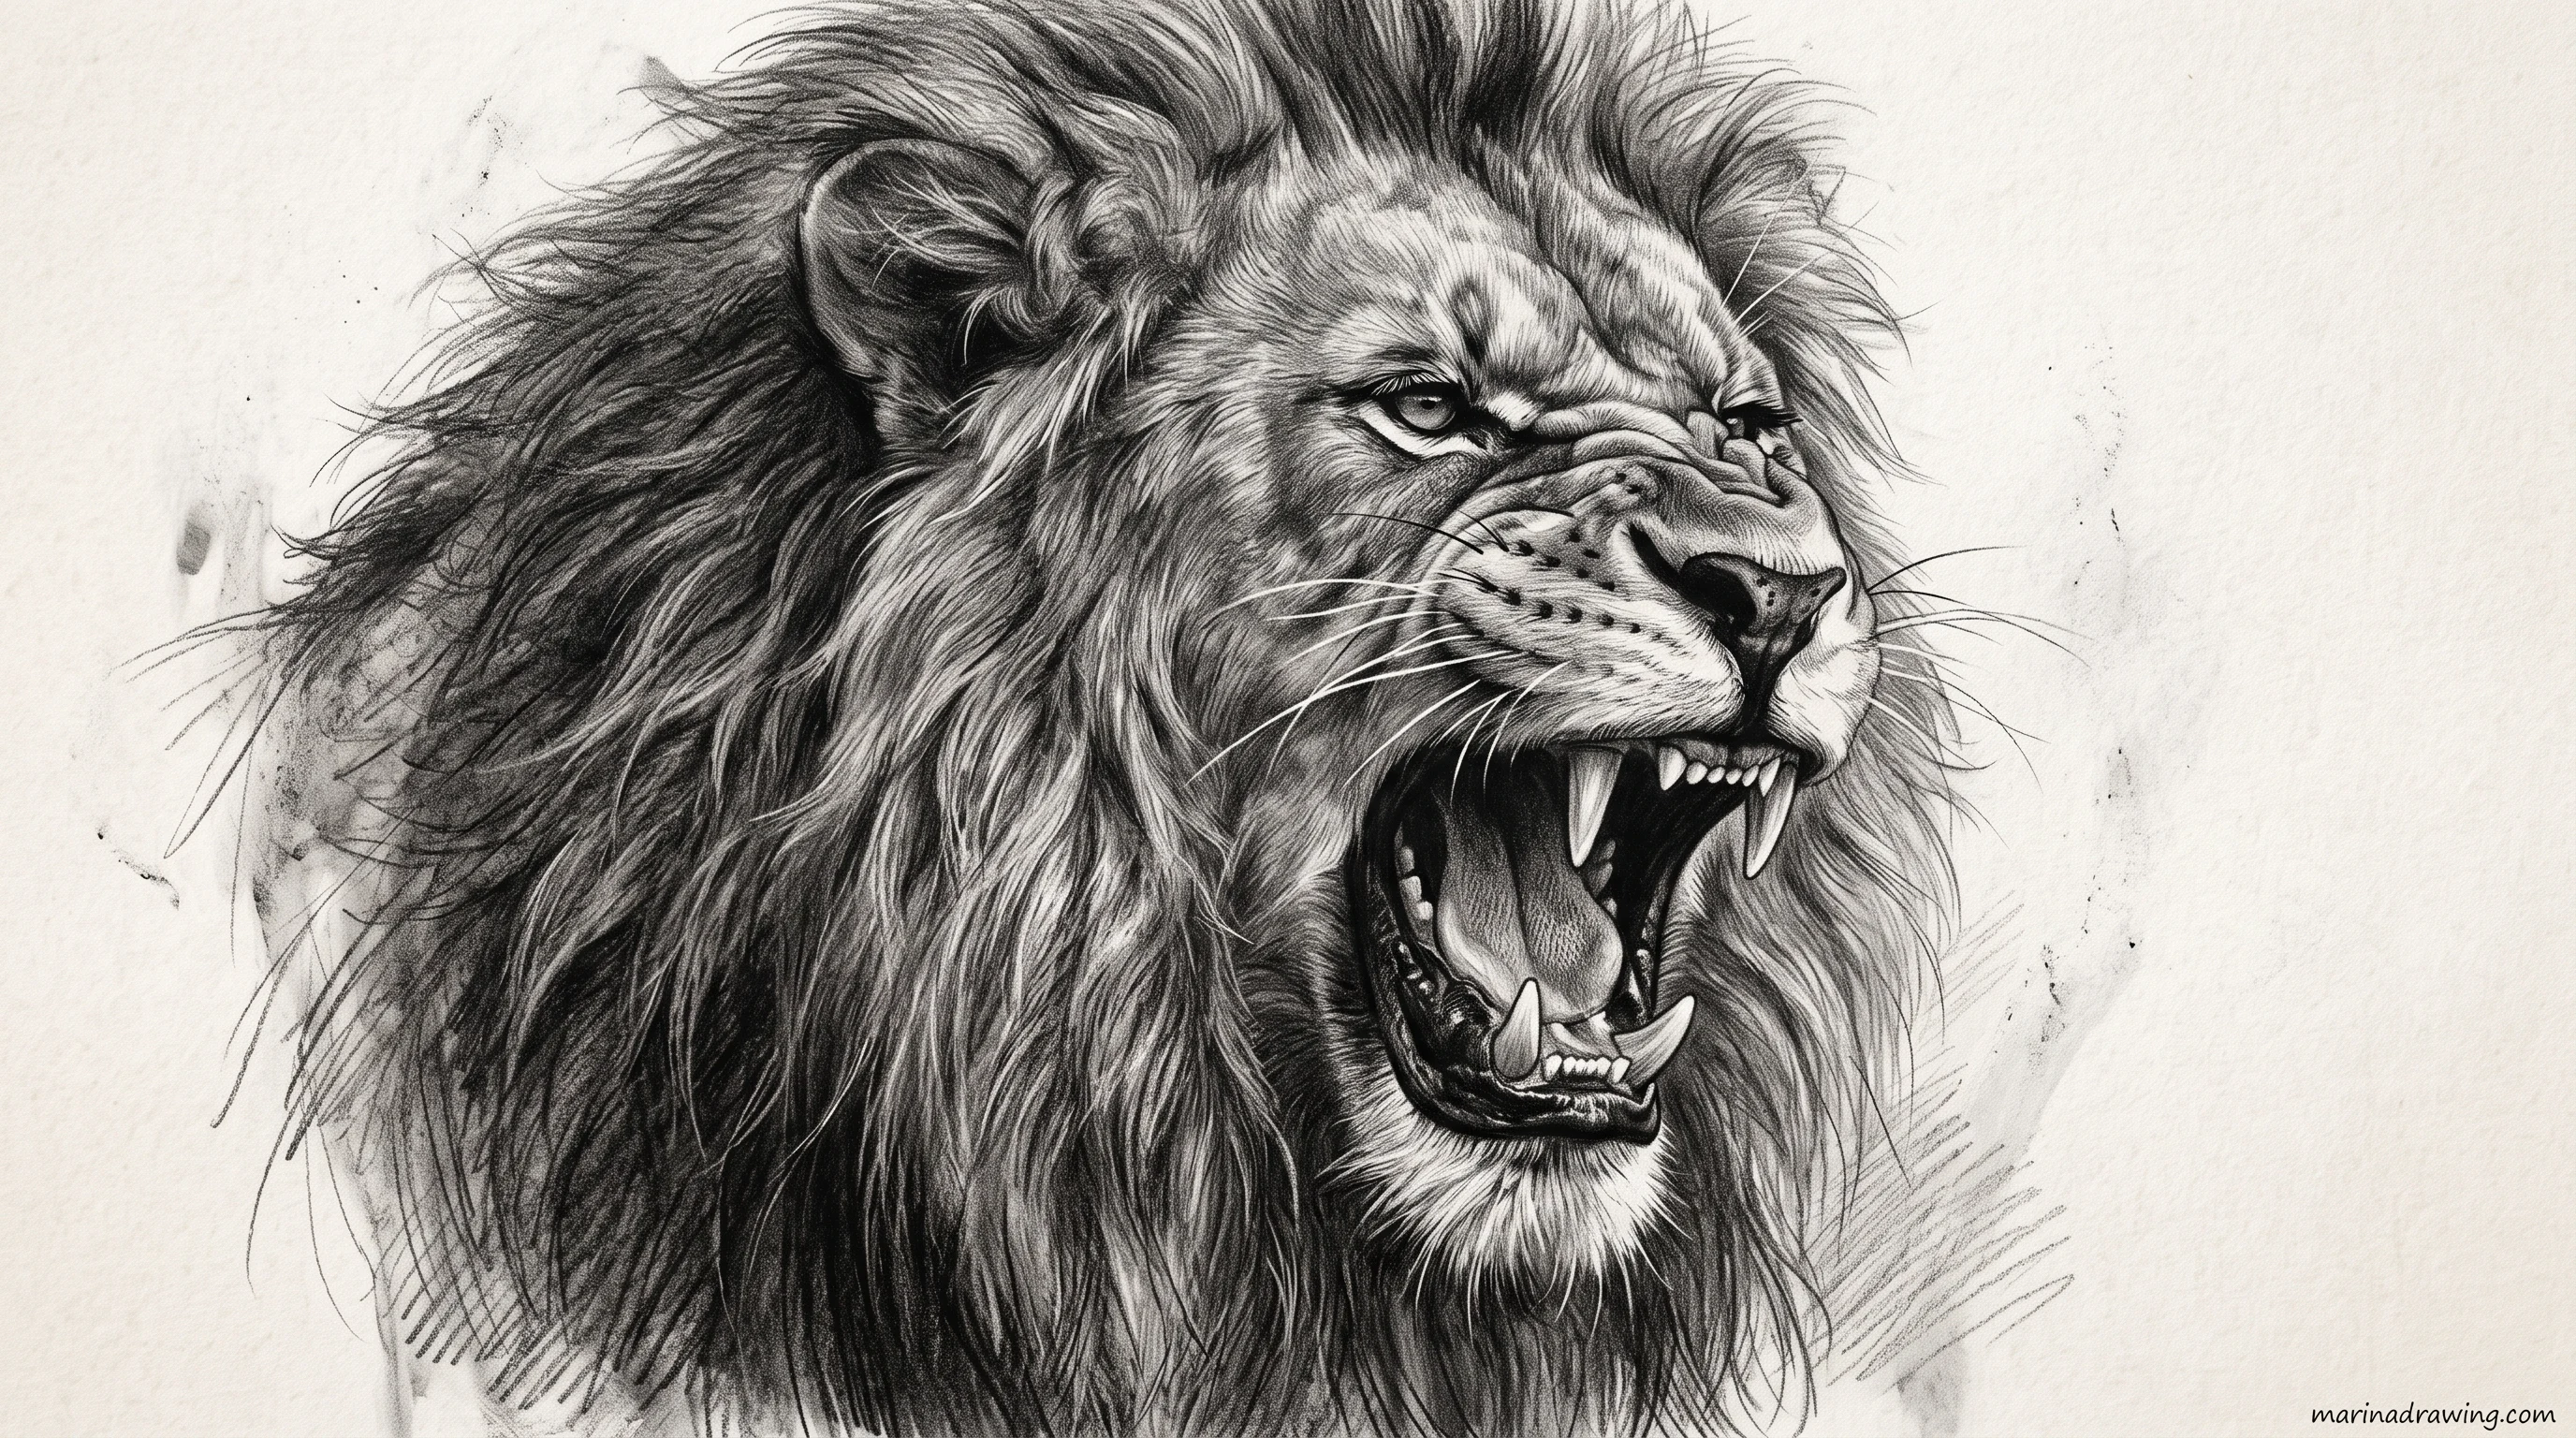
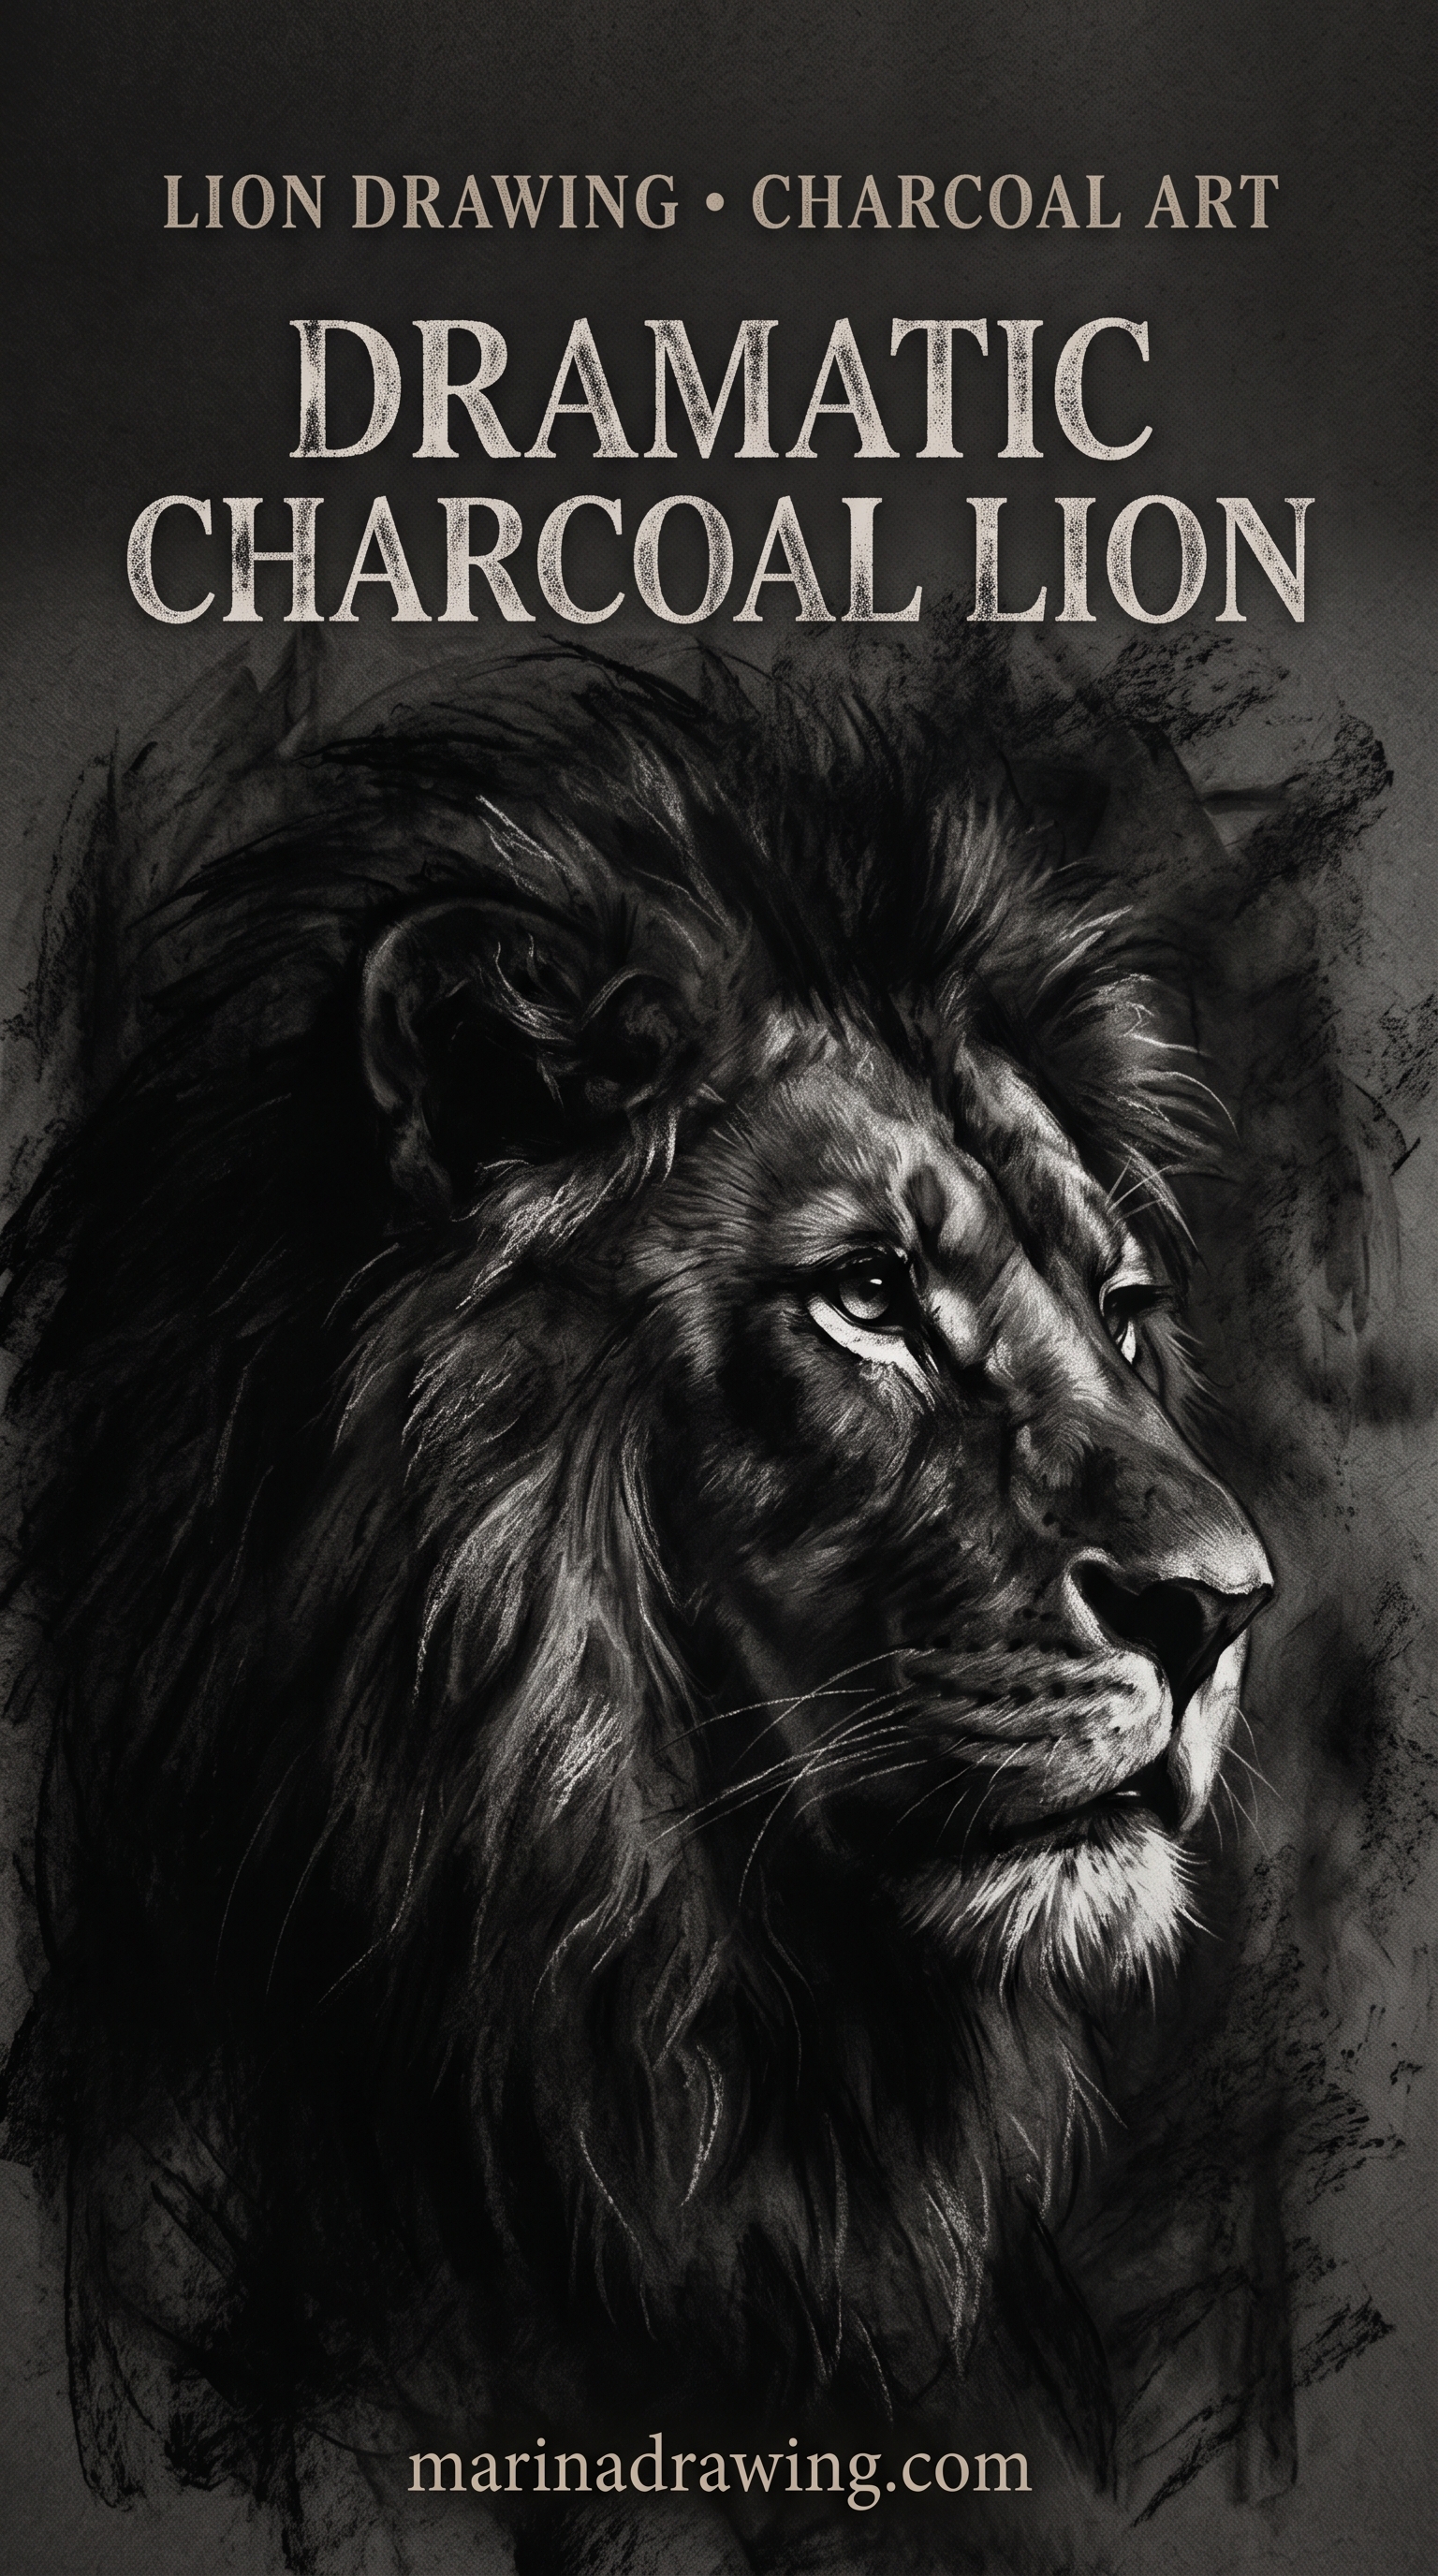
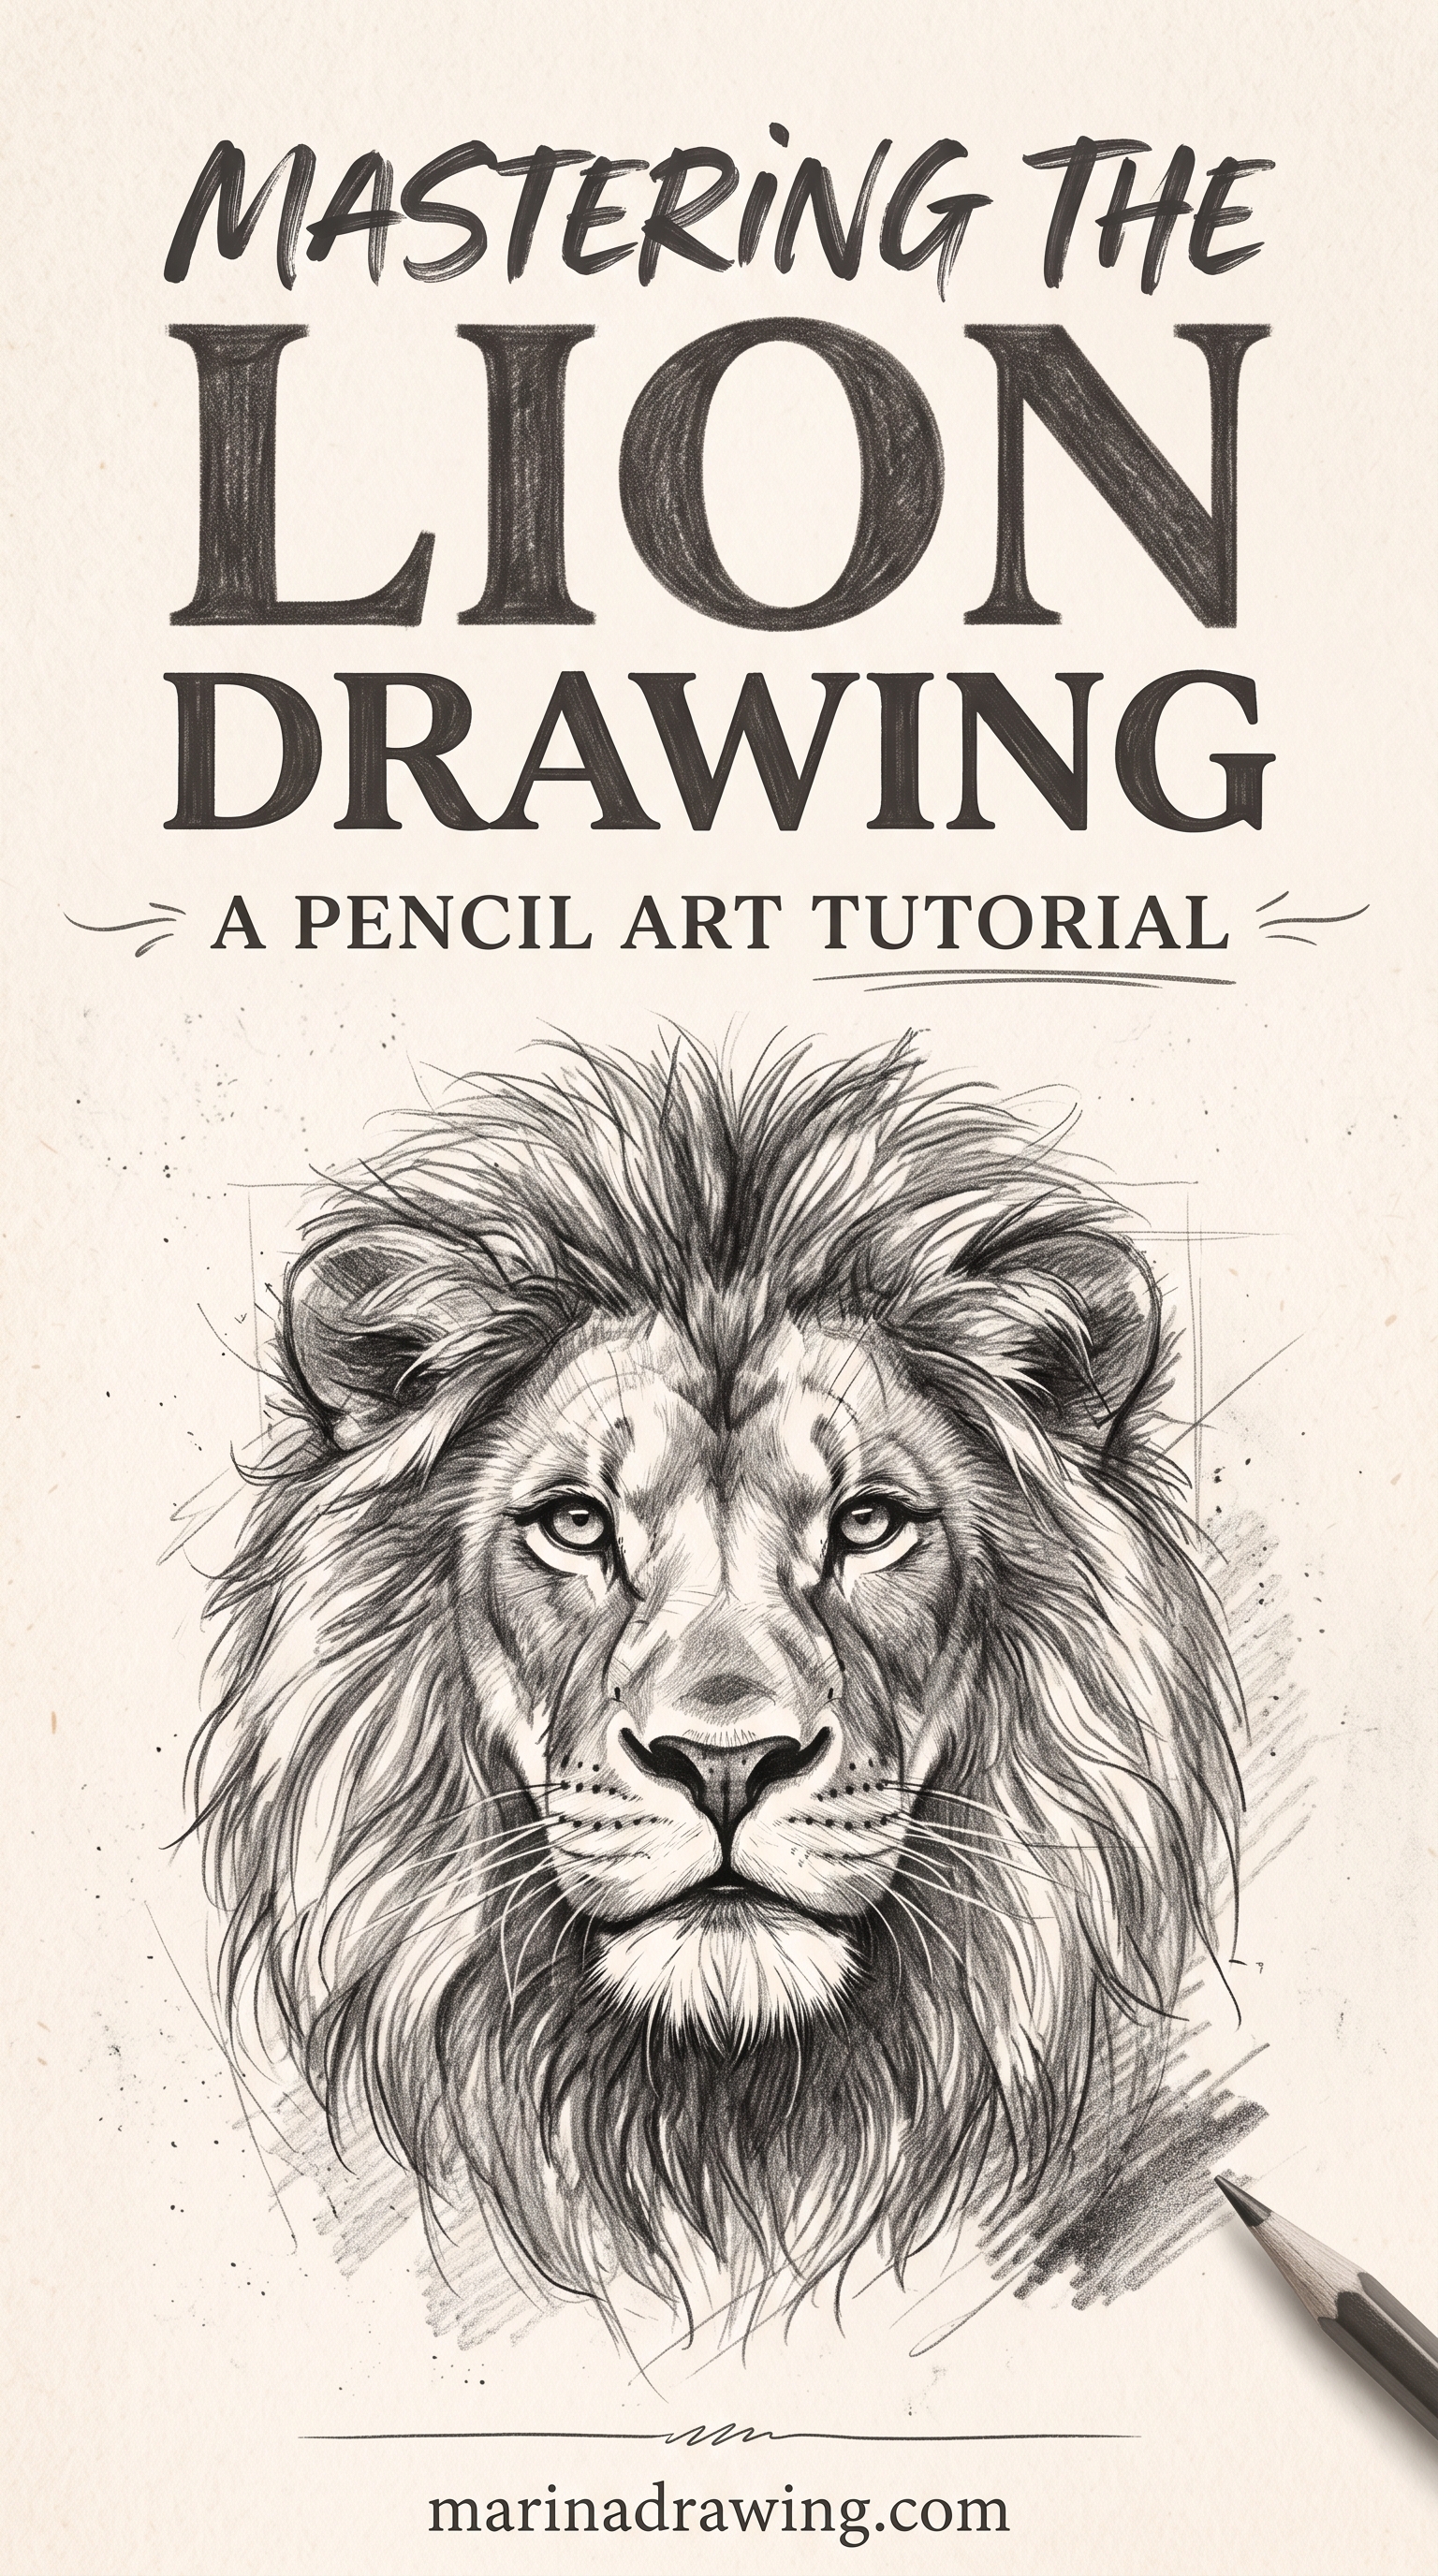
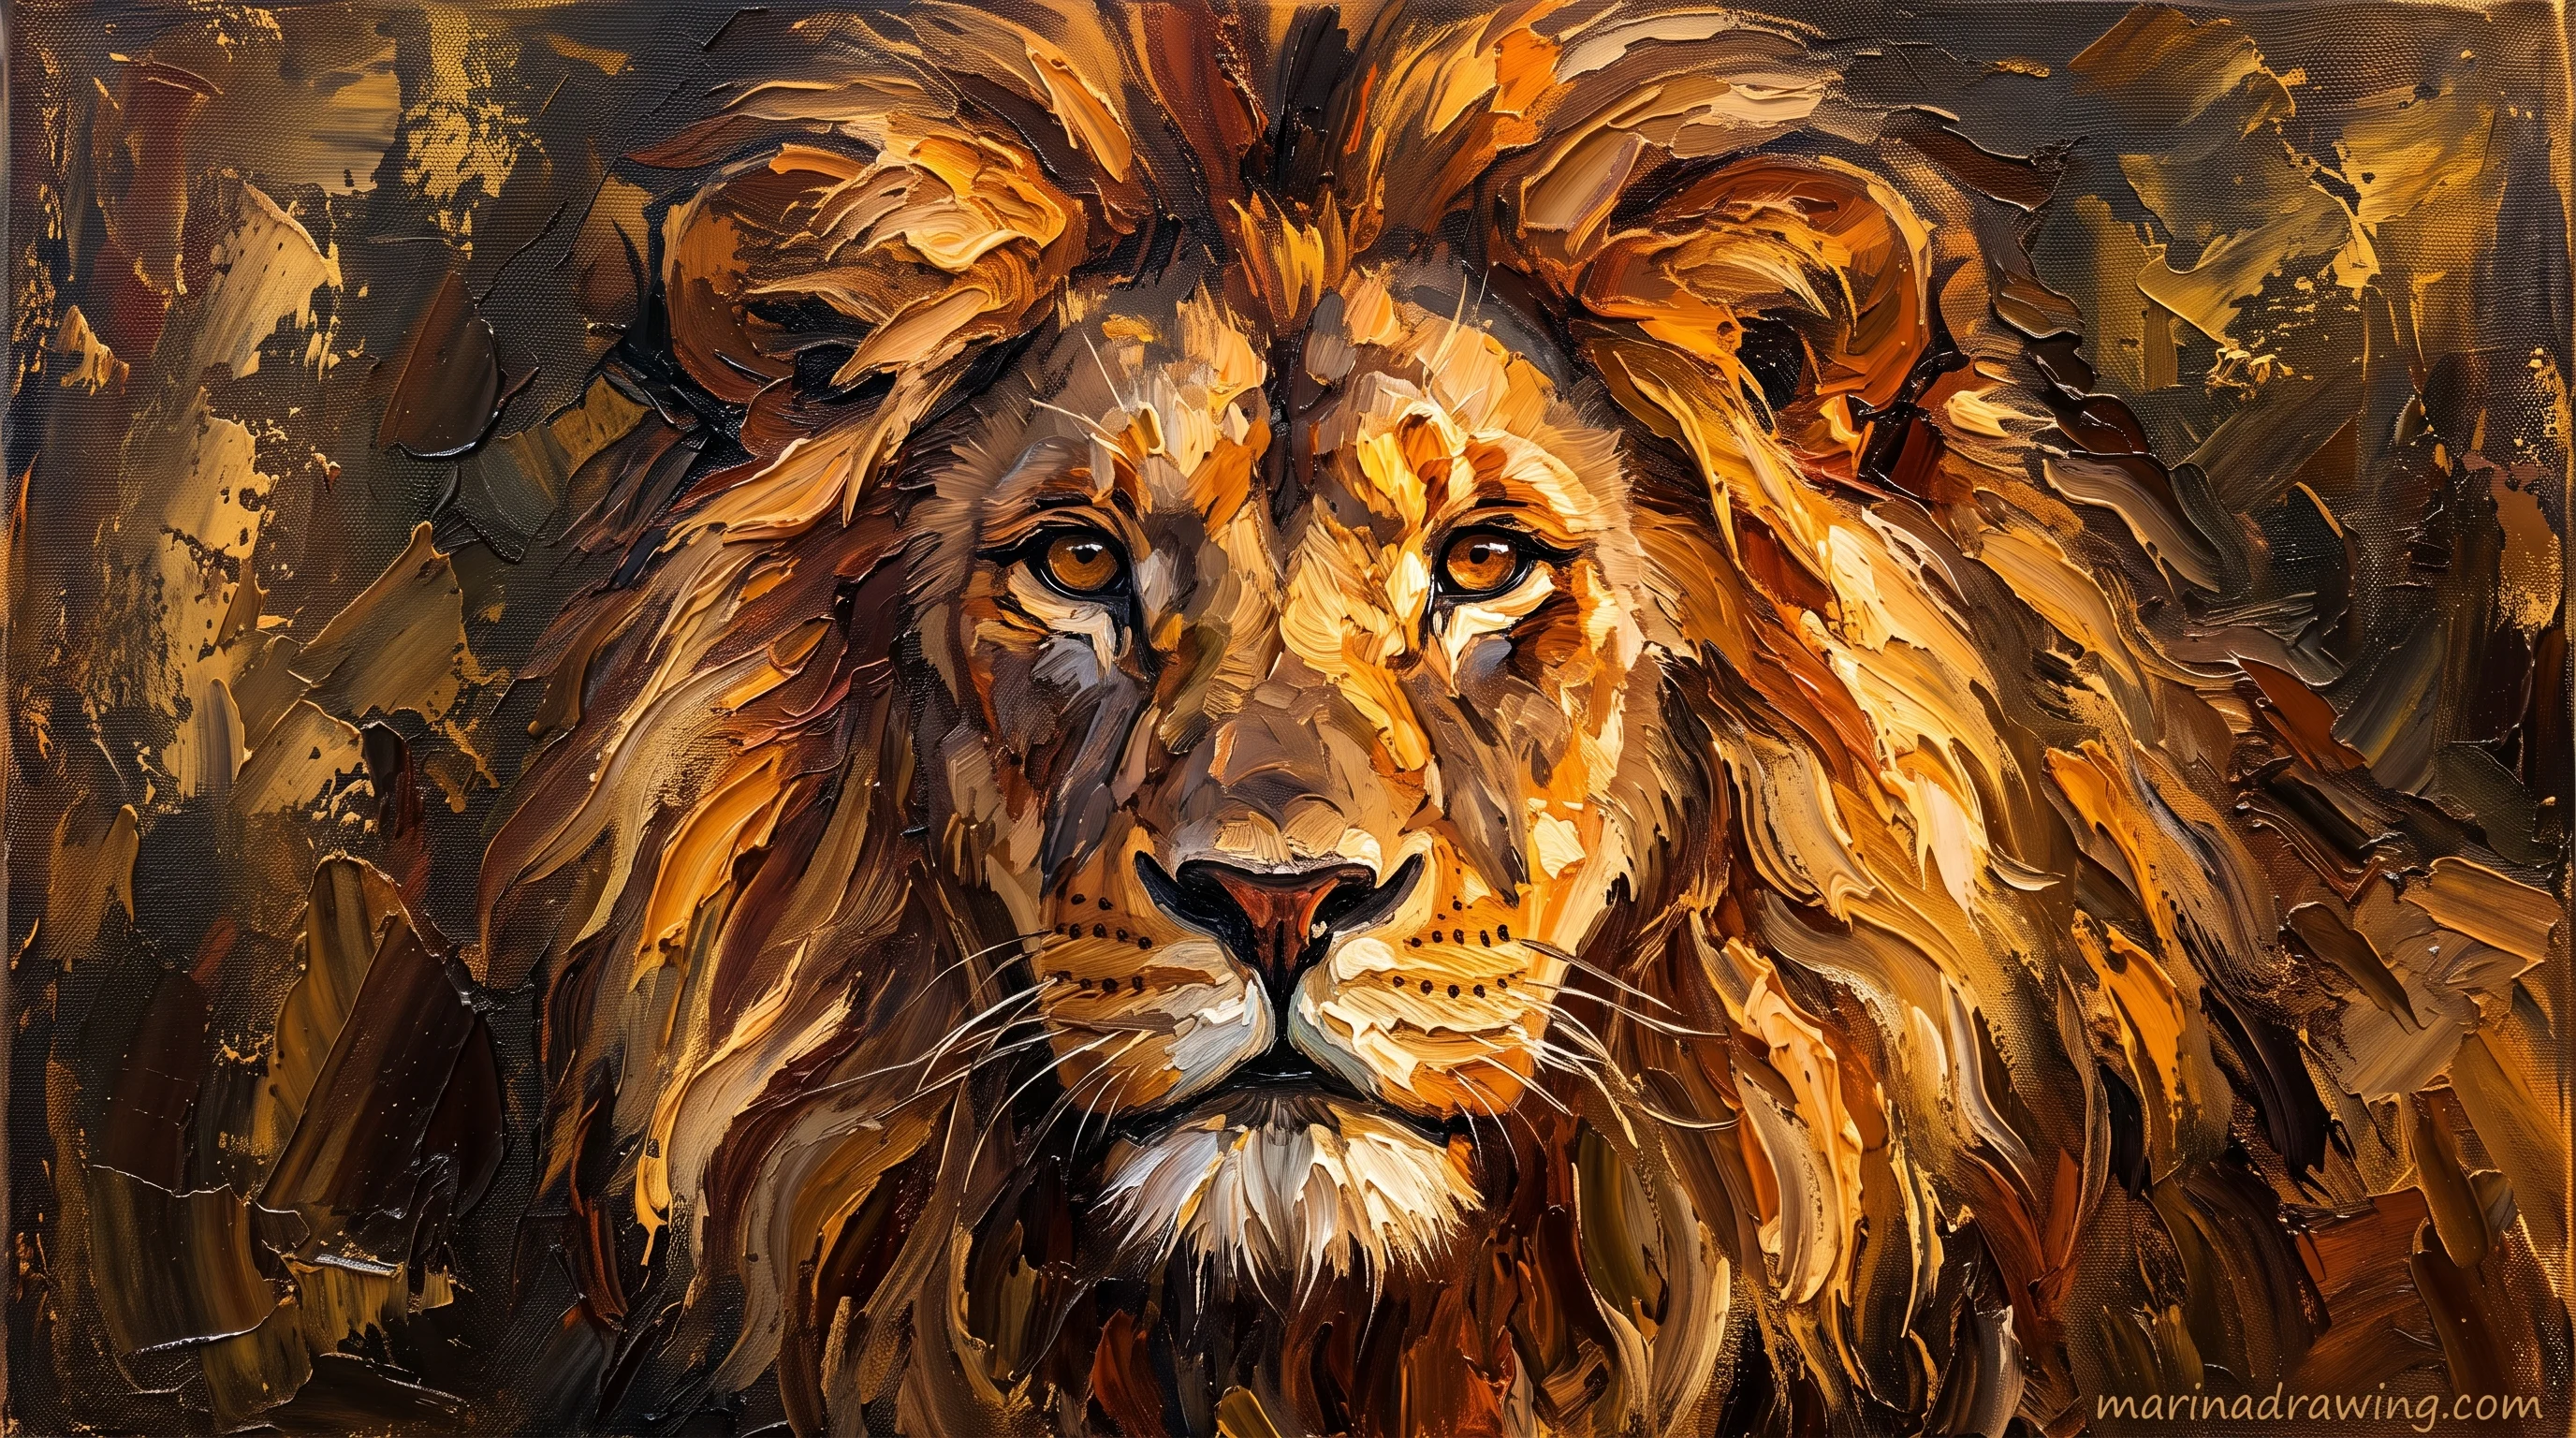
Every stroke of the mane travels outward from the face, following the direction the hair would fall. Near the top of the head your strokes point up and out, beside the cheeks sideways and down, under the jaw straight down.
Vary them. If your strokes are all the same length and evenly spaced, you have drawn a brush, not a mane.
- Draw the mane strokes in clumps of five or six, not one by one.
- Leave gaps between clumps. The gaps read as depth.
- Make the strokes at the outer edge longer and lighter so the mane breaks up against the background rather than ending in a hard line.
- Lift a few light hairs back out with the eraser corner, going the same way as the strokes.
Outline the mane first and fill it afterwards, and you get a helmet every time, however good the individual hairs are. The same logic governs human hair, which I wrote about in the three mistakes that make hair look flat.
Directional stroke work is a habit, not a tip you read once. If you want it drilled over weeks, the pencil course spends a whole module on fur and hair.
Which mistake did you make?
Put your lion next to this and find the symptom. Each symptom has one cause, and the cause is always earlier than where you think the problem is.

| What you see | What actually went wrong | What to change |
|---|---|---|
| The mane looks stuck on, like a wig | You outlined the mane and filled it | Redraw it in clumps, outward from the face, gaps left in |
| It reads as a big dog | The wedge is too long | Shorten the muzzle by about a third and widen it |
| The face looks like a sticker | No shadow on the side of the muzzle | One mid tone down one side of the wedge and under the nose |
| It looks human or alien | Eyes too high on the ball | Drop them to a third up from the bottom, widen the forehead |
| The body sags in the middle | The spine was drawn as a curve | Redraw the back nearly straight, shoulder highest |
| Everything is the same grey | No dark was committed early | Put the darkest dark under the jaw first, then rebuild |
| The cute version looks odd rather than cute | Head too small for the body | Head to about two thirds of body size, eyes larger and lower |
Six of those seven are build errors you fix before any detail. Only one is a shading error.
If more than two rows describe your drawing, your next step is not another lion. You want construction taught in order, which is what a structured drawing course does over forty-odd hours and no single page can.
Questions people ask about drawing a lion
| Proportion | Cute lion | Realistic lion |
|---|---|---|
| Head against body | About two thirds | About one fifth |
| Eye line on the ball | A third up from the bottom | A third up, but eyes much smaller |
| Muzzle length | Tiny, barely past the ball | Short and blunt, a third of the head |
| Mane | A scalloped ring | Clumps, widest at mouth level |
| Legs | Short and thick | Shoulder is the highest point |
How do you draw a lion step by step for a beginner?
You draw the ball for the skull, a short wedge for the muzzle, a triangle for the mane, eyes low on the ball, then the mane in clumps growing outward. Finish with the dark under the jaw. The front-facing face above is the easiest place to start.
How do I make a lion drawing easy enough for a child?
Use the cute ratios: head two thirds the size of the body, big round eyes set low and wide, tiny muzzle, scalloped mane ring, short thick legs. You skip all shading and let the child colour it in.
Why does my lion look like a dog?
Your muzzle is too long. A lion’s muzzle is short and blunt, and shortening yours by about a third is usually the whole fix.
How do you draw a lion face?
You draw the ball, then a horizontal guide a third up from the bottom for your eyes, and the wedge below it on a vertical centre line. Ears round and set wide. Mane last, widest at mouth level.
How do you draw a realistic lion?
You build the same three shapes, then commit to three clearly separated values and keep your mane strokes directional. Realism here comes from contrast and stroke direction, not from more hairs, and a graded pencil course spends most of its value work on exactly that.
How long does a lion drawing take?
Fifteen minutes for the cute version or a minimal line lion, half an hour for the front-facing face, an hour or more for a shaded pencil portrait.
What pencil should I use for a lion drawing?
A single 2B does all of it: press harder for the dark under the jaw, lighter for the outer mane.
Can I draw a lion tail and full body as a beginner?
Yes, if you draw the spine first and keep it nearly straight, with the shoulder as the highest point. The tail is a loose hanging curve with a tuft, drawn last.
How to make a lion drawing for kids, or for class 1 homework?
Use the cute ratios and stop at outline and colour. For class 1 work, keep it to one ball, one ring of mane, two dot eyes and four short legs, and let the child fill it with coloured pencil. More animals at that level sit in five simple animals step by step.
What colour is a lion in a drawing?
Not orange. You want a pale warm sand base, a deeper warm brown in the mane and along the back, and a cool grey in your shadows.
How do you draw Lion King style, or a lion and mouse scene?
Both are the cute ratios plus staging, so you start exactly as above. For a Lion King look, exaggerate the cheek fur and narrow the eyes; for a lion and mouse scene, draw the lion lying down and put the mouse beside a paw so the size difference does the storytelling.
Do I need a course, or is a tutorial enough?
A tutorial gets you one lion. If you want the build order to hold on the next animal you pick, that is what a full pencil course is for, and the colour side sits in these classes.
Key takeaways
- Three shapes come before any fur: ball, short wedge, mane triangle.
- A short muzzle is what makes a lion read as a lion rather than a dog.
- Mane strokes travel outward from the face in clumps, with gaps left between them.
- Eyes sit low on the skull, about a third up from the bottom.
- On a full body the back is nearly straight and the shoulder is highest.
- Commit the darkest dark under the jaw early, or everything stays mid-grey.
- If two or more rows of the diagnosis table describe your drawing, the problem is the build order, not the lines.
Draw the cute one tonight and the lioness tomorrow, and you will know within two sittings whether your muzzle or your mane is the weak link. If both are, you want the order taught in sequence, and the pencil drawing course does exactly that.