A fox goes wrong quietly. Nothing on your page looks broken. The ears are there, the tail is there, the colour is right. And still the animal on your paper is a small dog in an orange coat. I have drawn that dog many times, and the fix is never in the fur. I checked my own stack of failed foxes before writing this, and it is almost never in the lines you are worrying about either, which is why another tutorial rarely helps you.
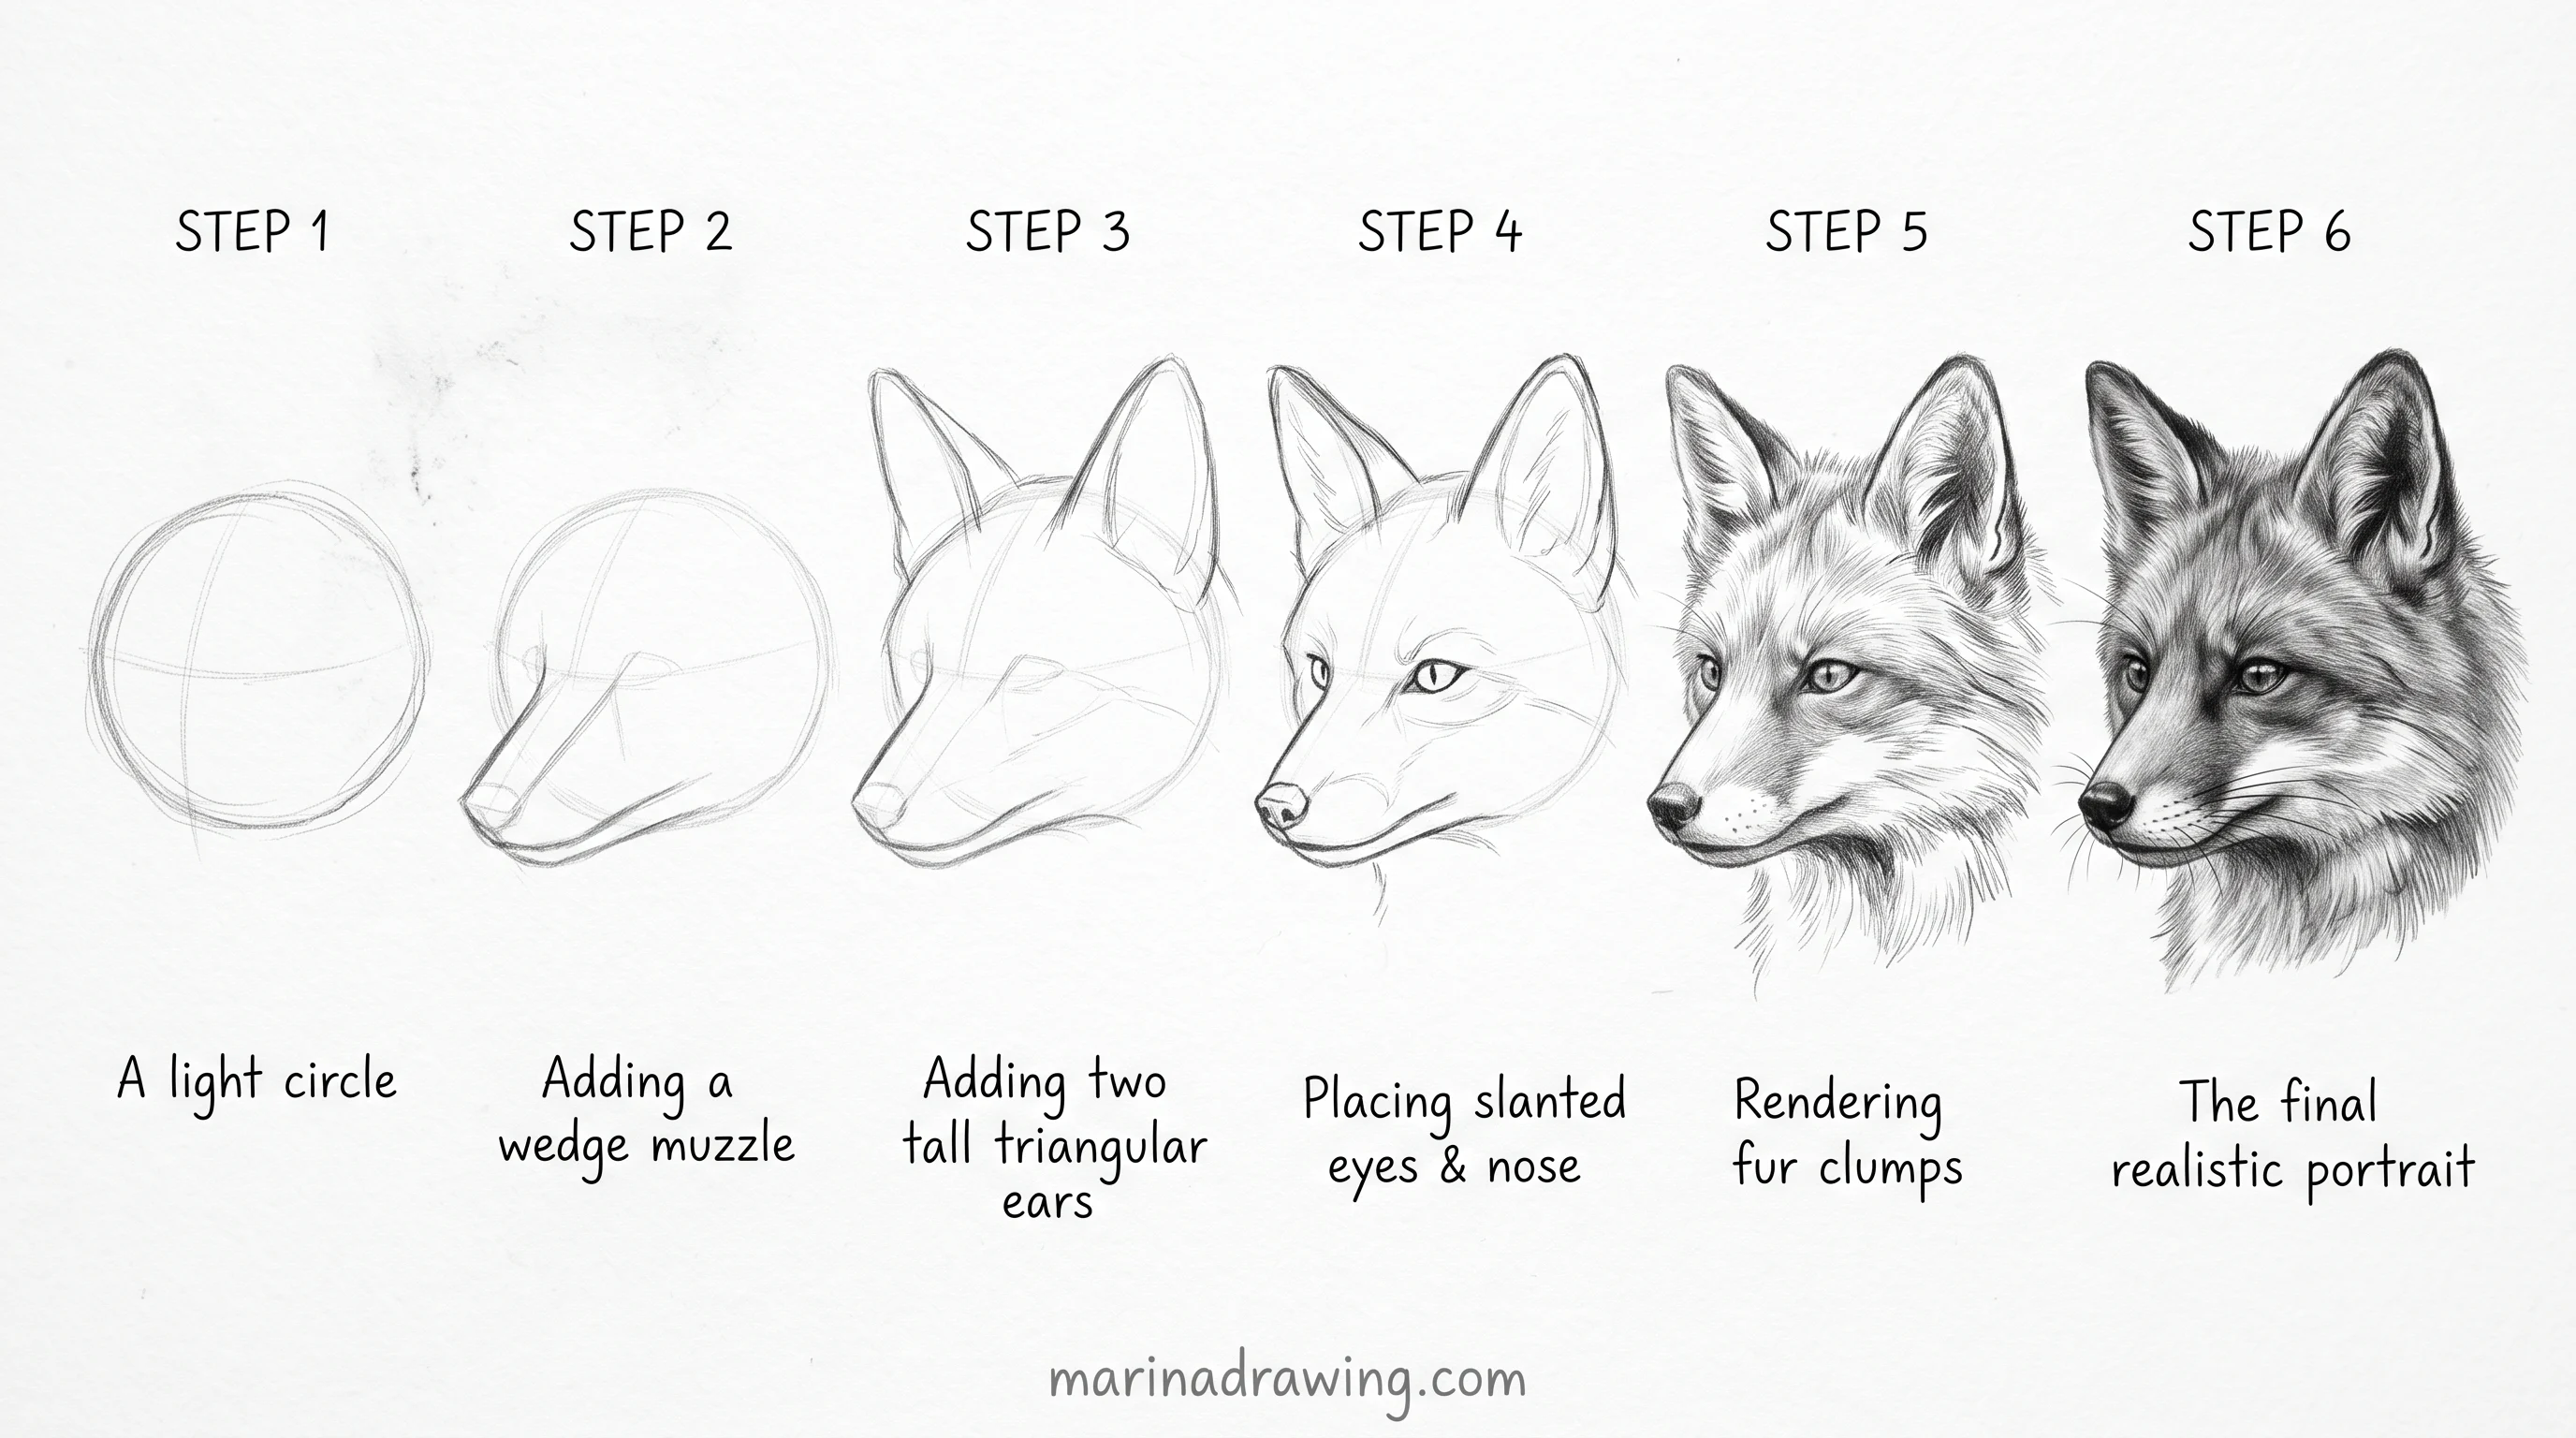
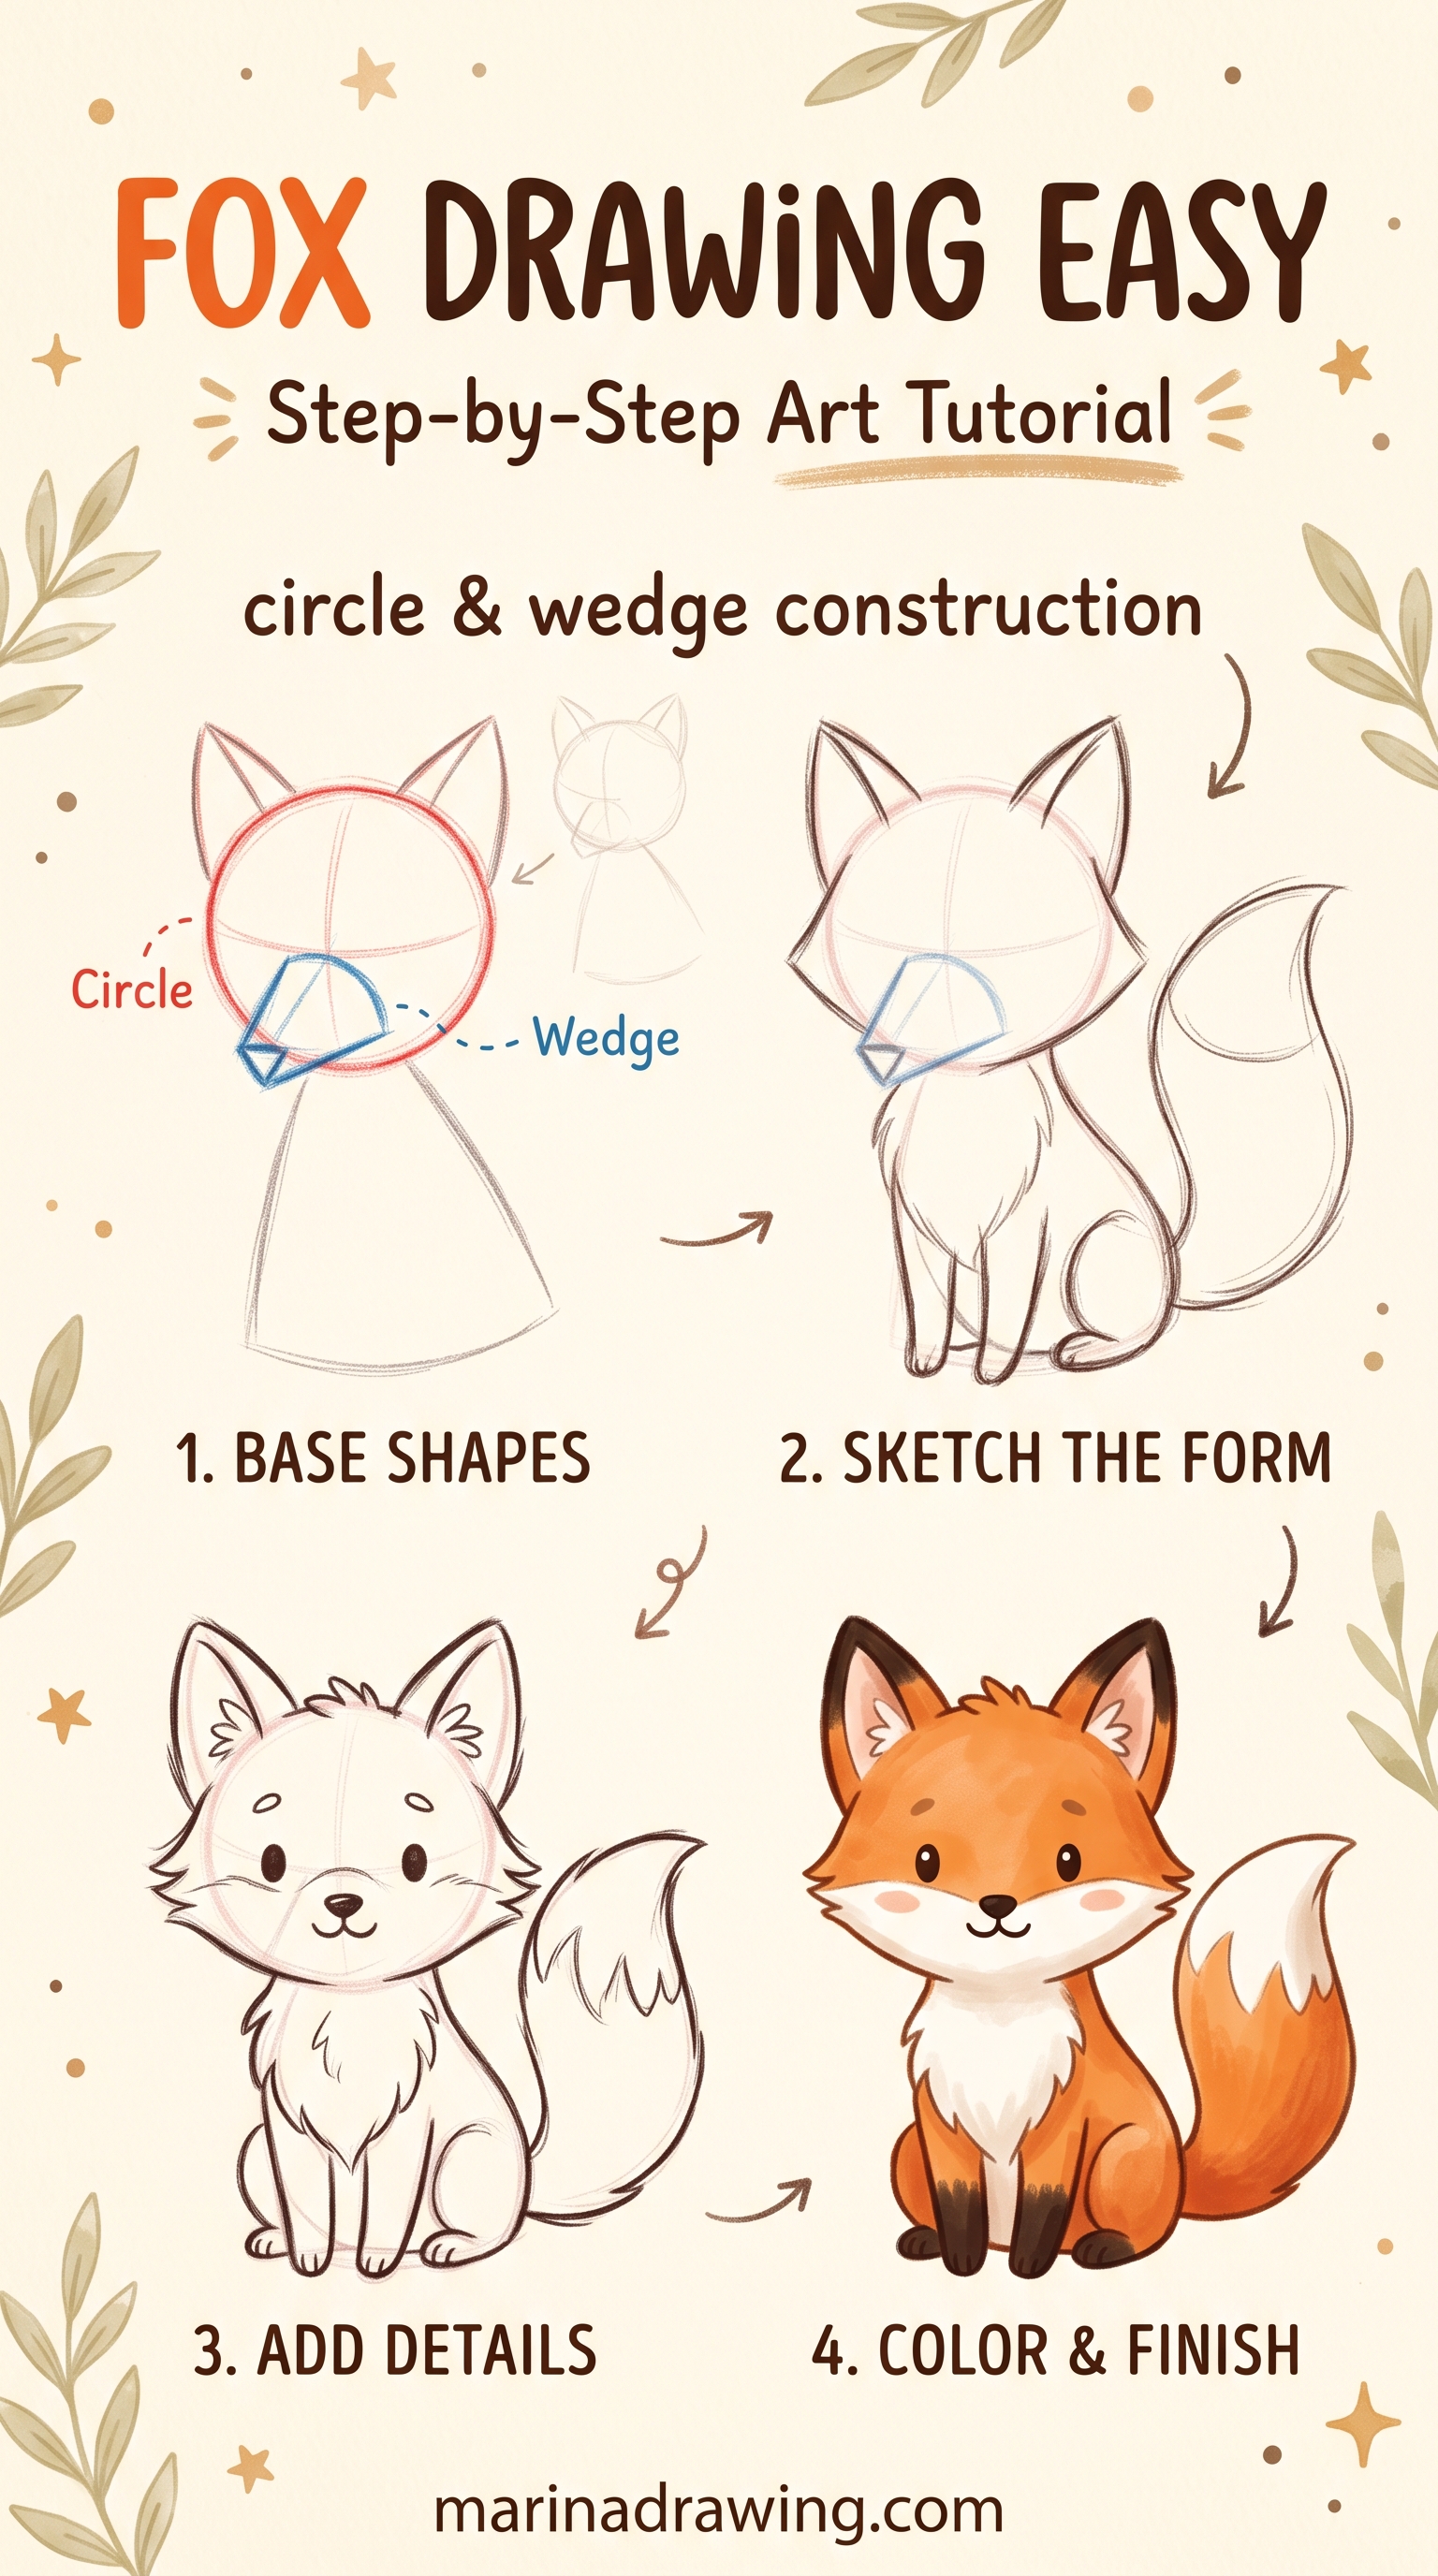
A fox is built from three shapes before any fur: a circle for the skull, a long narrow wedge for the muzzle, two tall triangles for the ears. The wedge separates a fox from a dog. The ears separate it from a cat.
Quick answer: draw the circle, the narrow wedge and the two tall ears first, lightly. Then pick your fox from the twelve below: easy fox, cute fox for kids, fox face, sleeping fox, running fox, realistic pencil fox and more. At the end a table names which mistake yours has. An easy fox drawing and a realistic one use the same three shapes. Only the proportions and the shading change.
The three shapes a fox is built from
Every fox here starts the same way, whatever style you want. Three shapes, in this order, drawn light enough to move.
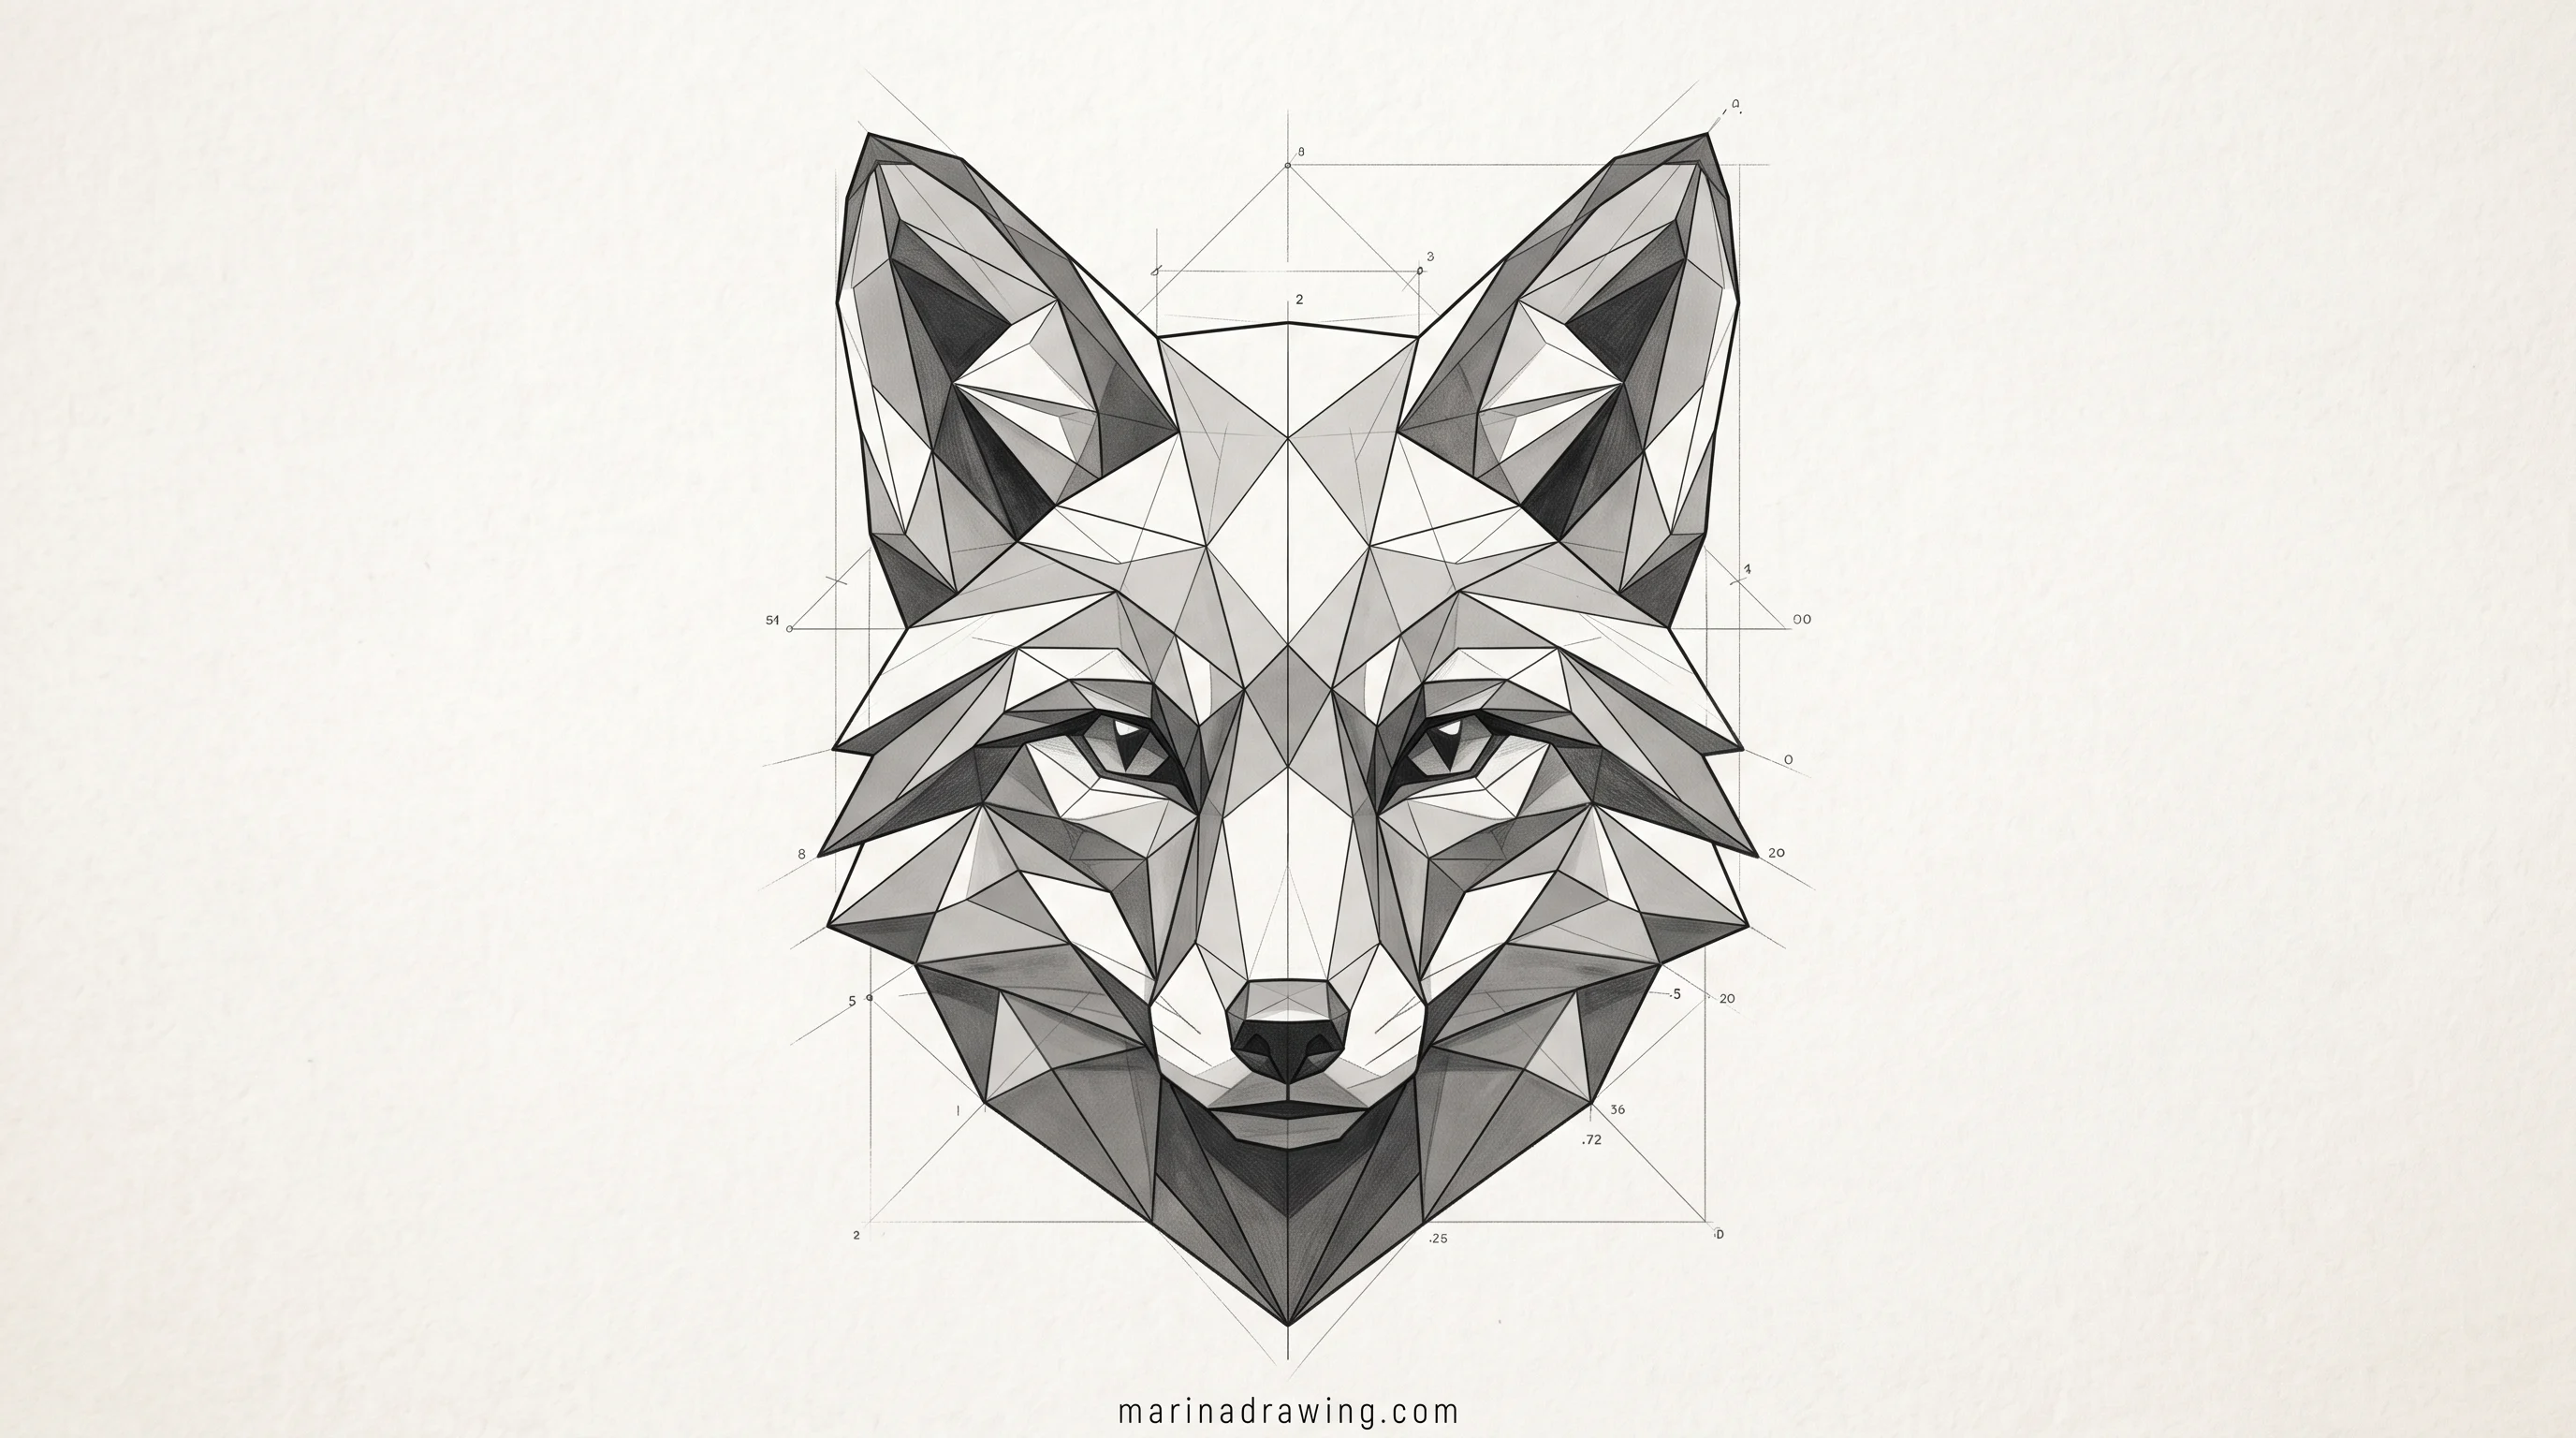
- The circle. The skull. You draw one circle. No fur yet.
- The wedge. The muzzle, which you push onto the lower front of the circle. Long and narrow, about half the circle’s width at the base, tapering to a point barely wider than your nose line.
- The two triangles. The ears, which you set high on the circle and close together. Each one roughly two thirds the height of the circle. Keep them tall, not wide. A fox ear is a spike, not a leaf.
Those are proportions in head-lengths, and you can check every one before you commit. Check them against the table while your lines still move.
If you would rather have them drilled than listed, a structured pencil drawing programme works through them animal by animal.
| Part | Measured against the skull | What goes wrong |
|---|---|---|
| Muzzle | Half the width at the base, longer than the skull is deep | Drawn short and blunt, like a cat’s |
| Ears | Two thirds the skull’s height, bases nearly touching | Set low and wide, so the face reads as a dog |
| Head and body | About two and a half head-lengths together | Body drawn too deep, like a terrier’s |
| Tail | Two thirds of head and body, as thick as the skull at its base | Drawn thin with a point |
| Eyes | A third up from the bottom of the skull | Placed halfway up, which looks human |
Check your shapes against each other, not against your memory of a fox. A ratio you can measure on your own page beats a photo you are squinting at.
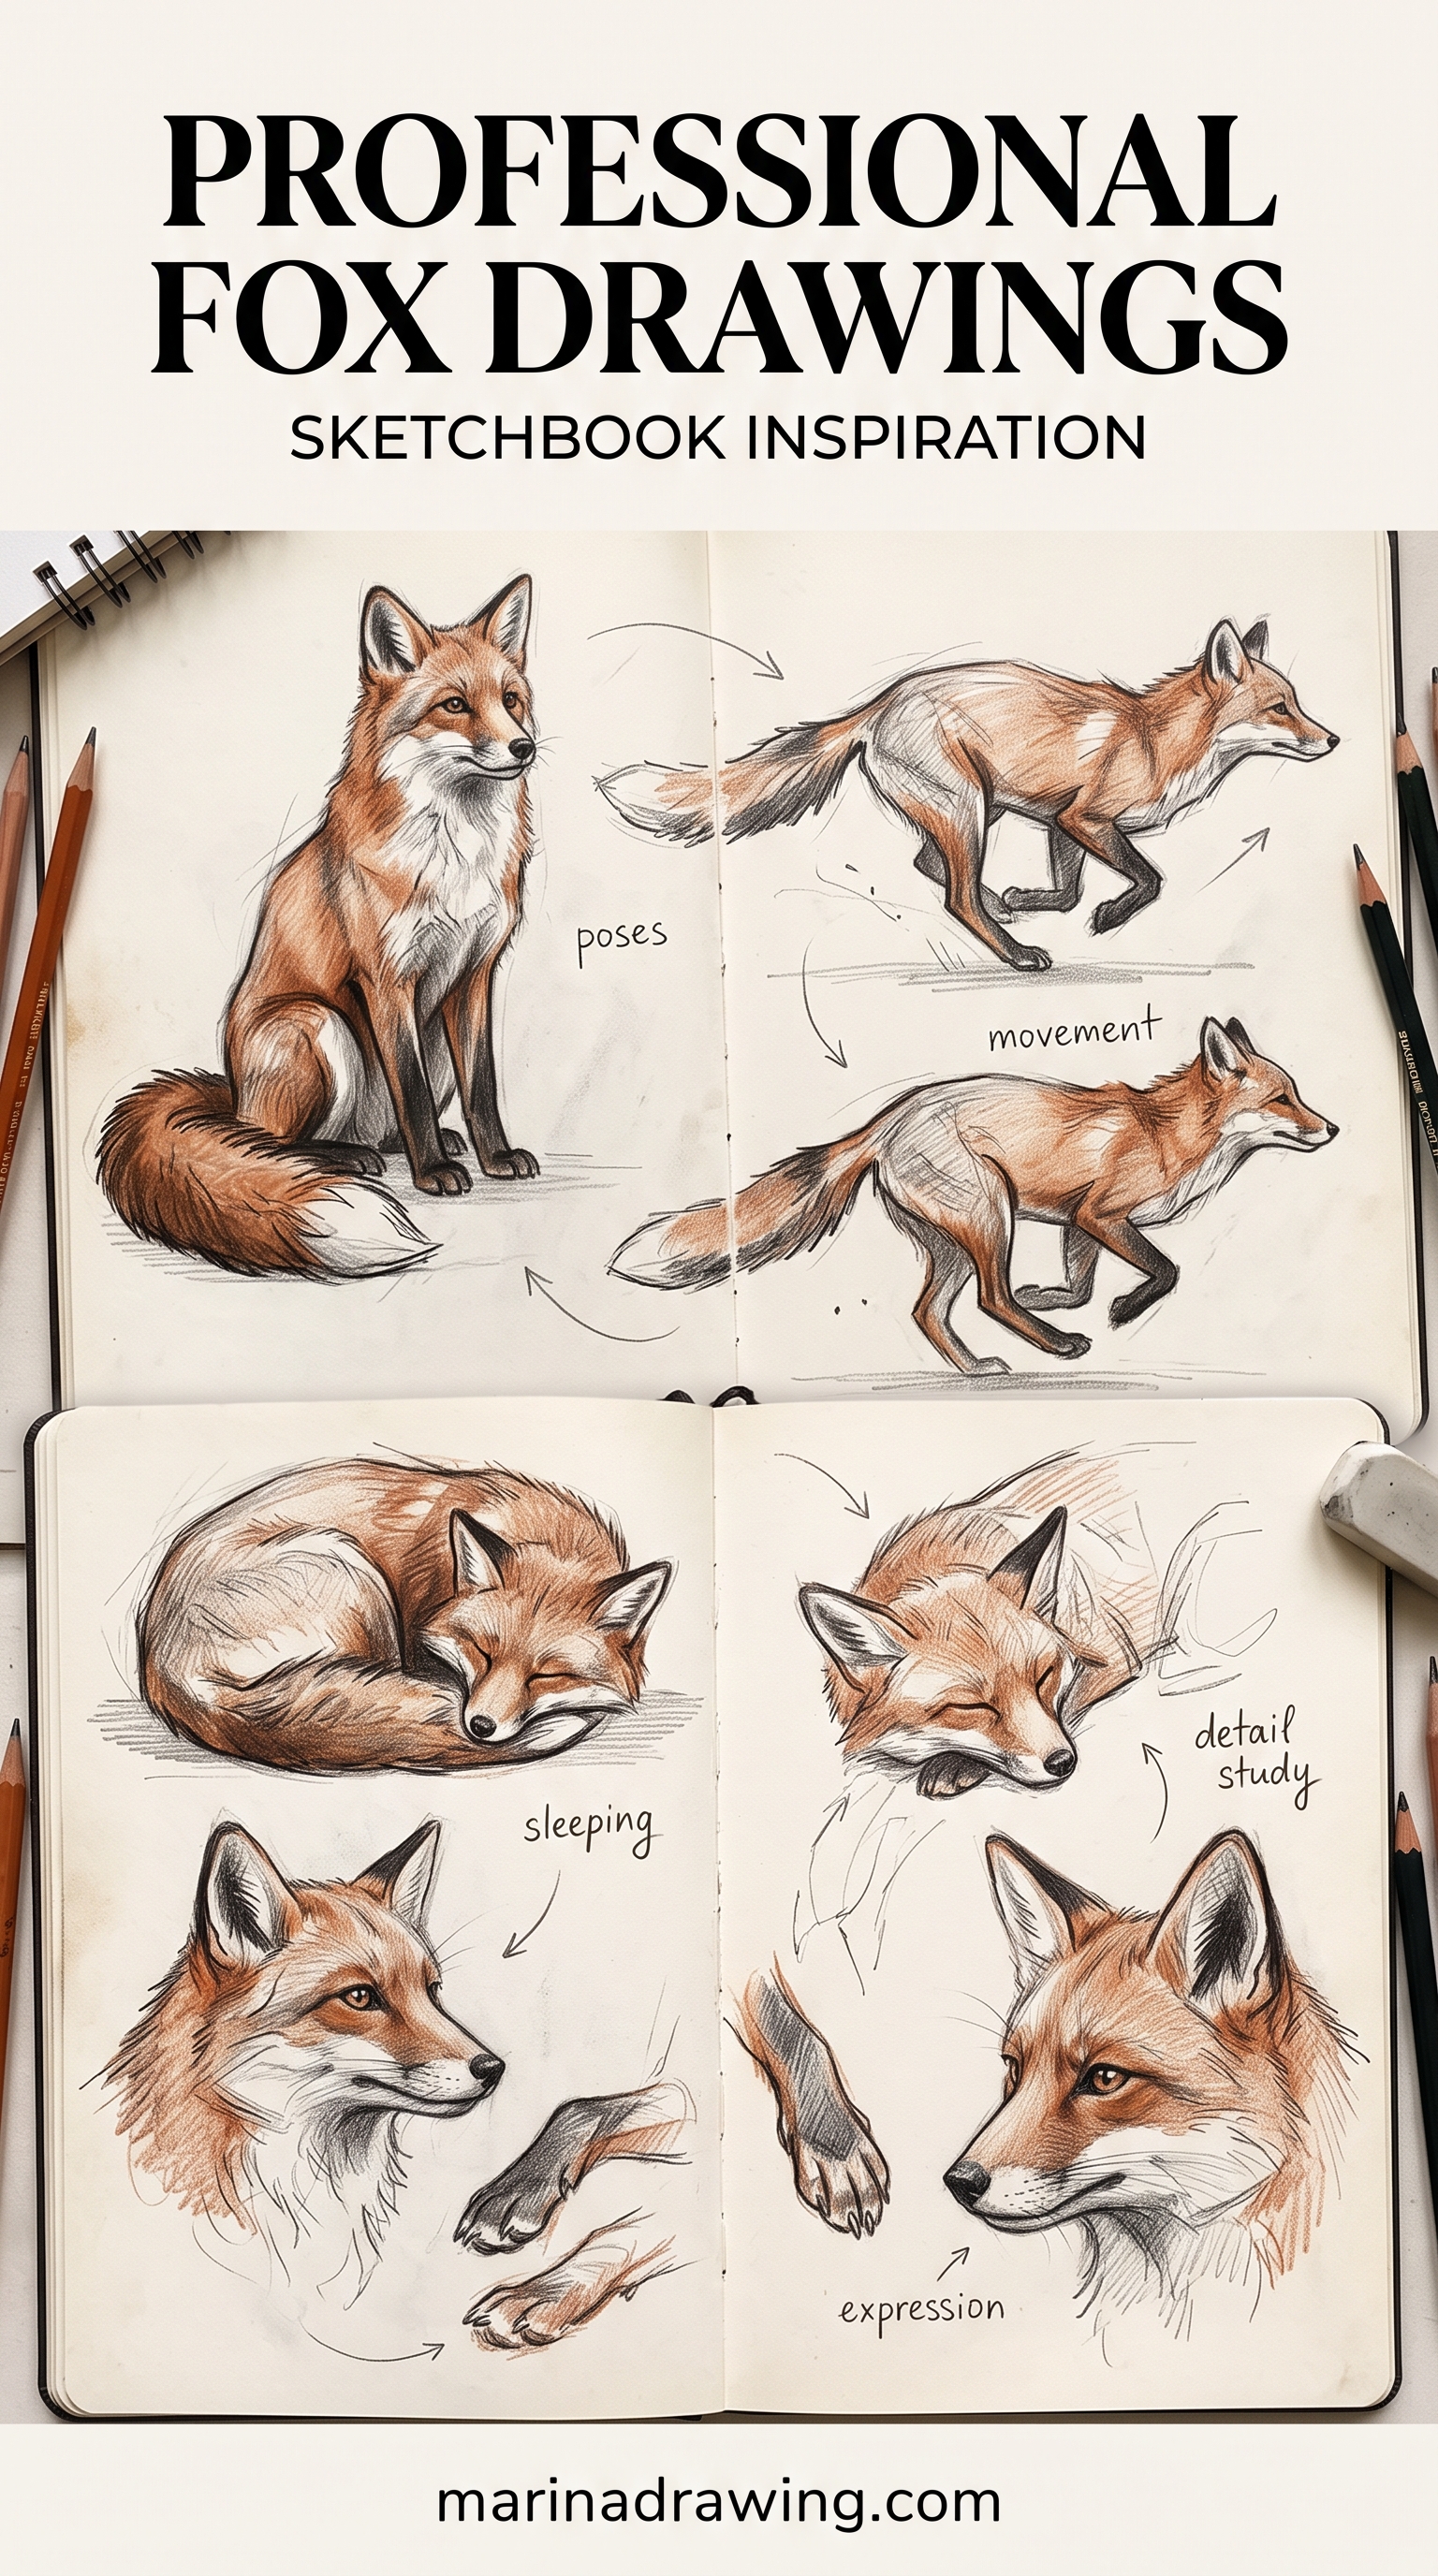
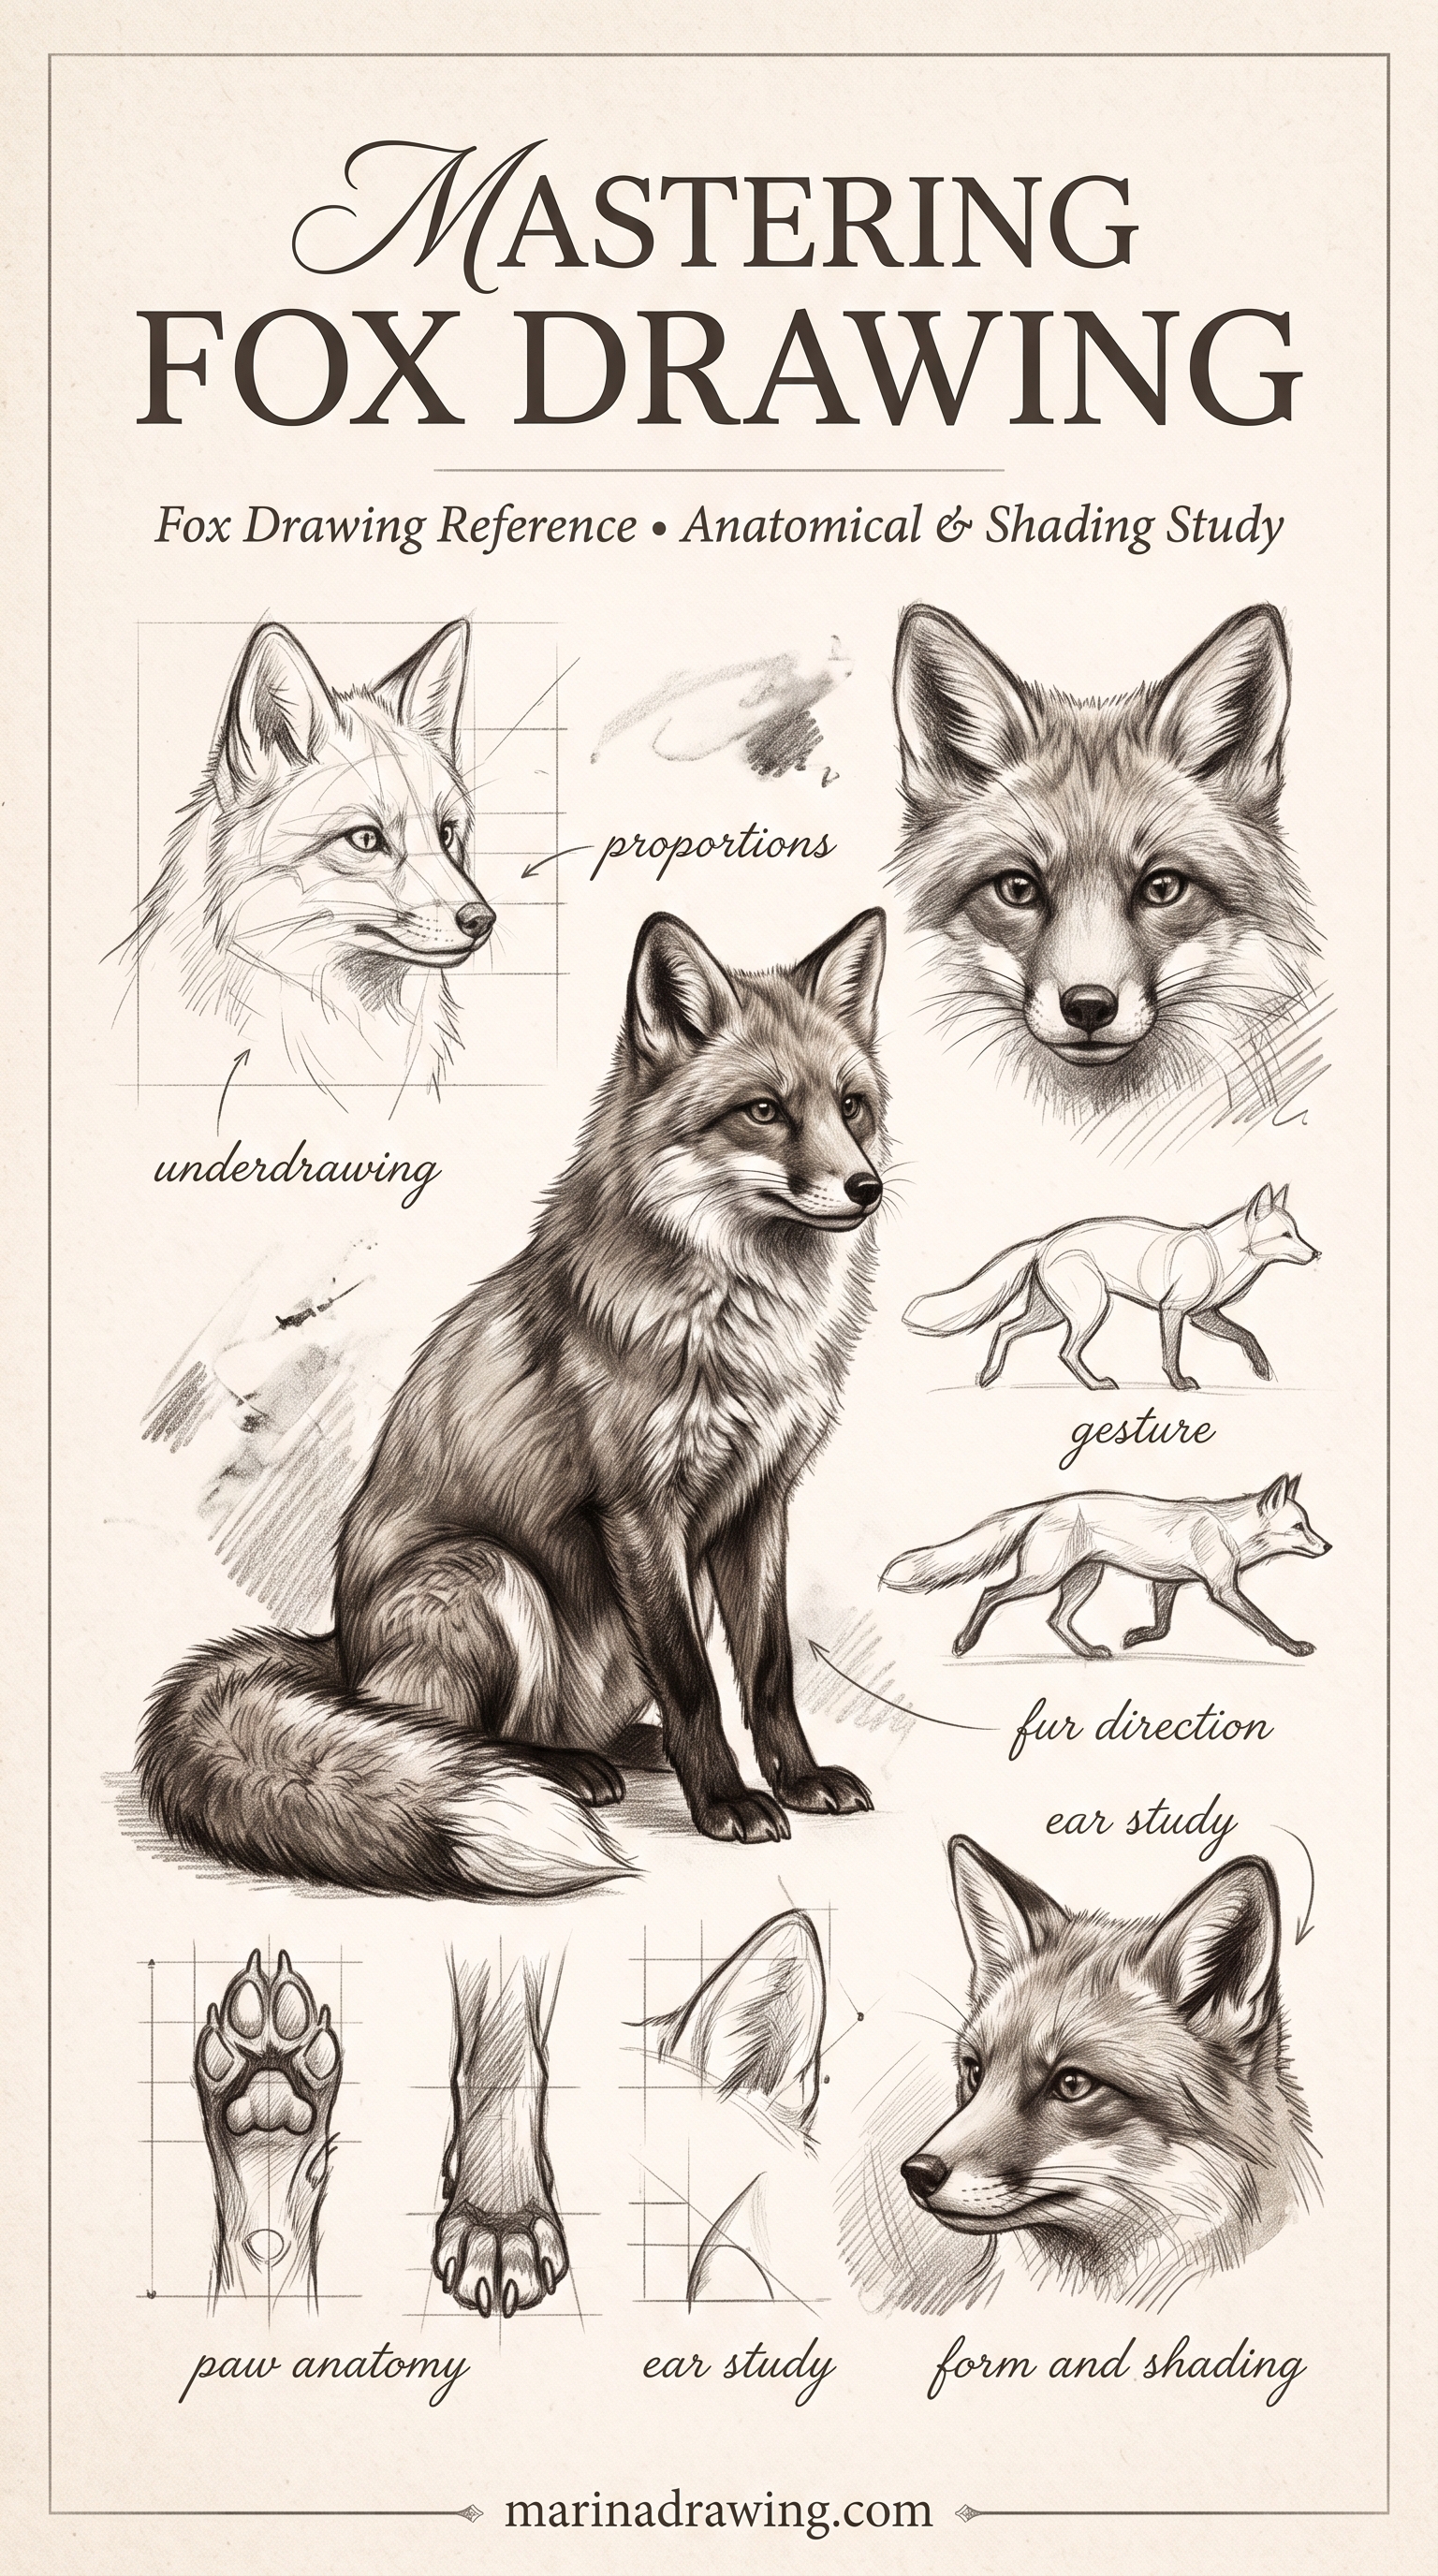
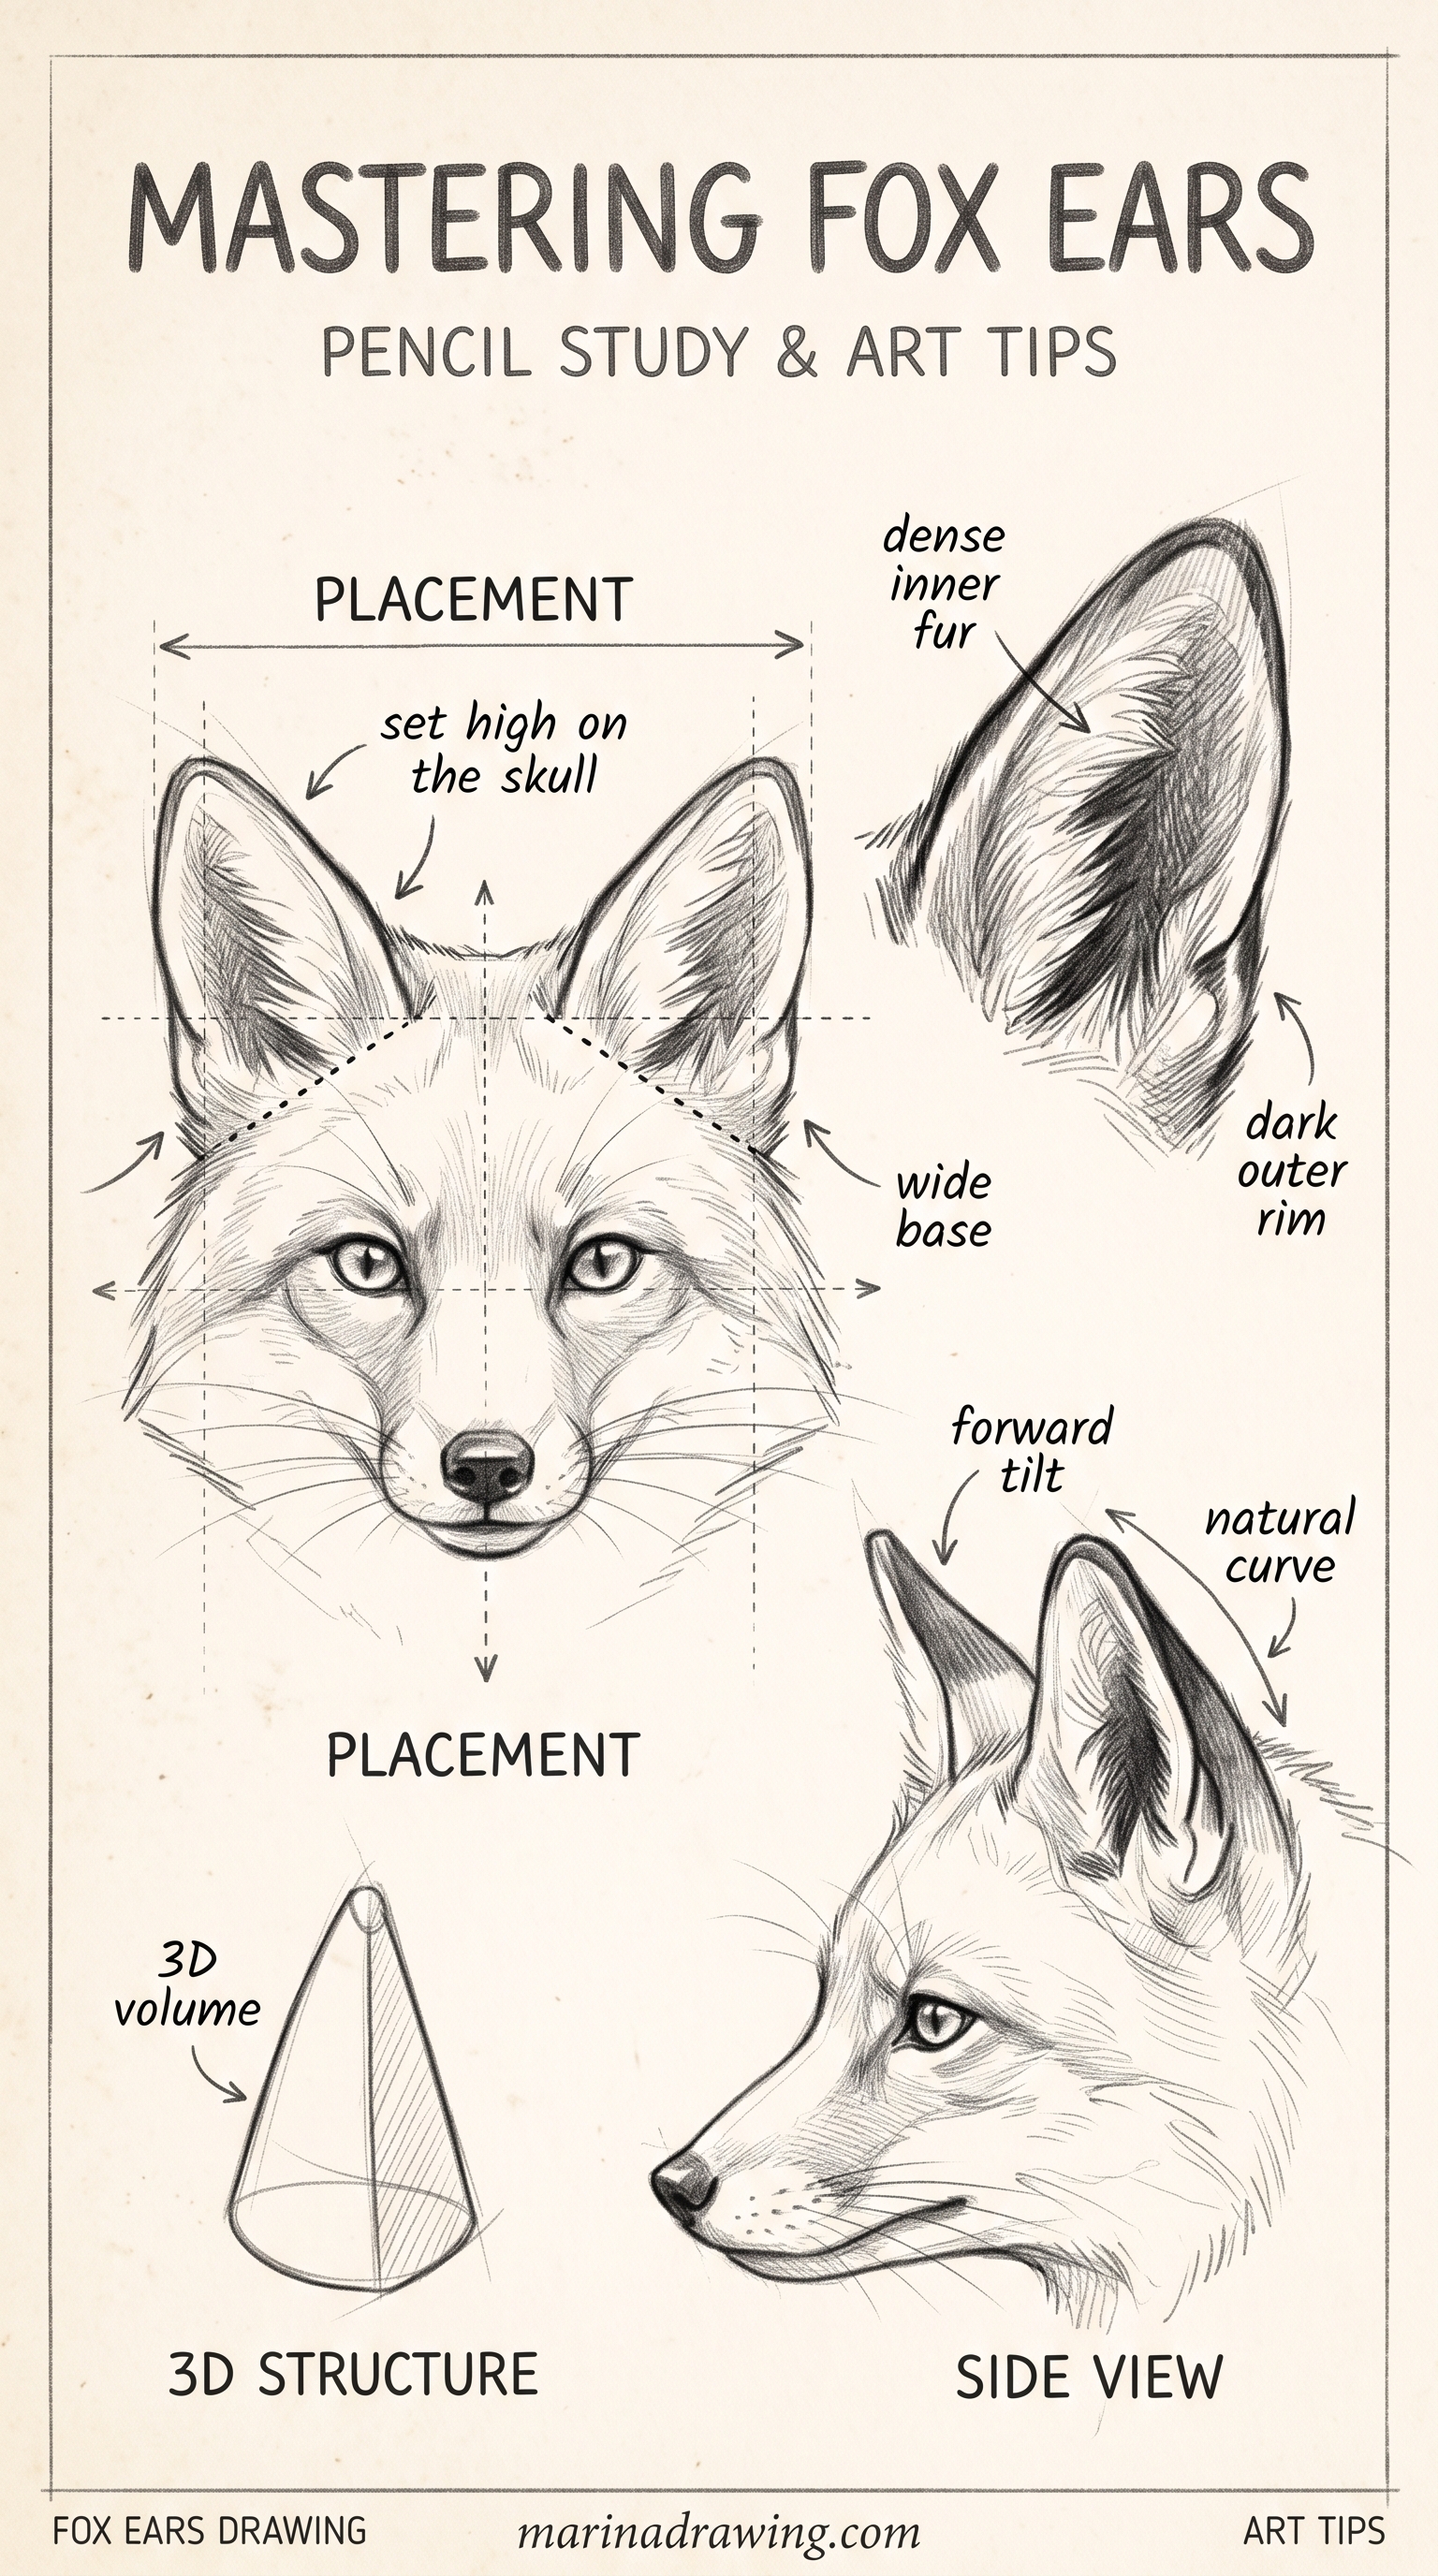
You decide whether the drawing works in the first minute. Everything after that is decoration on a decision already made.
Where fox drawings go wrong
The whole search result for this subject was measured before a word of this was written. Eighteen pages went in. Ten survived once the thin ones were thrown out.
Here is what those ten contain. A section on what goes wrong: two of ten. Fur as a topic of its own: two of ten. The proportions of a fox given as a number: none of them.
Numbers appear at all in four of the ten. They are working times and paper weights: how long the drawing takes, what paper to buy. Not how long the muzzle is.
So every tutorial shows you its fox going right. Almost none shows you a fox going wrong beside it. These four are the ones you have probably made.
| The mistake | Why you made it | How often the top ten mention it |
|---|---|---|
| Muzzle too short | You drew the short wedge you learned on a cat | Never as a number |
| Ears low and wide | You put them on the sides, where a dog’s are | Never |
| Tail too thin | You drew a curve with a point, like a cat’s | Never |
| Fur drawn hair by hair | You treated flatness as a detail problem | 2 of 10 |
All four are build problems, and you settle all four in the first minute.
Your lines may be lovely and your fox may still look off. That is the signature of build order, not technique. You can see the same trap on a simpler subject in the beginner drawings that look off, and again on the cute lion drawing.
What you actually need
You can draw every fox here with one pencil. I use a 2B and press harder where I want dark, and you will not need anything else.
- One 2B pencil, sharp.
- Printer paper. Keep it cheap while you are still throwing drawings away.
- A kneaded eraser, or the corner of an ordinary one, for lifting the white off the chest and tail tip.
- Optional: one orange pencil and one warm grey, if you want colour. Two, not twelve.
Buying a graded set before you can place a muzzle turns your evening into organising. A fox drawing app or a base template does the same thing to you. They move the lines for you and leave your ratios untouched.
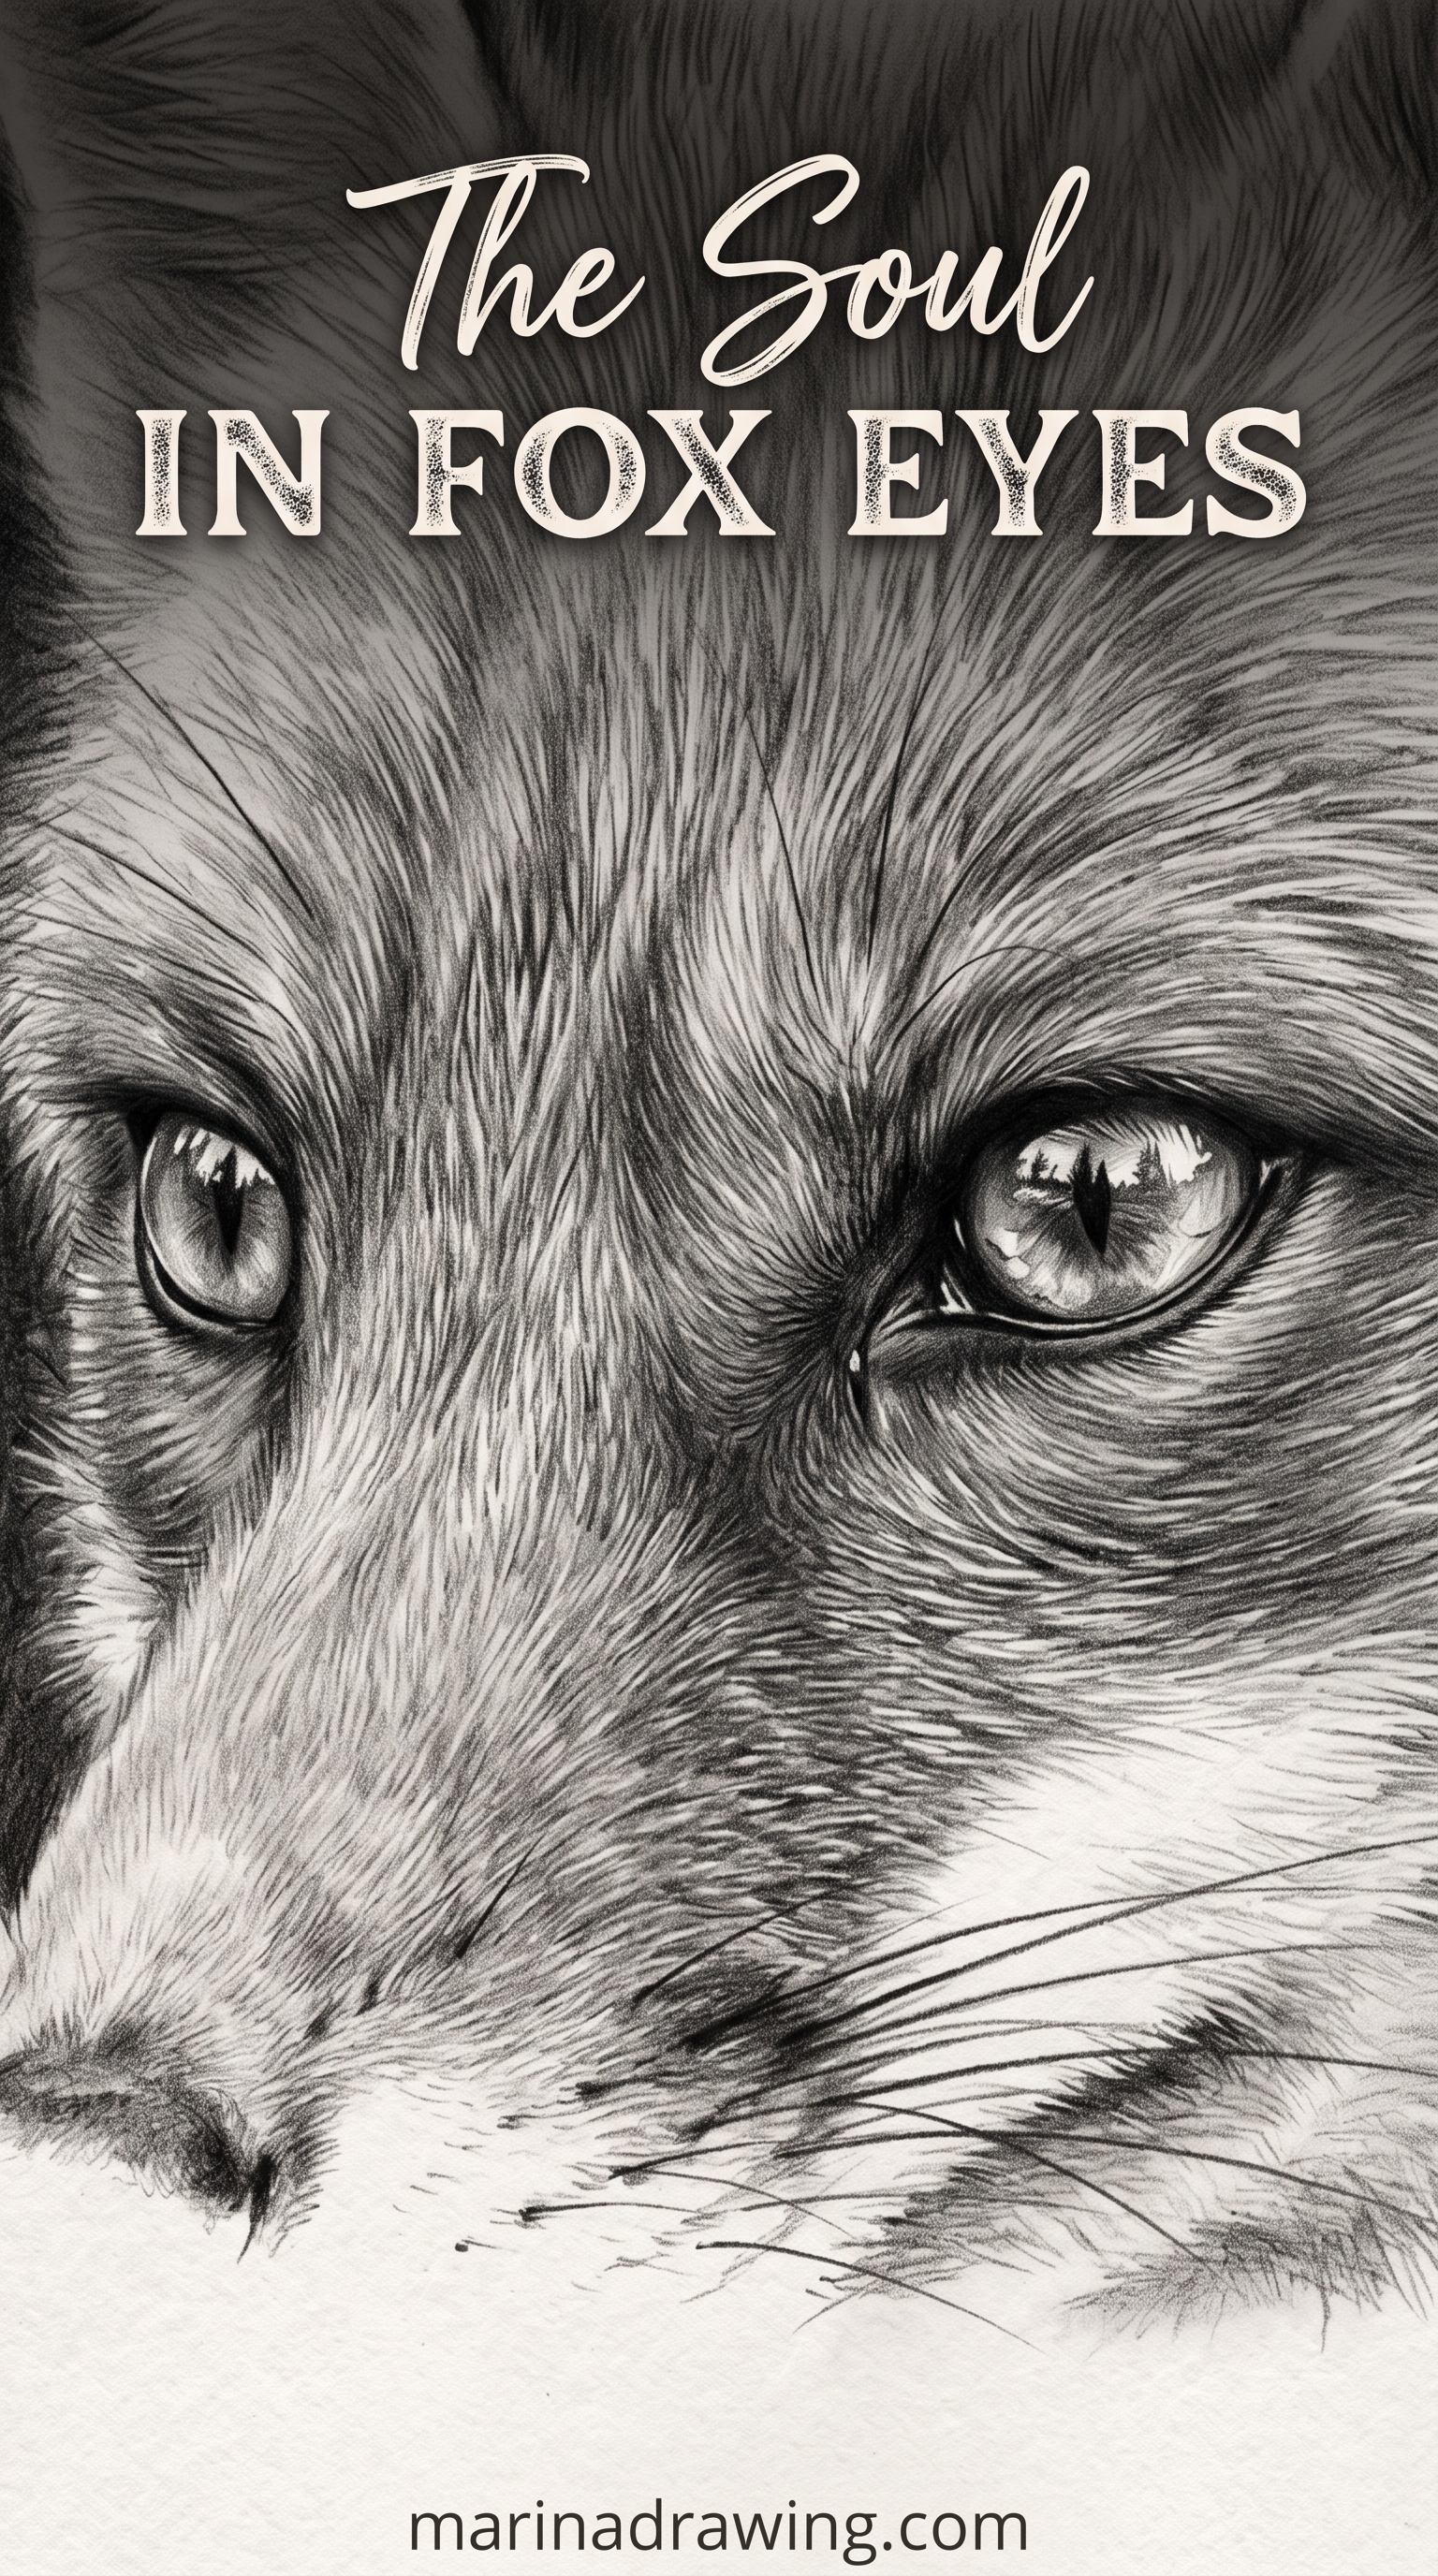
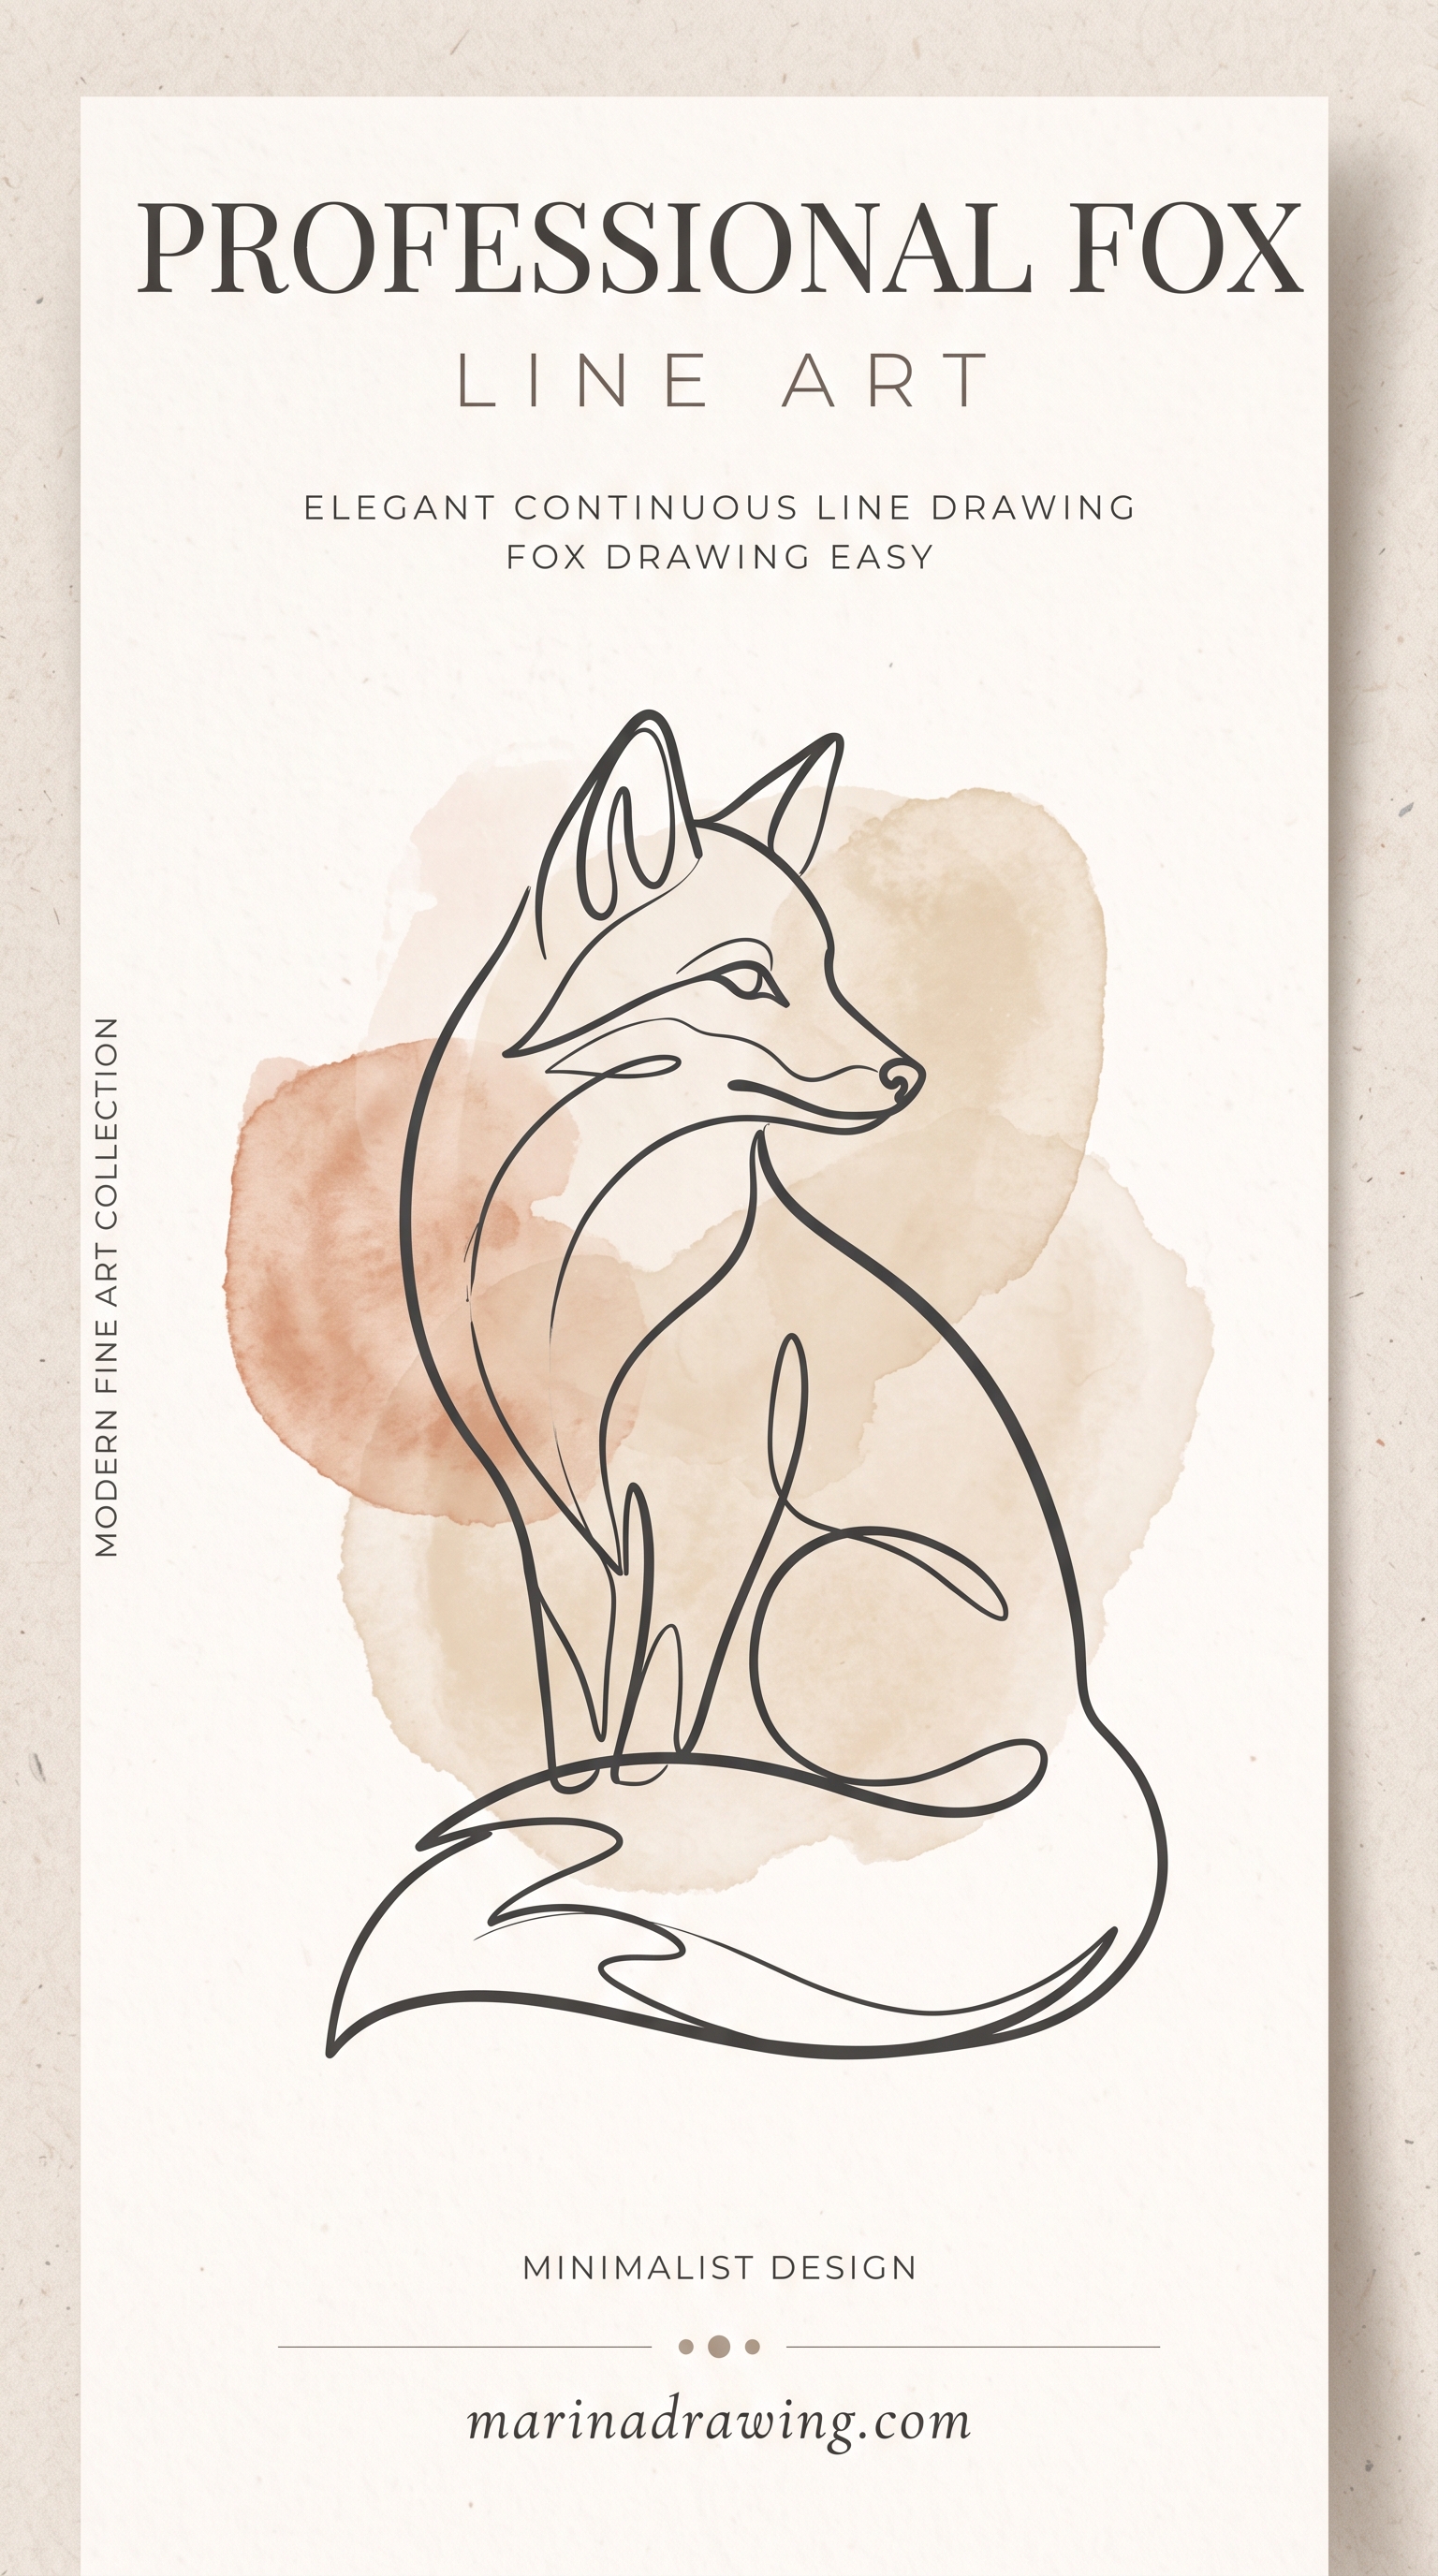
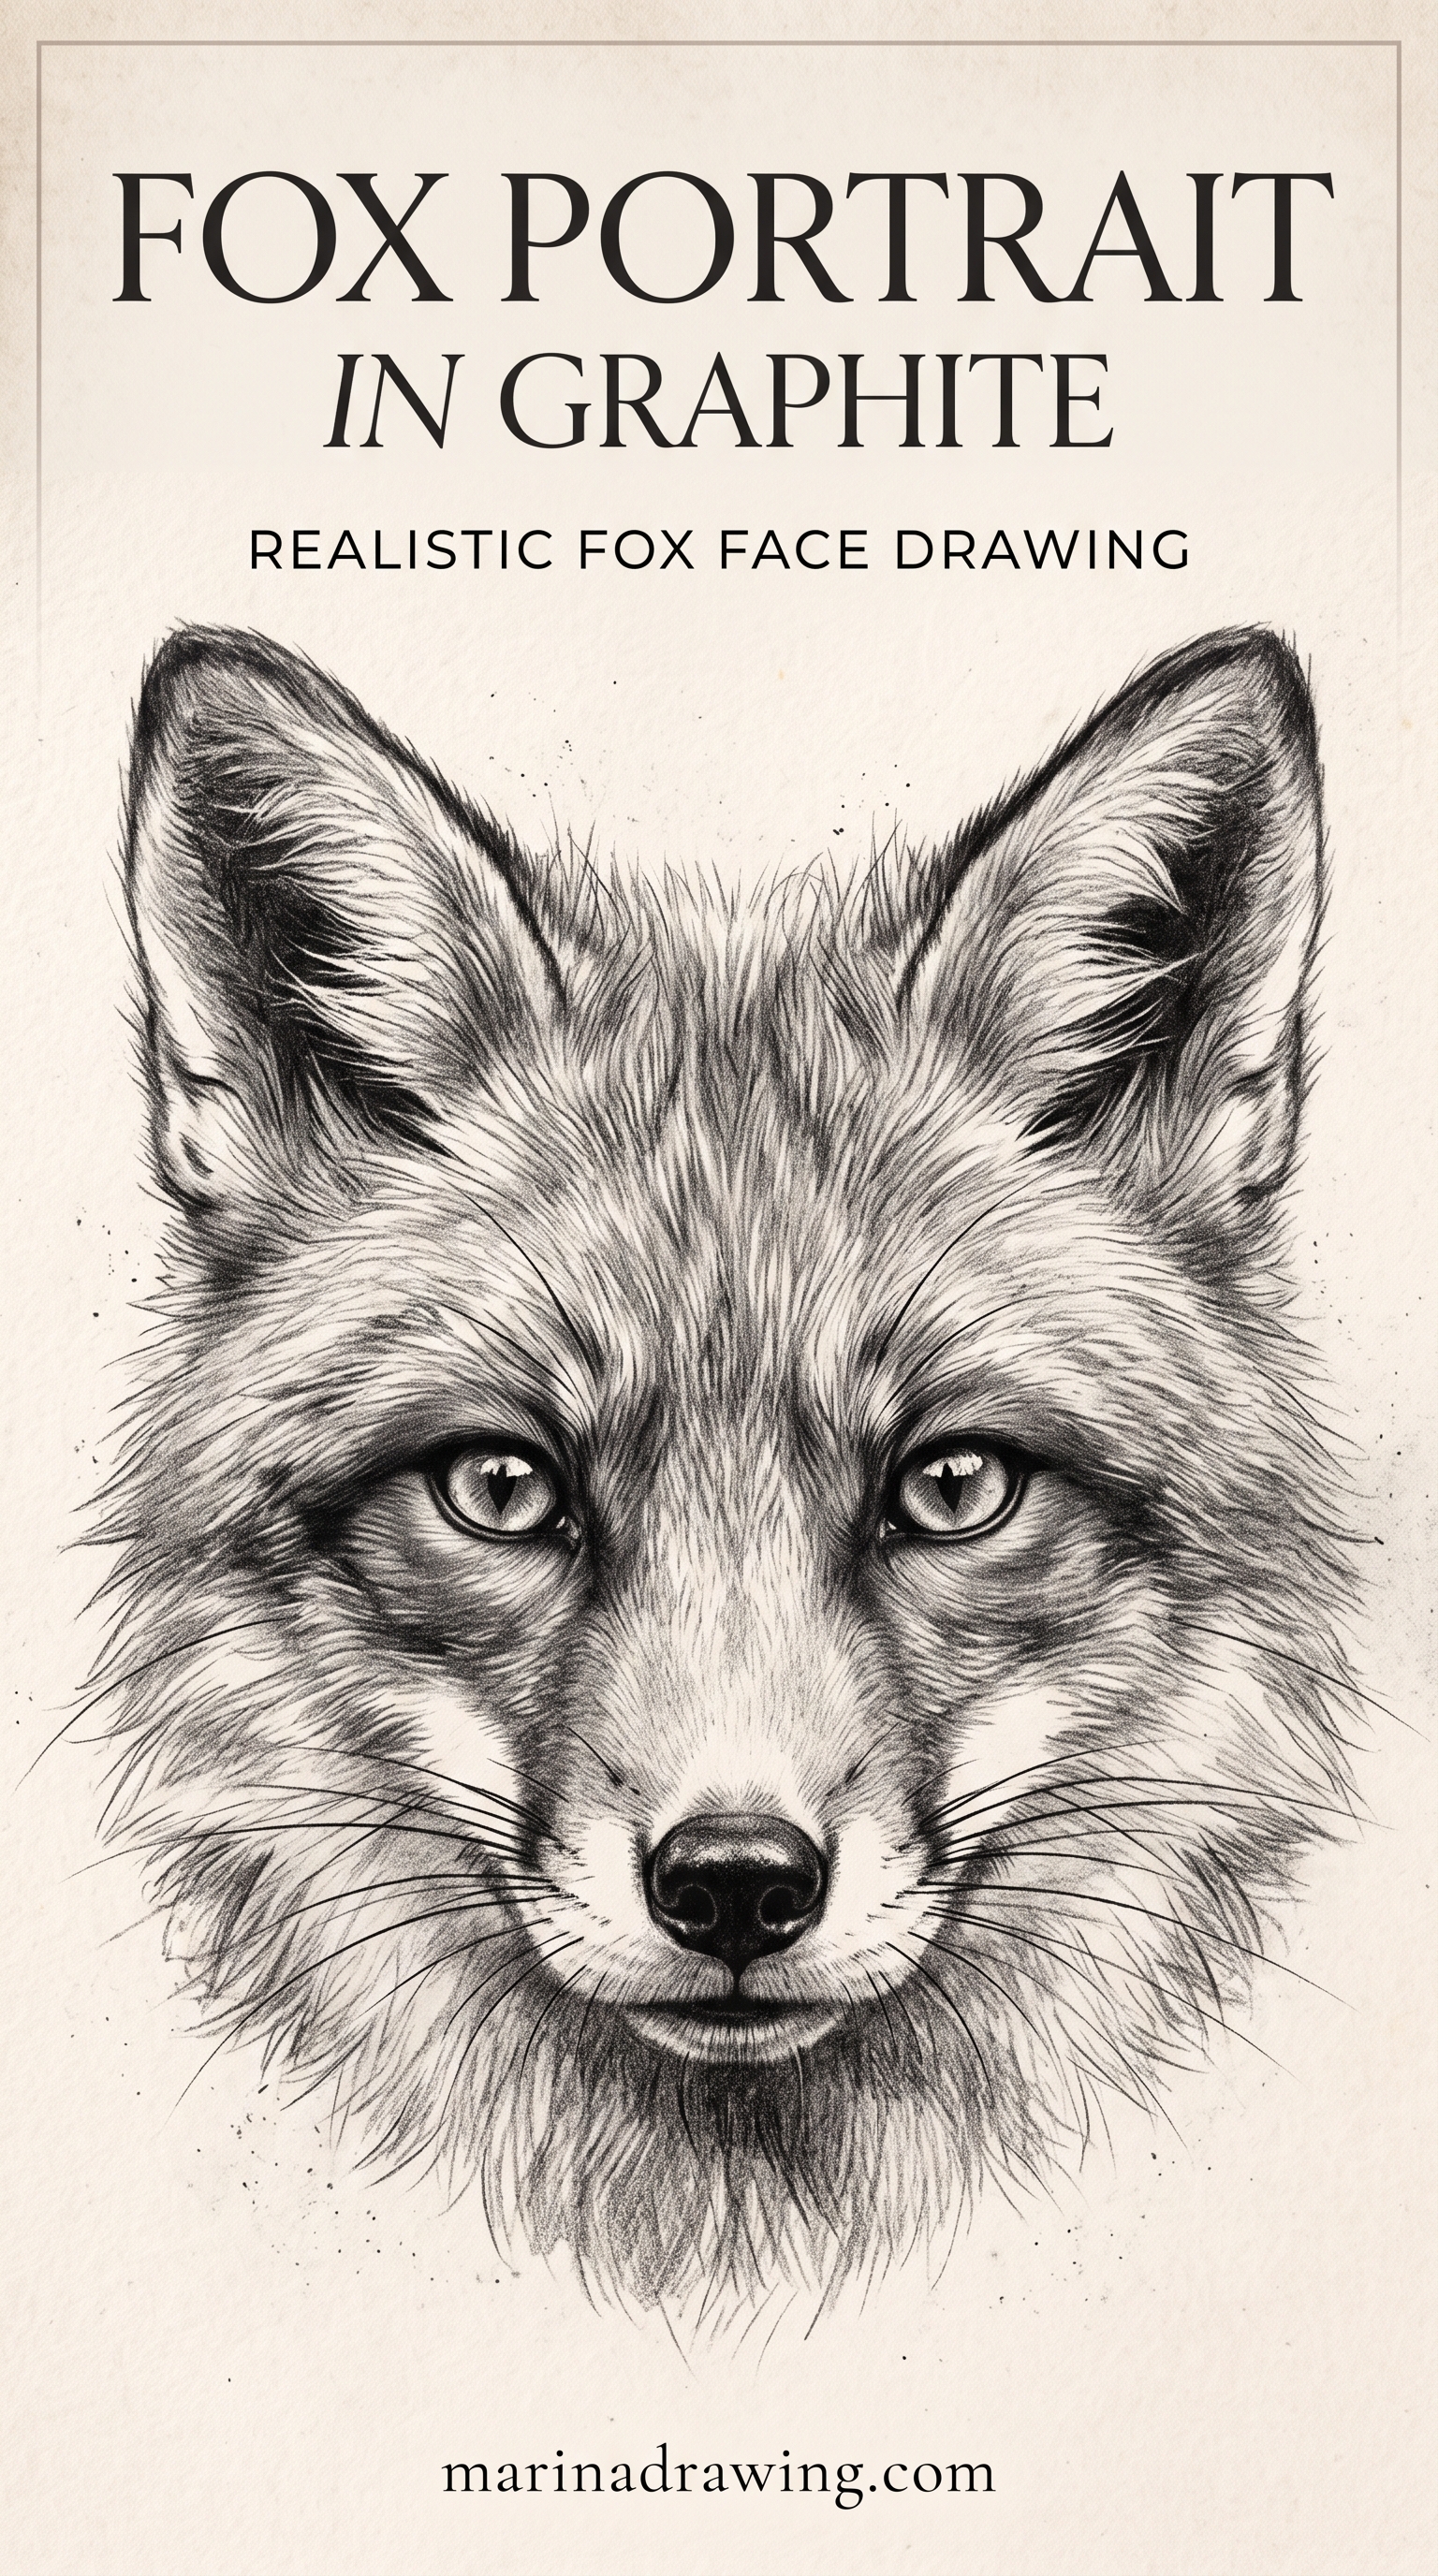
1. Easy fox in five lines
The simplest fox that still reads as a fox. One rounded triangle for the head and muzzle together. Two spikes on top. A curve down for the back, a fat curve up for the tail.
Five strokes. You need no circle, because at this size the shapes do not have to be separate.
Draw this one if you have ten minutes and want something finished. It teaches you the ratio fastest. Draw it five times and your long muzzle stops feeling strange. If five strokes feels too thin and you want the full ladder from scribble to shaded animal, a structured pencil drawing programme builds it one rung at a time.
2. Cute cartoon fox for kids
A cute fox drawing is not a simplified realistic fox. It is a different set of proportions, and they are worth knowing on purpose. This is also the version to hand a child: a fox drawing for kids works because the shapes are big and the count is low.
- Head about two thirds the size of the body.
- Eyes large, round, low on the face and wide apart.
- Muzzle short and tiny. This is the one place you break the long-wedge rule deliberately.
- Ears still tall. That is what keeps it a fox and not a bear cub.
- Legs short and thick. Tail oversized.
Children draw this one happily, and you can colour it in with them. If you are drawing alongside one, the easy drawings for kids set uses the same shape-first order you have just learned, on simpler animals.
3. Fox face, front view
42 hours of pencil drawing training, lifetime access
The video course I point plateaued students to — full lessons on portraits, hands, and realistic shading, not another short tutorial.

A fox face drawing from the front is the one you most want and most often abandon. It is all guides and no mystery.
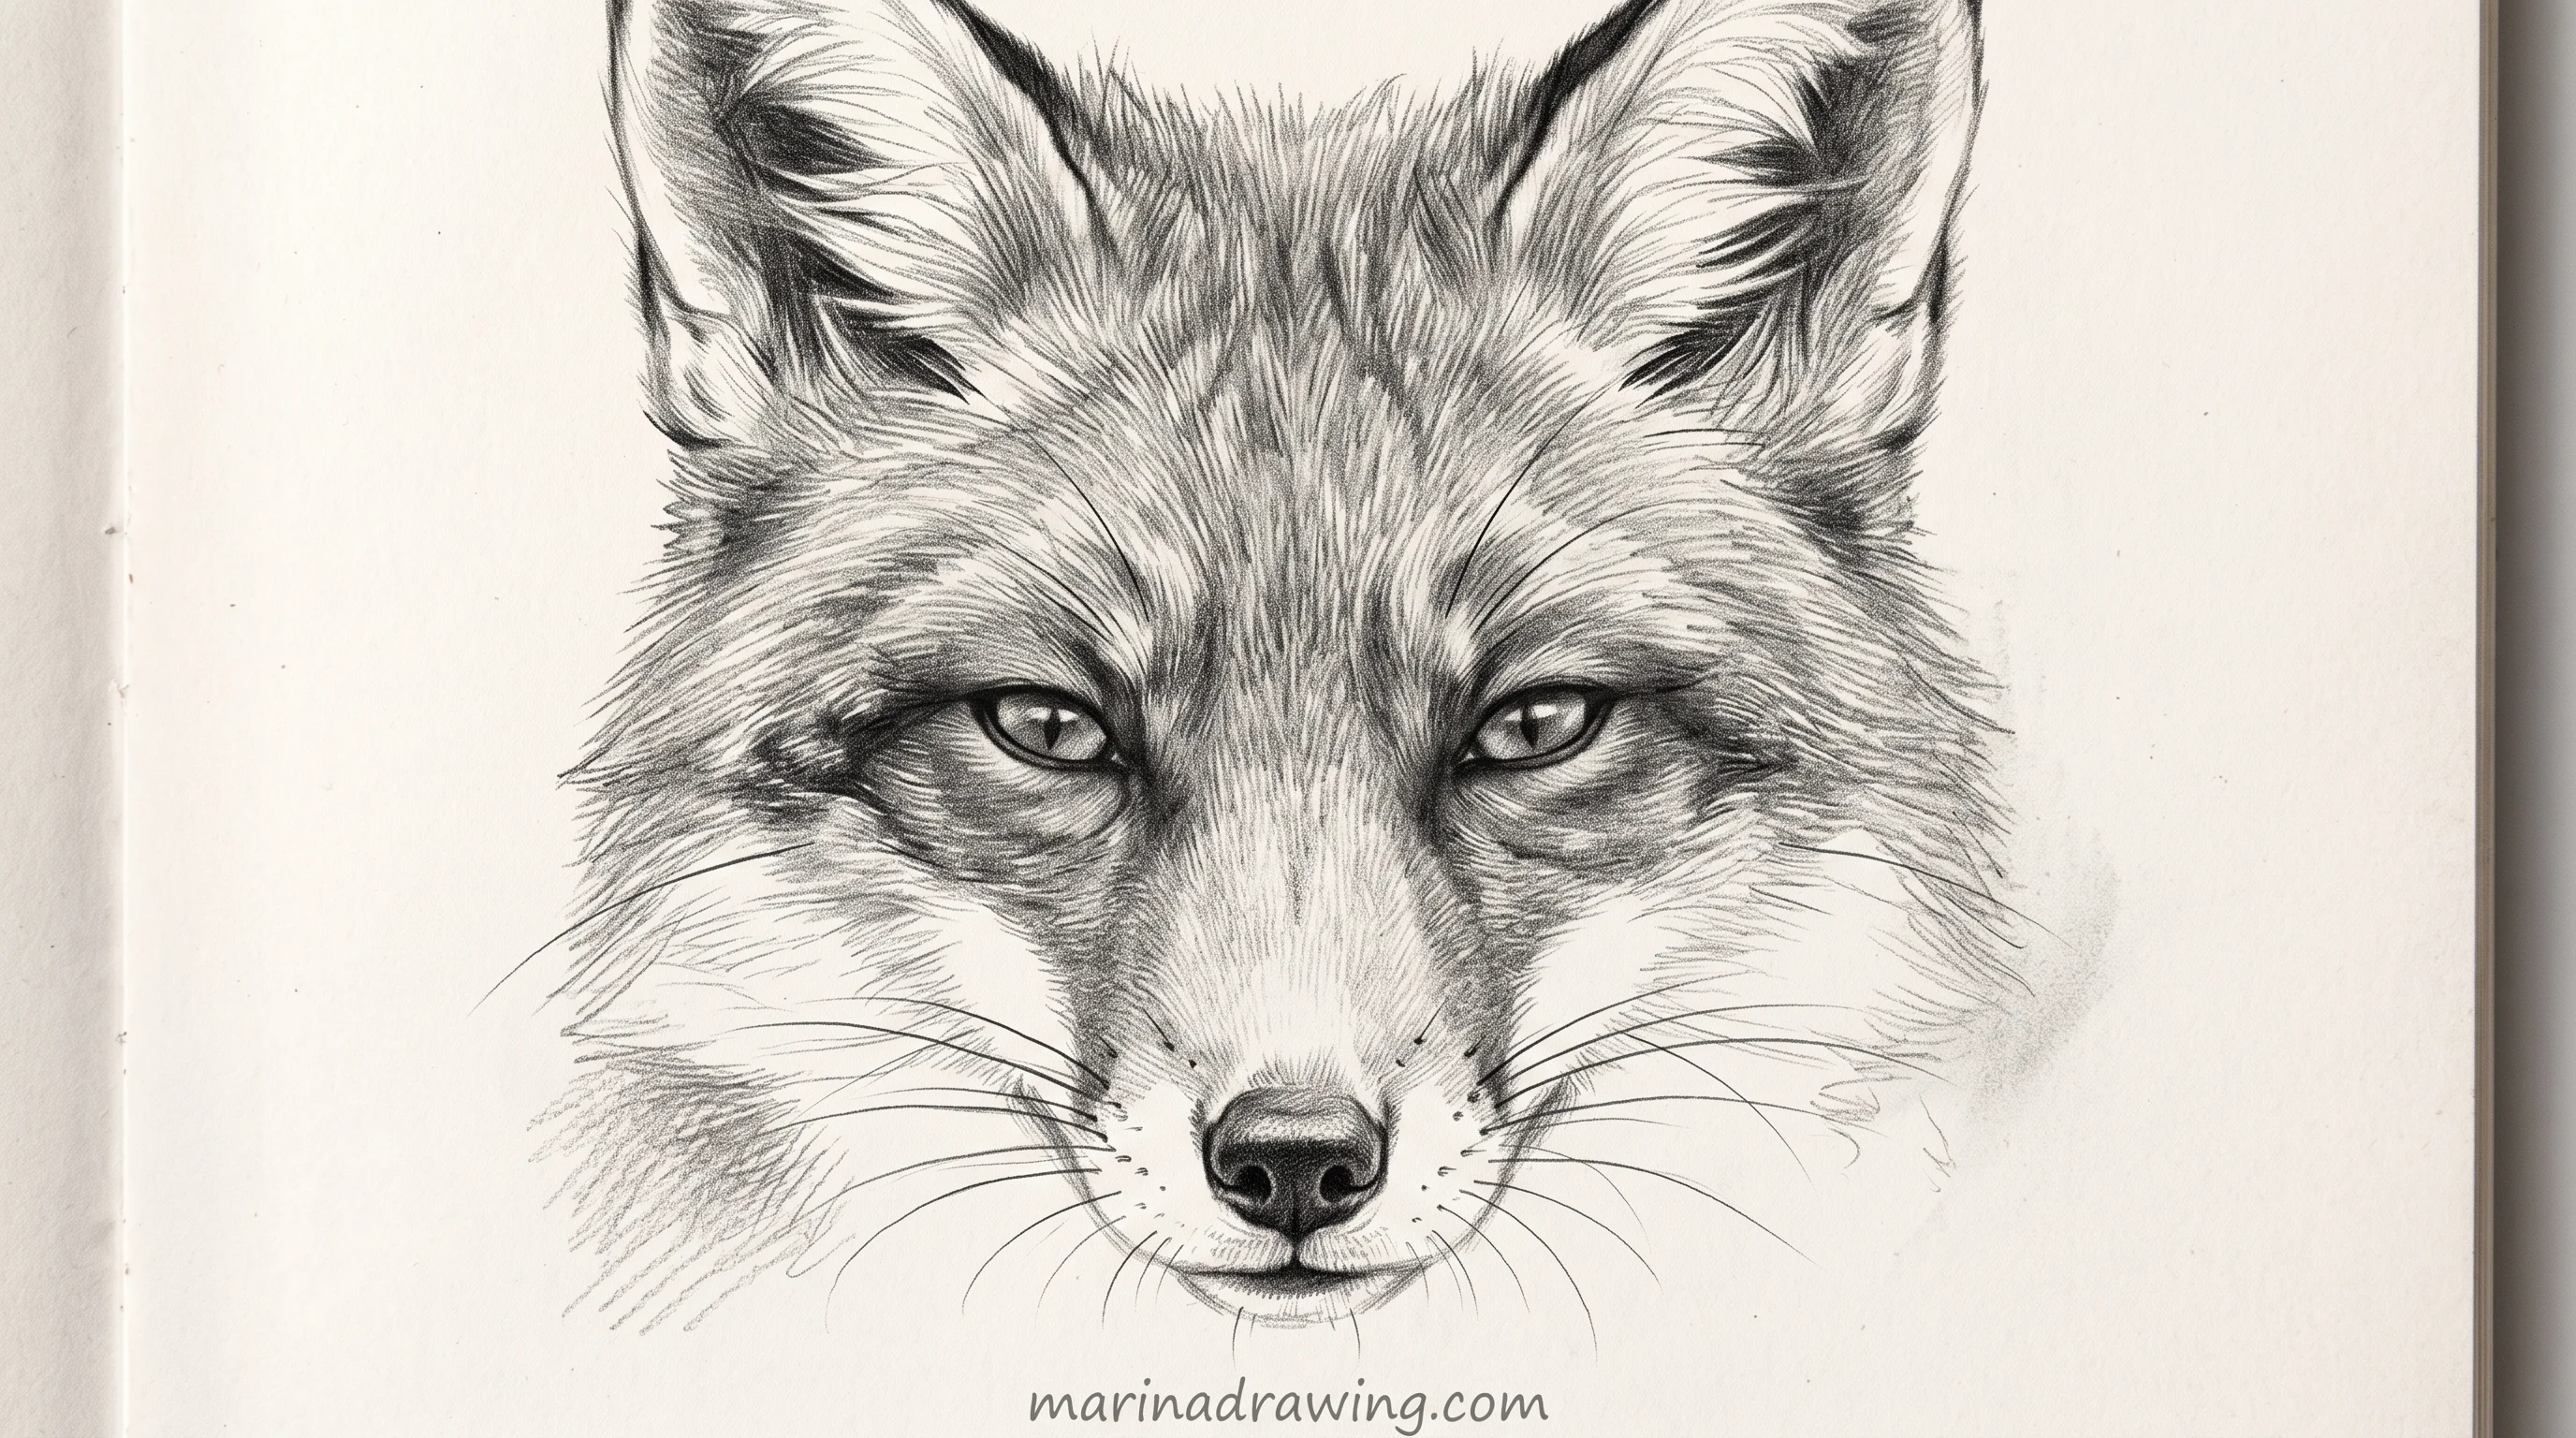
- Circle for the skull, with your vertical centre line down the middle.
- A horizontal guide a third up from the bottom. Eyes sit on it, slanted slightly inward and down. That slant is where the fox expression lives.
- Your narrow wedge below, on the centre line, running past the bottom of the circle.
- Ears high and close together. Keep your triangles tall, inside edges nearly vertical.
- The white mask last: a rough heart over muzzle, cheeks and the area under the eyes. Leave it light.
Get your eye line and your slant right and the face reads as a fox before you add any colour. Eye placement is its own skill, and the guide to drawing eyes covers the part that carries over to animals, as does the portrait section of a structured drawing programme, where the same guides come back on a human head.
4. Sleeping fox curled into a circle
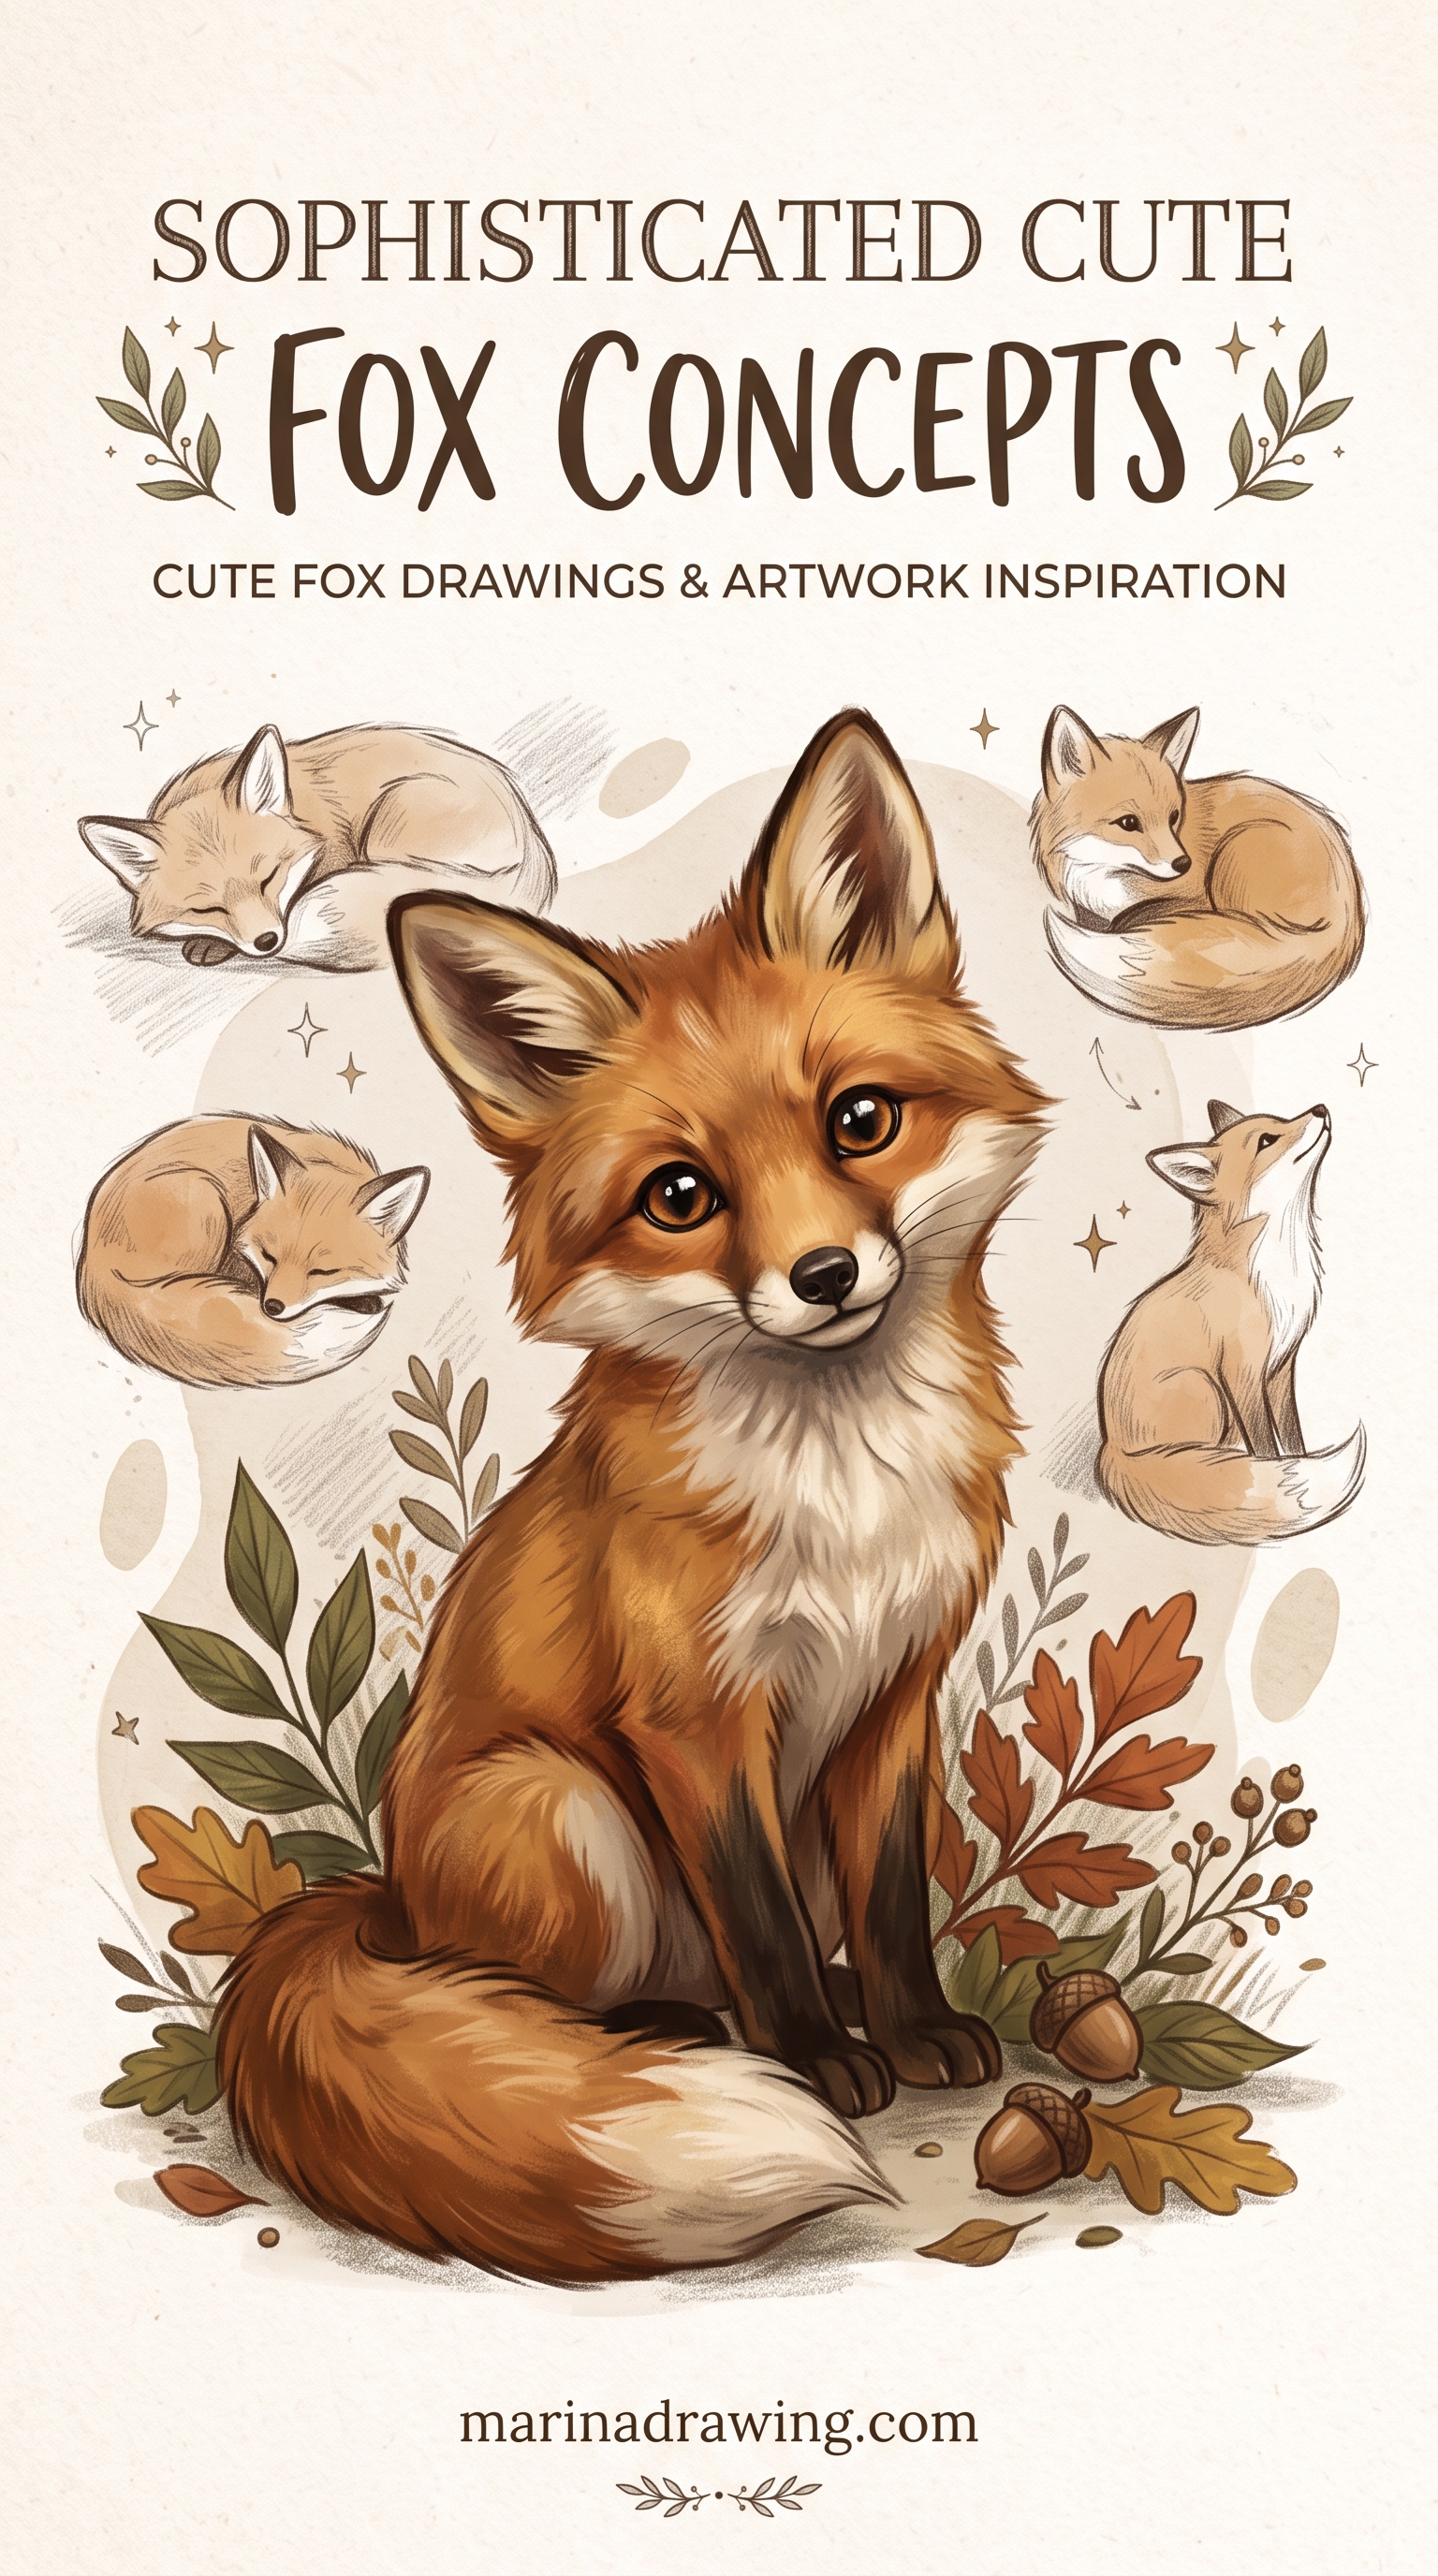
A fox asleep is one shape. You draw the circle, put the head low on one side in profile, run the tail round the outside, then lay the tip across the face.
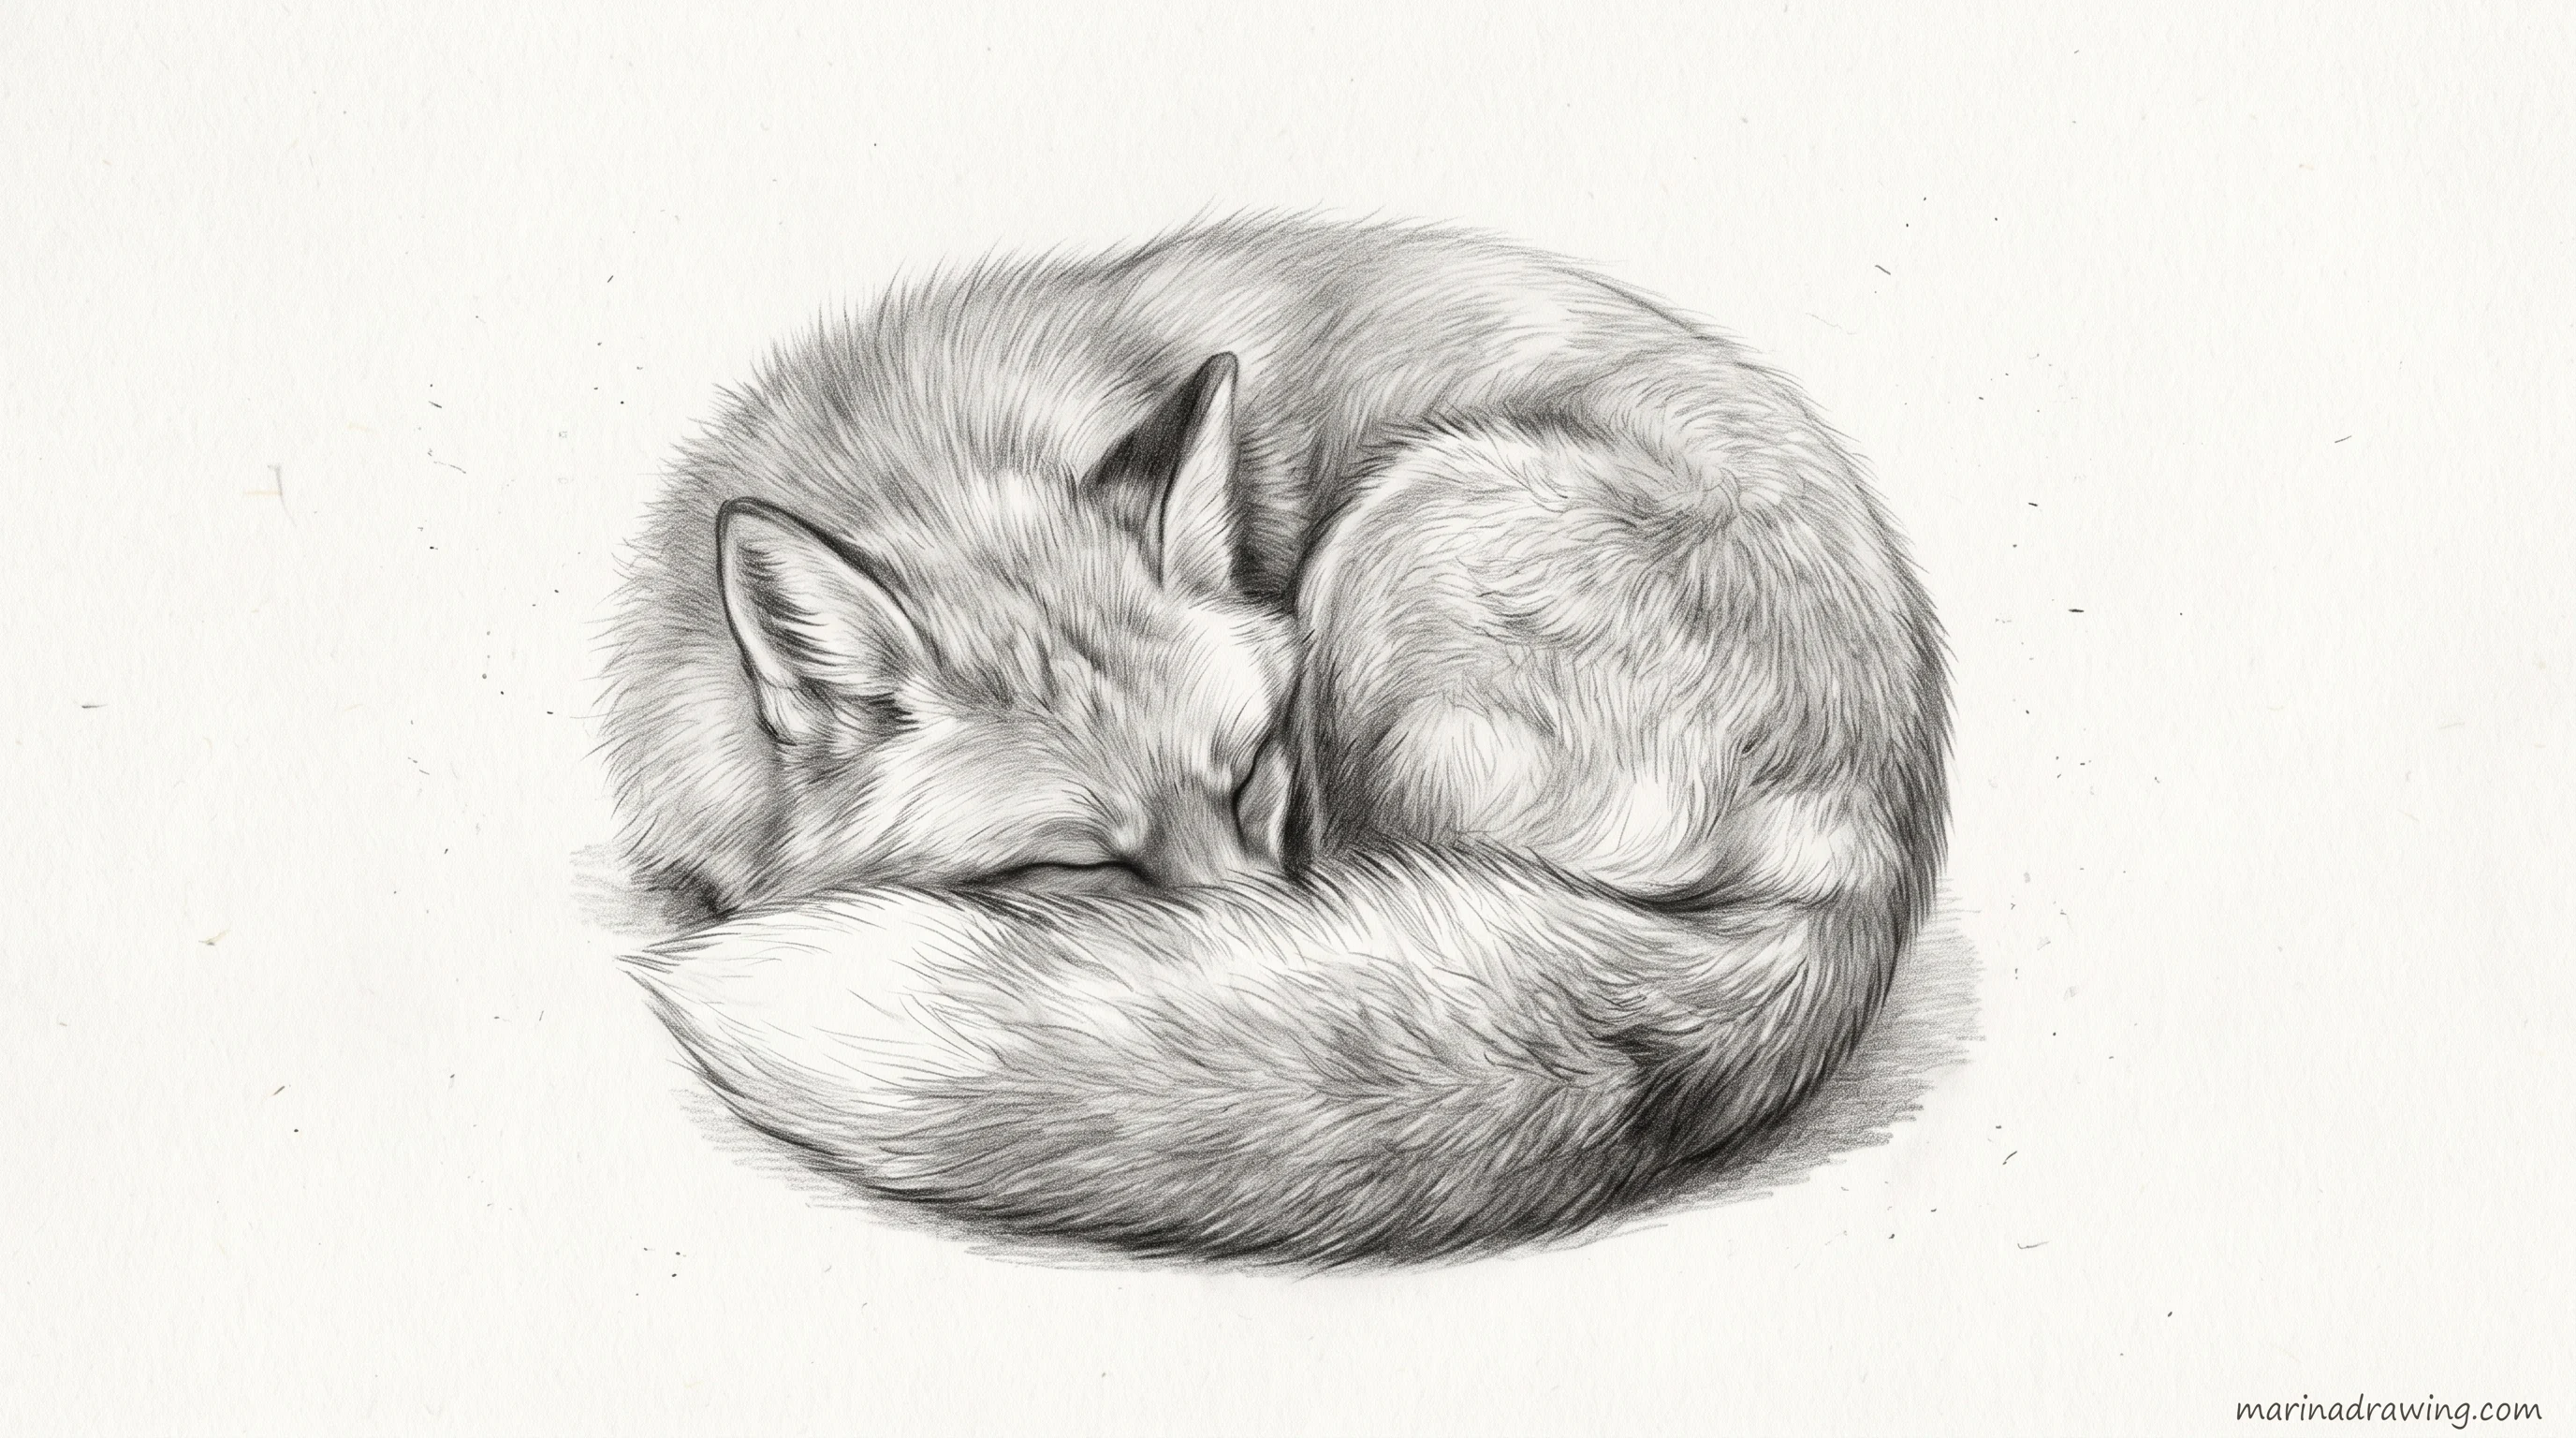
Closed eyes are two short curves. Nothing more. This is the easiest fox here for you to make look finished, because no anatomy is visible for you to get wrong.
That is also its limit. Hiding the anatomy gets you one good drawing, not a fox you can pose.
The way past that is construction order, which a full drawing course teaches before it lets you near fur.
5. Sitting fox, side view: the base pose
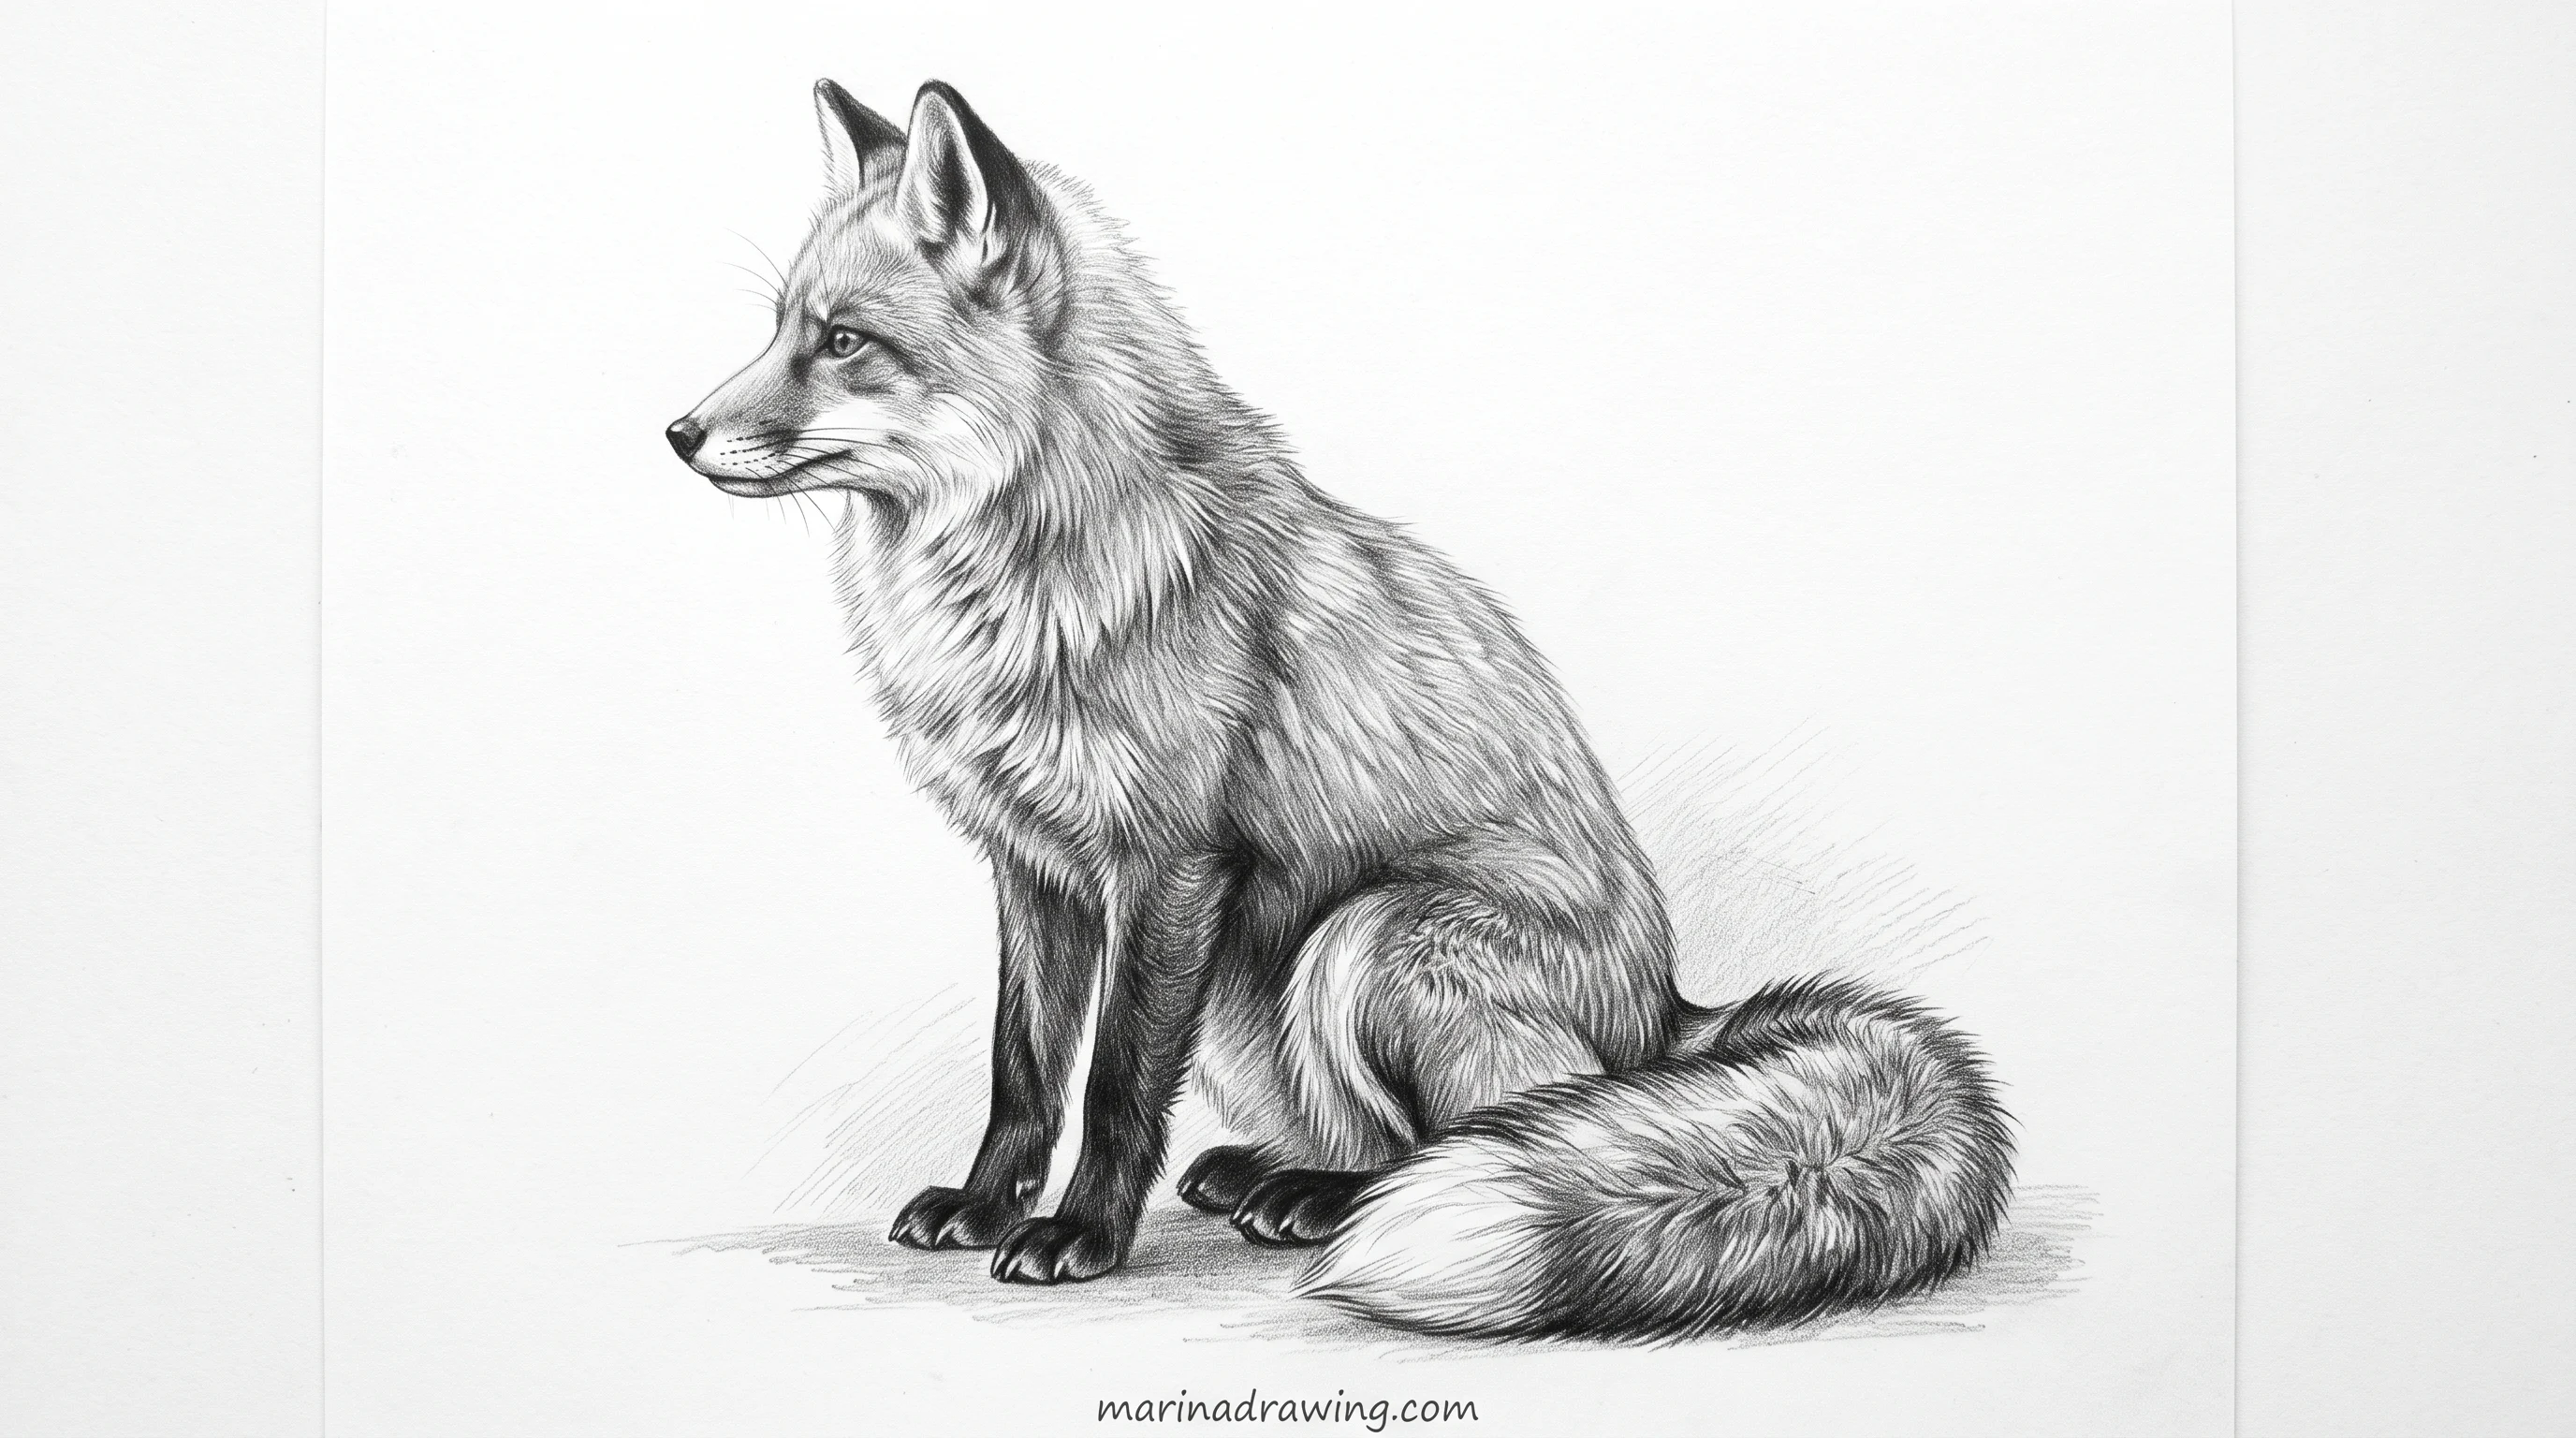
Learn this one and you have a fox you can reuse. Chest forward and high. Back sloping down to the hips. Front legs straight, back leg folded, tail curving round the paws.
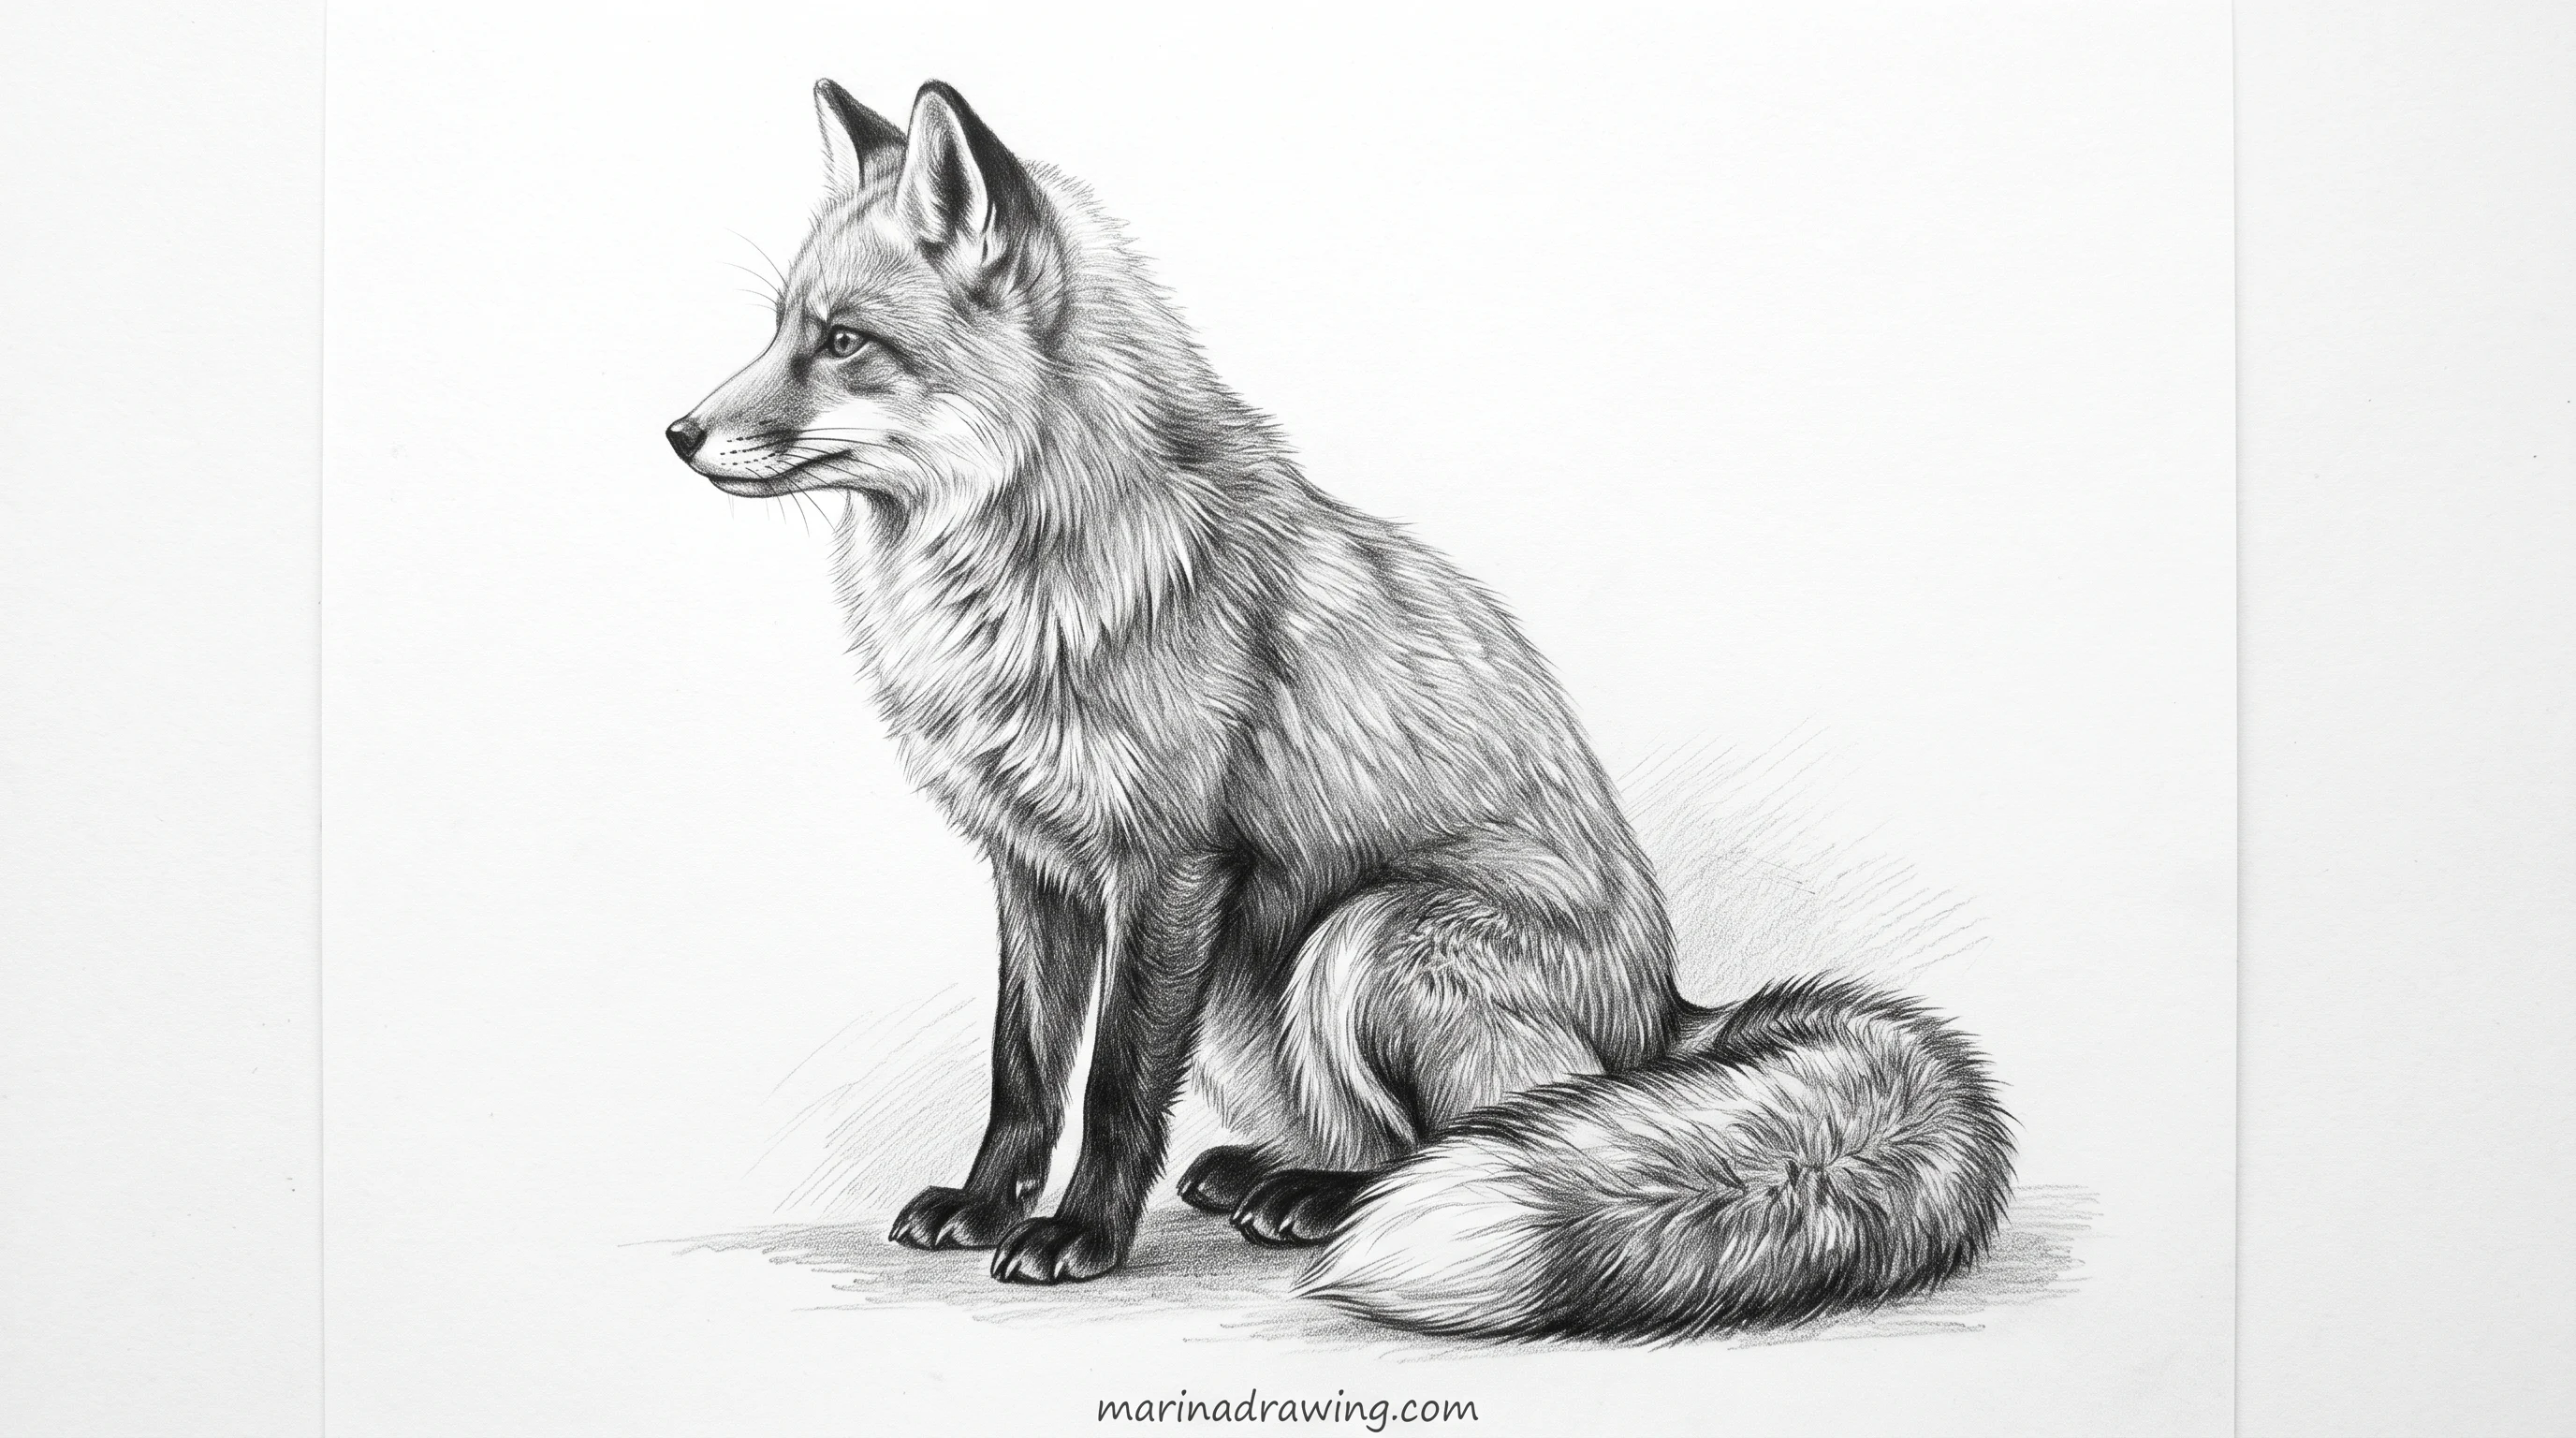
Work from the skeleton: a line for the spine, a ball for the chest, a smaller ball for the hips. You add the fur afterwards, and it changes nothing structural.
Once the pose is in your hand, you can rotate it, and that is where copying stops. Rotating a pose you understand is the actual skill, and it is what a full drawing course spends its animal section on.
6. Fox with the tail wrapped round its paws
A variation on the sitting fox, and the most shareable fox I draw. The tail comes forward around the front paws, tip resting on them, white side up.
Two things make it work. Your tail has to be thick enough to read as one mass. And your white tip must be the lightest thing on the page. Grey that tip and your whole fox goes muddy.
7. Running fox as a silhouette
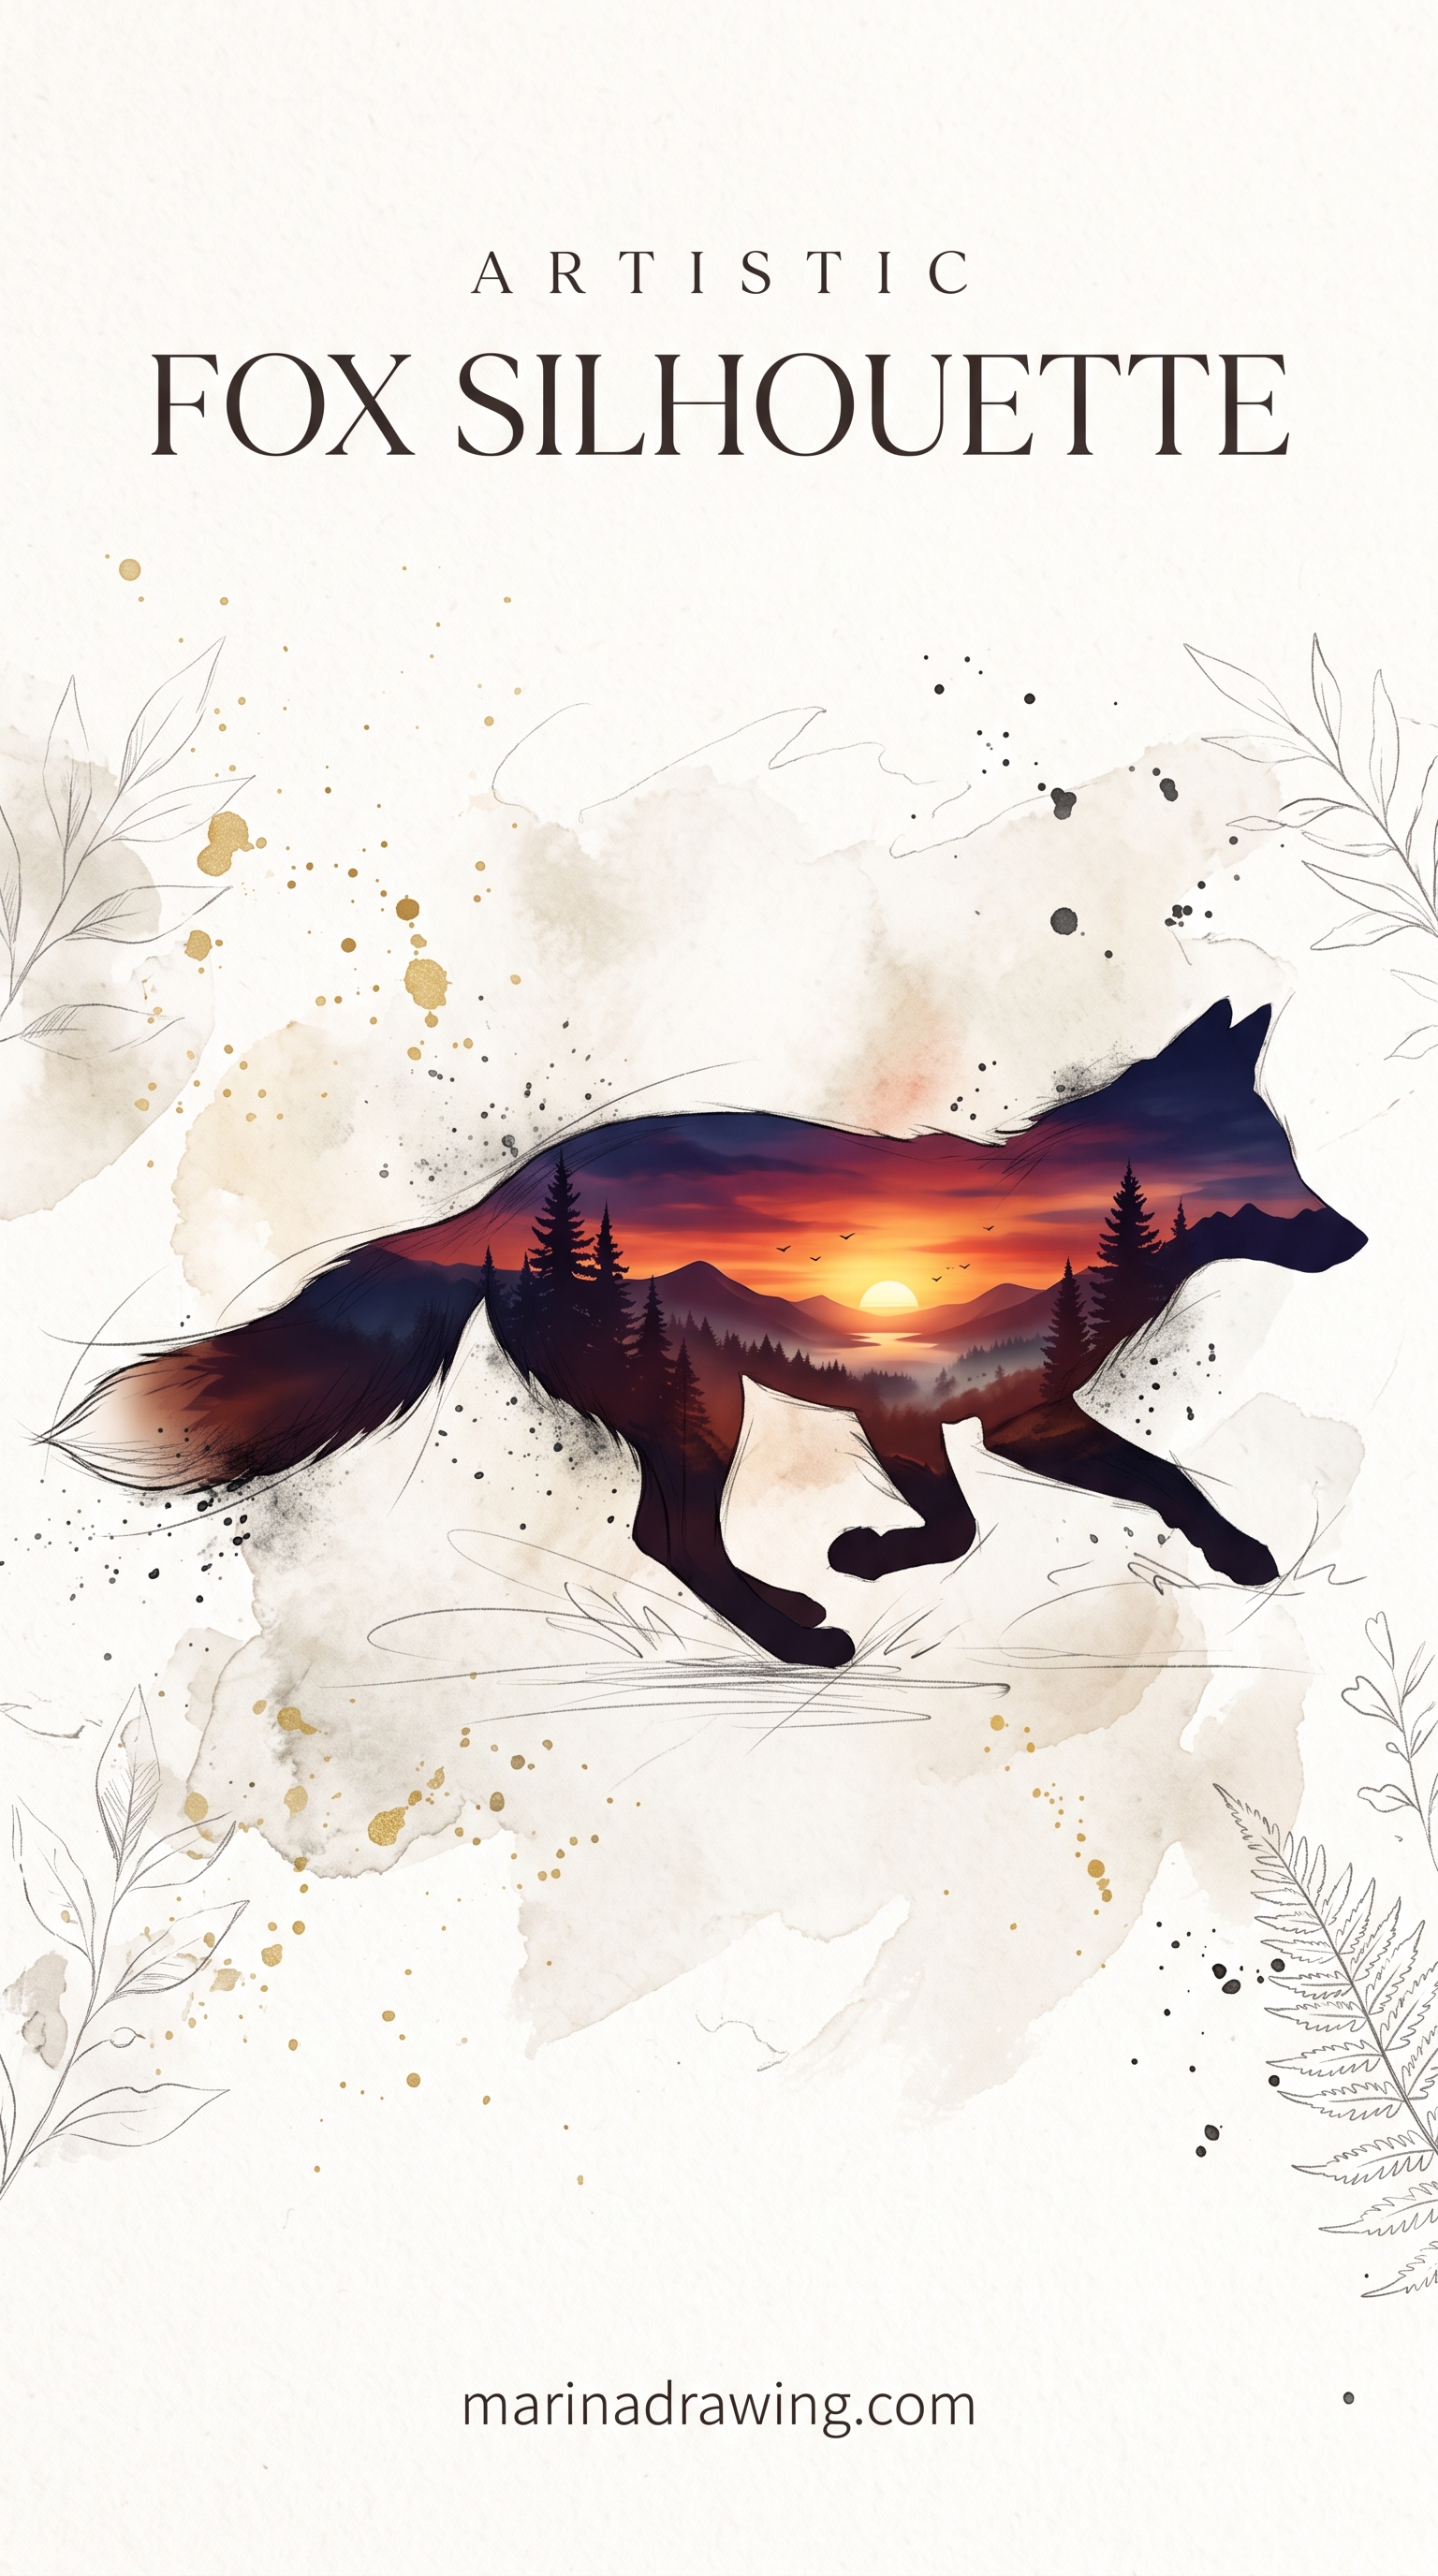
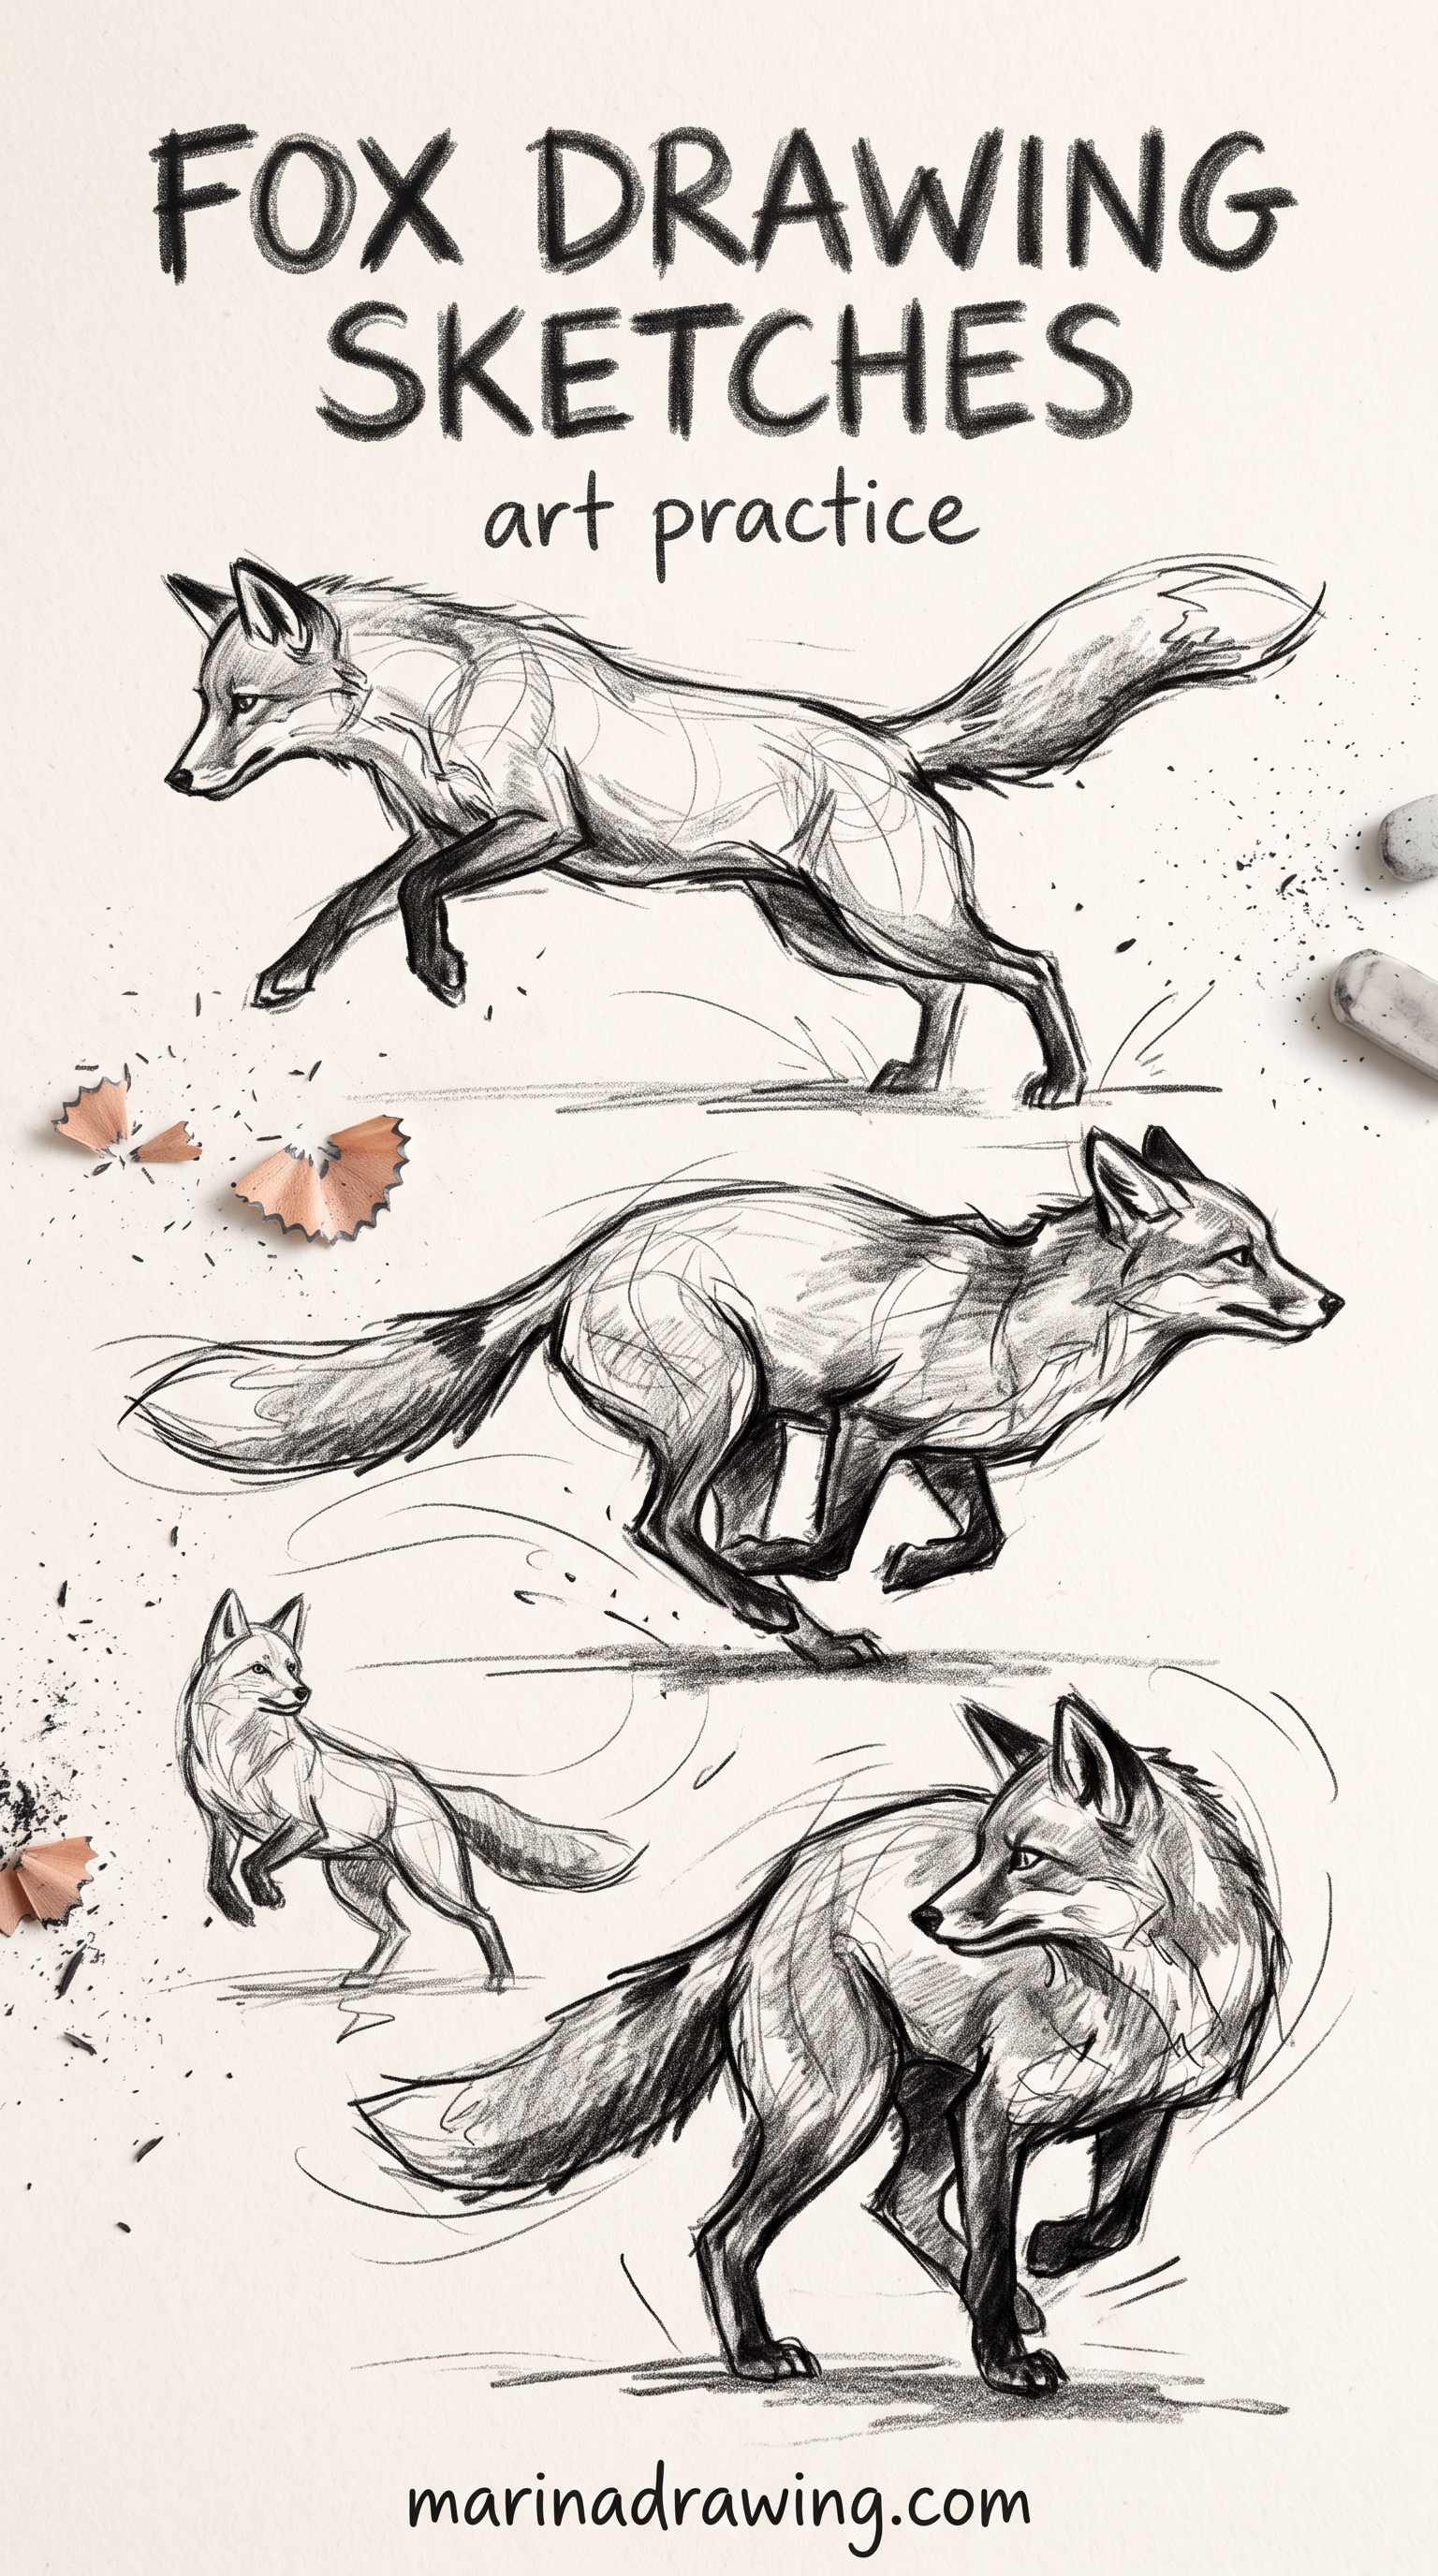
Fill it in solid and let the shape do everything for you. A running fox is long, low and nearly horizontal. Body stretched, tail straight out behind at the height of the back, front legs reaching, head level.
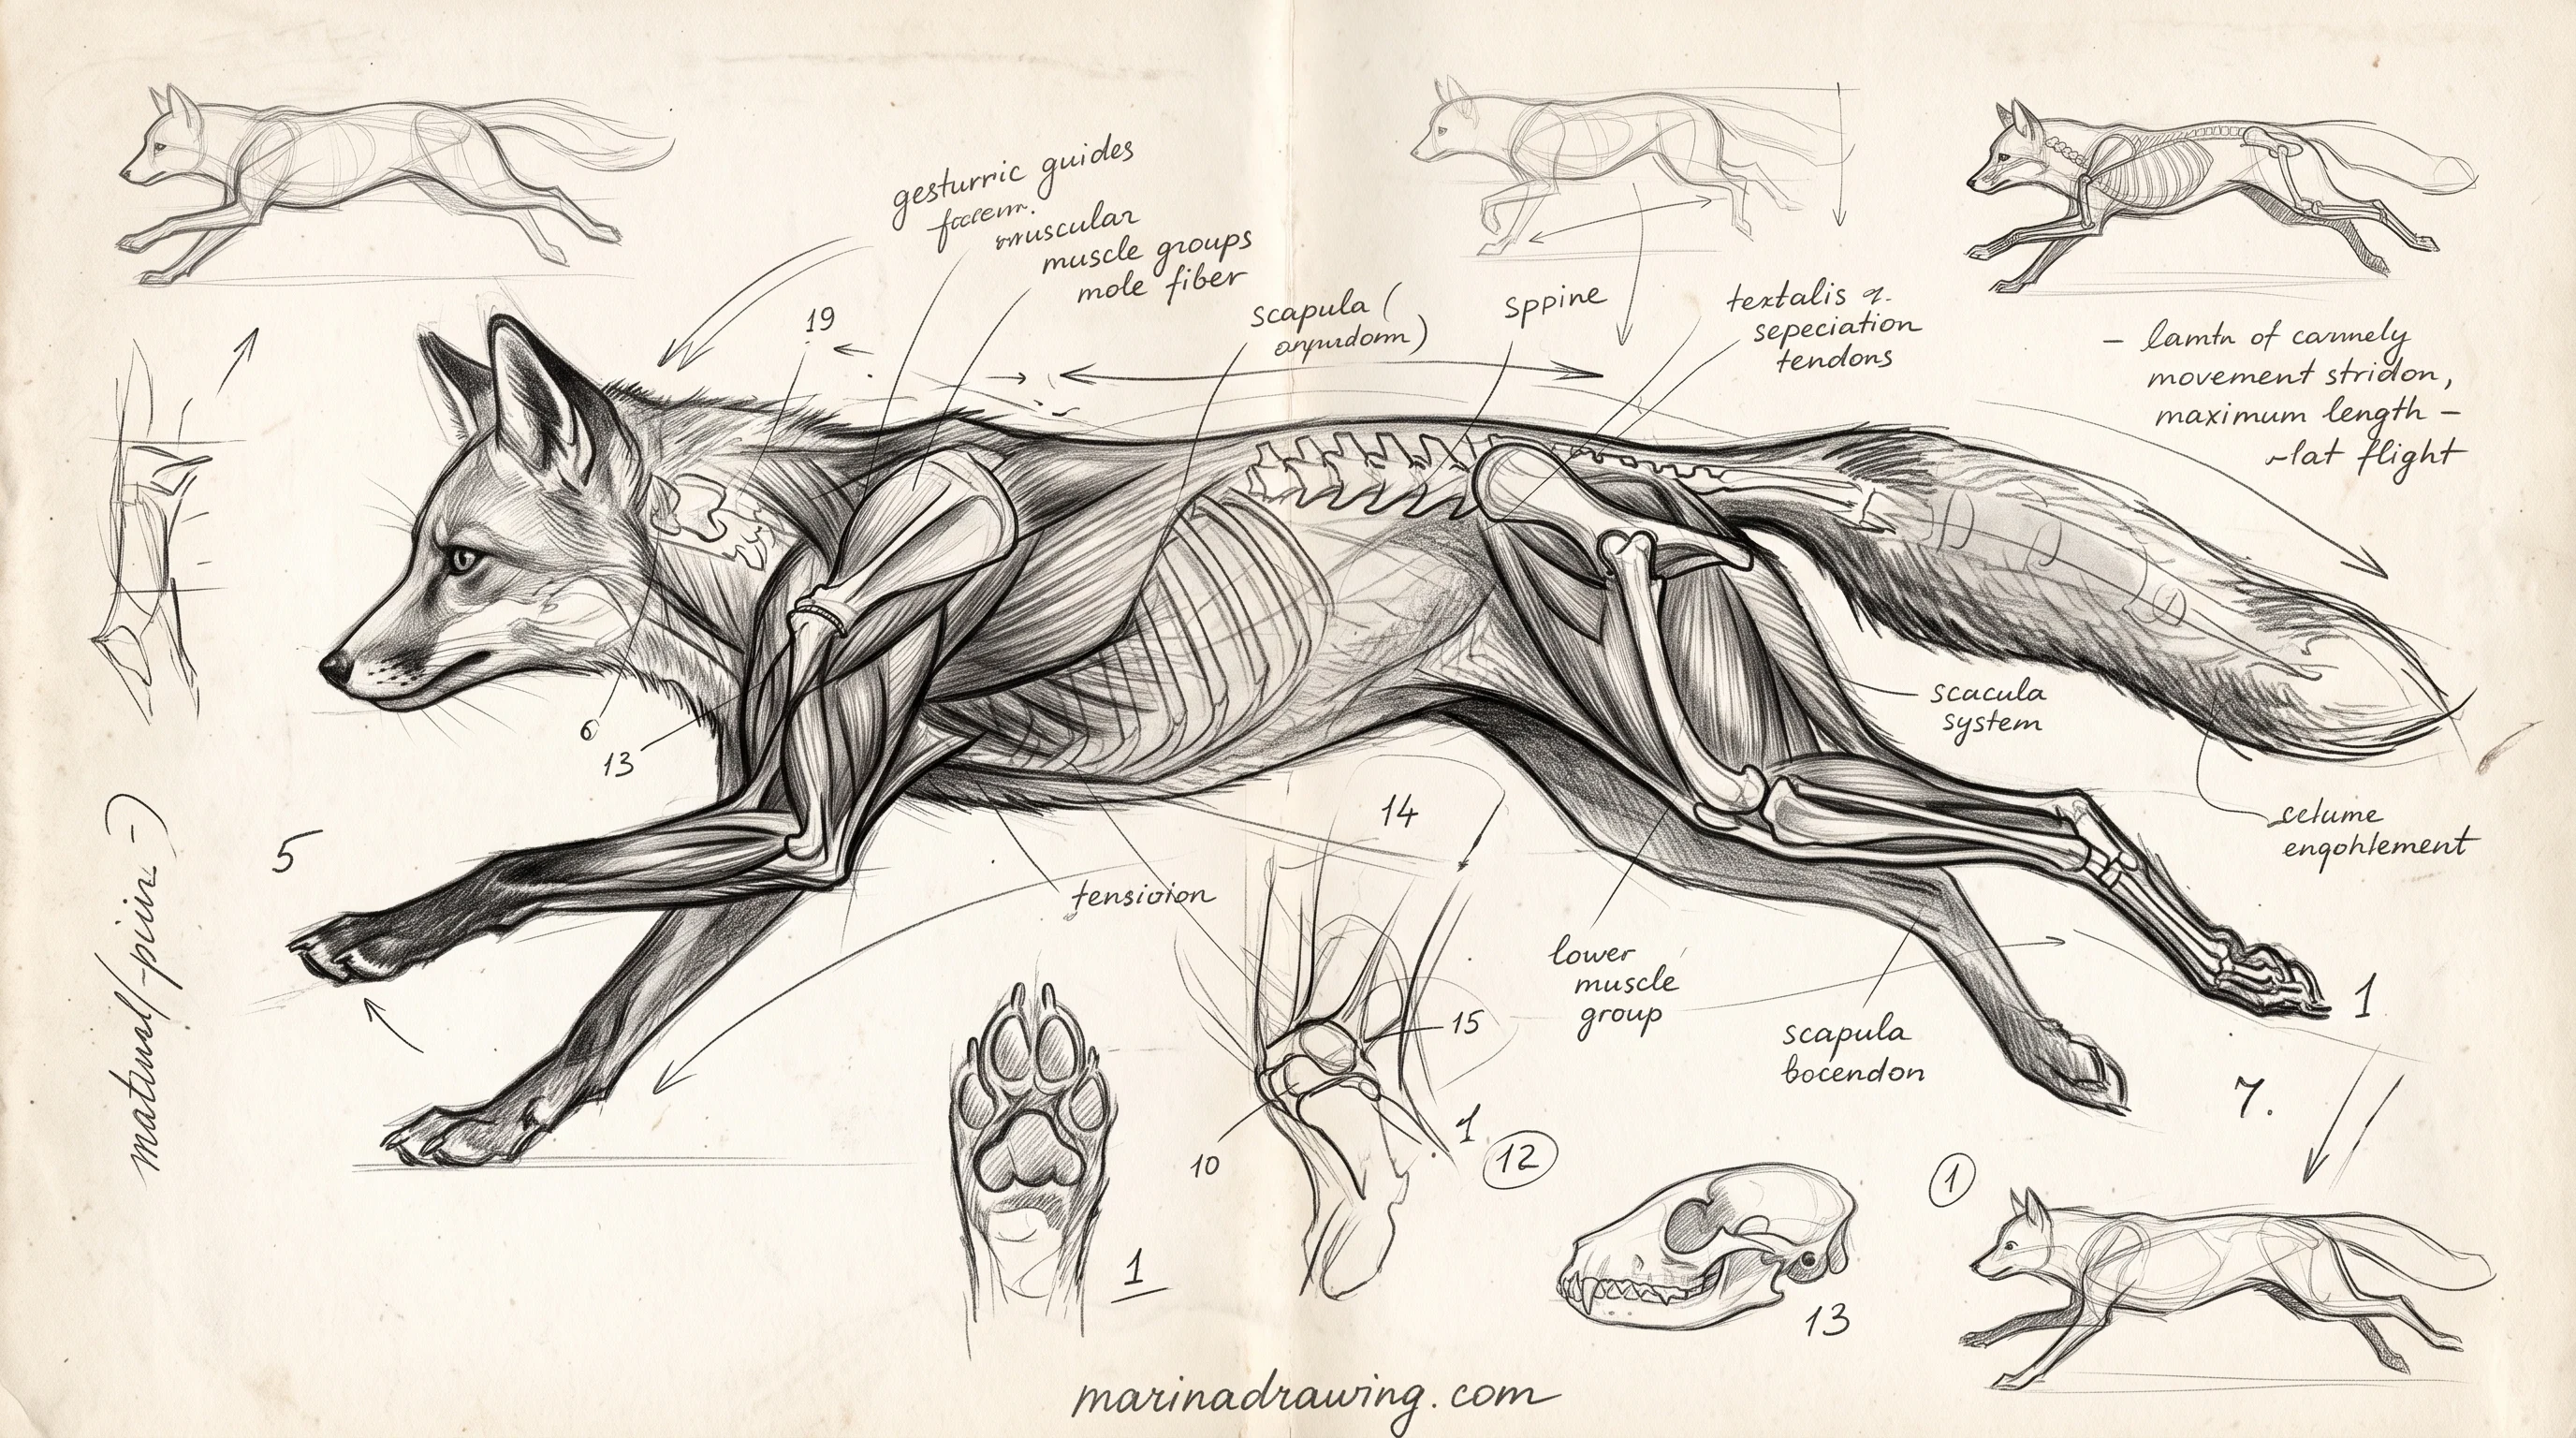
The mistake here is a tail lifted like a dog’s. Keep yours level and the speed appears.
Silhouettes also check your proportions for you. With no interior detail, your short muzzle or thin tail is obvious at a glance. You can use the same trick on the easy horse drawing.
8. Realistic fox head in pencil
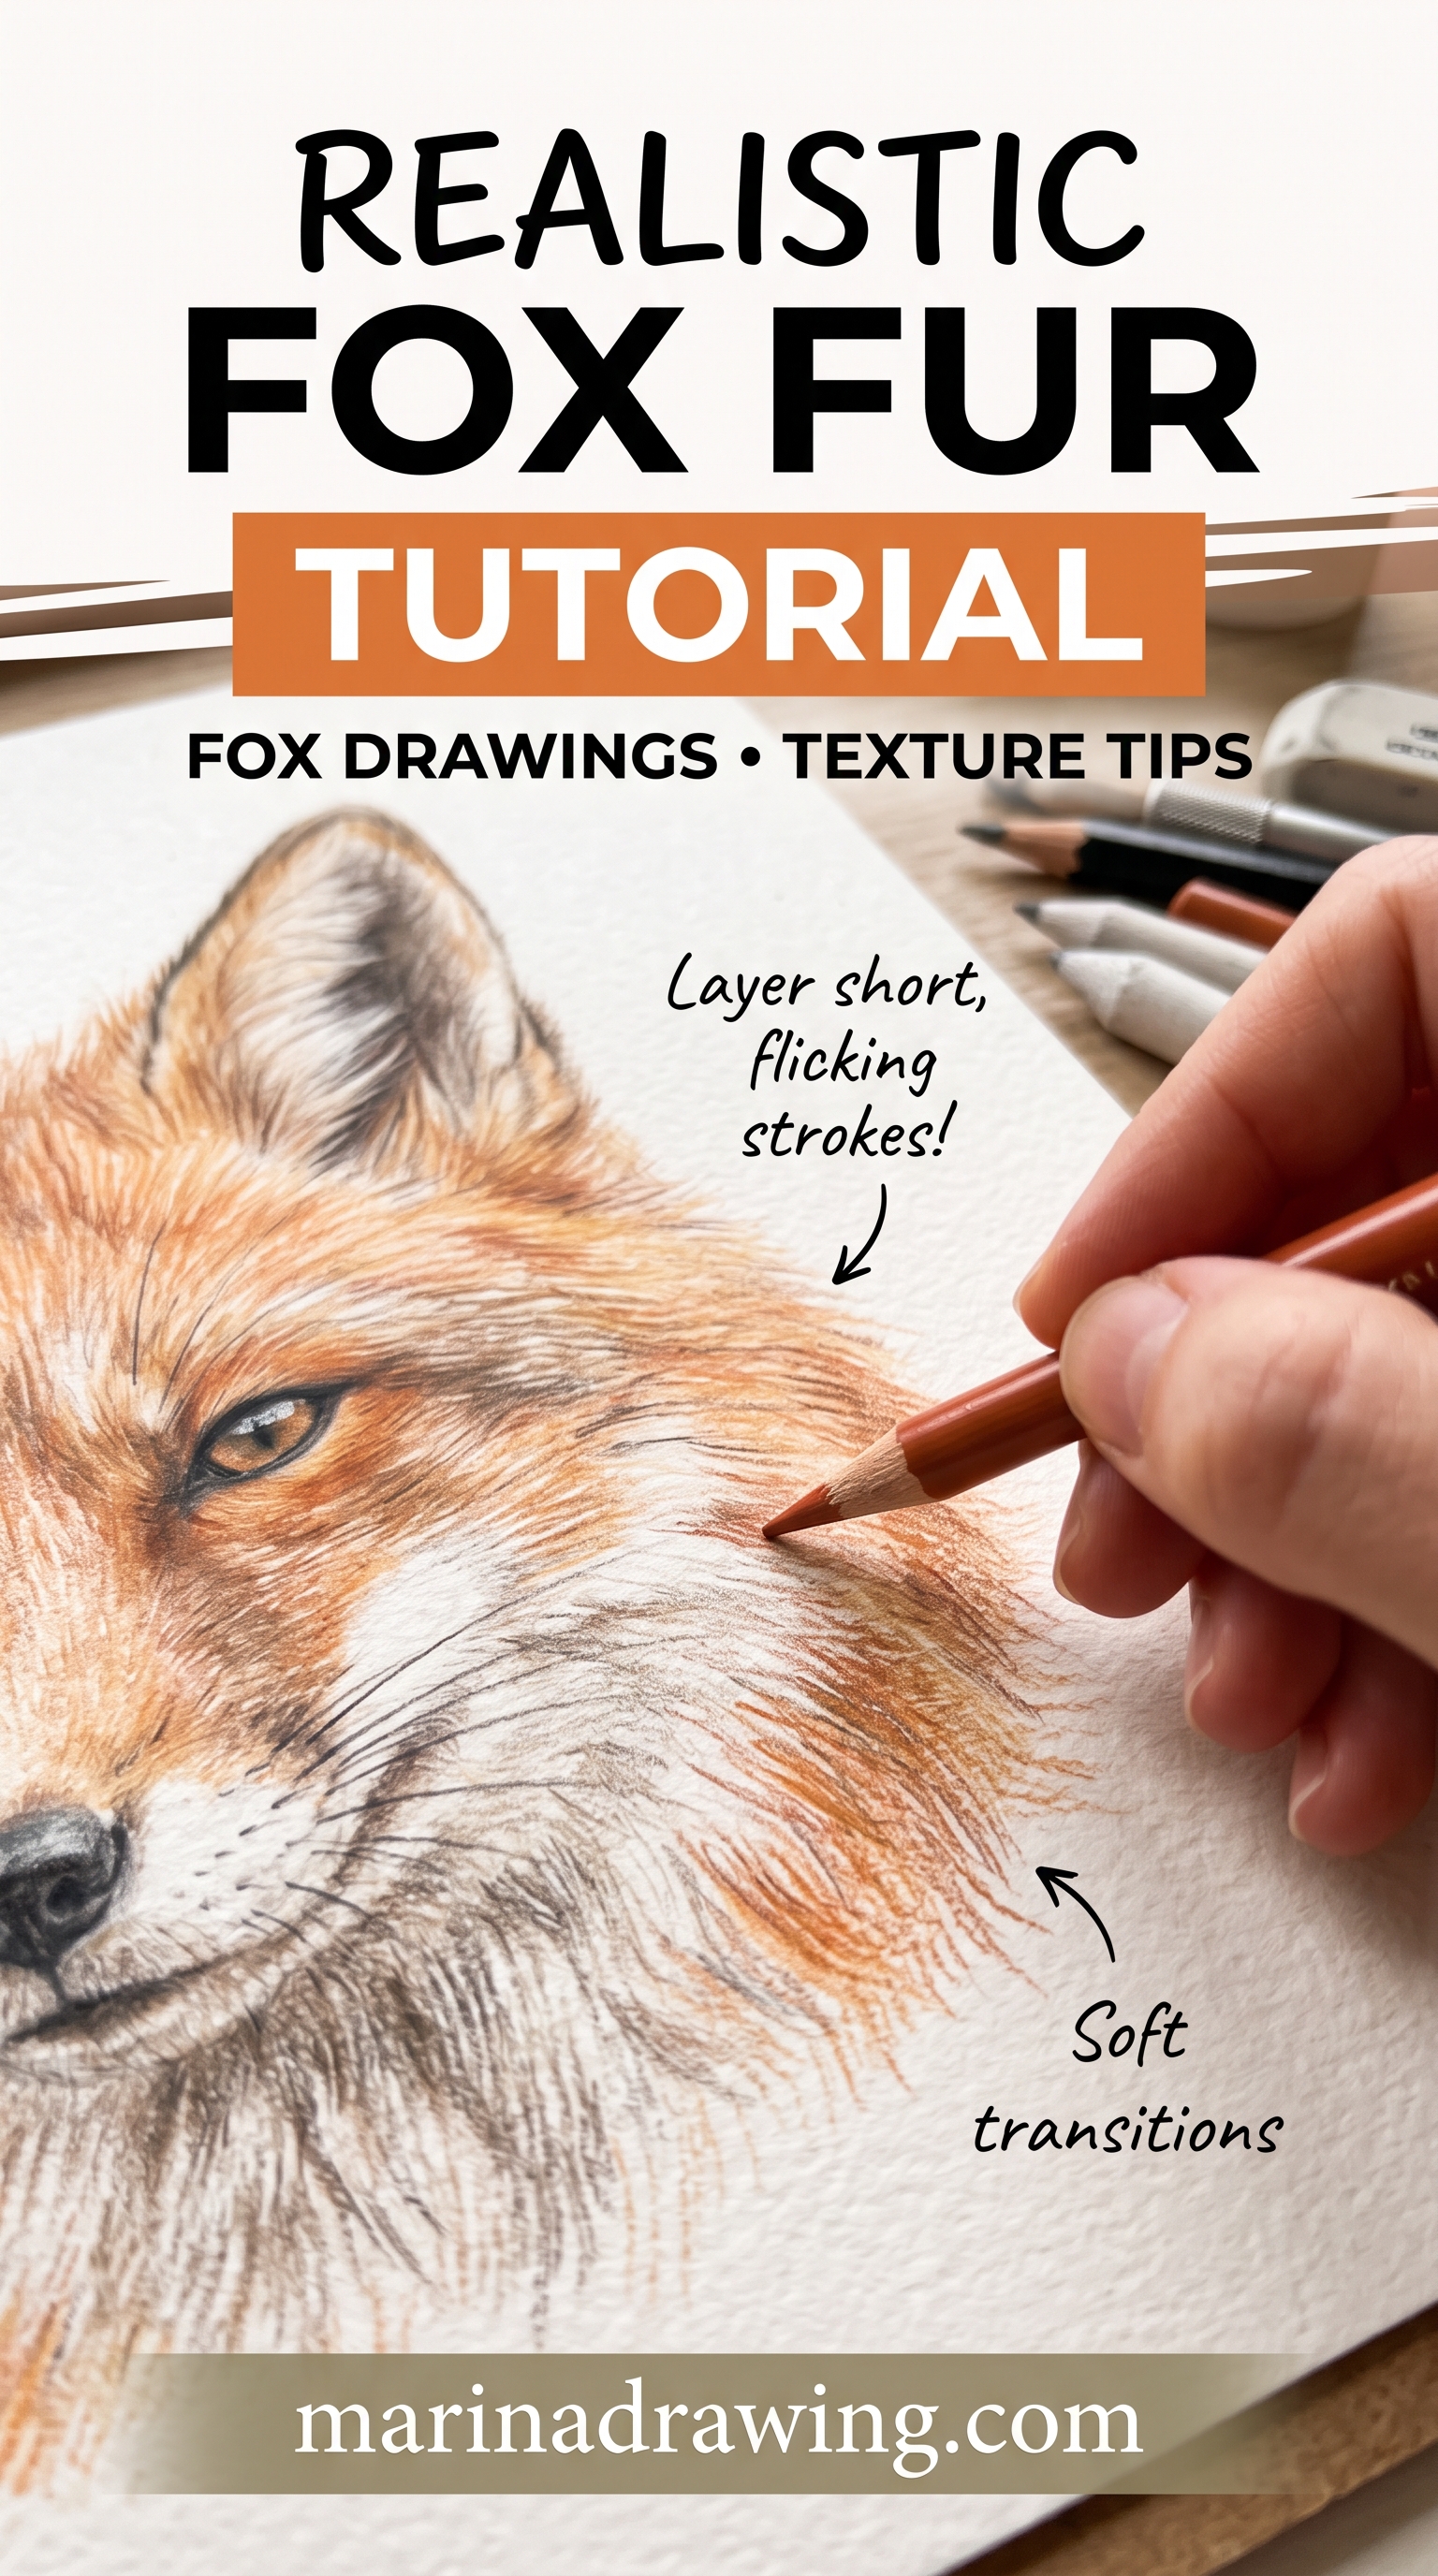
A realistic fox drawing is three tones, not four hundred hairs. You build the same shapes, then commit.
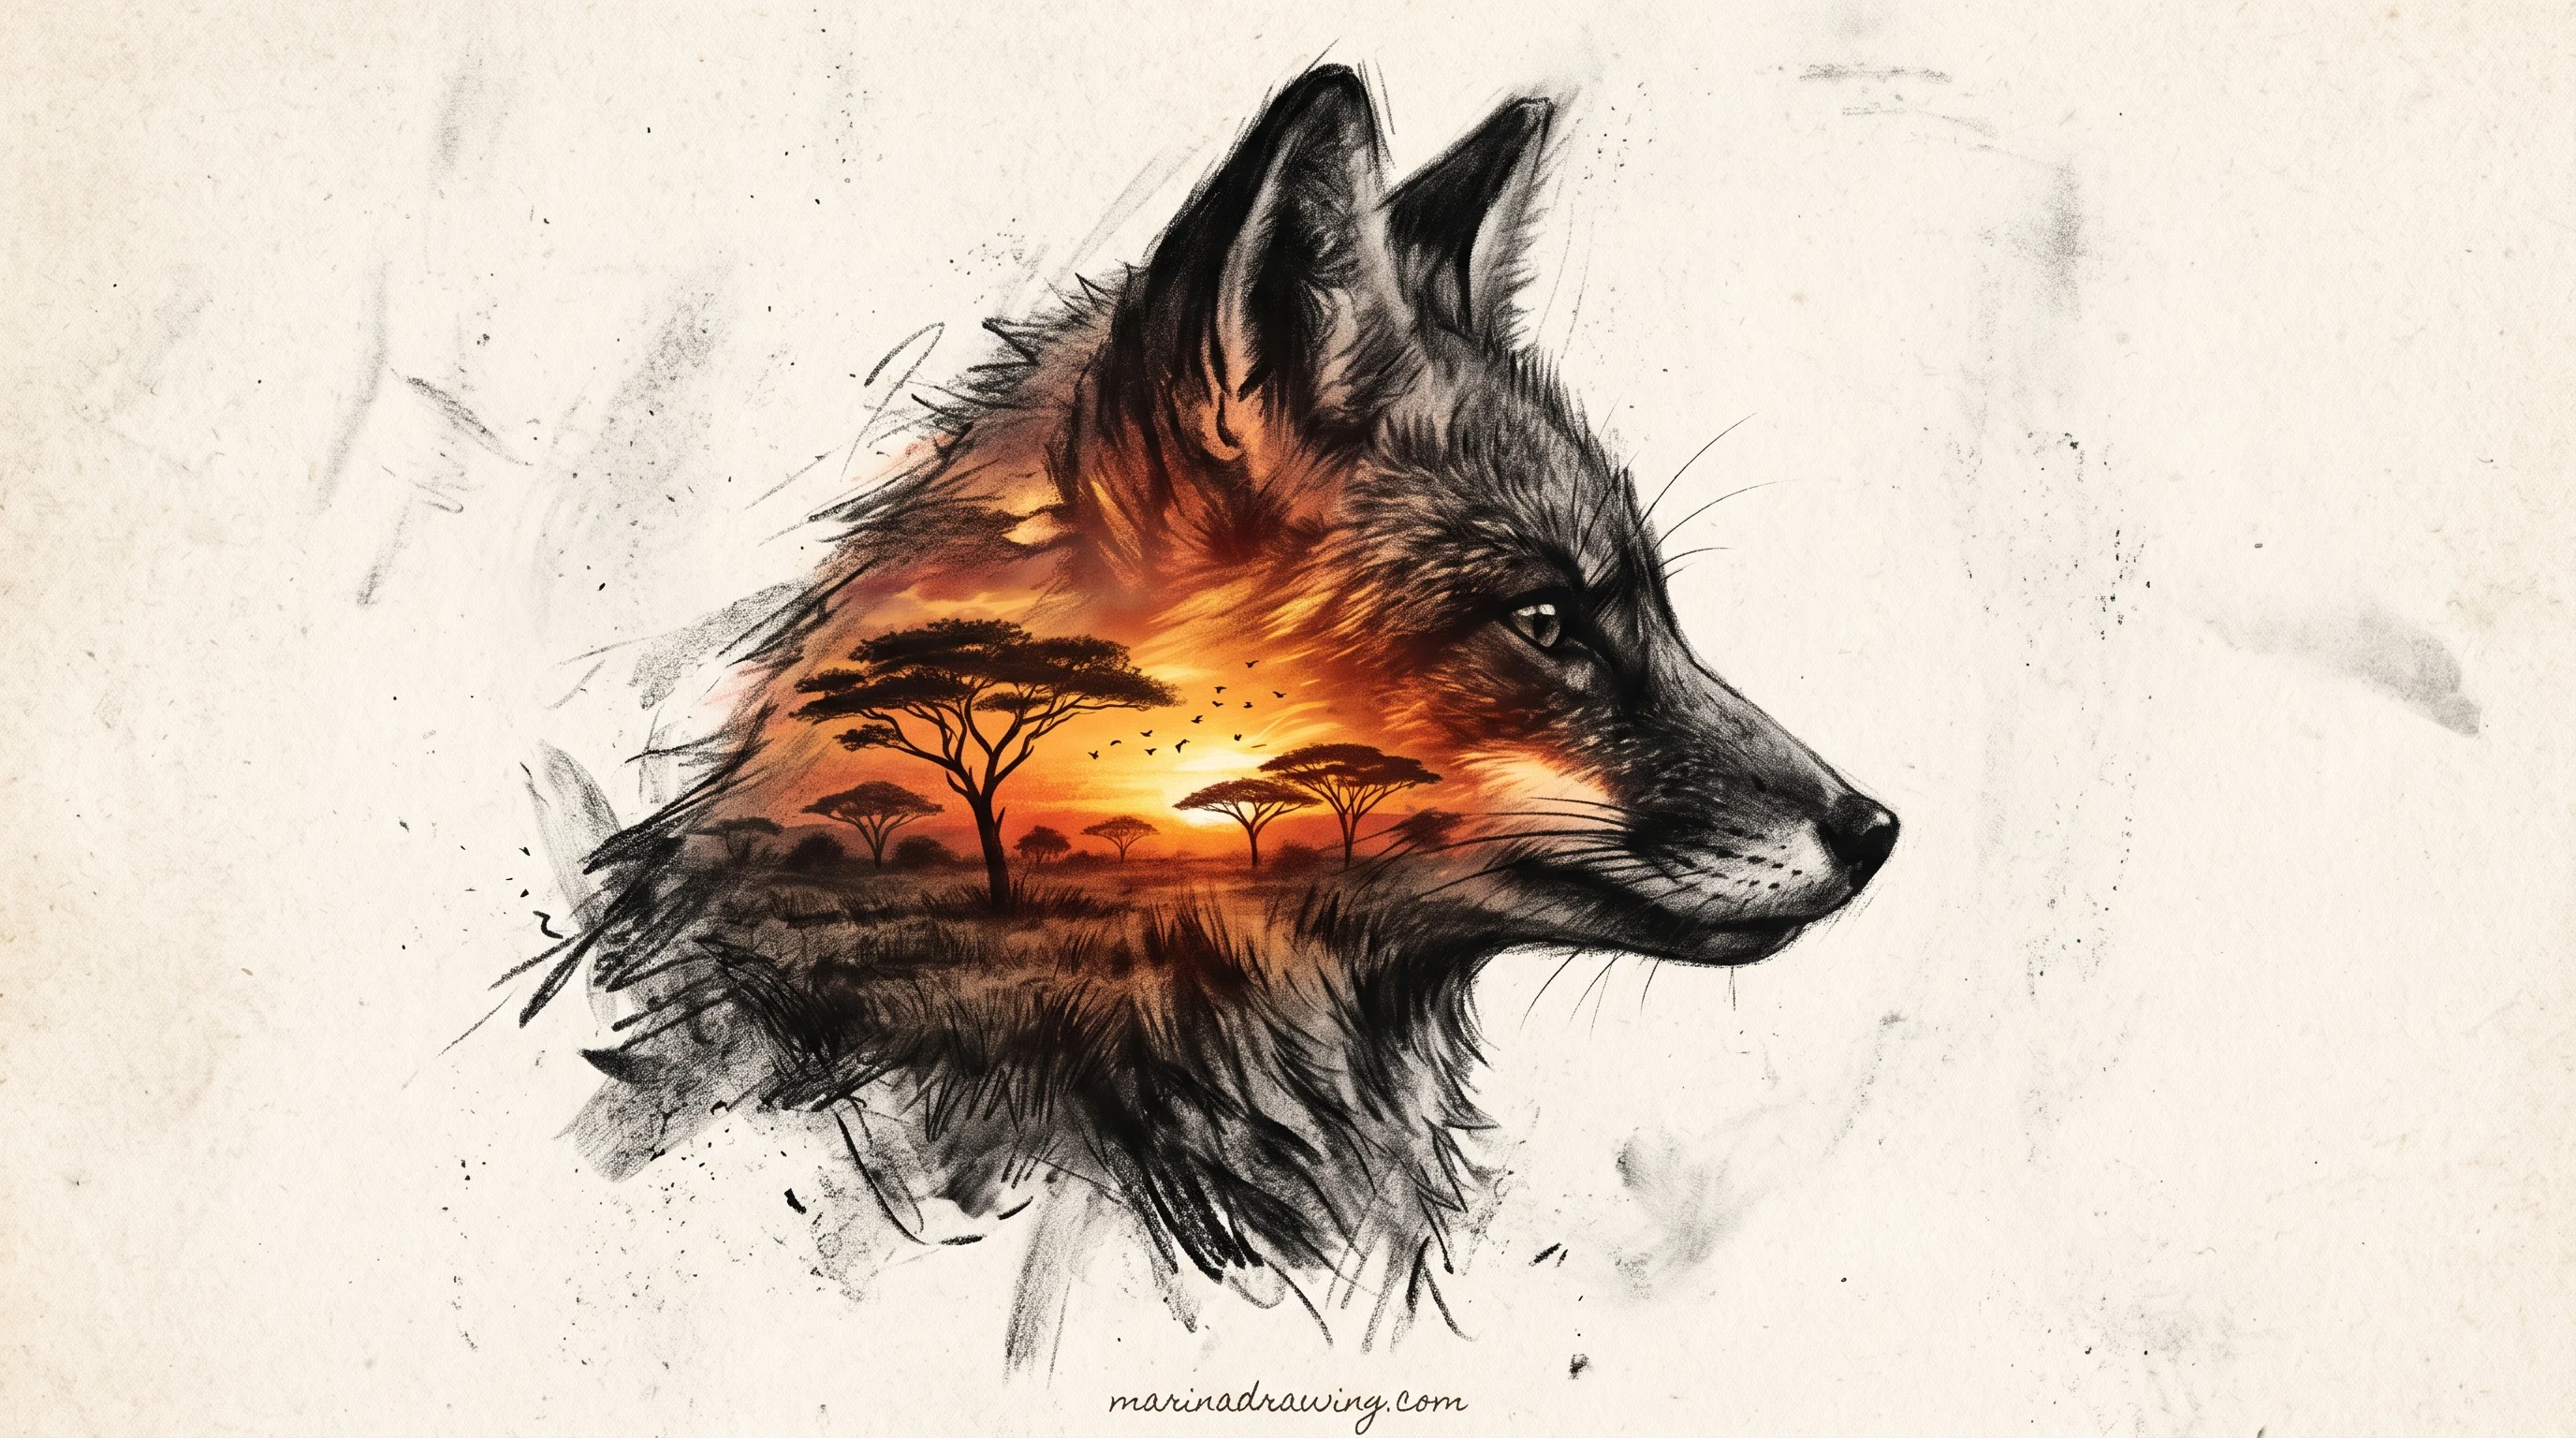
- Darkest: backs of the ears, nose, eye sockets, the line under the chin. Put these in early and fully dark.
- Mid: the orange mask and the top of the head. You lay it flat first and break it up later.
- Lightest: white cheeks, throat, inside of the muzzle. Paper left alone, not pencil pressed softly.
Then direction. Keep your strokes short and following the fur, outward and down from the centre line, longer and softer on the cheek ruff. I rush this step more often than I should, and the fox always looks worse for it.
A realistic fox takes me about an hour, and most of that hour is tone. Tone is a separate subject from drawing the animal, and the shading guide handles it here, and a structured art school programme teaches it as a course of its own.
9. Fennec fox, all ears
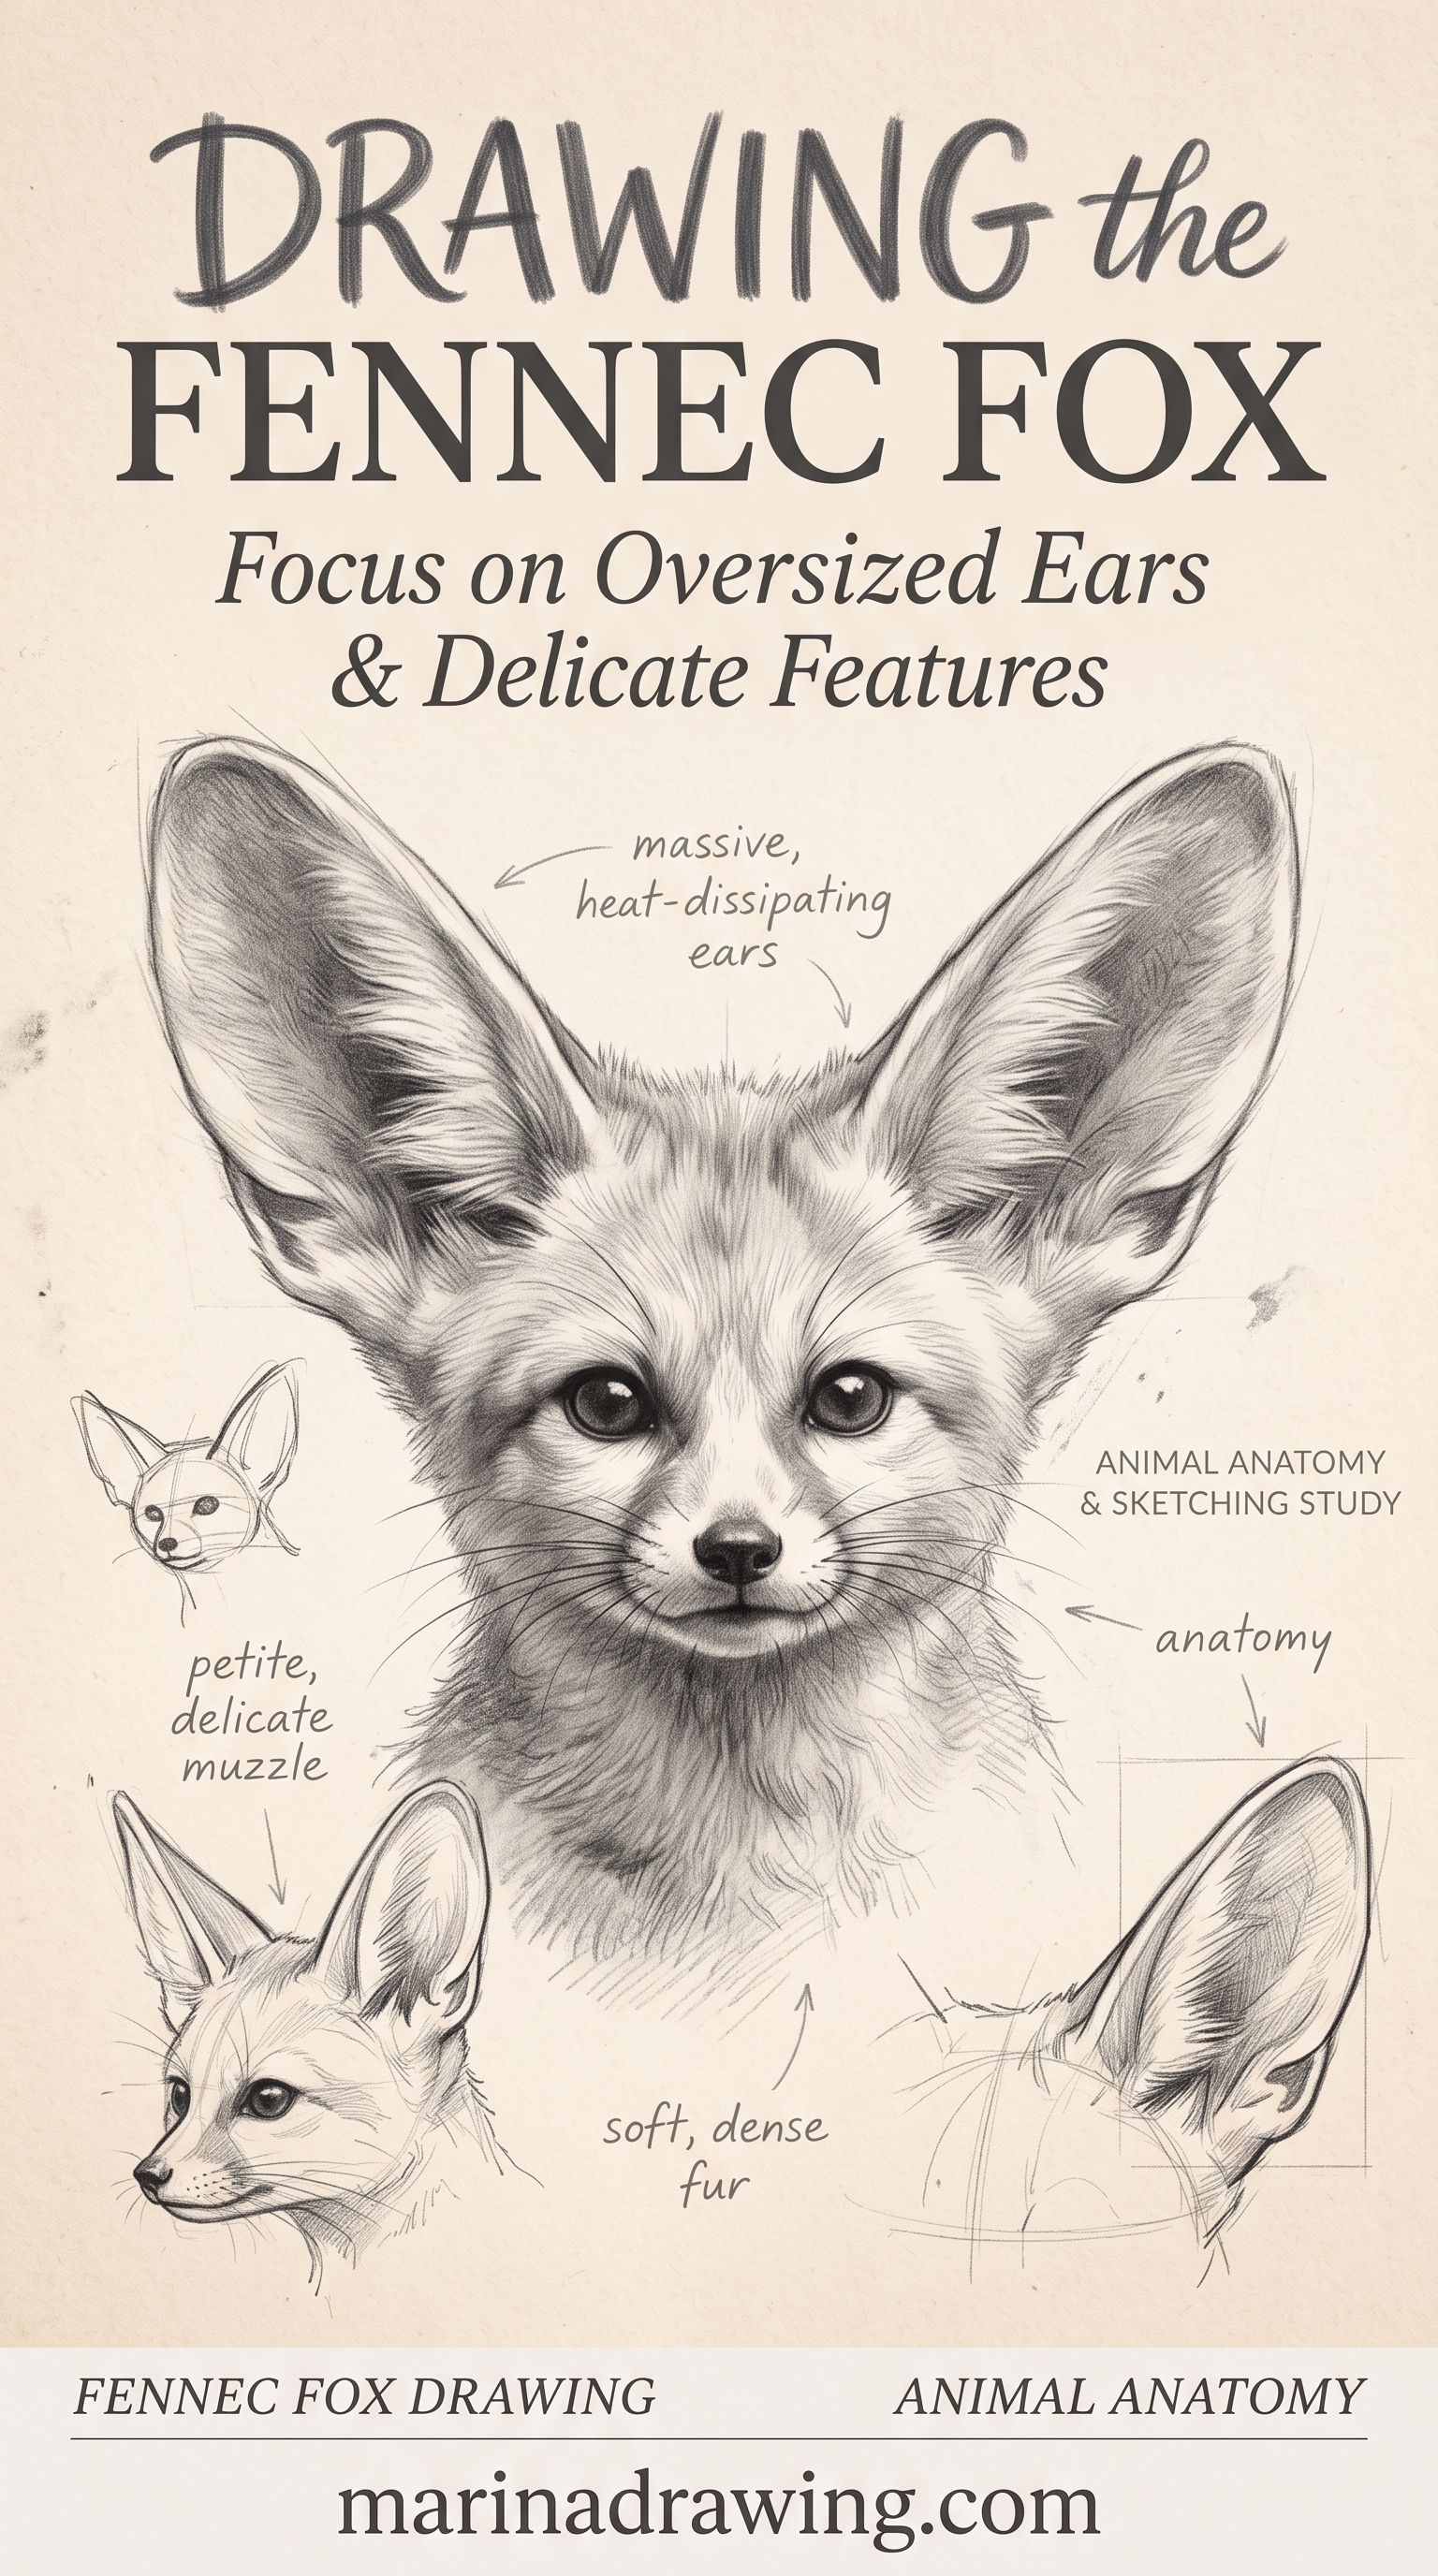
A fennec lets you exaggerate honestly. The ears are enormous, as tall as the whole head or taller. The muzzle is shorter, the eyes bigger.
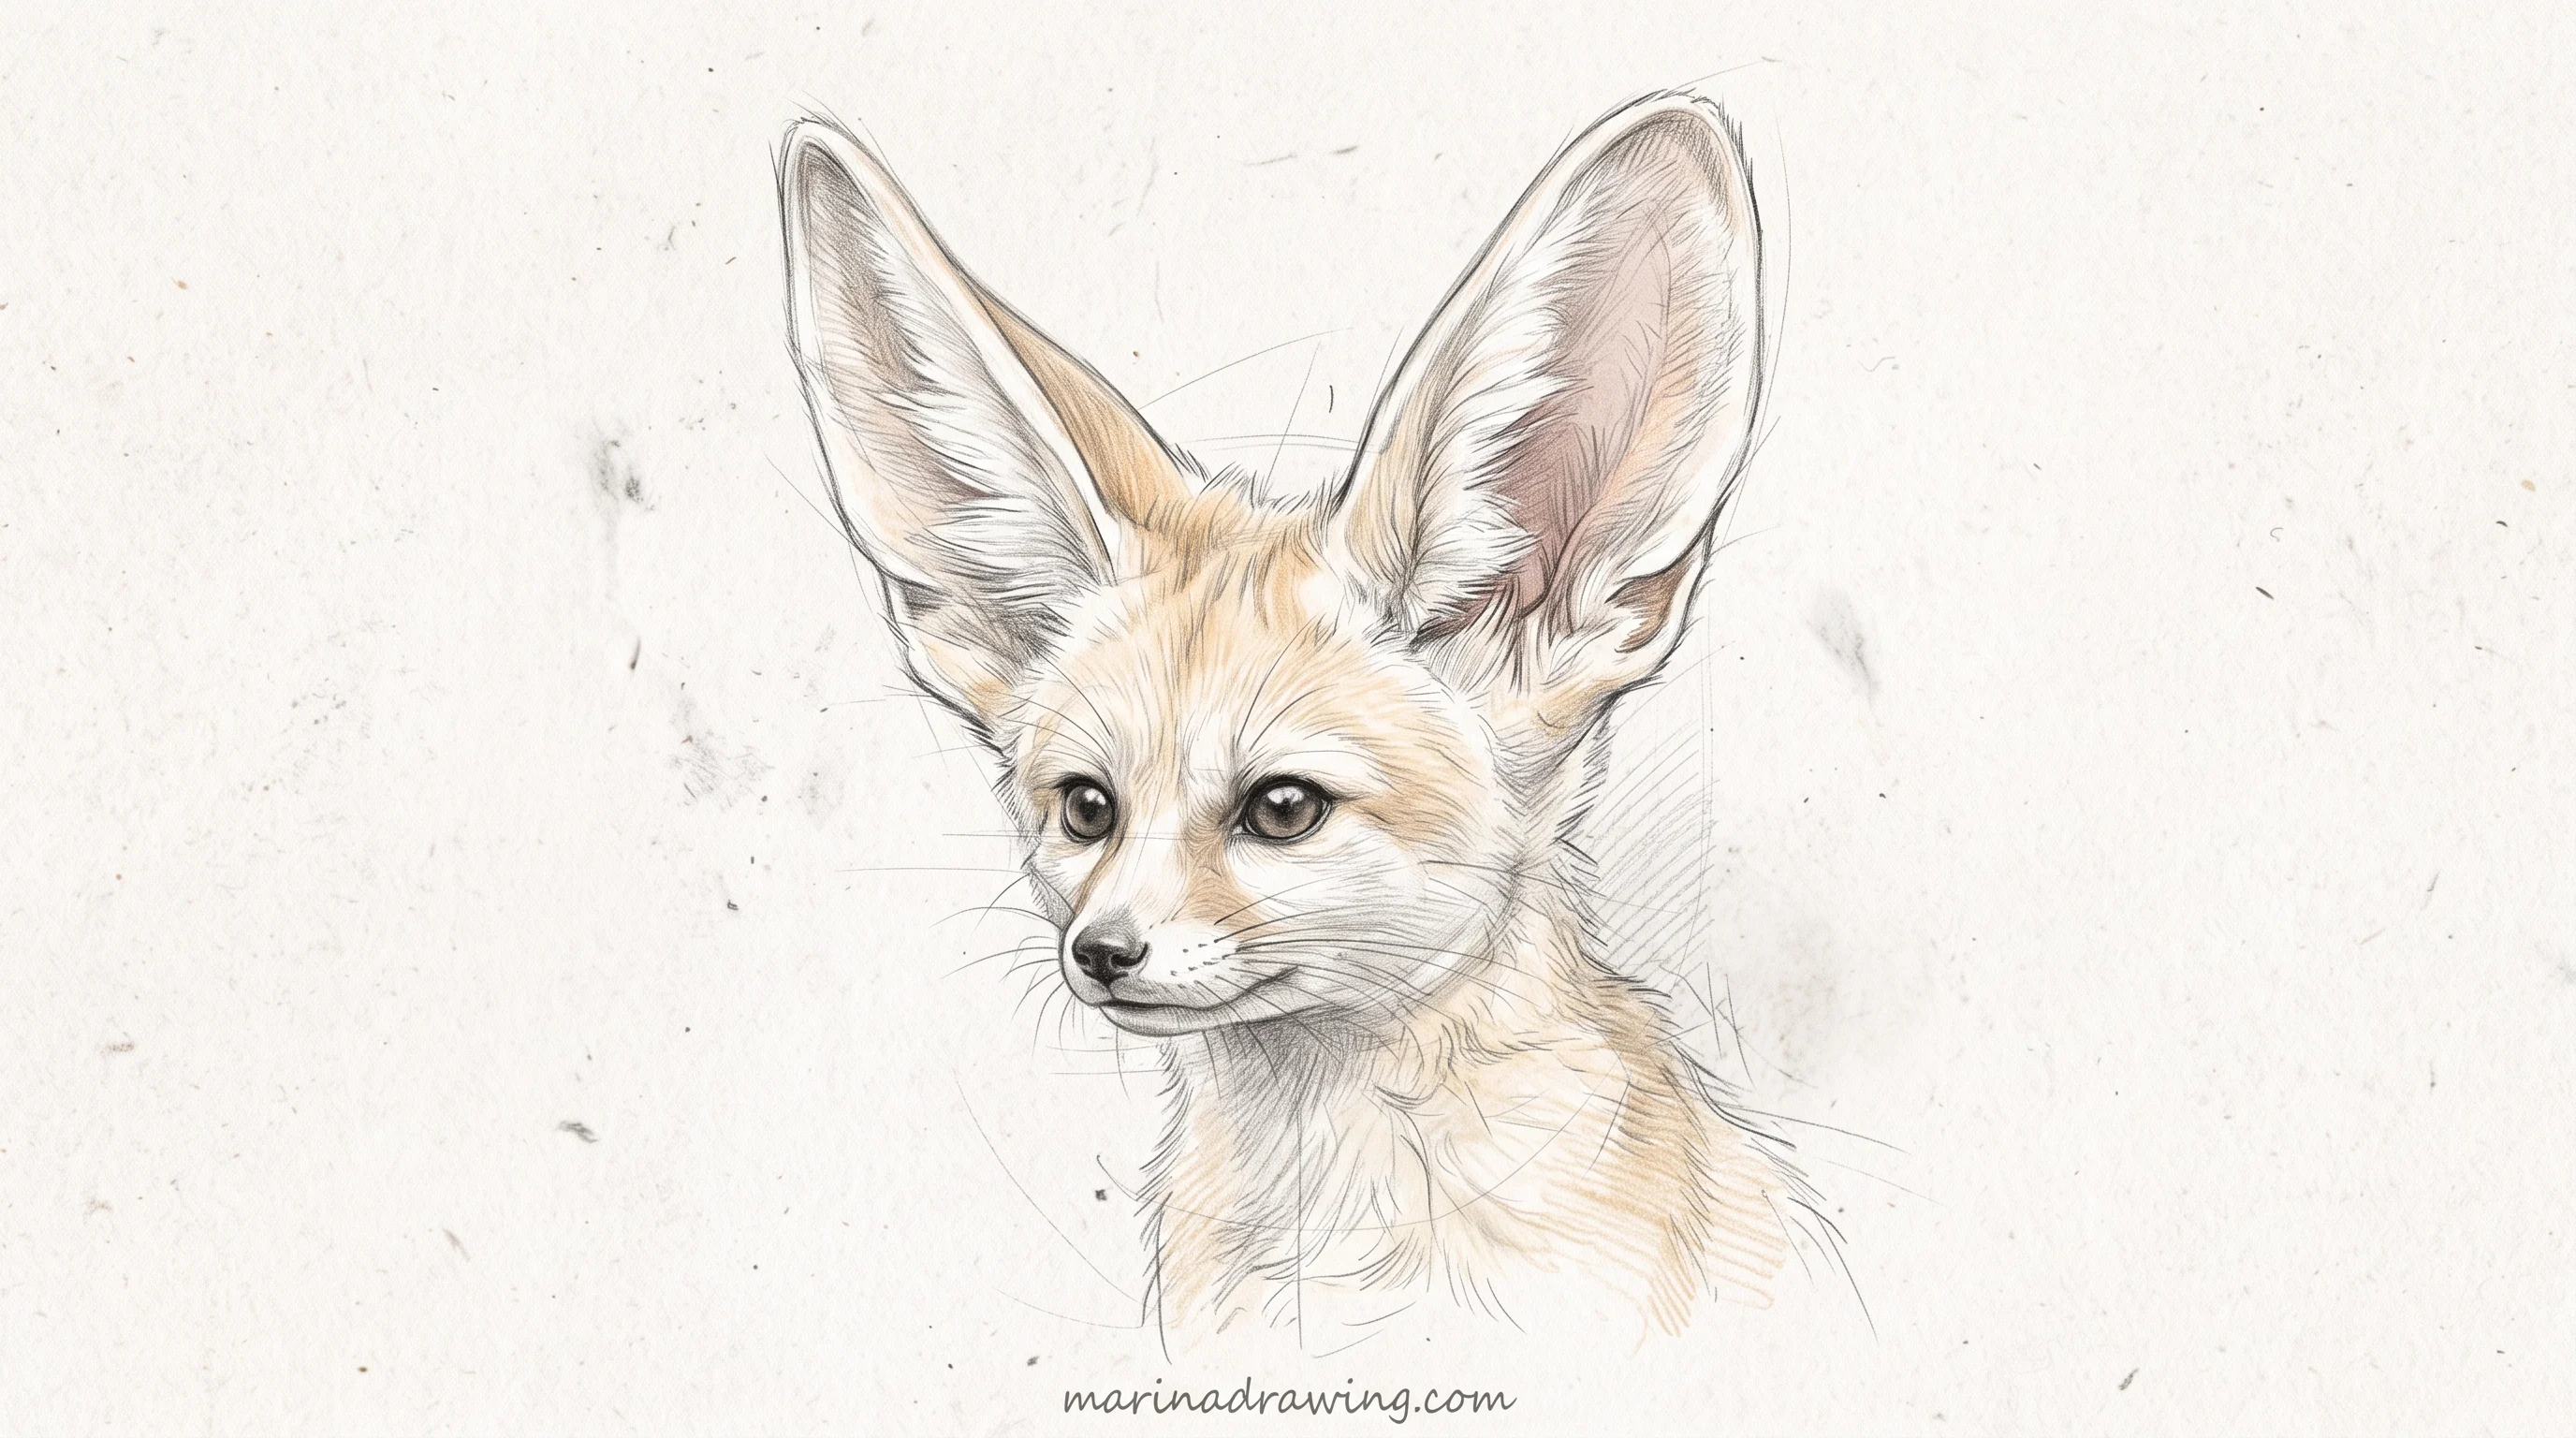
Draw the standard circle, then make your ear triangles taller than it. Pale sandy colour, almost no dark except the eyes and the nose tip. Draw this one second. It proves to you that the ratios are a dial you turn, not a rule you obey.
10. Fox doodle for a journal page
42 hours of pencil drawing training, lifetime access
The video course I point plateaued students to — full lessons on portraits, hands, and realistic shading, not another short tutorial.
A doodle fox is the fastest fox sketch there is: pen, two centimetres tall, in a margin. Rounded triangle head. Two ear spikes. A dot for the nose, a comma of a tail.
Draw fifteen in a row and you have a border. These end up on your planner pages, and they warm your hand up.
My sketchbook idea list has more of the same kind, and so does the shorter simple drawing ideas set.
11. Fox in a box
People search for this one literally, and it is a better exercise than it sounds.
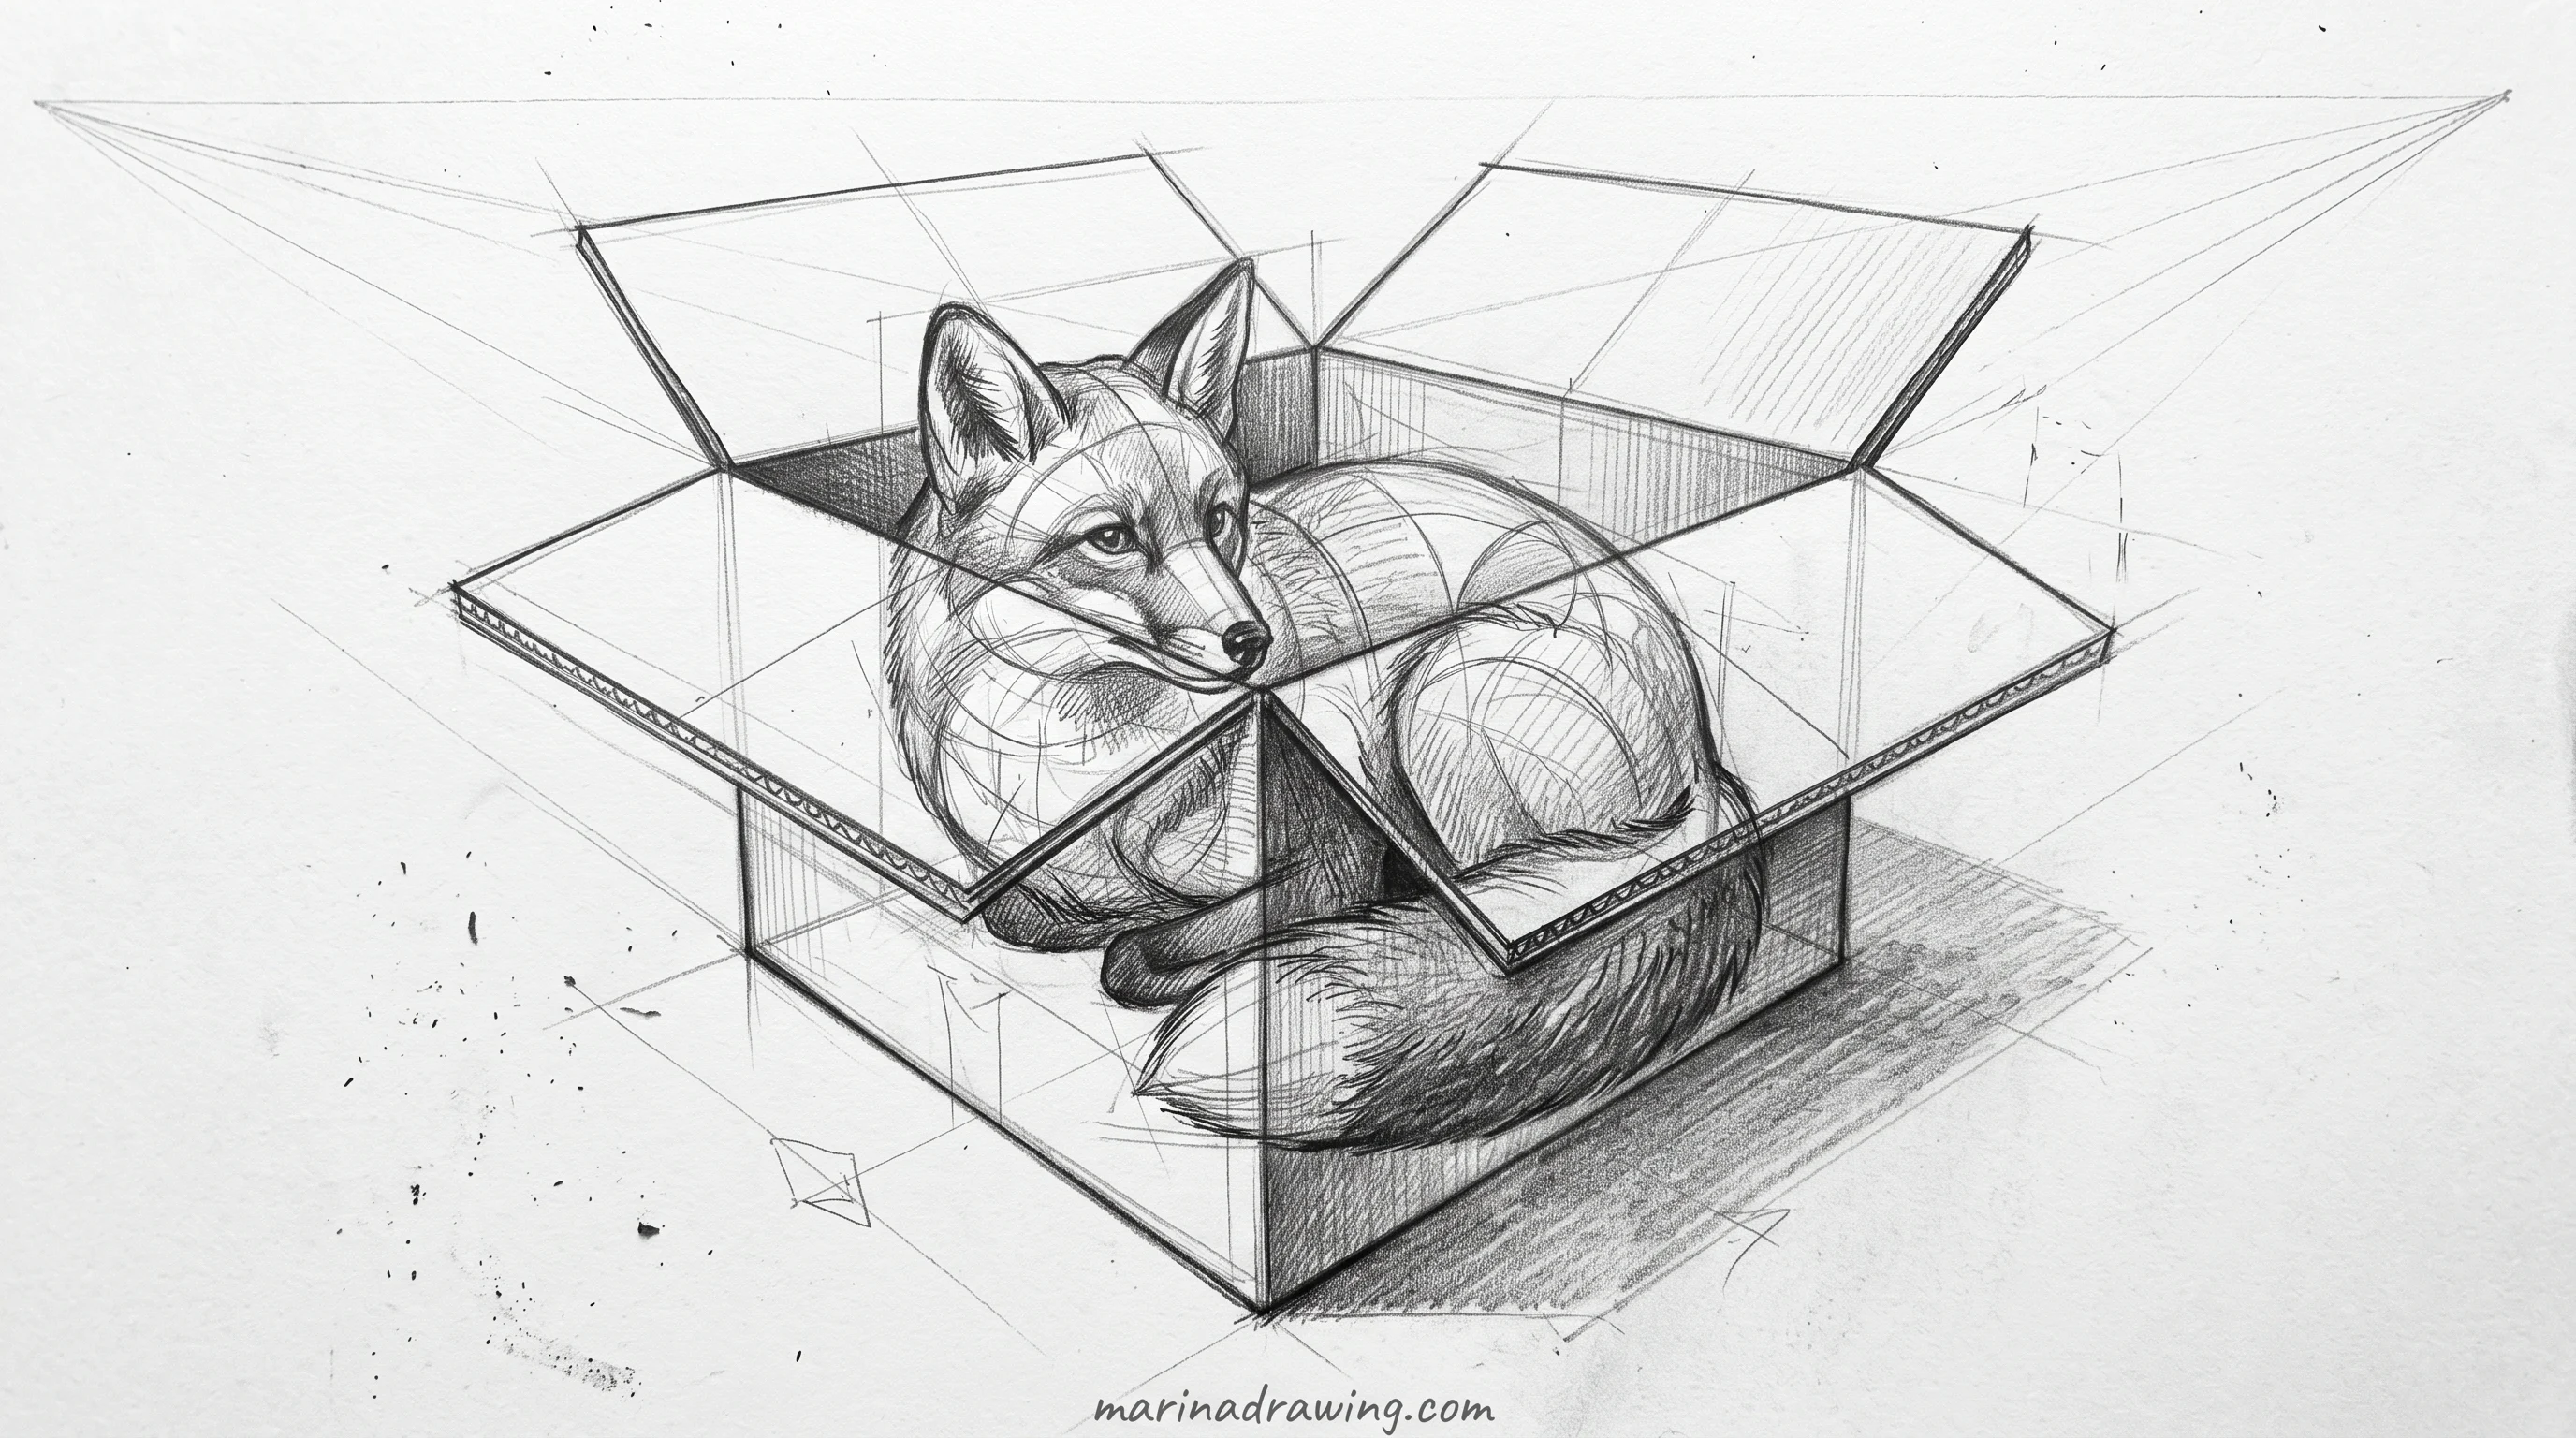
A fox sitting in an open cardboard box forces you to draw a box in perspective, then fit a curved animal inside it, with the front edge crossing the chest. The overlap is the lesson. Whatever the box covers, you do not draw.
Beginners draw the whole fox first and the box on top. Do that and your fox comes out transparent.
Overlap and perspective are the two things you cannot guess your way through, and a course that covers perspective before animals puts them in the right order for you.
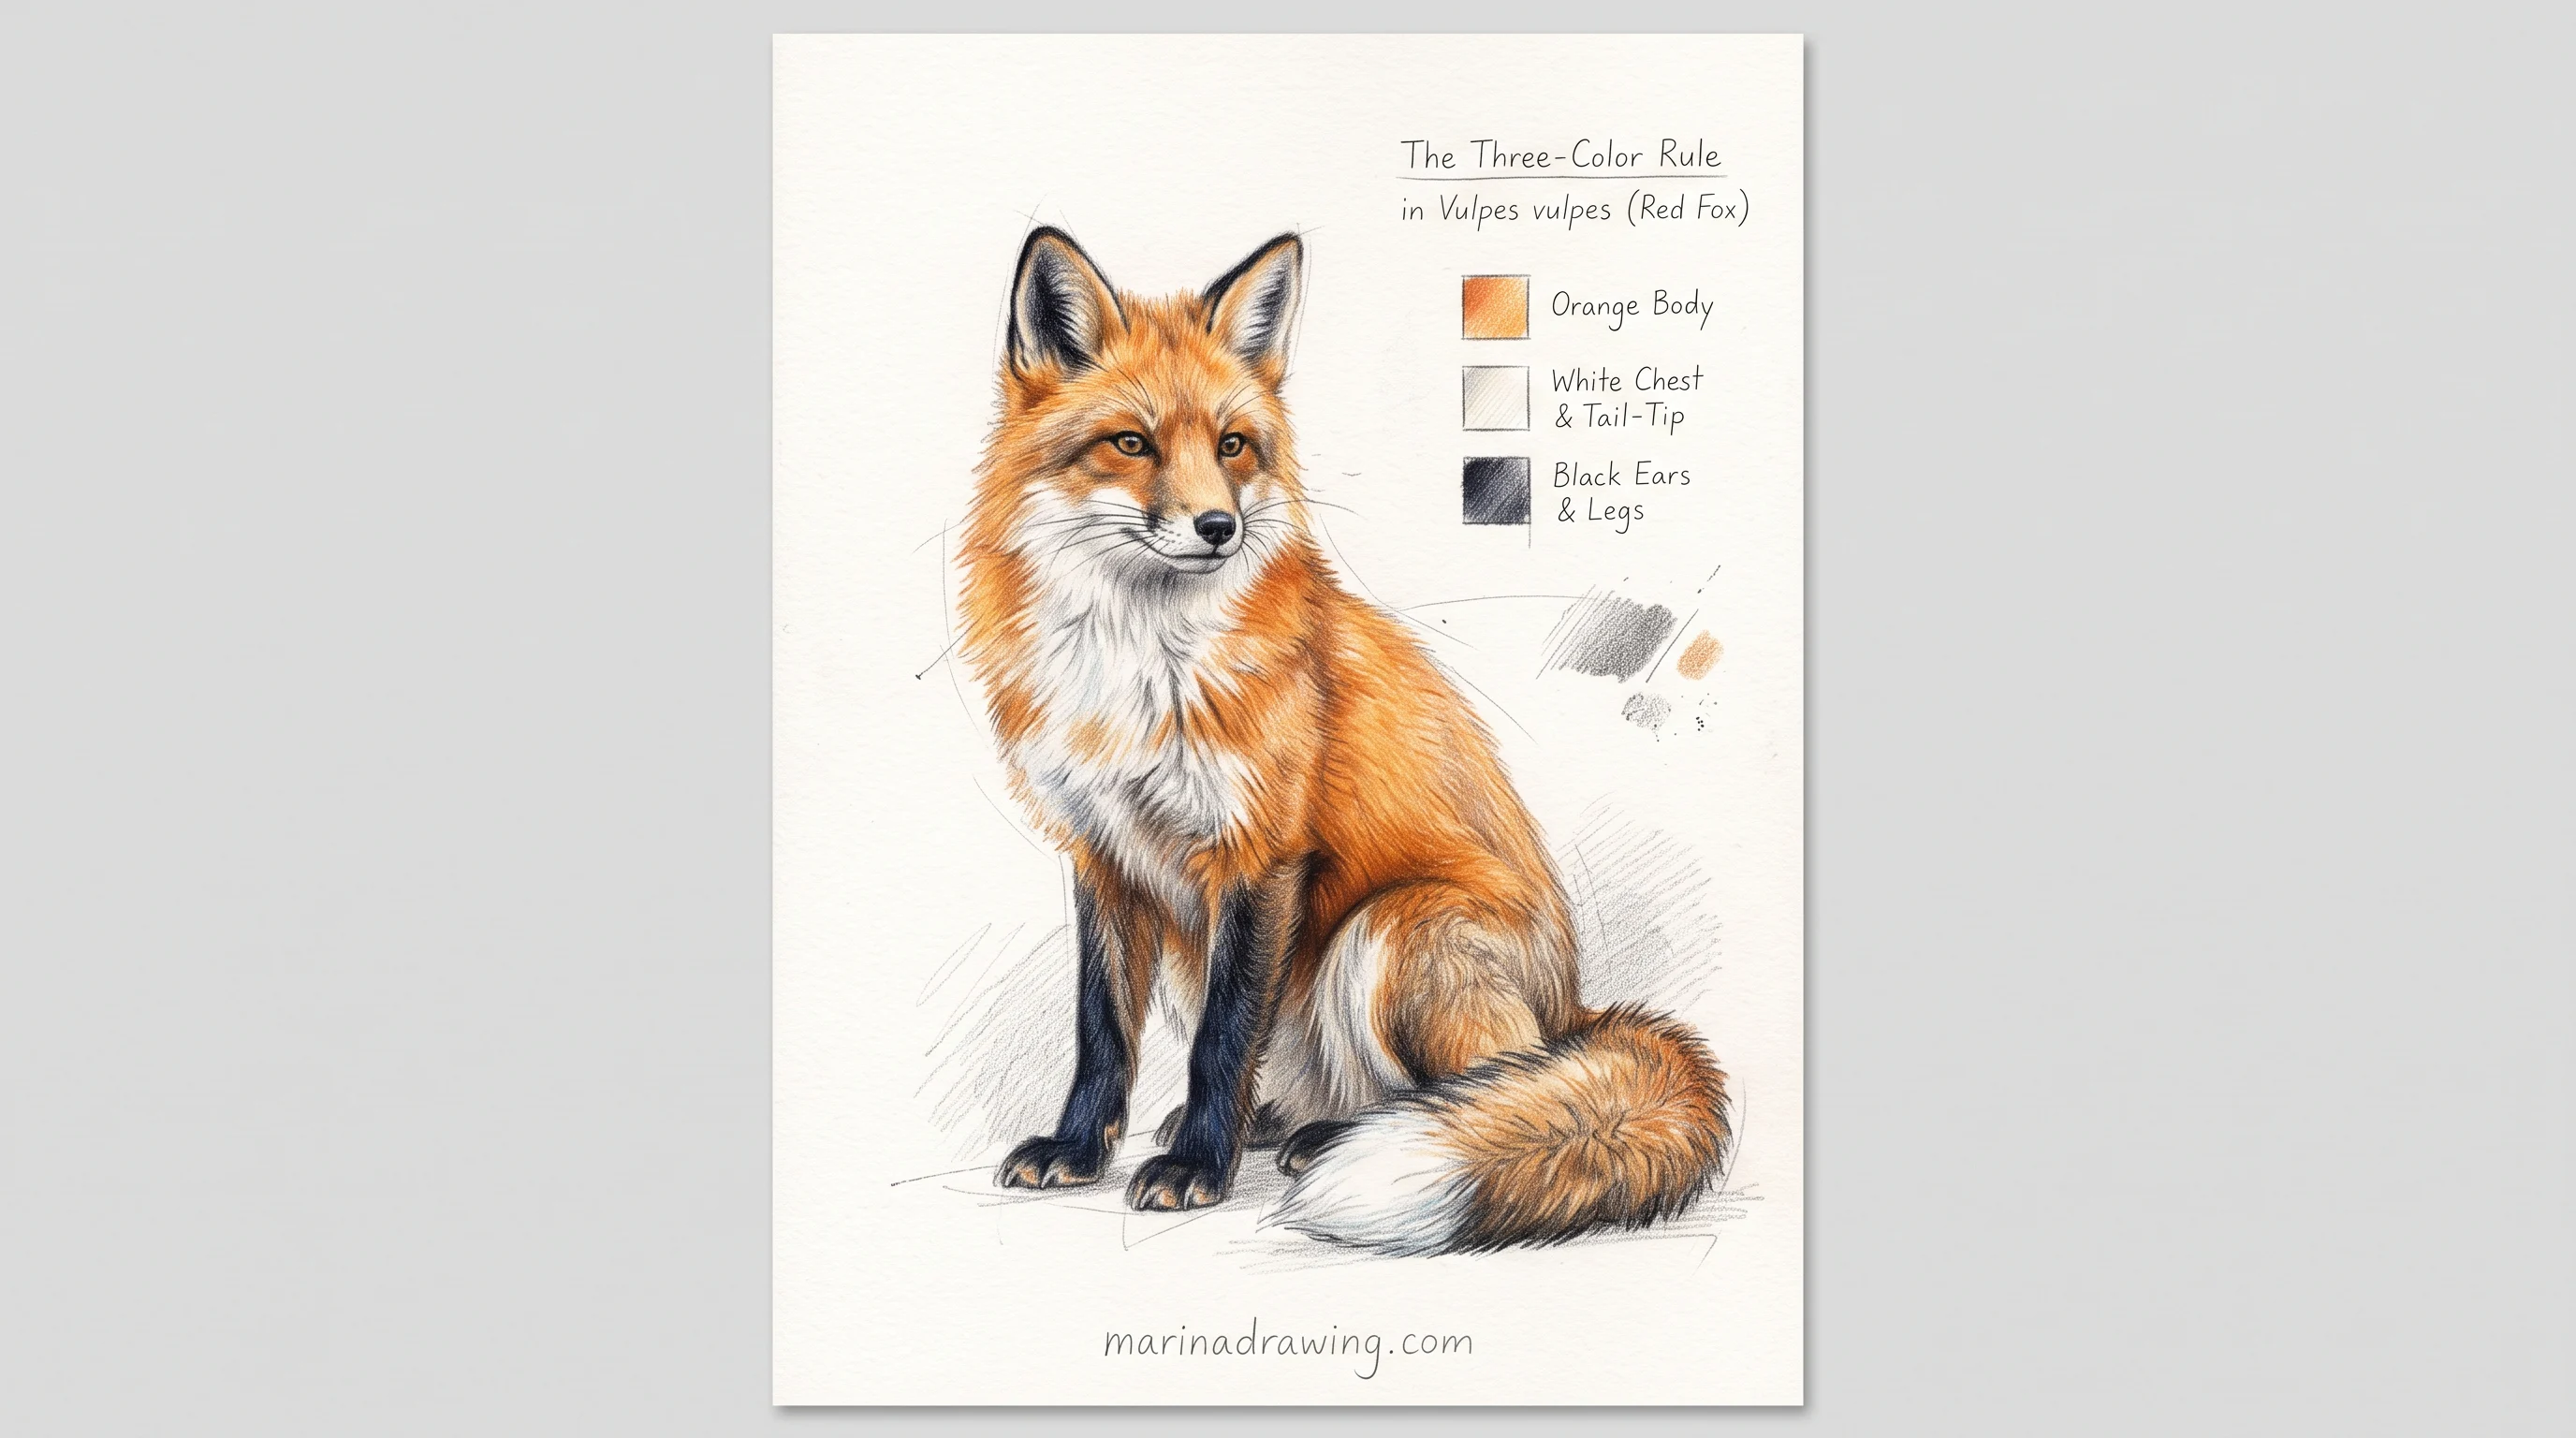
12. Fox colour study: the three-colour rule
A red fox is not orange all over. That single misunderstanding flattens more fox drawings than anything else. The pattern is fixed.
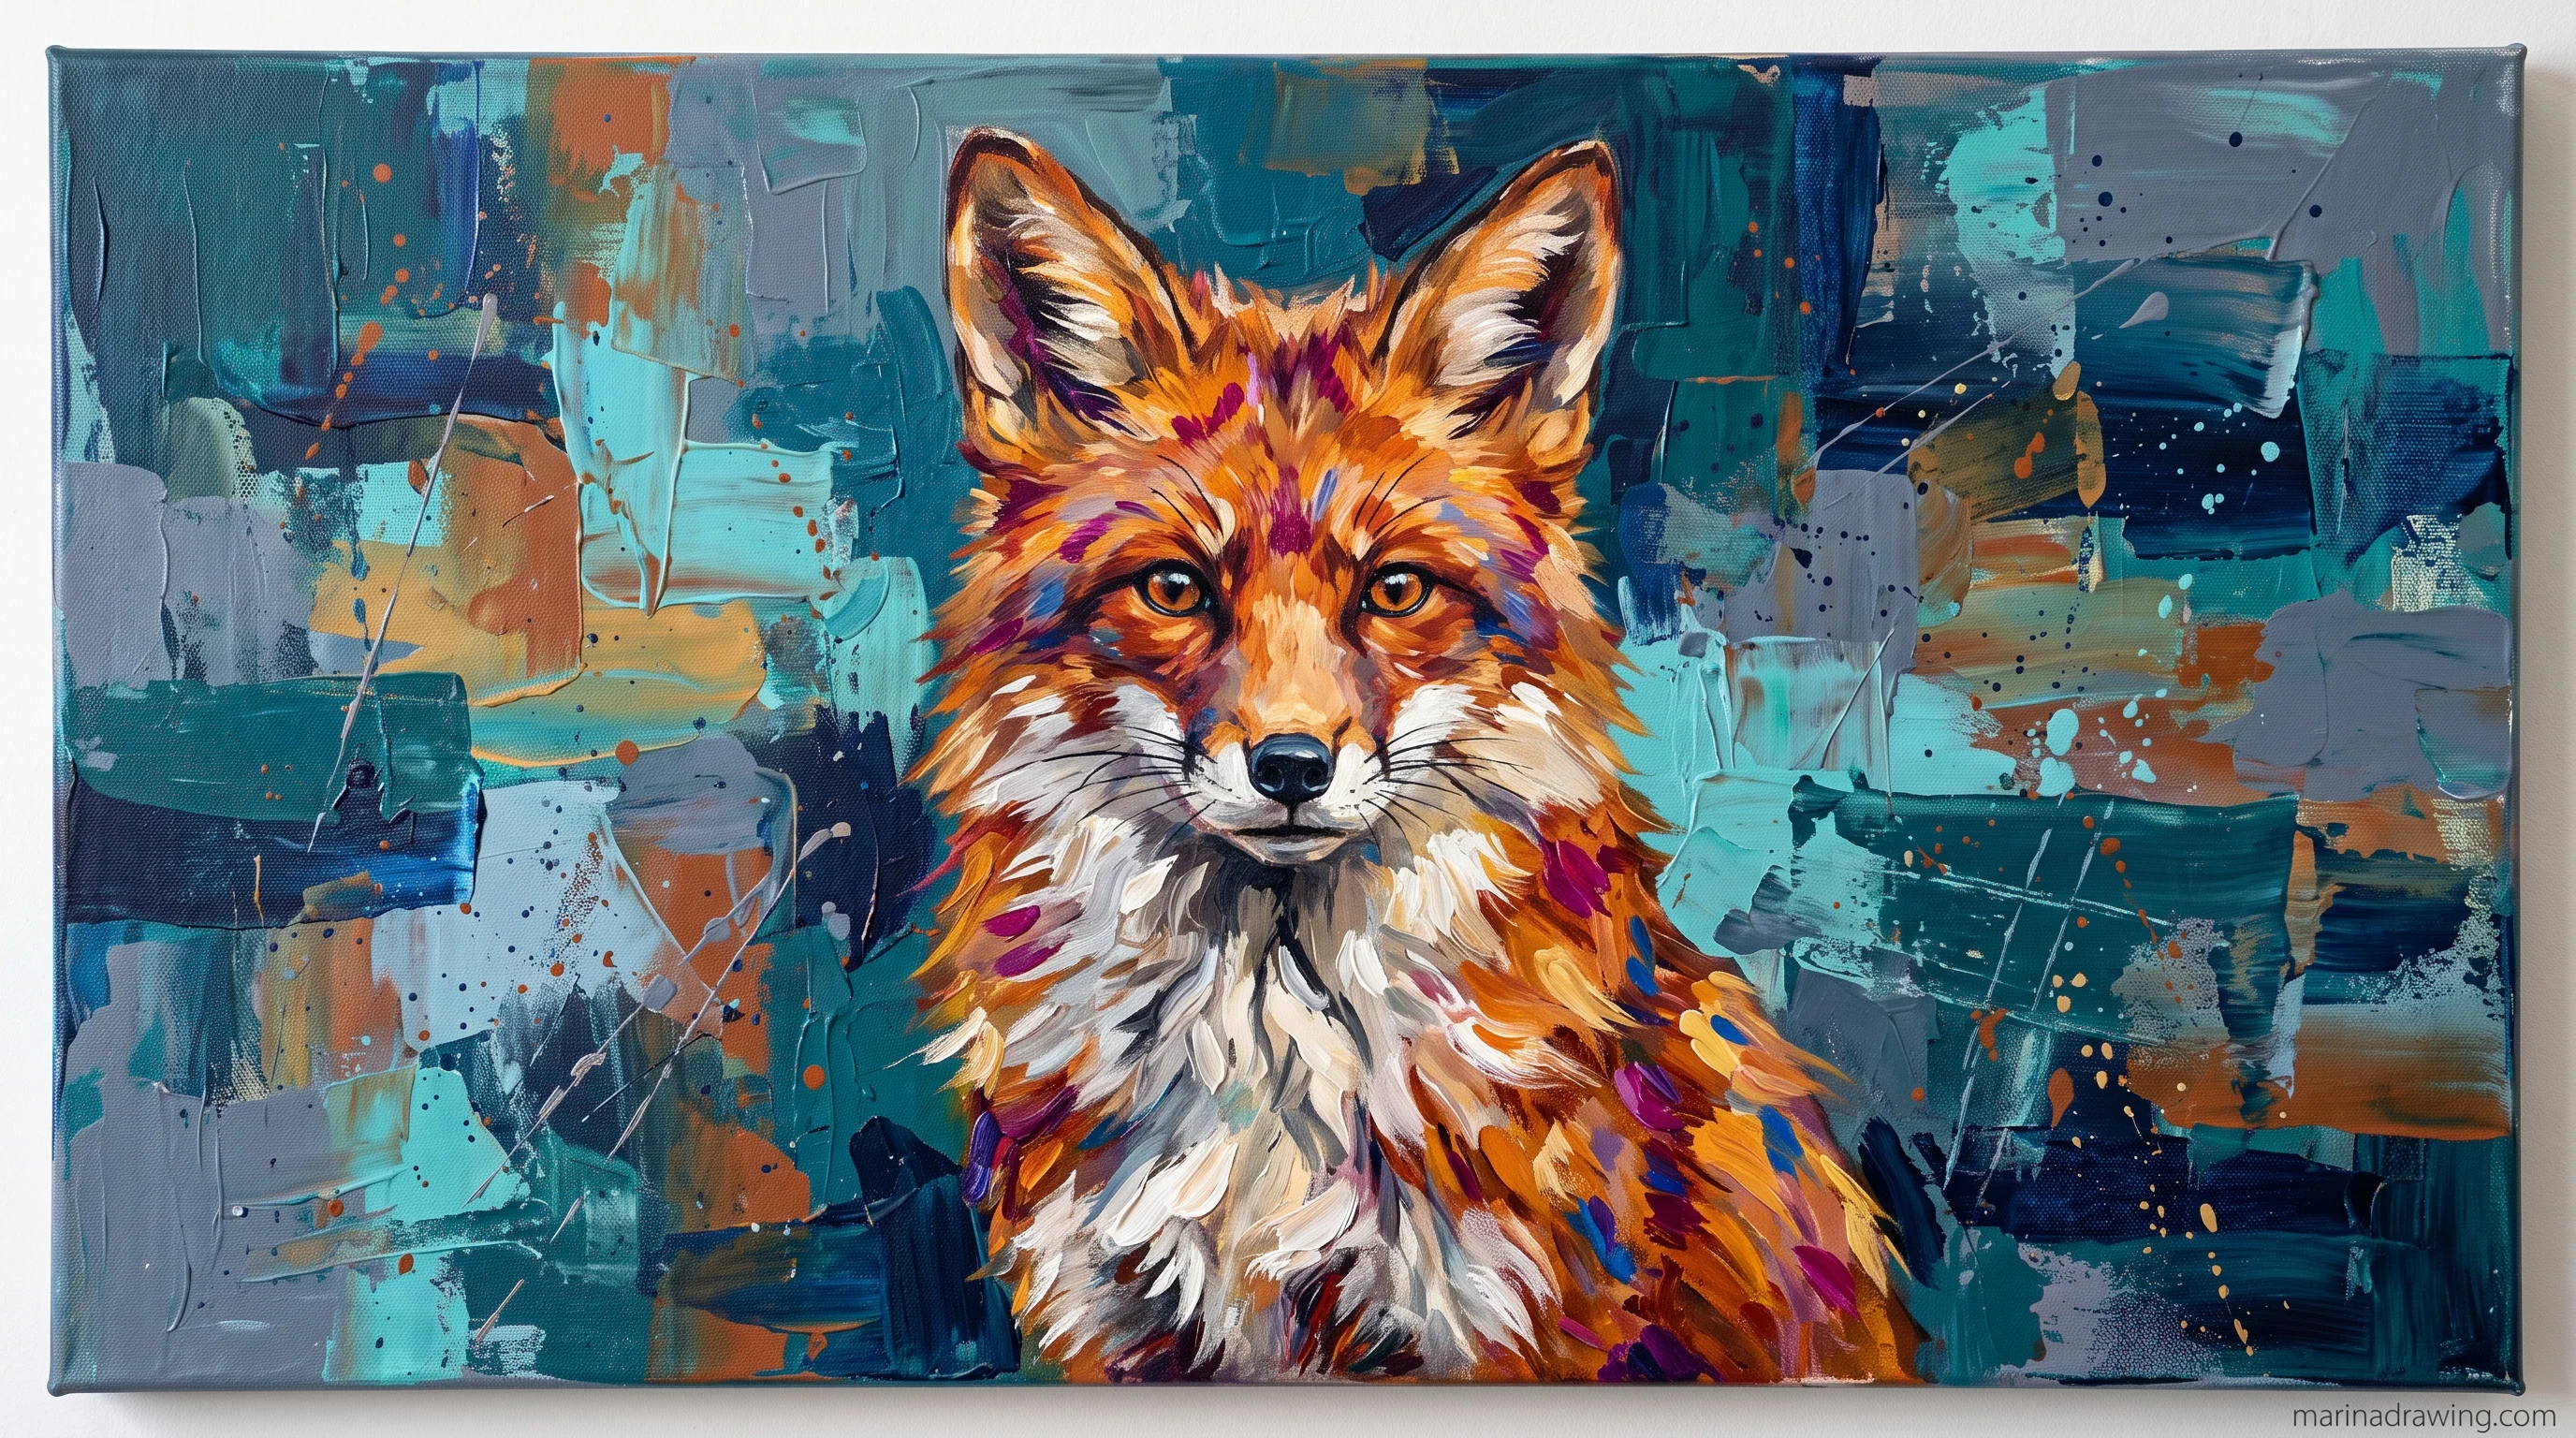
- Orange: top of the head, back, outer legs, most of the tail.
- White: chin, throat, chest, belly, tail tip.
- Black: backs of the ears, lower legs like stockings, the nose.
Three areas, hard edges between them. Blend them and you get a mongrel.
Keep your black stockings and your white tip, and even a flat orange fox reads correctly. For the colour logic of other animals, a graded art school programme teaches pattern and tone together.
How to make the fur look soft instead of spiky
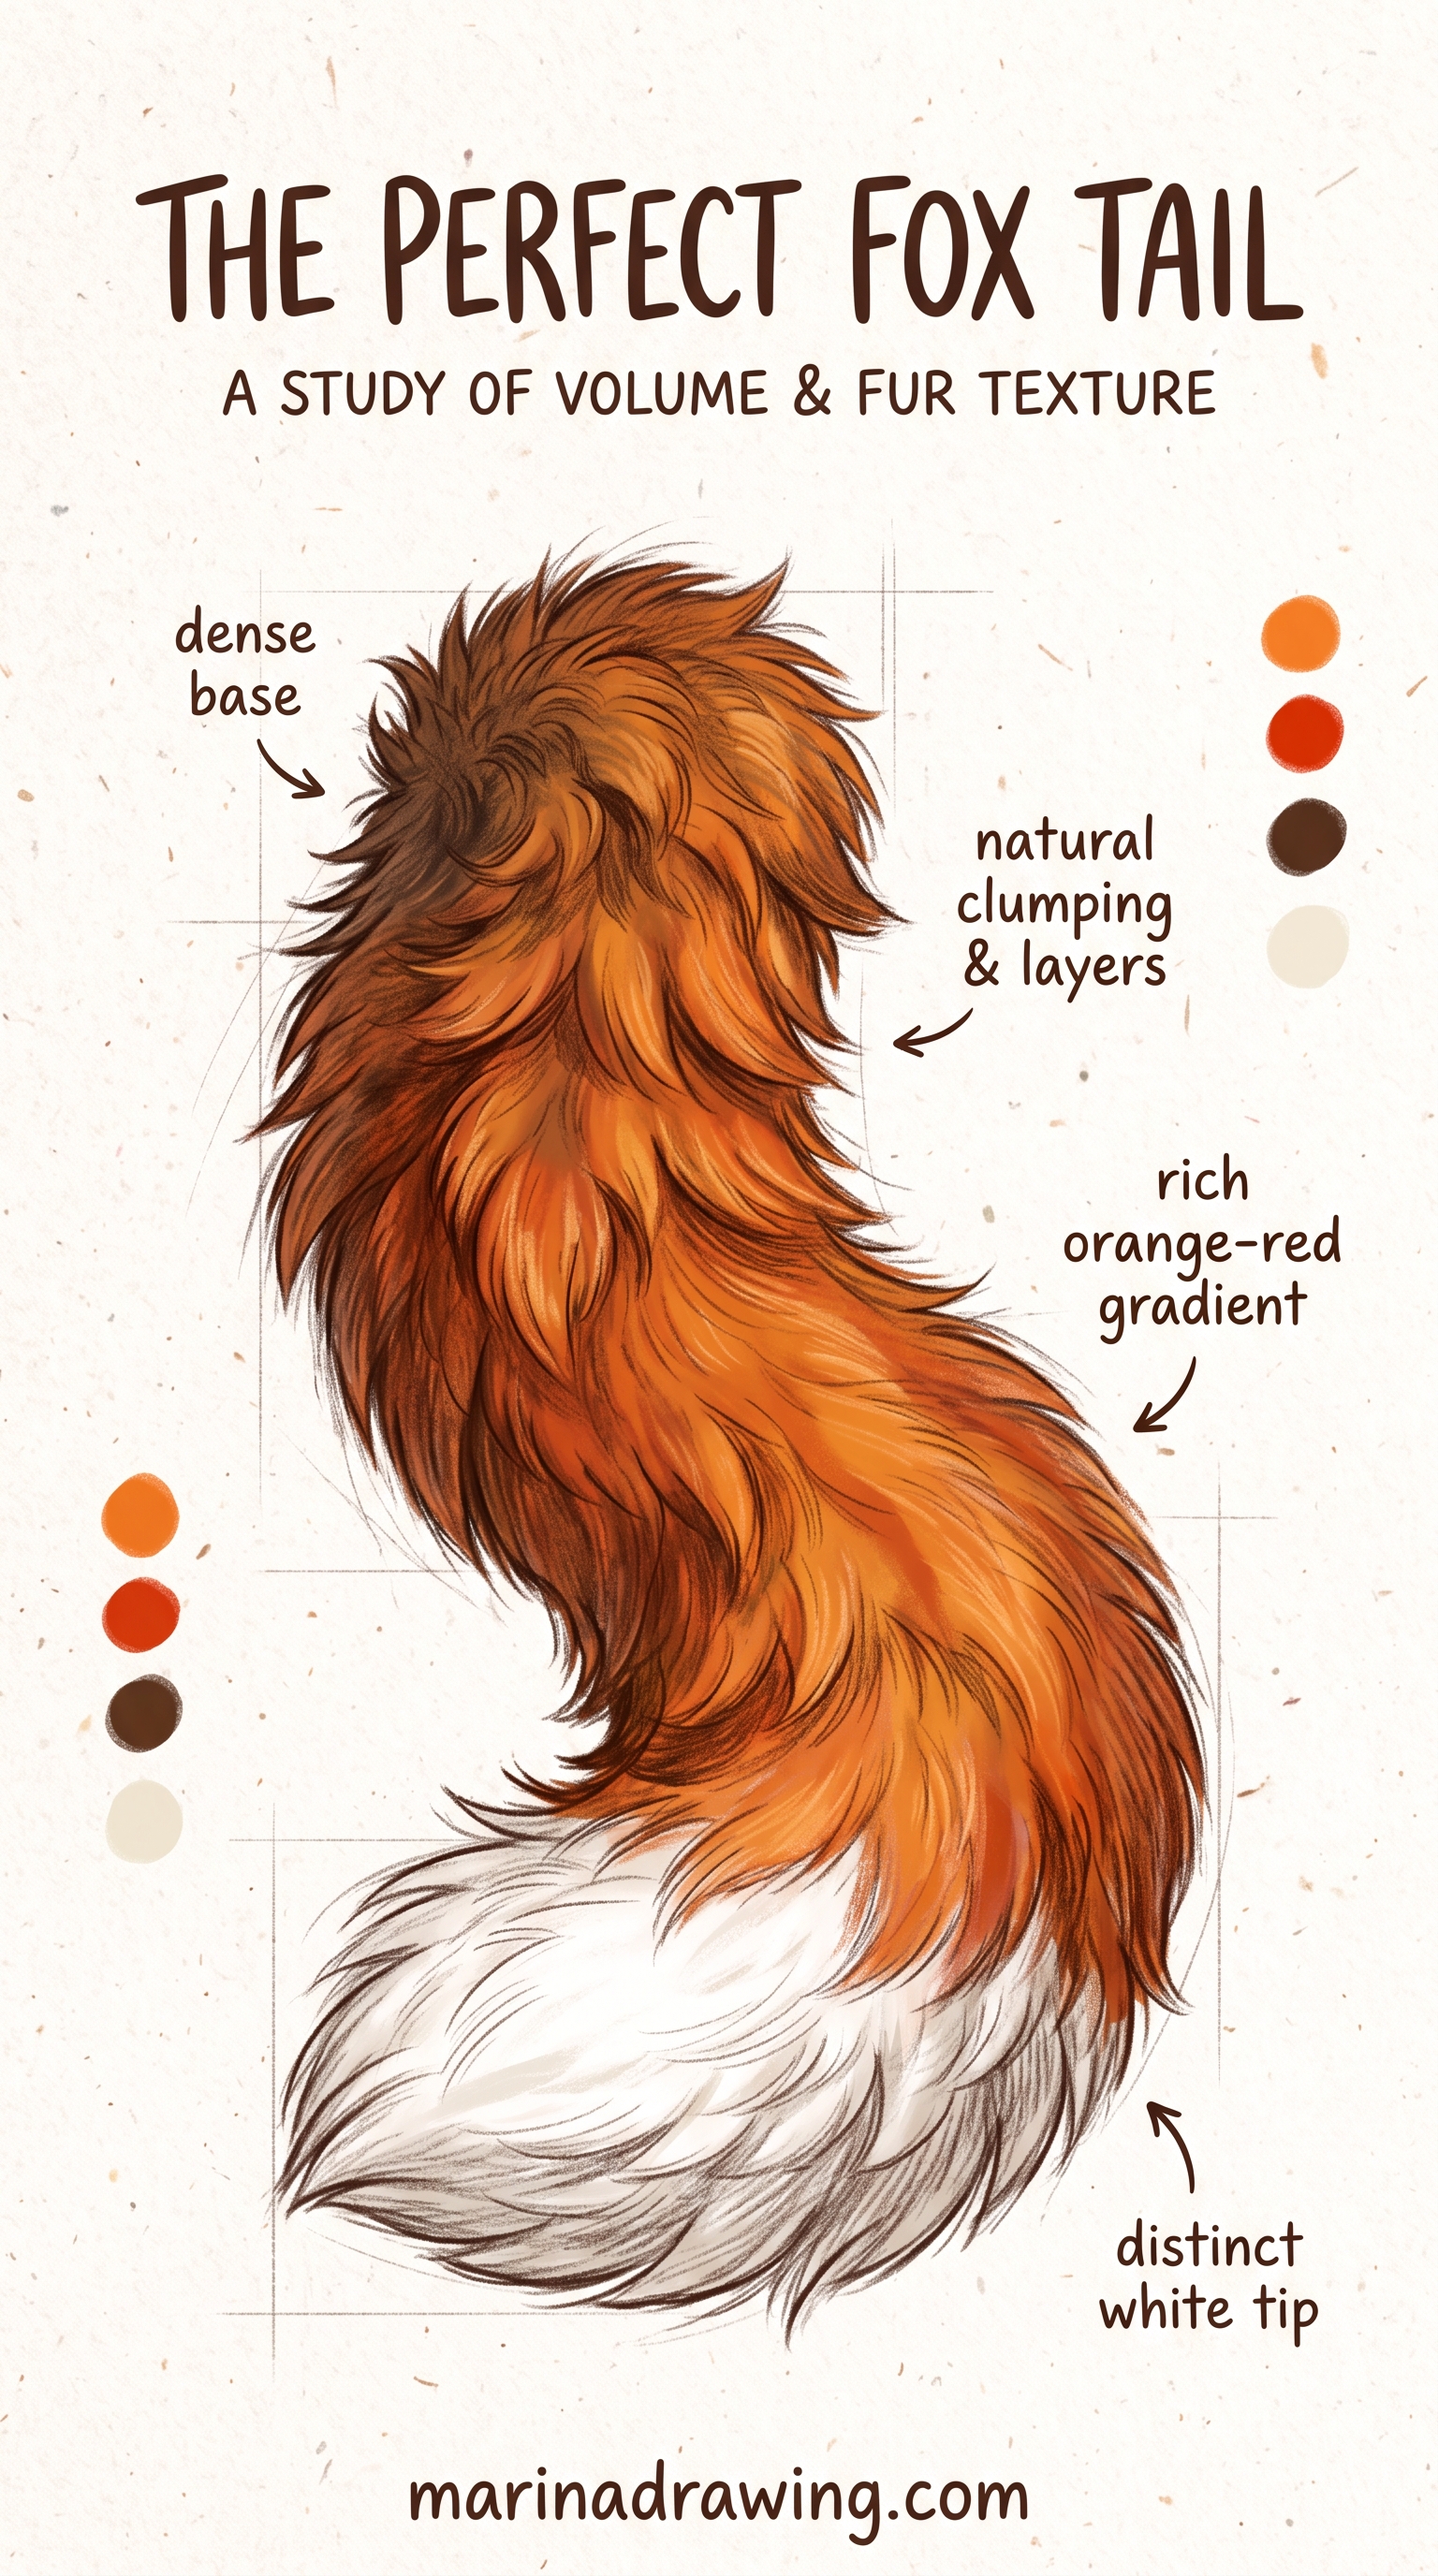
Your fur looks spiky for one reason. Every stroke is the same length, the same pressure, and starts at the outline. Soft fur is three things instead.
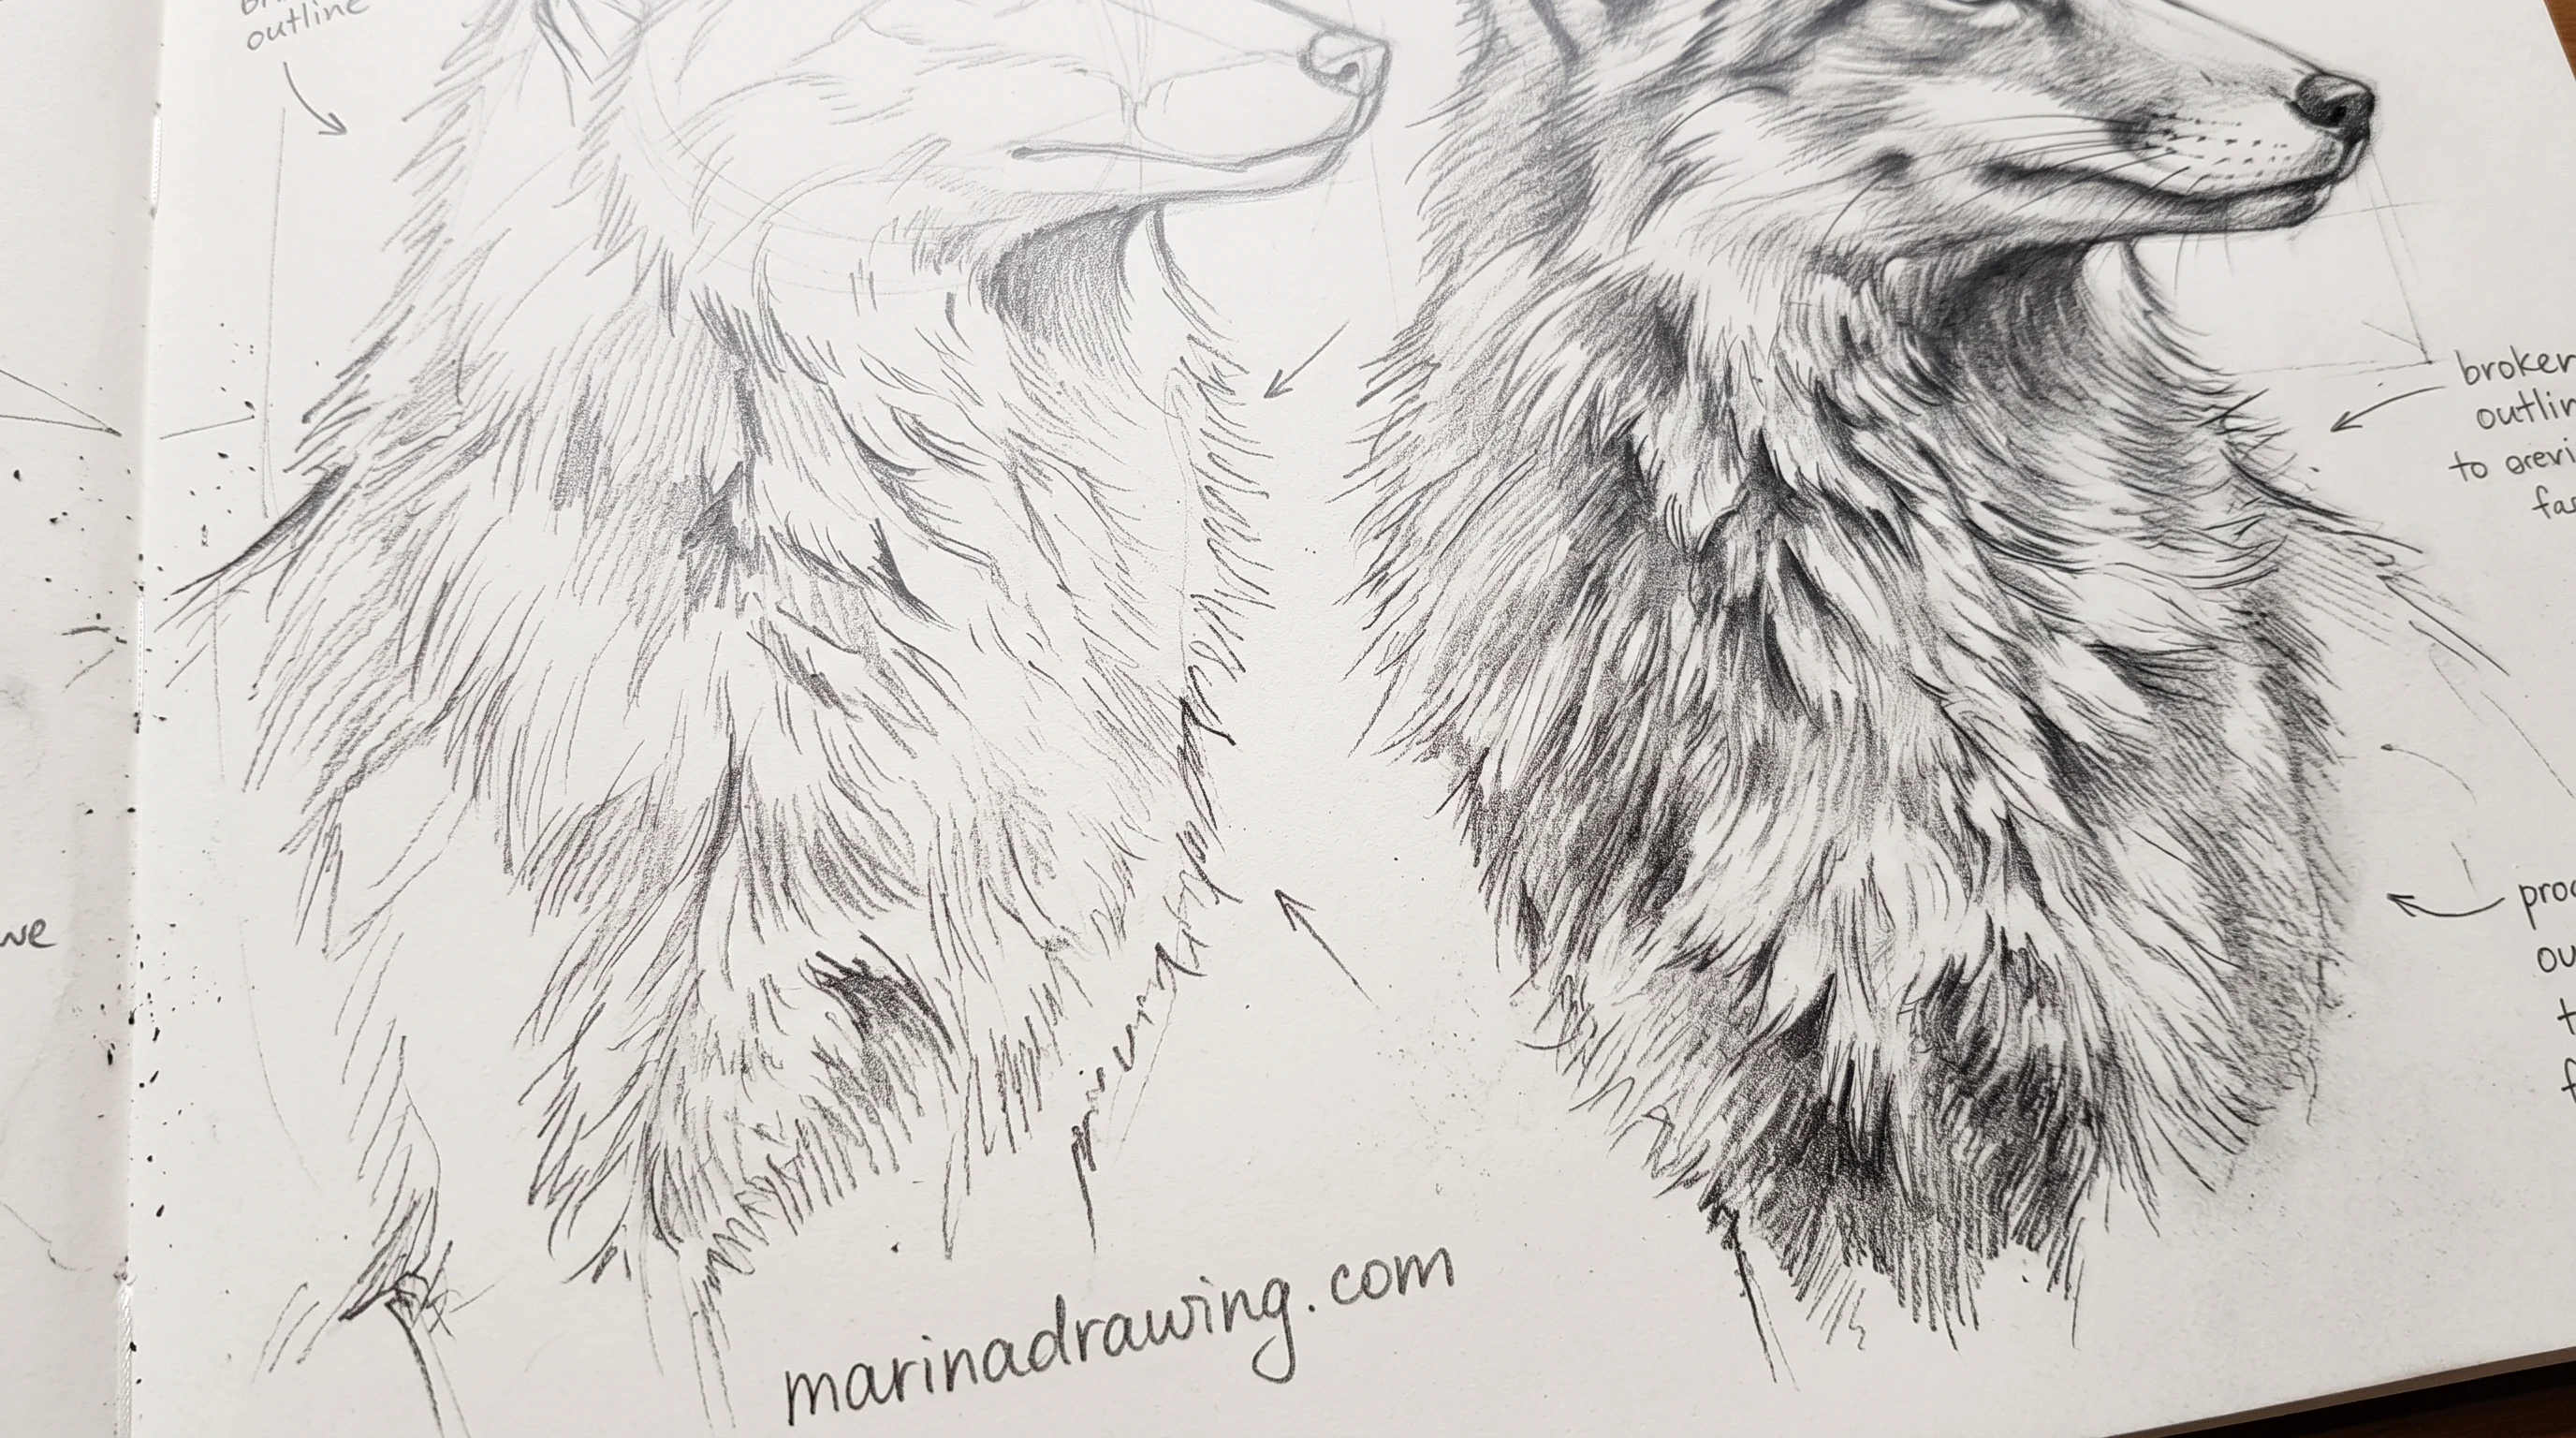
- Direction before texture. Fur follows the body. Outward from the centre of the face, down the back, outward and down the tail. Decide direction, then stroke.
- Clumps, not hairs. Draw the shadow between the tufts, not the tufts. Your fox is twenty clumps, not two thousand hairs.
- A broken outline. Let your silhouette break at the ruff and the tail, with hairs crossing it both ways. A continuous outline reads as a toy.
Most people meet this first on human hair. I wrote it up in the three mistakes that make hair look flat.
If your fur fails the same way on every animal, that is a sequencing habit. A course built around construction resets it.
Which mistake did you make?
Put your fox next to this and find your symptom. Each symptom has one cause, and the cause is always earlier than you think.
| What you see | What actually went wrong | What to change |
|---|---|---|
| It reads as a dog | Muzzle too wide, or ears too low | Narrow the wedge to half the skull width, lift the ears and move them together |
| It reads as a cat | Muzzle too short | Lengthen it until it passes the bottom of the circle |
| The fox looks flat | No dark committed early | Darkest dark on the backs of the ears and under the chin, first |
| The fur looks spiky | Strokes all one length, started at the outline | Draw the shadow between clumps, following body direction |
| The tail looks stuck on | Drawn thin, and after the body | Redraw it as thick as the skull, overlapping the hip |
| Colour looks muddy | Orange, white and black blended together | Keep the three areas separate, with hard edges |
| The cute version looks odd | Head too small for the body | Head to two thirds of body size, eyes bigger and lower |
You settle five of those seven before any detail. If more than two rows describe your fox, your next step is not another fox. It is construction, in order, which is what a structured drawing programme covers across its animal section. The same ordering problem turns up on every four-legged animal, including the five simple animal step-by-steps.
Questions people ask about drawing a fox
| Time you have | Fox to draw | What you will practise |
|---|---|---|
| Five minutes | Doodle fox, or the five-line fox | The long muzzle, nothing else |
| Twenty minutes | Face from the front | Eye line, slant, the white mask |
| Half an hour | Sitting fox, side view | Spine, chest, hips, tail thickness |
| An hour or more | Realistic head in pencil | Three tones and fur direction |
How do you draw a fox step by step for a beginner?
Circle for the skull. Long narrow wedge for the muzzle. Two tall ears, close together, on top. Then the back and the thick tail. The white mask goes on last. The five-line easy fox above is the shortest version of that order.
How do I make a fox drawing easy enough for a child?
Use the cute proportions. Head two thirds the size of the body, big round eyes set low, short muzzle, tall ears, oversized tail. Skip shading and let them colour it with one orange and one black pencil.
Why does my fox look like a dog?
Your muzzle is too wide, or your ears are too low. Narrow the muzzle to about half the width of the skull, move the ears up and closer together. That is usually the whole fix.
How do you draw a fox face?
Circle, vertical centre line, horizontal eye guide a third up from the bottom. Eyes on the guide, slanted slightly inward. Narrow wedge below, on the centre line. Ears high and close. The heart-shaped white mask last.
My fox drawing looks flat. How do I make it look three-dimensional?
Commit three clearly separated tones and put the darkest one in first: backs of the ears, nose, eye sockets, under the chin. Flatness is a missing dark, not a missing detail.
If every animal you draw comes out flat, the habit is tonal. A course with a graded value section is the shortest way out.
How do I make the fur look soft instead of spiky?
Vary your stroke length. Do not start every stroke on the outline. Draw the shadows between clumps rather than individual hairs, then let a few hairs break the outline both ways.
What colour is a fox drawing?
Three areas with hard edges. Orange on head, back, outer legs and tail. White on chin, throat, chest and tail tip. Black on the backs of the ears, the nose and the lower legs. One orange and one black pencil are enough.
What pencil should I use for a fox drawing?
A single 2B does all of it. Press harder for the ears and the line under the chin. Leave the paper untouched for the white throat instead of drawing it in grey.
How long does a fox drawing take?
Five minutes for the doodle or the five-line fox. Twenty for the face from the front. An hour or more for a realistic pencil head with full shading.
Do I need a fox reference or a base template?
A reference photo helps with the fur pattern. A base template does not help at all. It hands you the proportions you were meant to learn, so your next fox goes wrong the same way.
Which fox should I draw first?
Start with the five-line fox, then the sitting pose, then the face. If you want that sequence built for you rather than chosen by you, a graded course puts the animals in order of difficulty for you.
Key takeaways
- Three shapes come before any fur: circle, long narrow wedge, two tall ears.
- A long narrow muzzle is what makes a fox a fox and not a dog or a cat.
- Ears sit high on the skull, close together, each about two thirds its height.
- The tail is as thick as the skull at the base. A thin tail is the commonest giveaway.
- Eyes sit a third up from the bottom of the skull, slanted slightly inward.
- Colour is three separate areas with hard edges, never a blend.
- Soft fur comes from clumps, varied stroke length and a broken outline.
- If two or more rows of the table describe your fox, your build order is the problem.
Draw two or three of these and you will know which row is yours. When it is the same row every time, the gap is construction, and a course that drills it in order is worth more than the next twelve tutorials. More animals to practise on: the duck.